
Paramify can automatically calculate issue due dates using remediation Service Level Agreements (SLAs). In addition to the Rev. 5 risk rating SLA, you can apply a KEV (Known Exploited Vulnerability) Remediation SLA and a PAIN (Potential Agency Impact N-rating) Remediation SLA to your programs, customize their timelines for your workspace, and track forensic triage for issues tied to KEVs.
SLA overview
Paramify supports three remediation SLAs. Each one uses different issue details to determine a remediation timeline.
| SLA | Timeline is based on | Turned on by default for |
|---|---|---|
| Rev. 5 Risk Rating | The issue's risk level | All programs |
| PAIN Remediation | The issue's risk level, its Likely Exploitable and Internet Reachable fields, and the program's class | FedRAMP 20x programs |
| KEV Remediation | The issue's Internet Reachable field, plus the Automatable and Technical Impact values from the KEV catalog entry for the issue's CVE | FedRAMP programs |
NOTE
When more than one SLA applies to an issue, Paramify always uses the strictest (shortest) timeline to calculate the due date.
Turn on SLAs for a program
Choose which SLAs apply to a program from the program's monitoring settings.
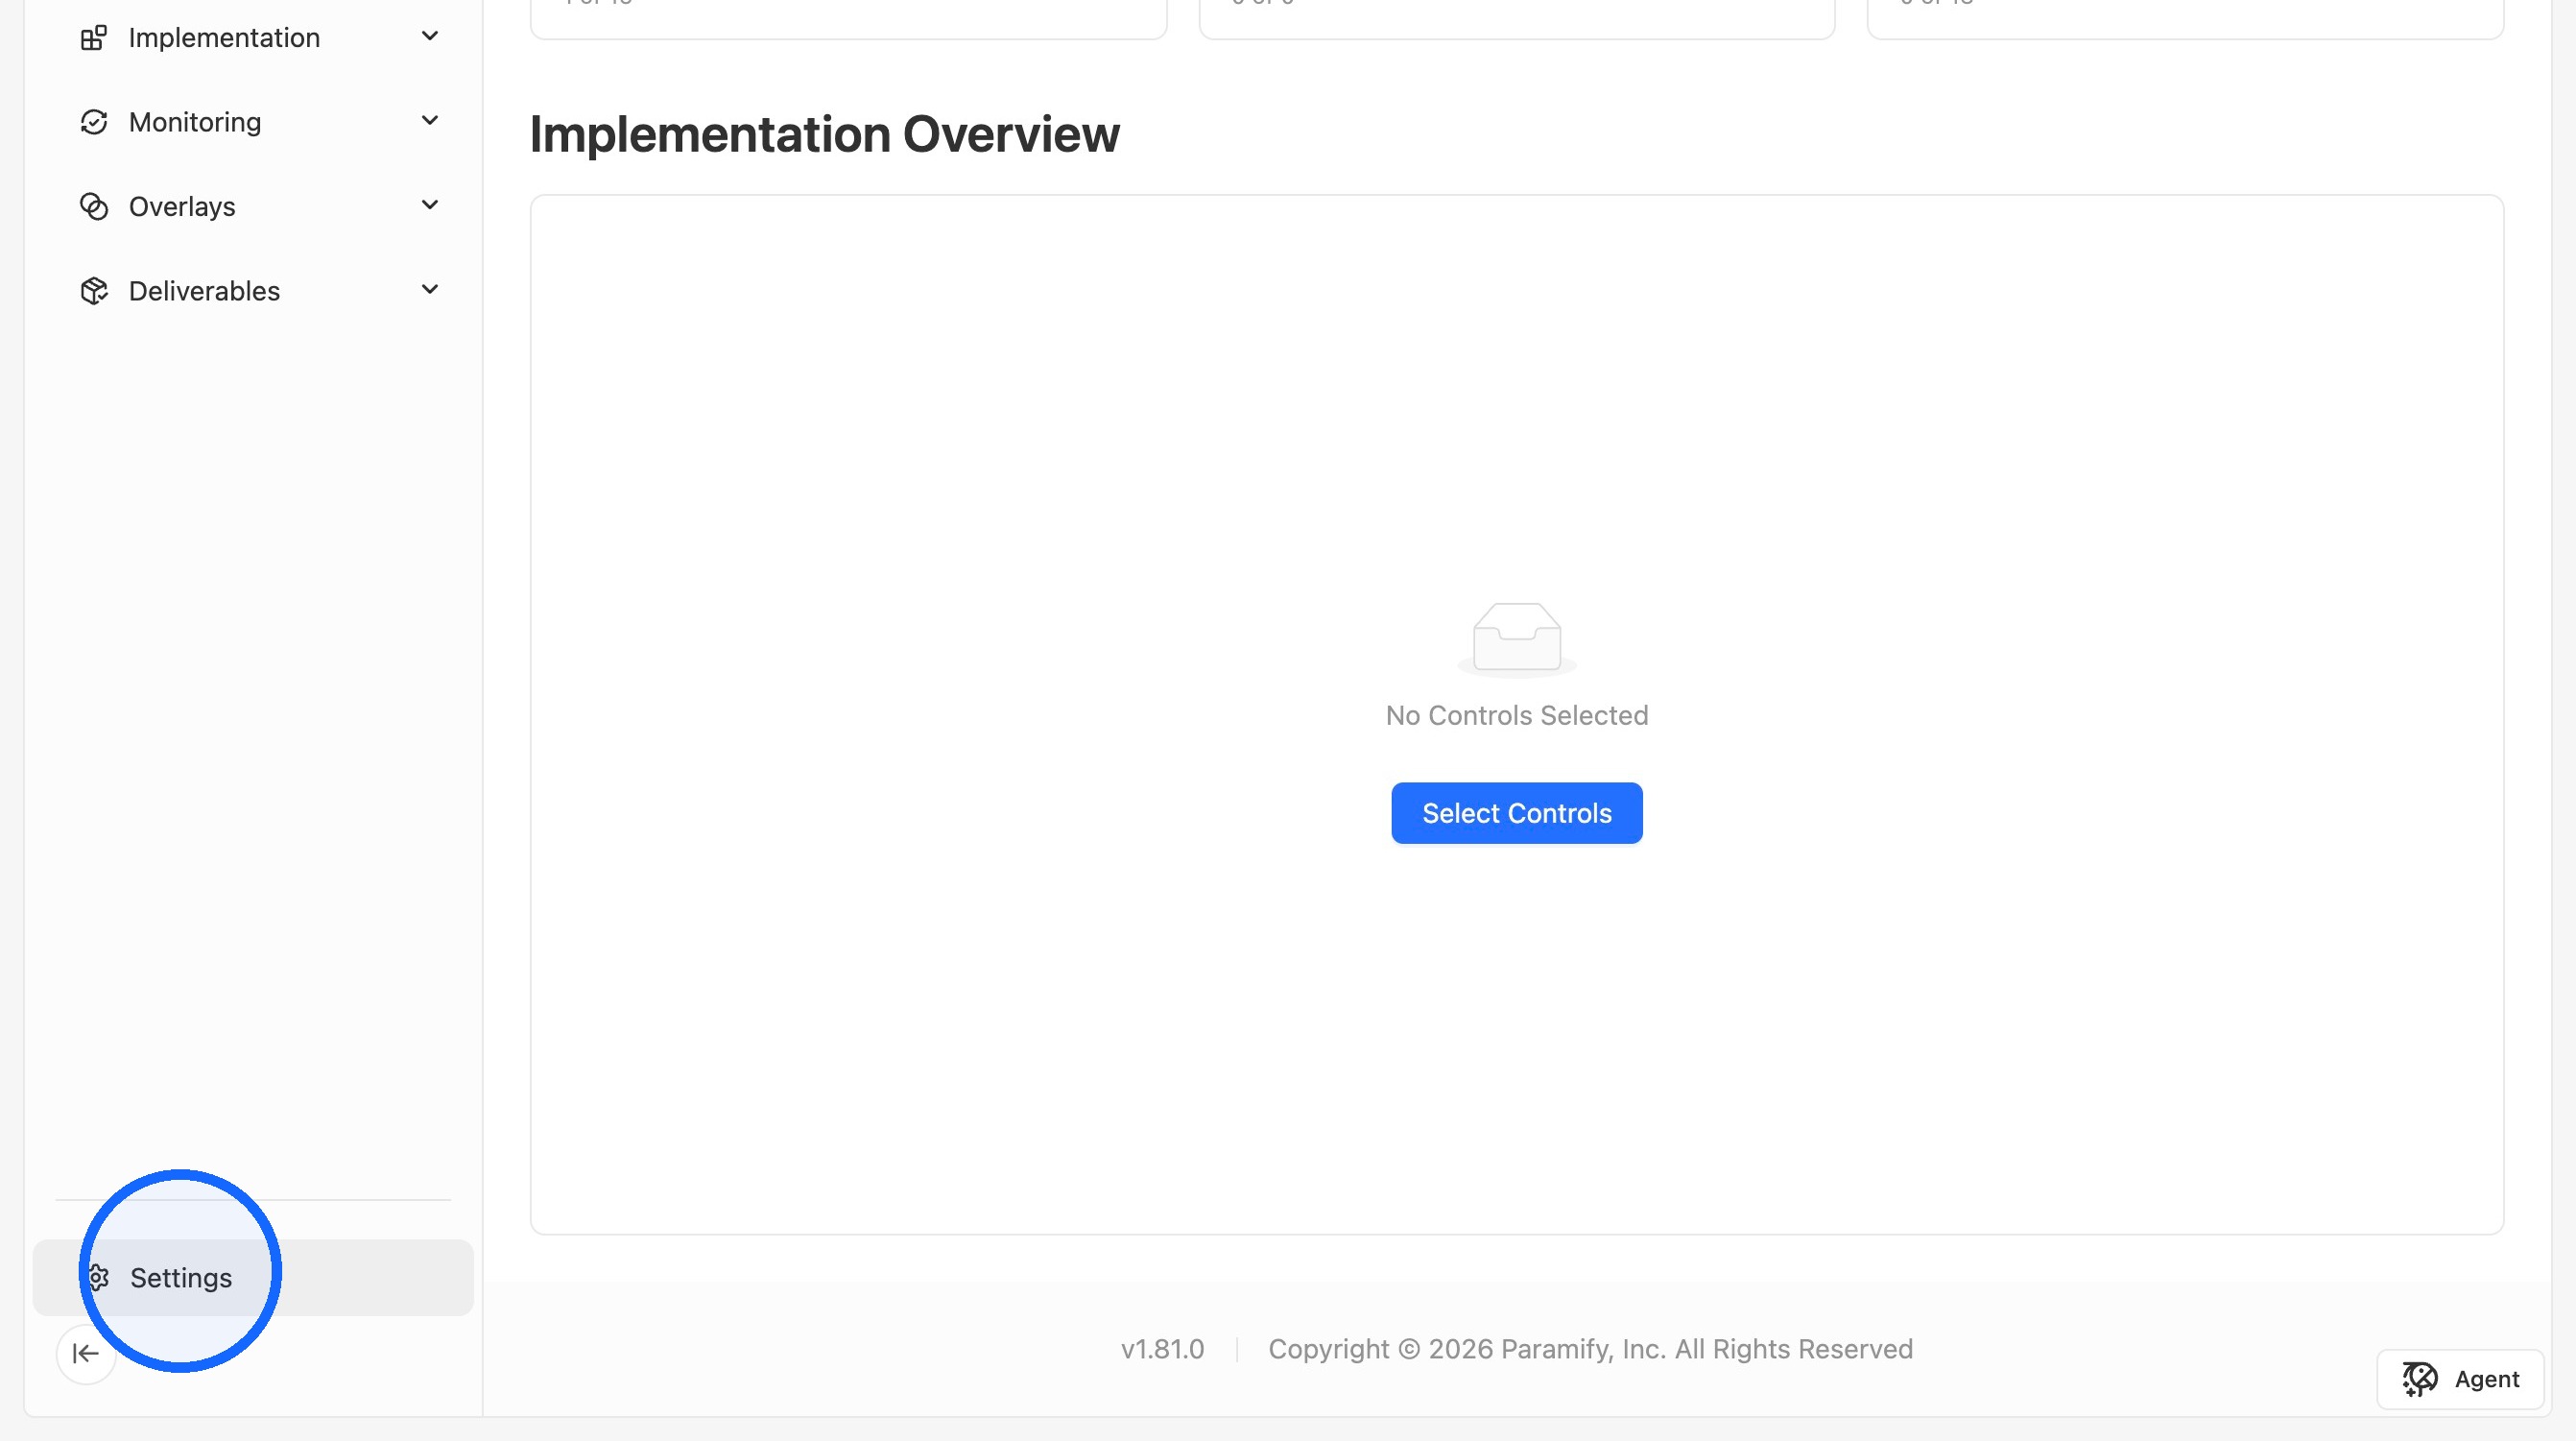
1. Open Settings
From your program dashboard, click Settings.
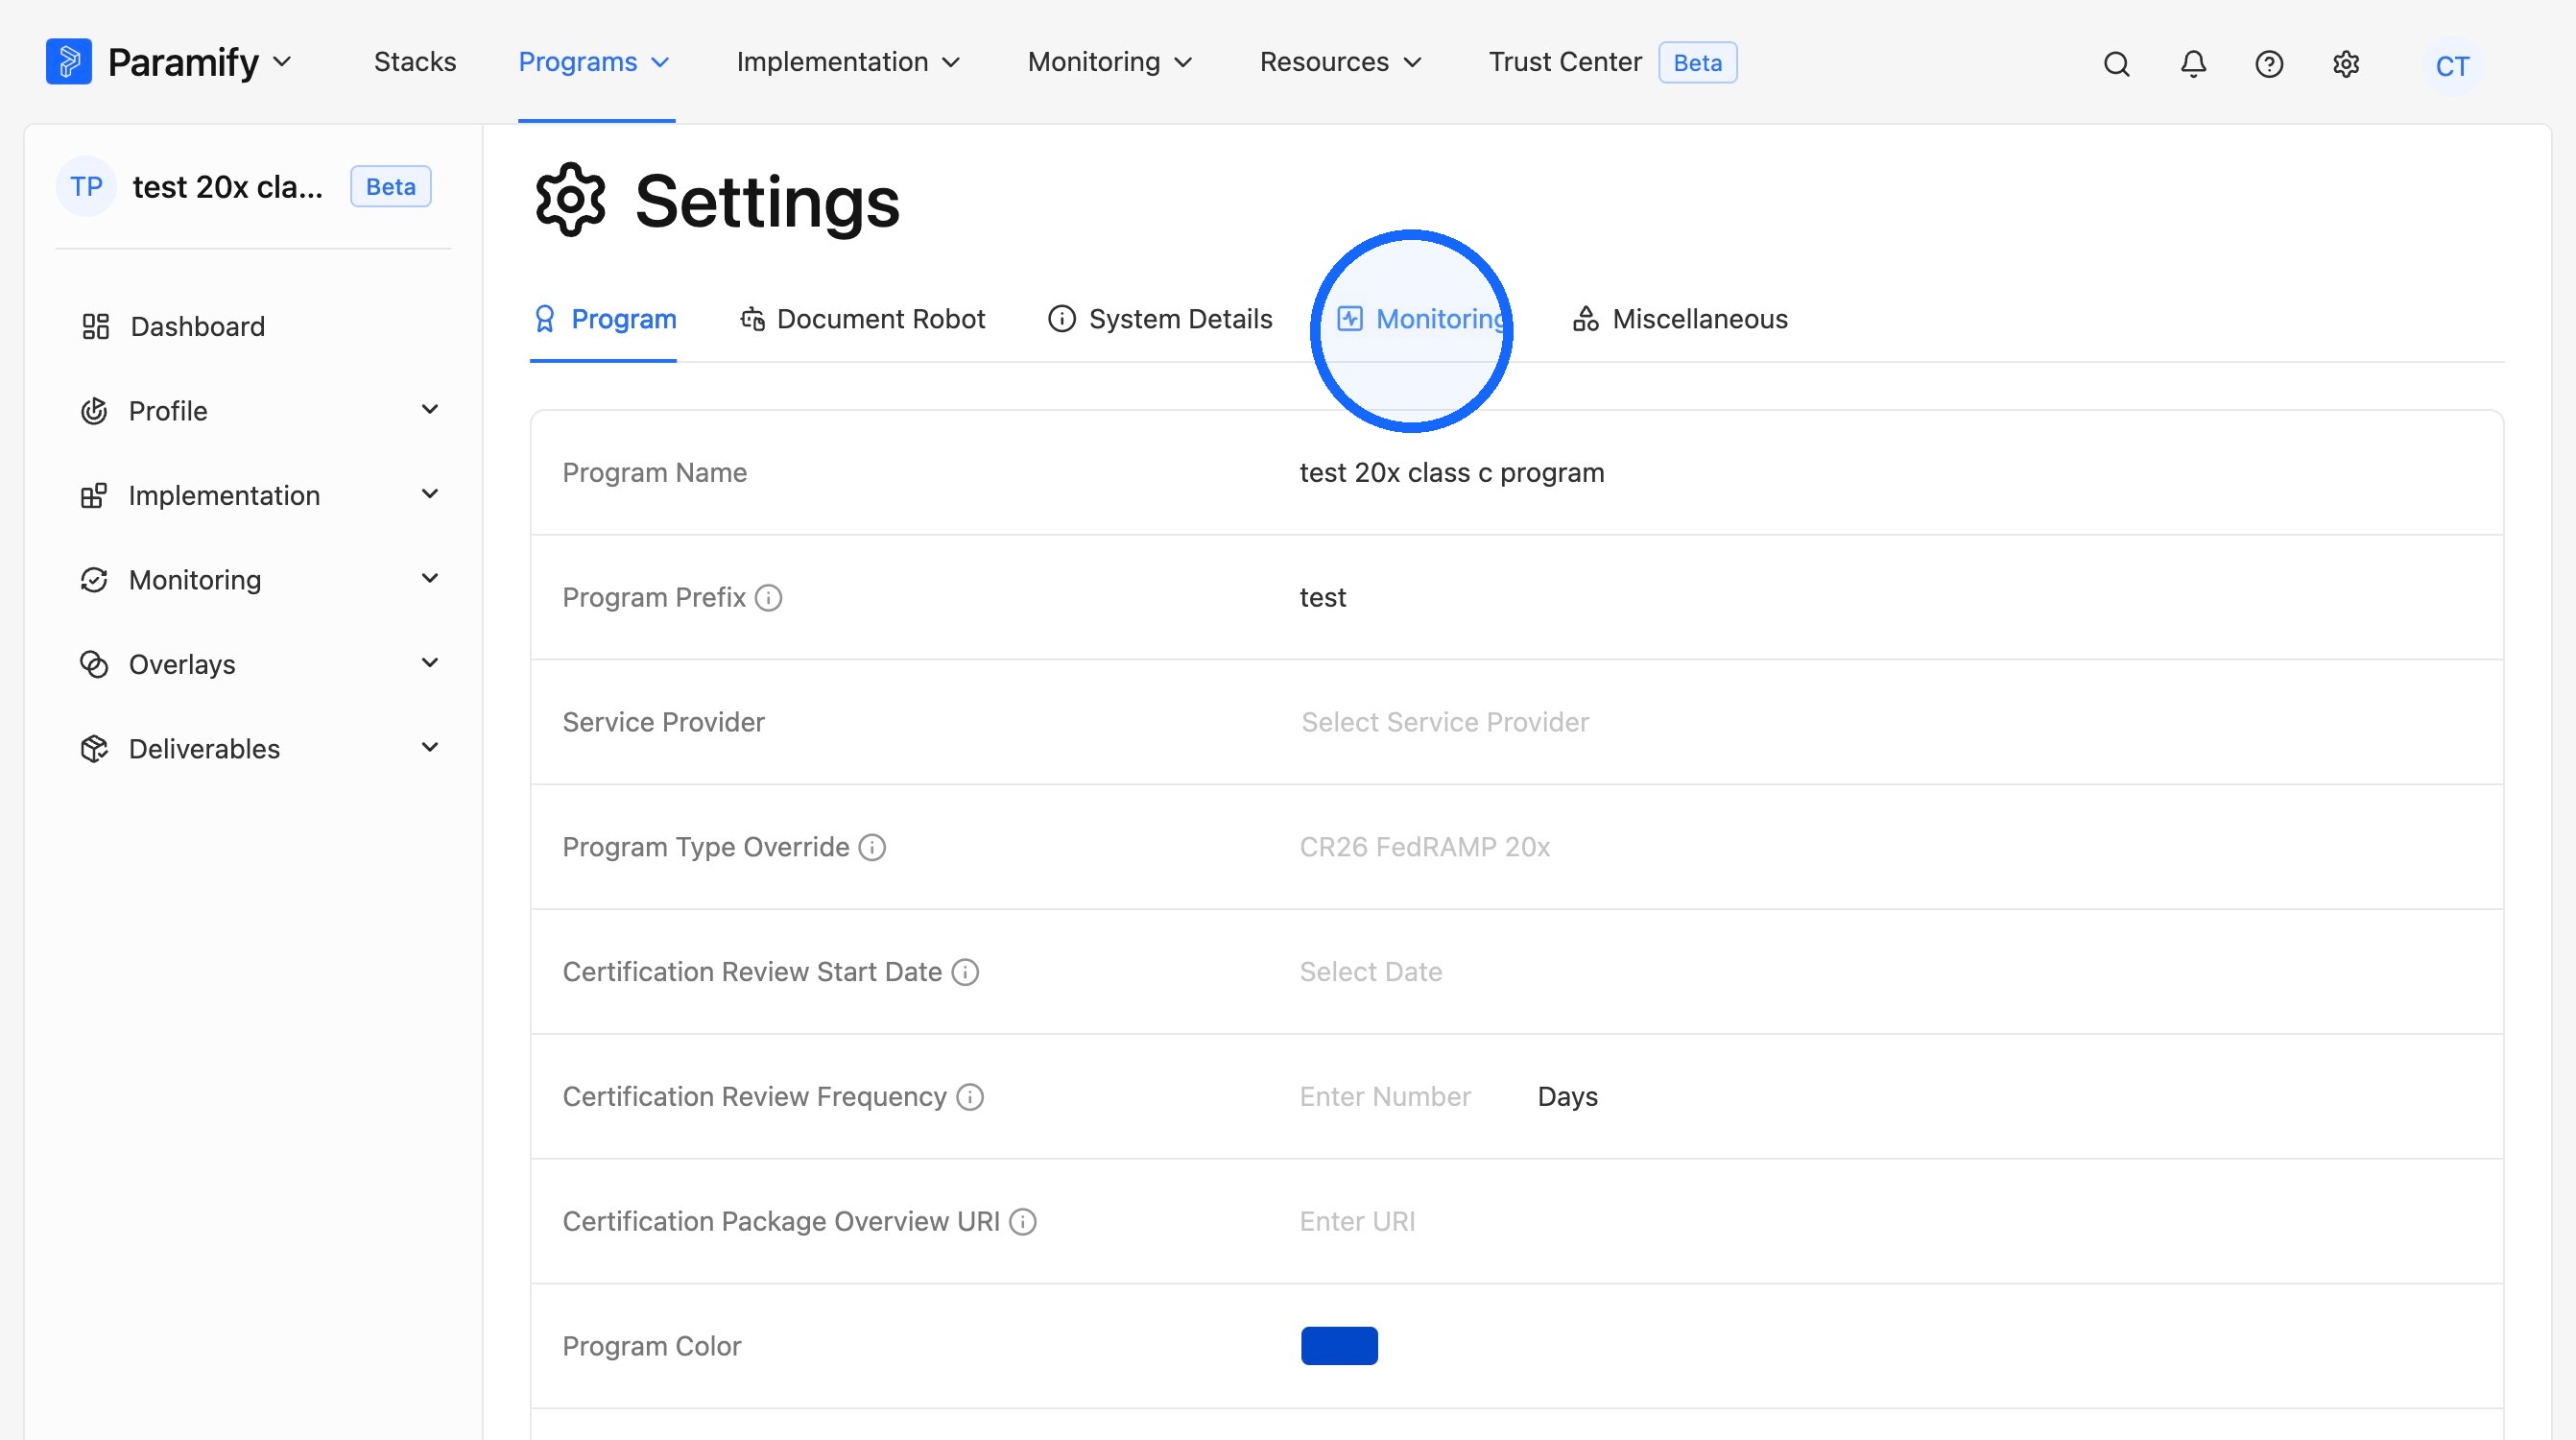
2. Select the Monitoring tab
In Settings, select the Monitoring tab.
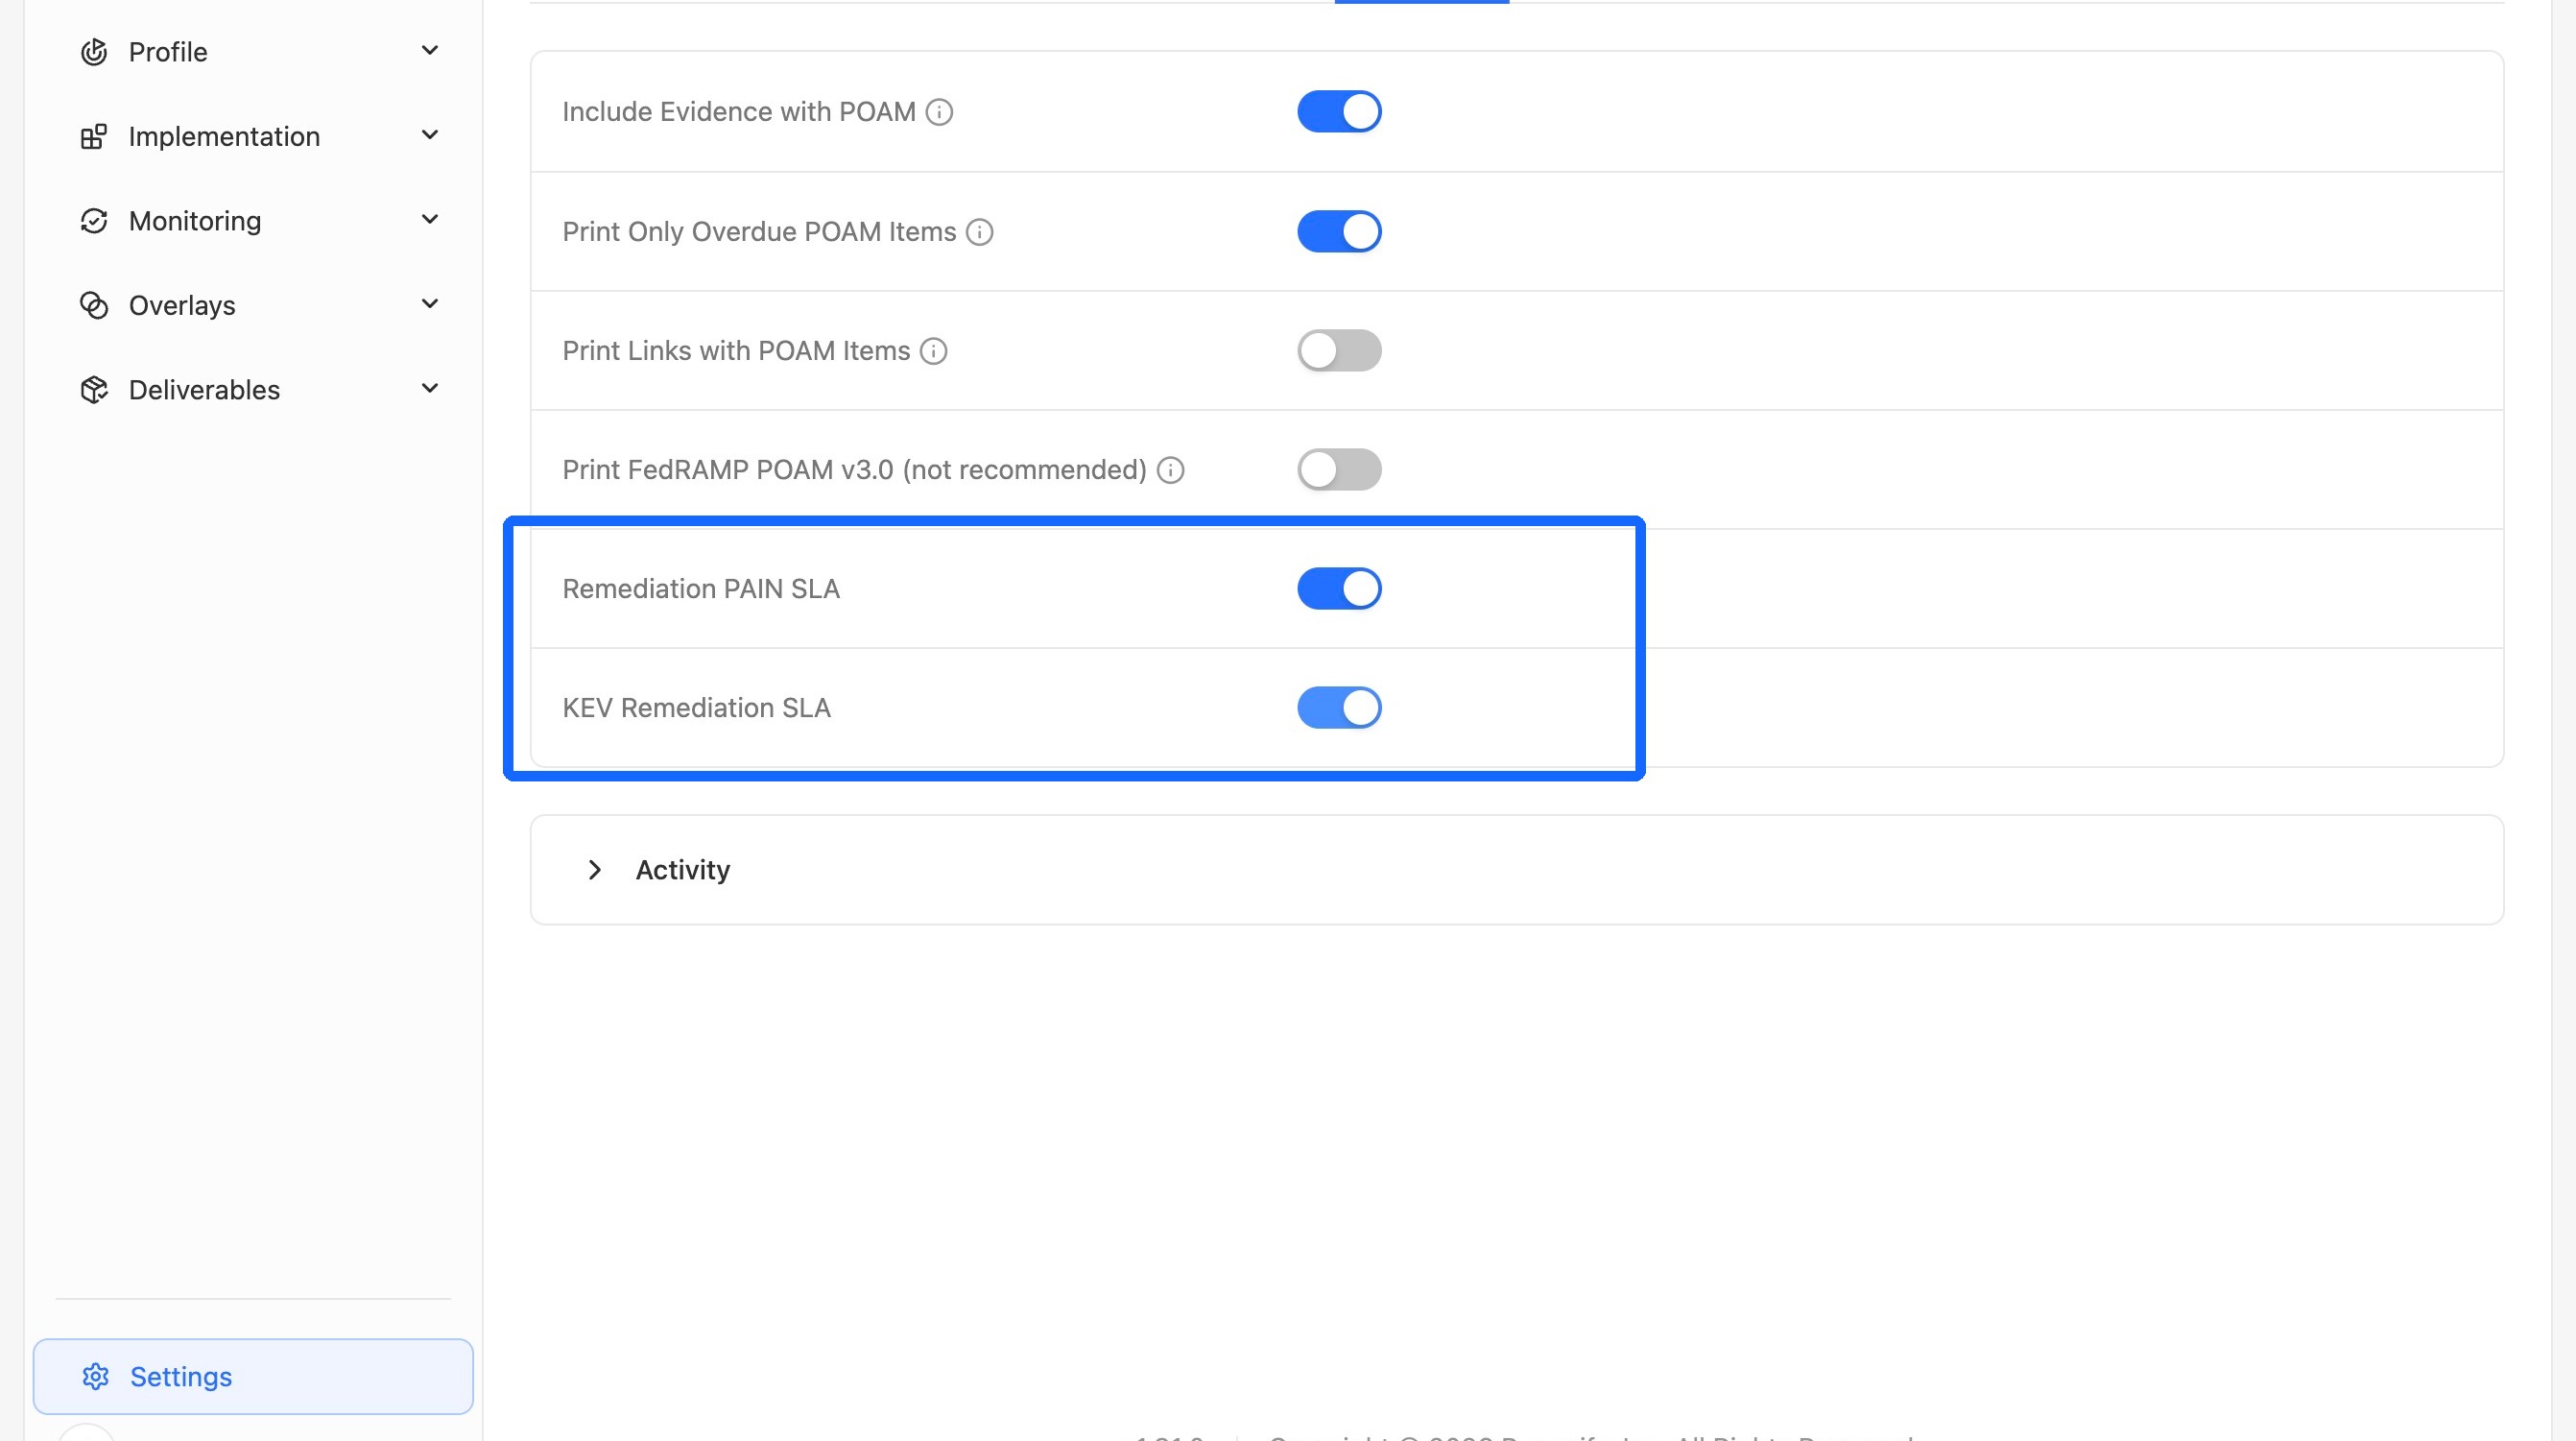
3. Turn on the SLAs you want to apply
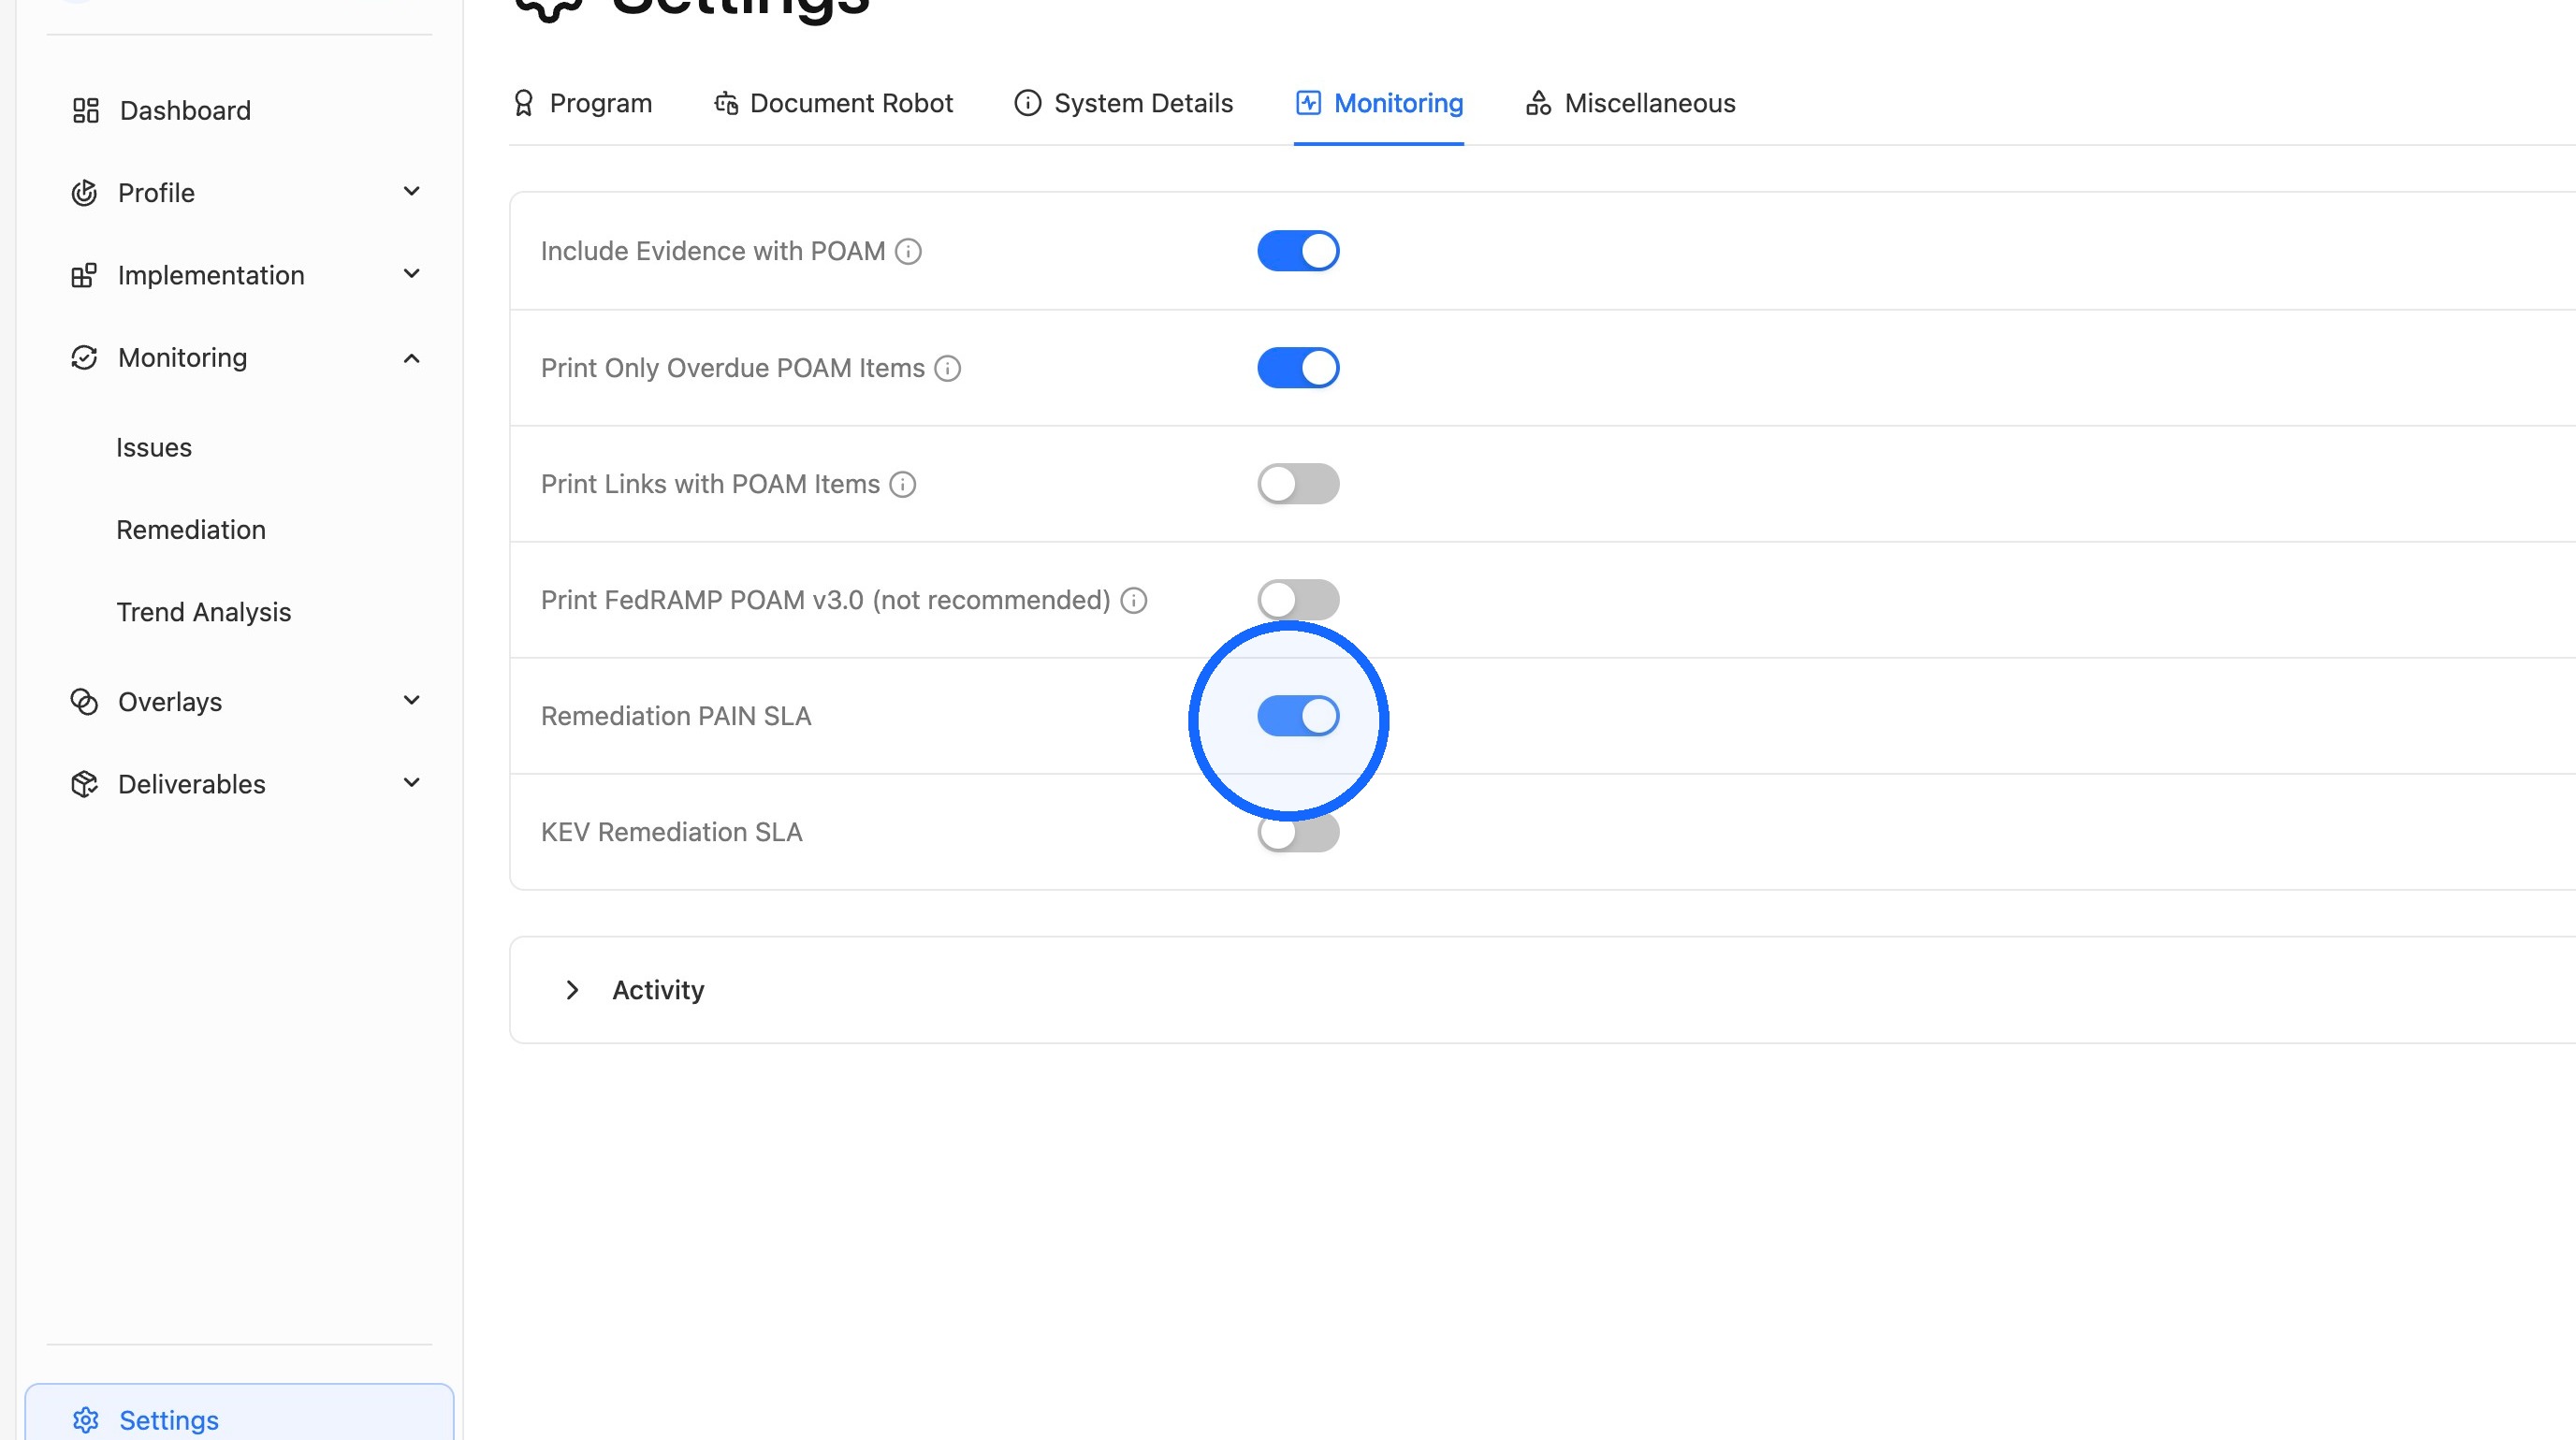
Switch on the KEV Remediation SLA toggle, the Remediation PAIN SLA toggle, or both.
TIP
The Remediation PAIN SLA is turned on by default for all FedRAMP 20x programs, and the KEV Remediation SLA is turned on by default for all FedRAMP programs.
Customize SLA timelines for your workspace
SLA timelines are set at the workspace level and apply to every program in the workspace that has that SLA turned on.
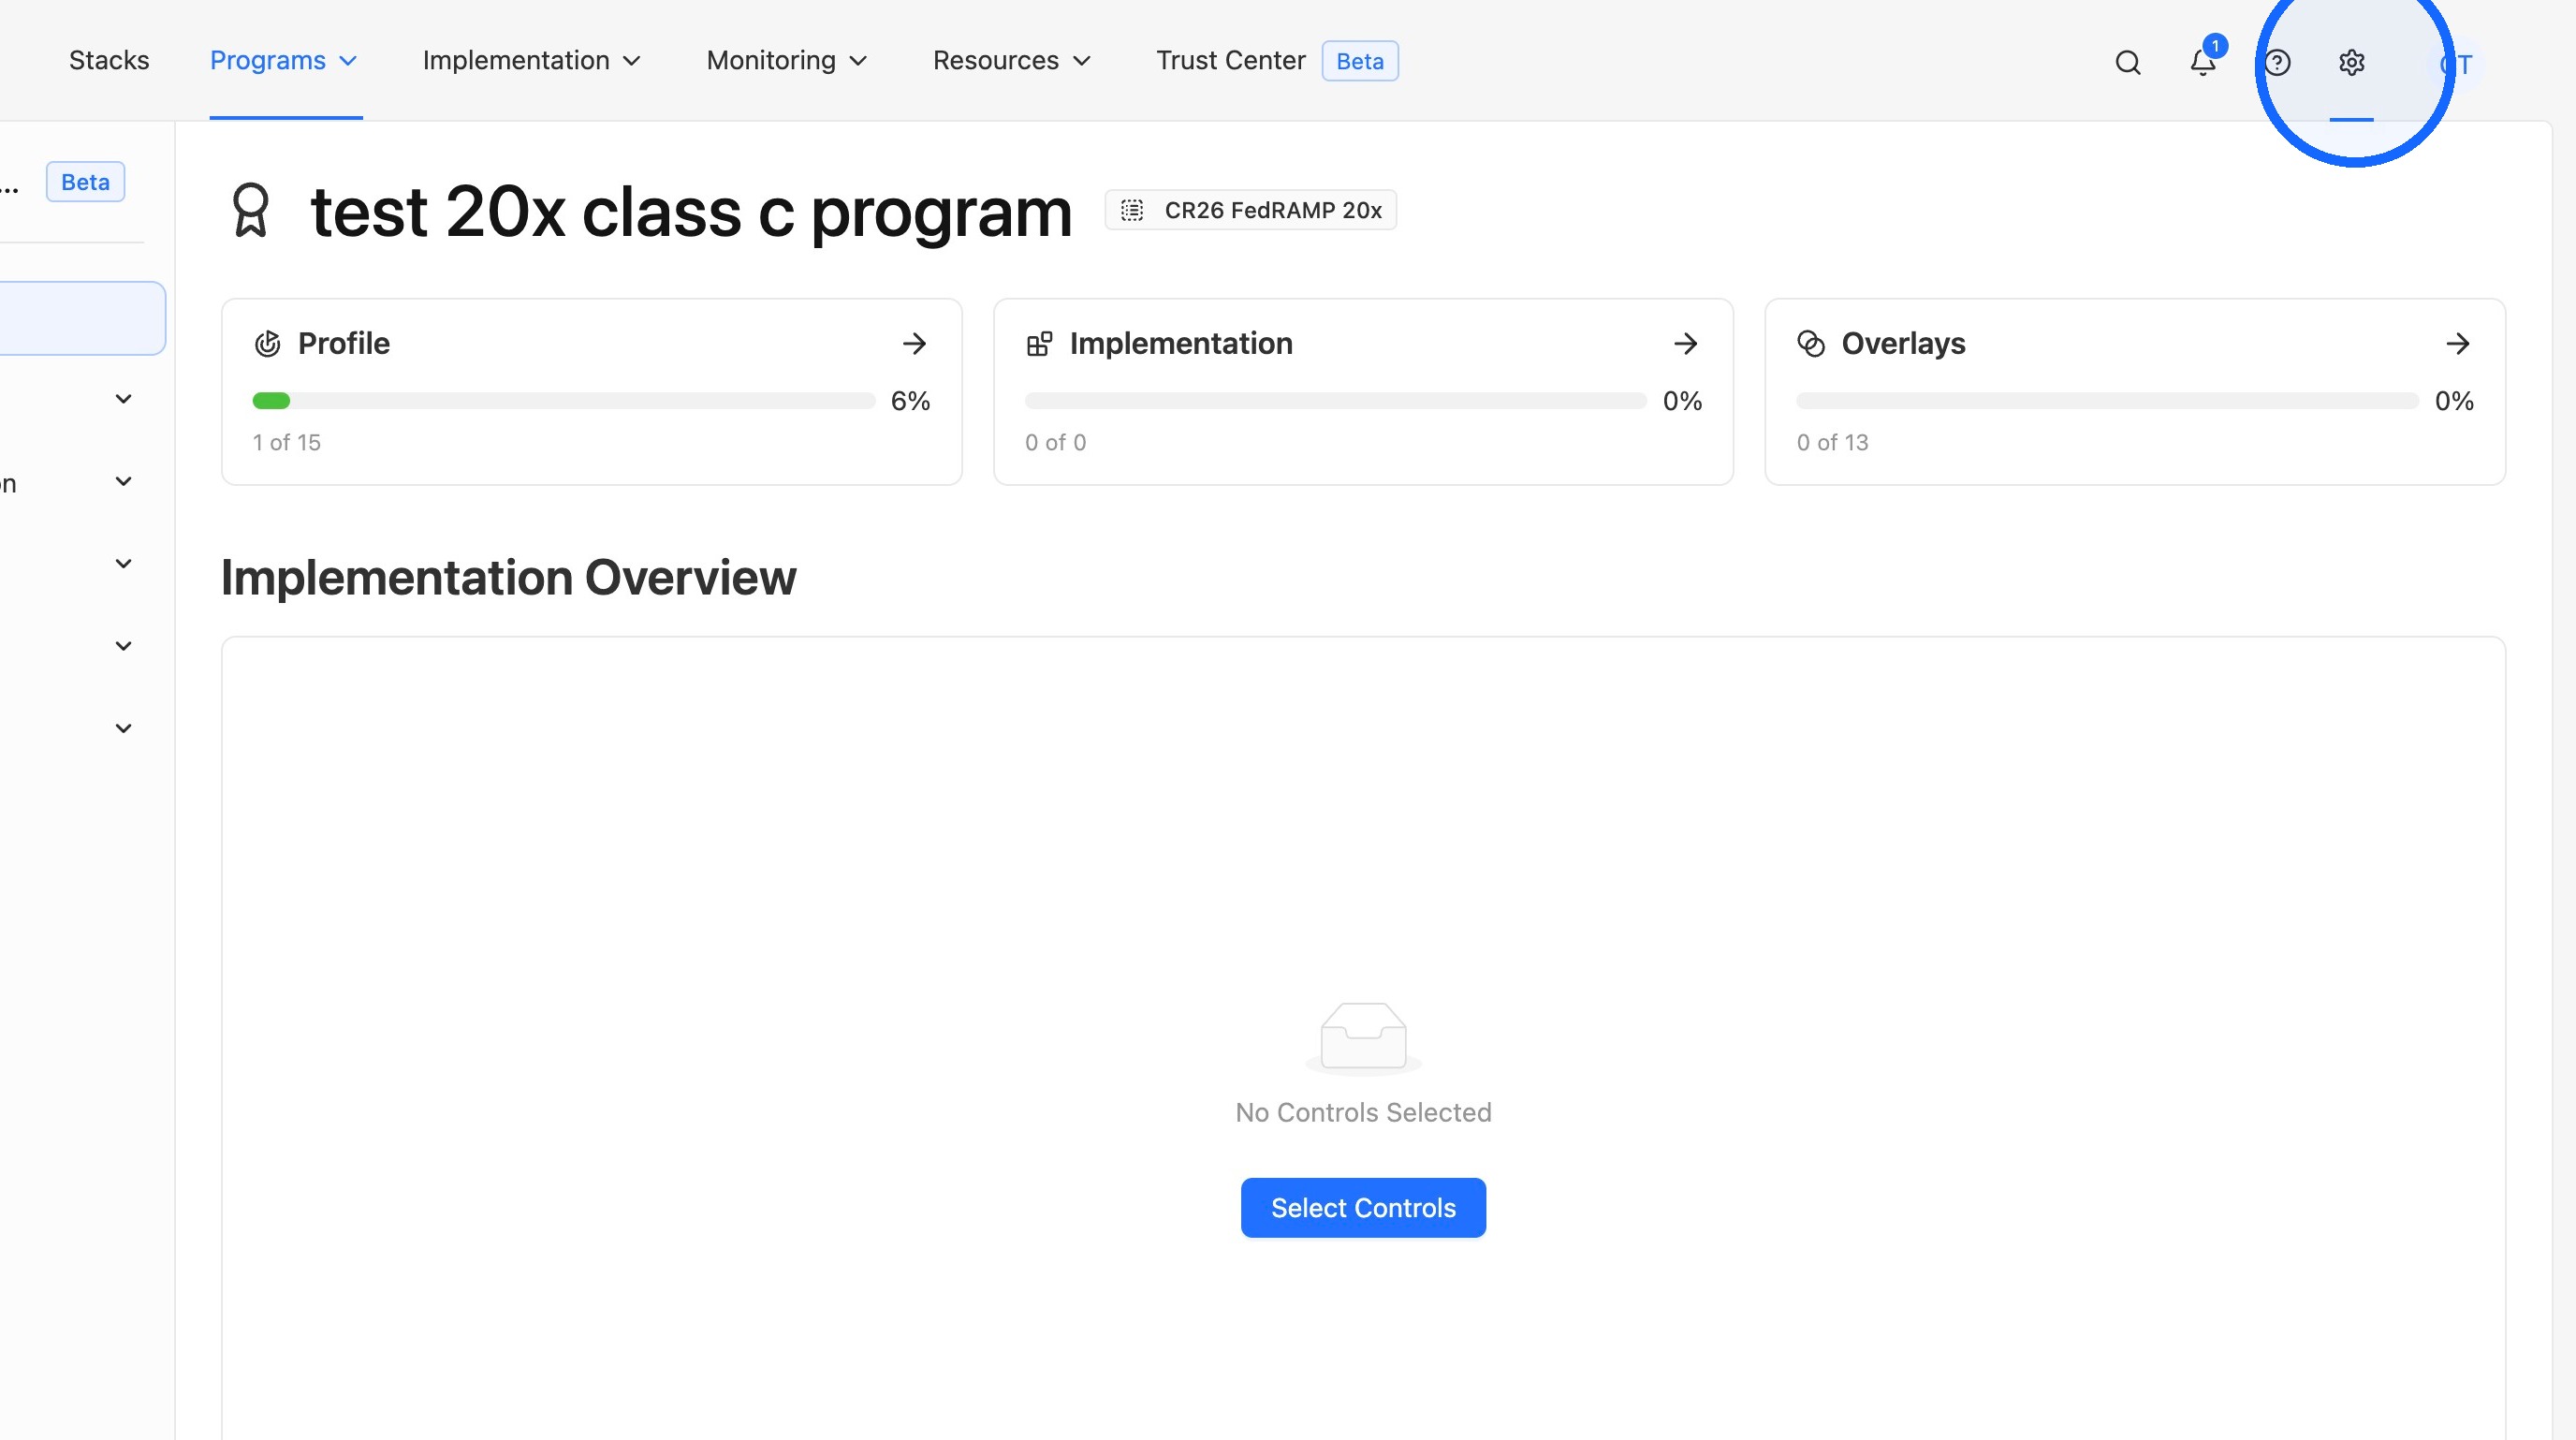
1. Open Workspace Settings
Click the gear icon to open Workspace Settings.
2. Find the Issue Remediation SLAs section
Scroll down to the Issue Remediation SLAs section, where you can view and edit the timelines for each SLA.
3. Edit the KEV Remediation SLA
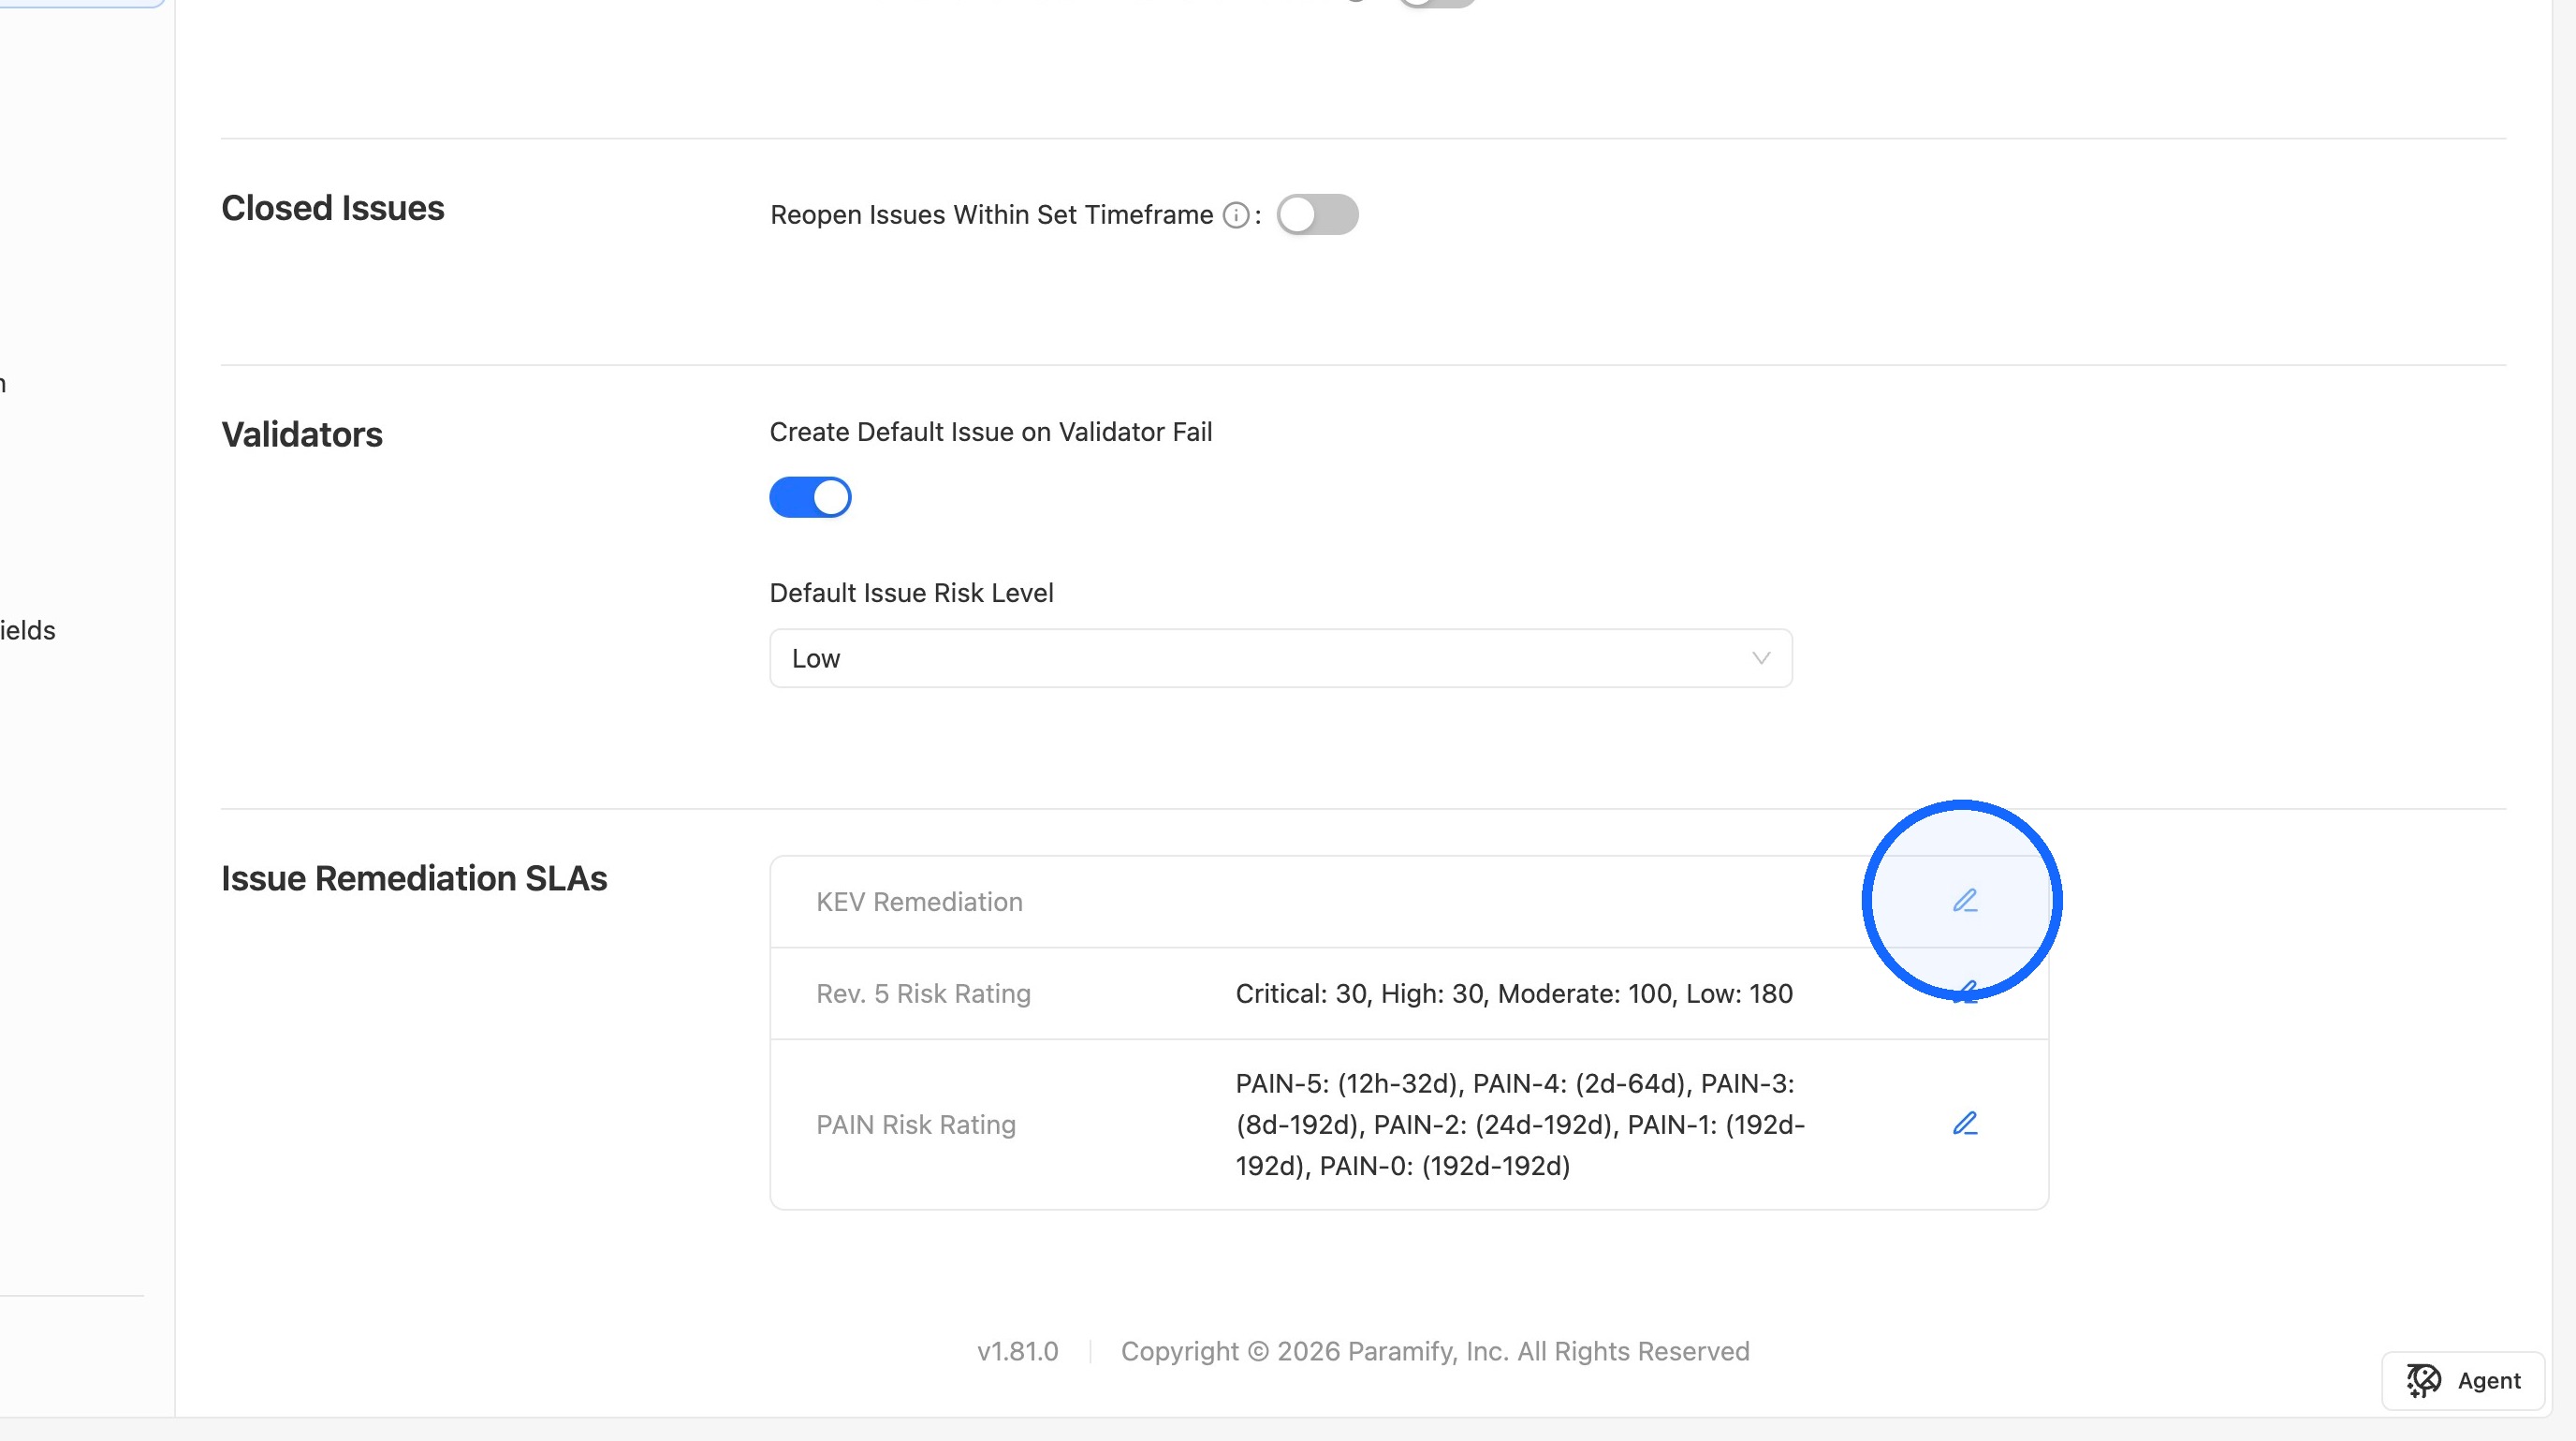
Click the edit icon next to KEV Remediation.
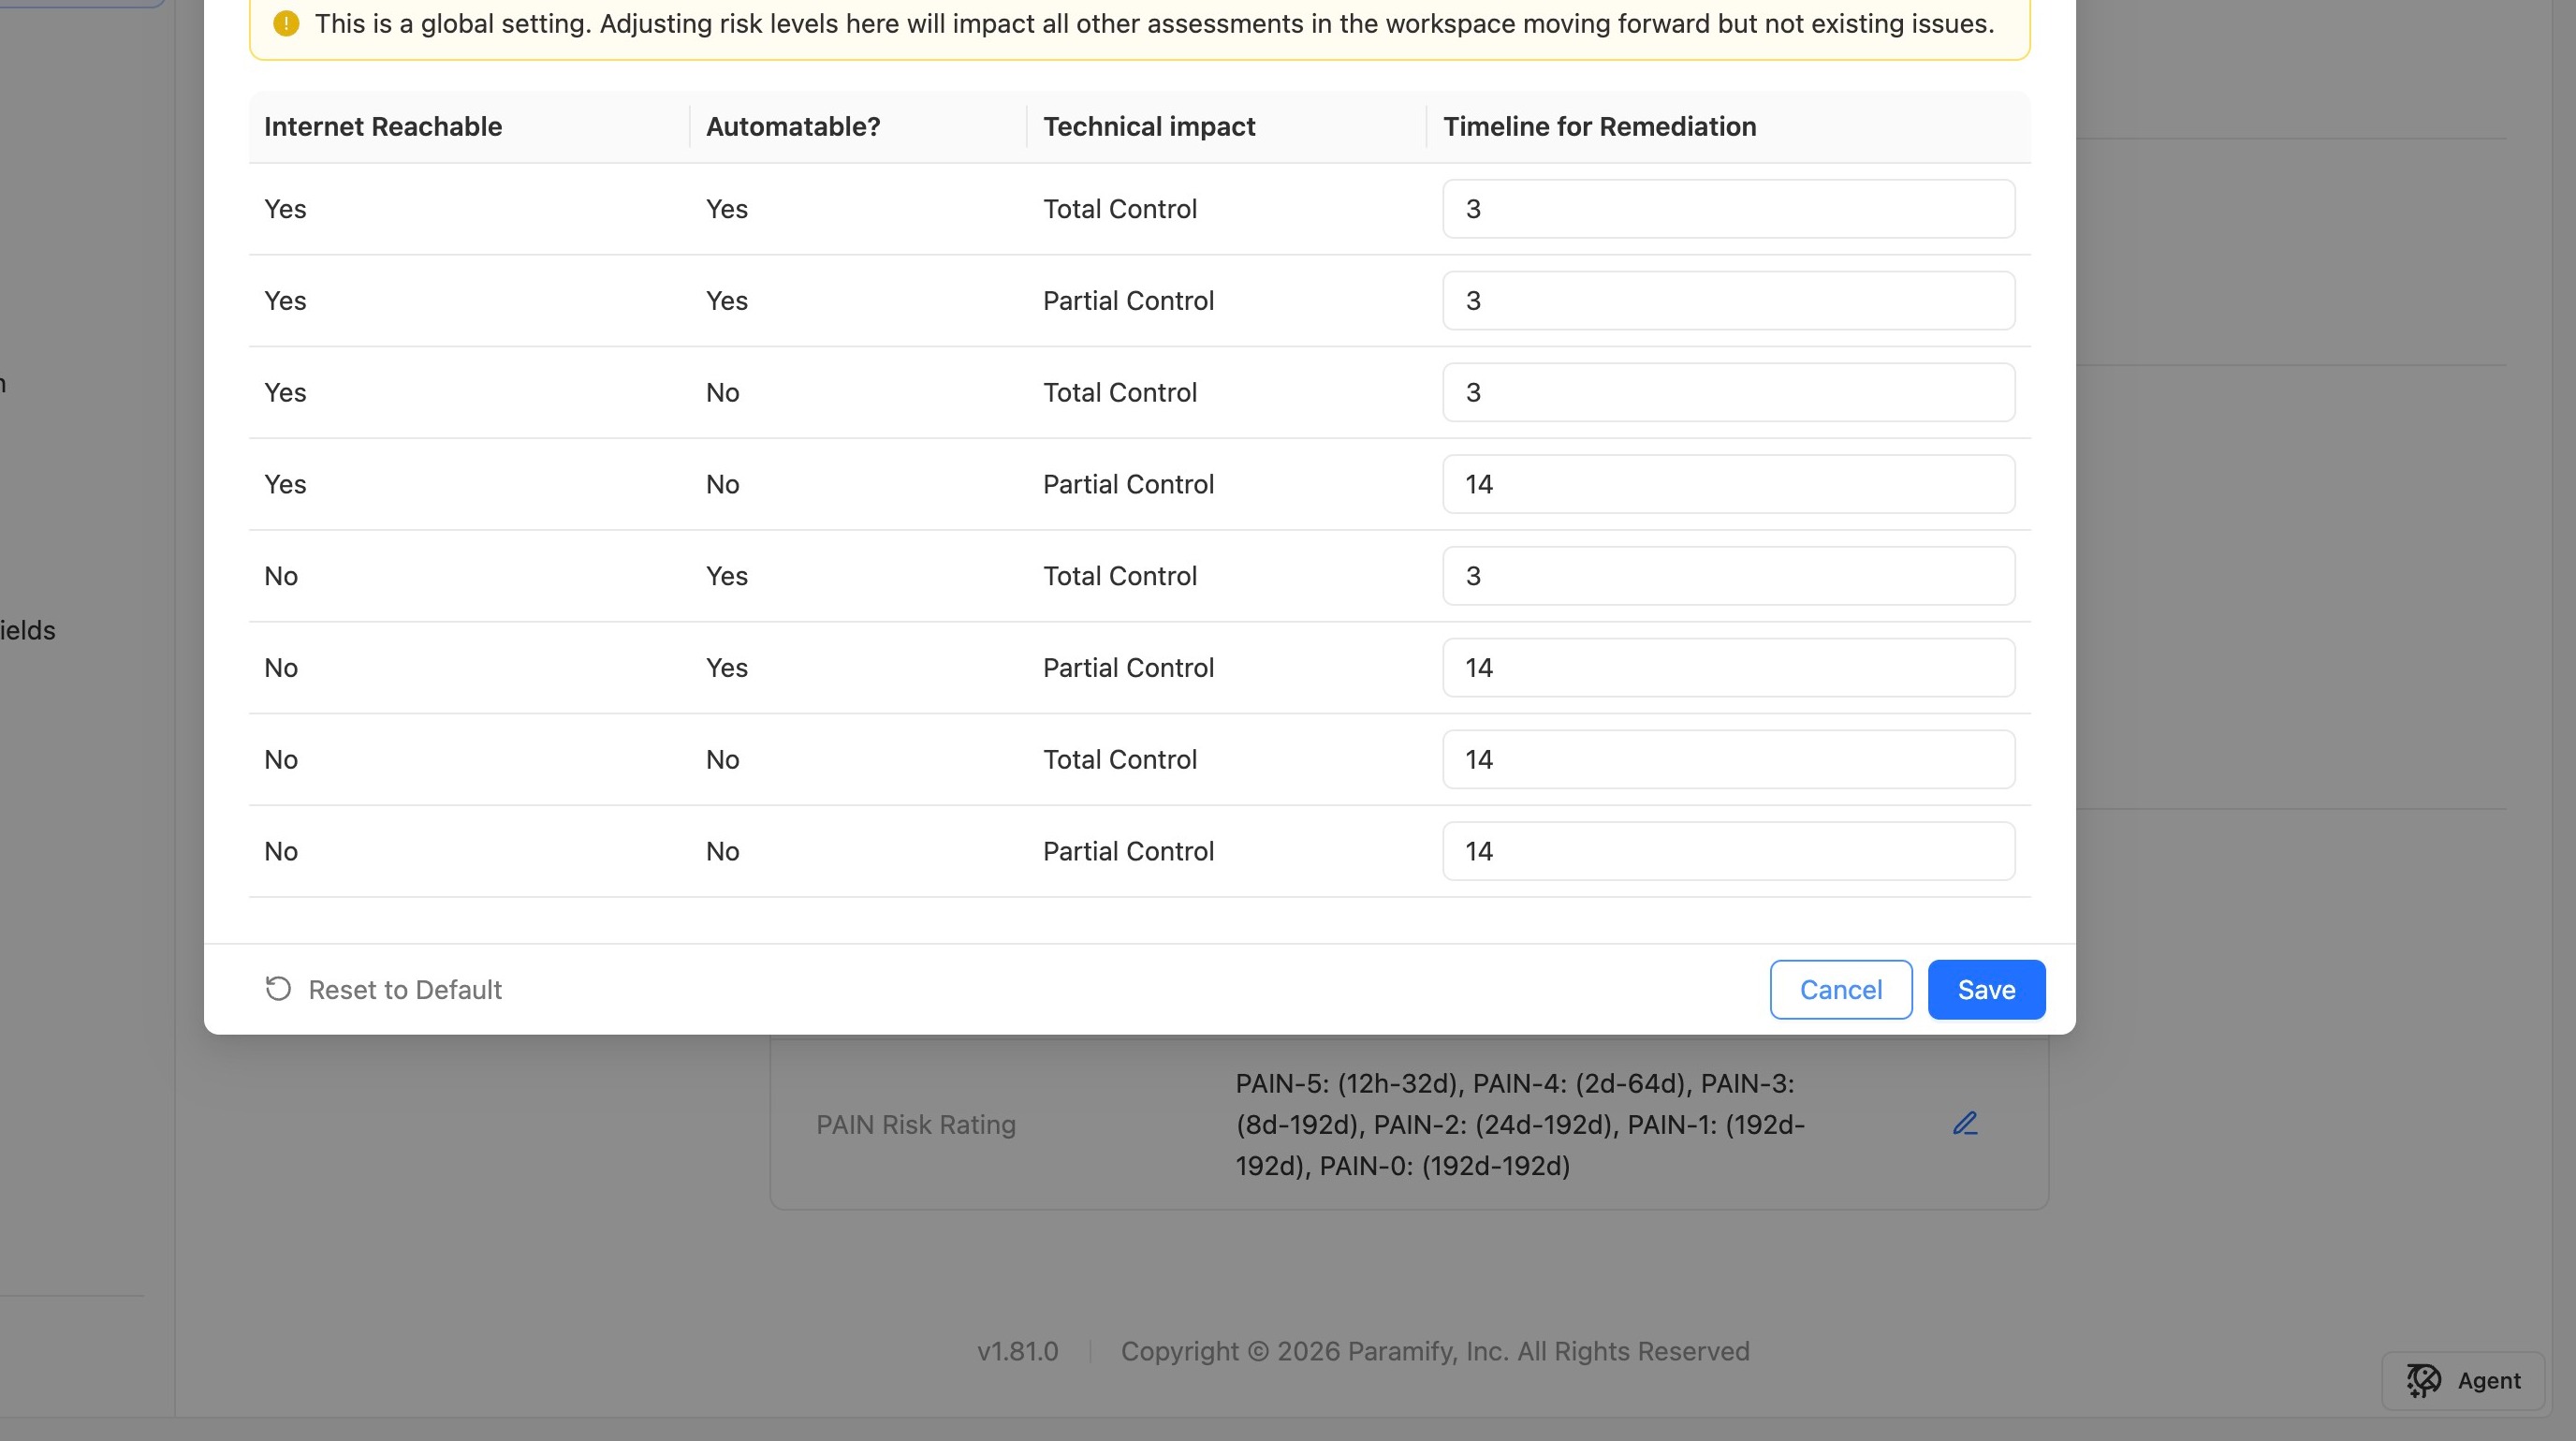
The KEV Remediation timeline is determined by three values:
- Internet Reachable maps directly to the Internet Reachable field on the issue.
- Automatable and Technical Impact come from the KEV catalog entry for the issue's CVE.
4. Edit the Rev. 5 Risk Rating SLA
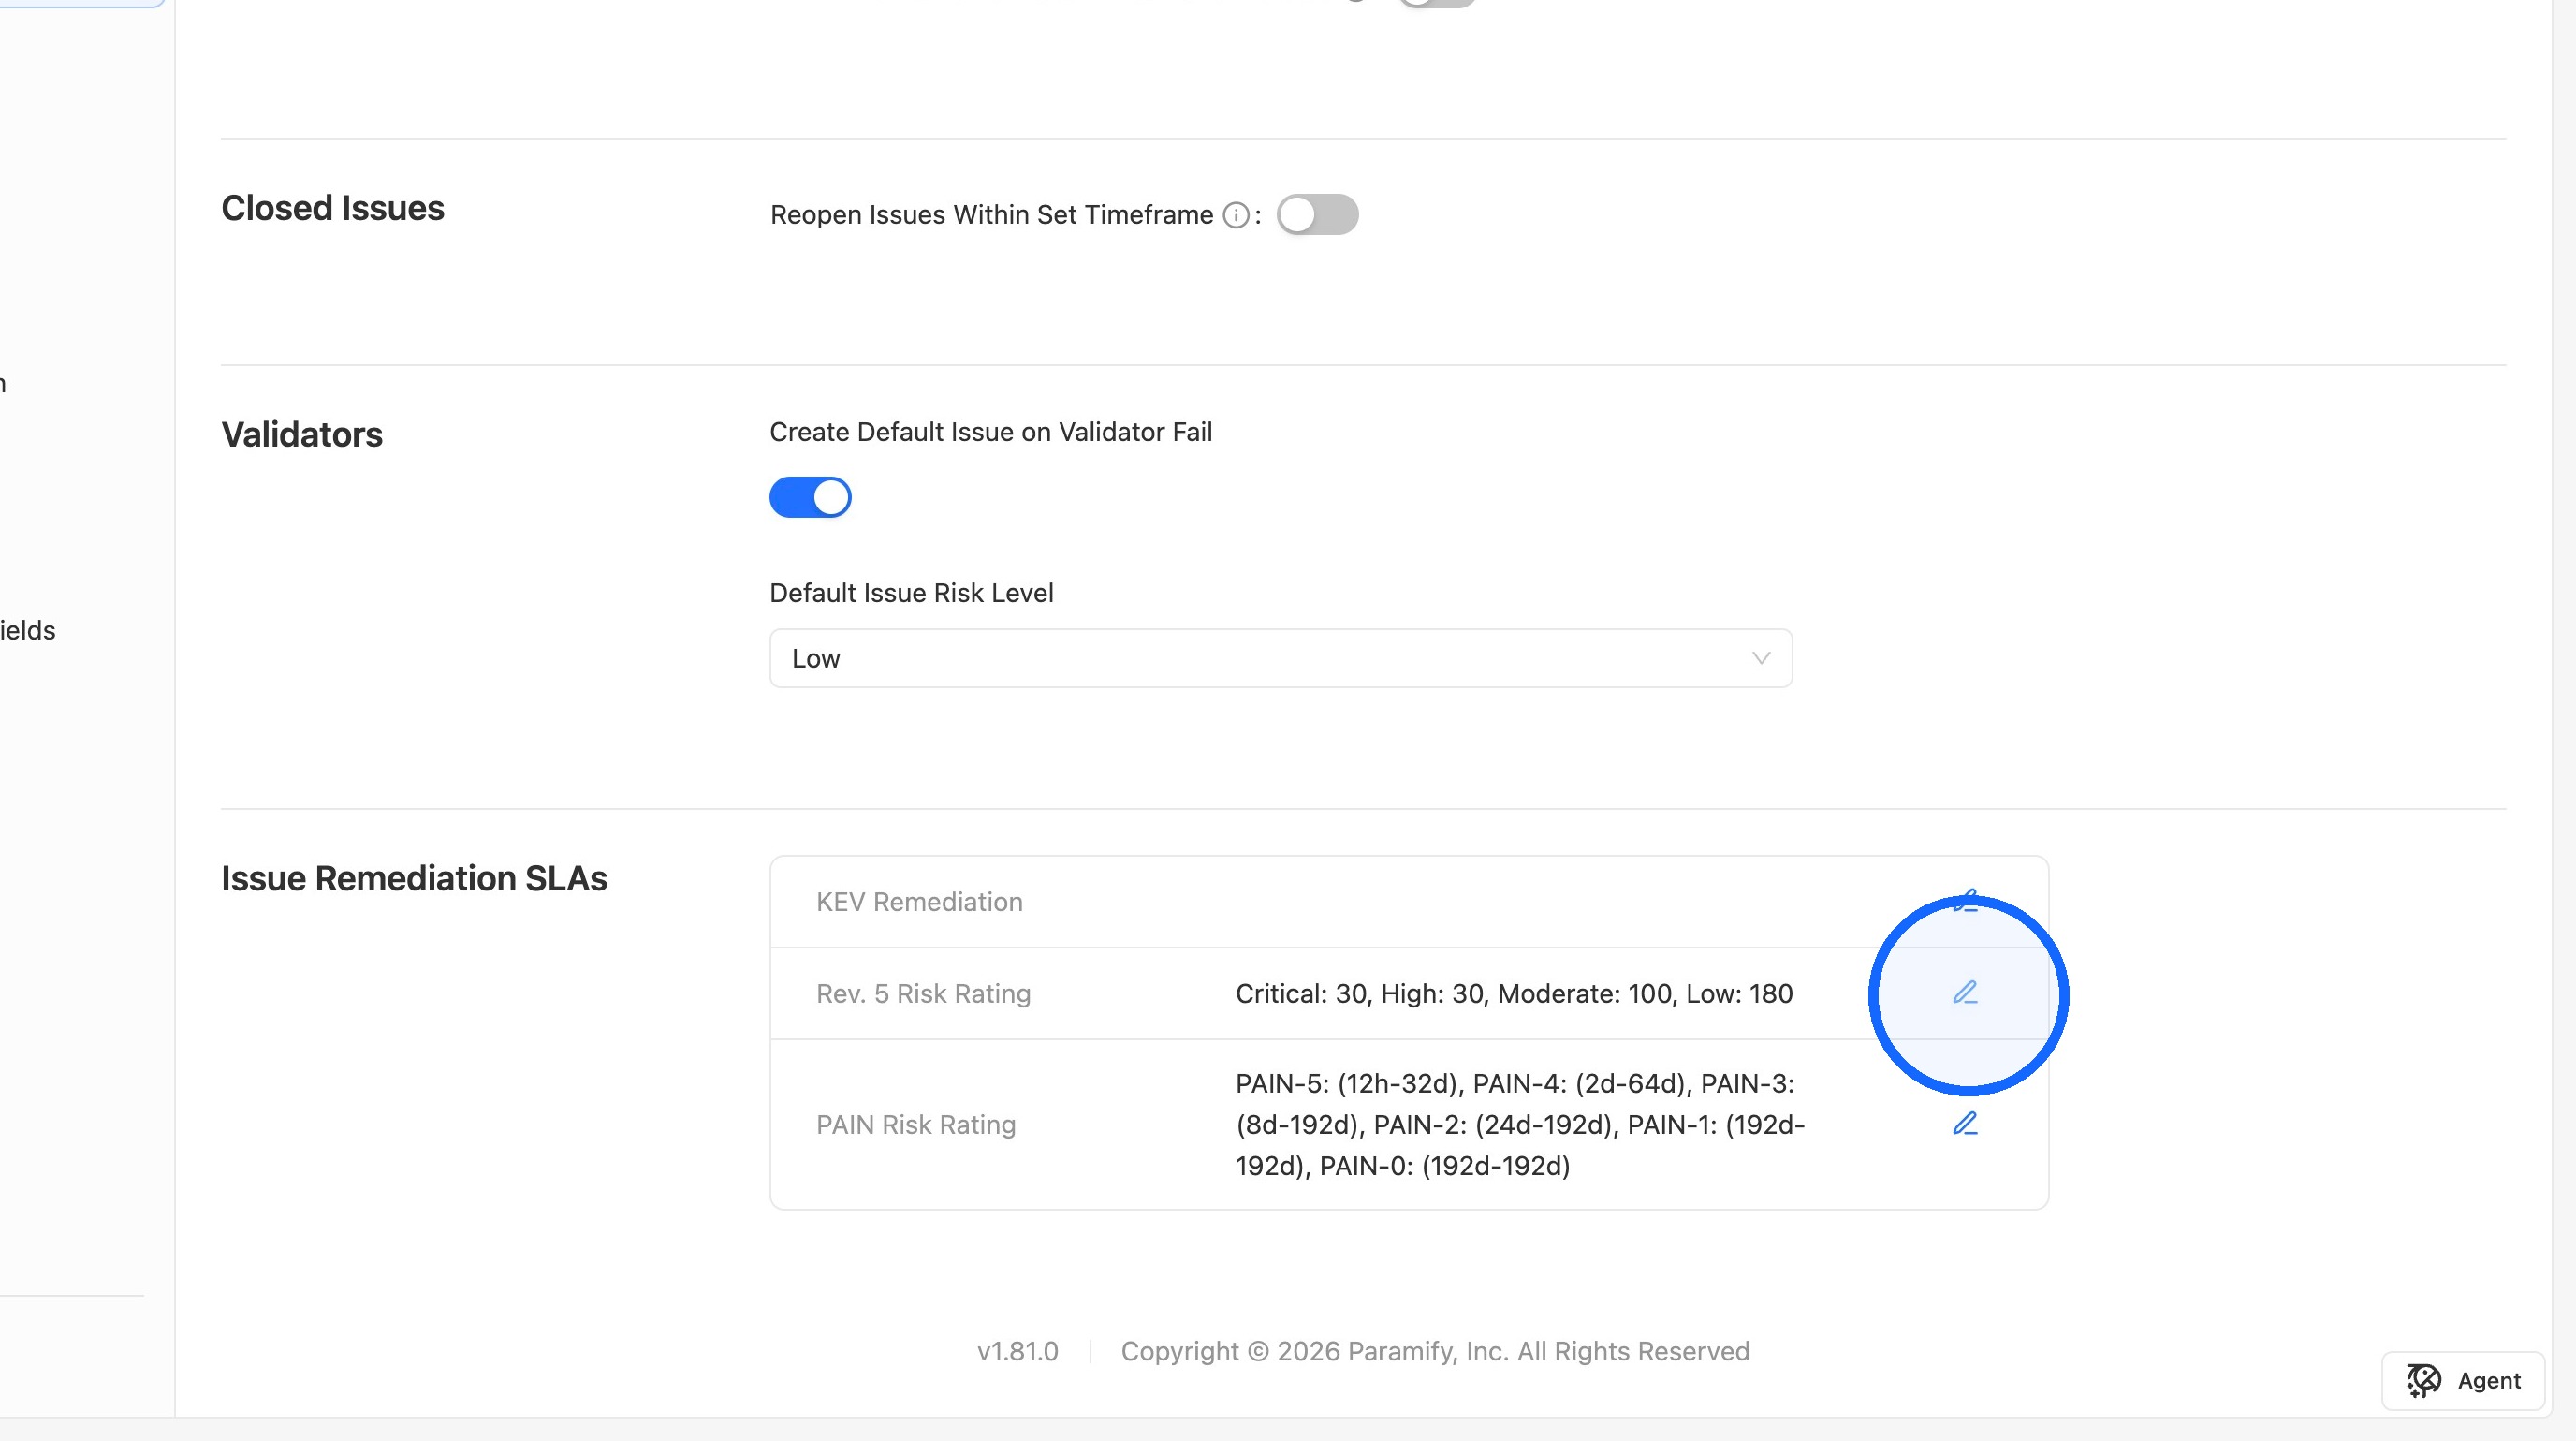
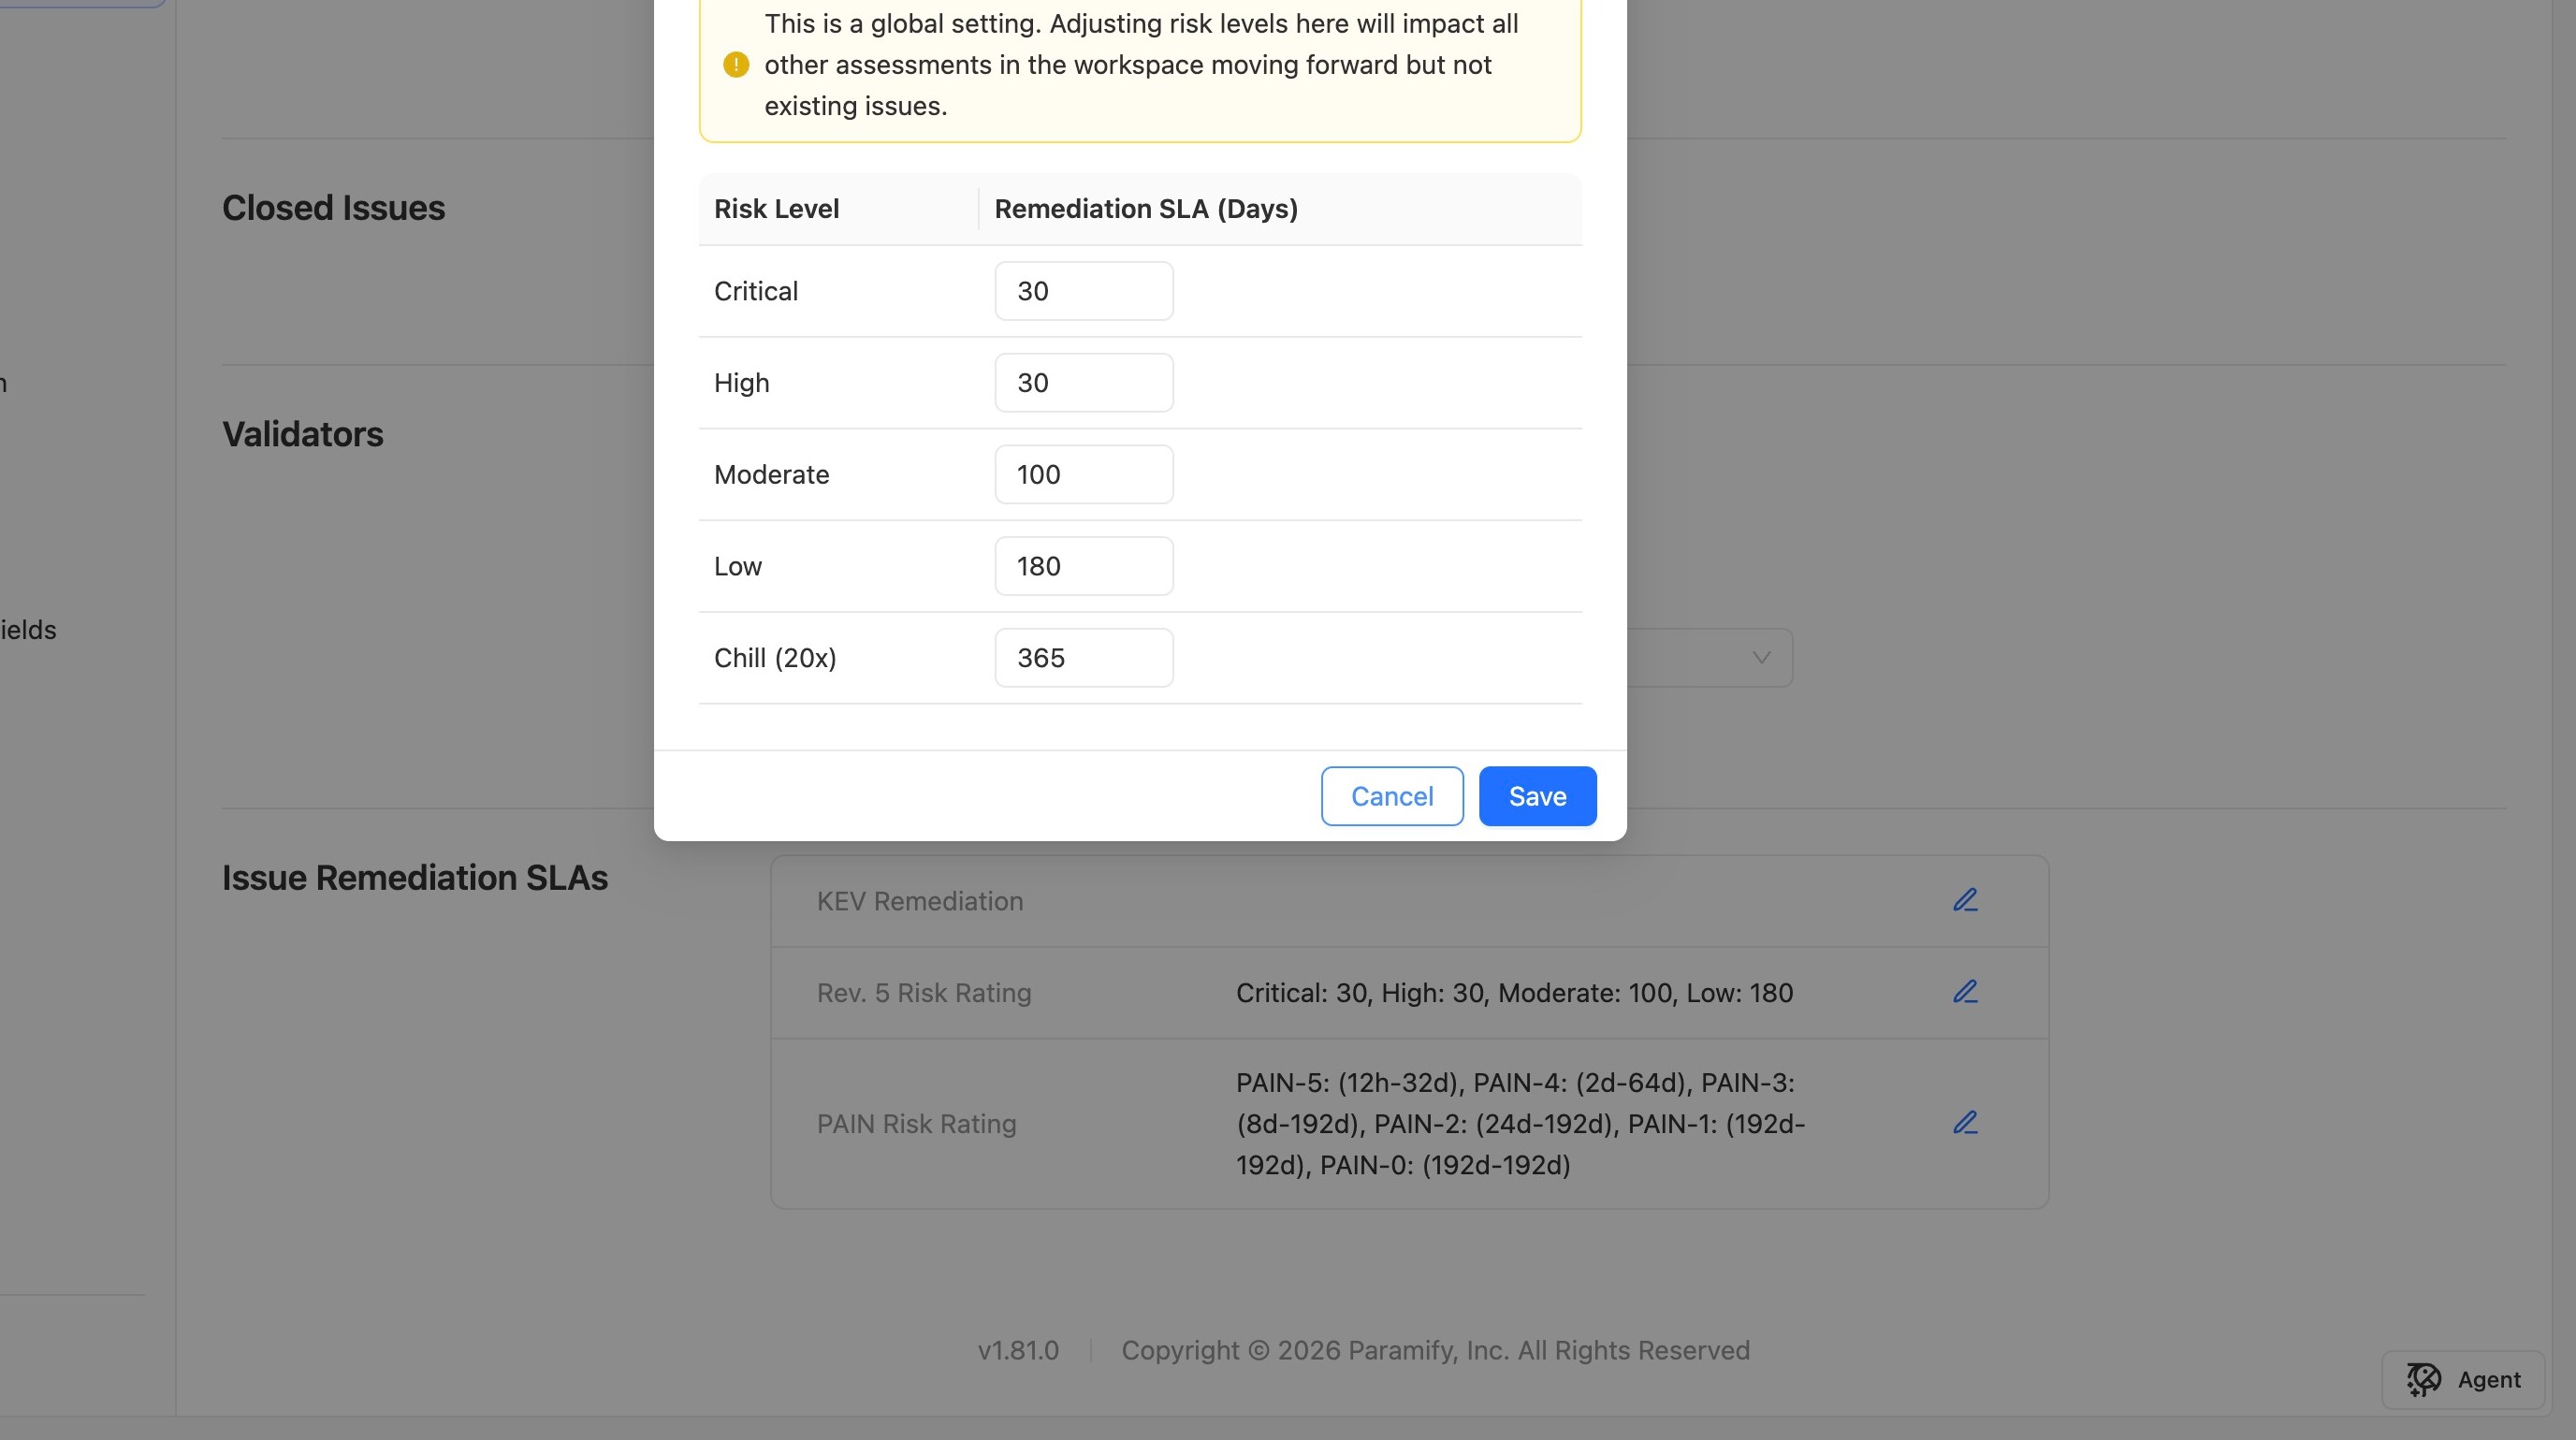
Click the edit icon next to Rev. 5 Risk Rating. This SLA works the same as it always has, with timelines based on the issue's risk level.
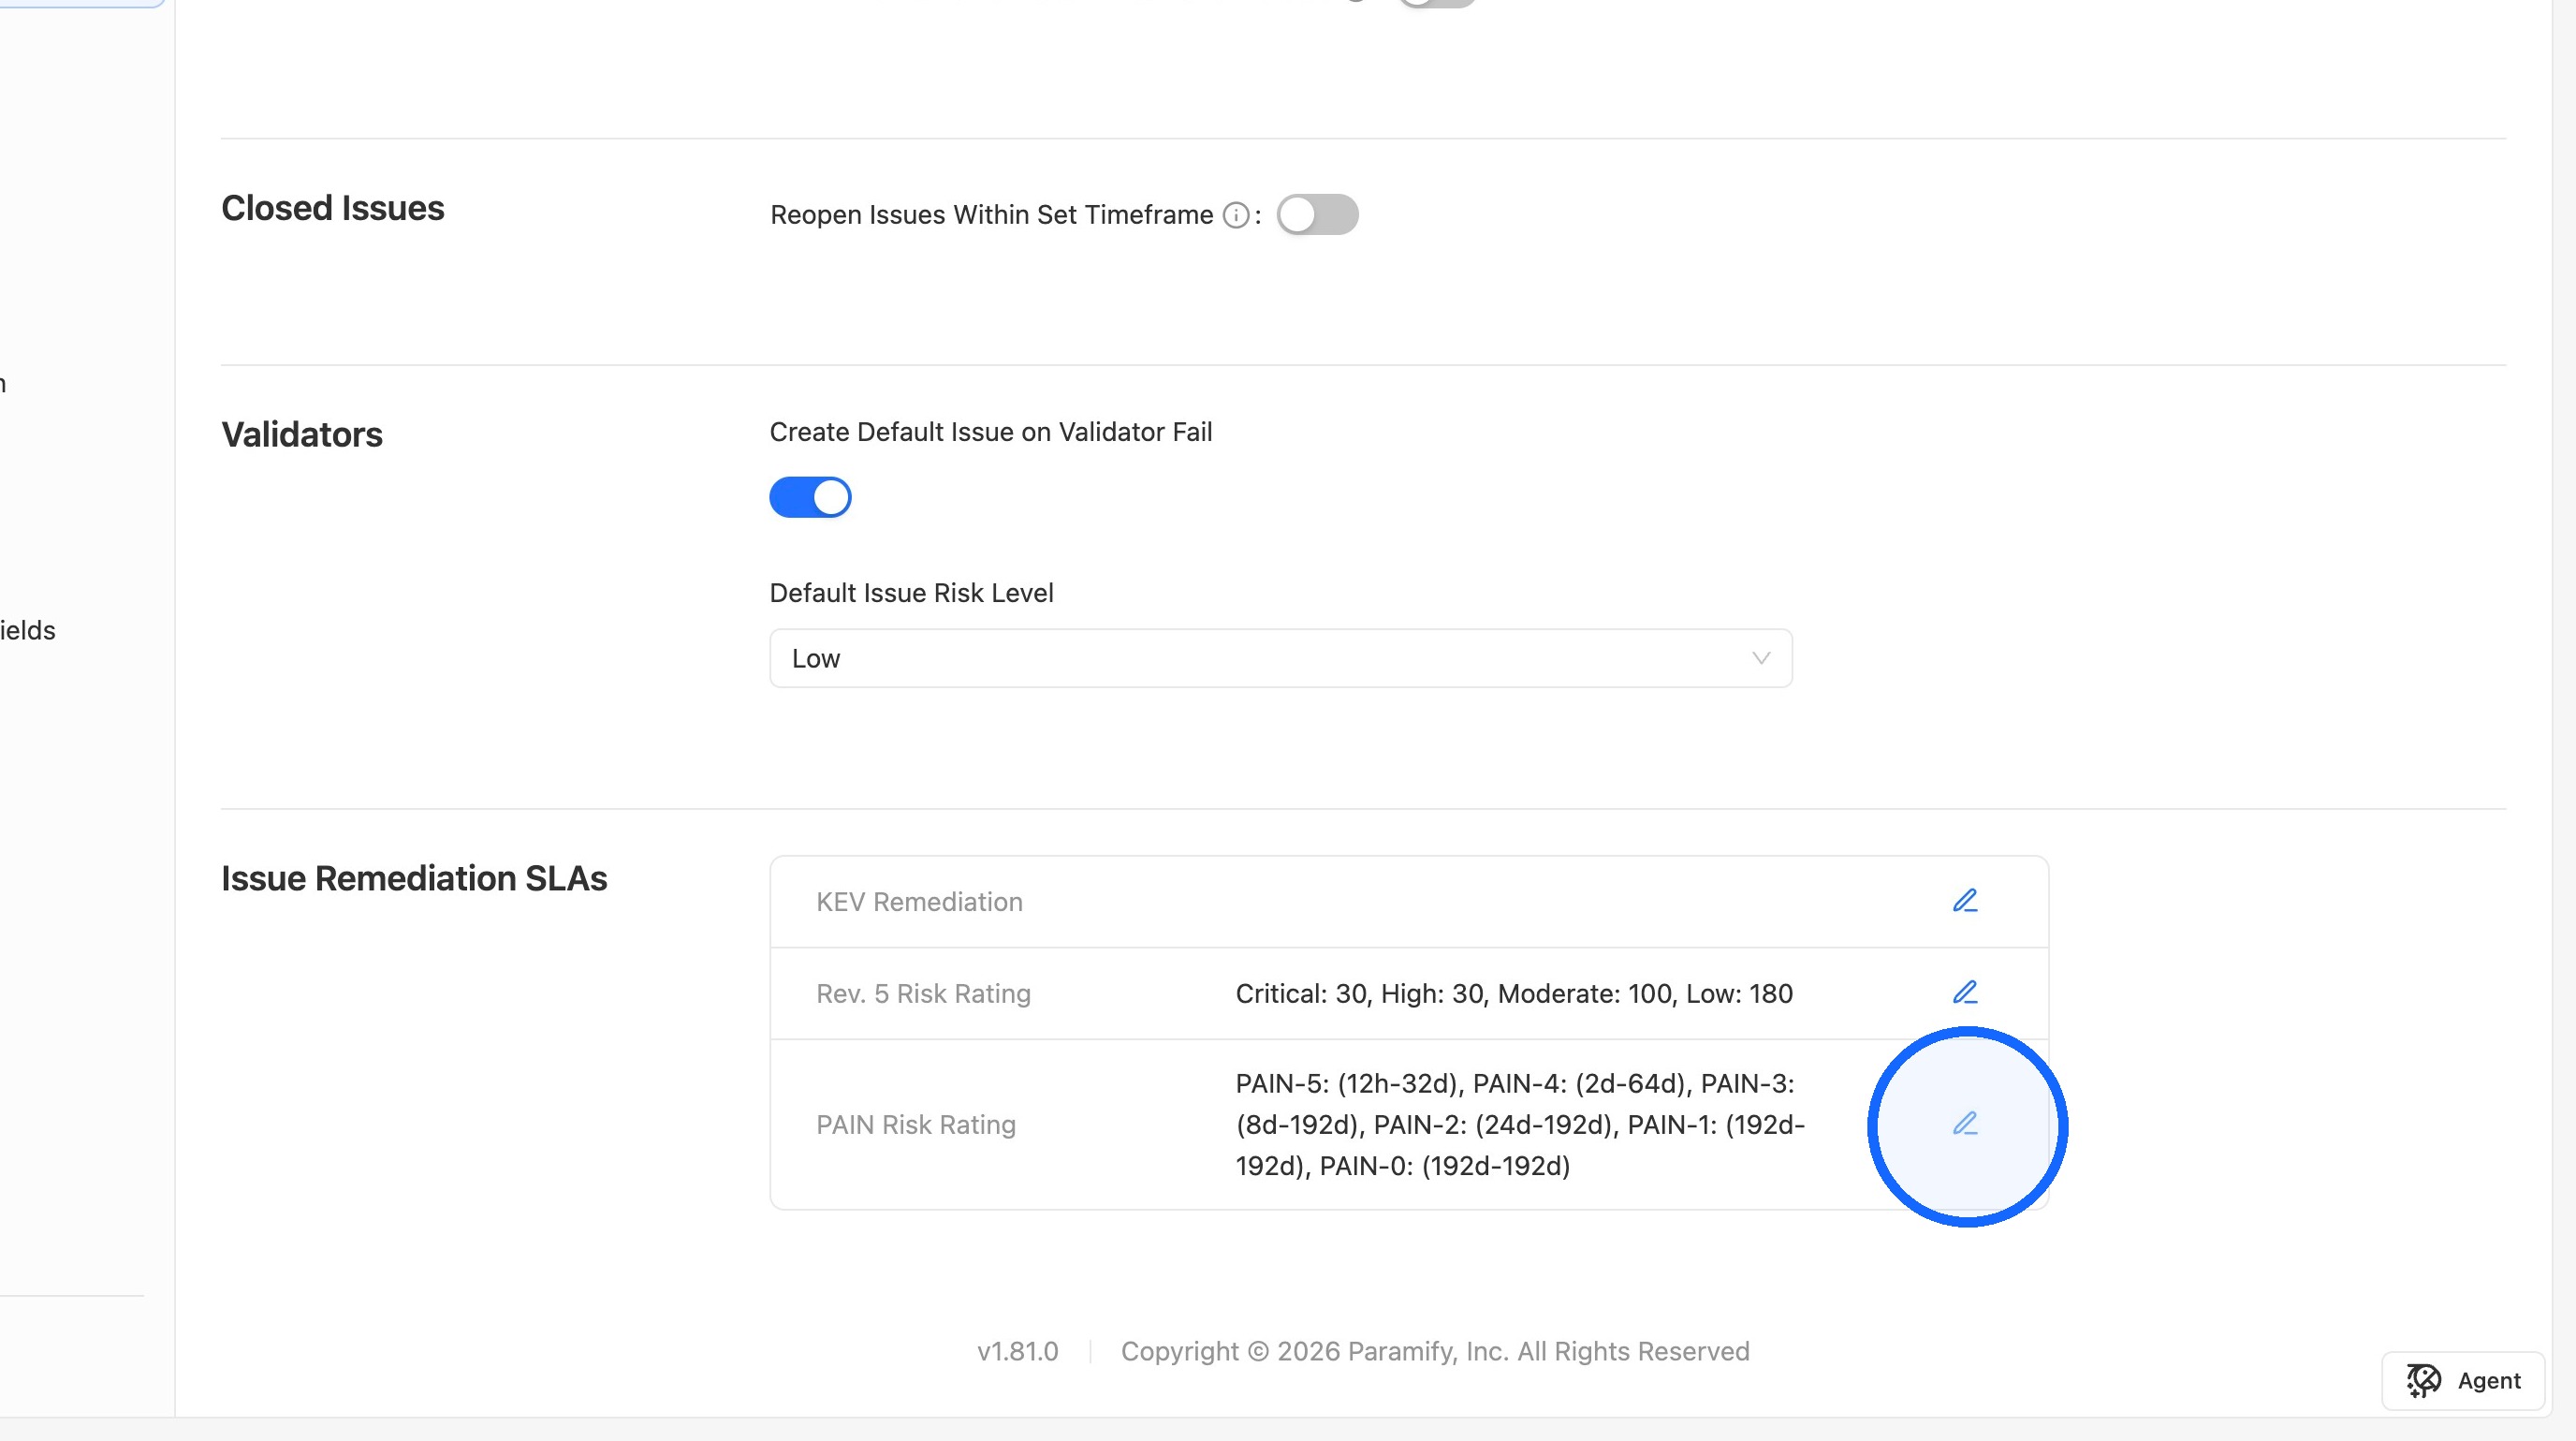
5. Edit the PAIN Remediation SLA
Click the edit icon next to PAIN Risk Rating.
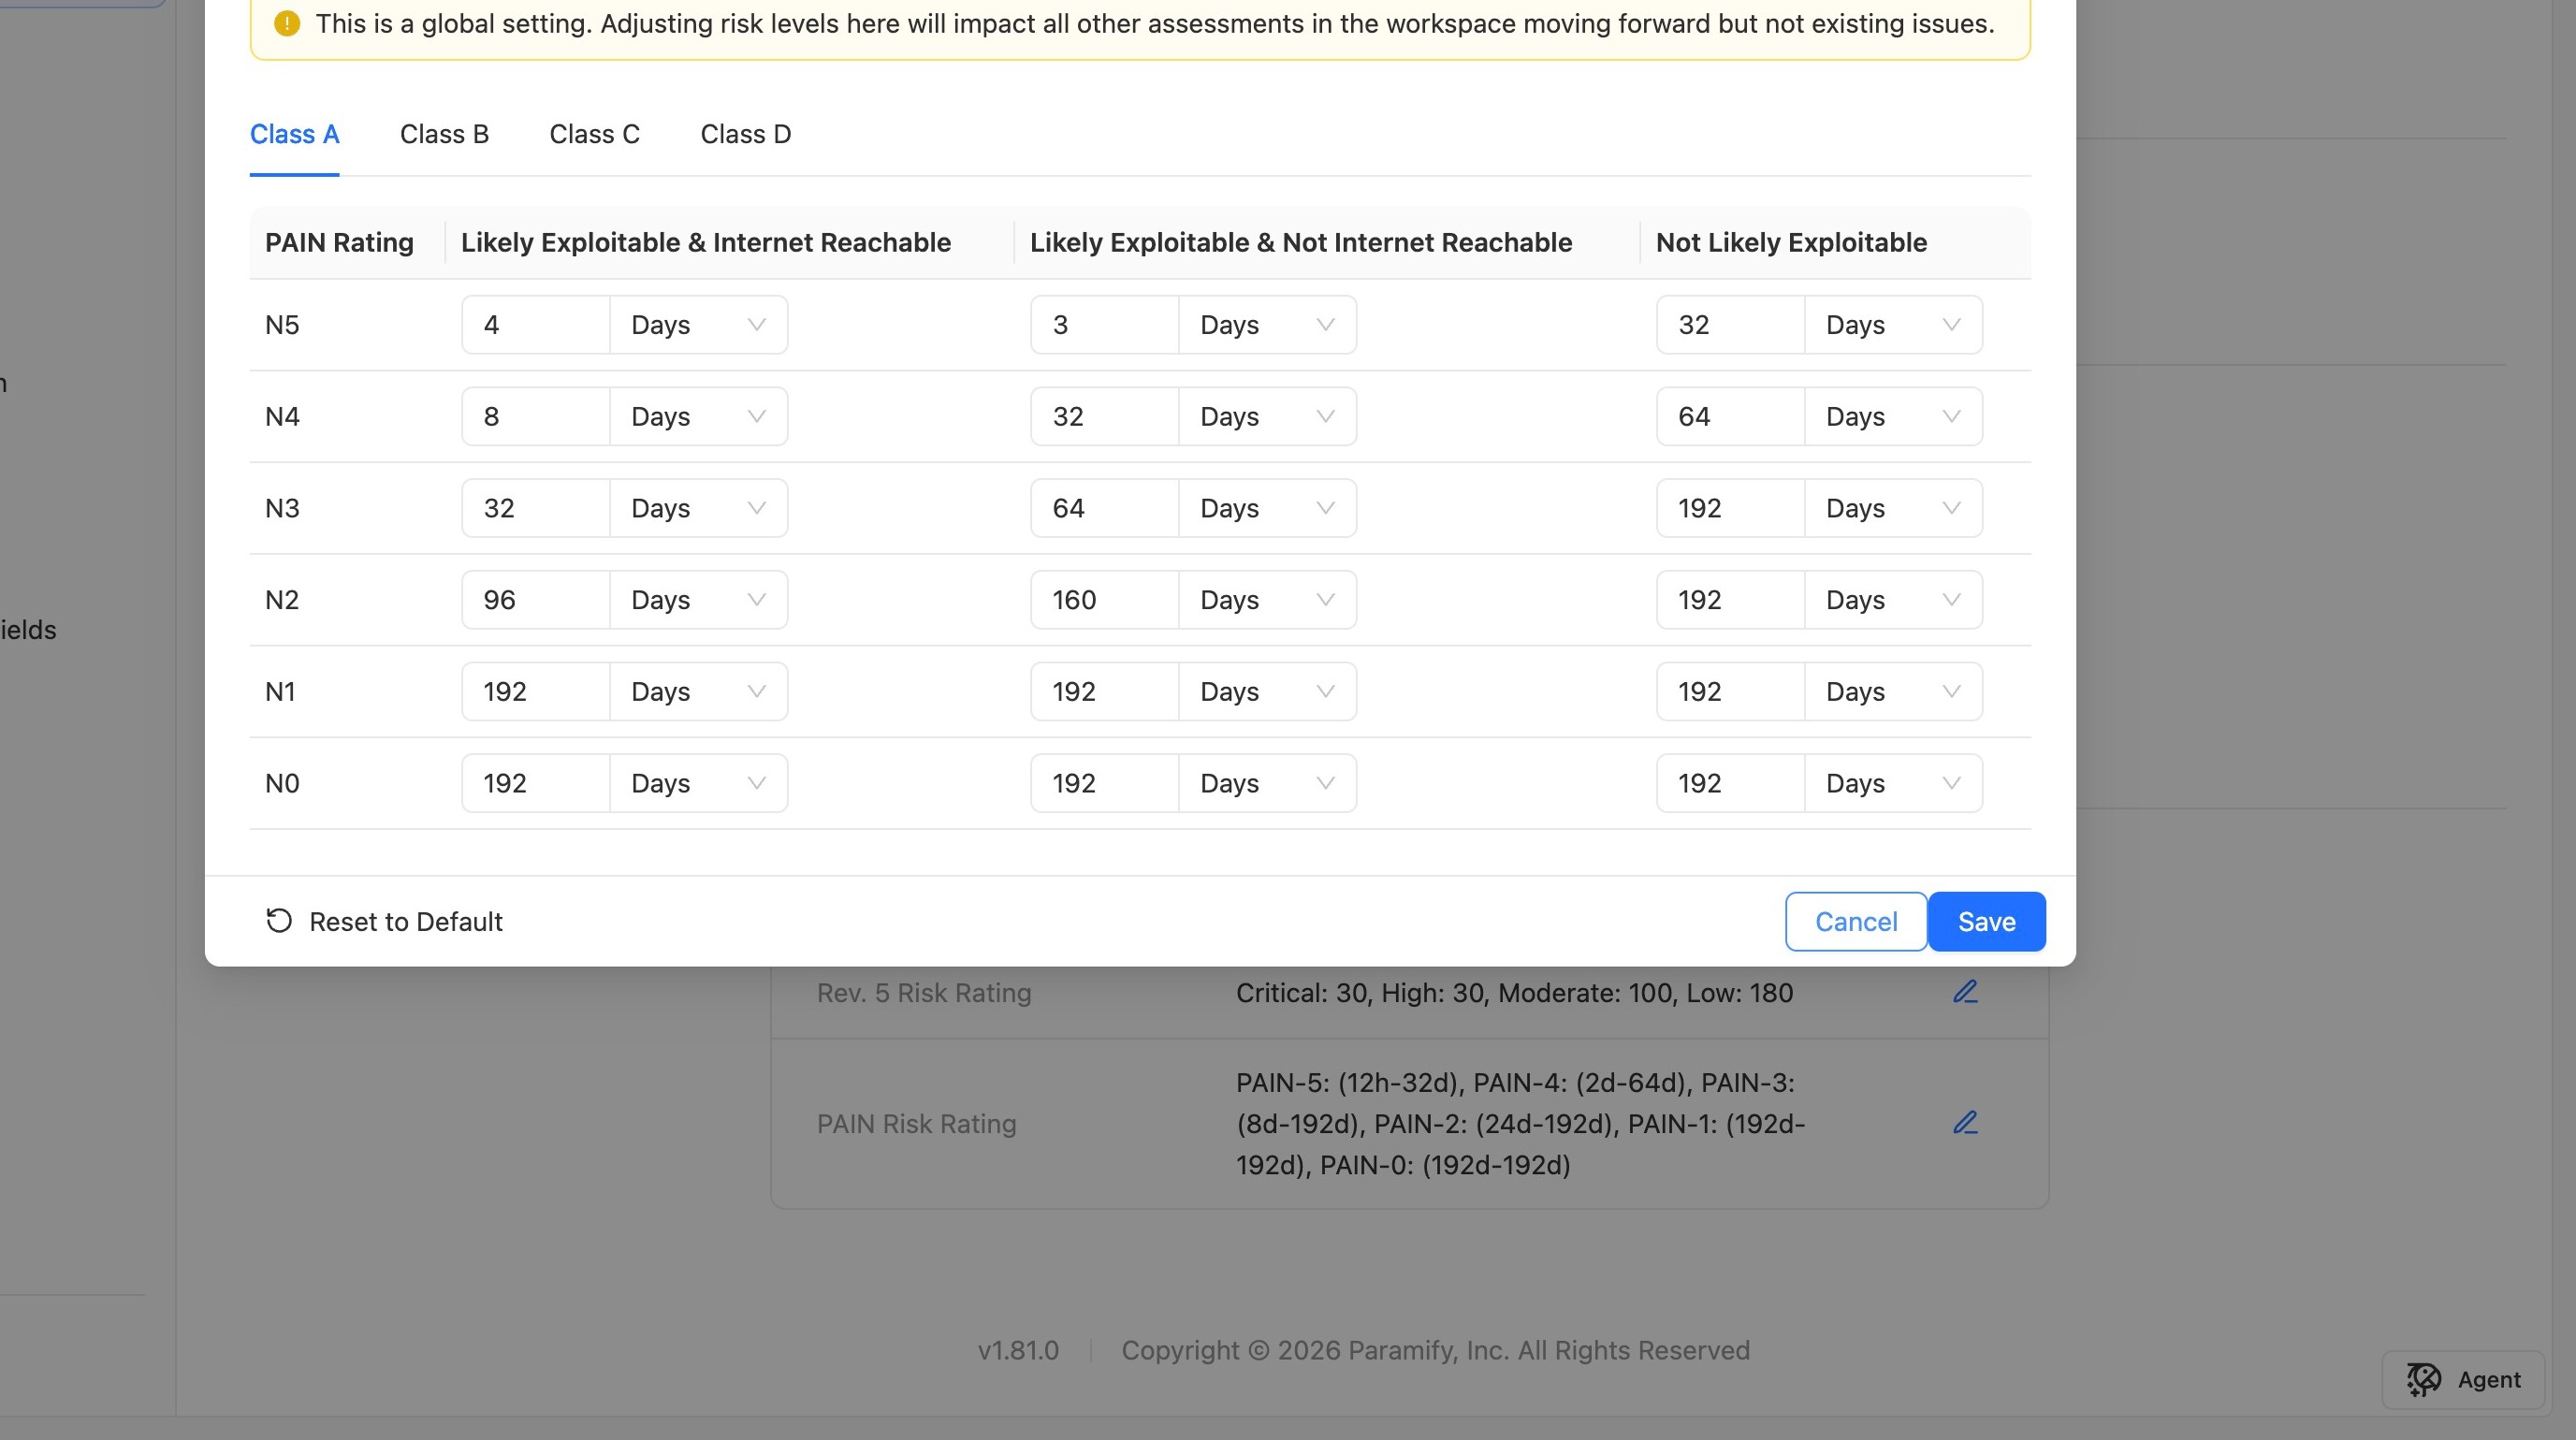
When editing the PAIN Remediation SLA:
- Timelines are based on the issue's risk level, and on whether the issue is Likely Exploitable and Internet Reachable.
- Each timeline can be set in hours or days.
- Timelines vary by program class, and Class D has the strictest timelines.
NOTE
The Likely Exploitable field on an issue is set manually. Paramify doesn't set it automatically.
TIP
To undo your changes to any SLA, click Reset to Default to restore its default timelines.
How due dates are calculated
Paramify compares every SLA that applies to an issue and uses the one with the shortest timeline. The following example shows a program with the Remediation PAIN SLA turned on and the KEV Remediation SLA turned off.
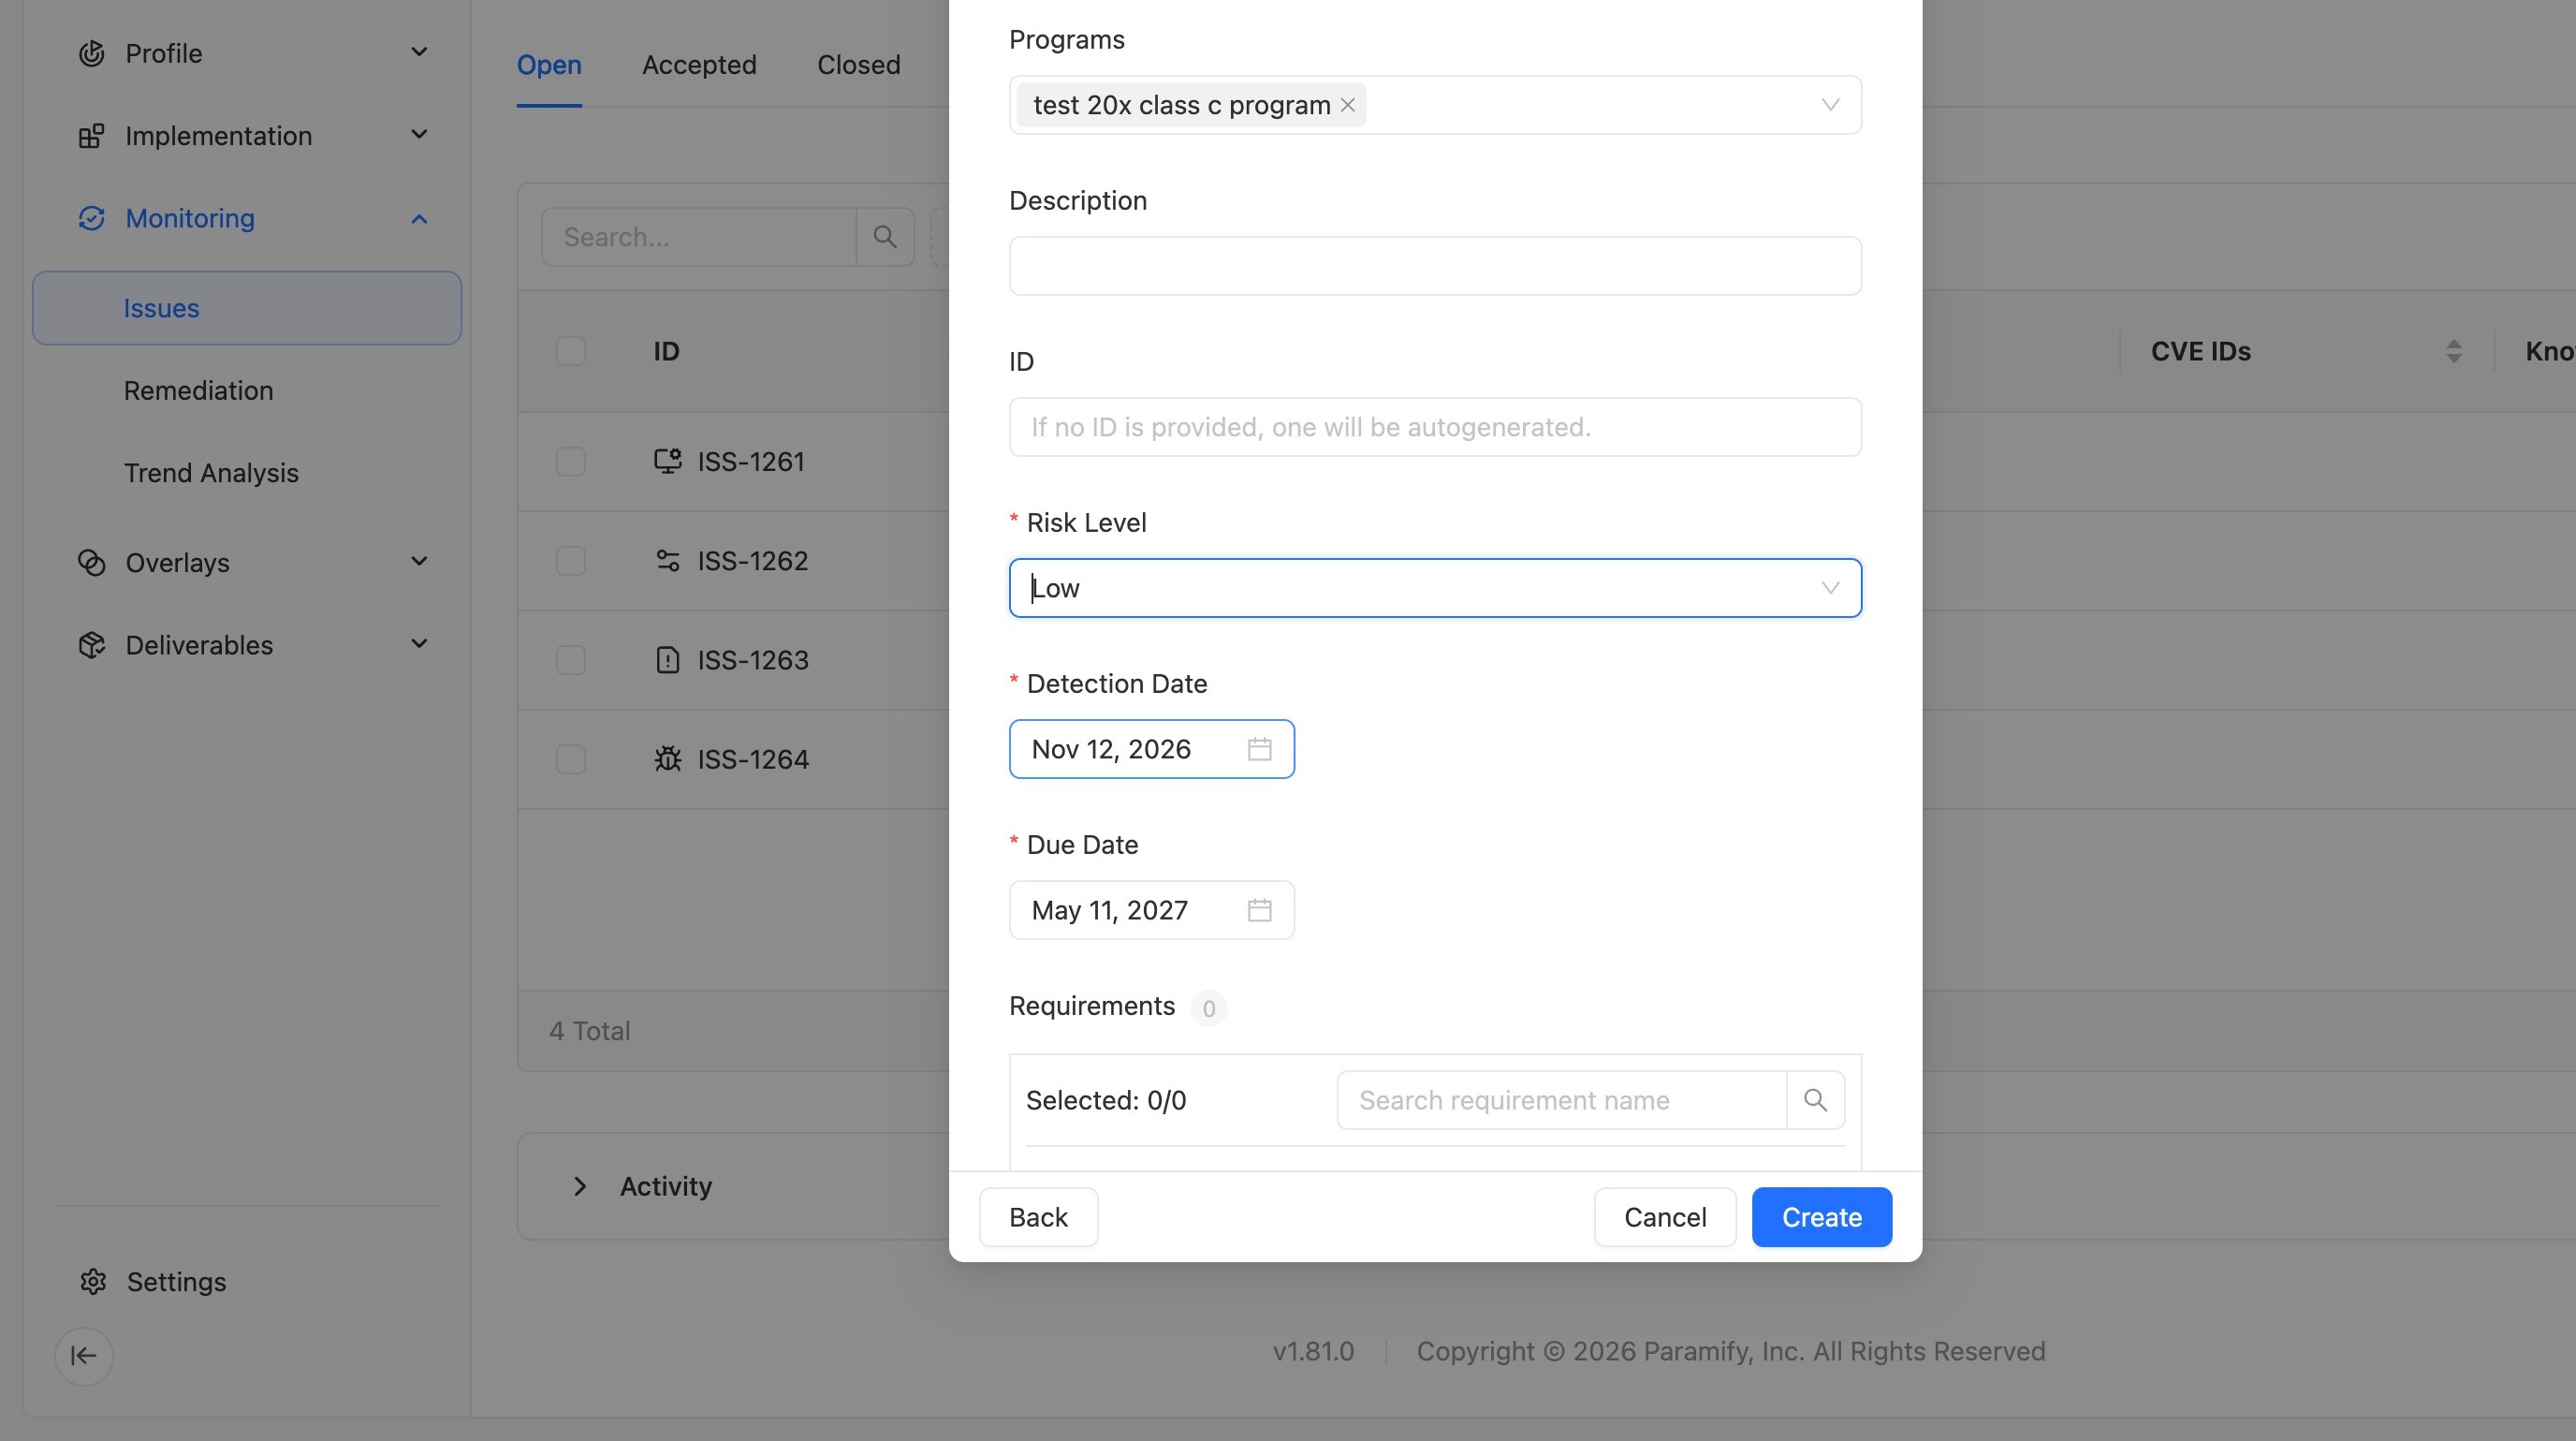
In the workspace settings, the Rev. 5 Risk Rating timeline for Low risk issues is 180 days, while the PAIN timeline for the same risk level is 192 days.
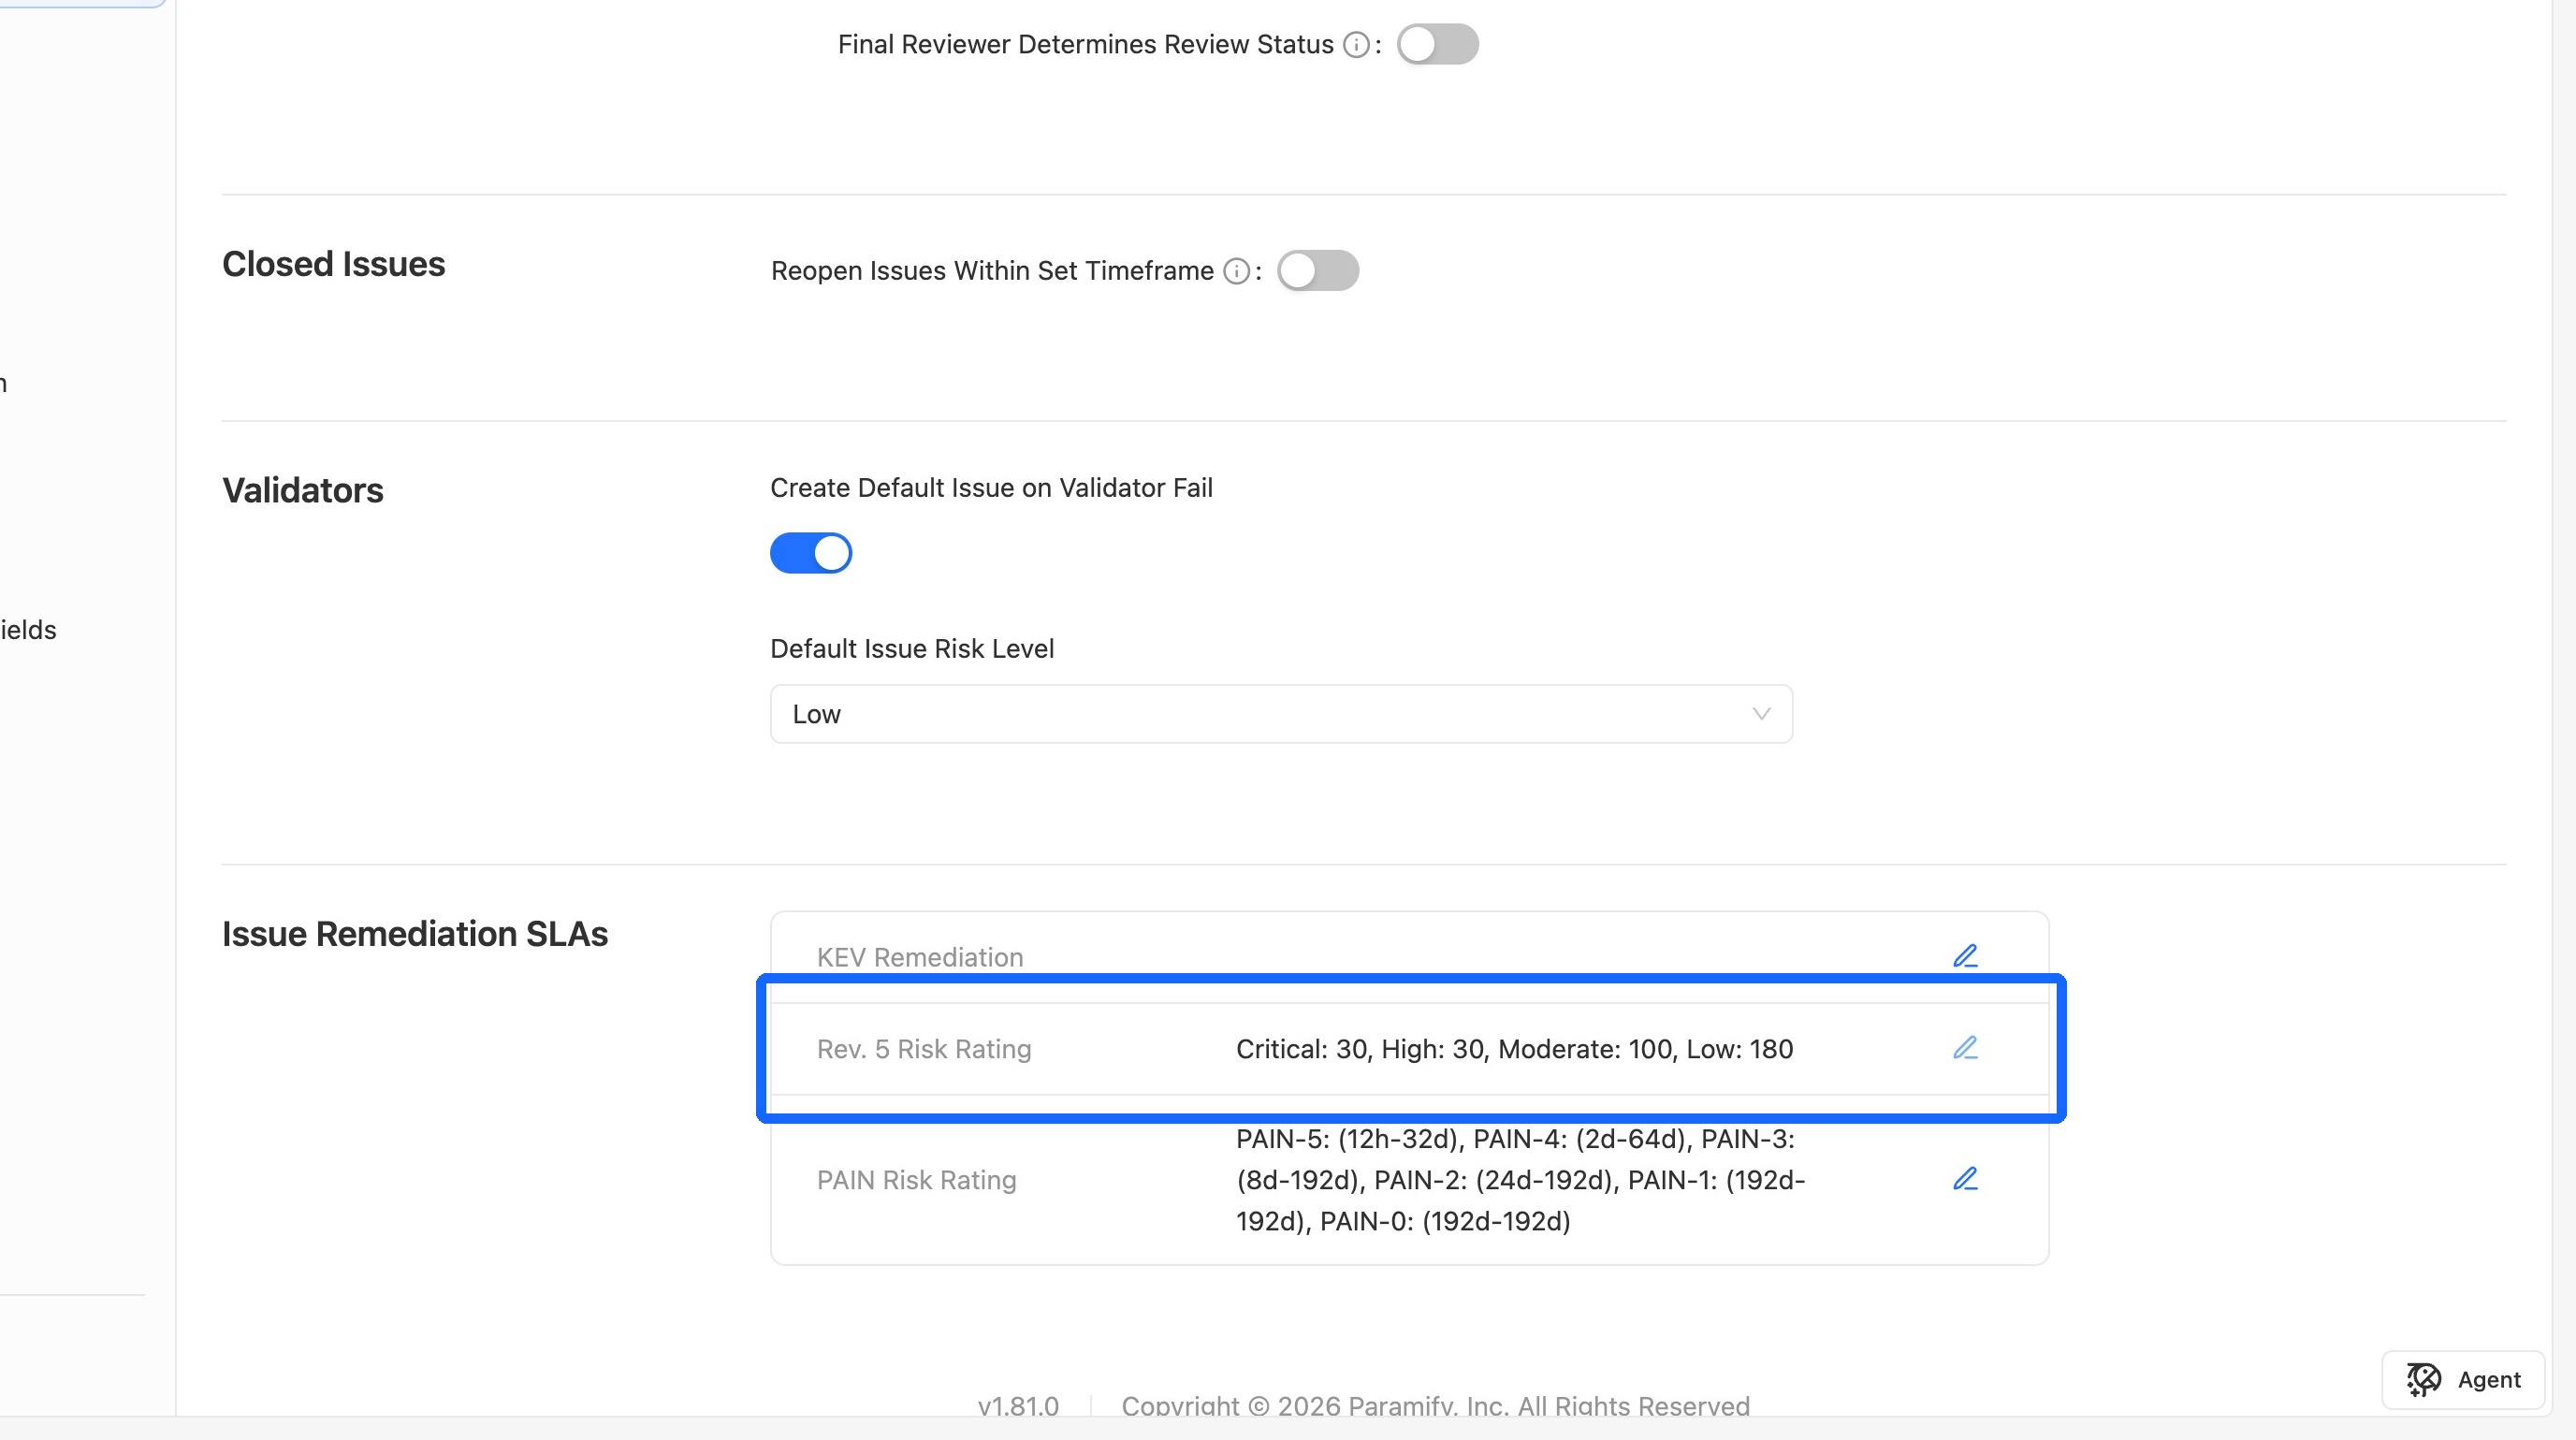
Because 180 days is the stricter timeline, a Low risk issue in this program gets a due date 180 days after its detection date.
The comparison works the same way in the other direction. For example, if the PAIN timeline for Critical issues is 16 days and the Rev. 5 timeline is 30 days, Paramify uses the 16-day PAIN timeline.
The same rule applies to issues created from assessments. Paramify uses the strictest timeline among the SLAs turned on for the program the assessment points to. If an issue's CVE is a KEV, the KEV Remediation SLA is included in that comparison.
NOTE
The issue detail page doesn't currently show which SLA set an issue's due date. To find out, compare the issue's details with the timelines in your workspace settings.
Add a KEV to an issue
When you add a CVE that's listed in the KEV catalog to an issue, the KEV Remediation SLA can apply to that issue. The following steps show how adding a KEV changes an issue's due date.
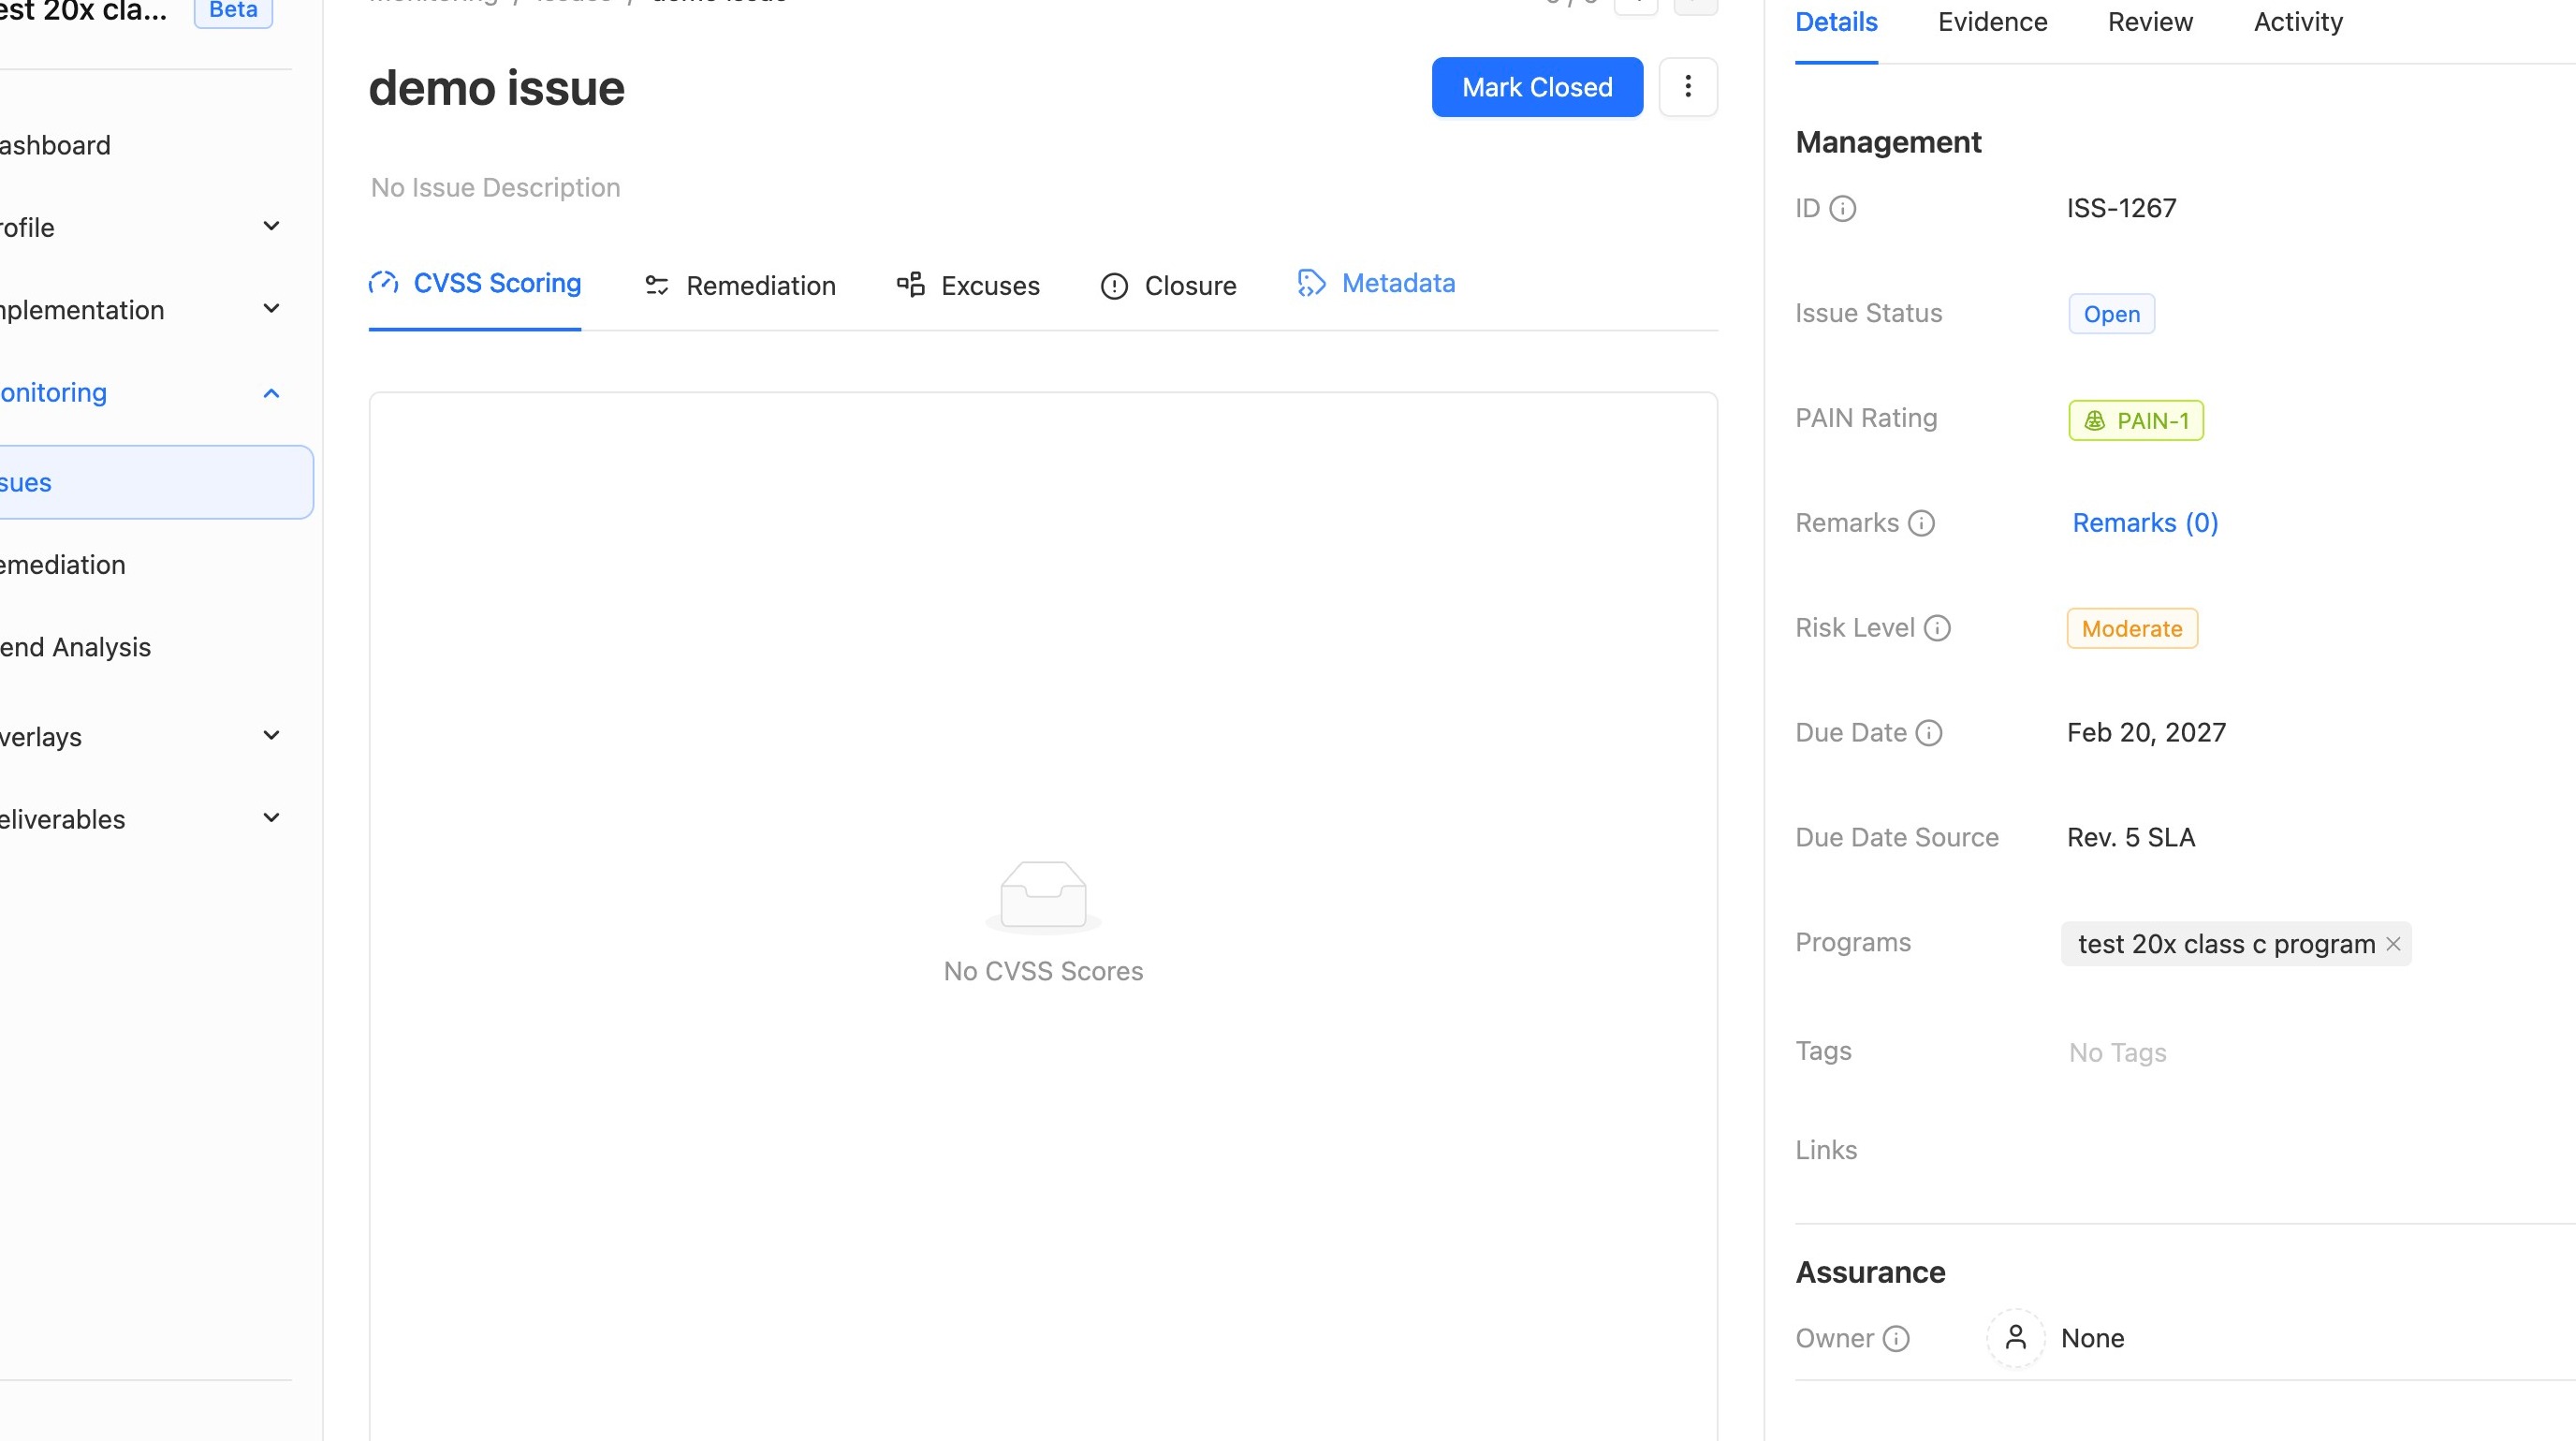
1. Open the issue
From your program's Issues page, open the issue you want to update.
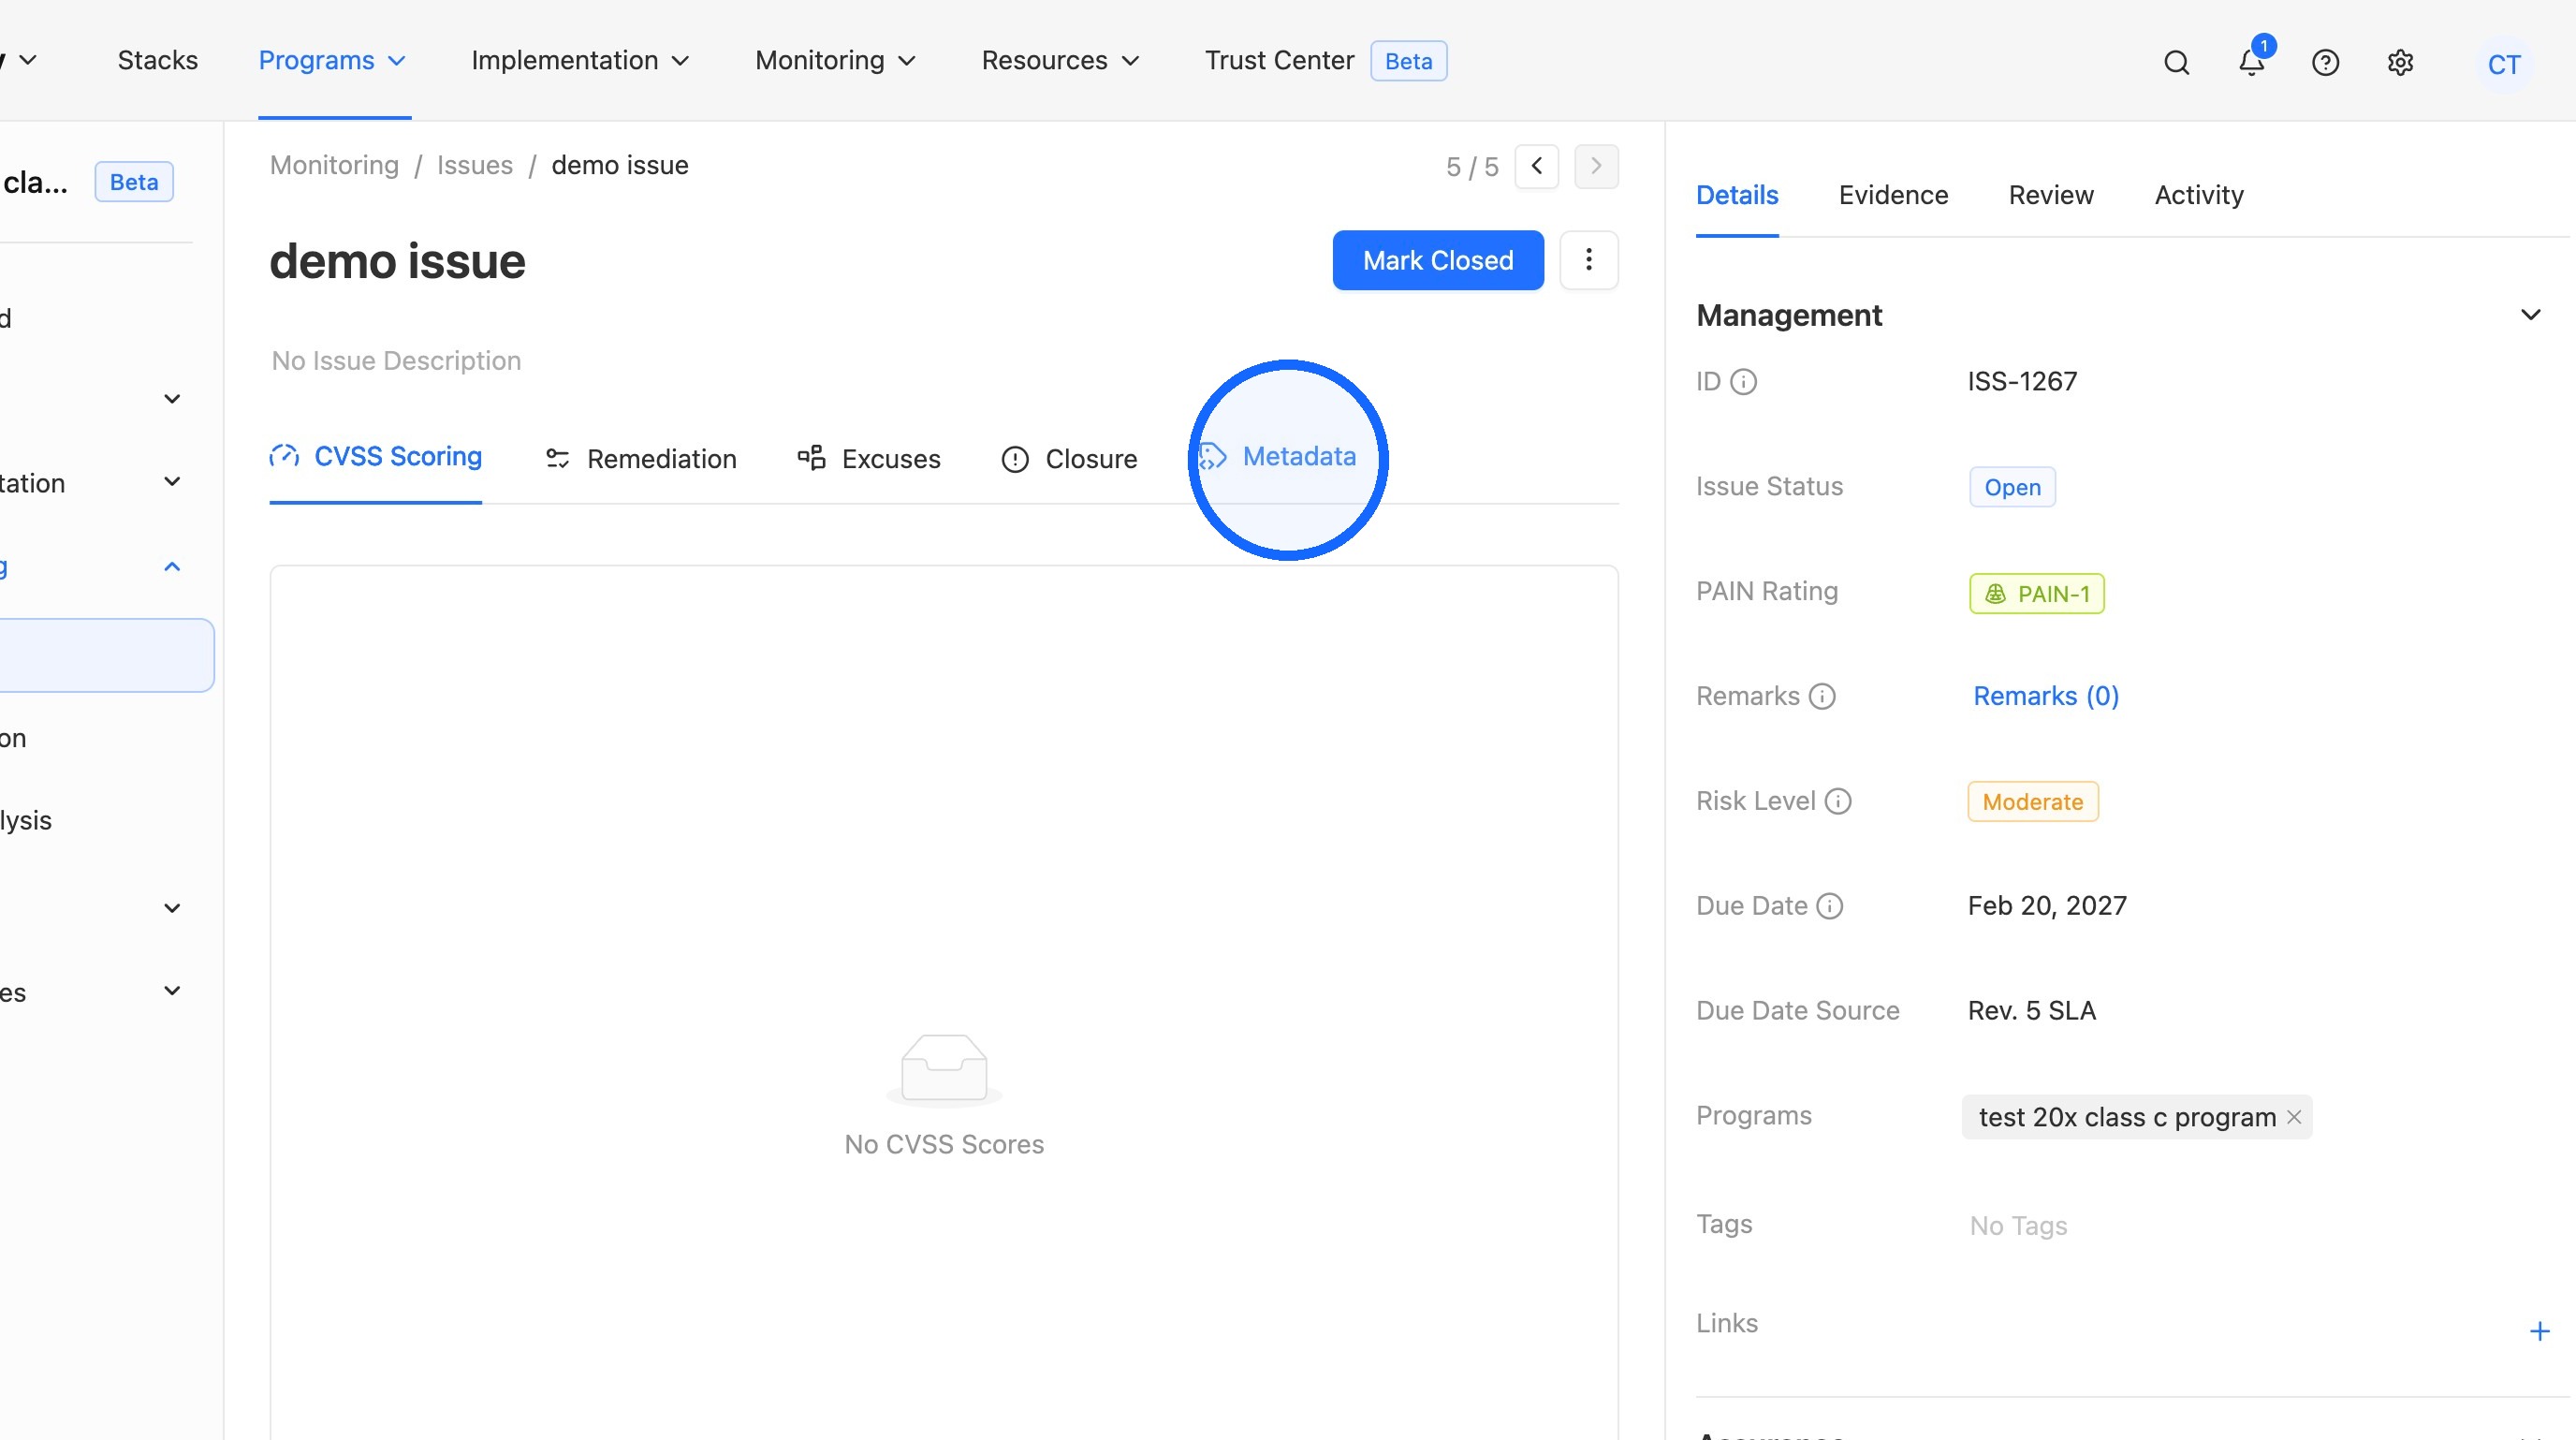
2. Open the Metadata tab
Click the Metadata tab.
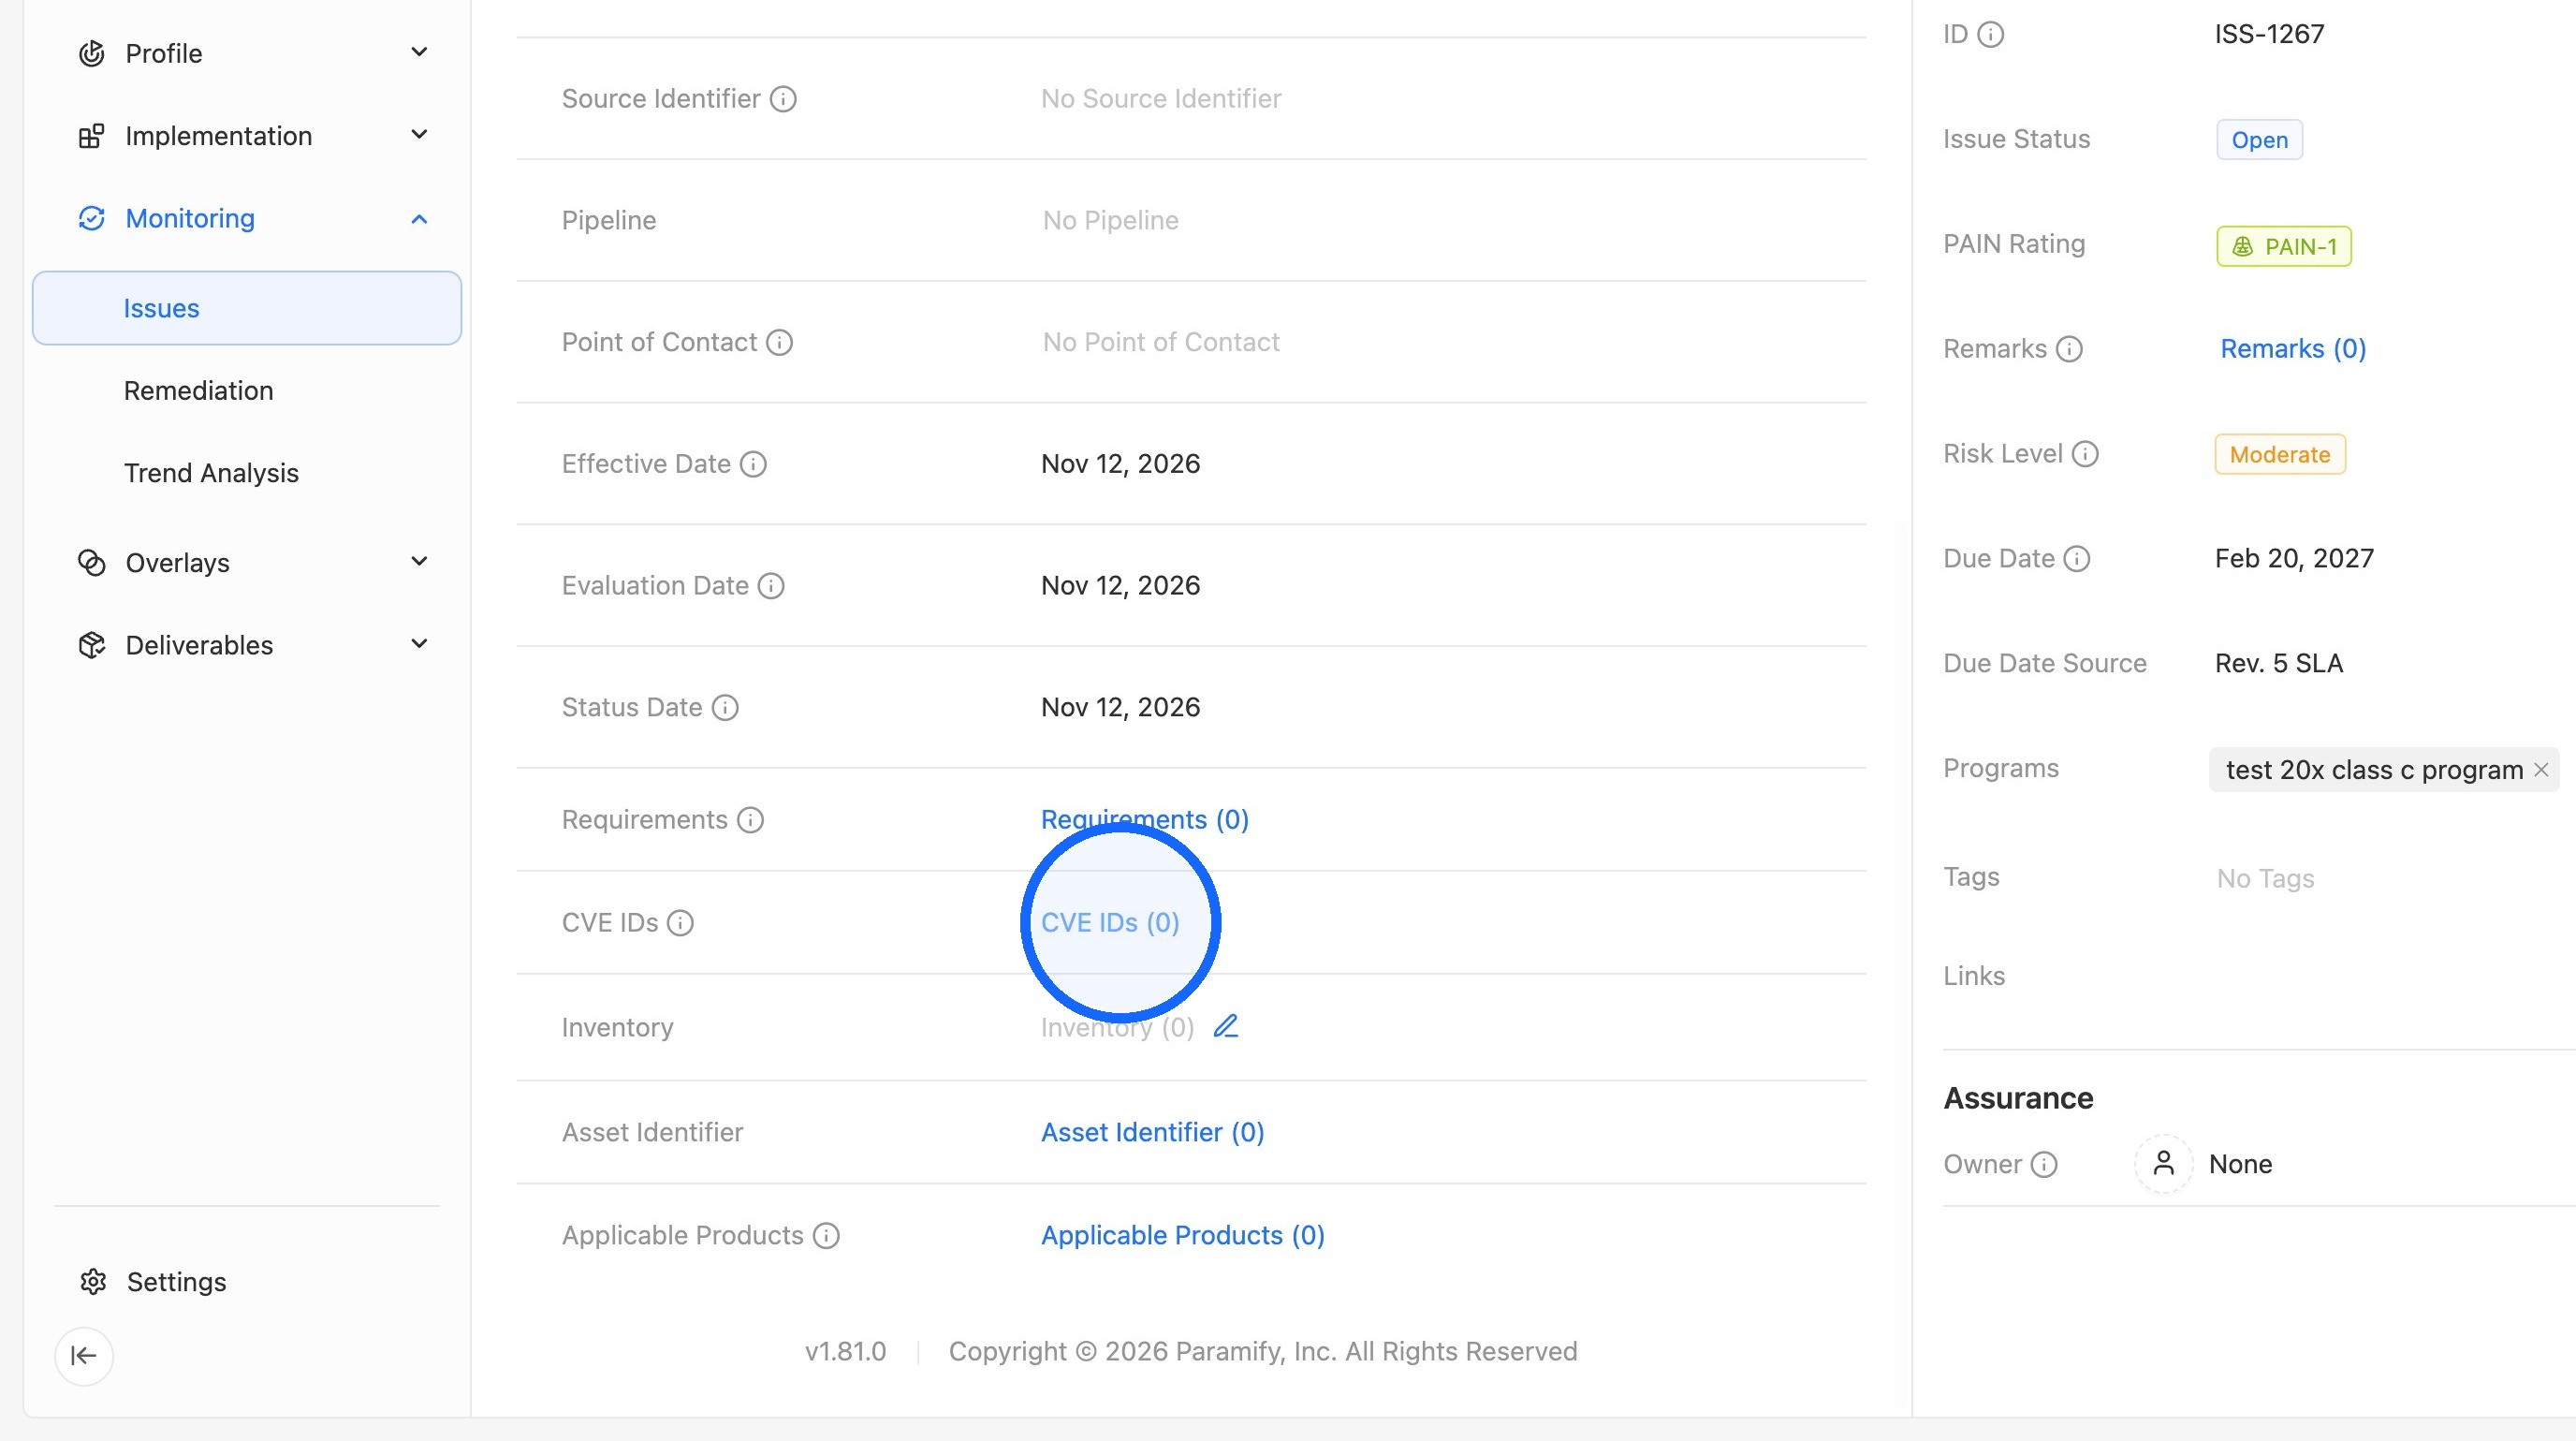
3. Open CVE IDs
Click CVE IDs.
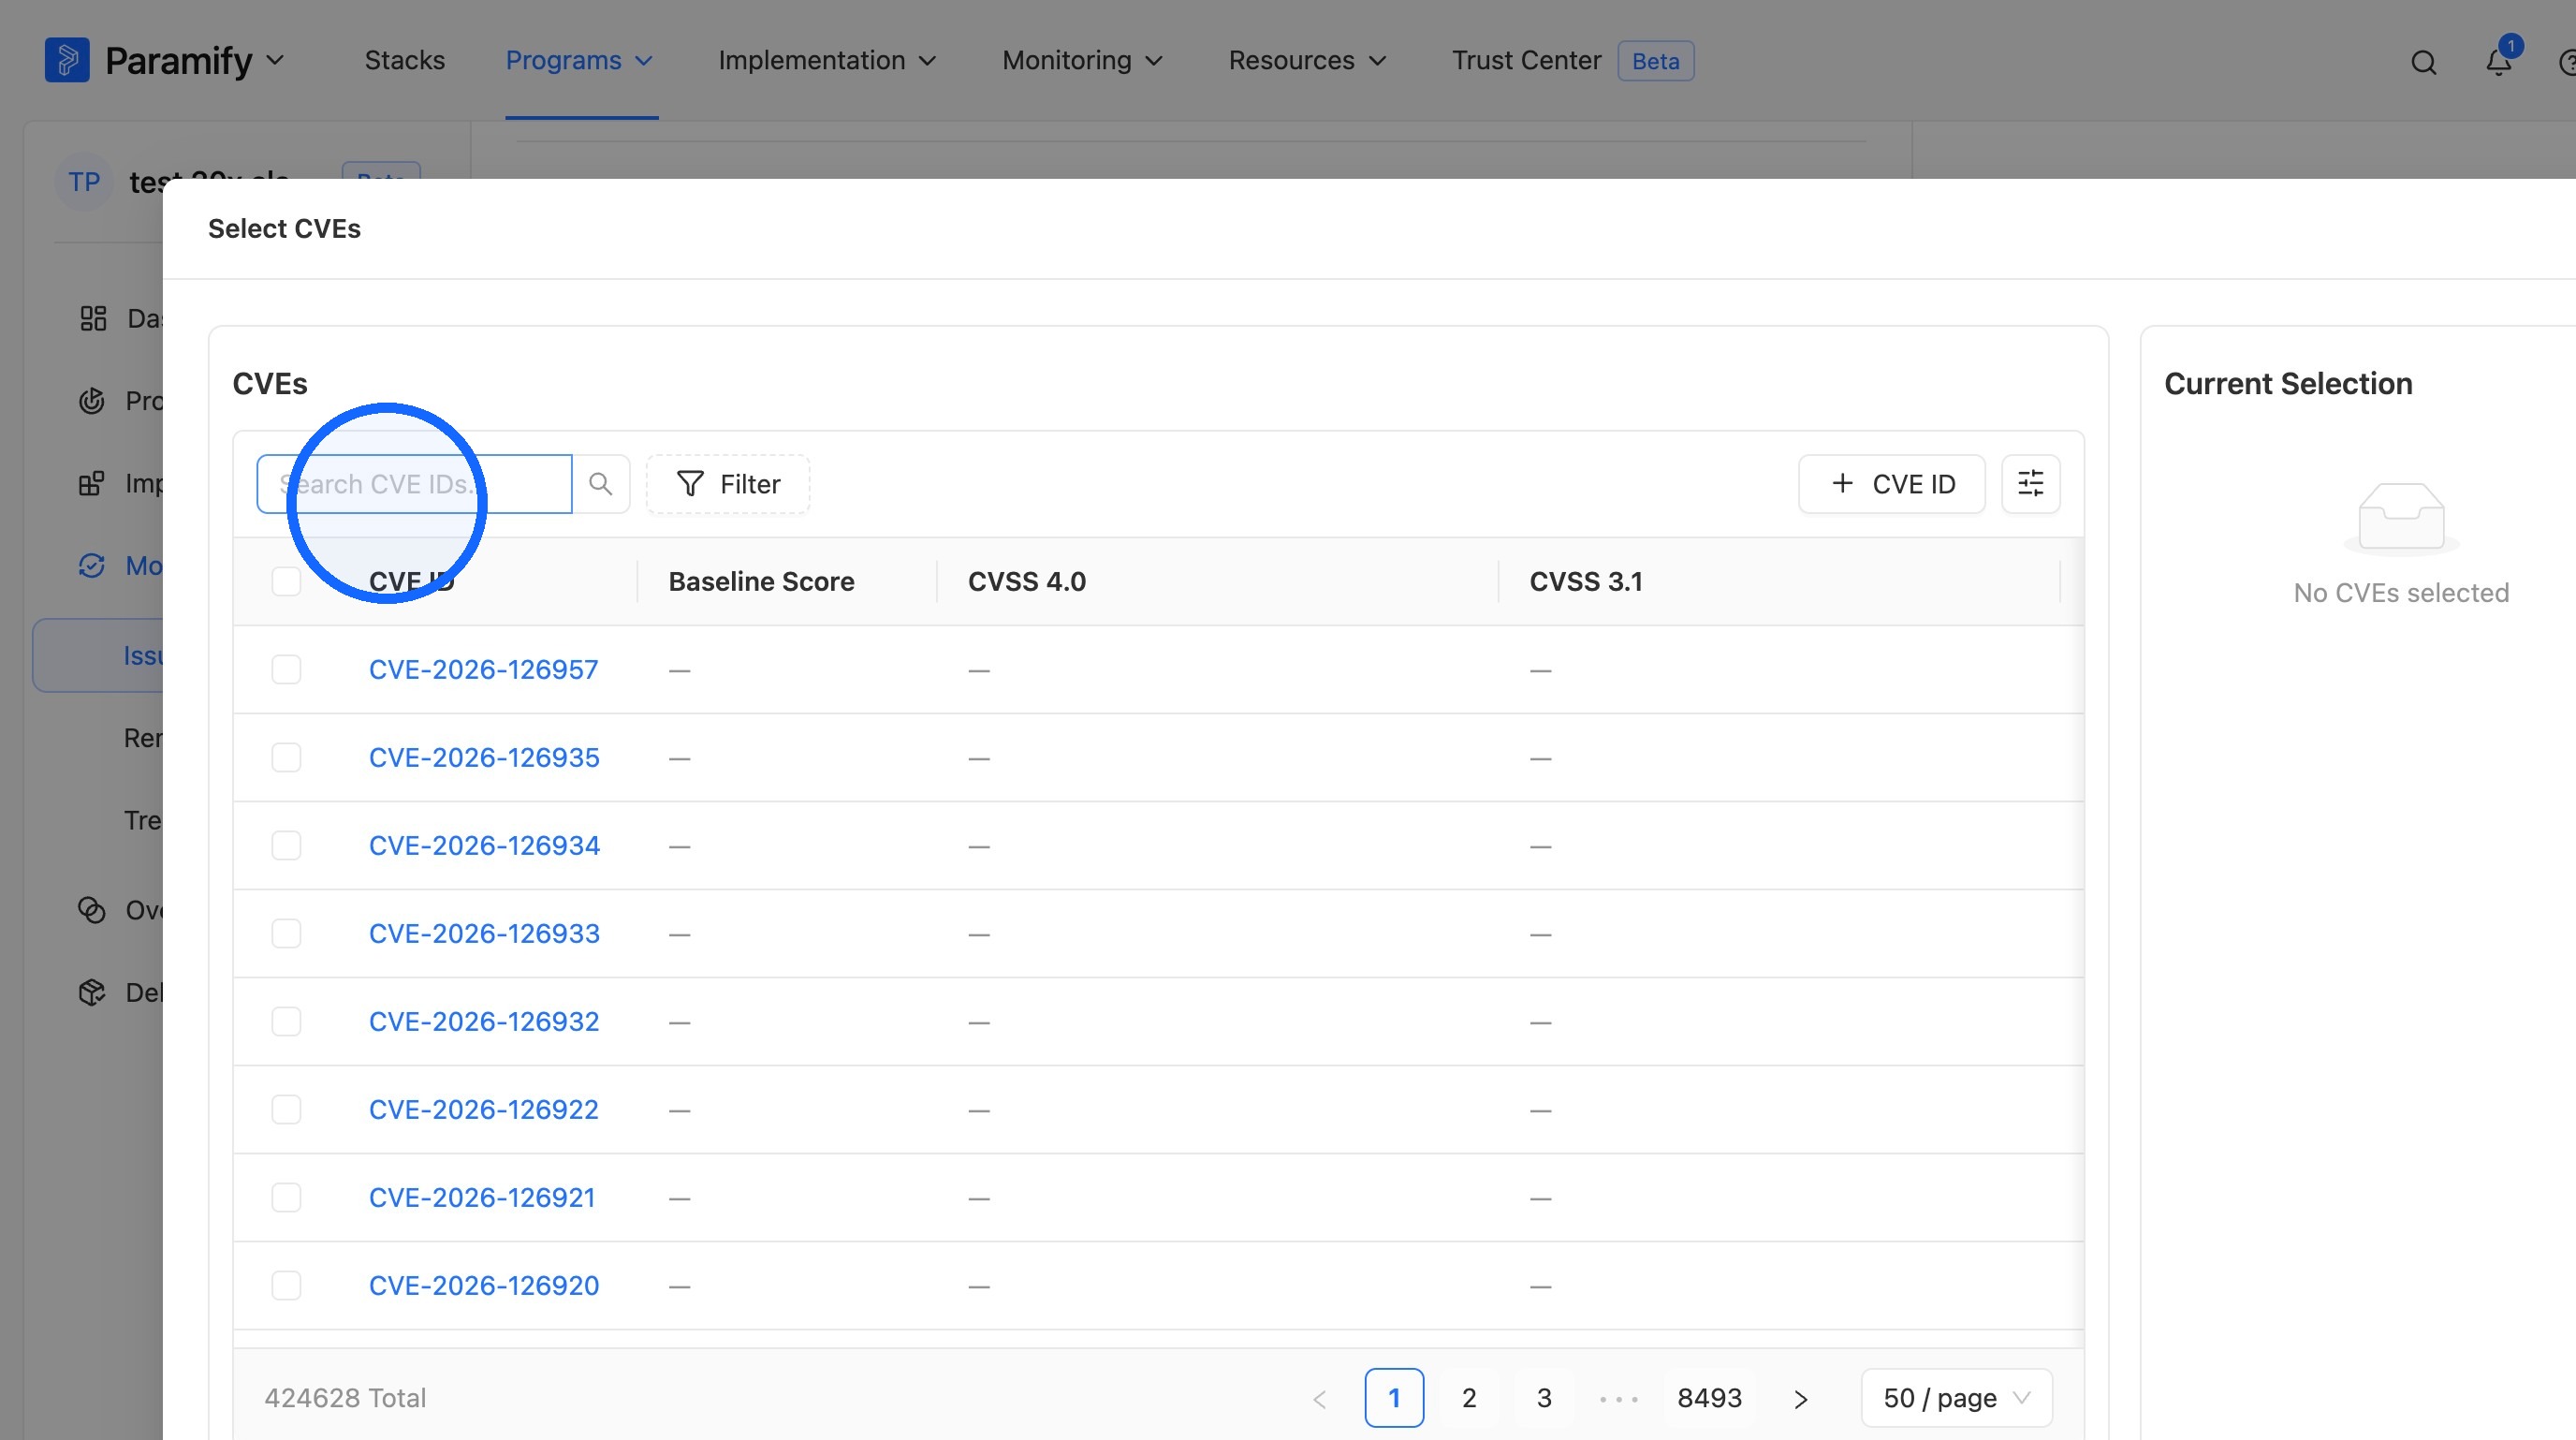
4. Search for a CVE ID
Click the Search CVE IDs... field and enter the CVE ID you want to add.
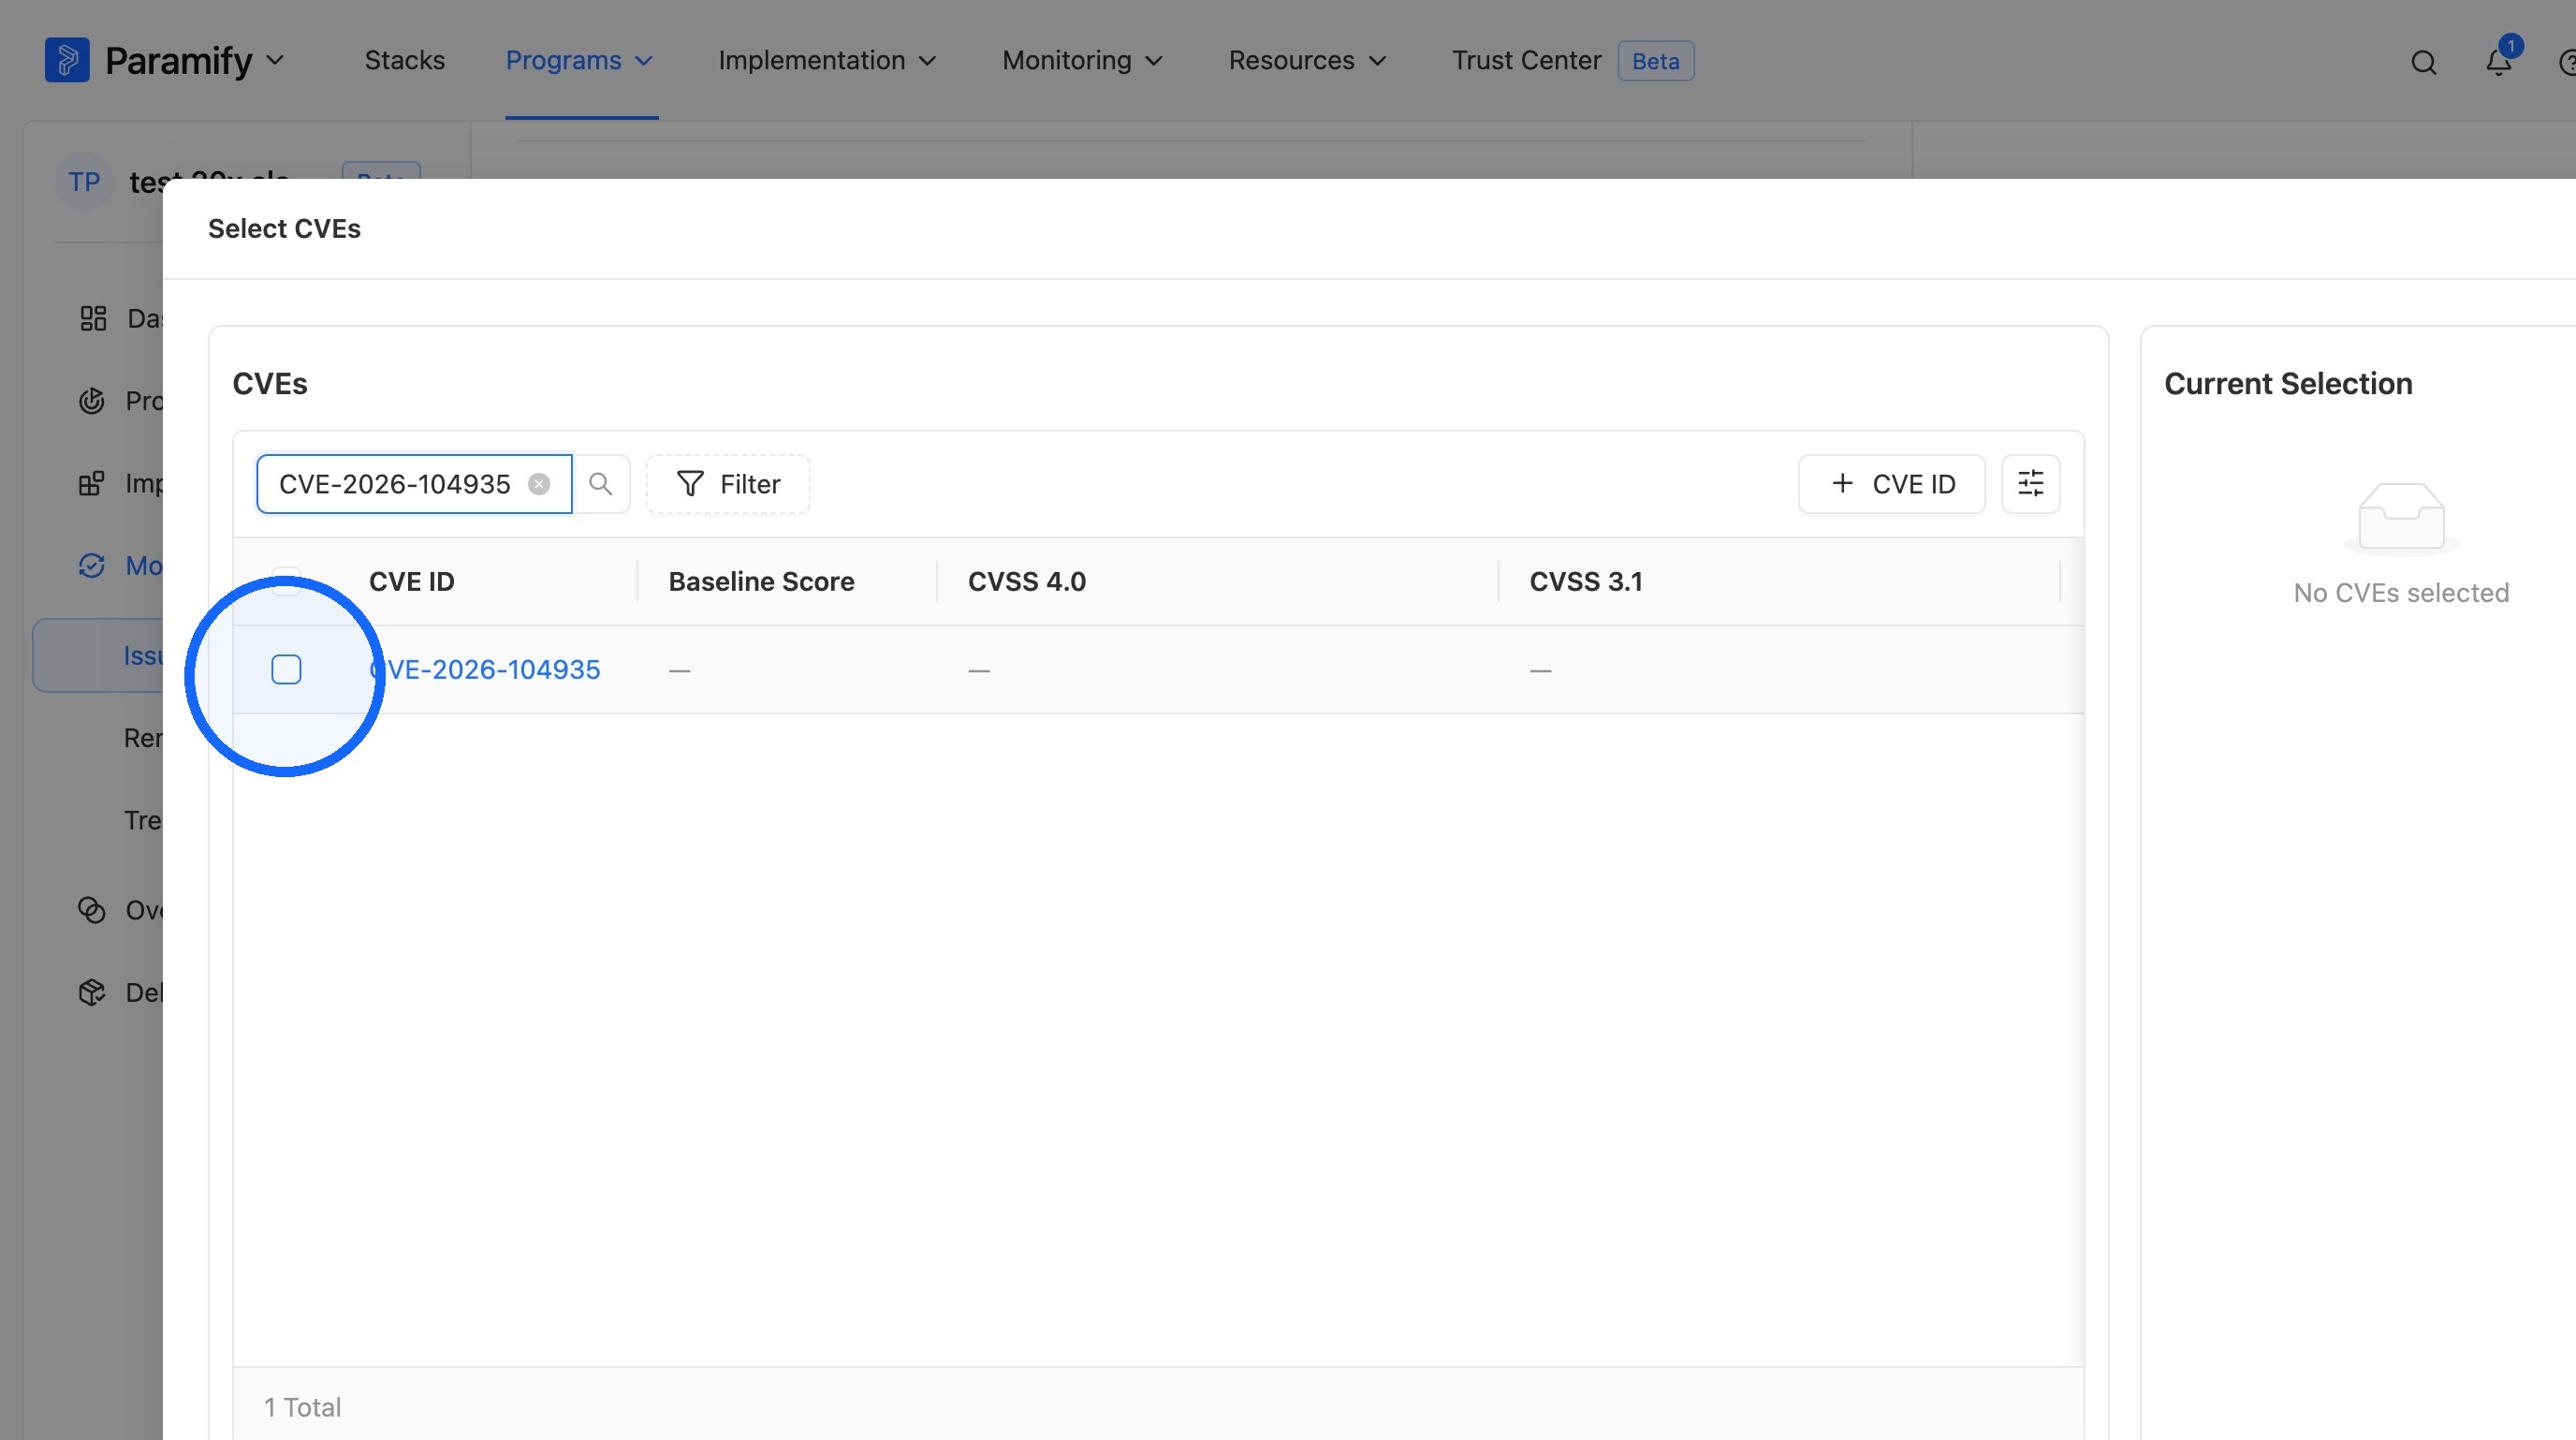
5. Select the CVE ID
Select the checkbox next to the CVE ID.
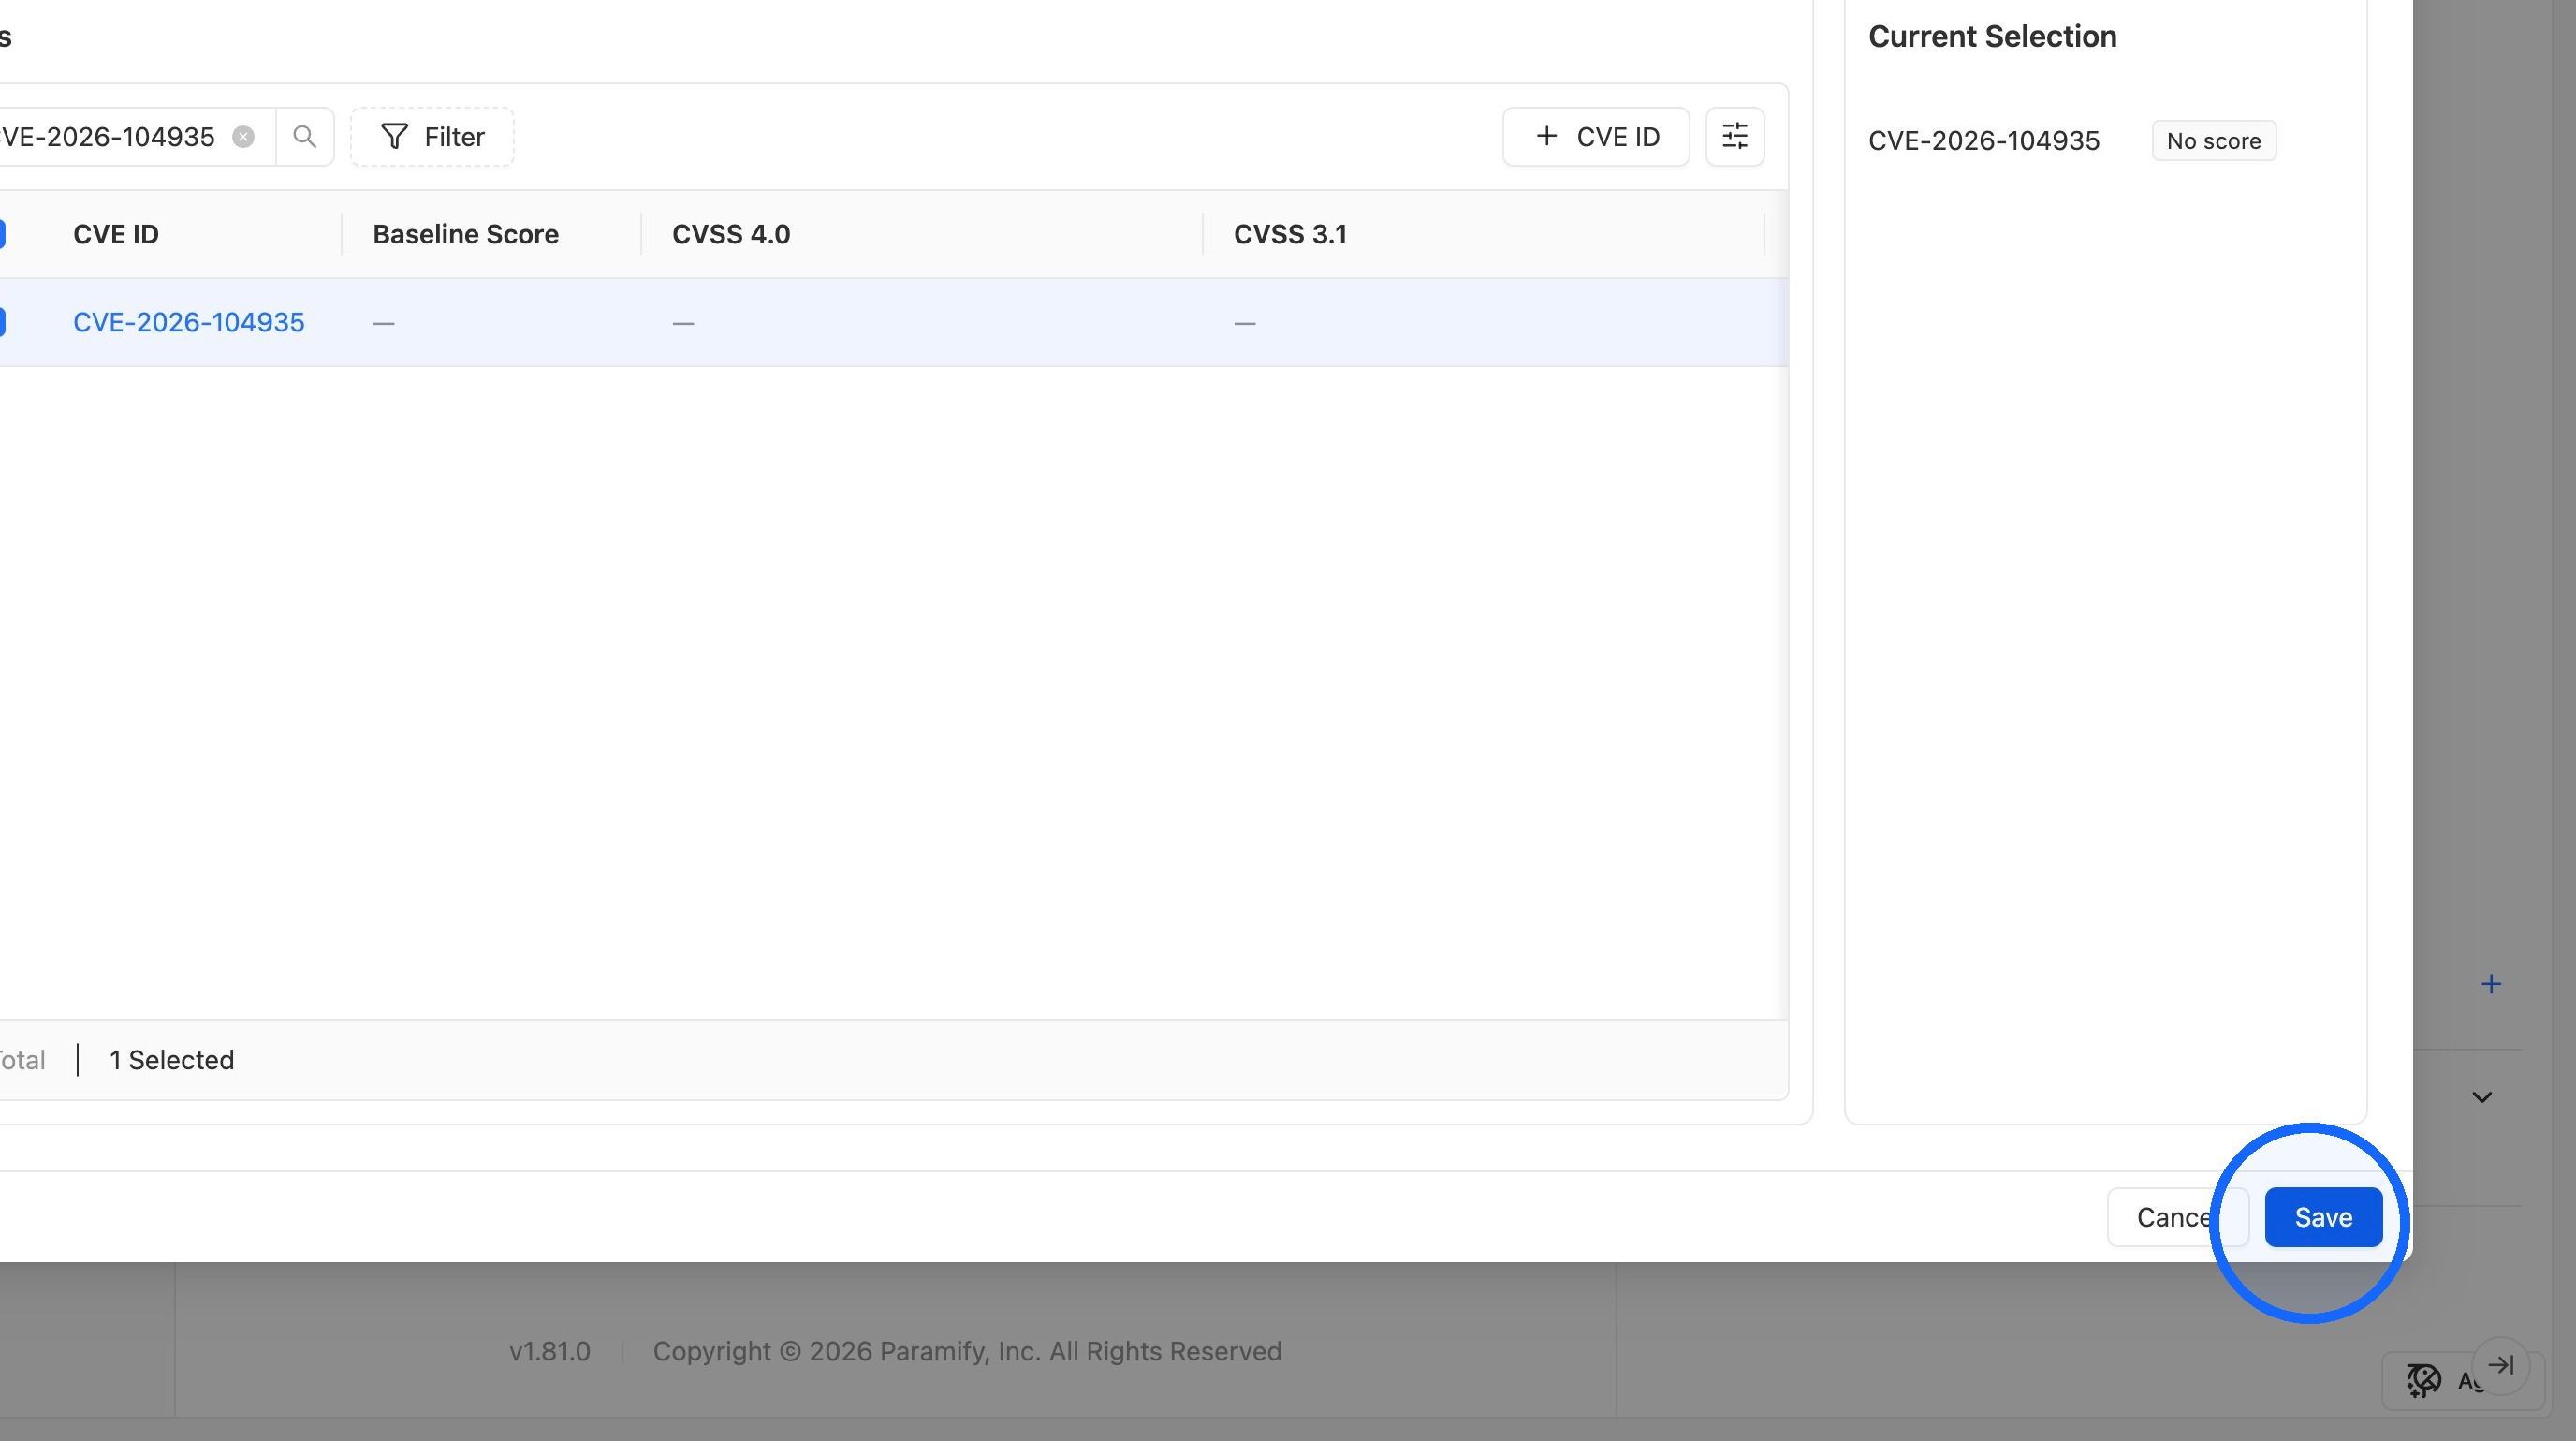
6. Save the CVE IDs
Click Save.
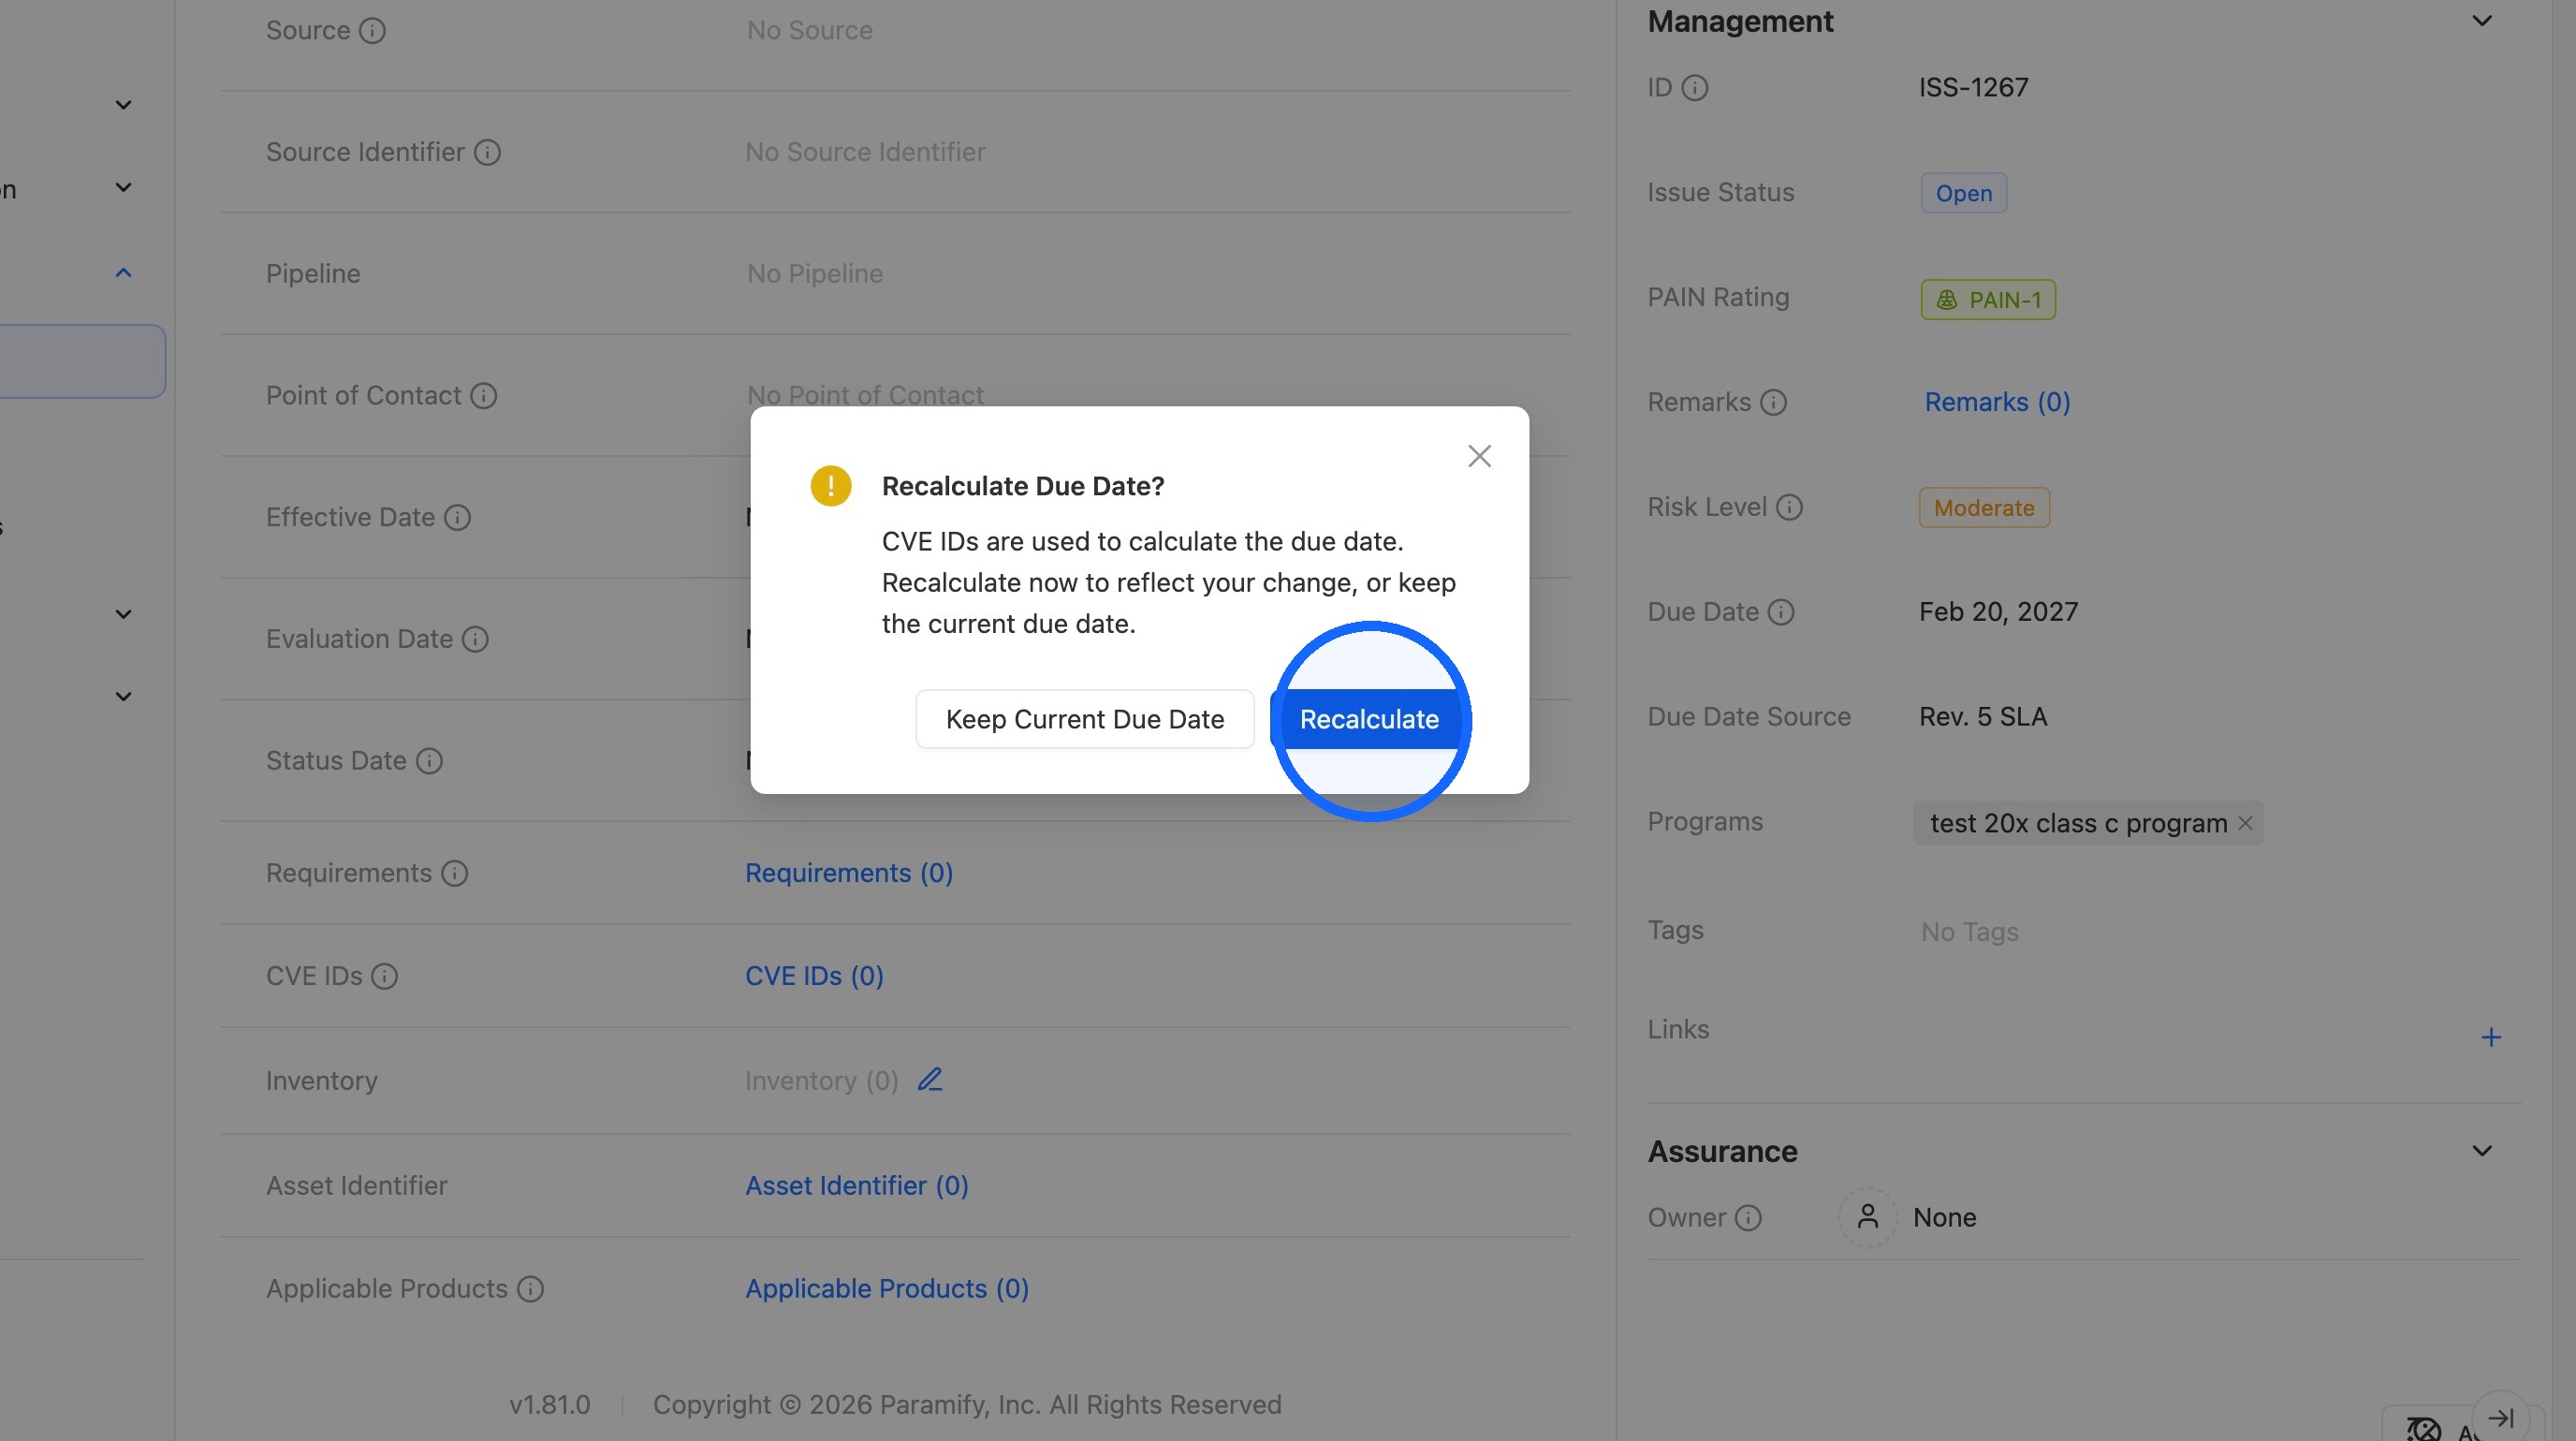
7. Recalculate the due date
Click Recalculate to update the issue's due date using the KEV Remediation SLA.
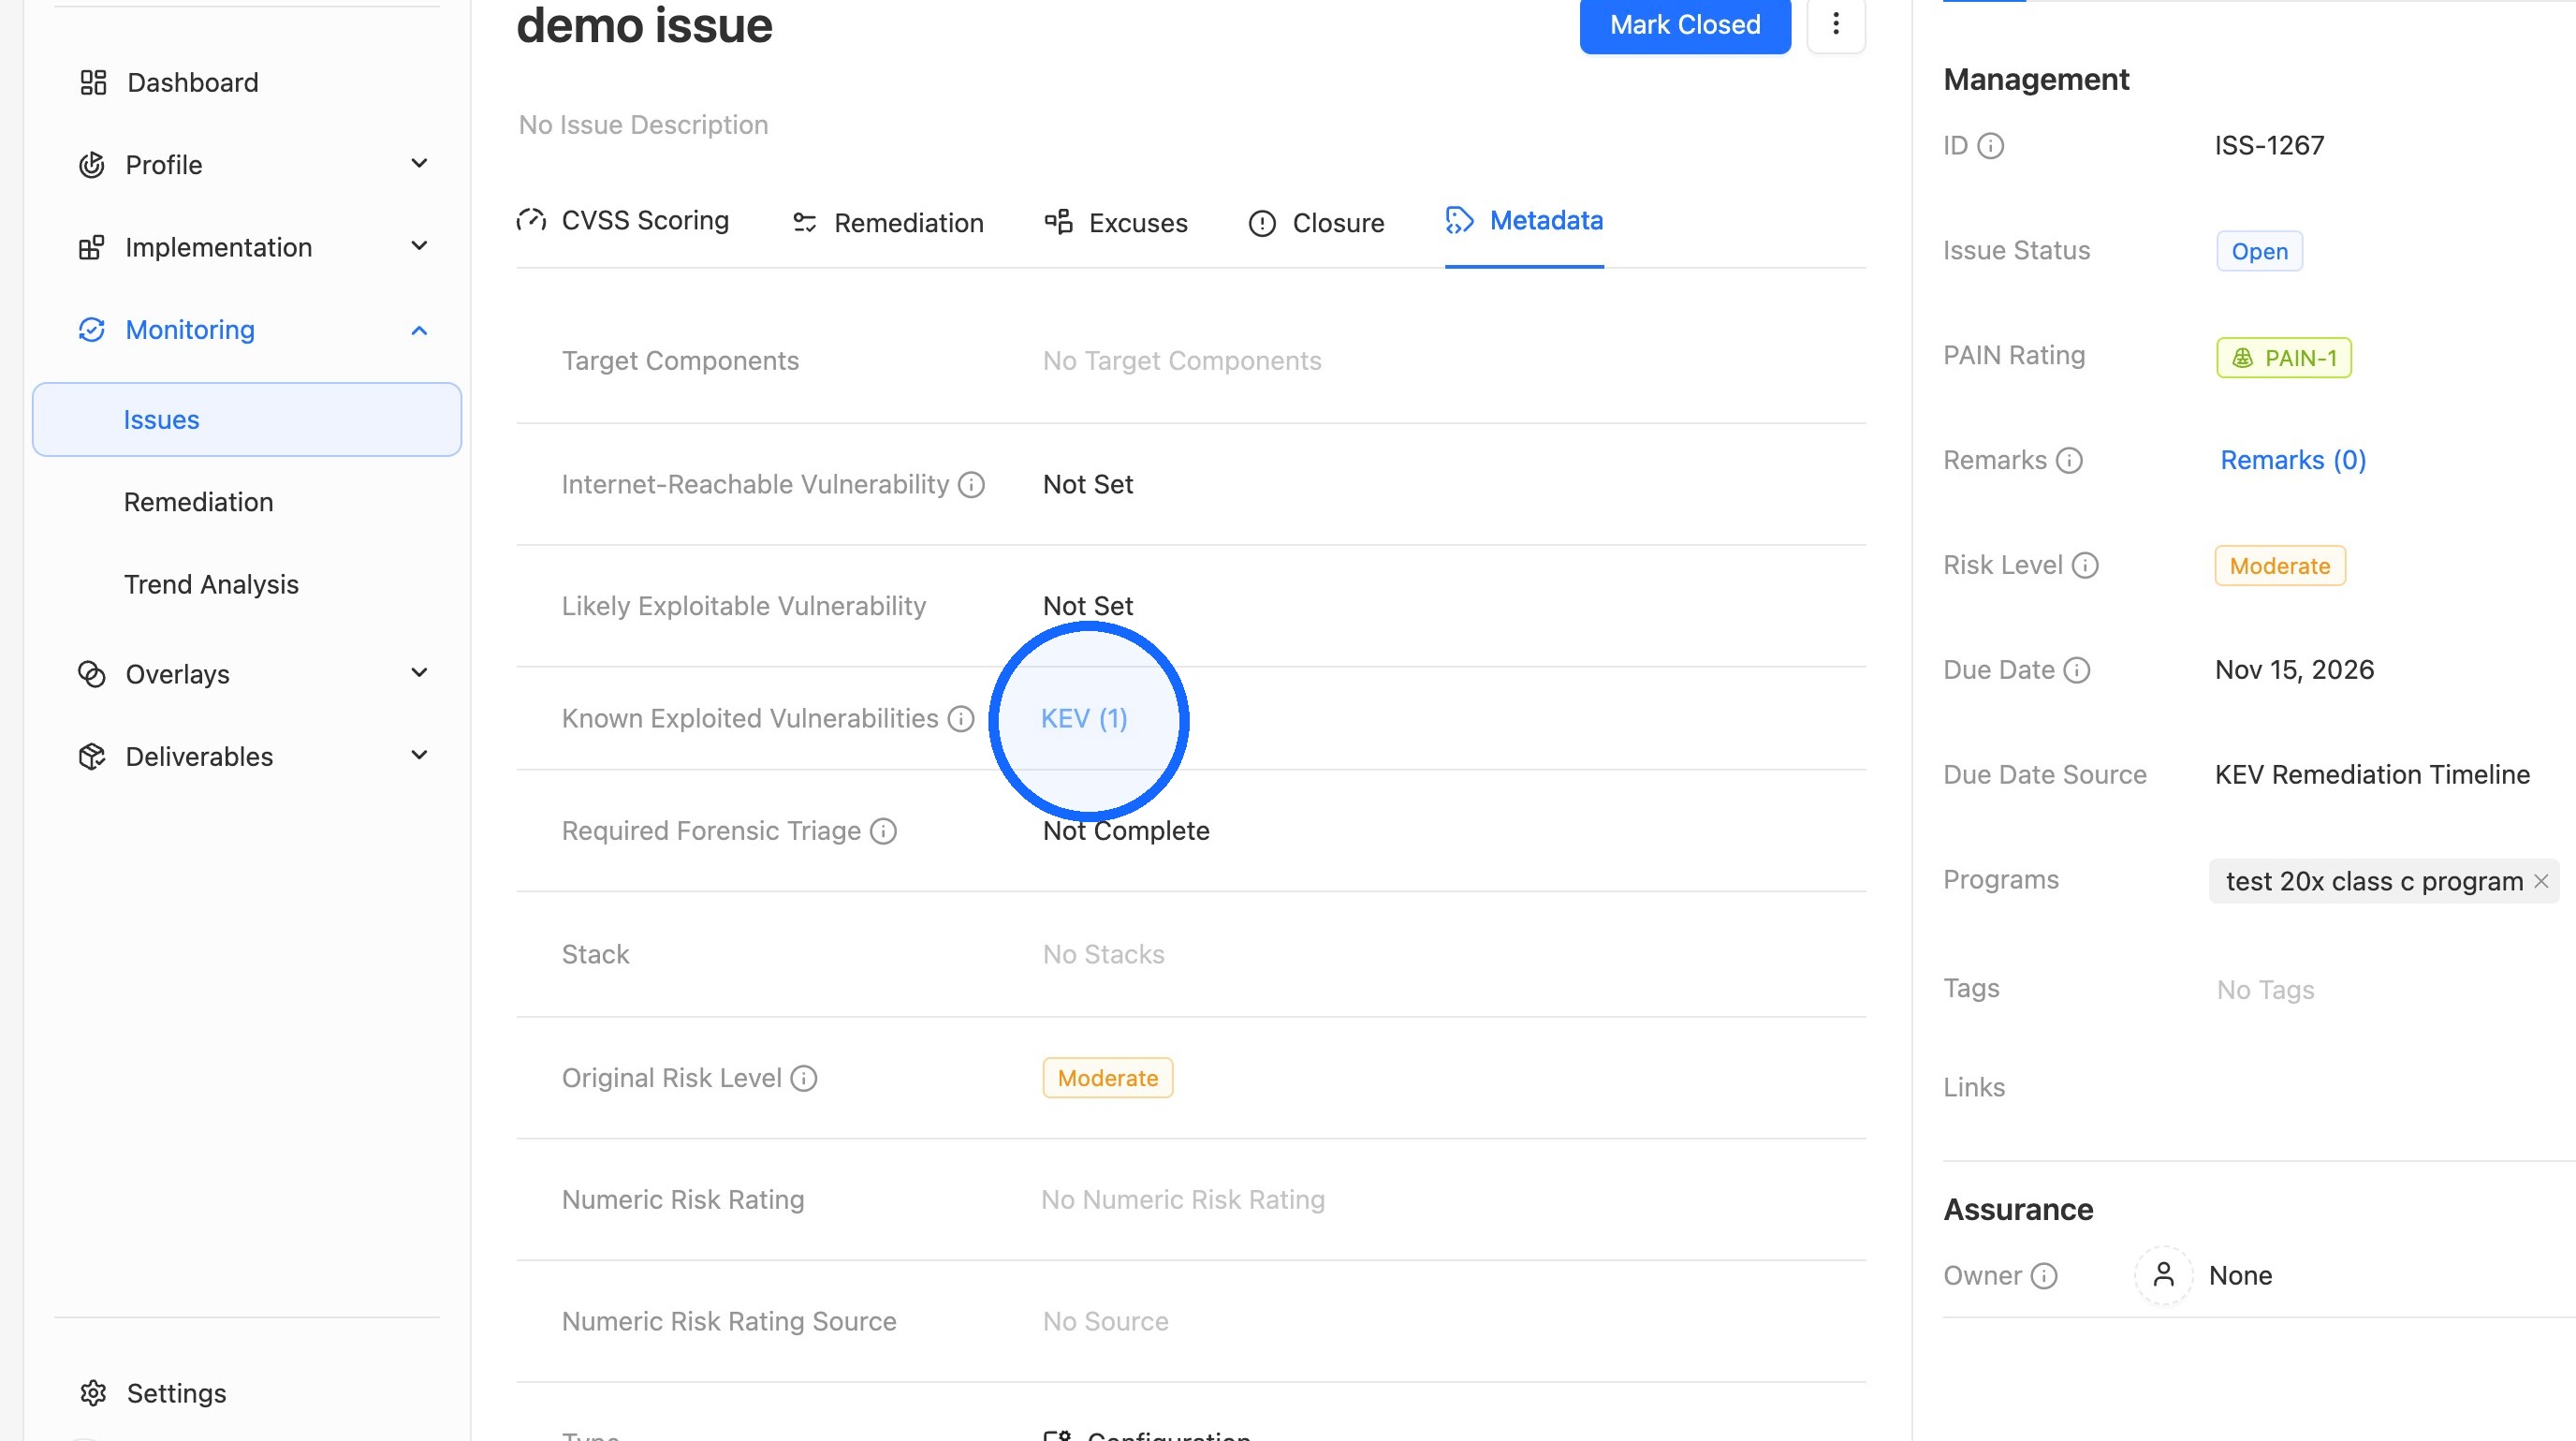
8. Open the KEV tab
Click the KEV tab to view the Known Exploited Vulnerabilities linked to the issue.
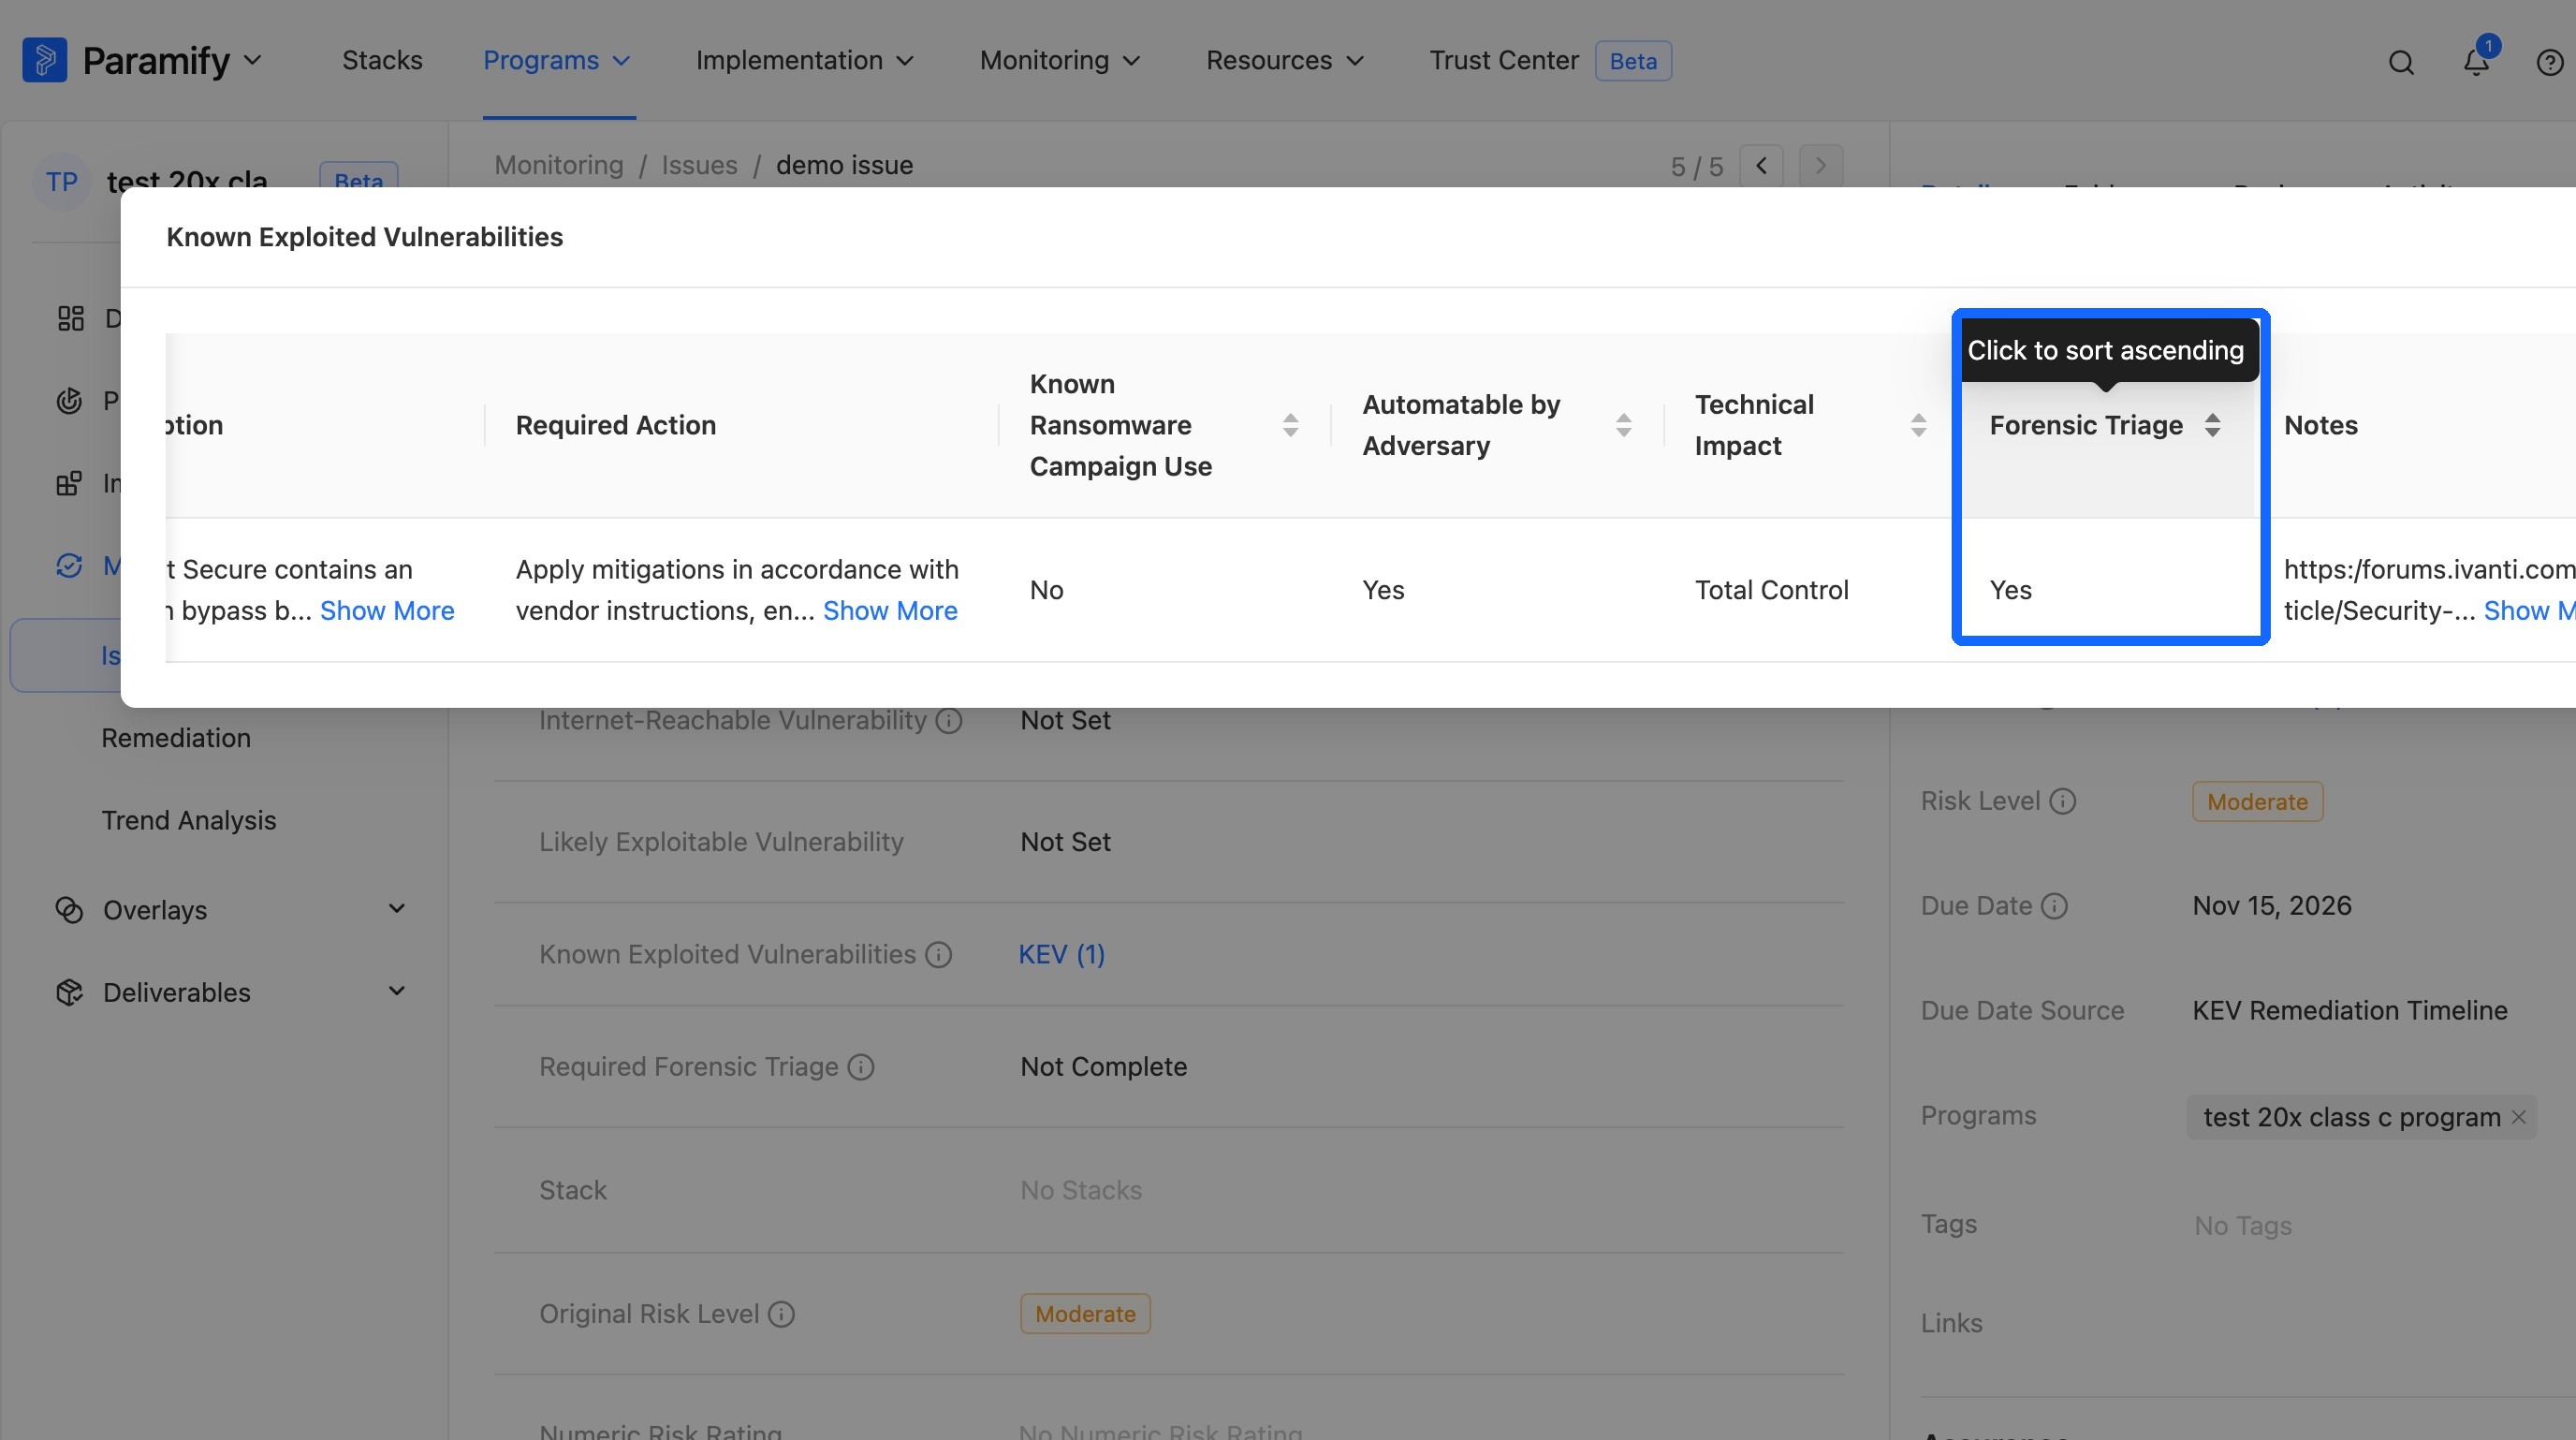
9. Review the Forensic Triage column
The Forensic Triage column in the Known Exploited Vulnerabilities table shows whether each KEV requires forensic triage (true or false). Sort by this column to see the KEVs that require it first.
Track forensic triage
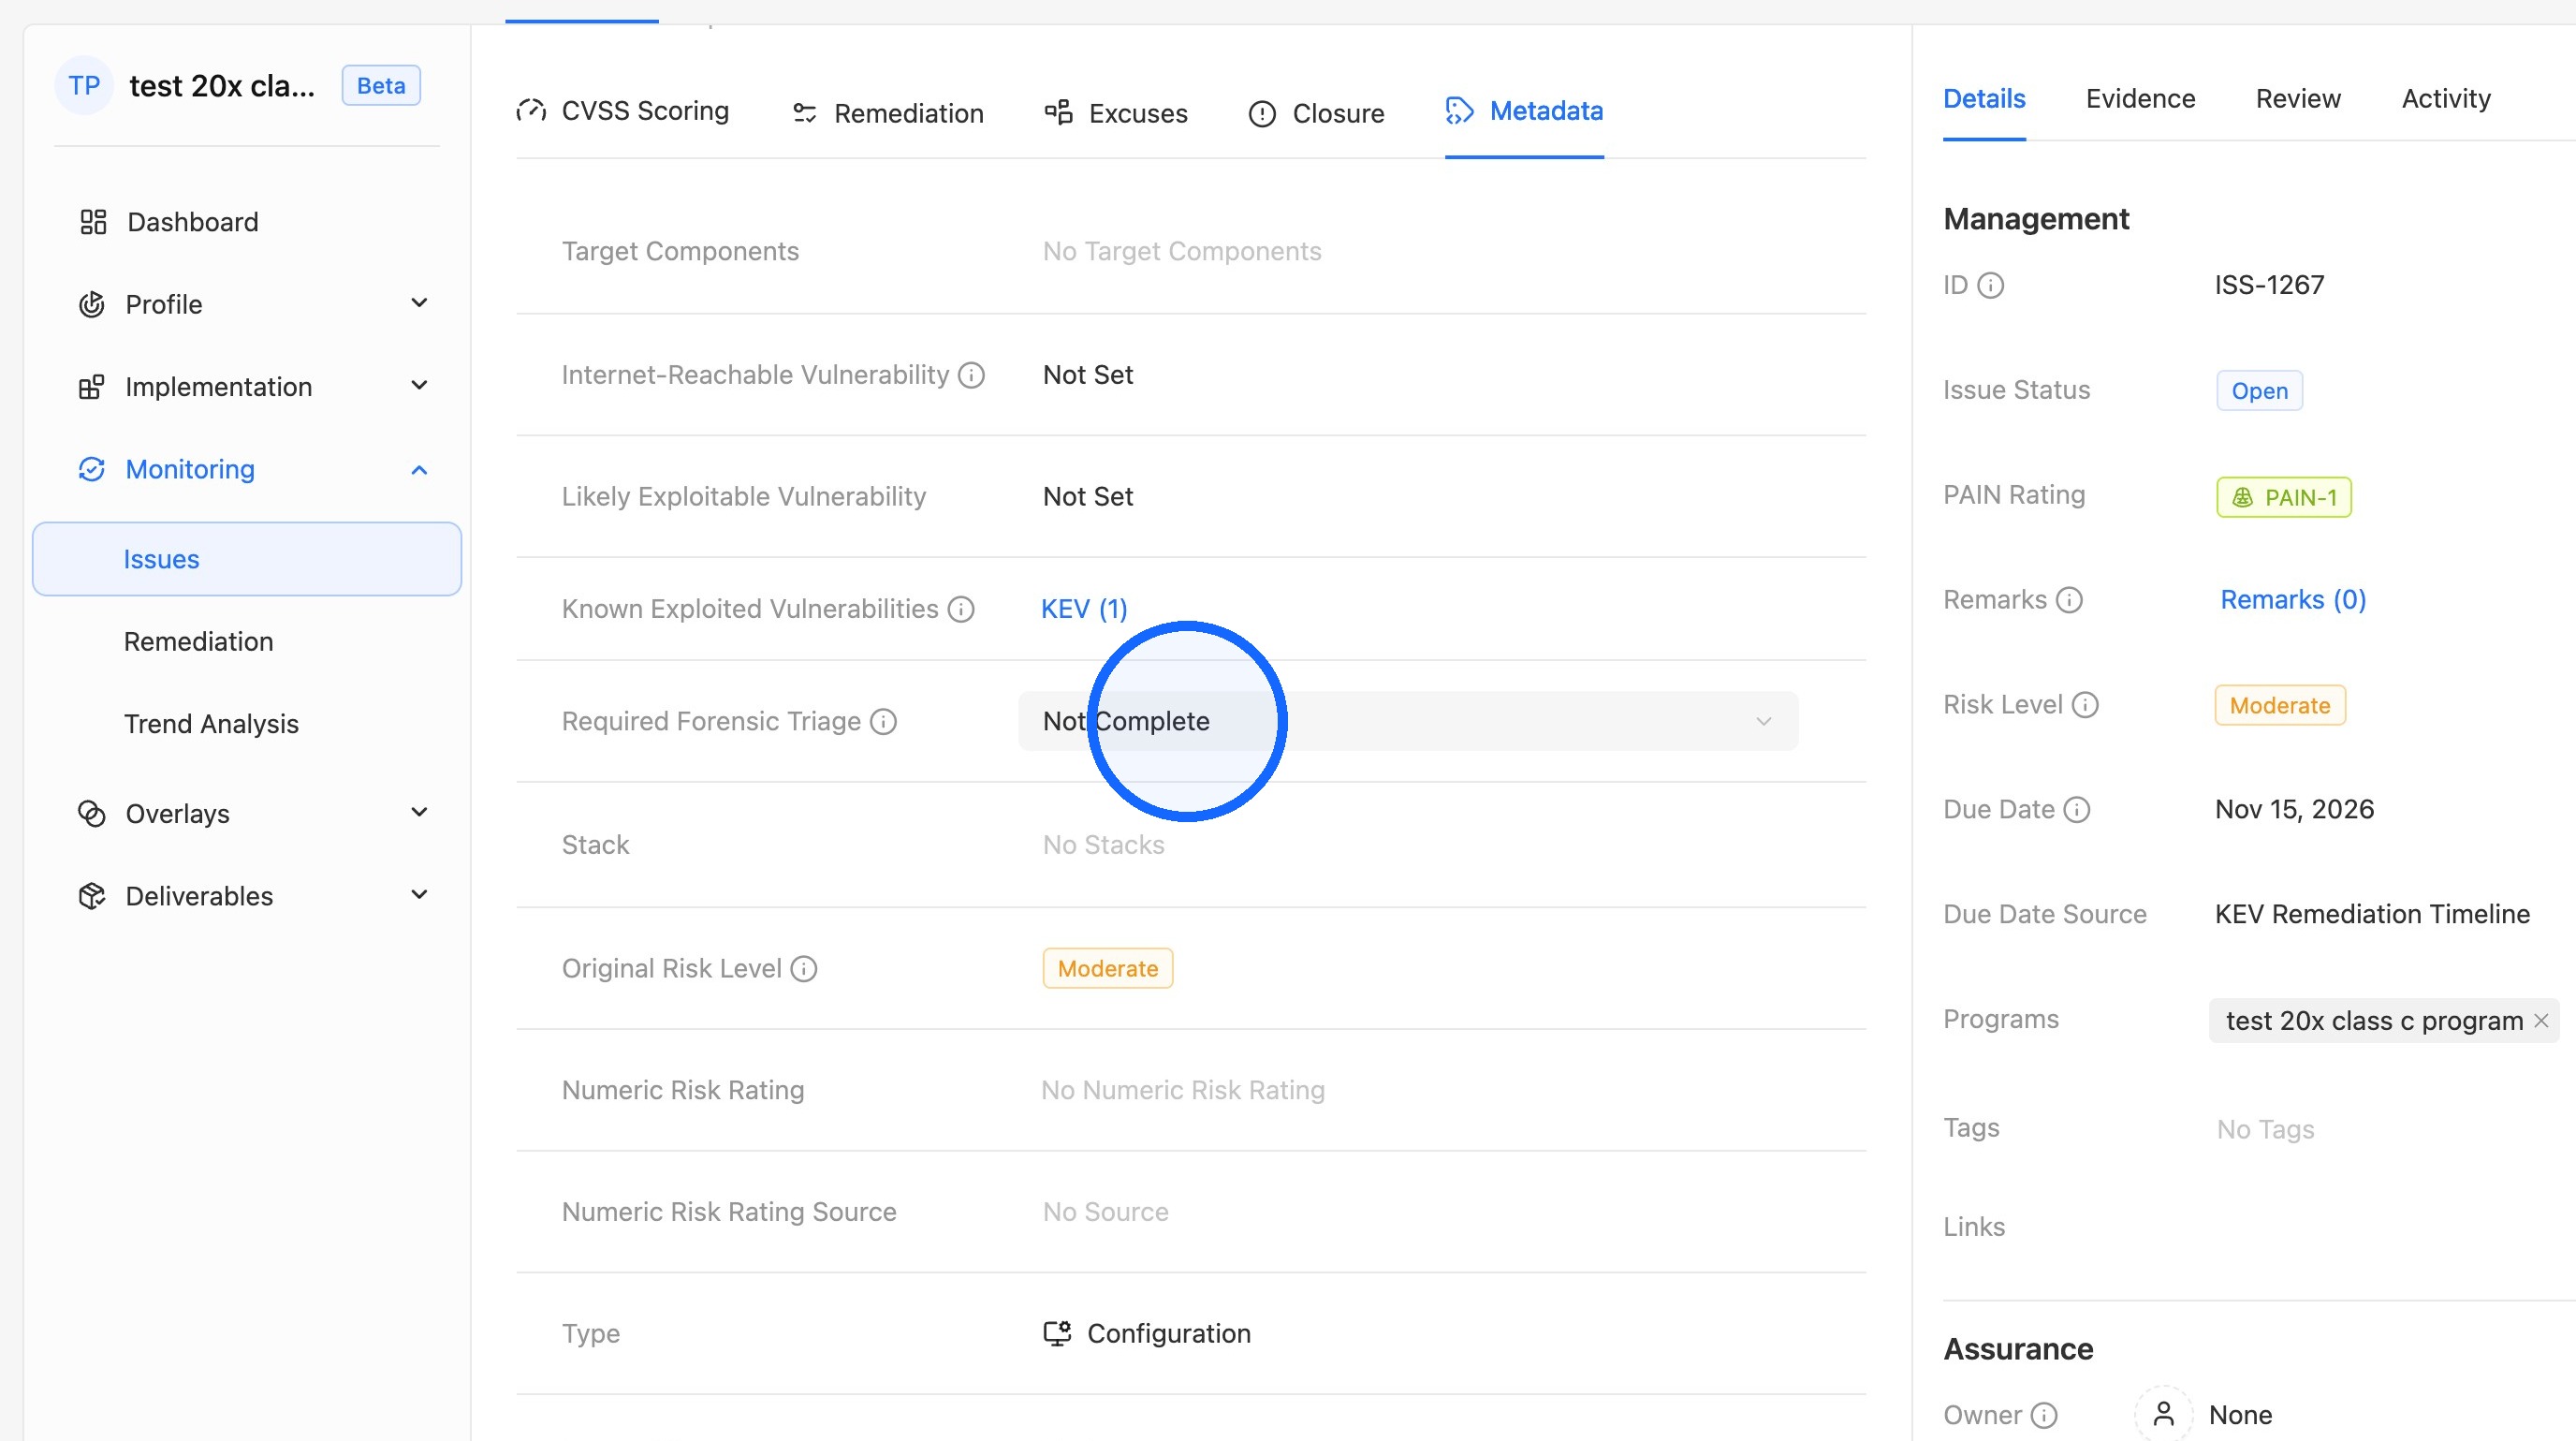
If a KEV on an issue requires forensic triage, the issue shows a Required Forensic Triage field that you can use to track triage progress, such as In Progress or Completed.
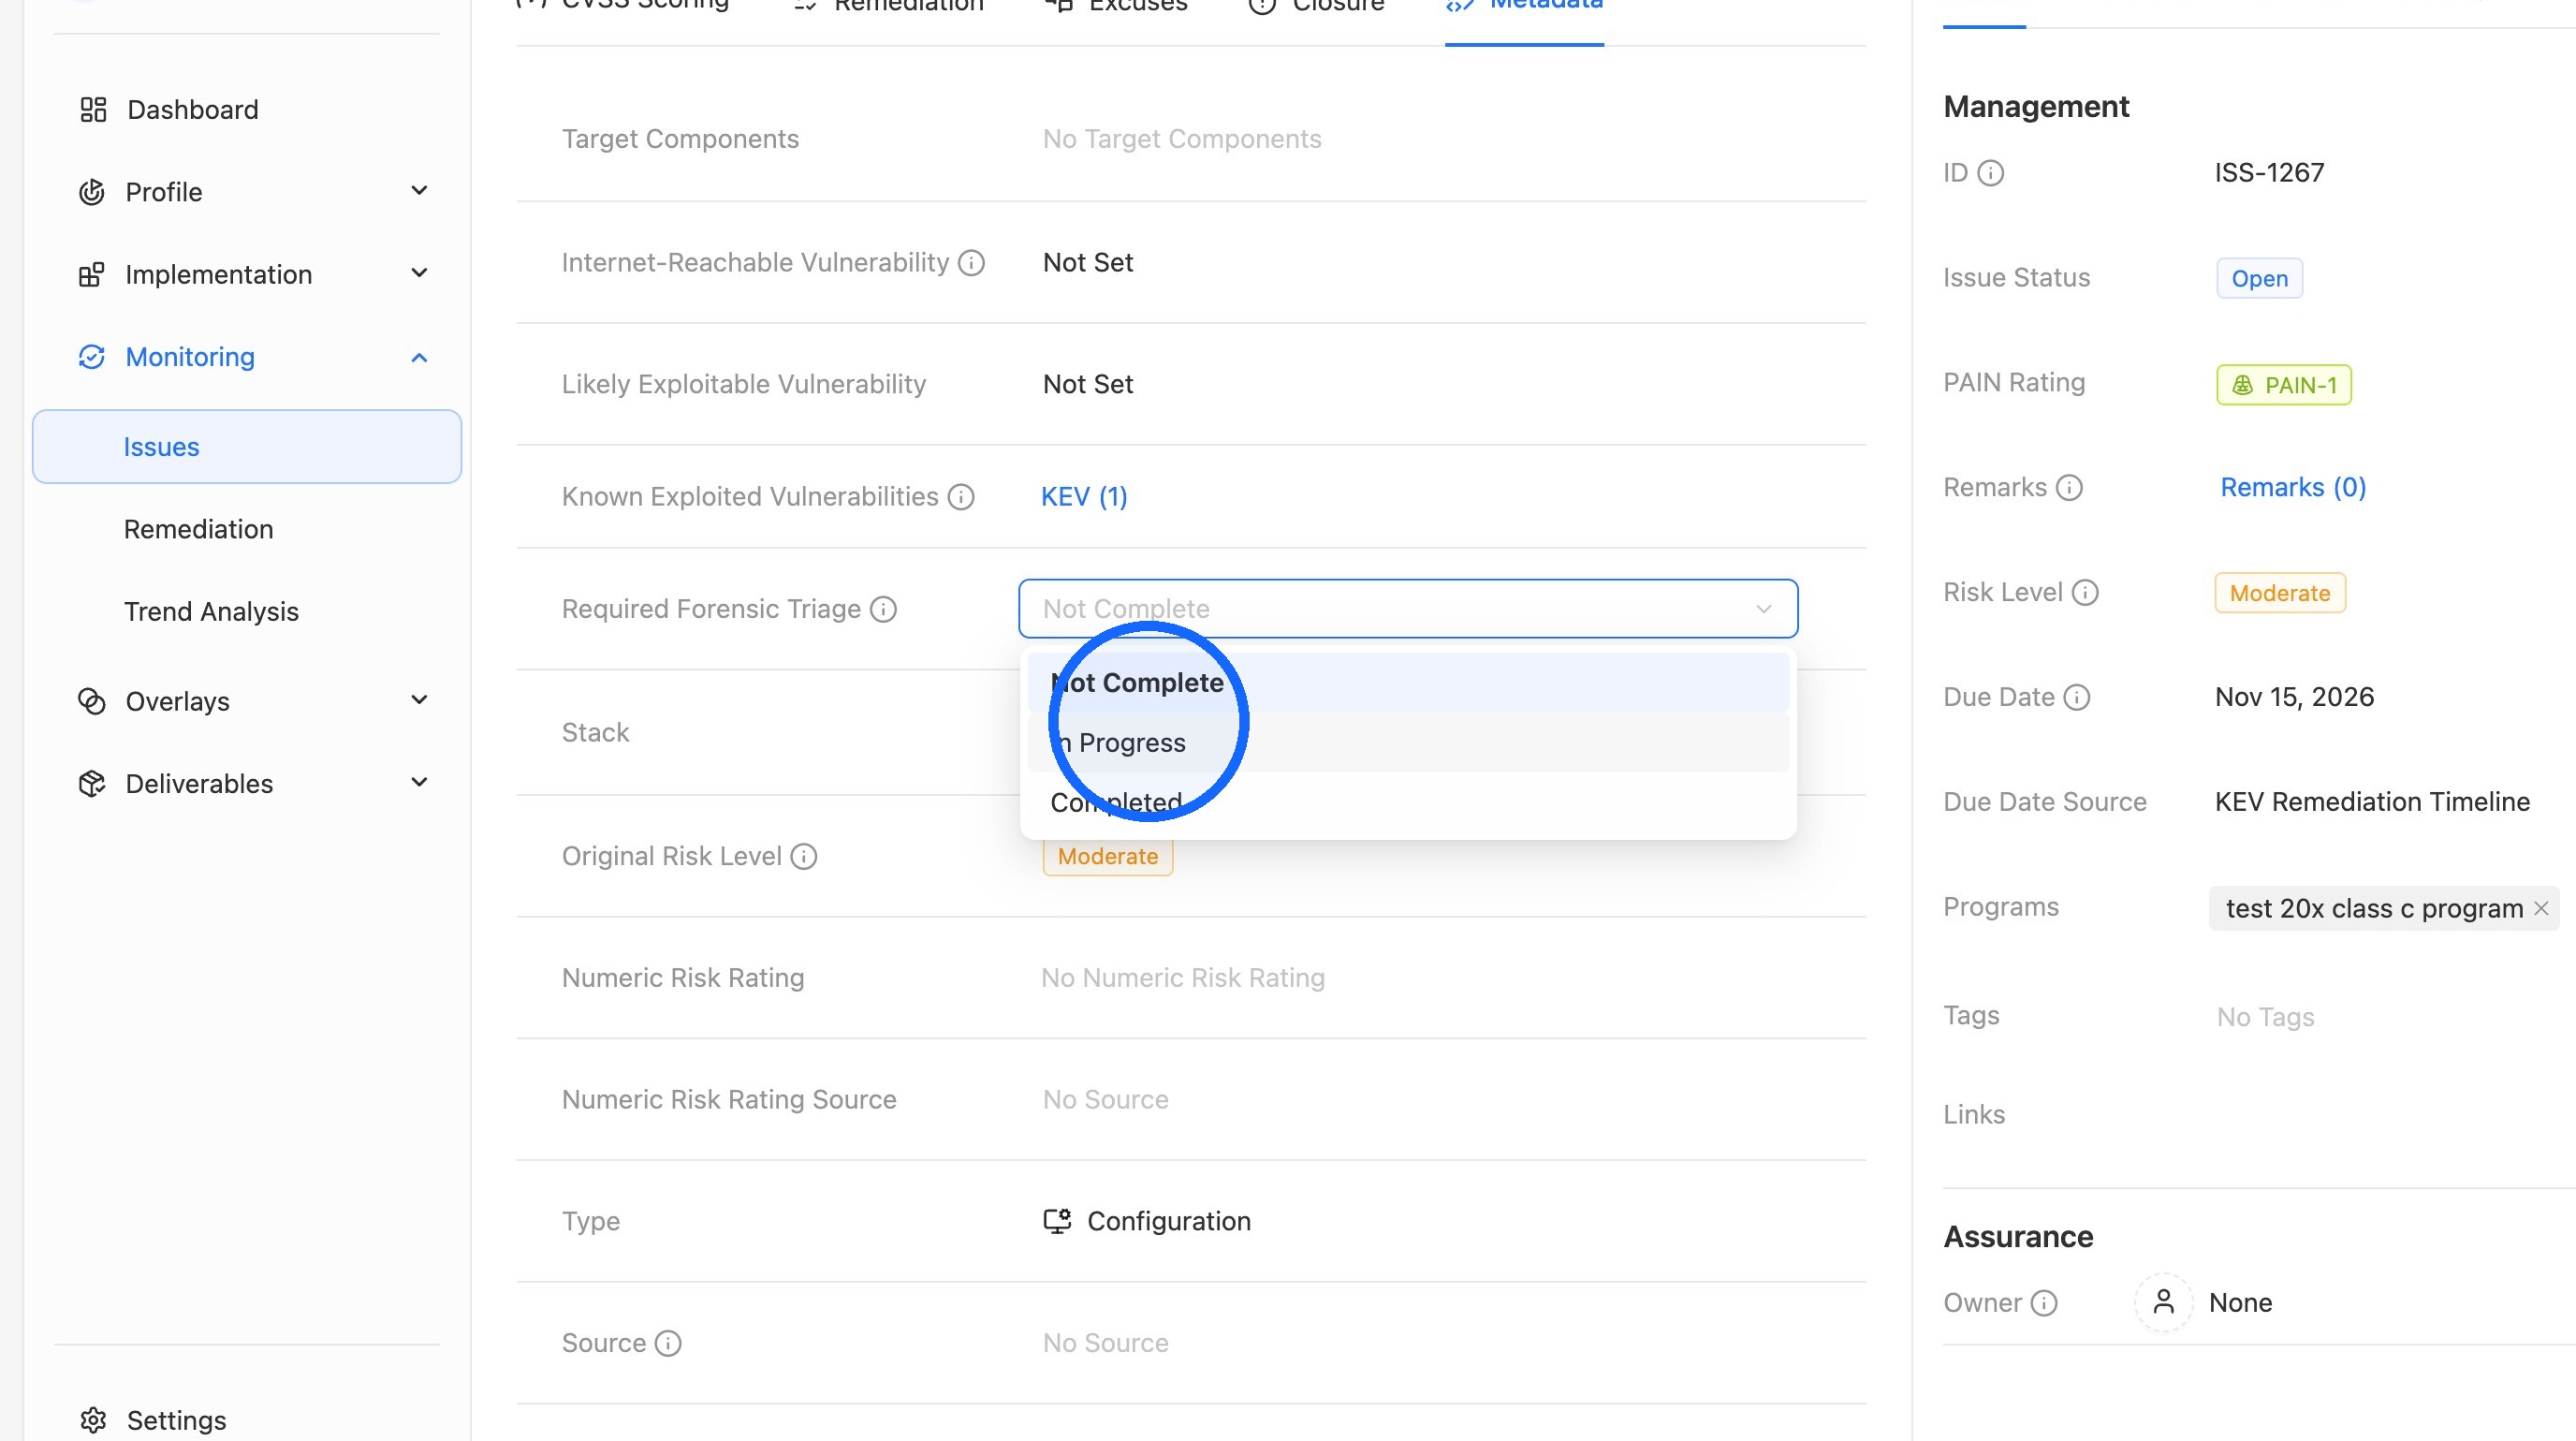
1. Set the forensic triage status on an issue
In the Required Forensic Triage dropdown, select a status such as In Progress.
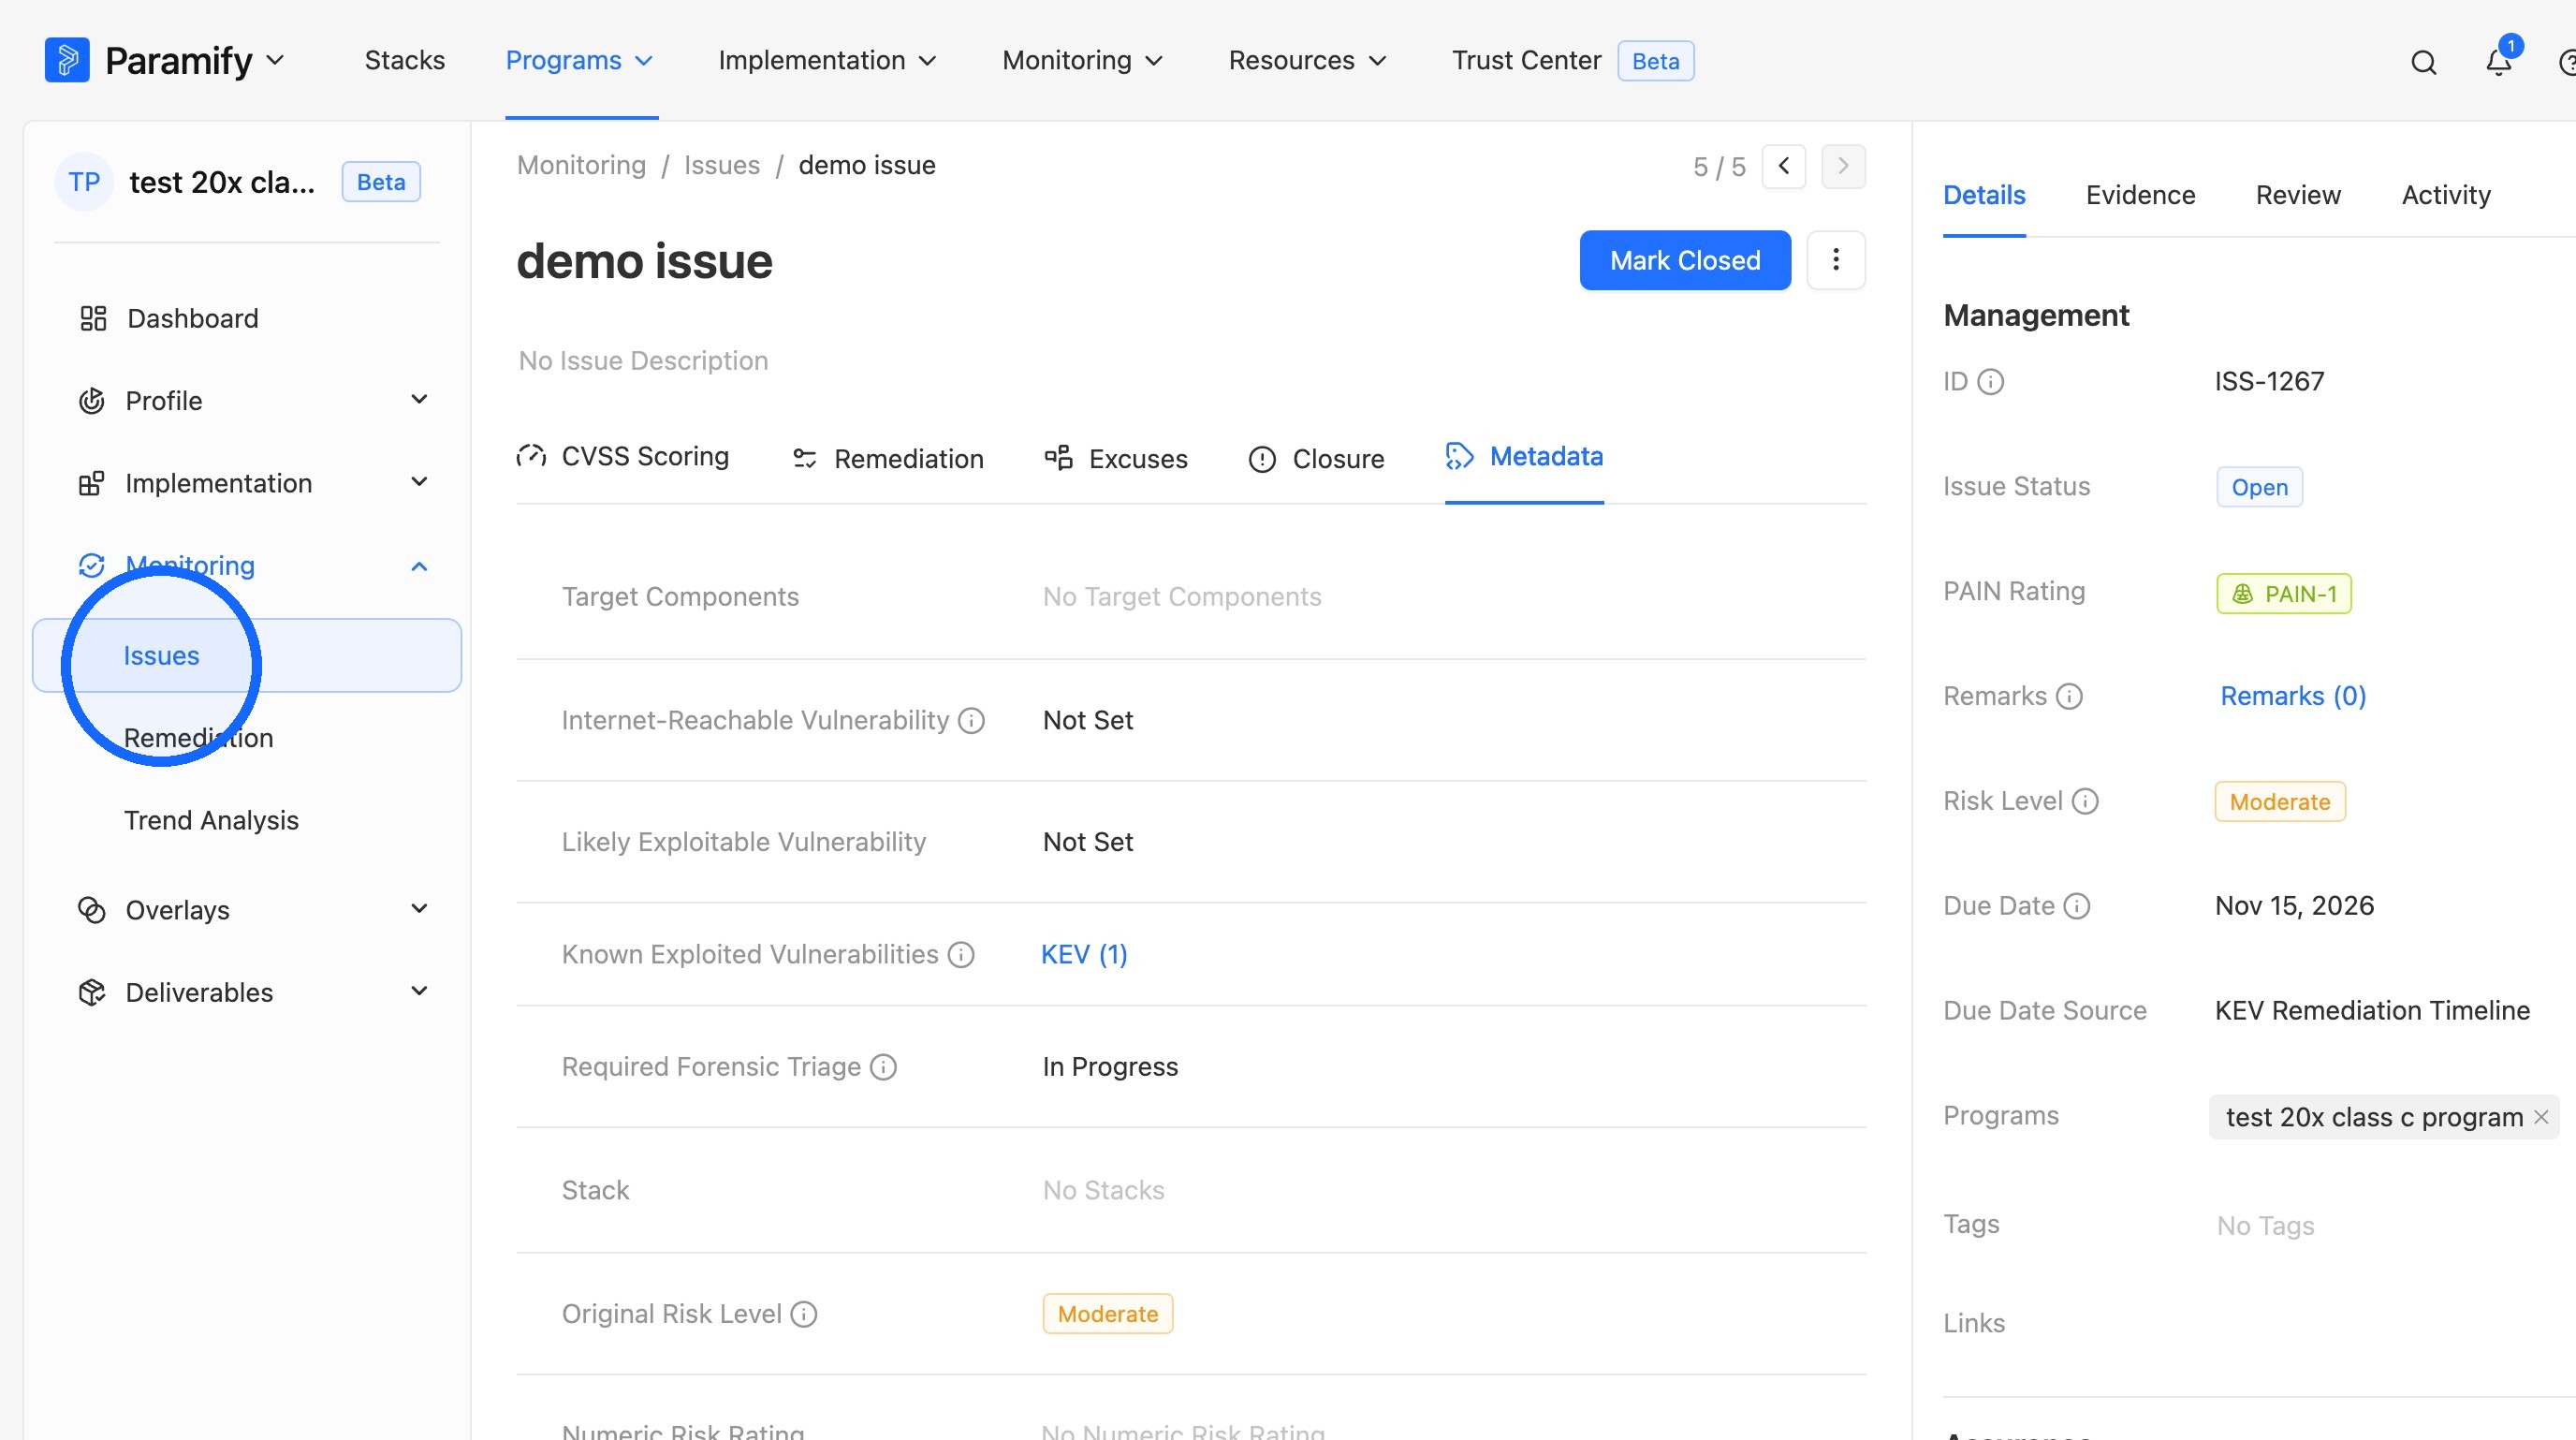
2. Go to Issues
To update several issues at once, click Issues to return to the issues list.
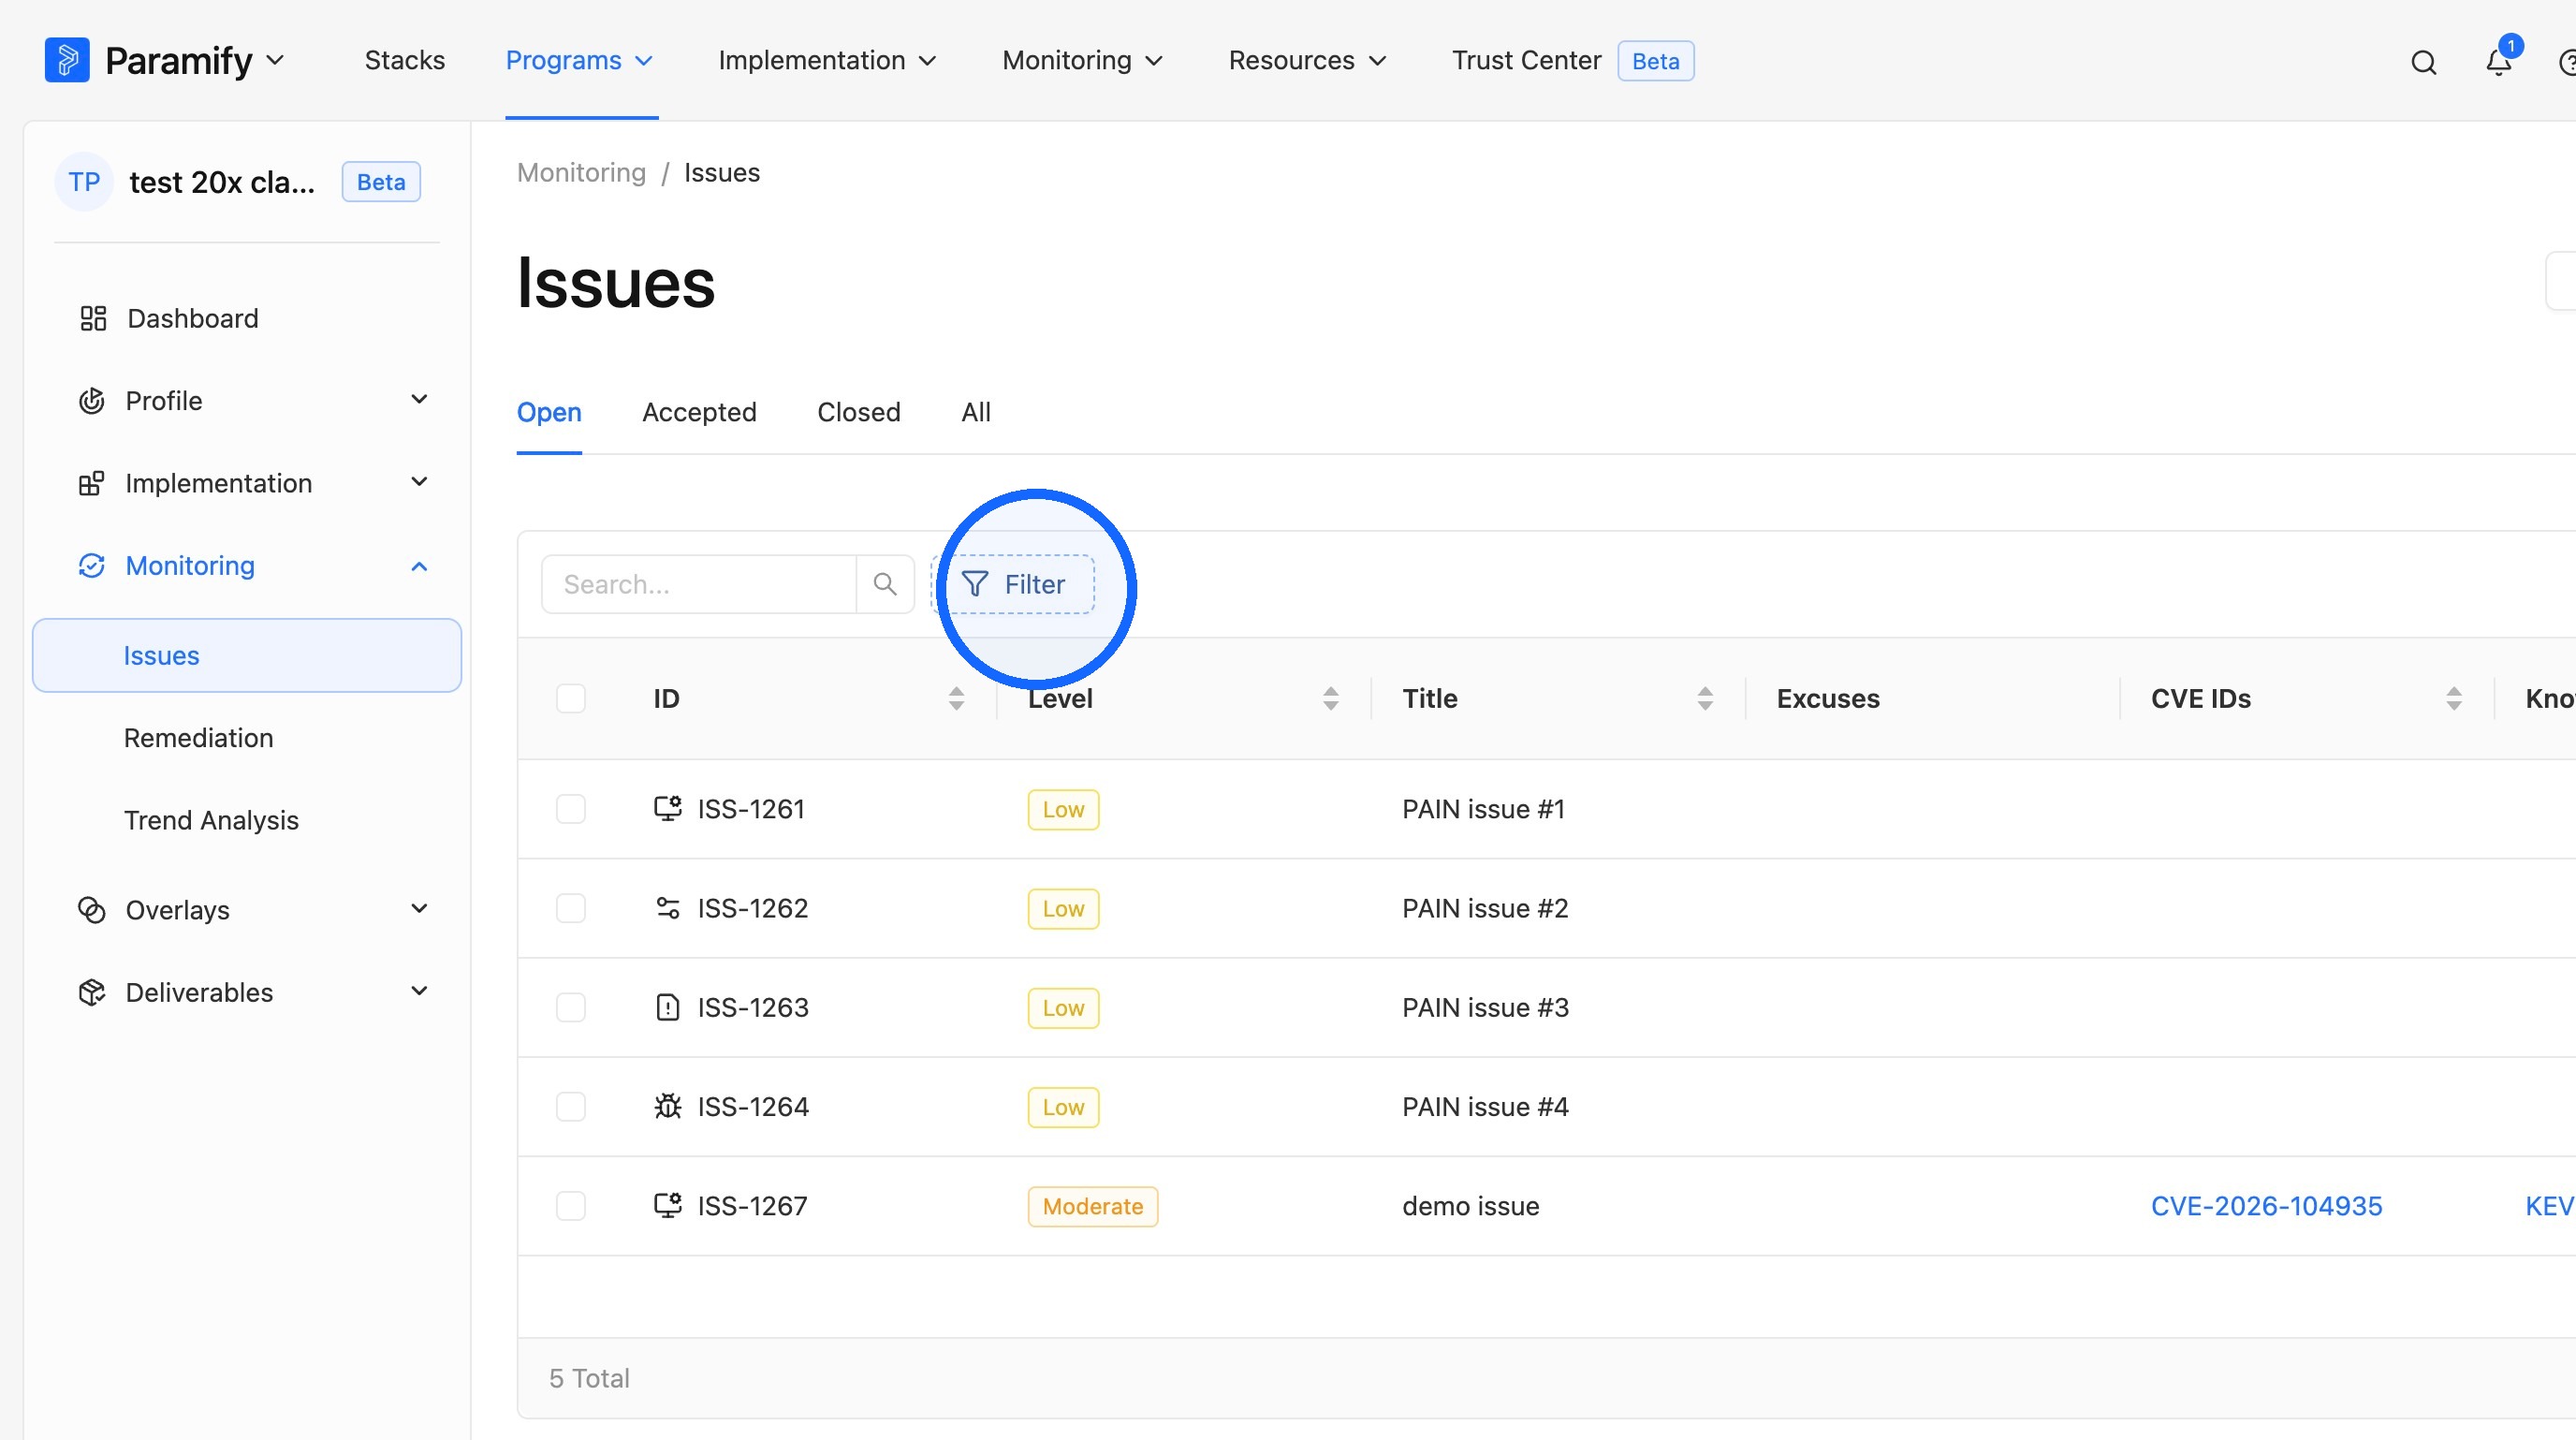
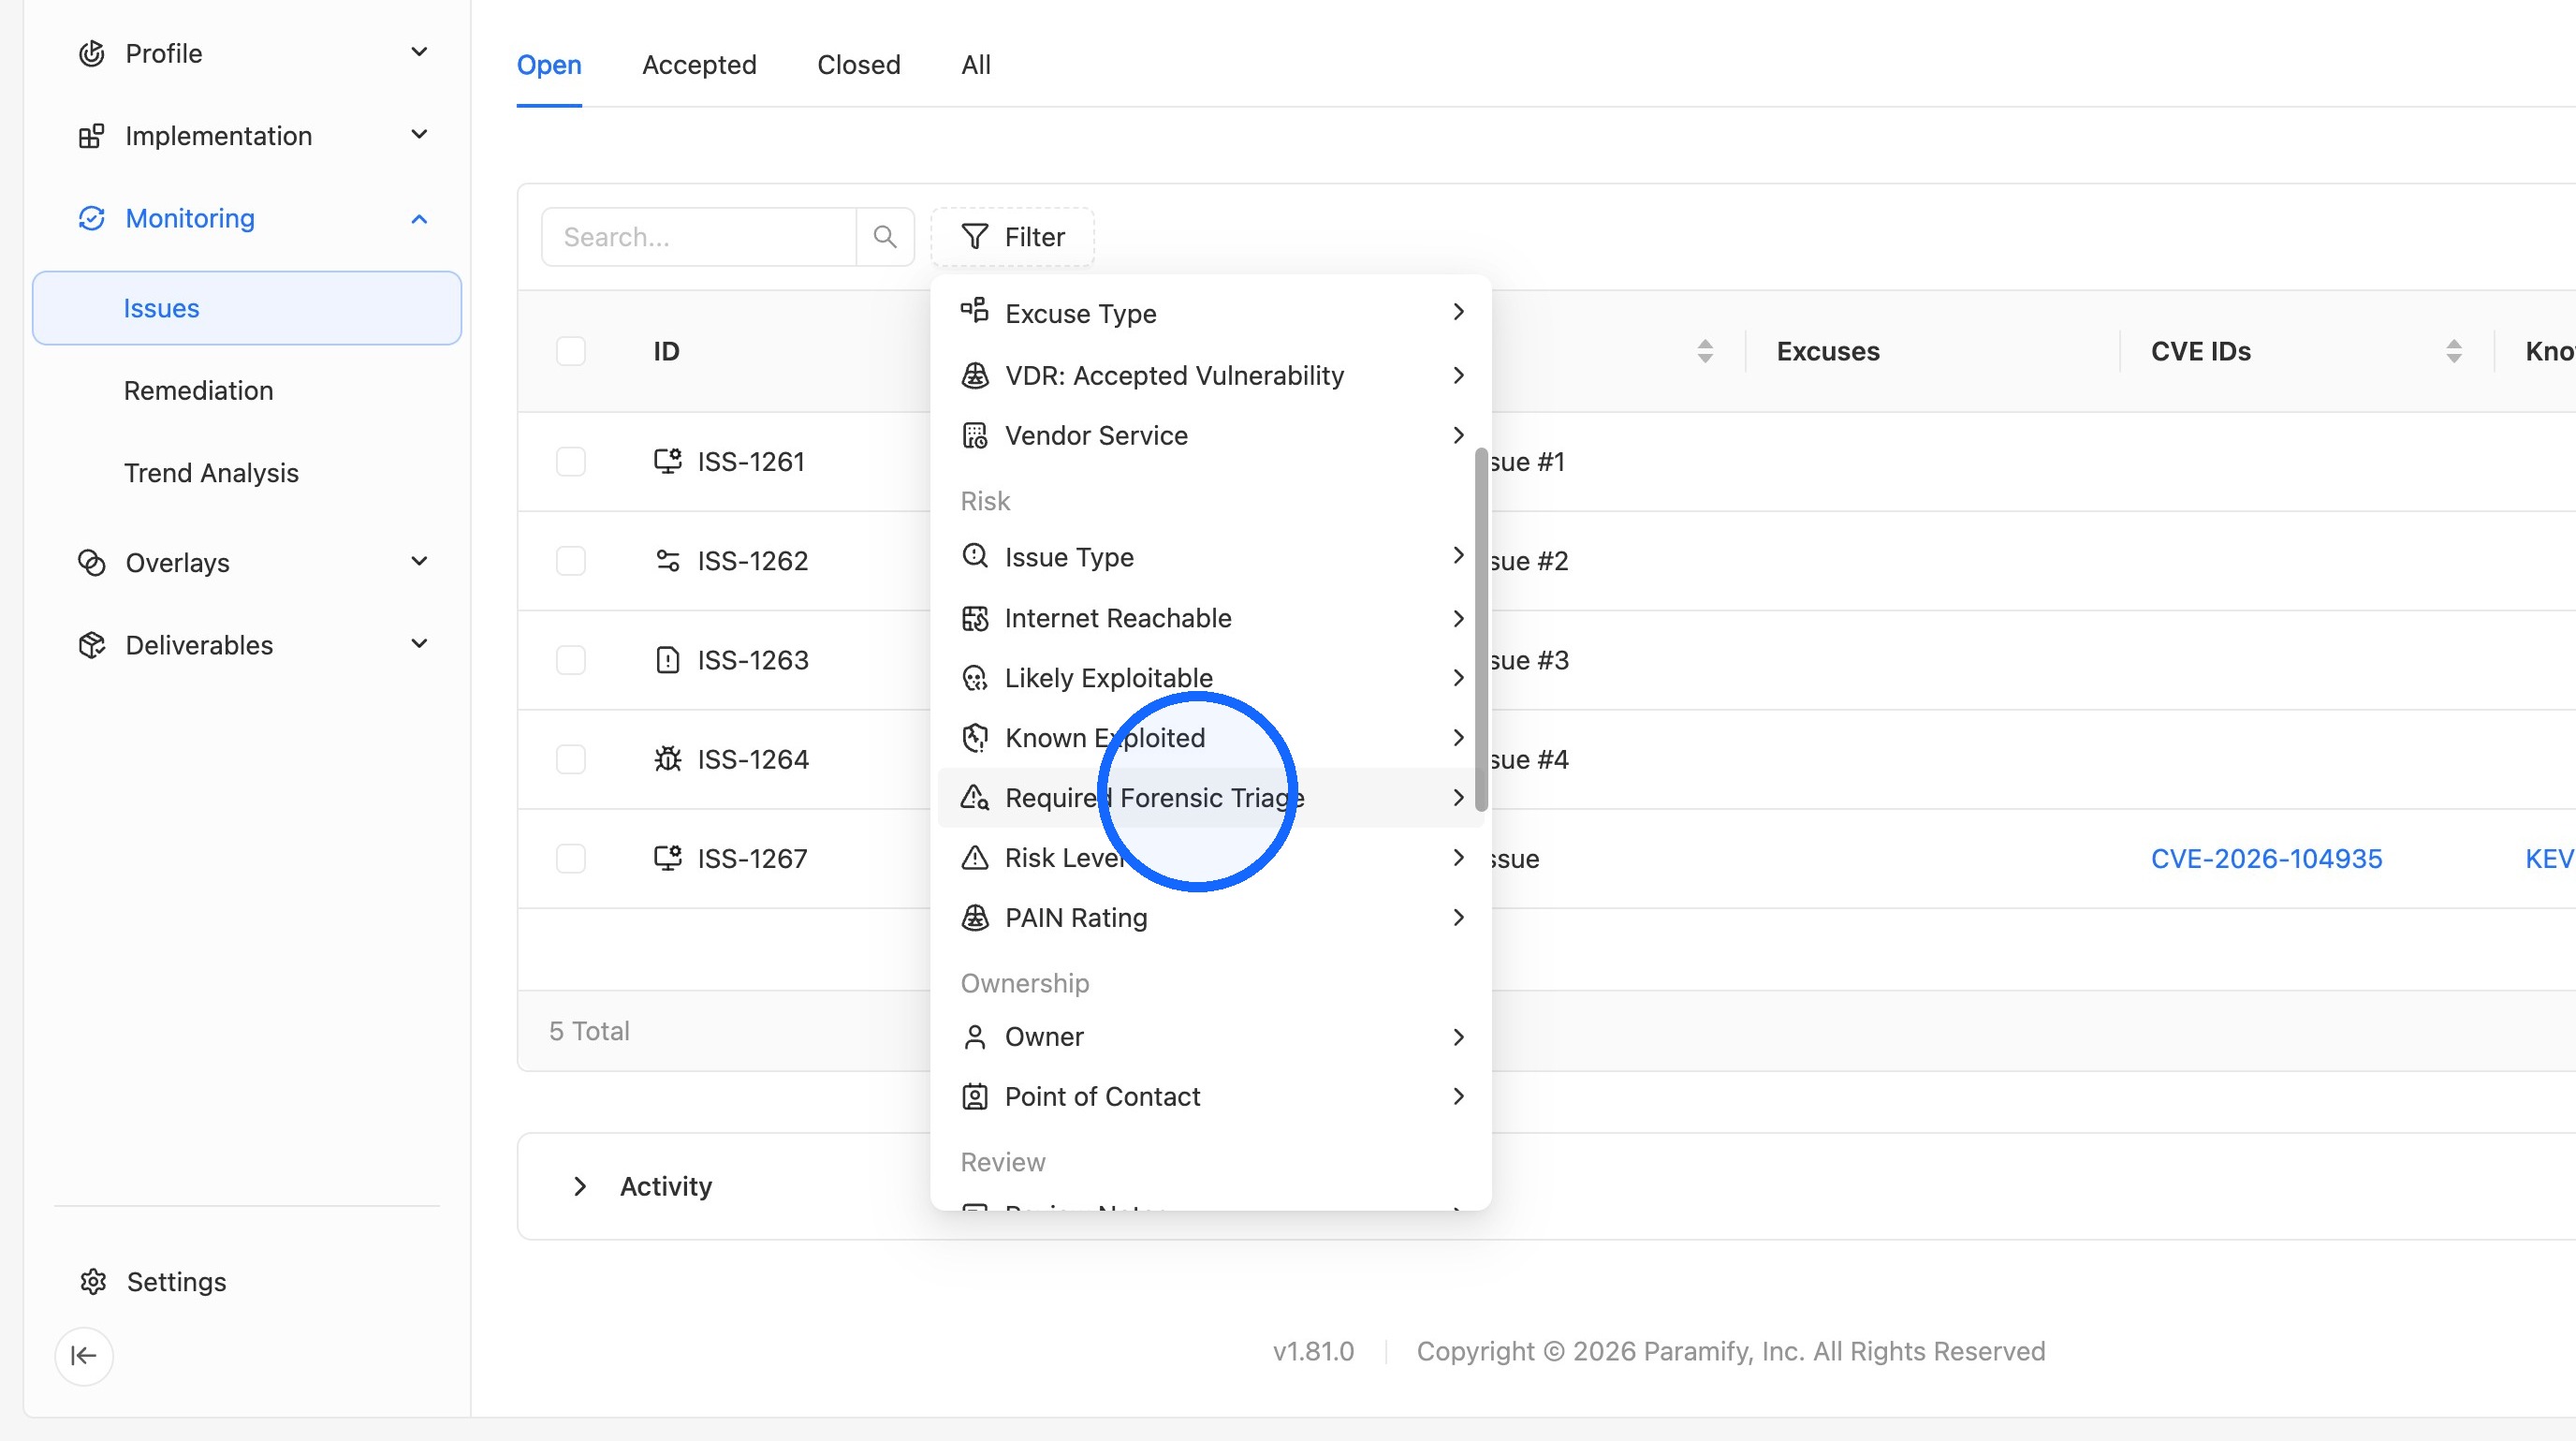
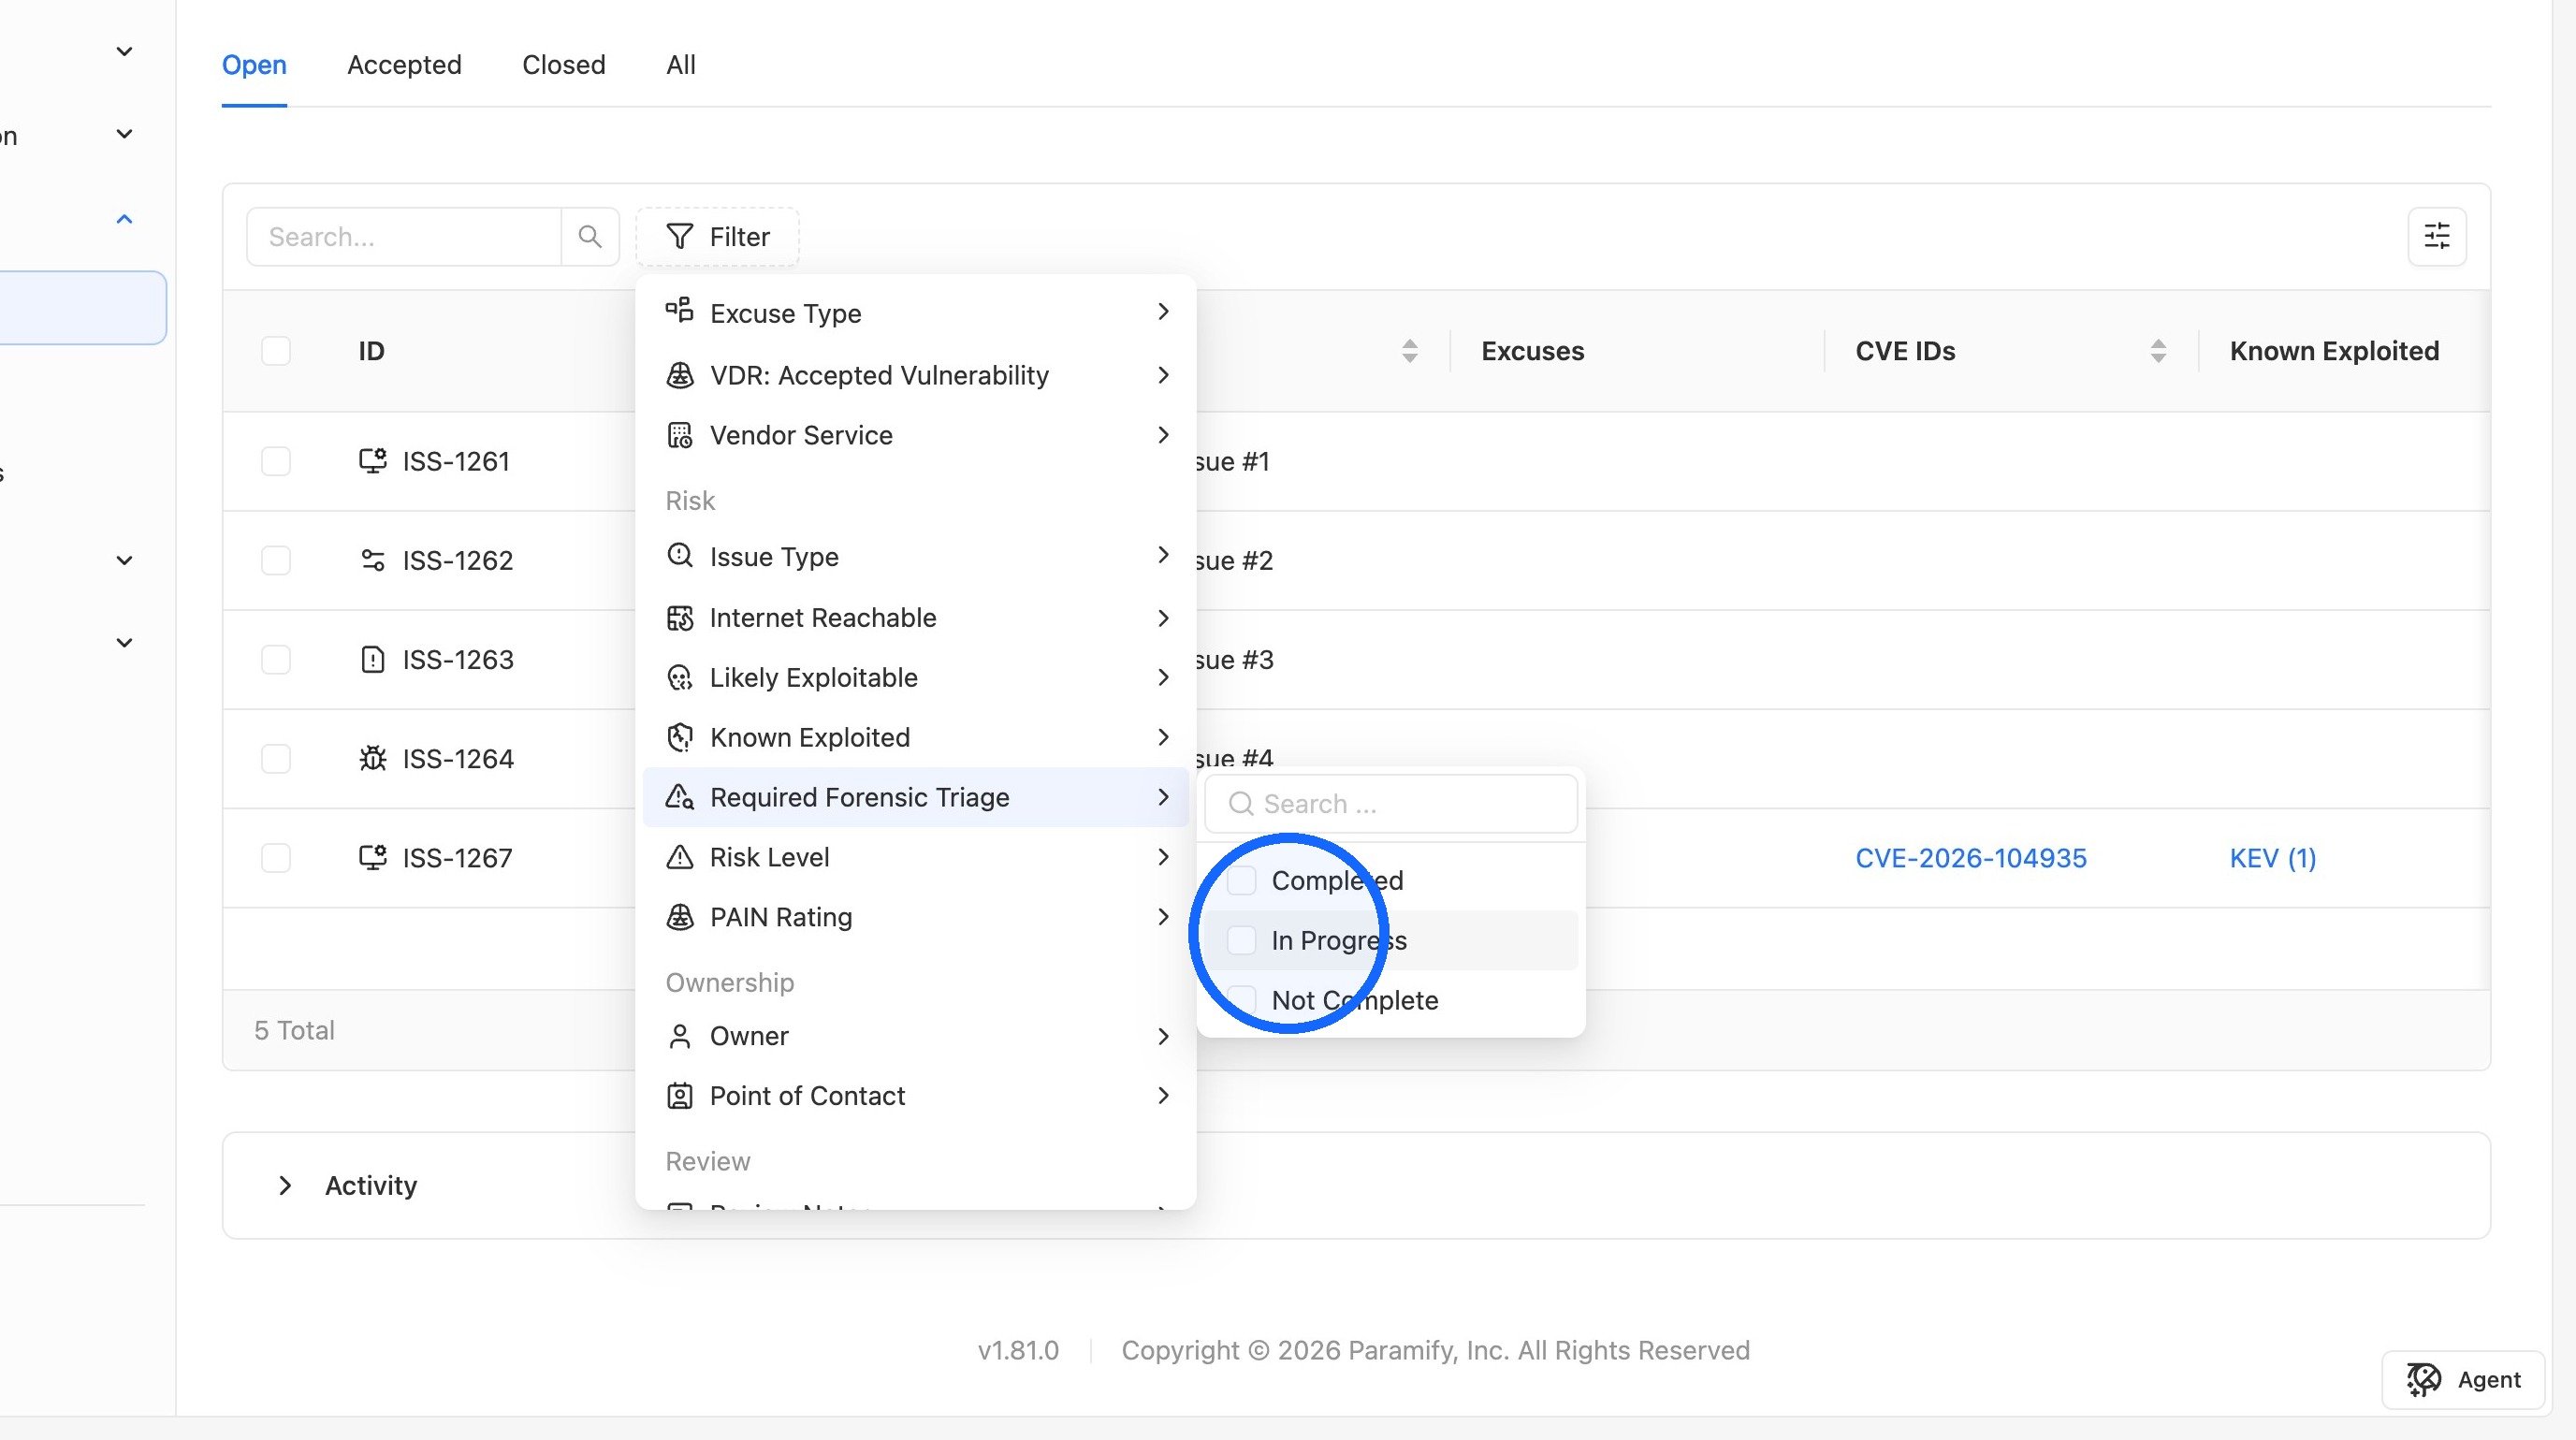
3. Filter by forensic triage status
In the Required Forensic Triage filter, select In Progress.
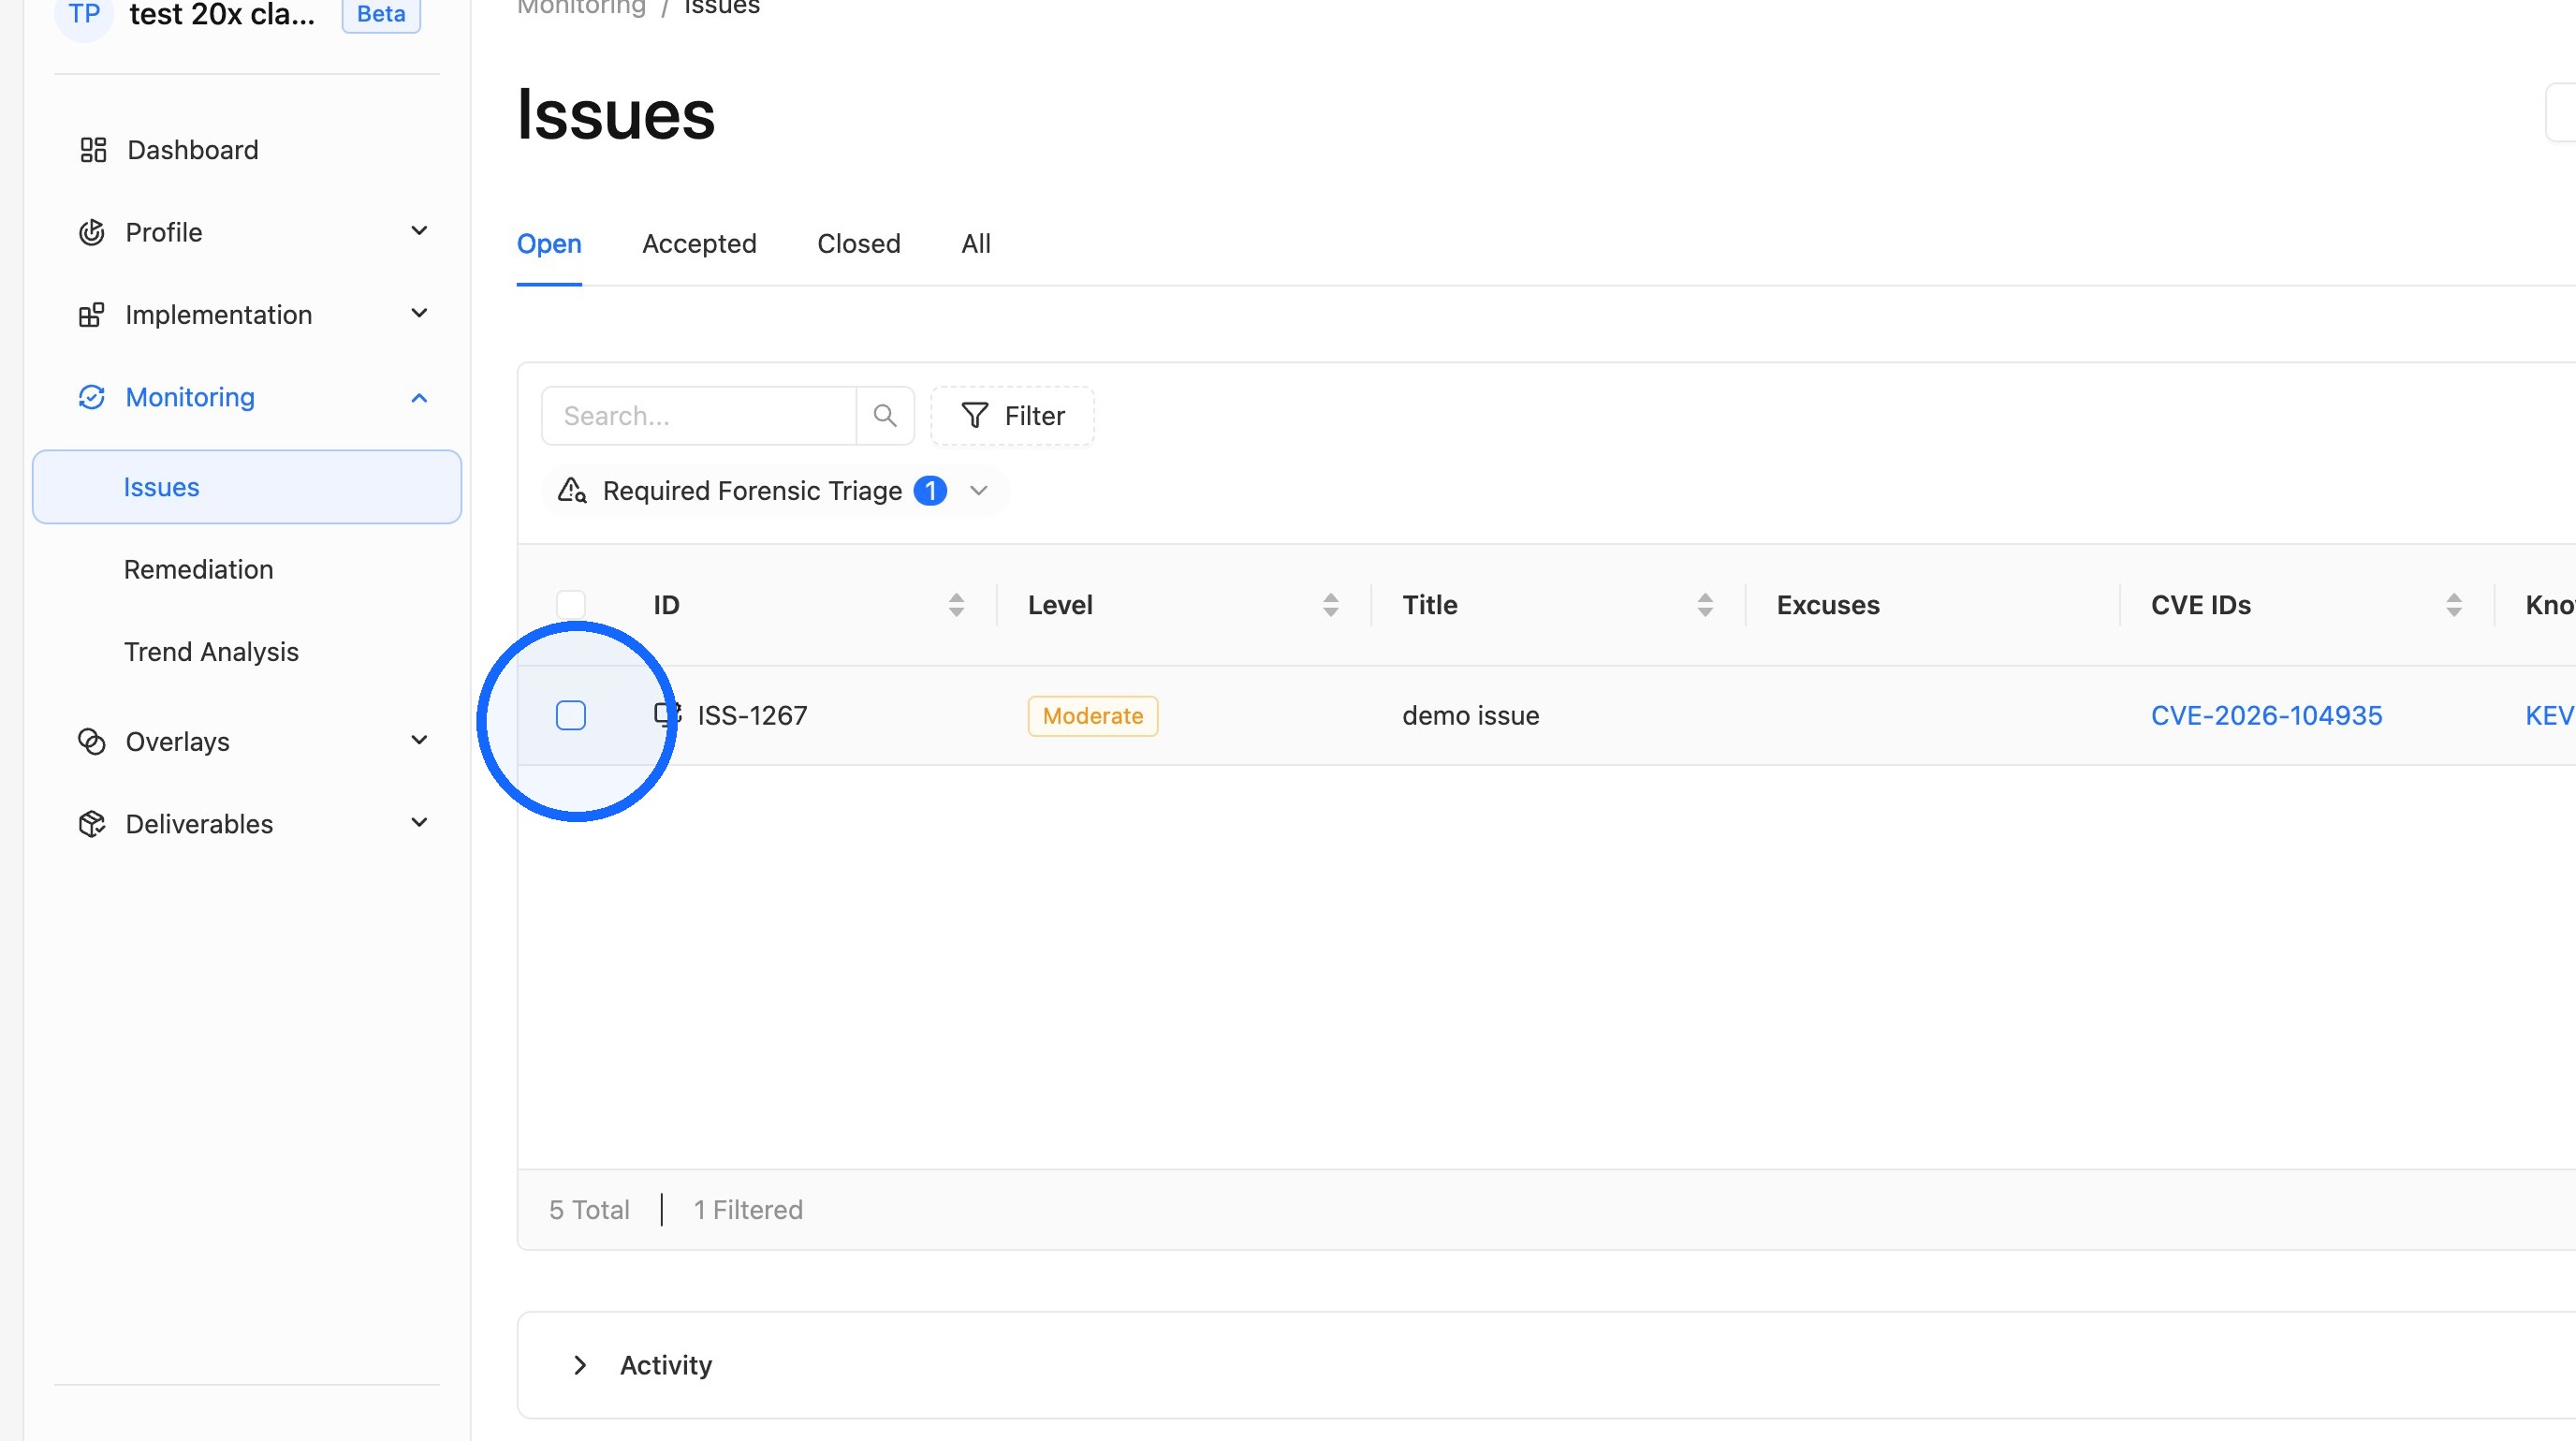
4. Select the issues to update
Select the checkbox next to each issue you want to update.
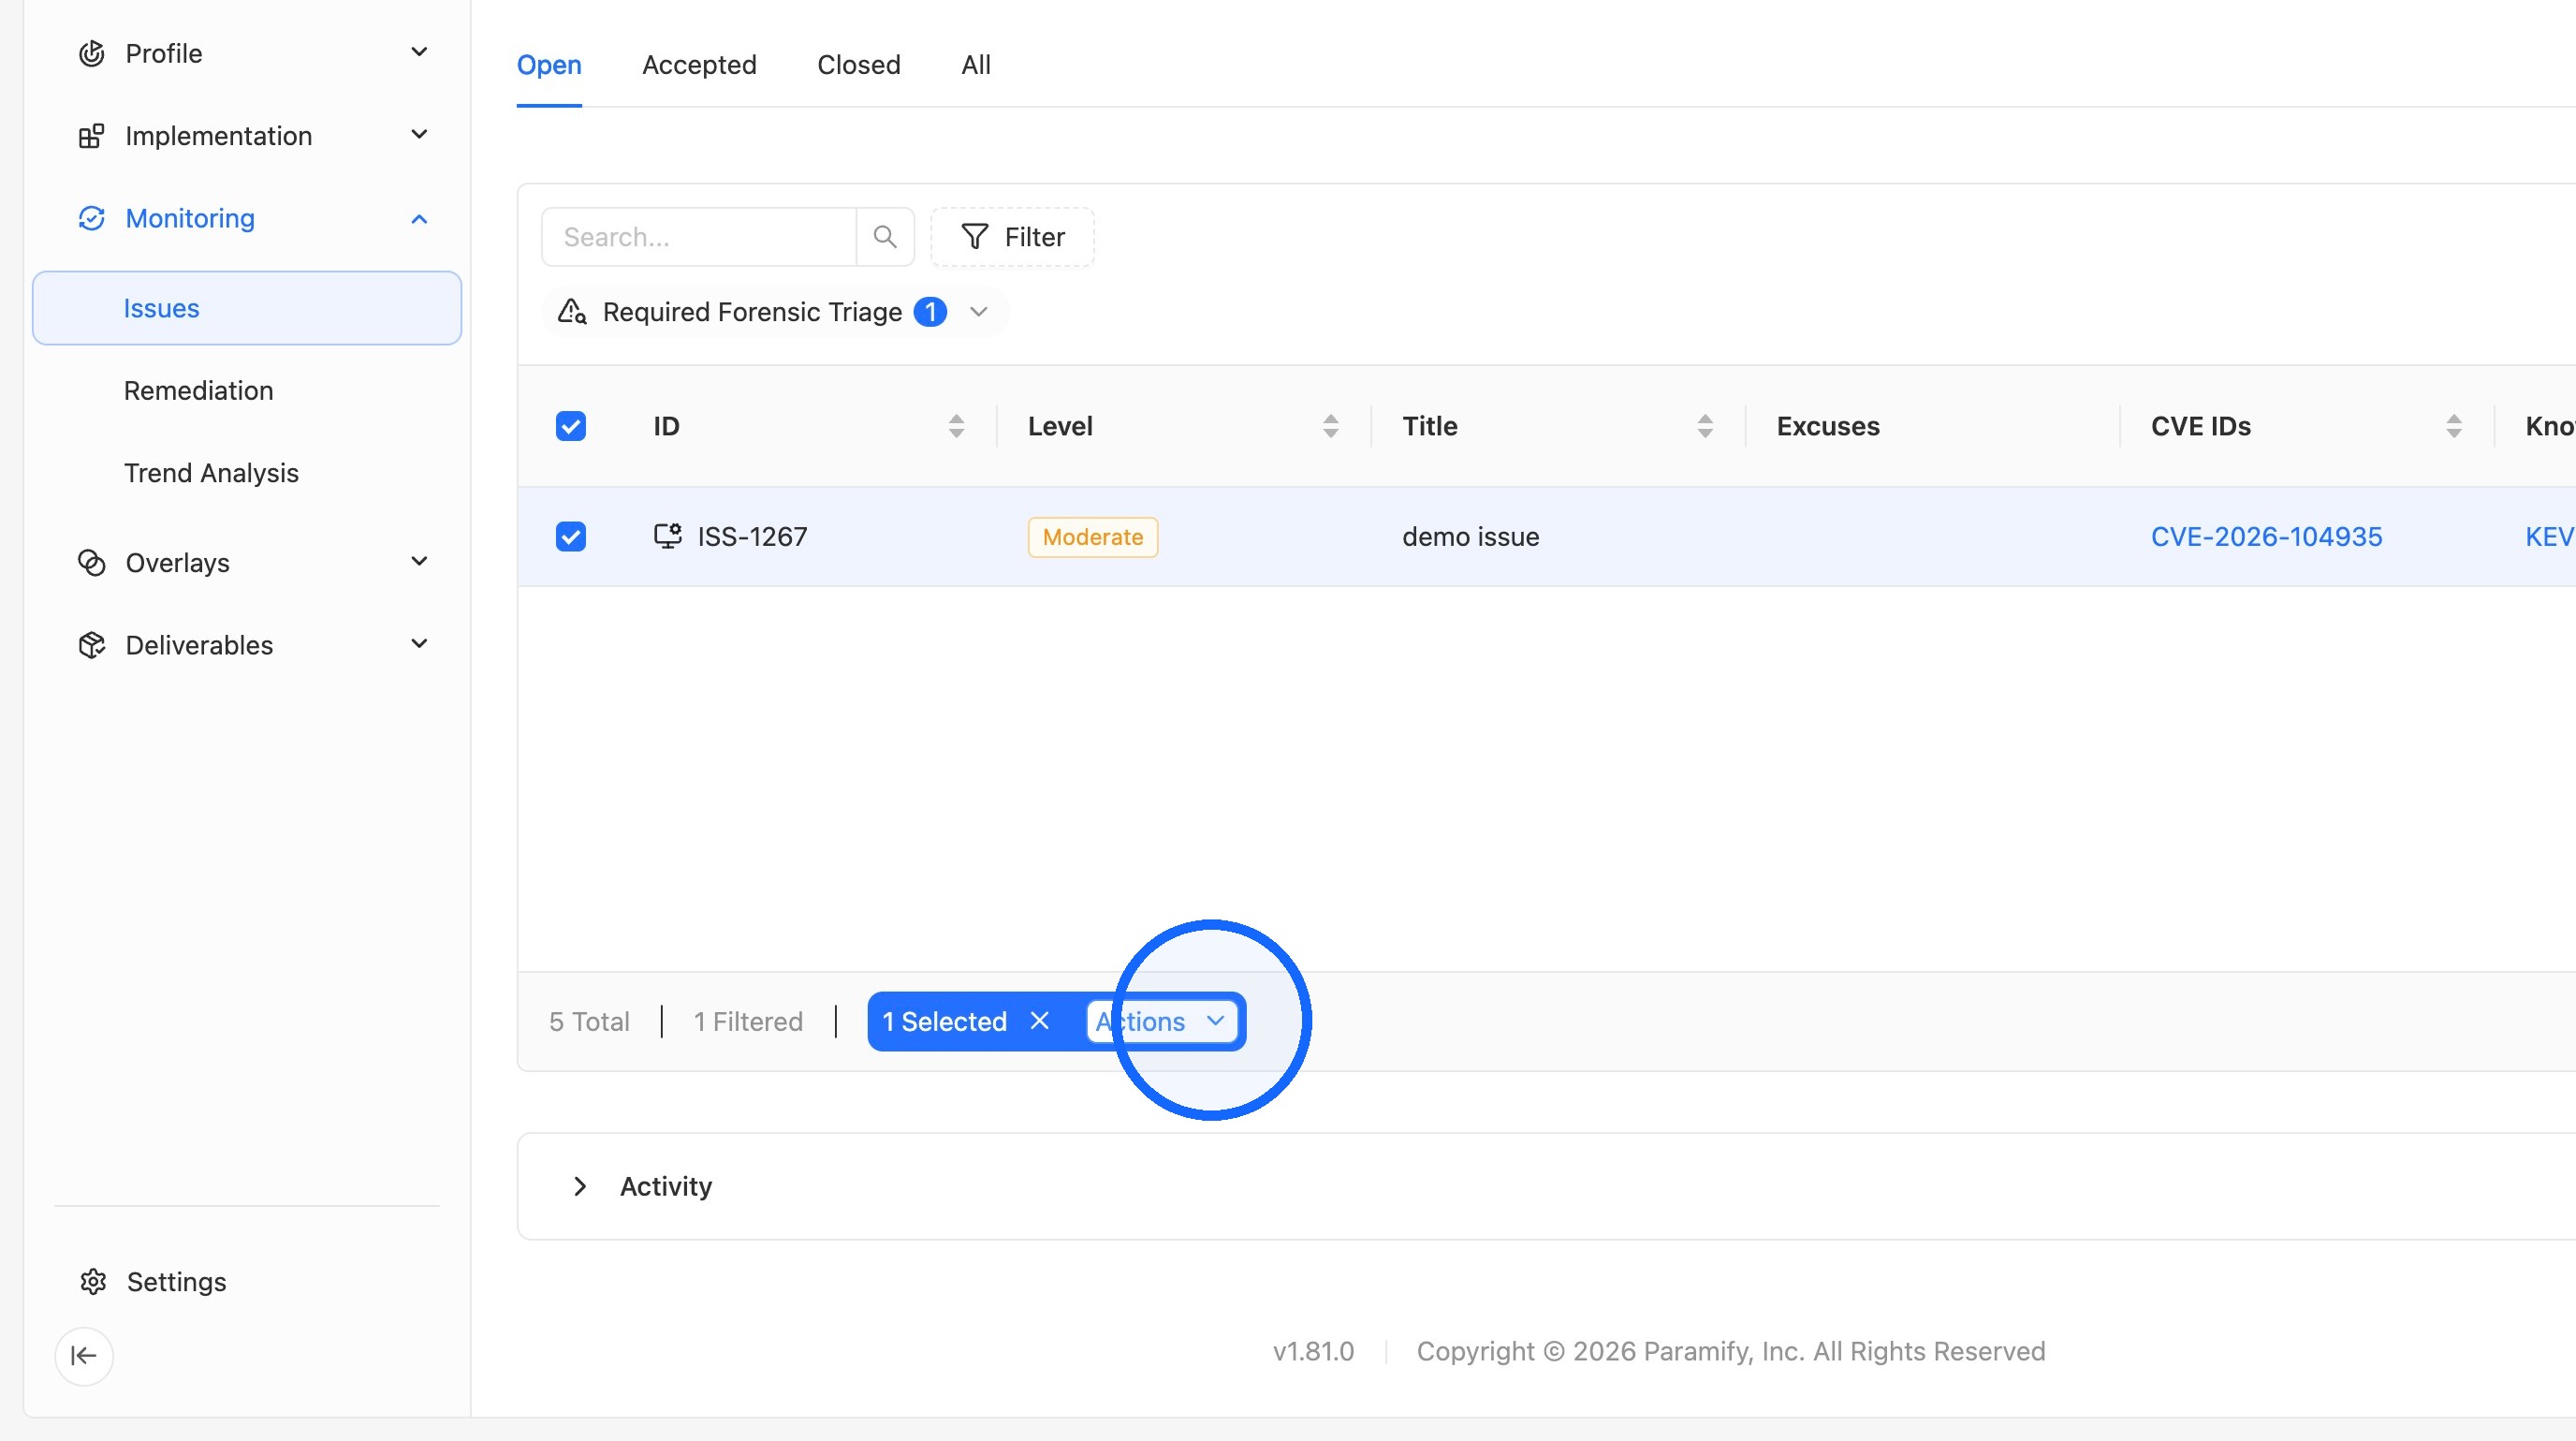
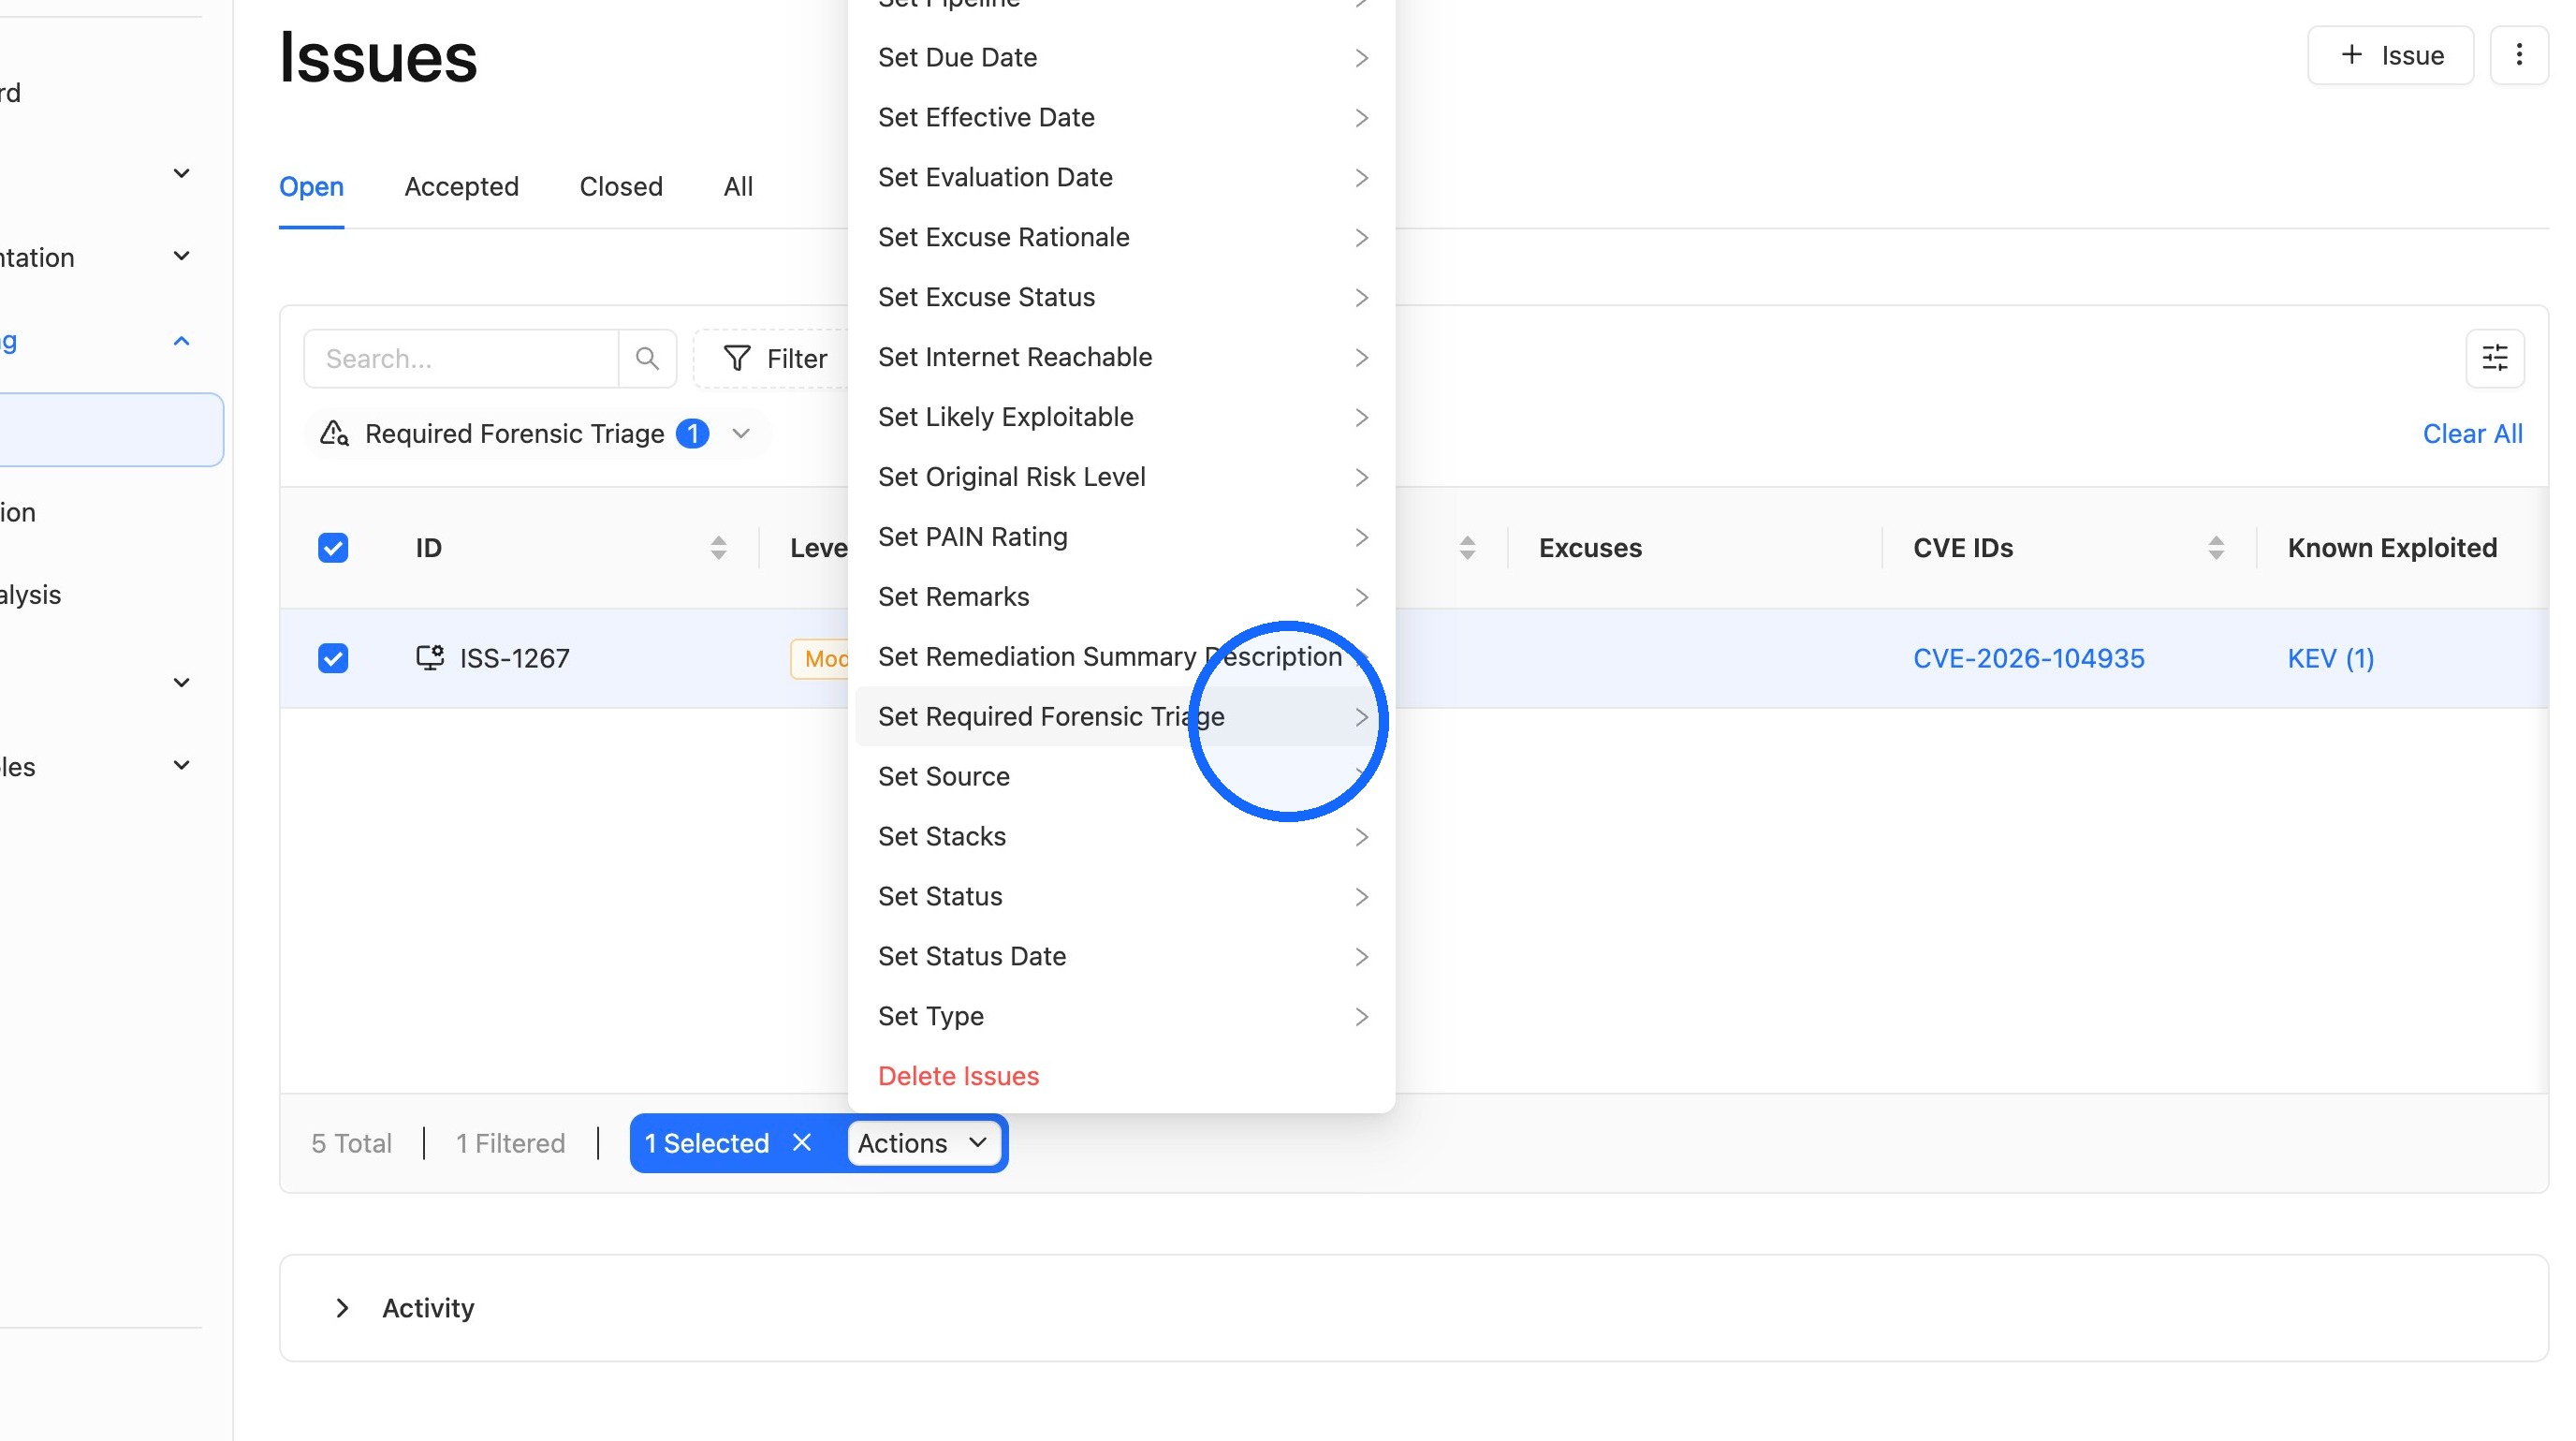
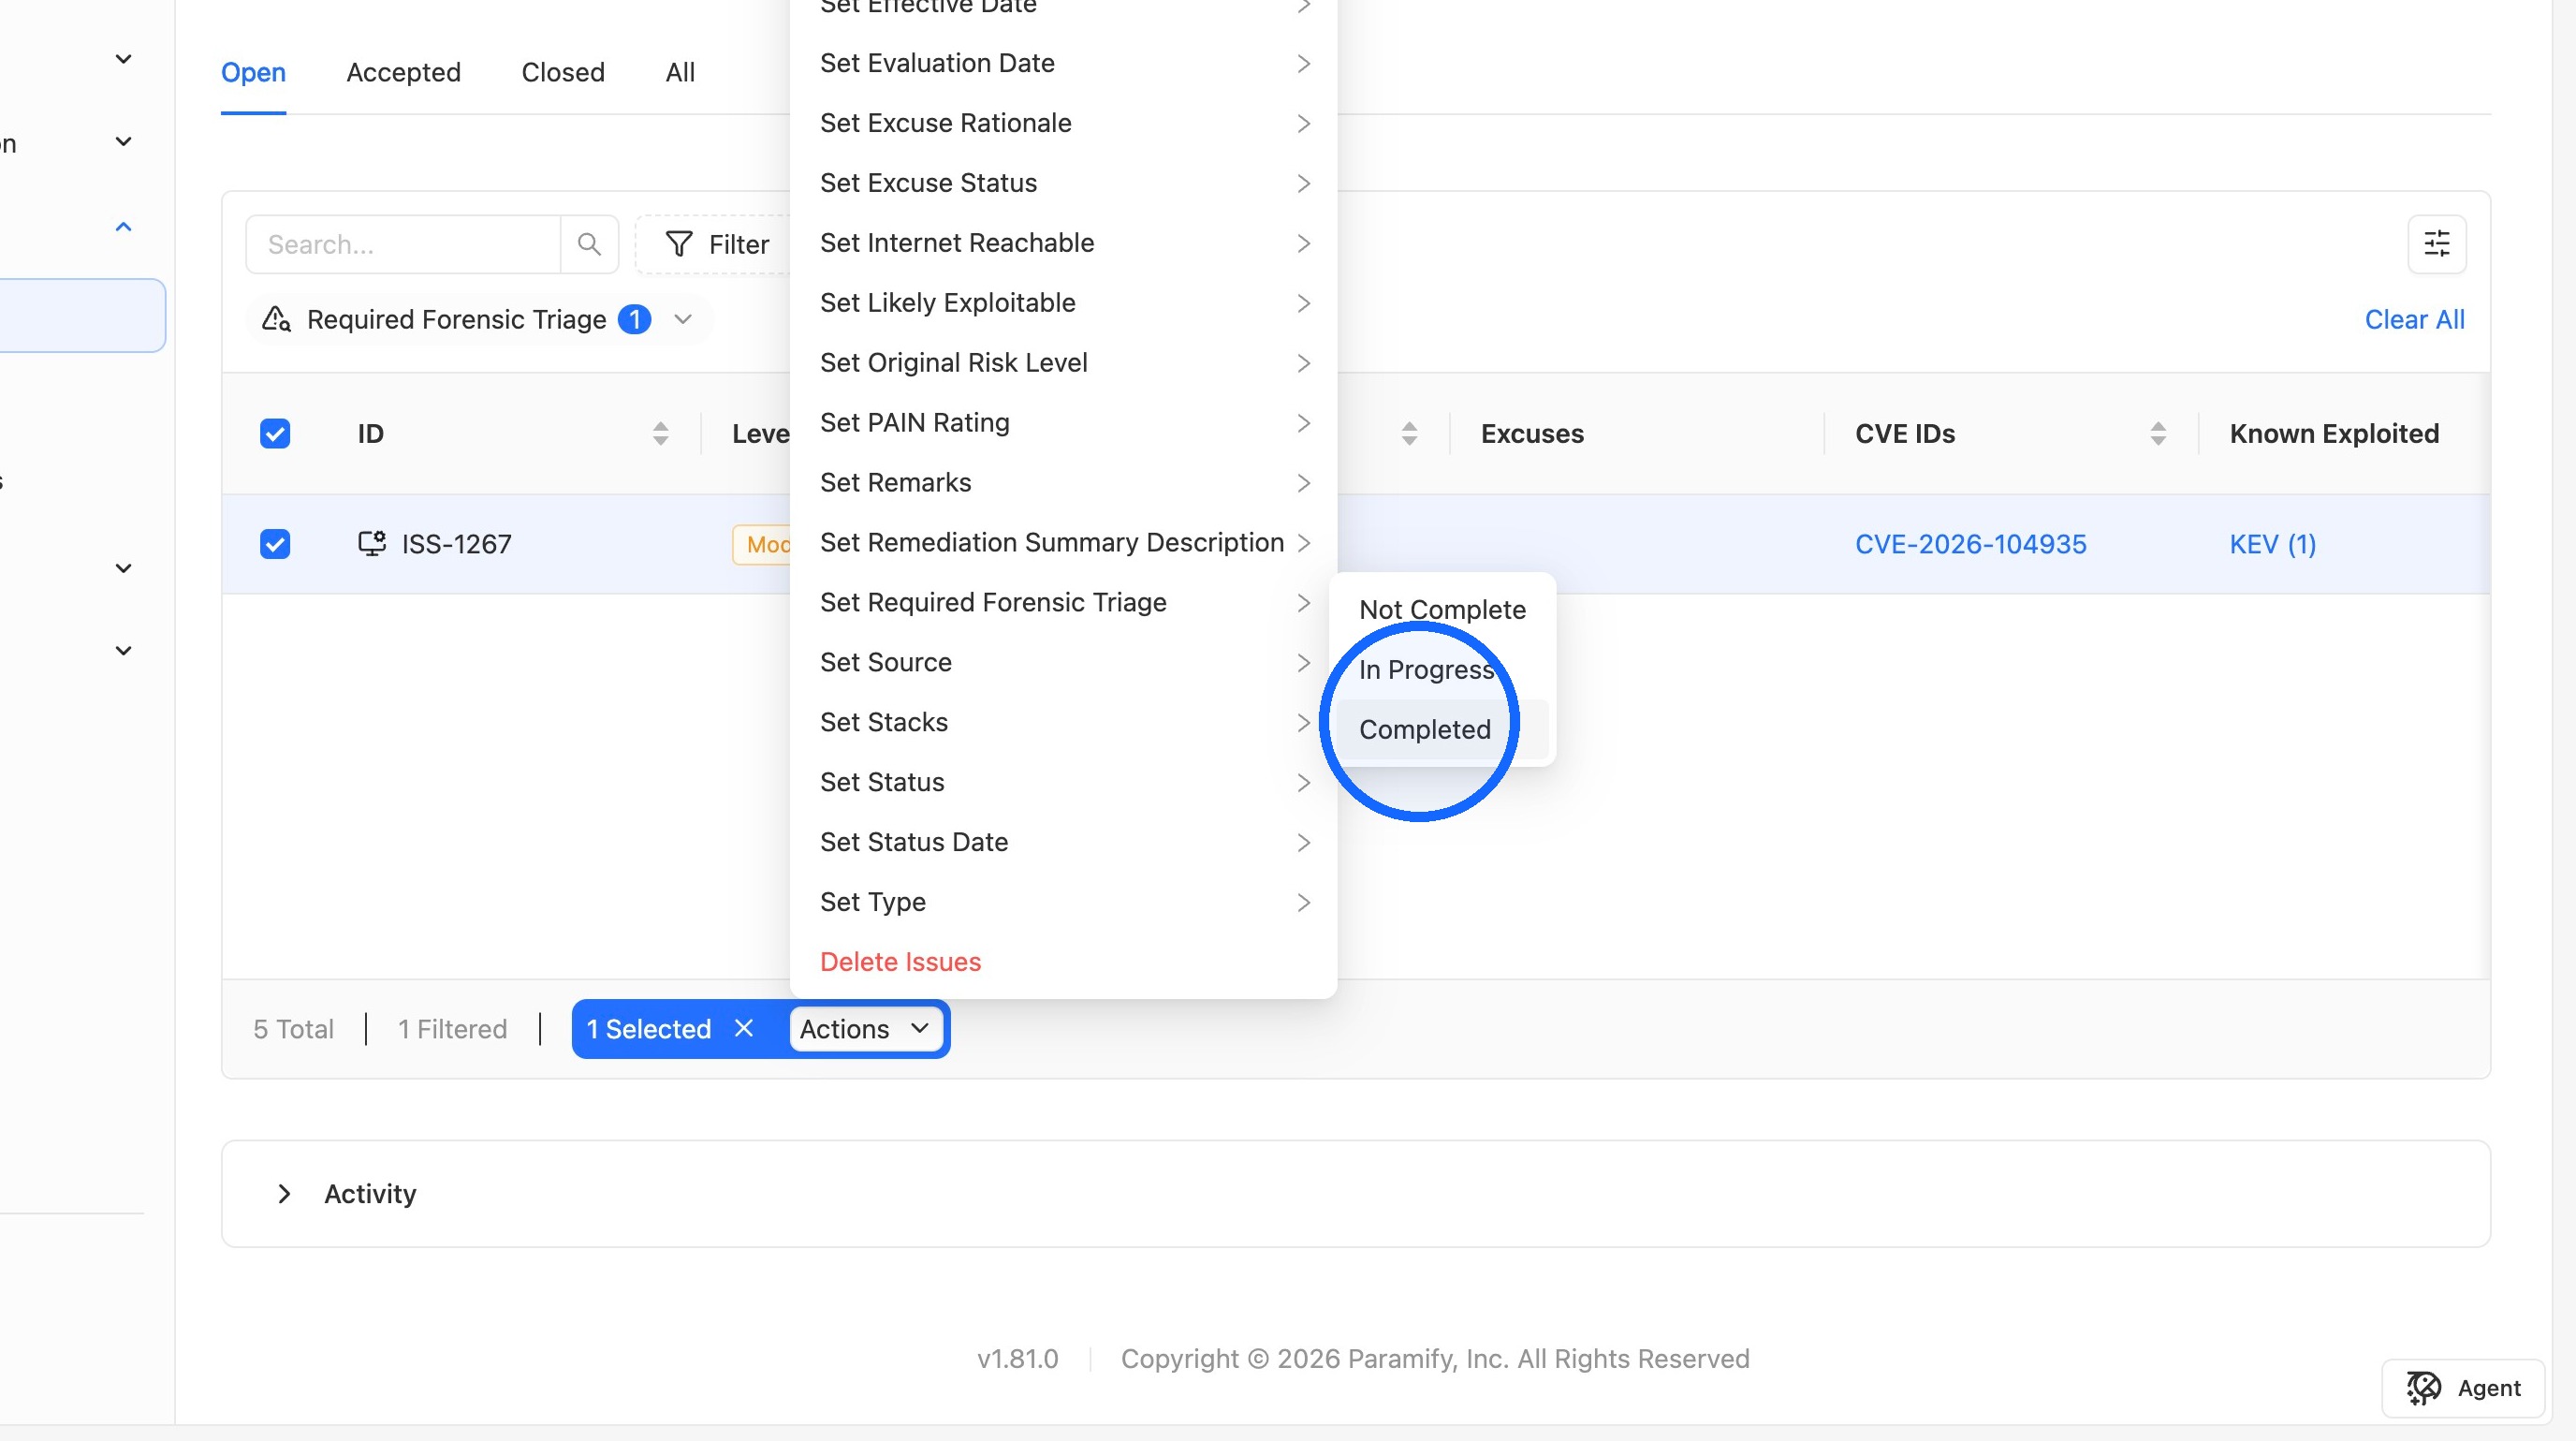
5. Mark forensic triage as Completed
Open Actions, choose Set Required Forensic Triage, and select Completed.
NOTE
The Set Required Forensic Triage bulk action only updates selected issues that have a KEV attached. Other selected issues are not changed.
API support
You can also work with forensic triage status through the Paramify API:
- The get issues endpoint for a program returns each issue's forensic triage status.
- You can set the forensic triage status when creating an issue (POST) or updating one (PATCH).
- The status can only be set when the issue has a CVE that is a KEV. The CVE can be included in the same request or already be set on the issue.
- The get issues endpoint can't currently filter by forensic triage status.
Comments
0 comments
Please sign in to leave a comment.