
Once you've connected your Paramify account to your Jira account, the advanced settings give you increased control over the integration. This walkthrough gives you the steps to set up these advanced settings.
Accessing the advanced settings
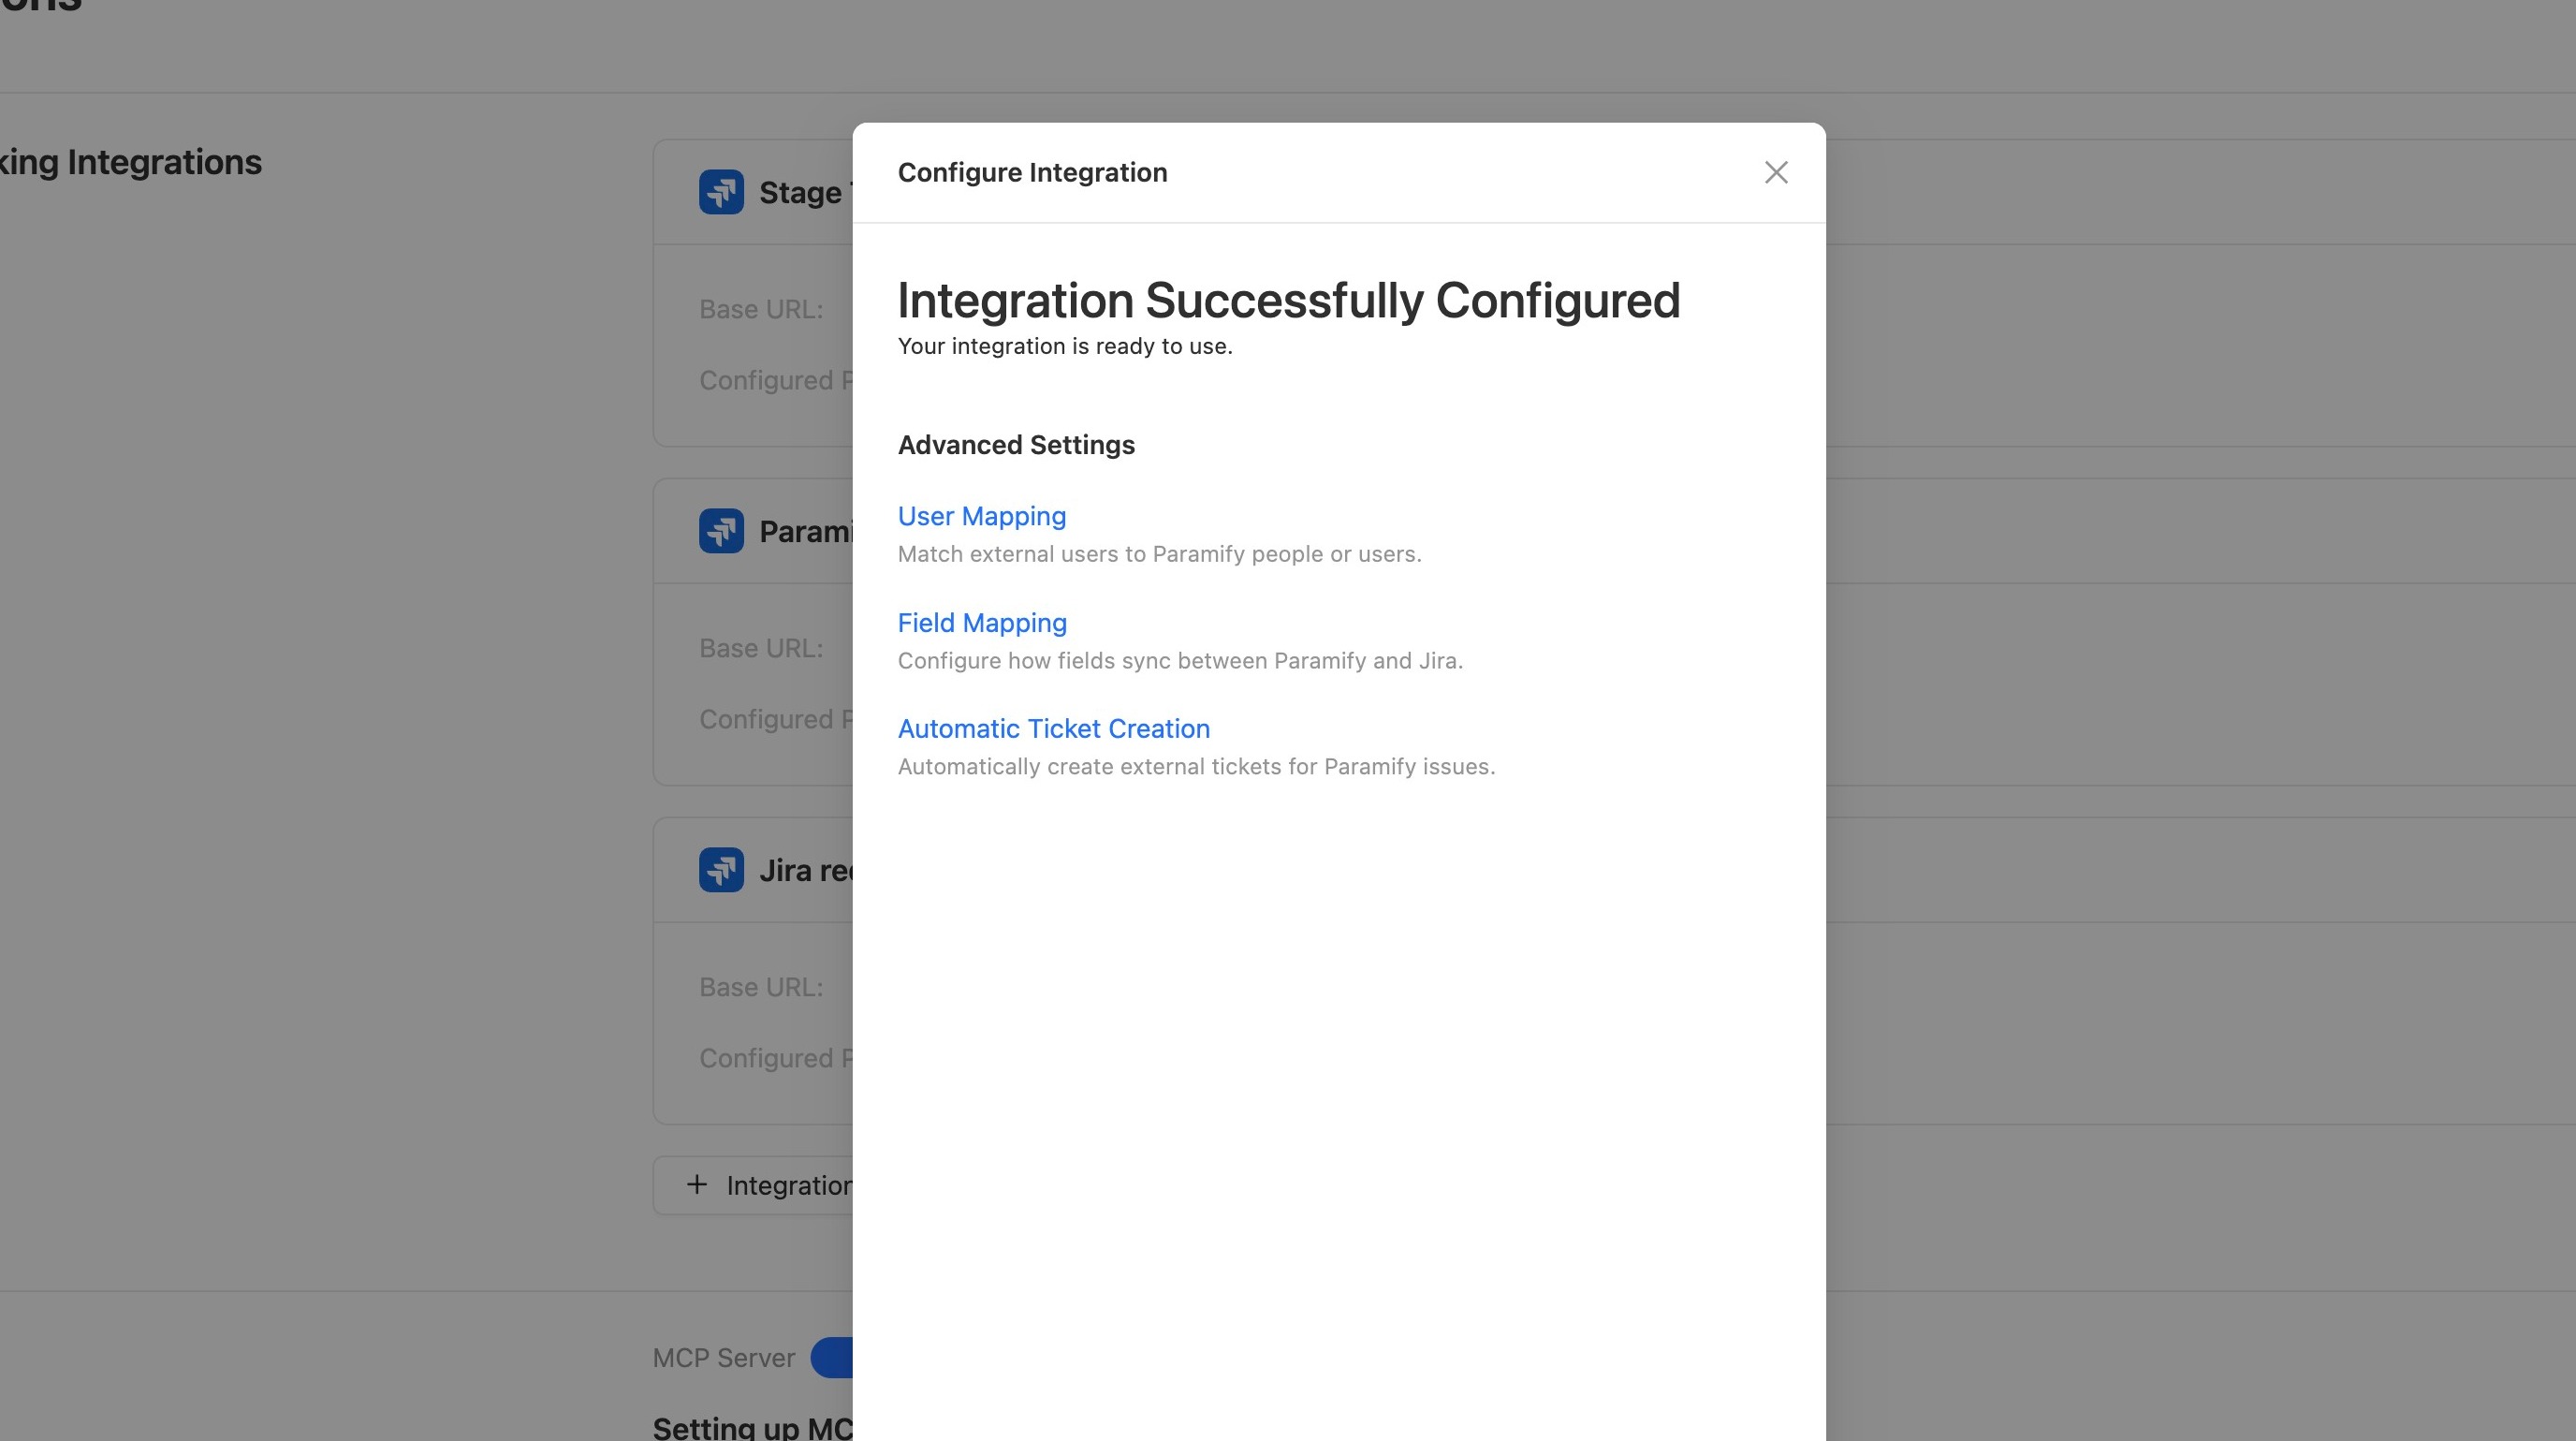
1. Start from the Configure Integration modal
If you just finished authenticating your Jira account to Paramify, the advanced settings appear on this page.
2. Or edit an existing integration
If you're coming back later, click the edit button on the integration to open the advanced settings.
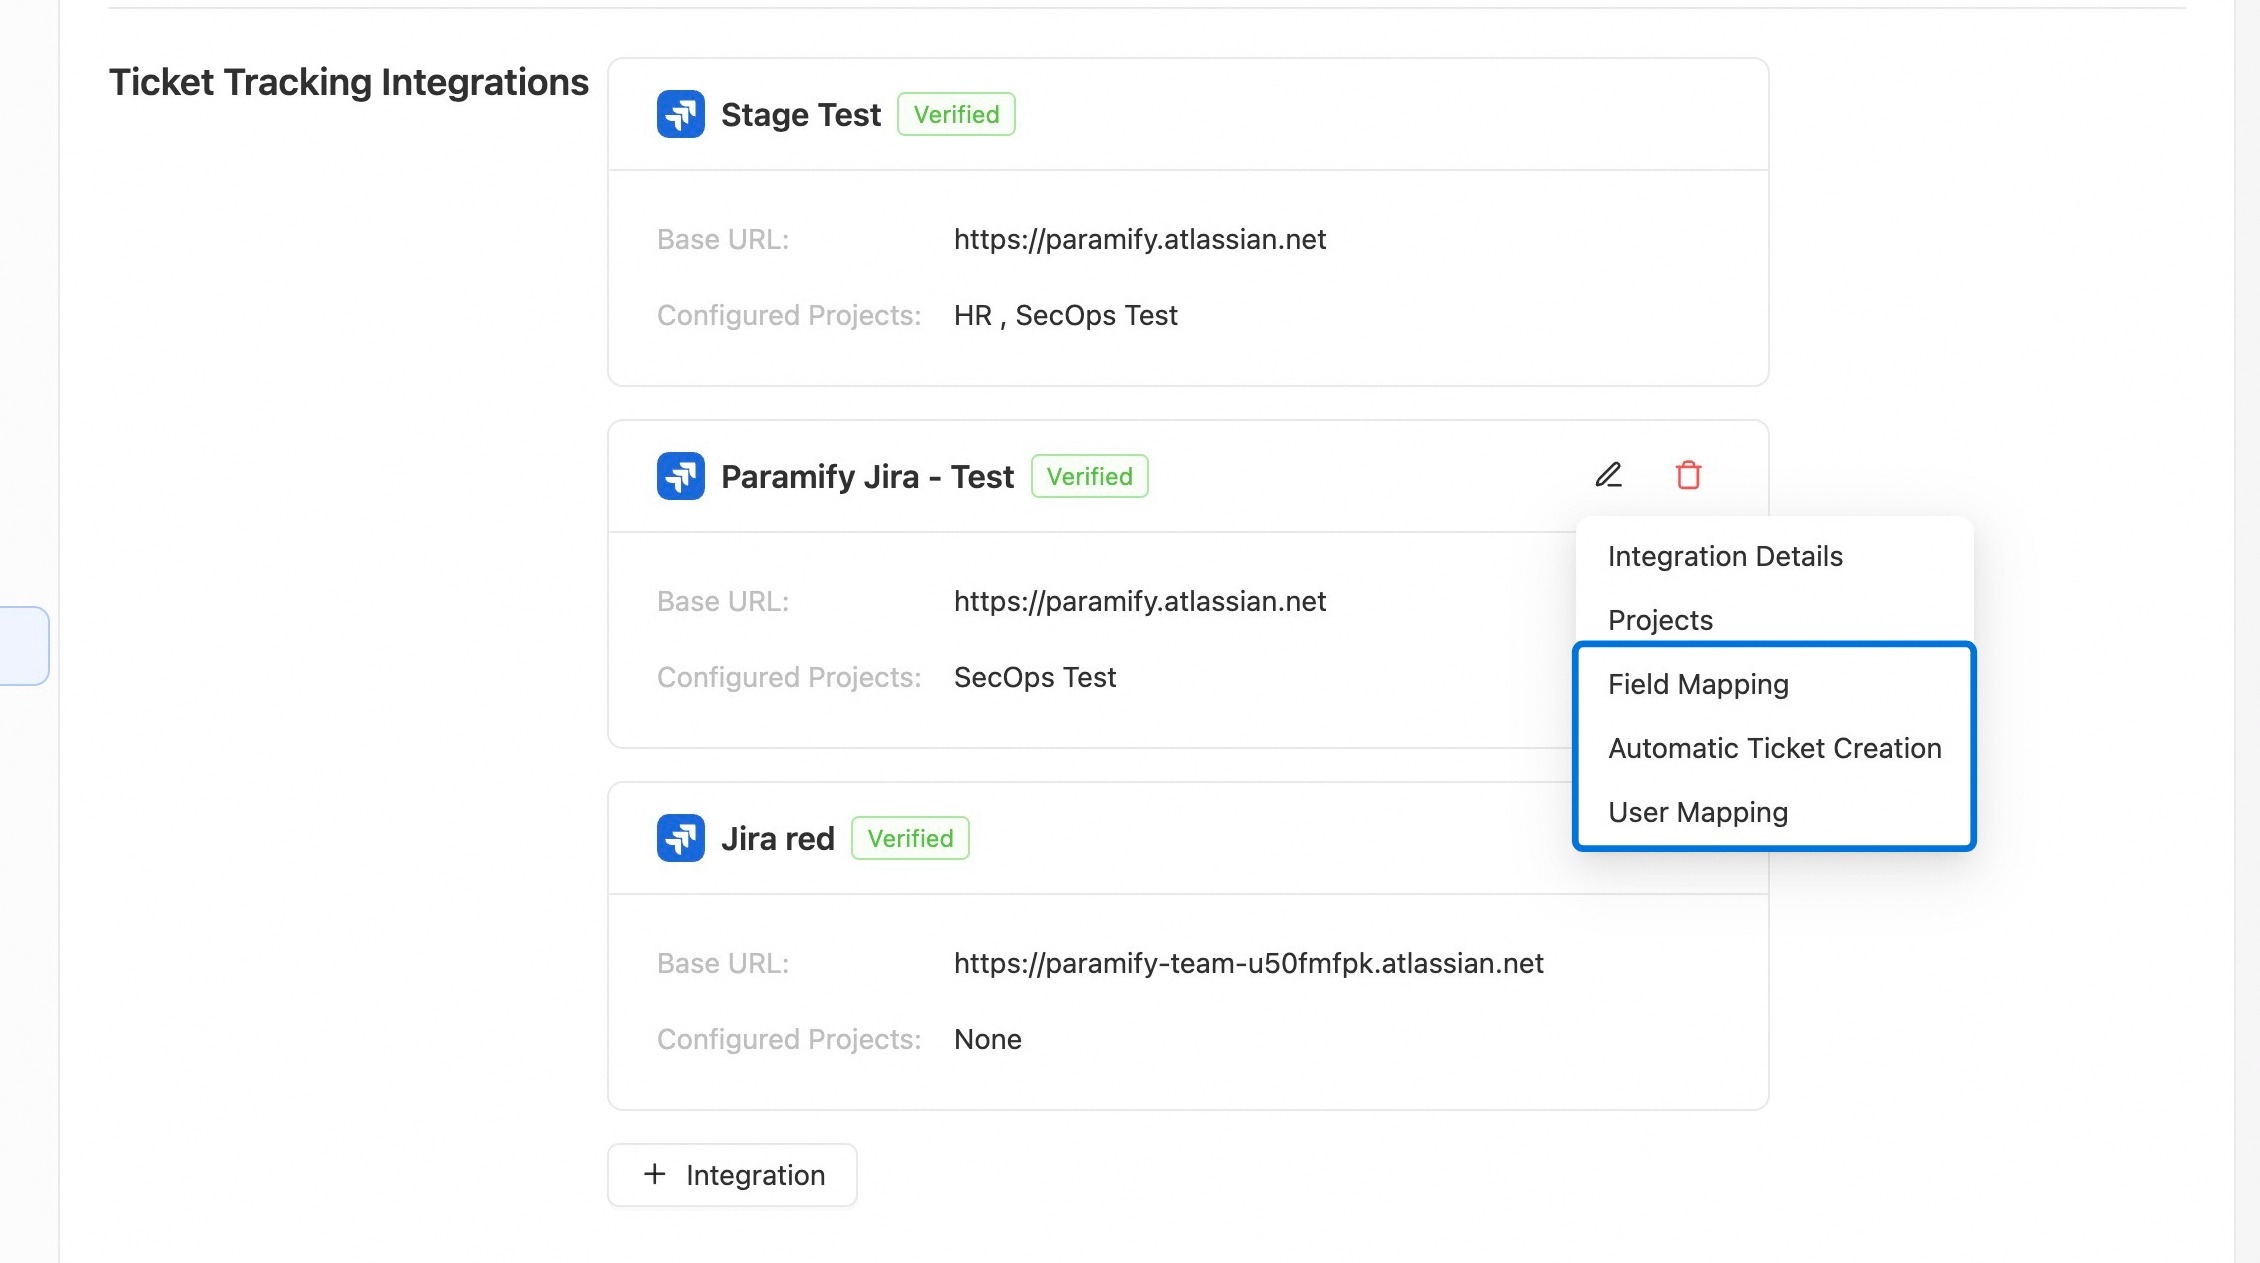
NOTE
The advanced settings have the same names whether you start from the Configure Integration modal or from editing your integration.
User mapping
User Mapping lets you map your Jira users to the Paramify users in your organization.
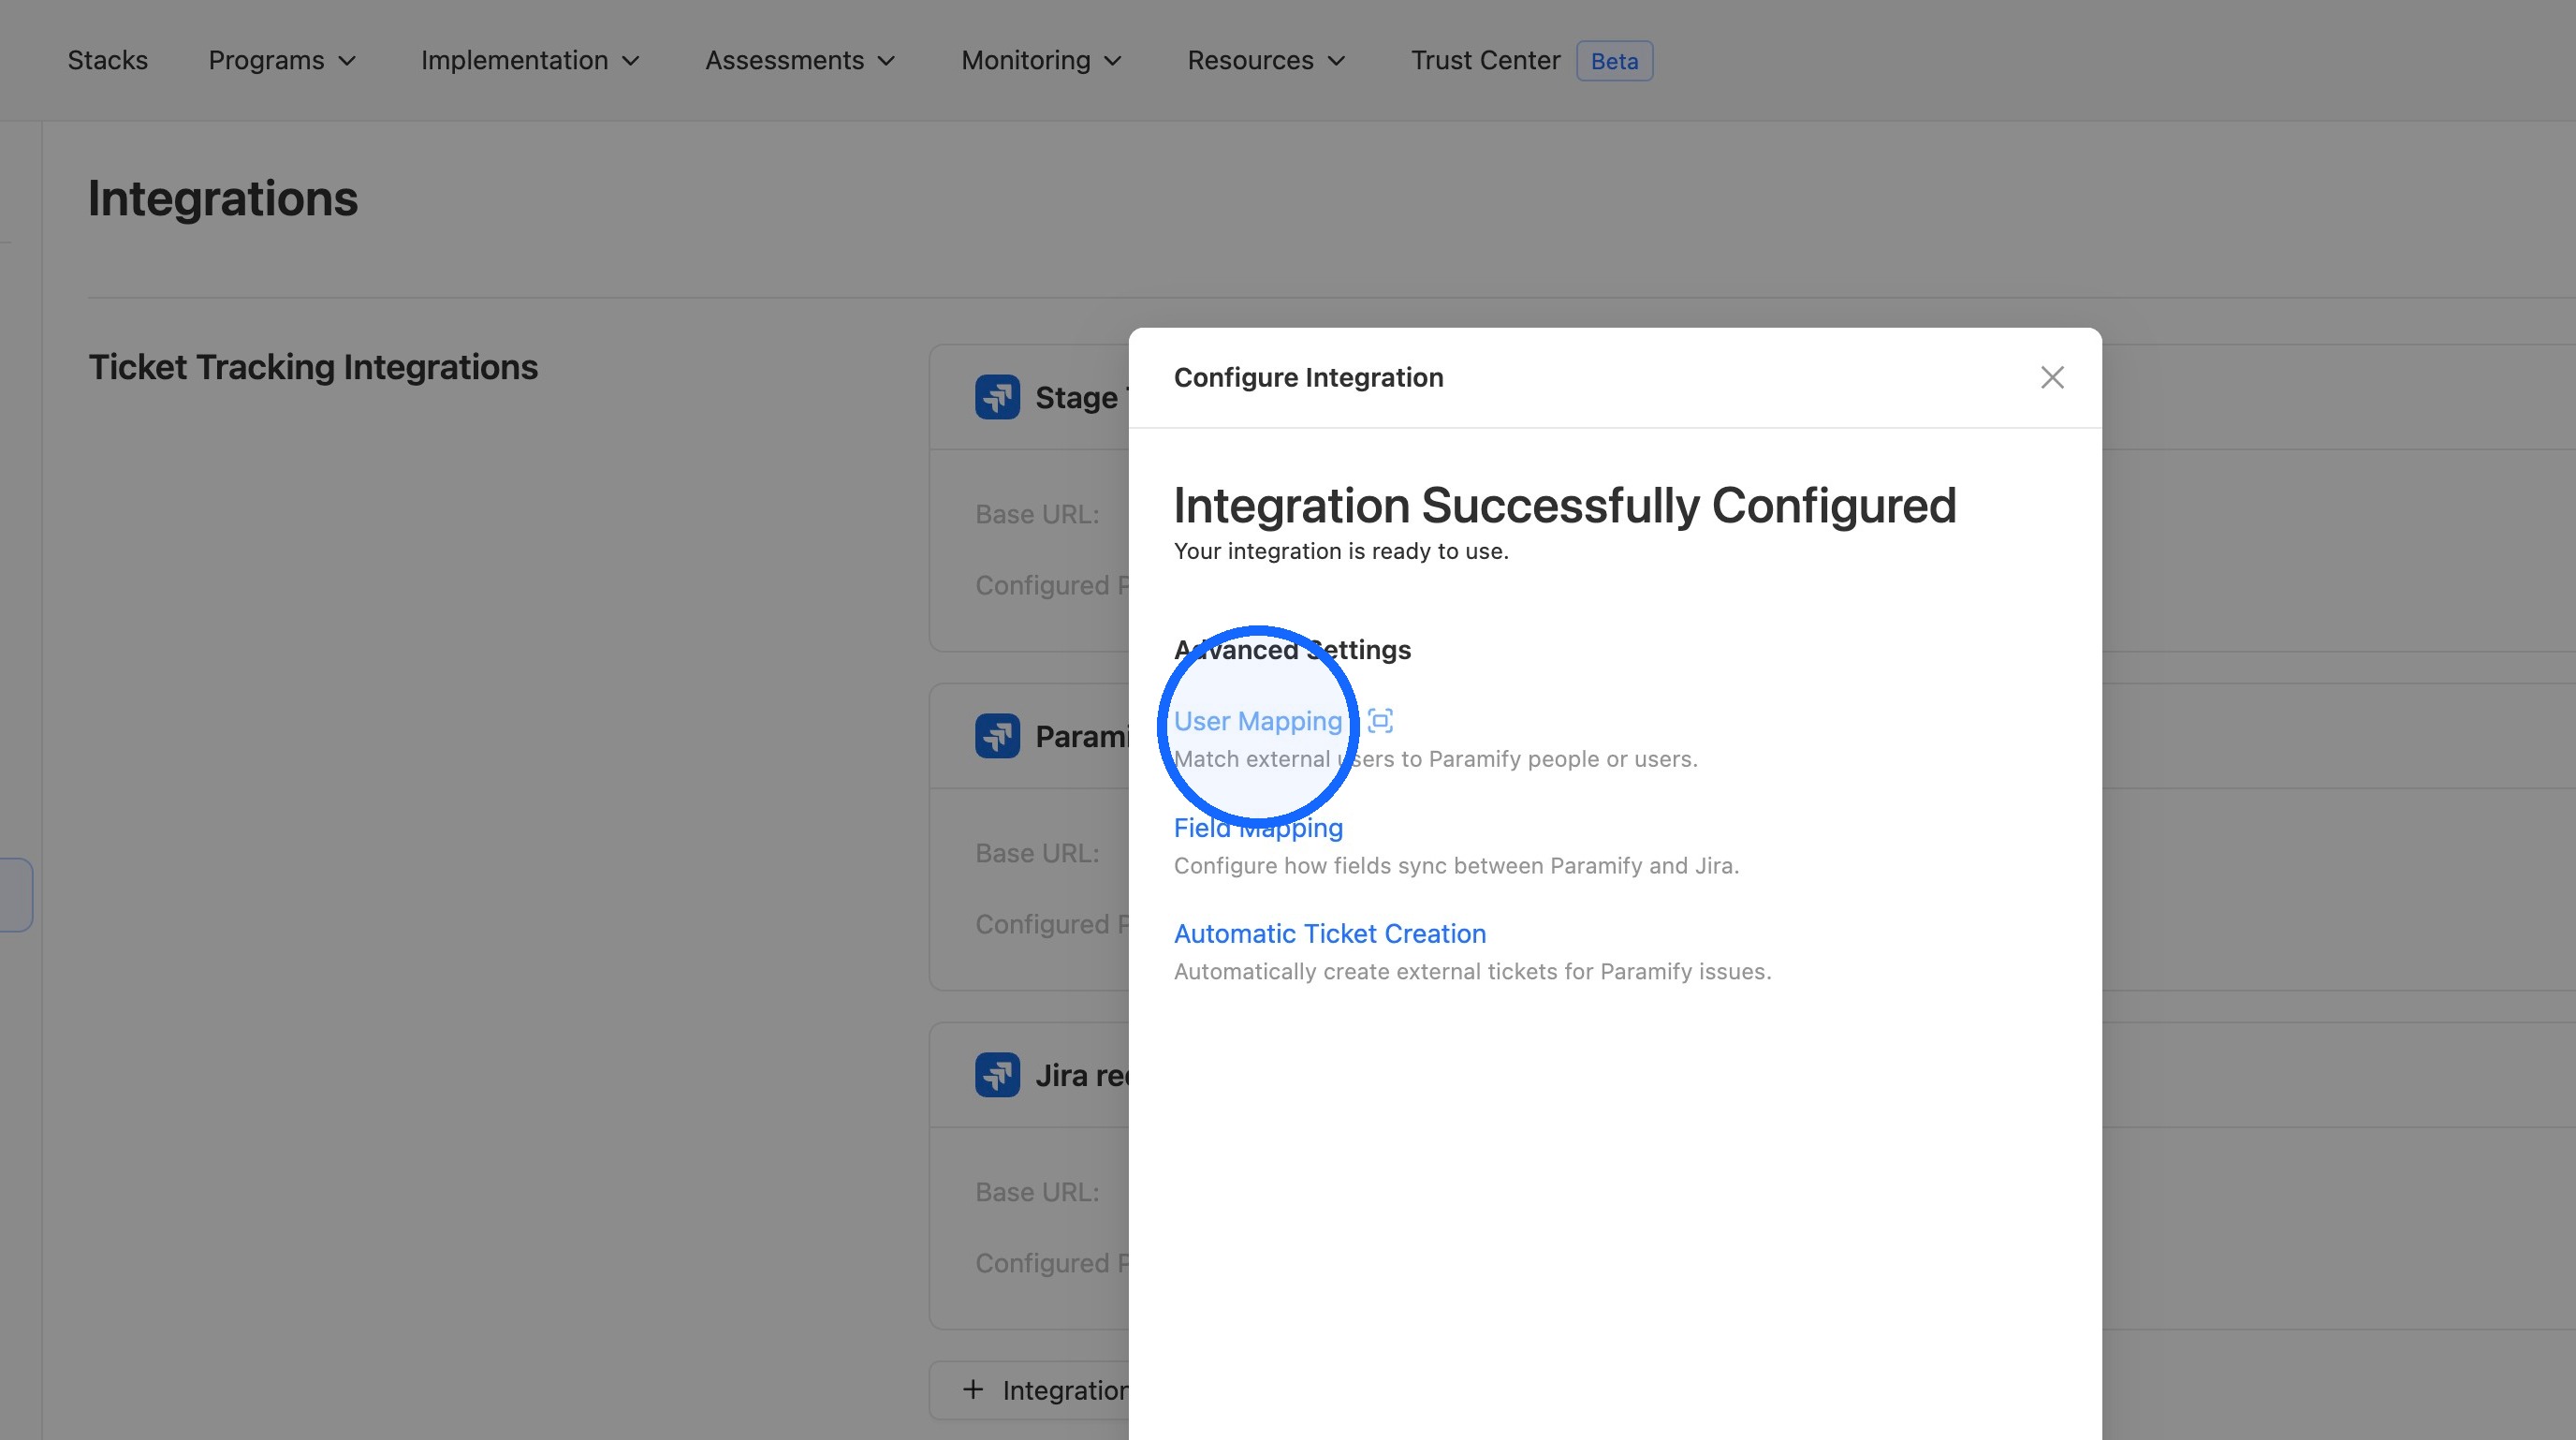
3. Open User Mapping
Select User Mapping.
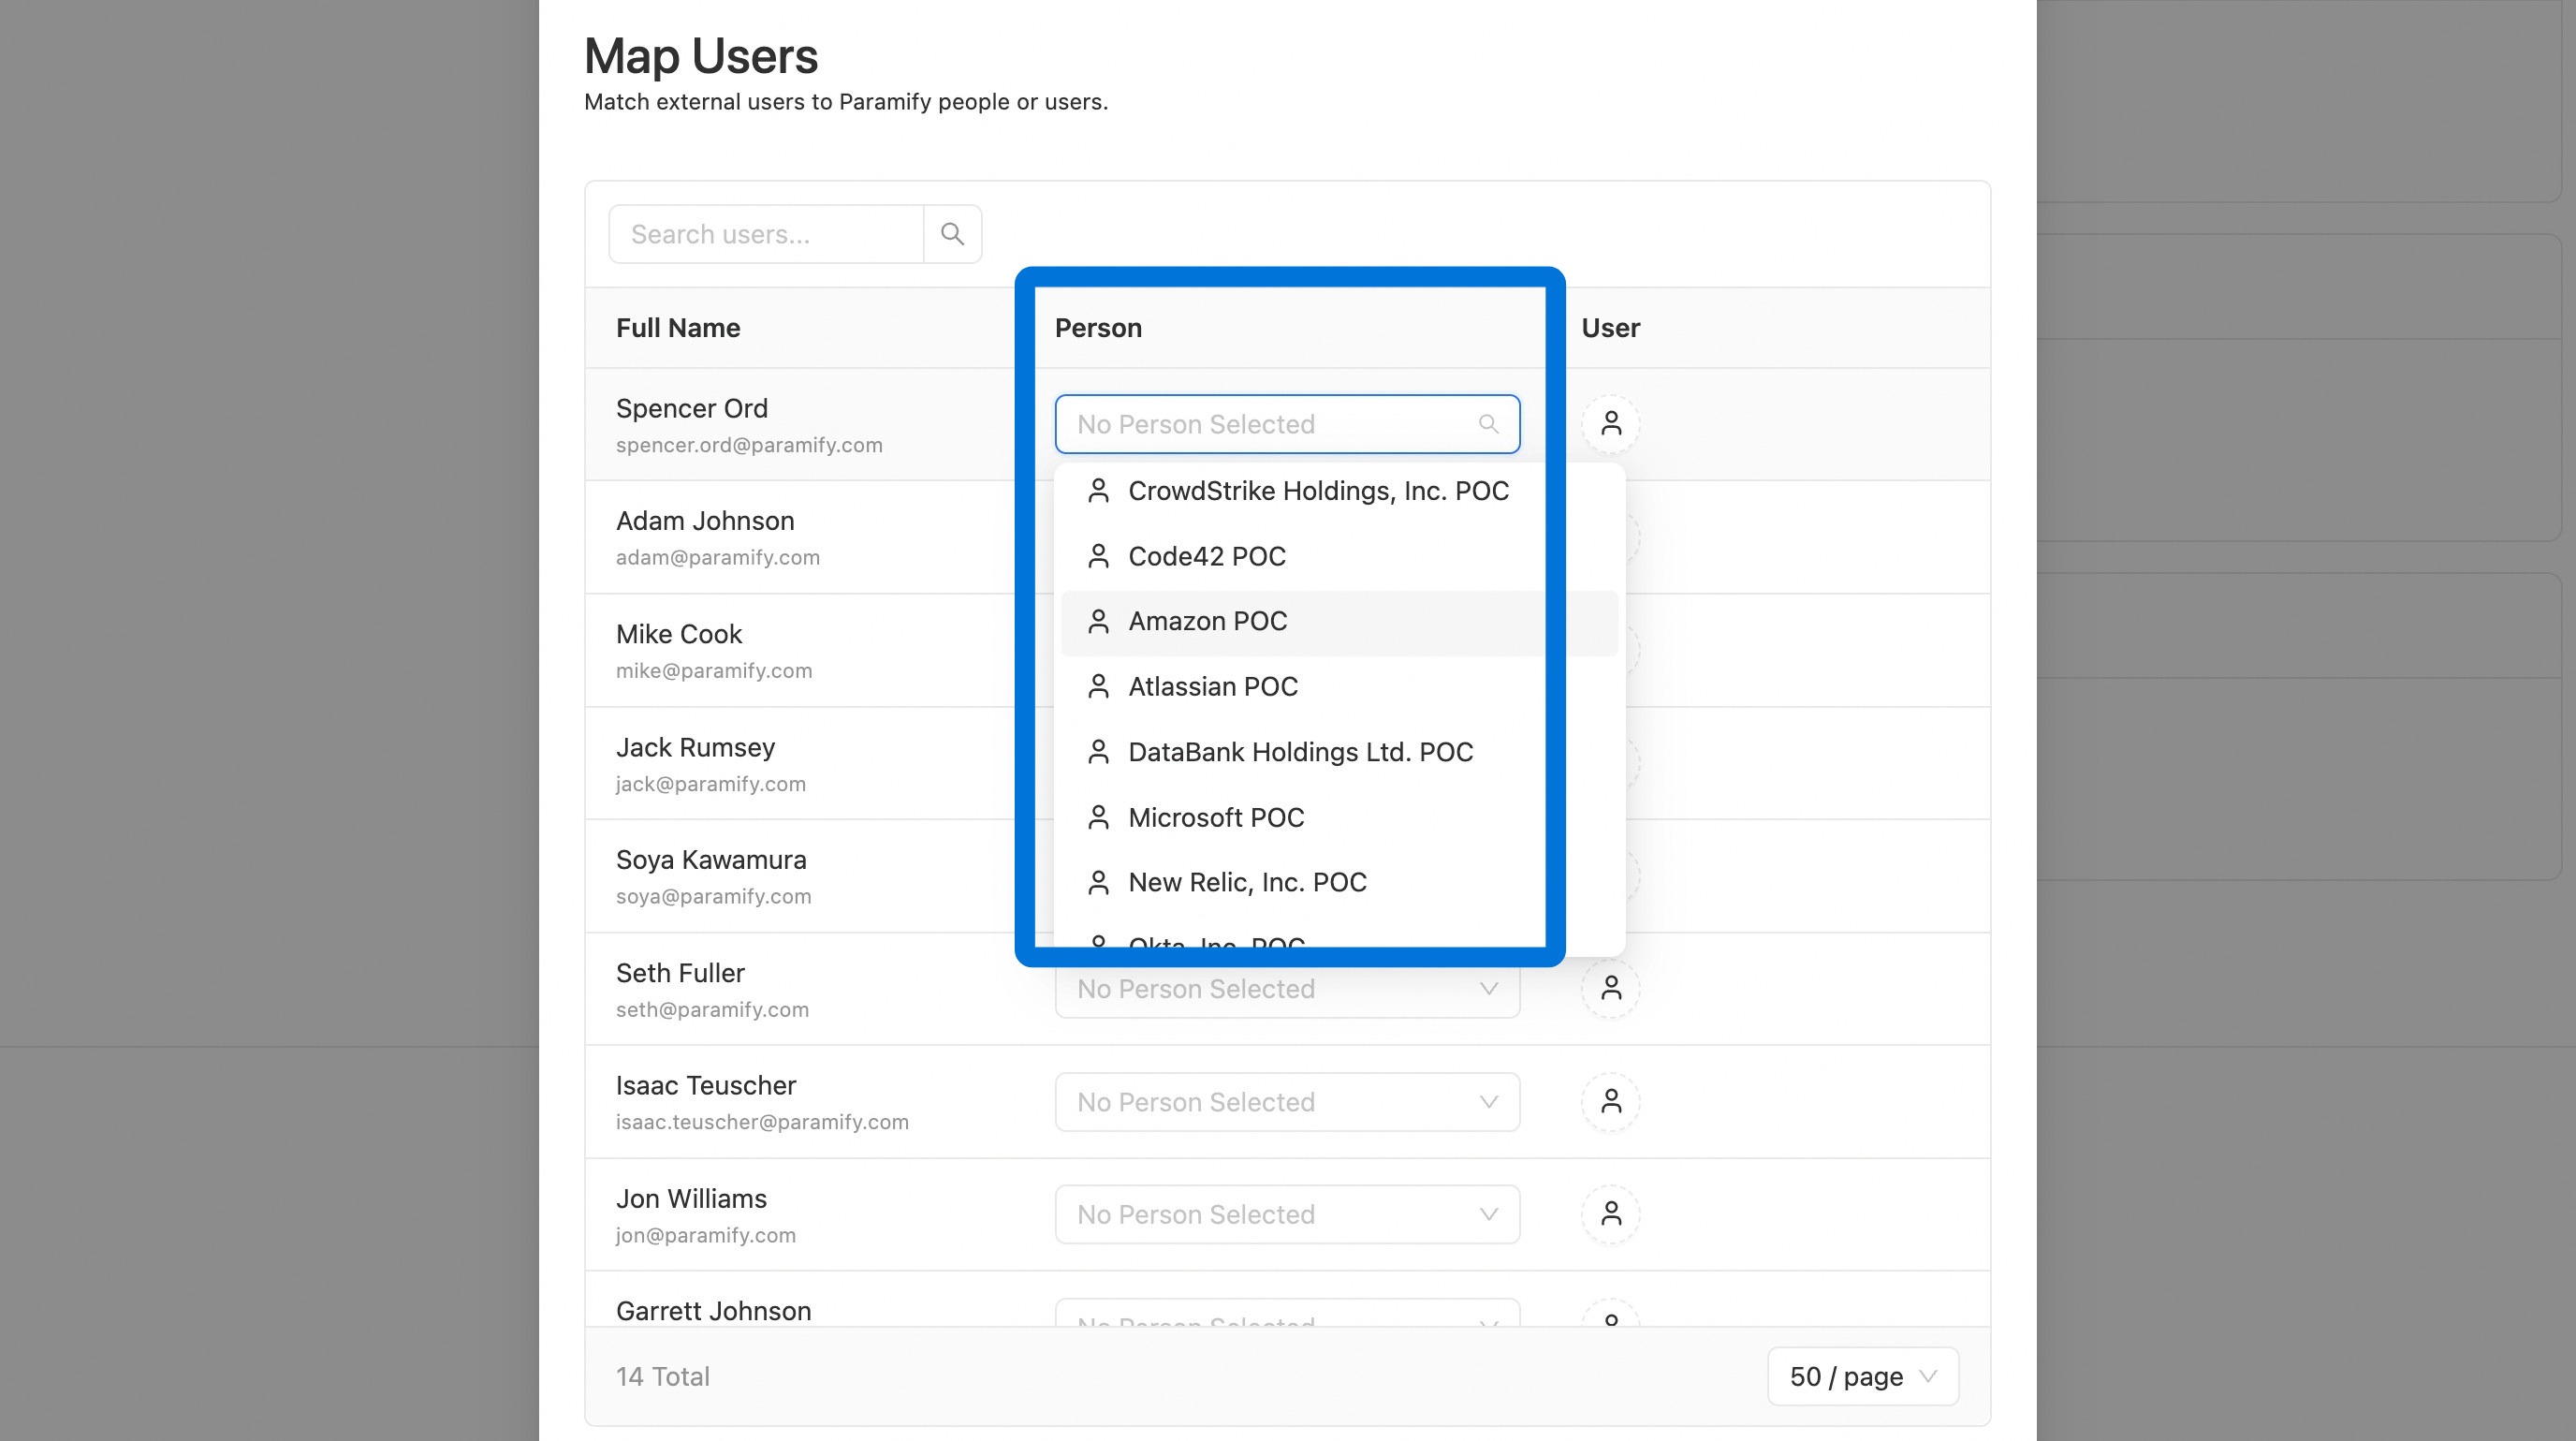
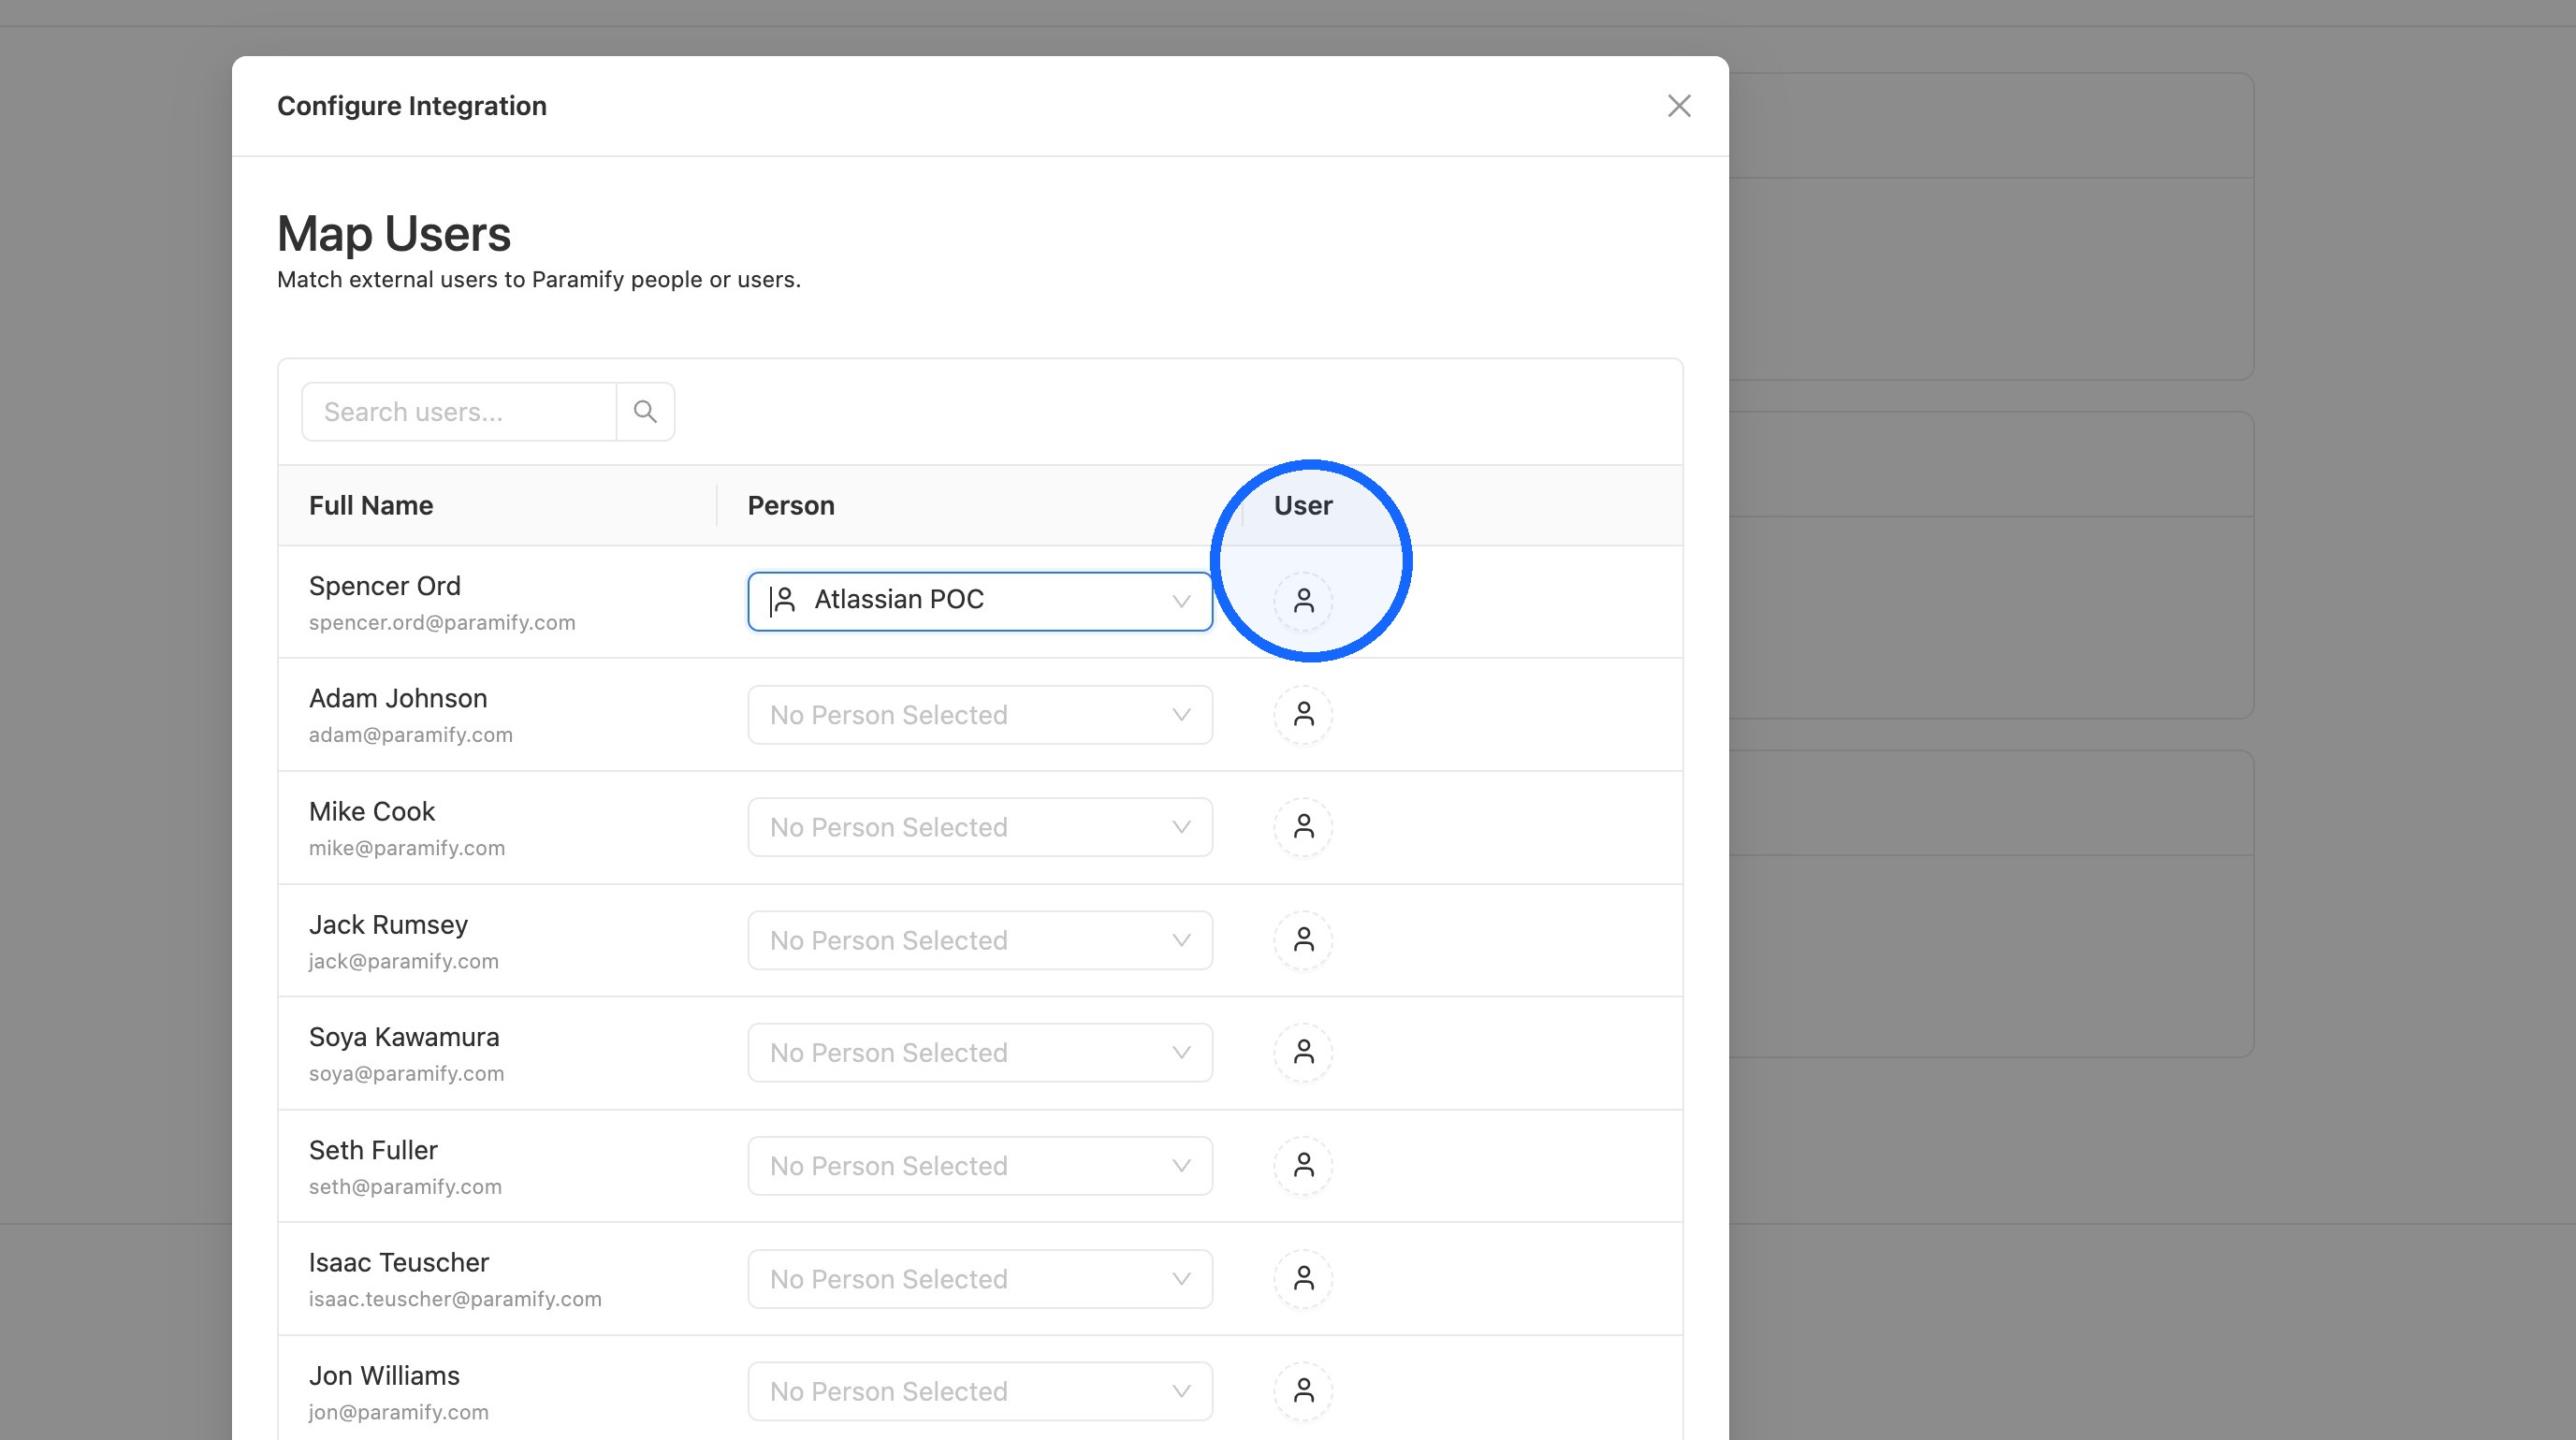
4. Map Jira users to people
Map each Jira user, listed on the left, to a Person object in Paramify.
5. Map Jira users to Paramify users
To map a Jira user to a Paramify user, select the profile icon in the User column.
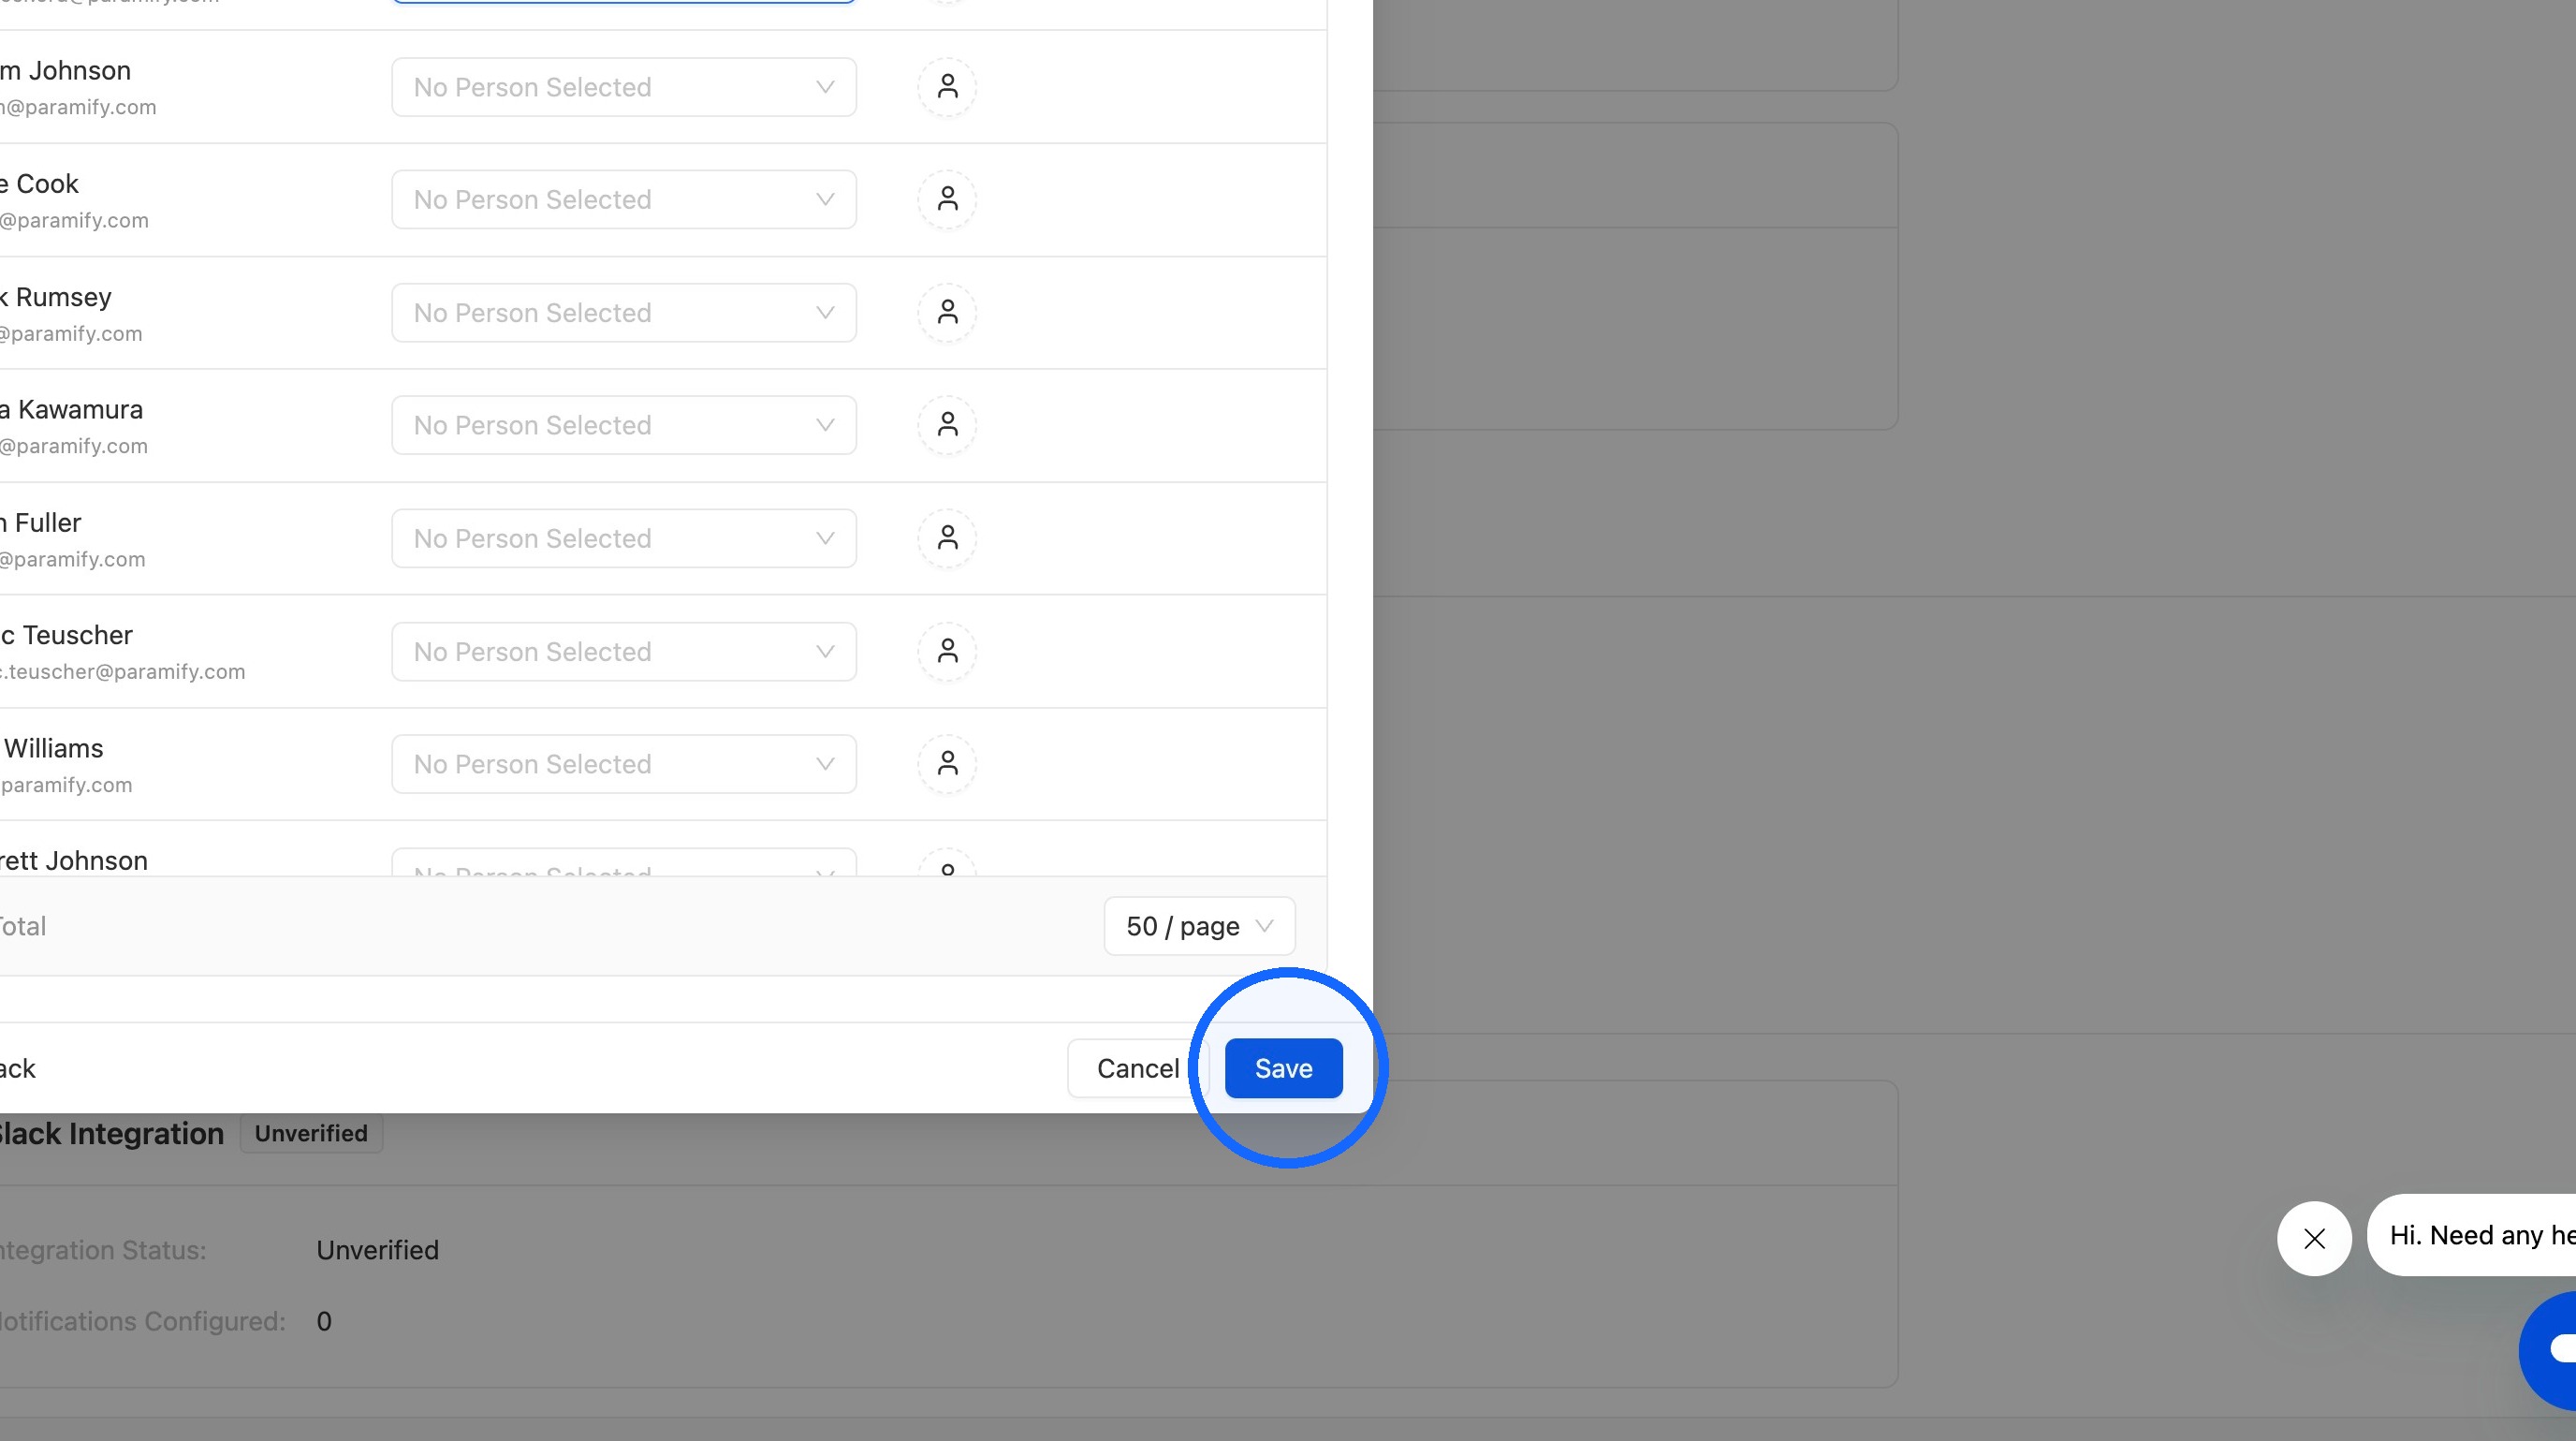
6. Save the user mapping
Click Save.
Field mapping
Field Mapping lets you map Paramify fields to Jira fields.
TIP
Two field mapping configurations are required. Inbound field mapping defines how fields from Jira tickets are mapped into Paramify, and outbound field mapping defines how fields from Paramify tickets are mapped into Jira.
Each configuration has two types of field mapping. Single Value Fields map directly from one field to another, and whatever value is in the source field copies over as-is. Enumerated Fields have a fixed list of options, so each option in the source needs to be matched to an option in the destination.
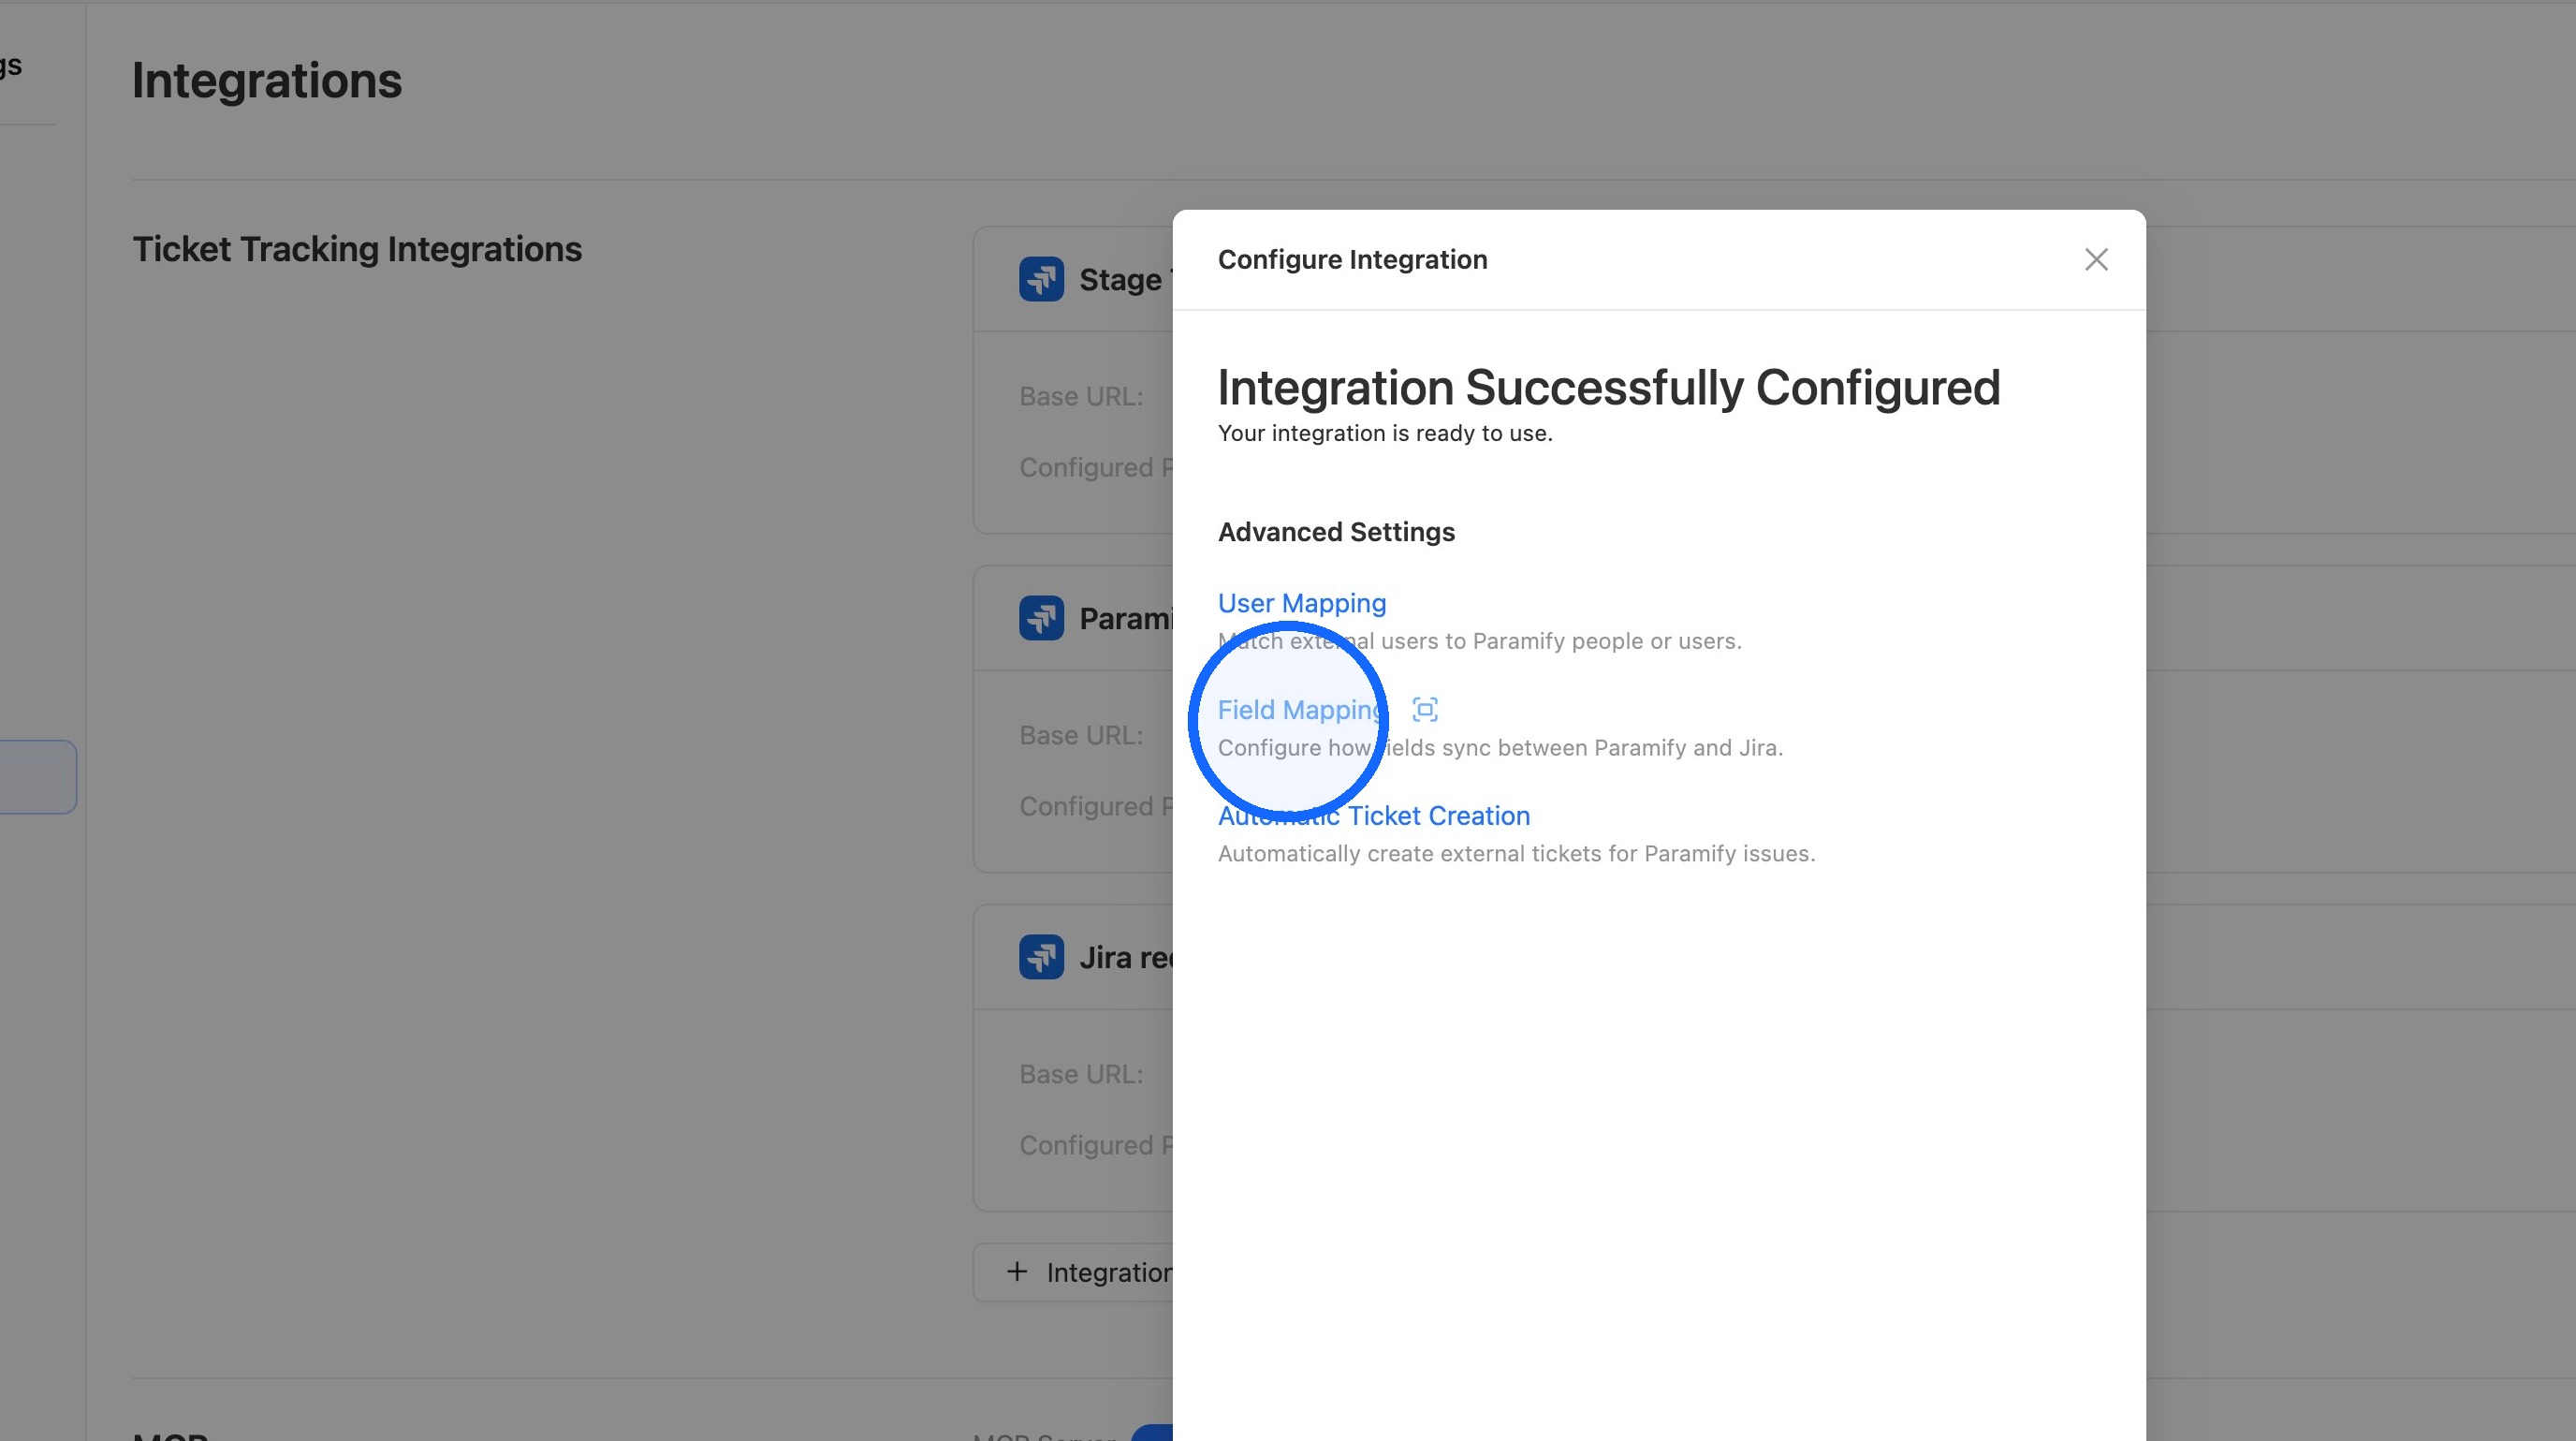
7. Open Field Mapping
Select Field Mapping.
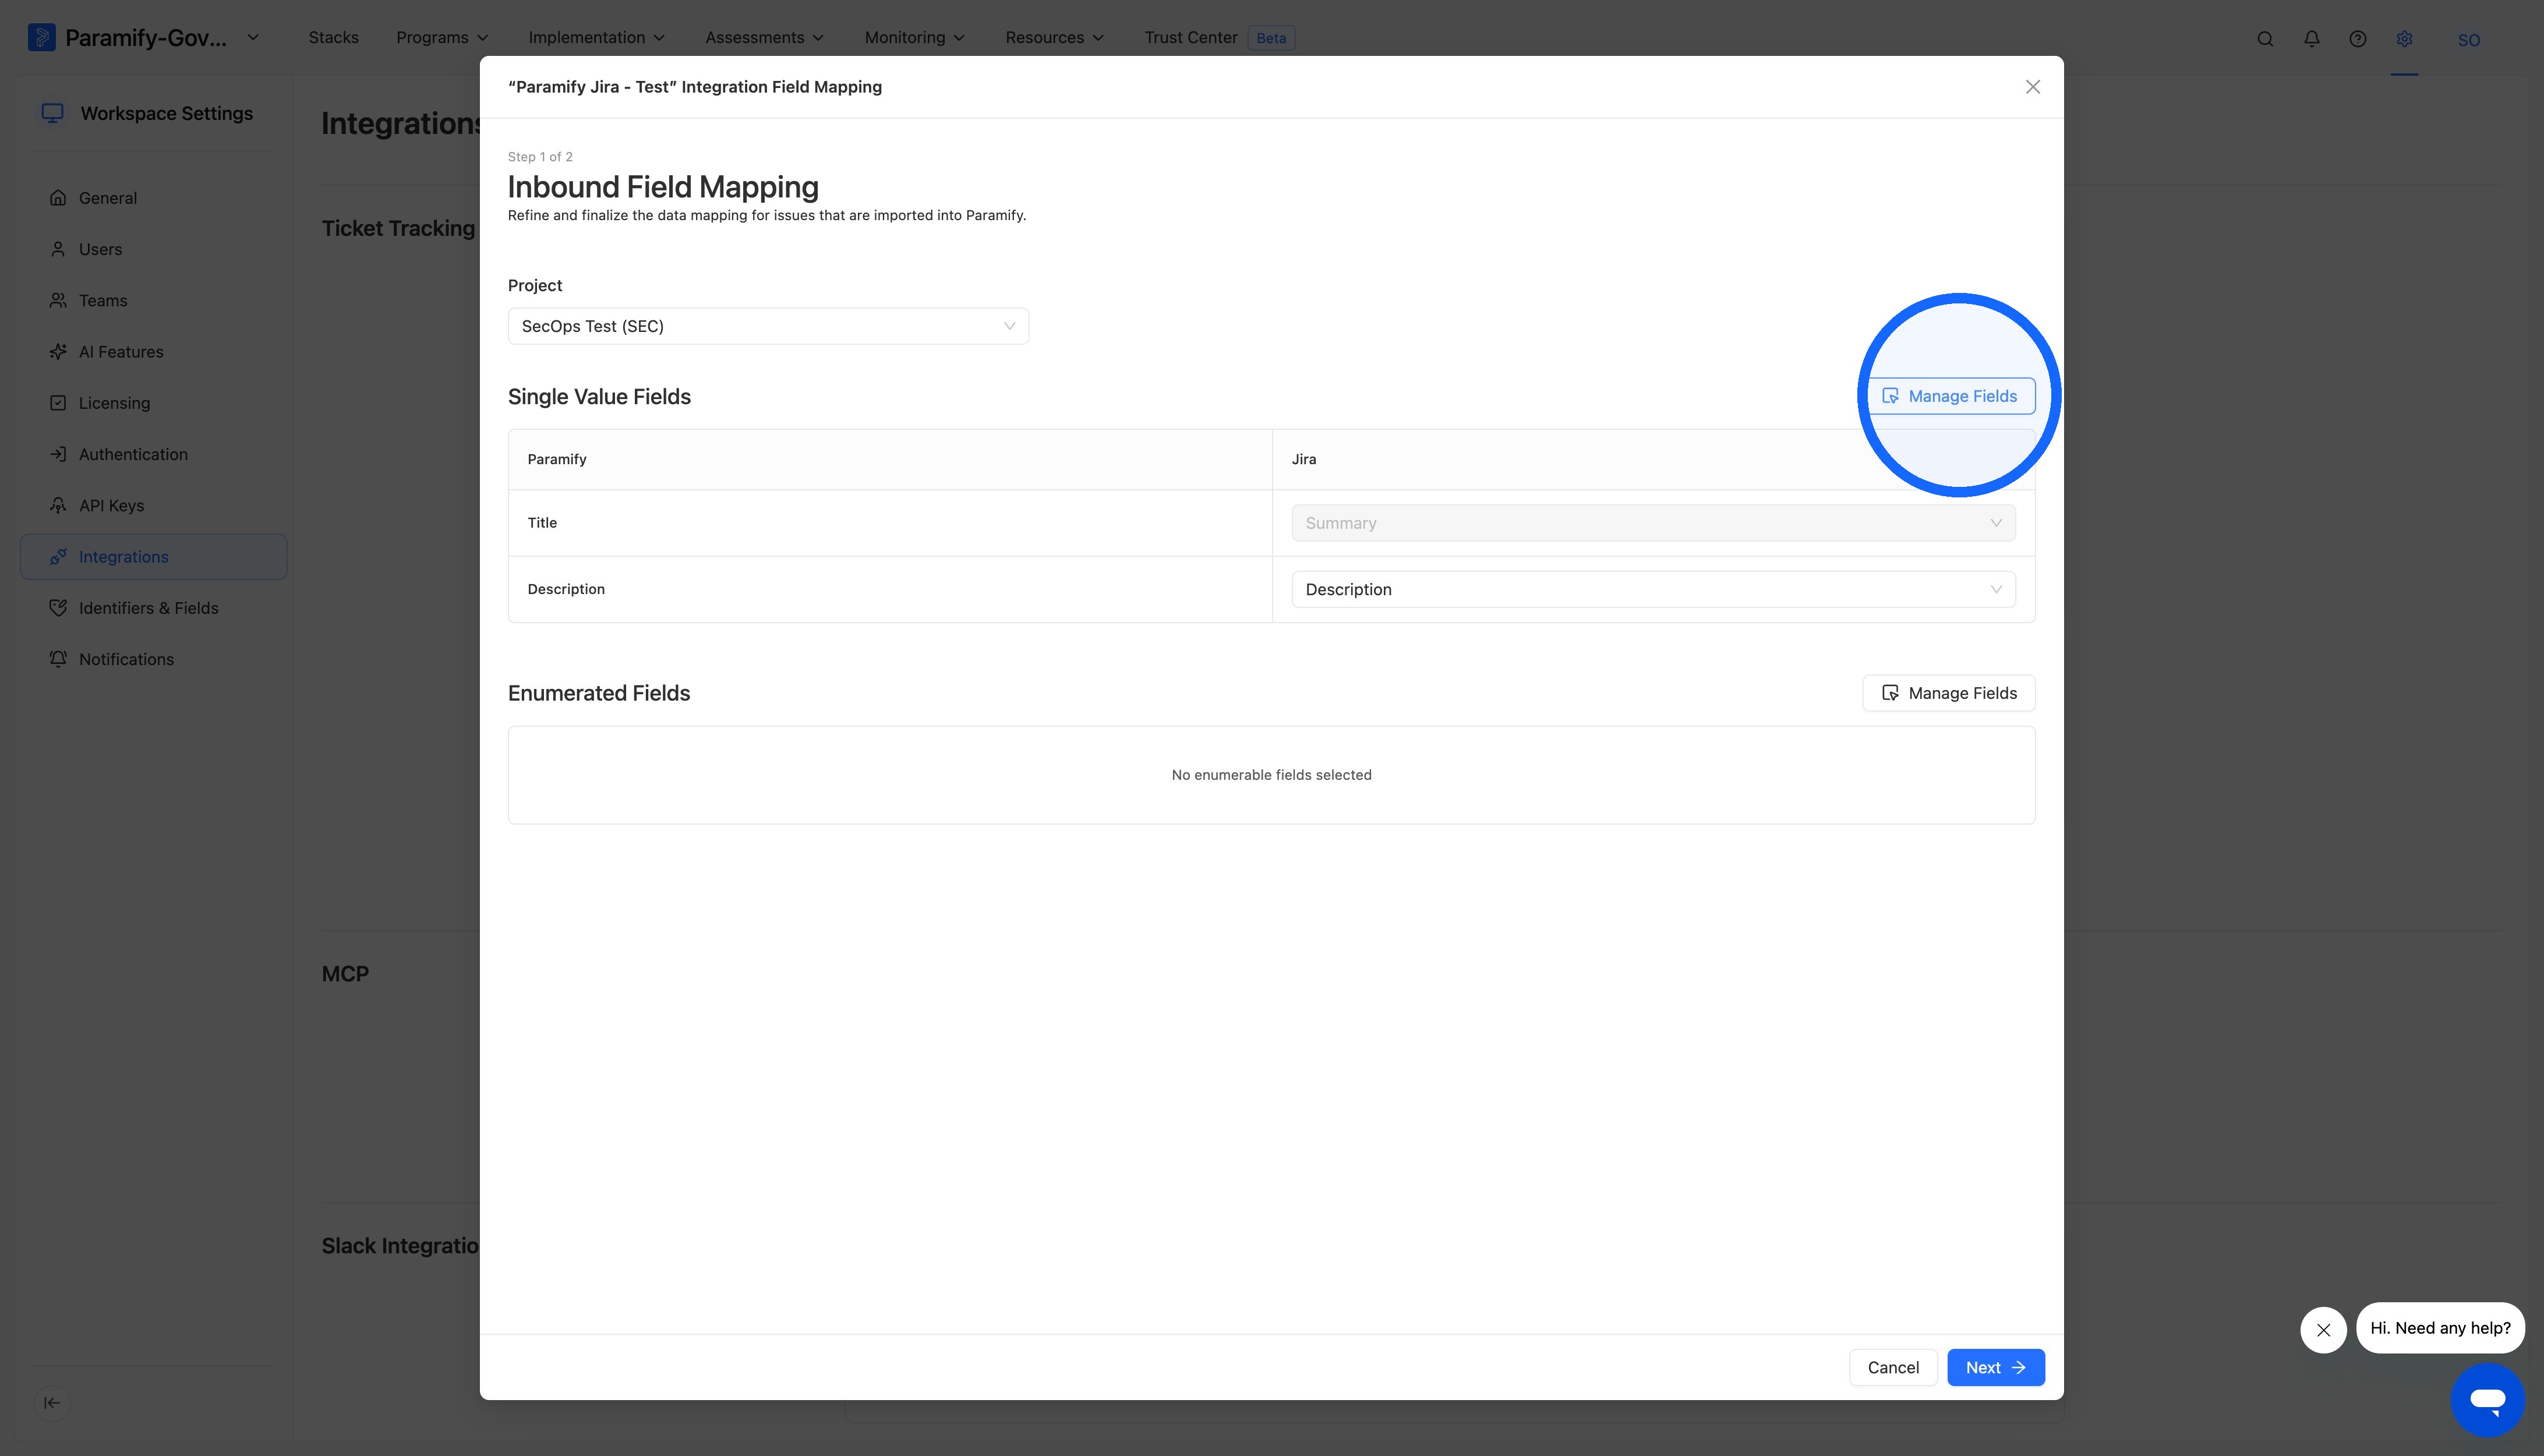
8. Manage inbound single value fields
Click Manage Fields for Single Value Fields.
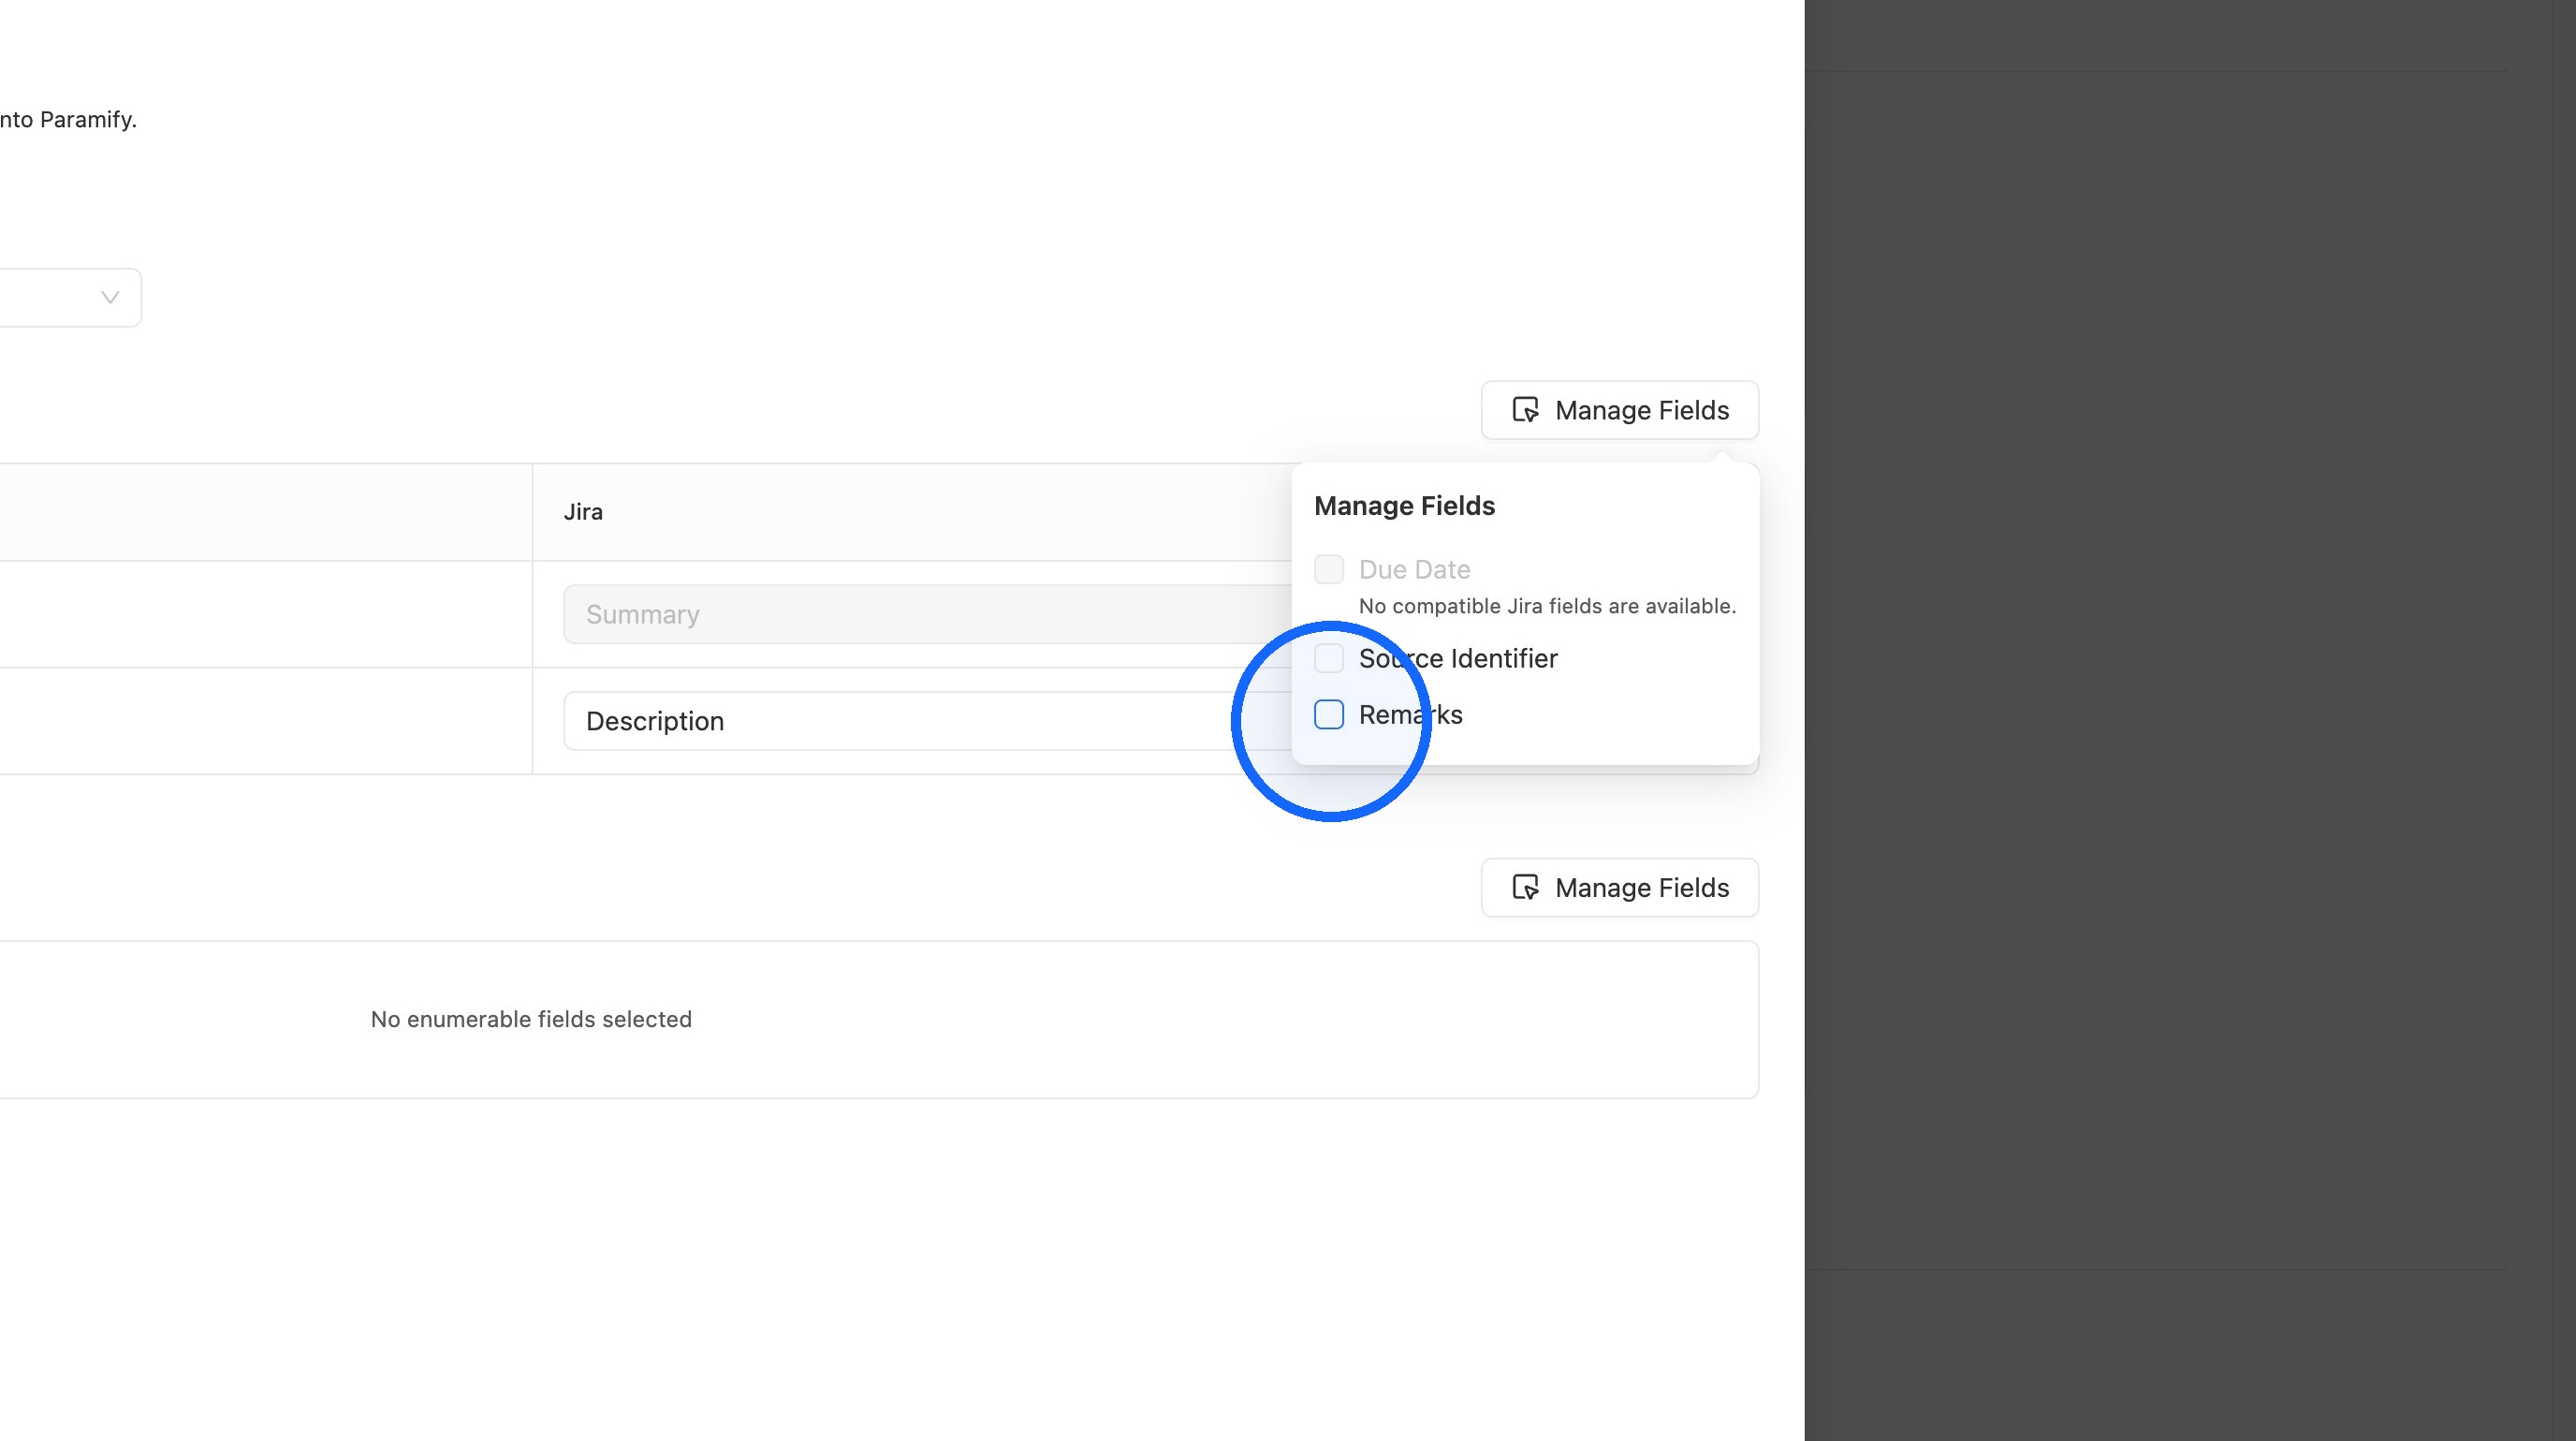
9. Add single value fields
Add each field you want to map.
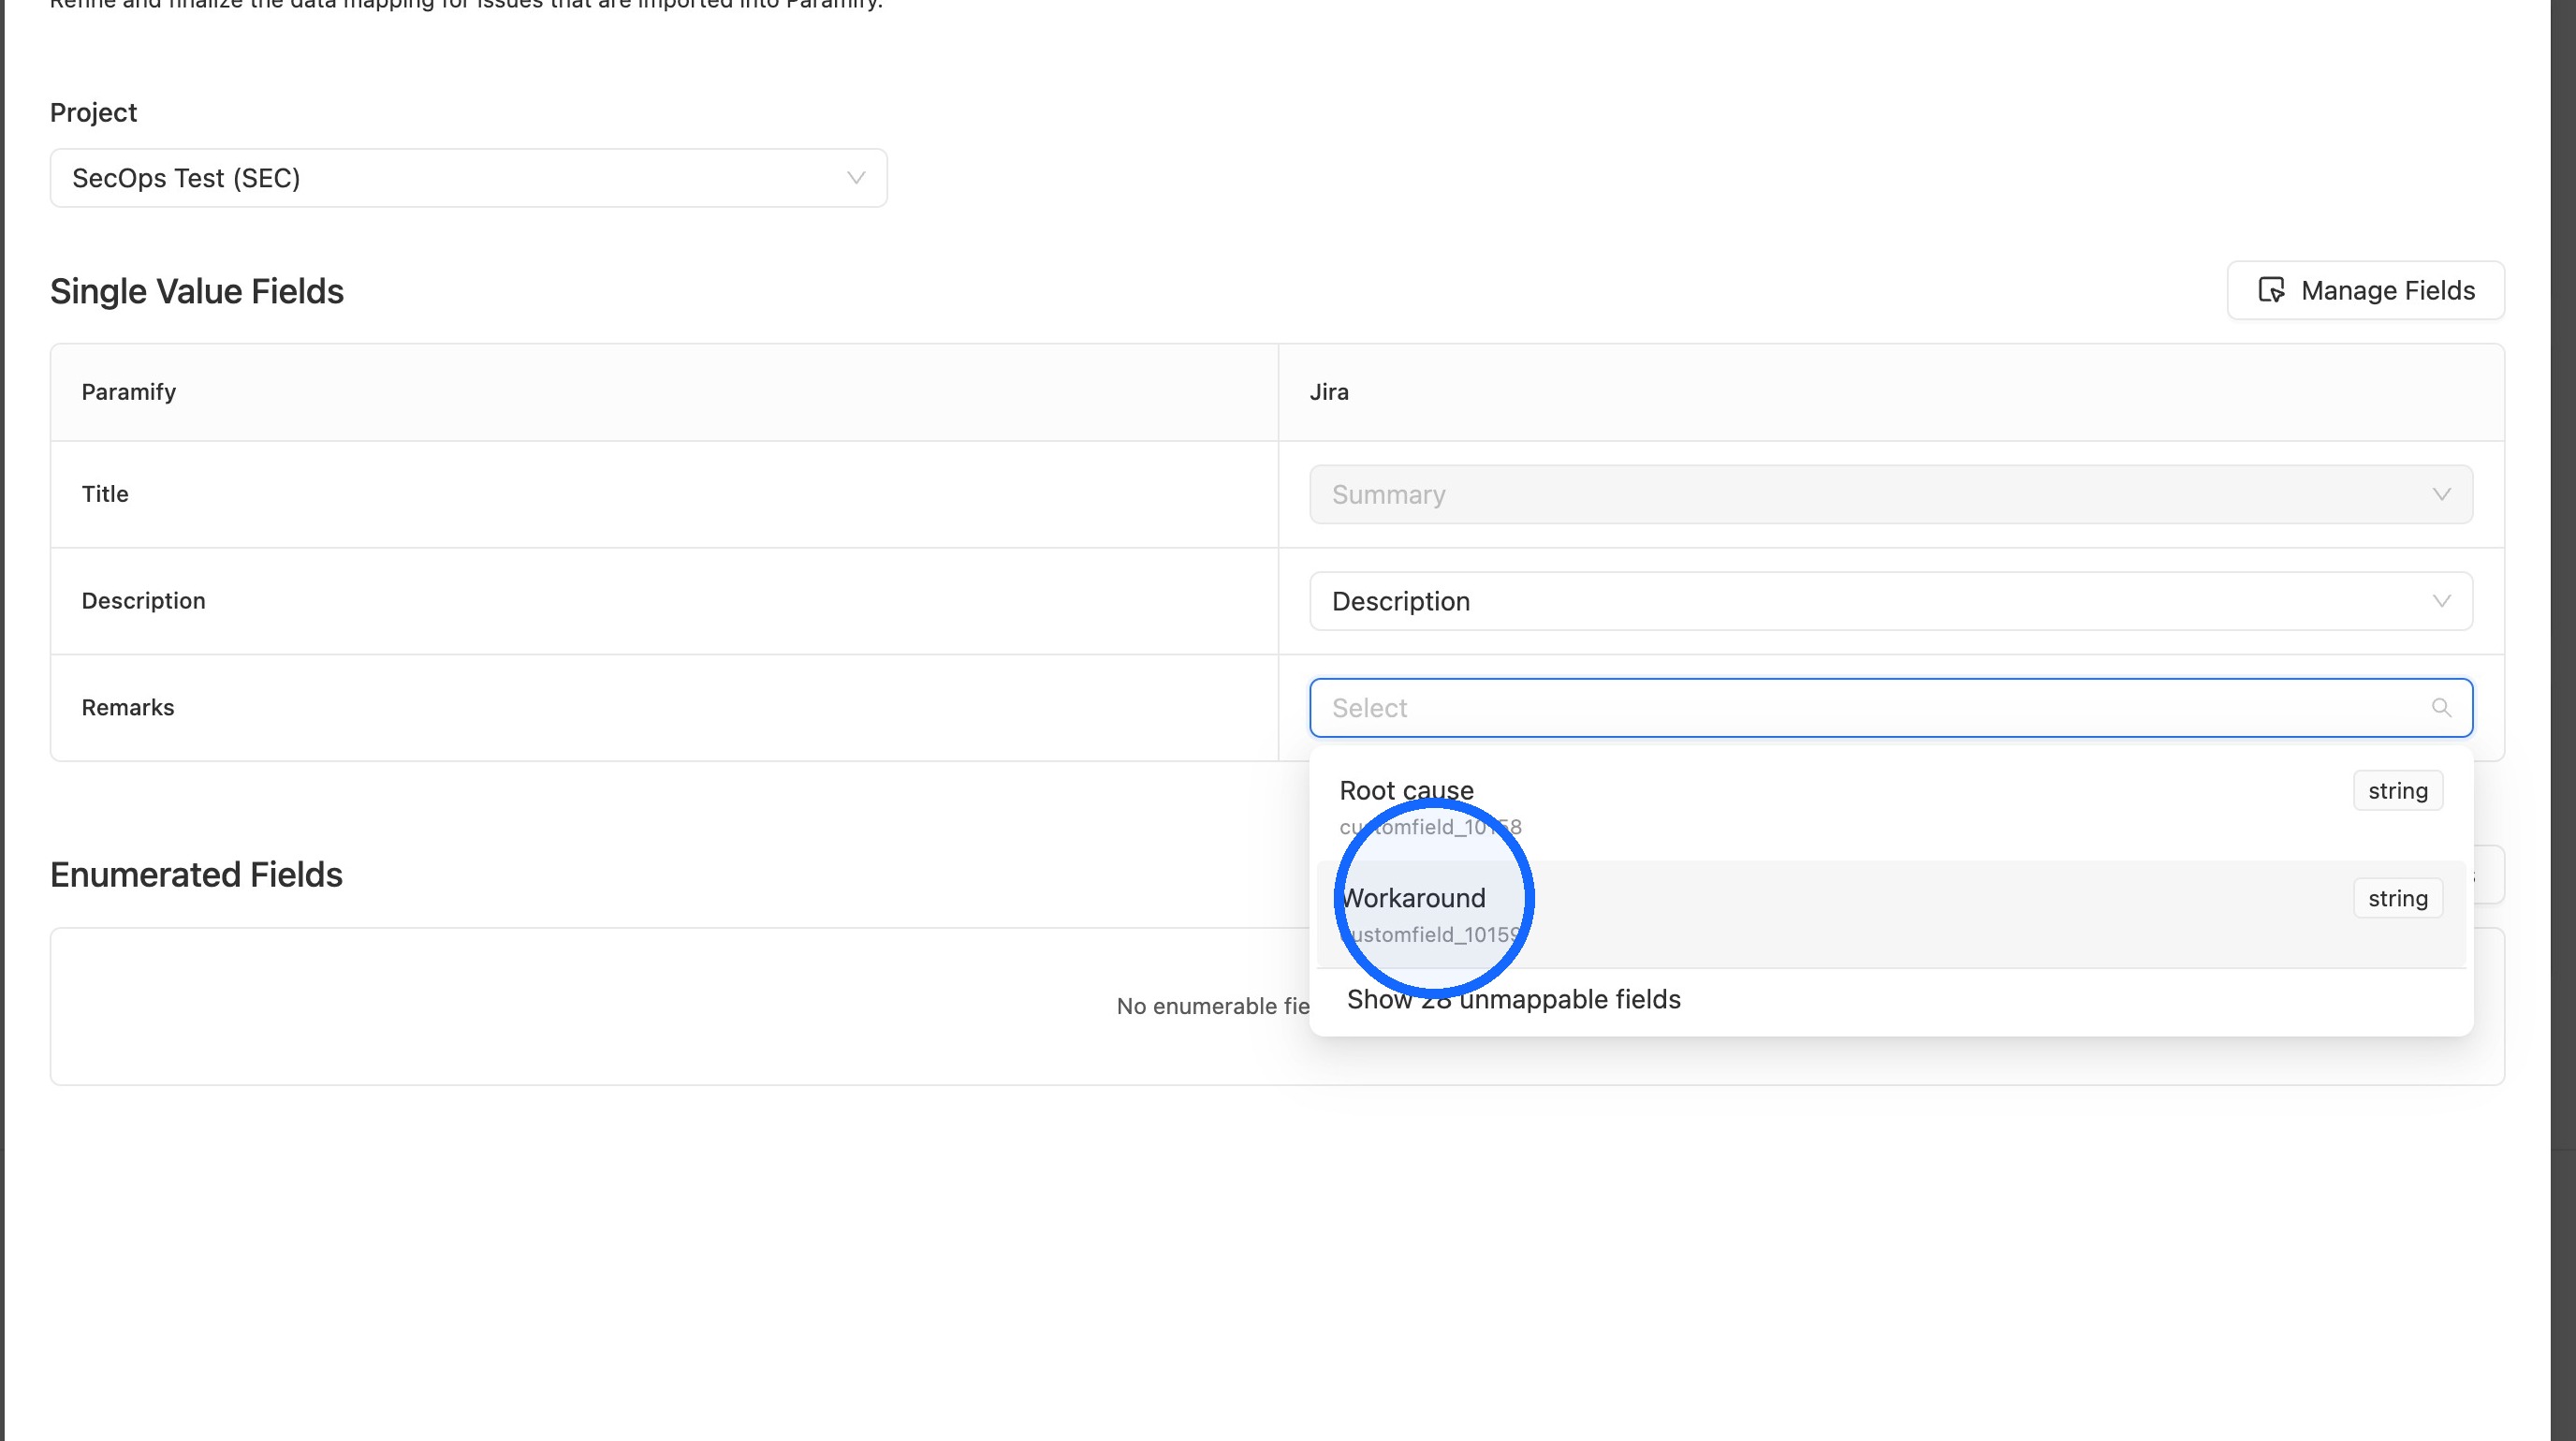
10. Map single value fields
Map each Paramify field to the Jira field you want.
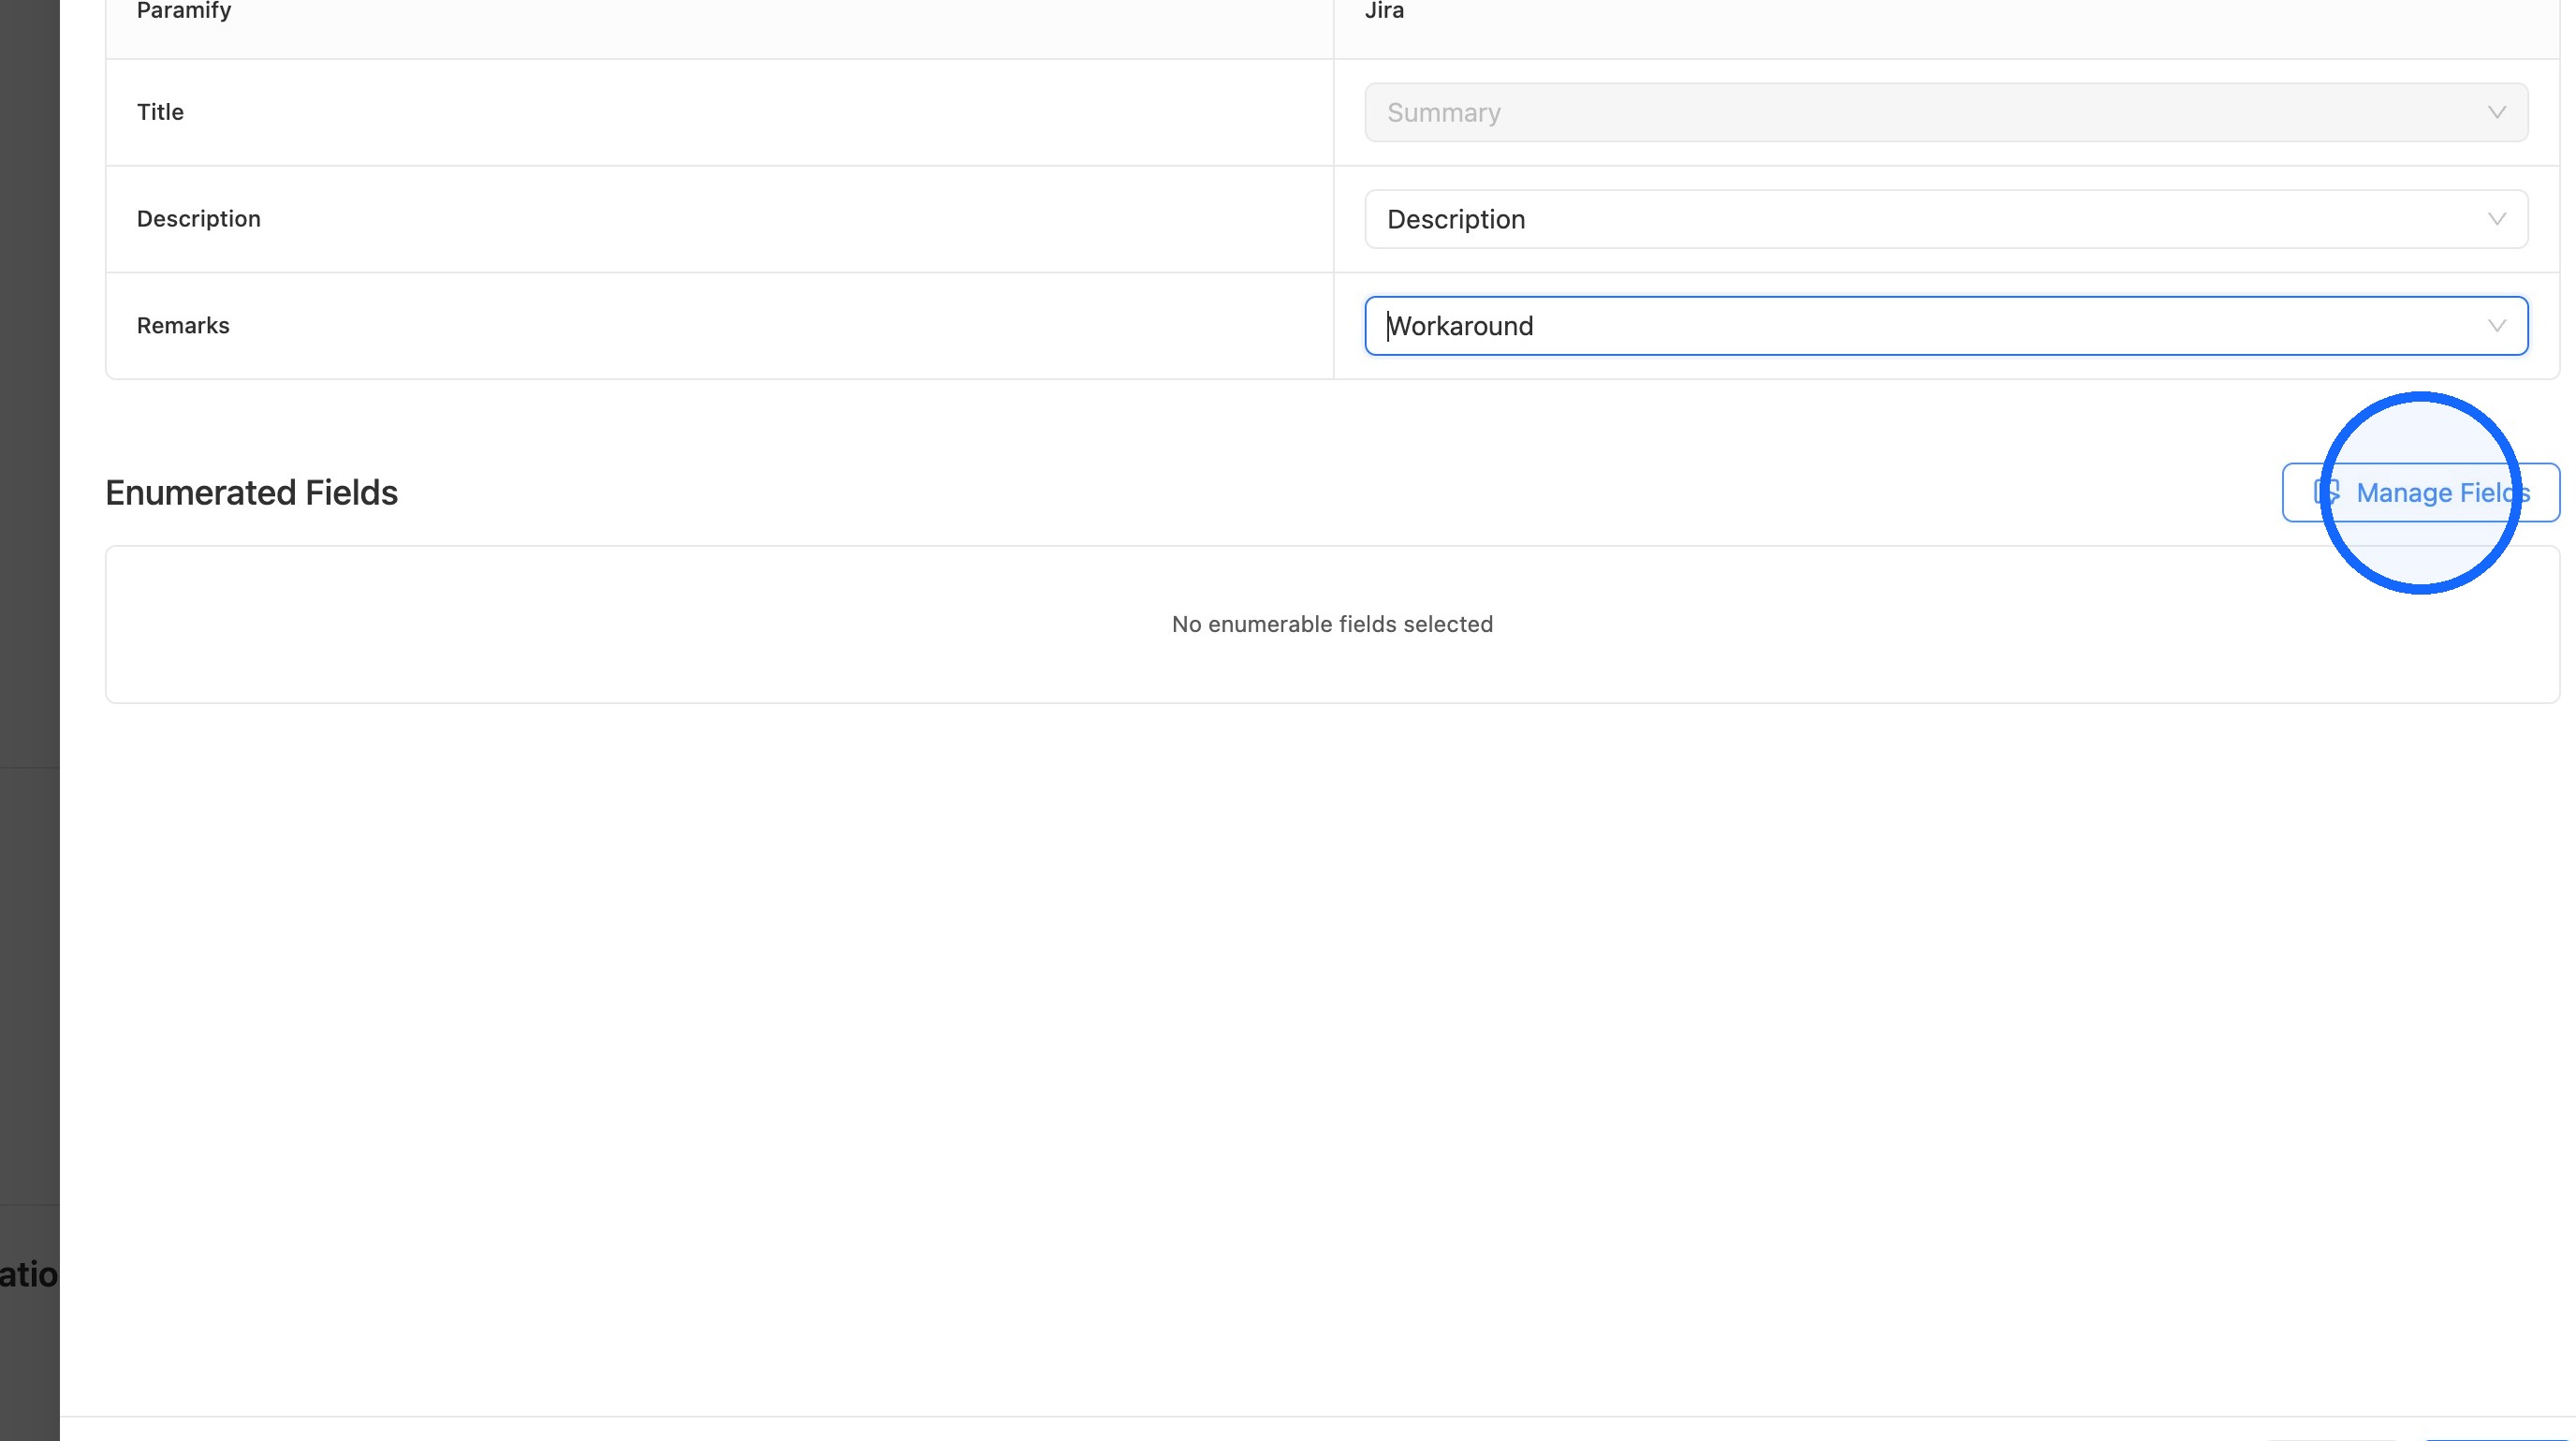
11. Manage inbound enumerated fields
Click Manage Fields for Enumerated Fields.
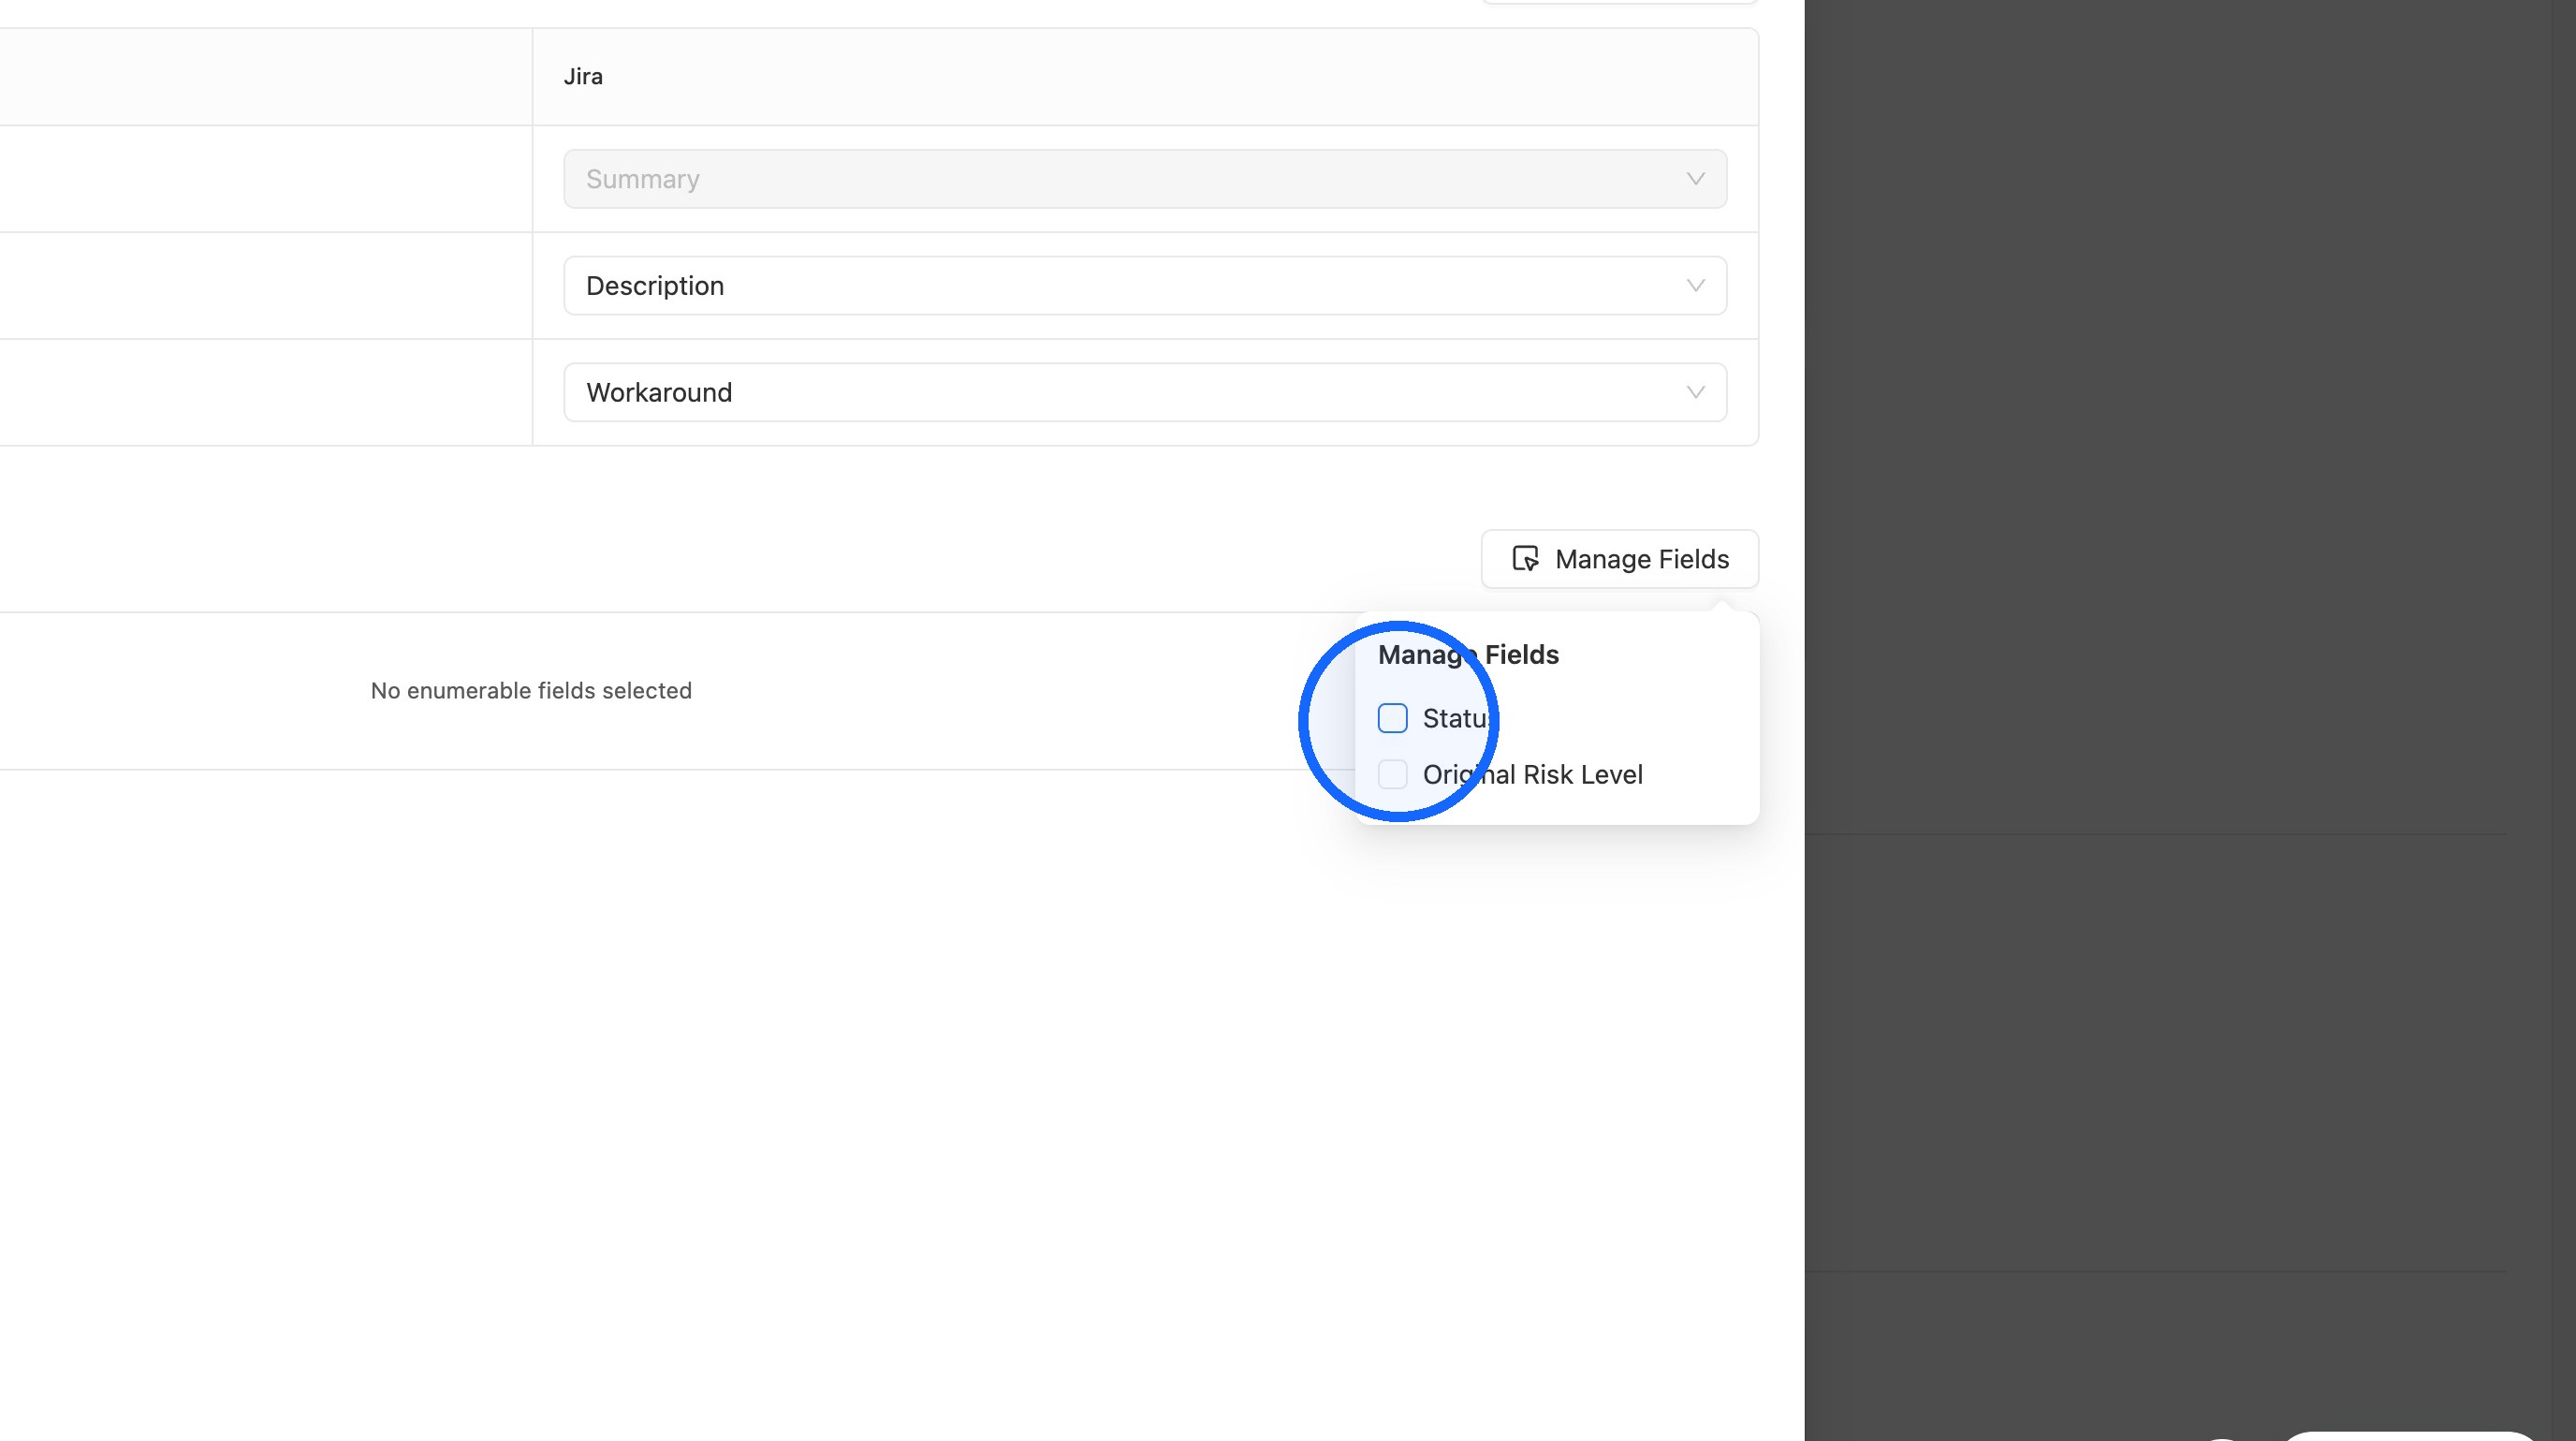
12. Add enumerated fields
Add each field you want to map.
13. Map enumerated values
Map each Paramify value to the corresponding Jira value.
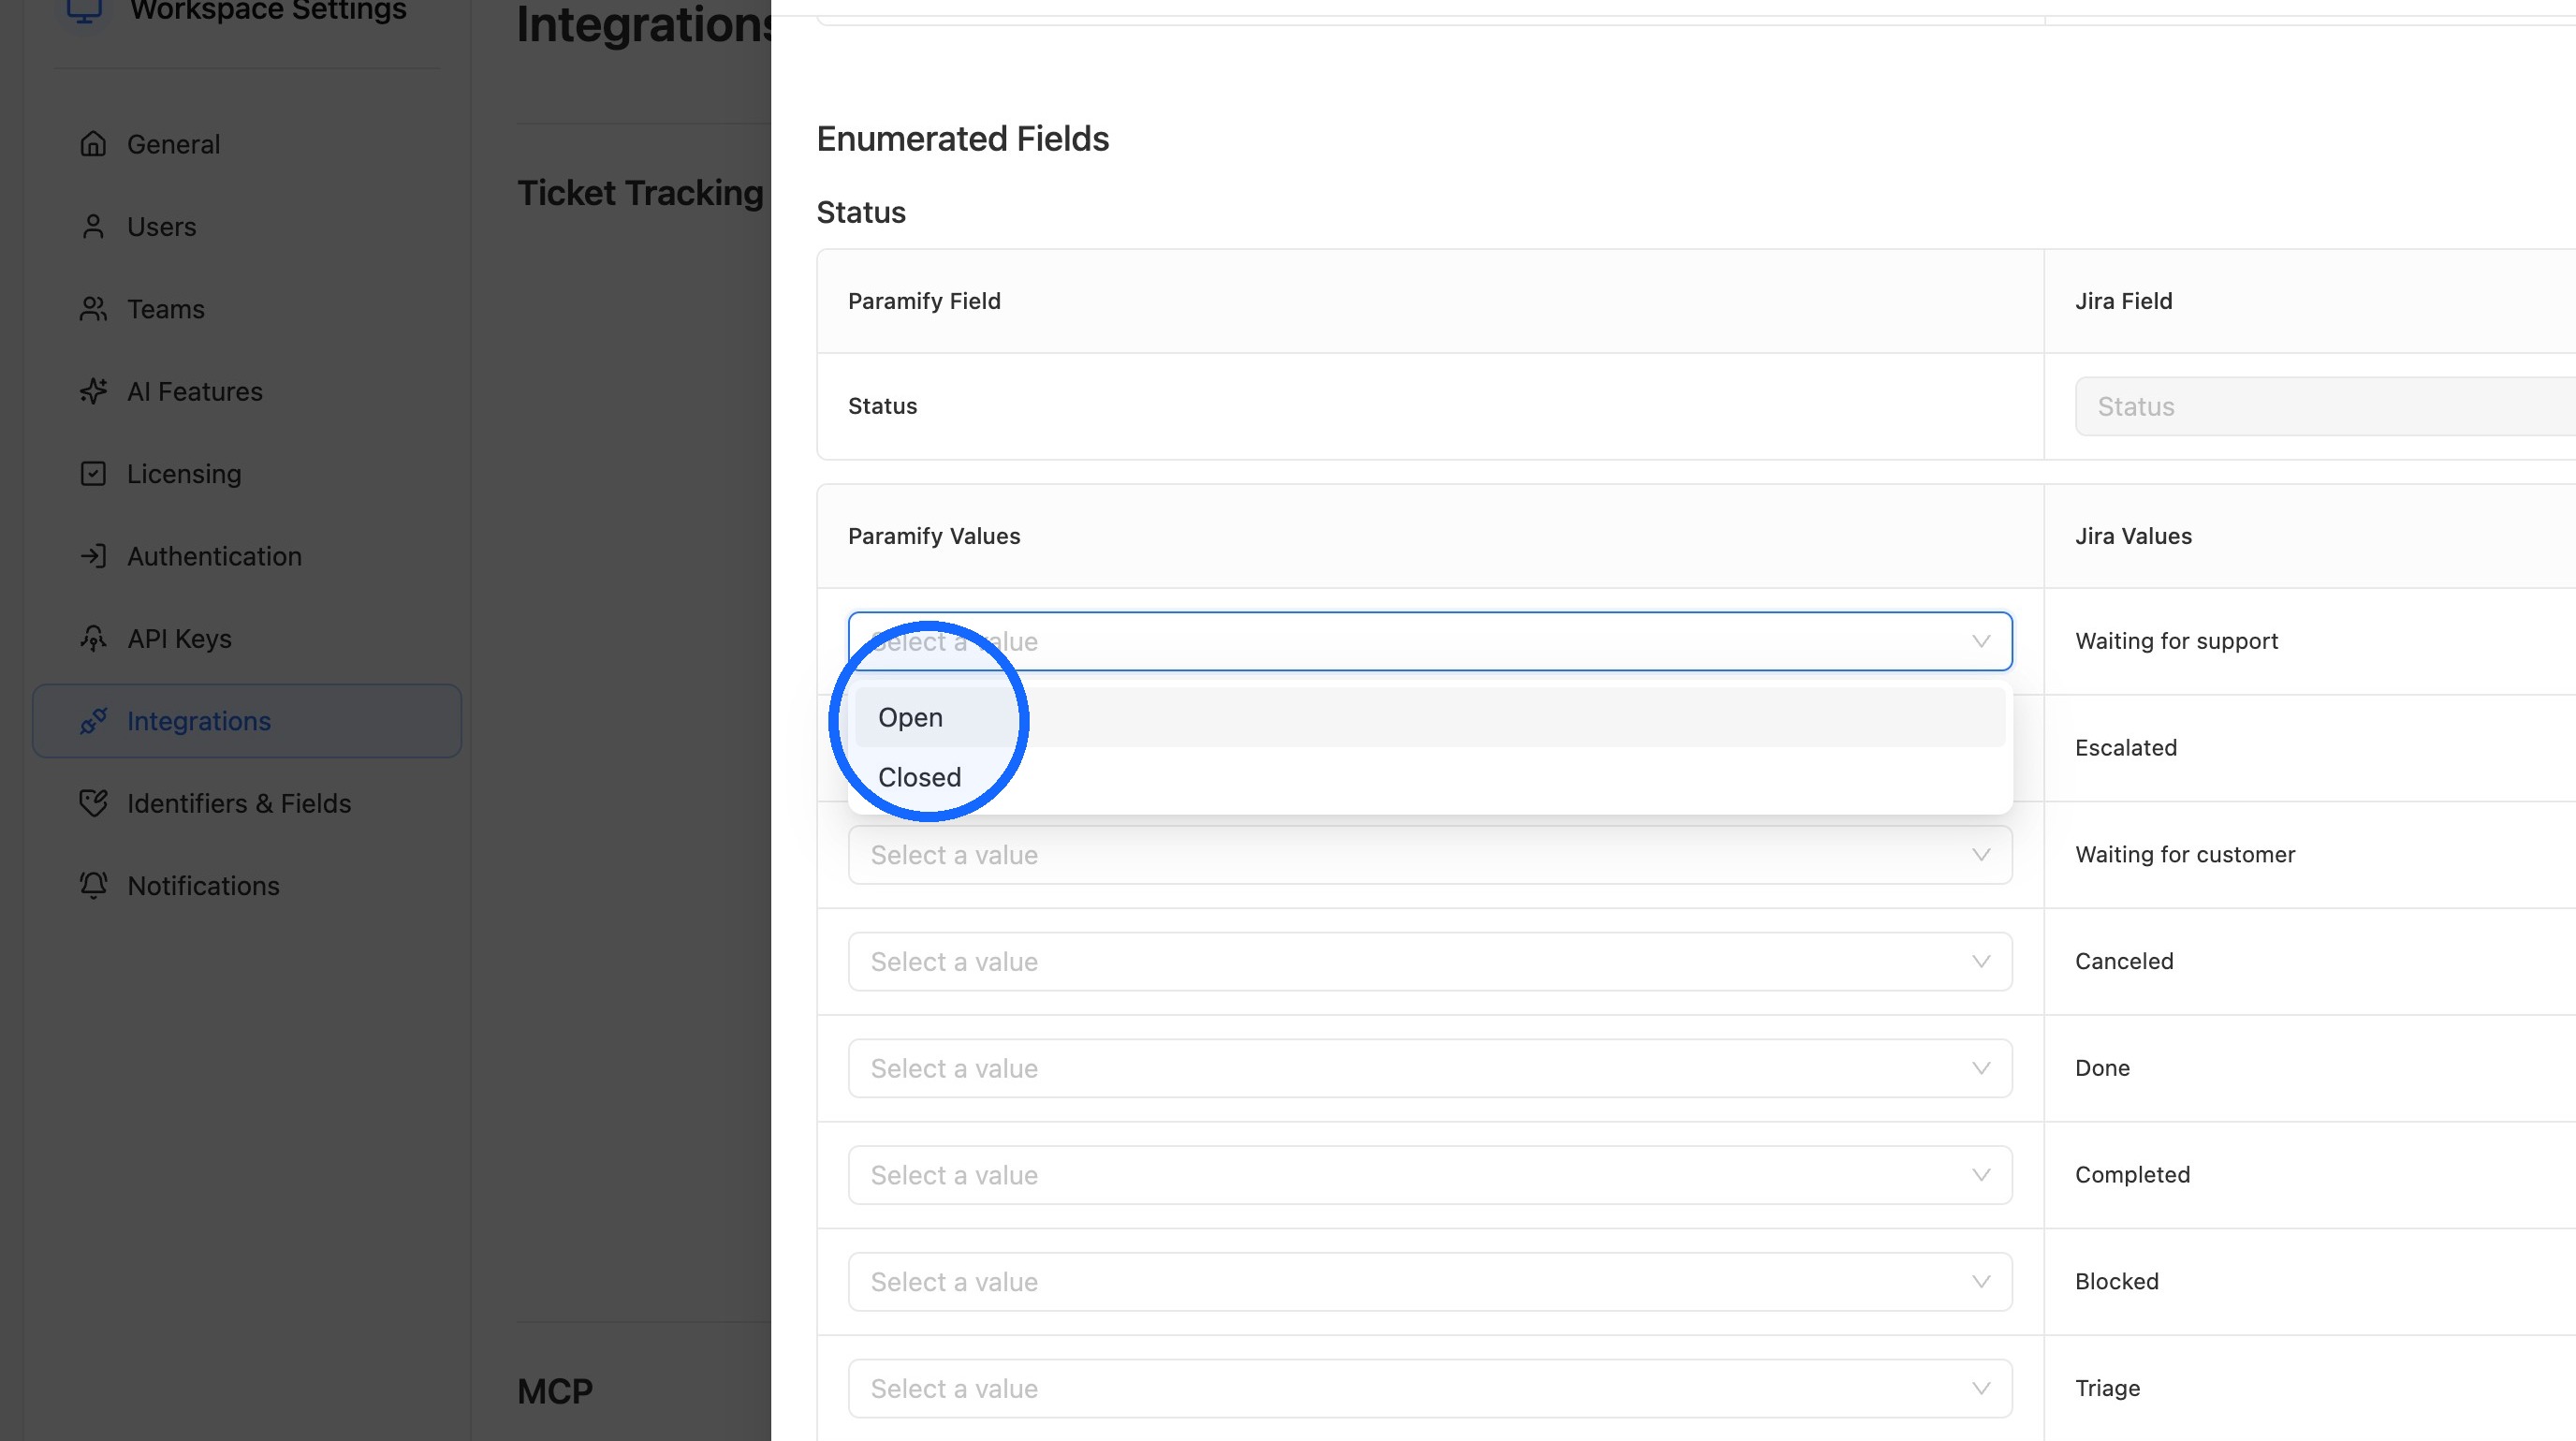
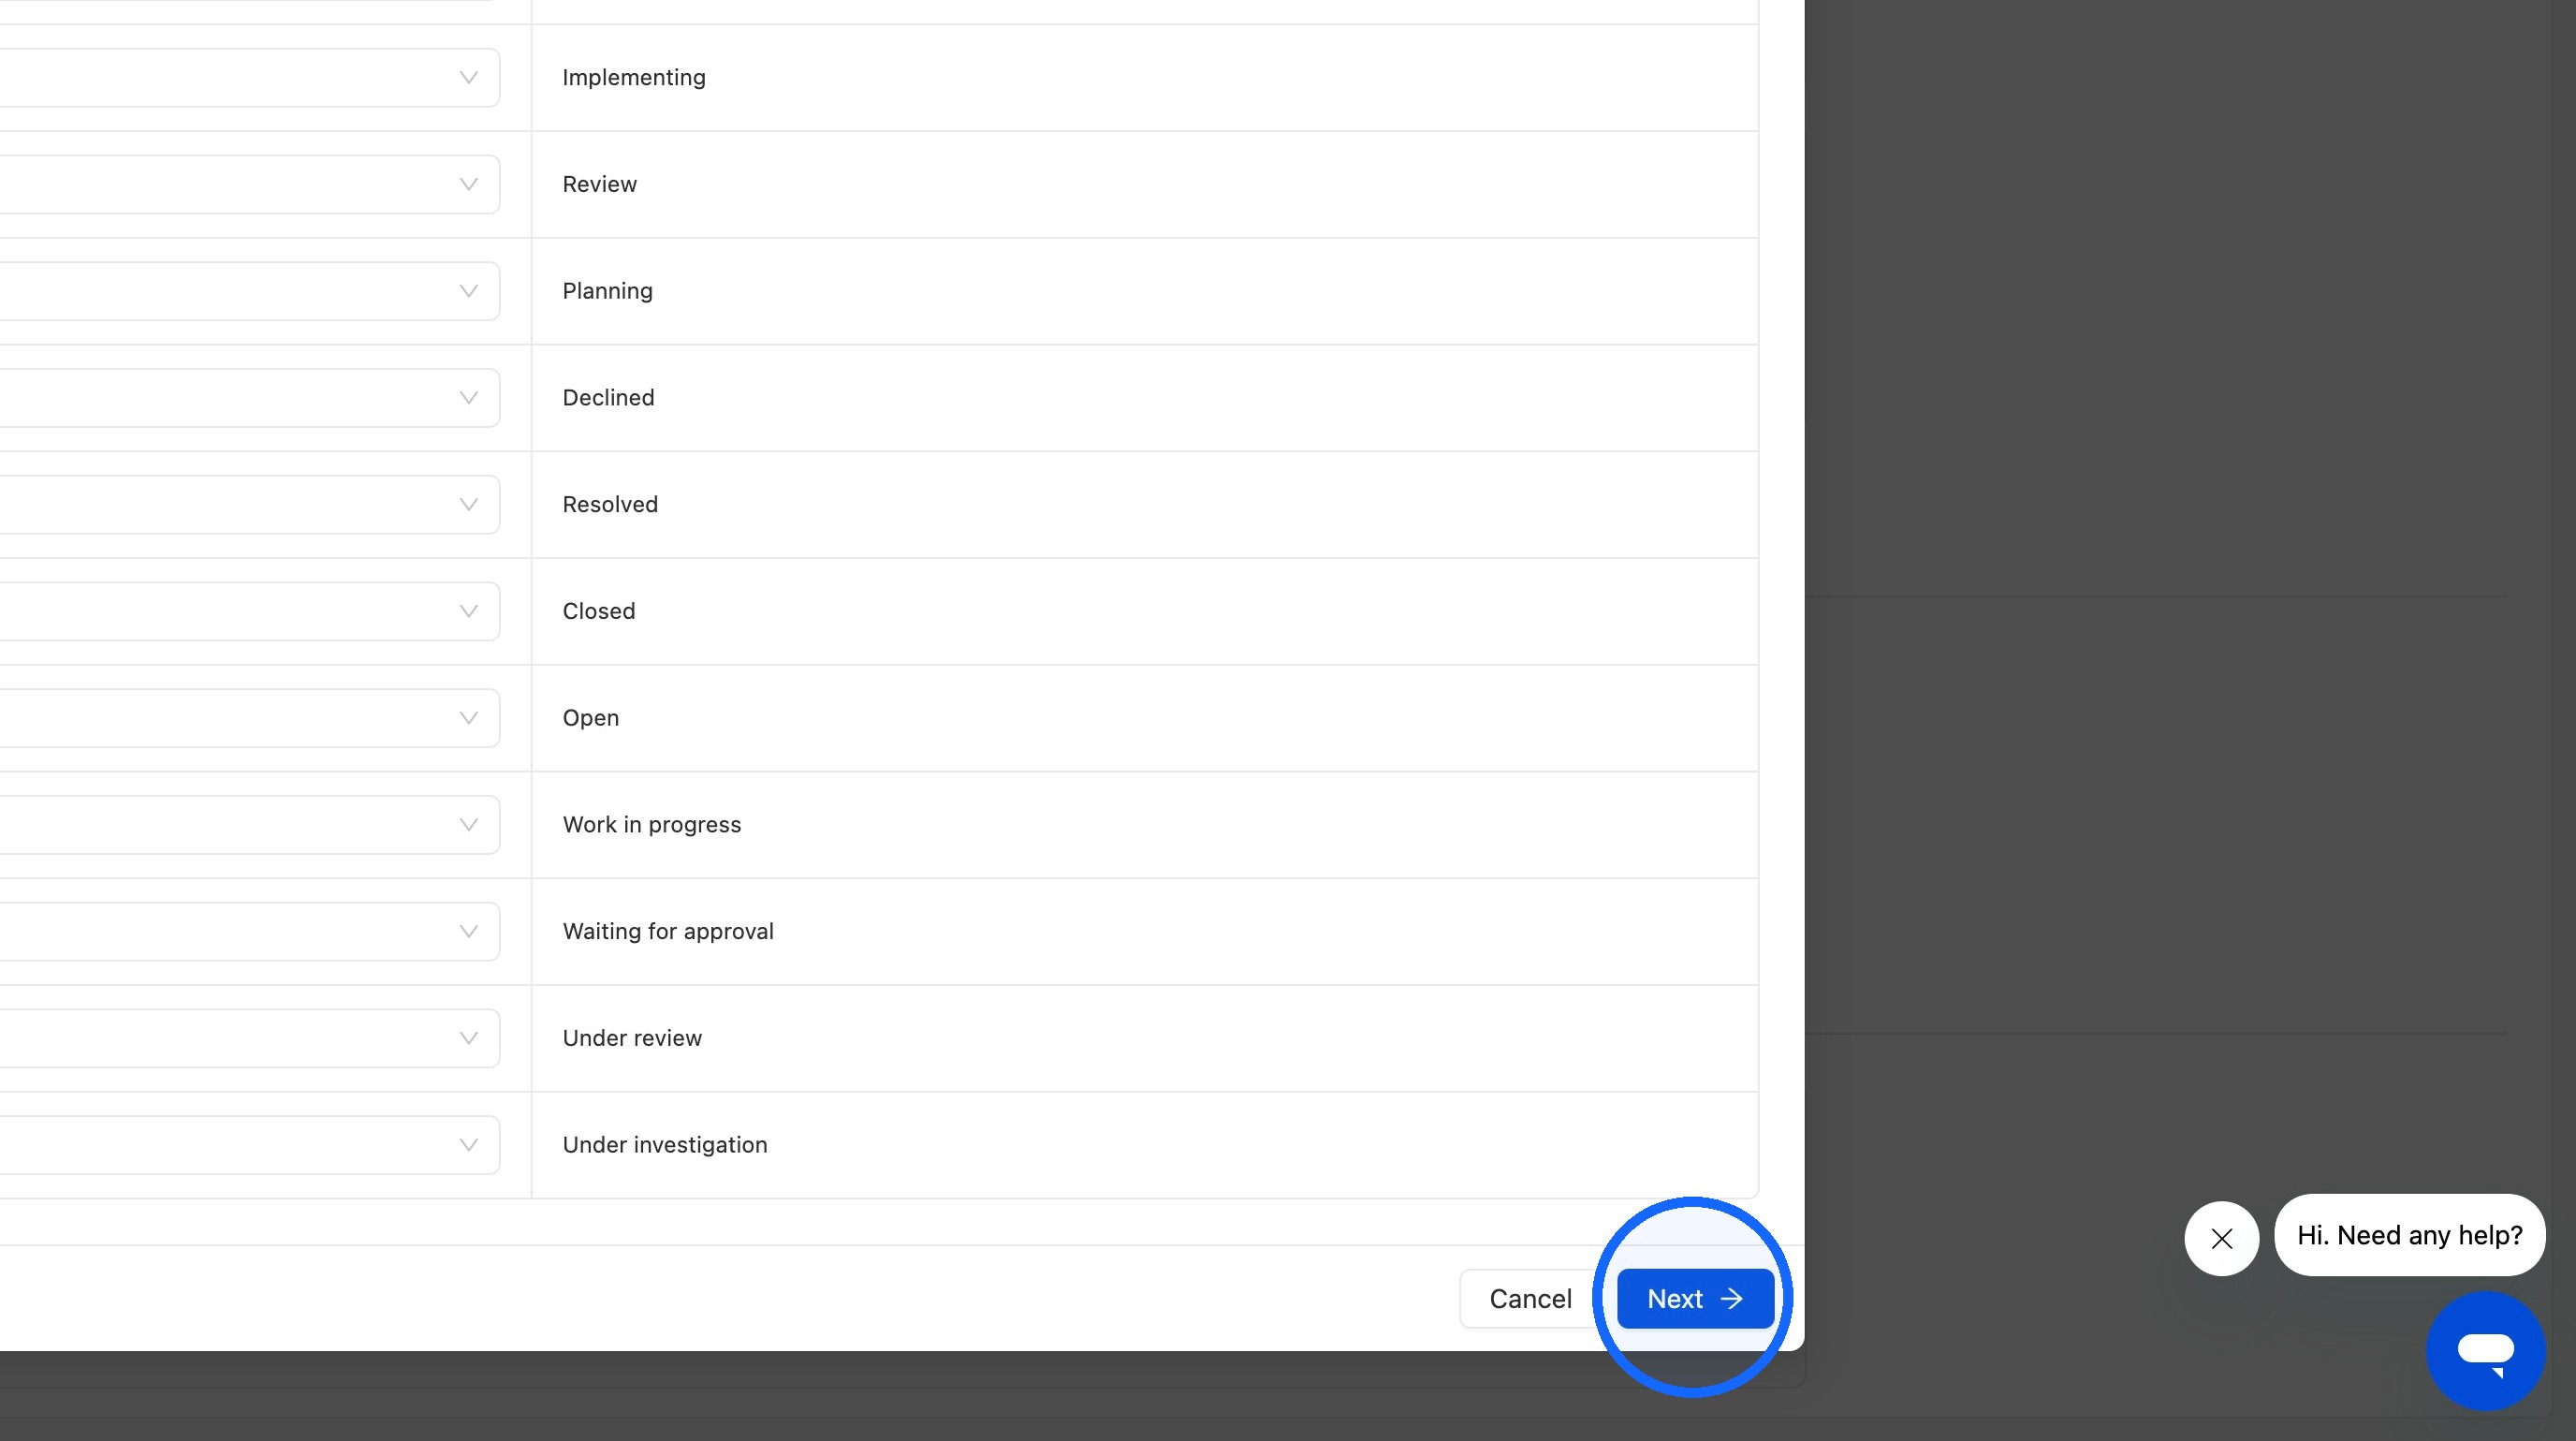
14. Continue to outbound field mapping
Click Next once you've mapped all the values.
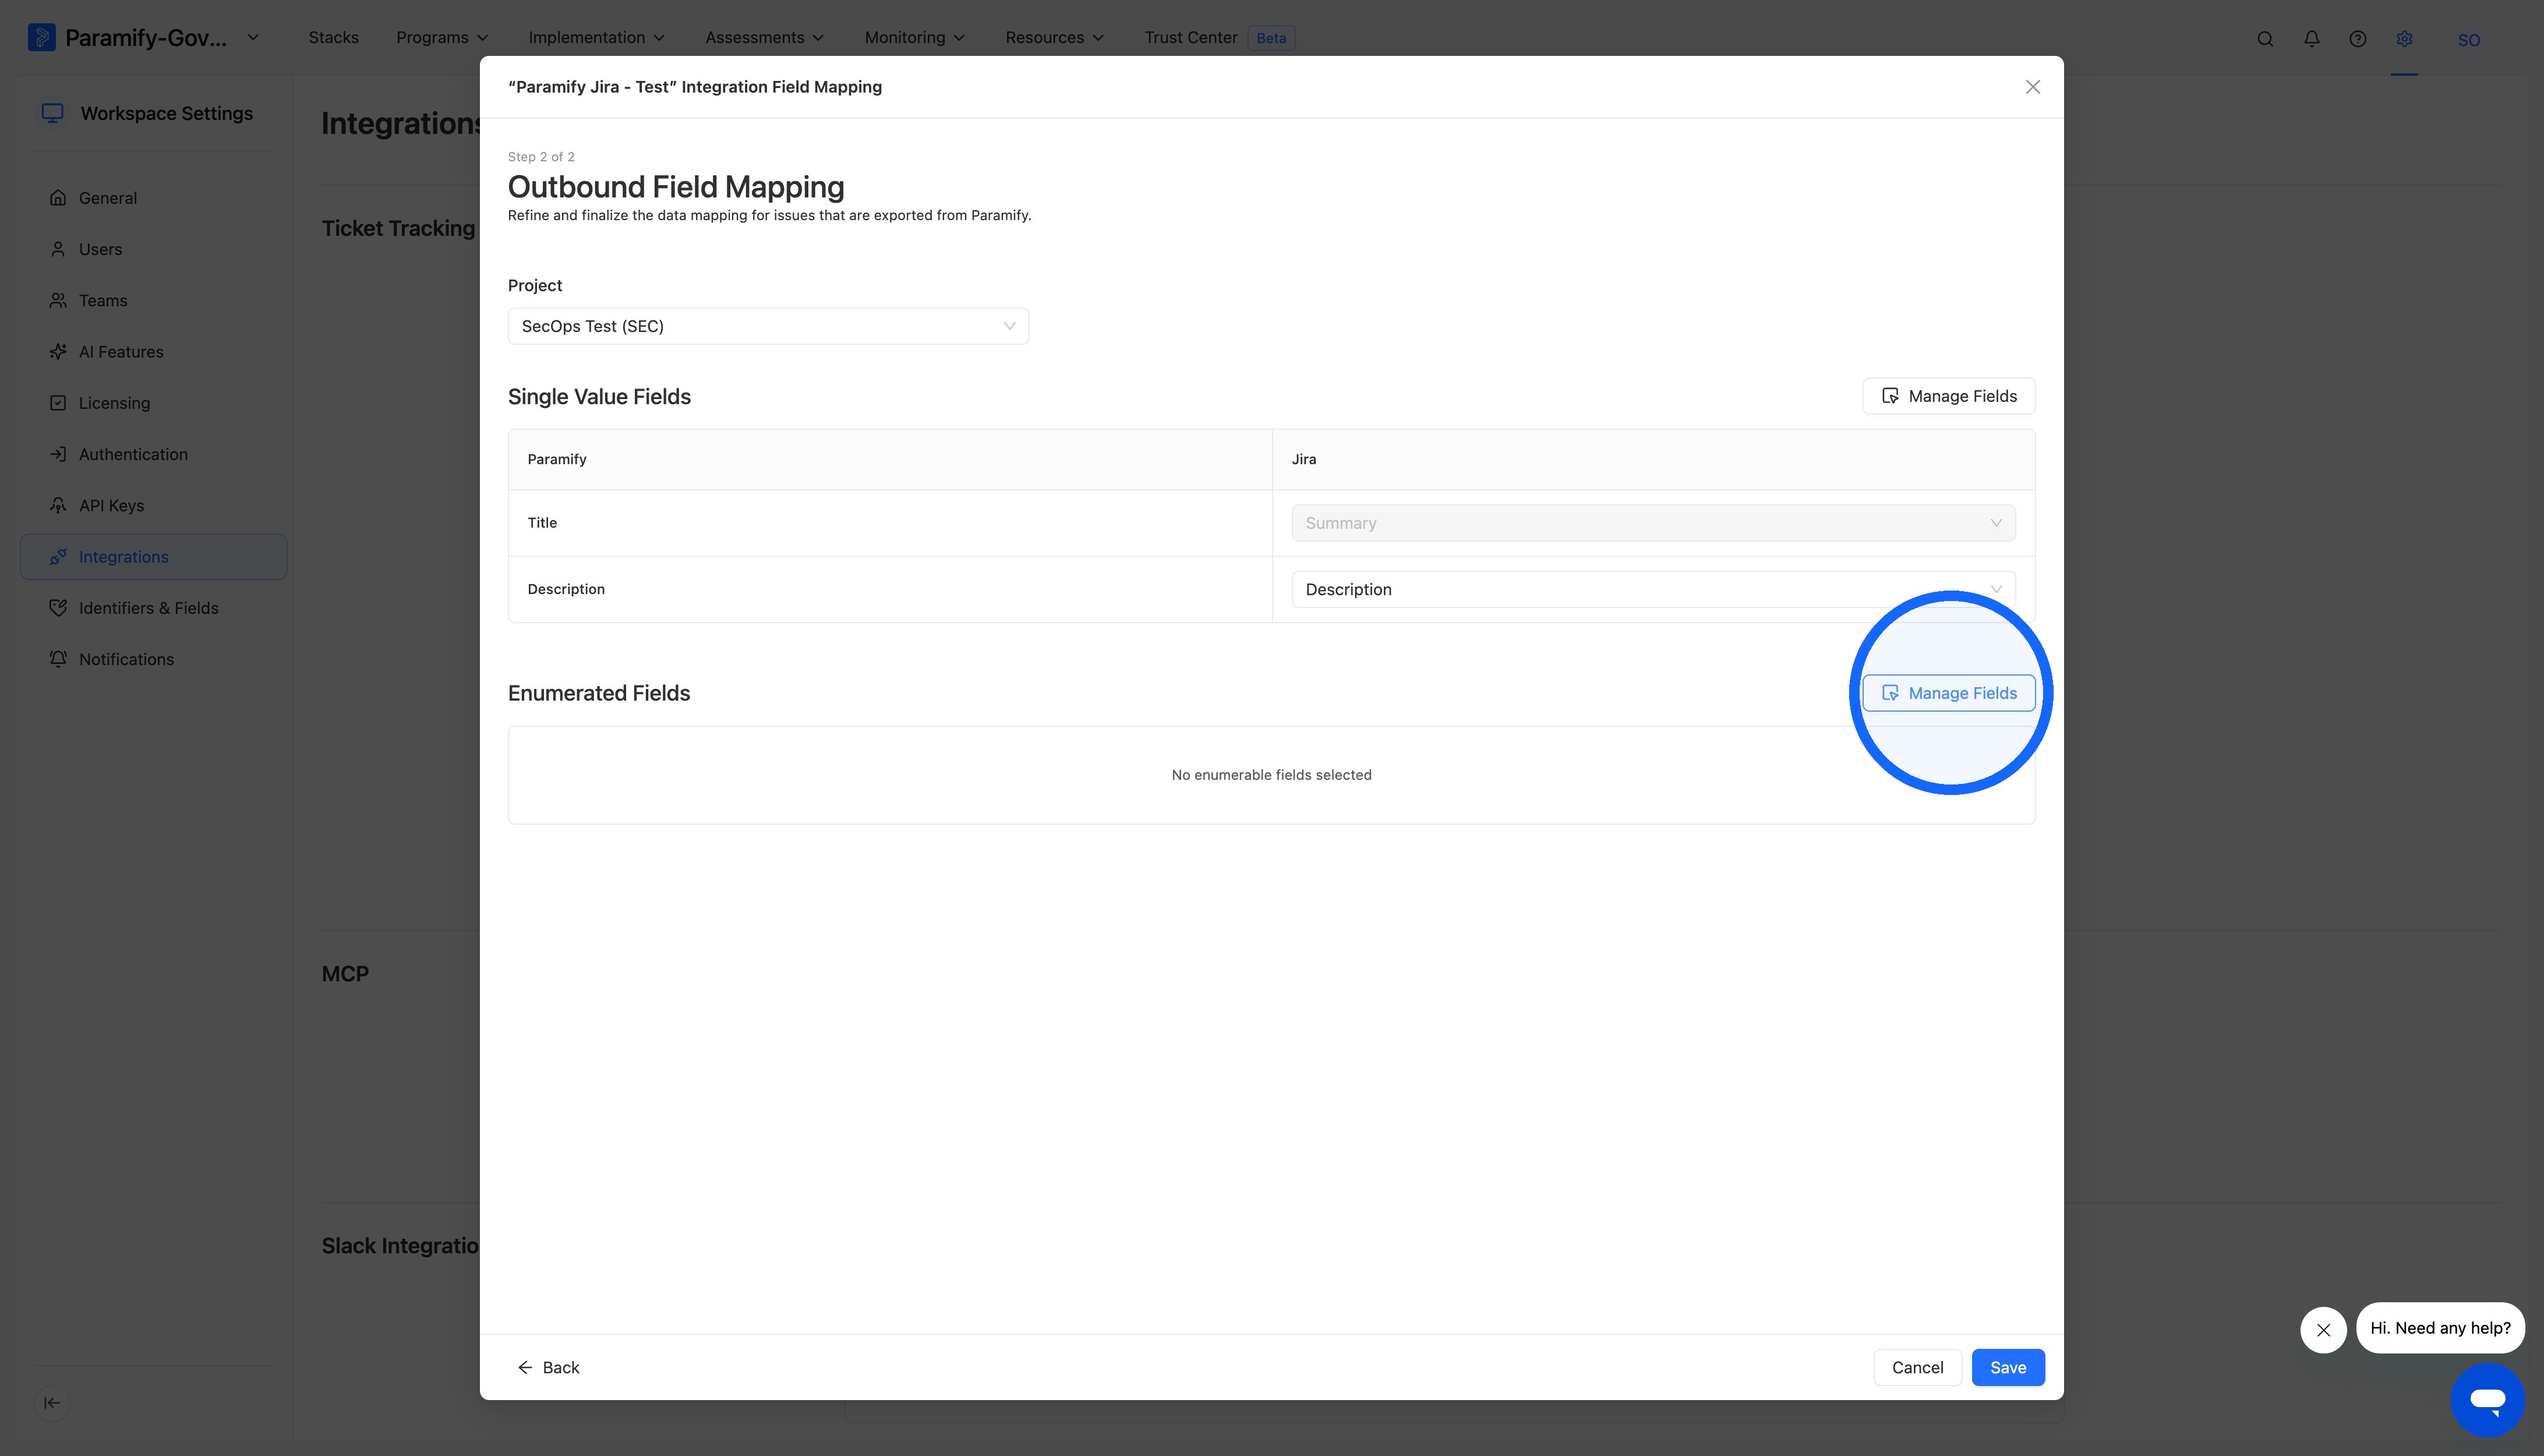
15. Select outbound fields
Click Manage Fields for each section and select the fields you want to map.
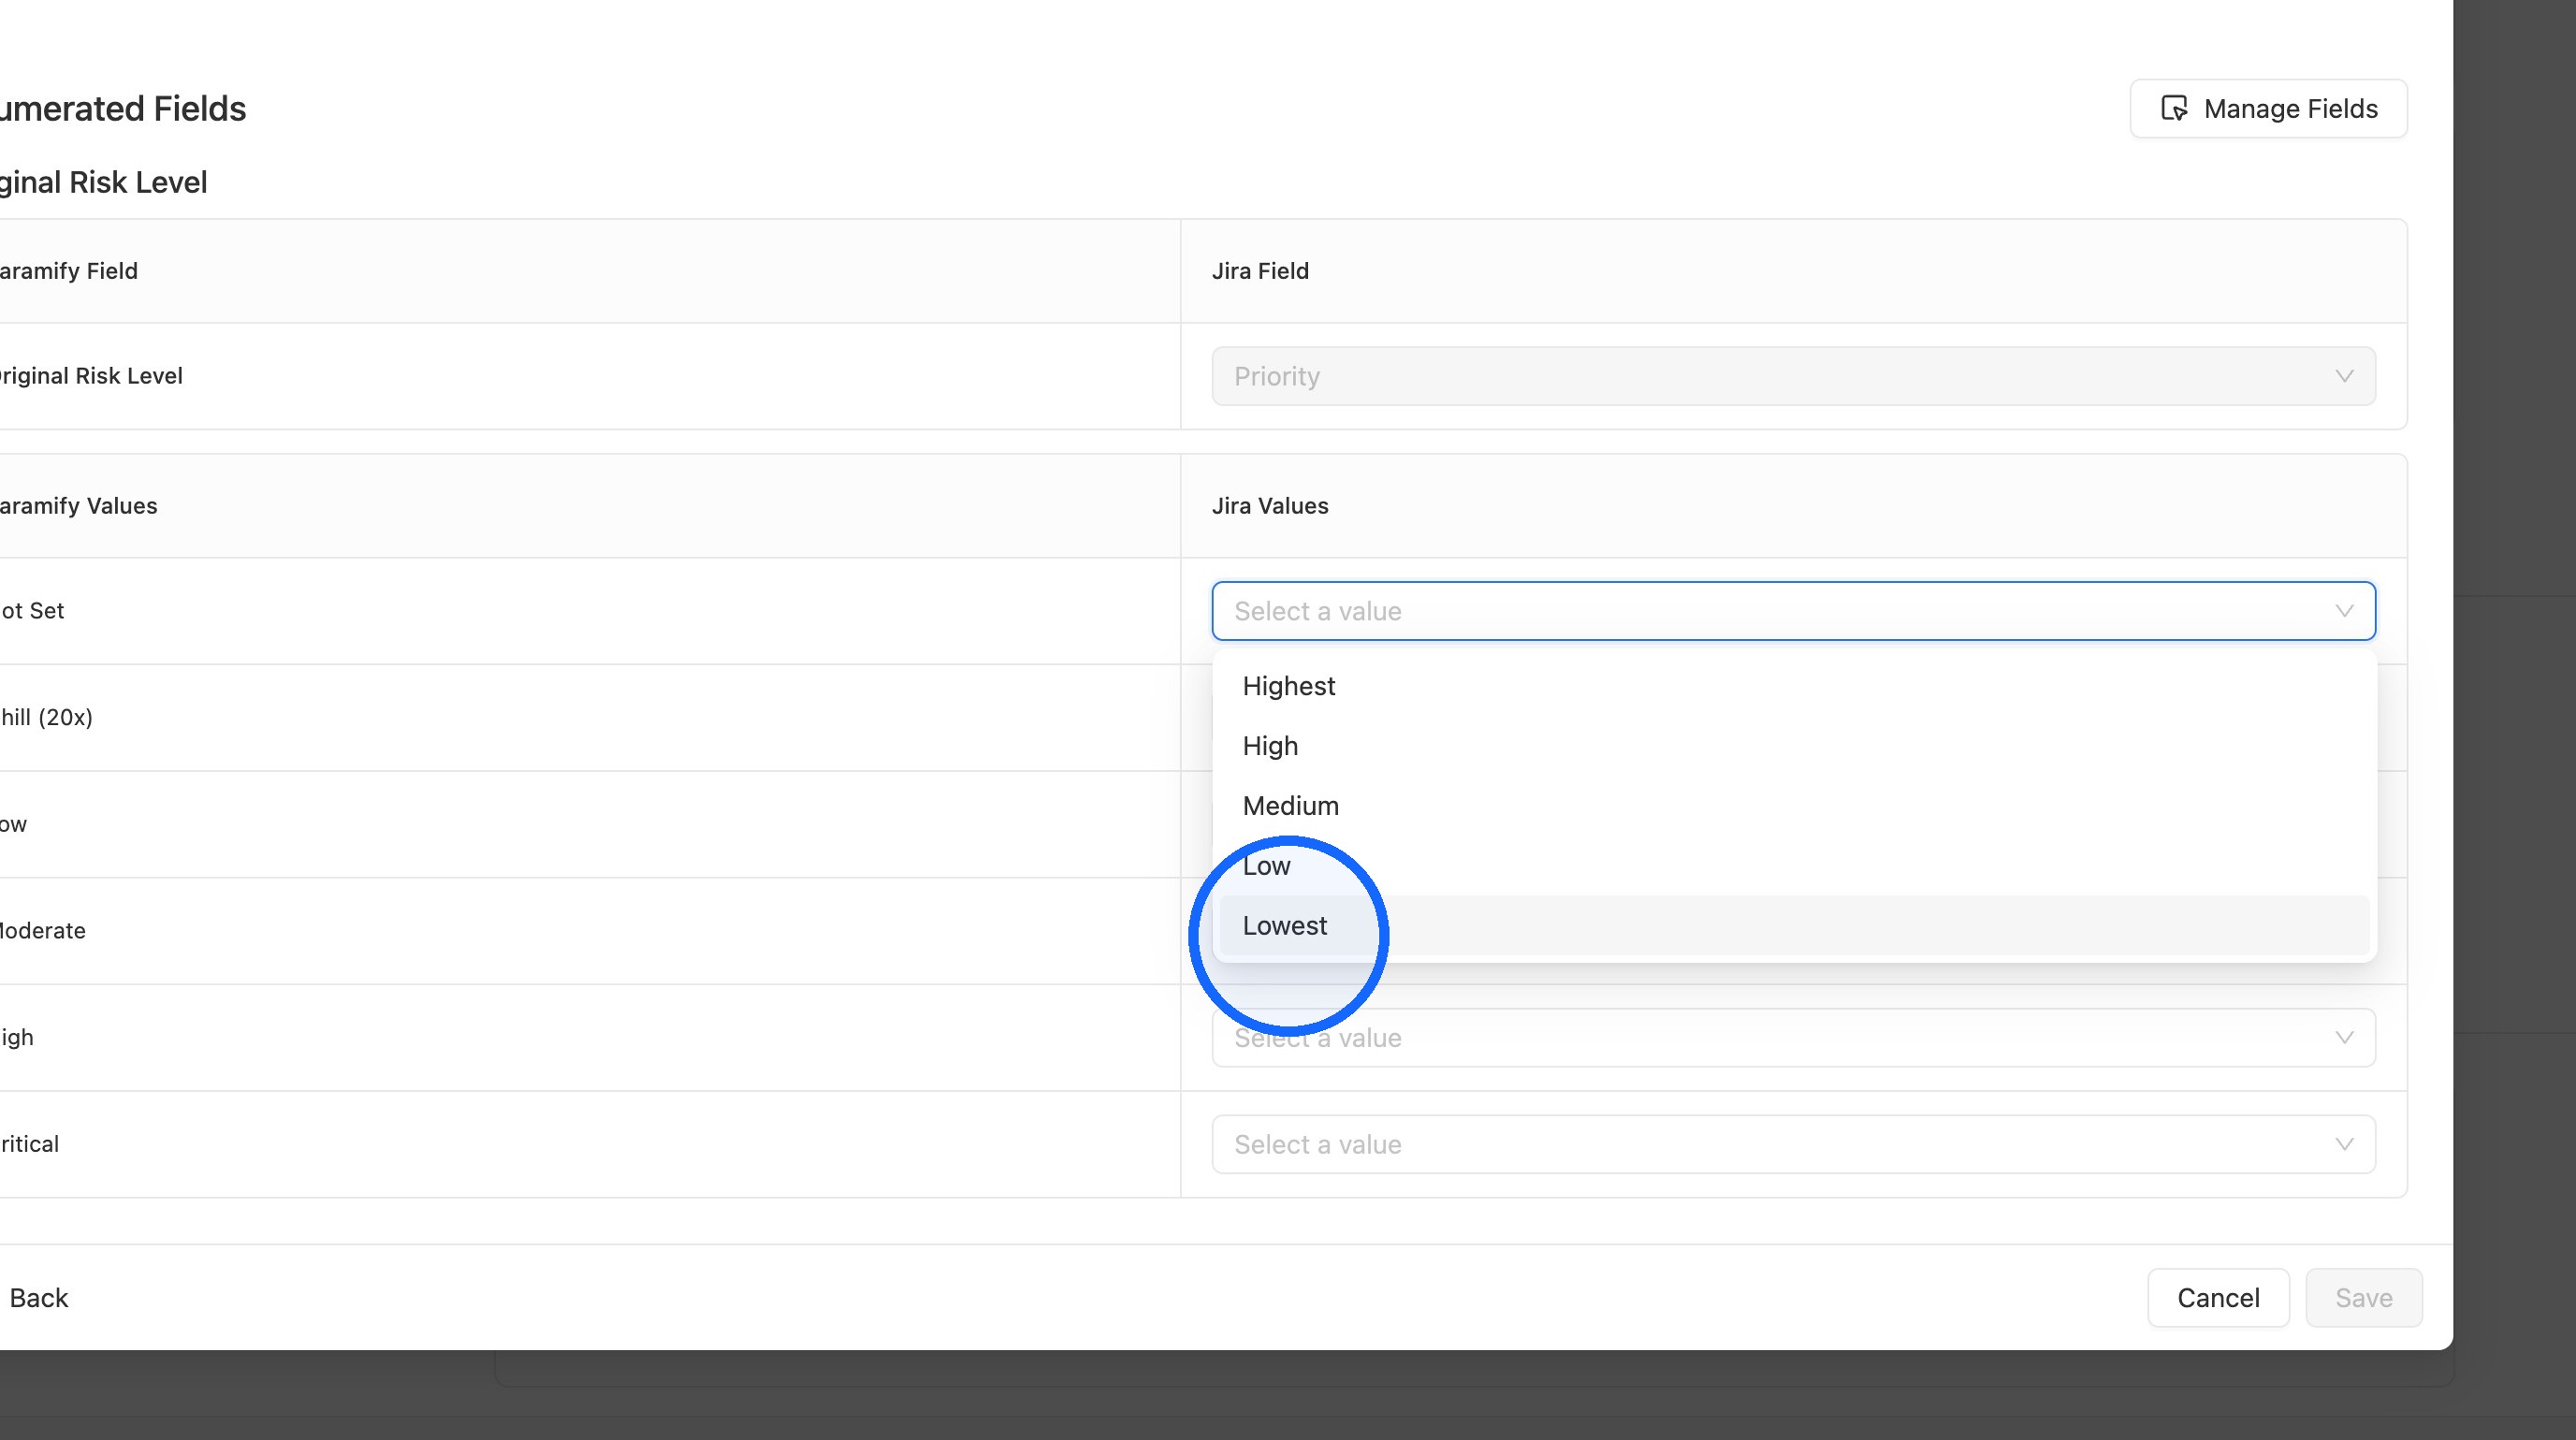
16. Map outbound values
Open the Jira value dropdown and select the value you want, then repeat for each row.
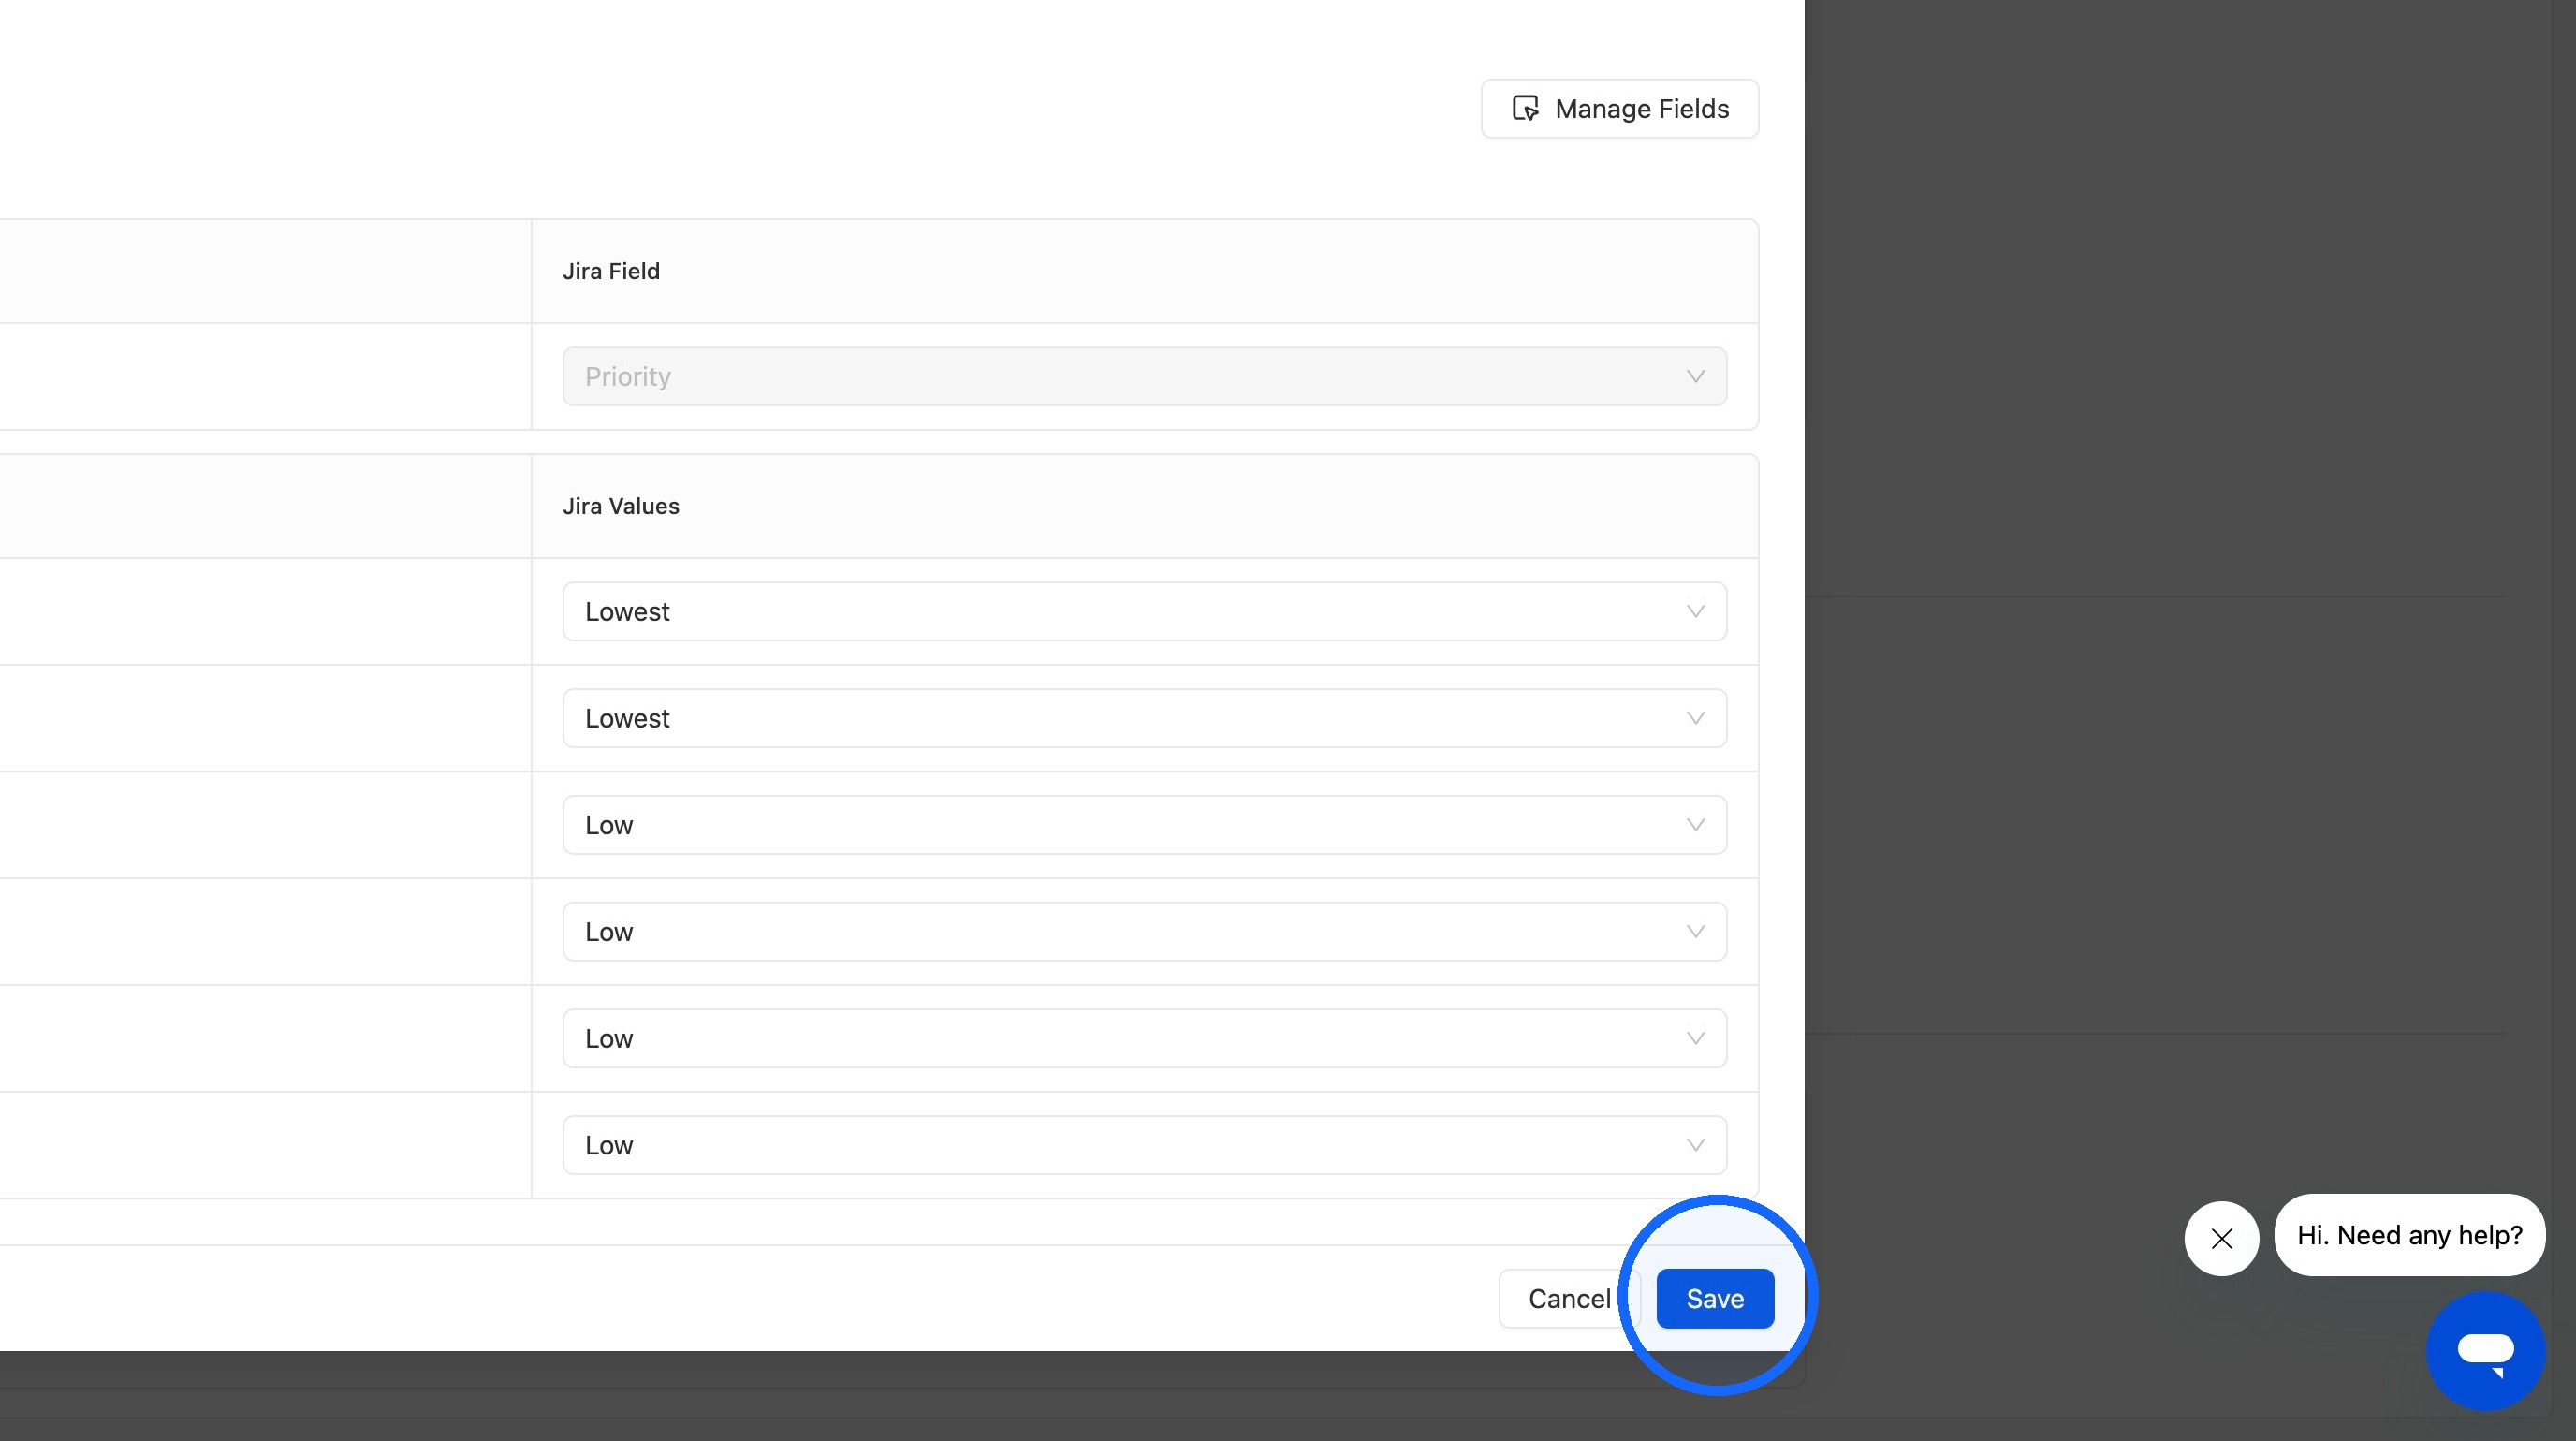
17. Save the field mapping
Click Save once each value is mapped.
Automatic ticket creation
TIP
Automatic ticket creation lets you choose which Paramify issues generate Jira tickets. Once it's configured, Paramify creates a matching Jira ticket each time a qualifying issue is created.
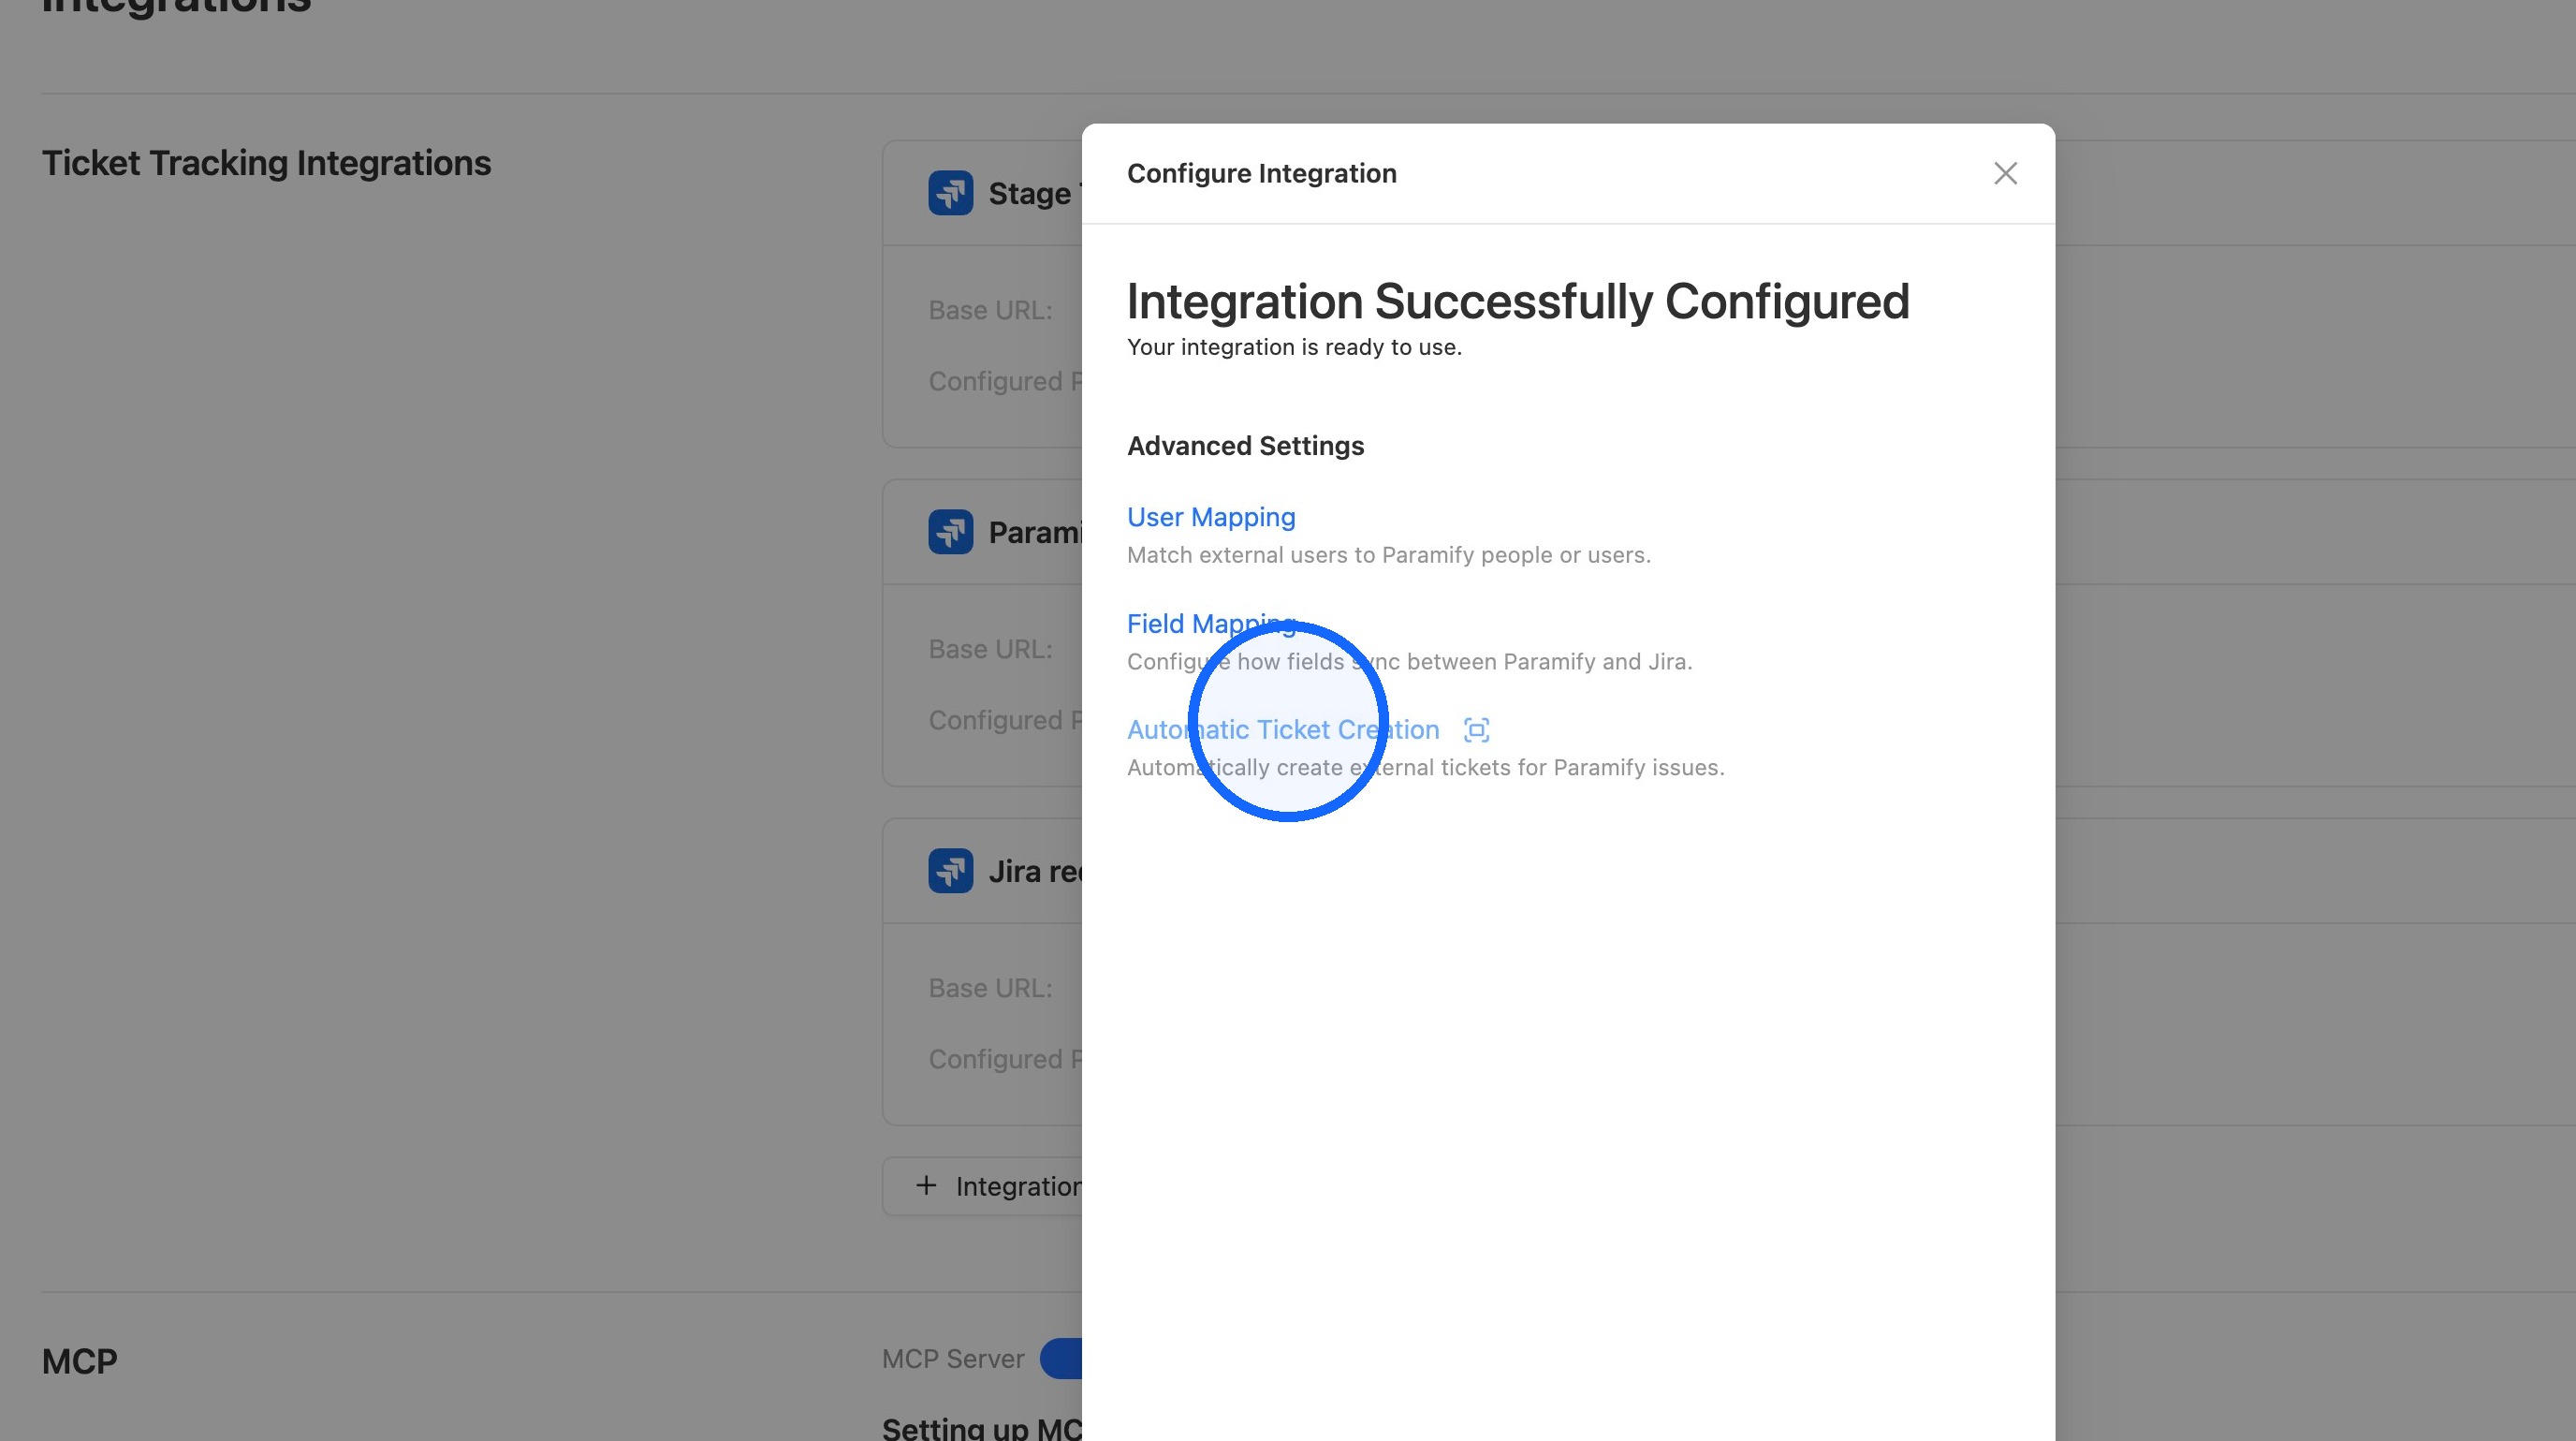
18. Open Automatic Ticket Creation
Click Automatic Ticket Creation.
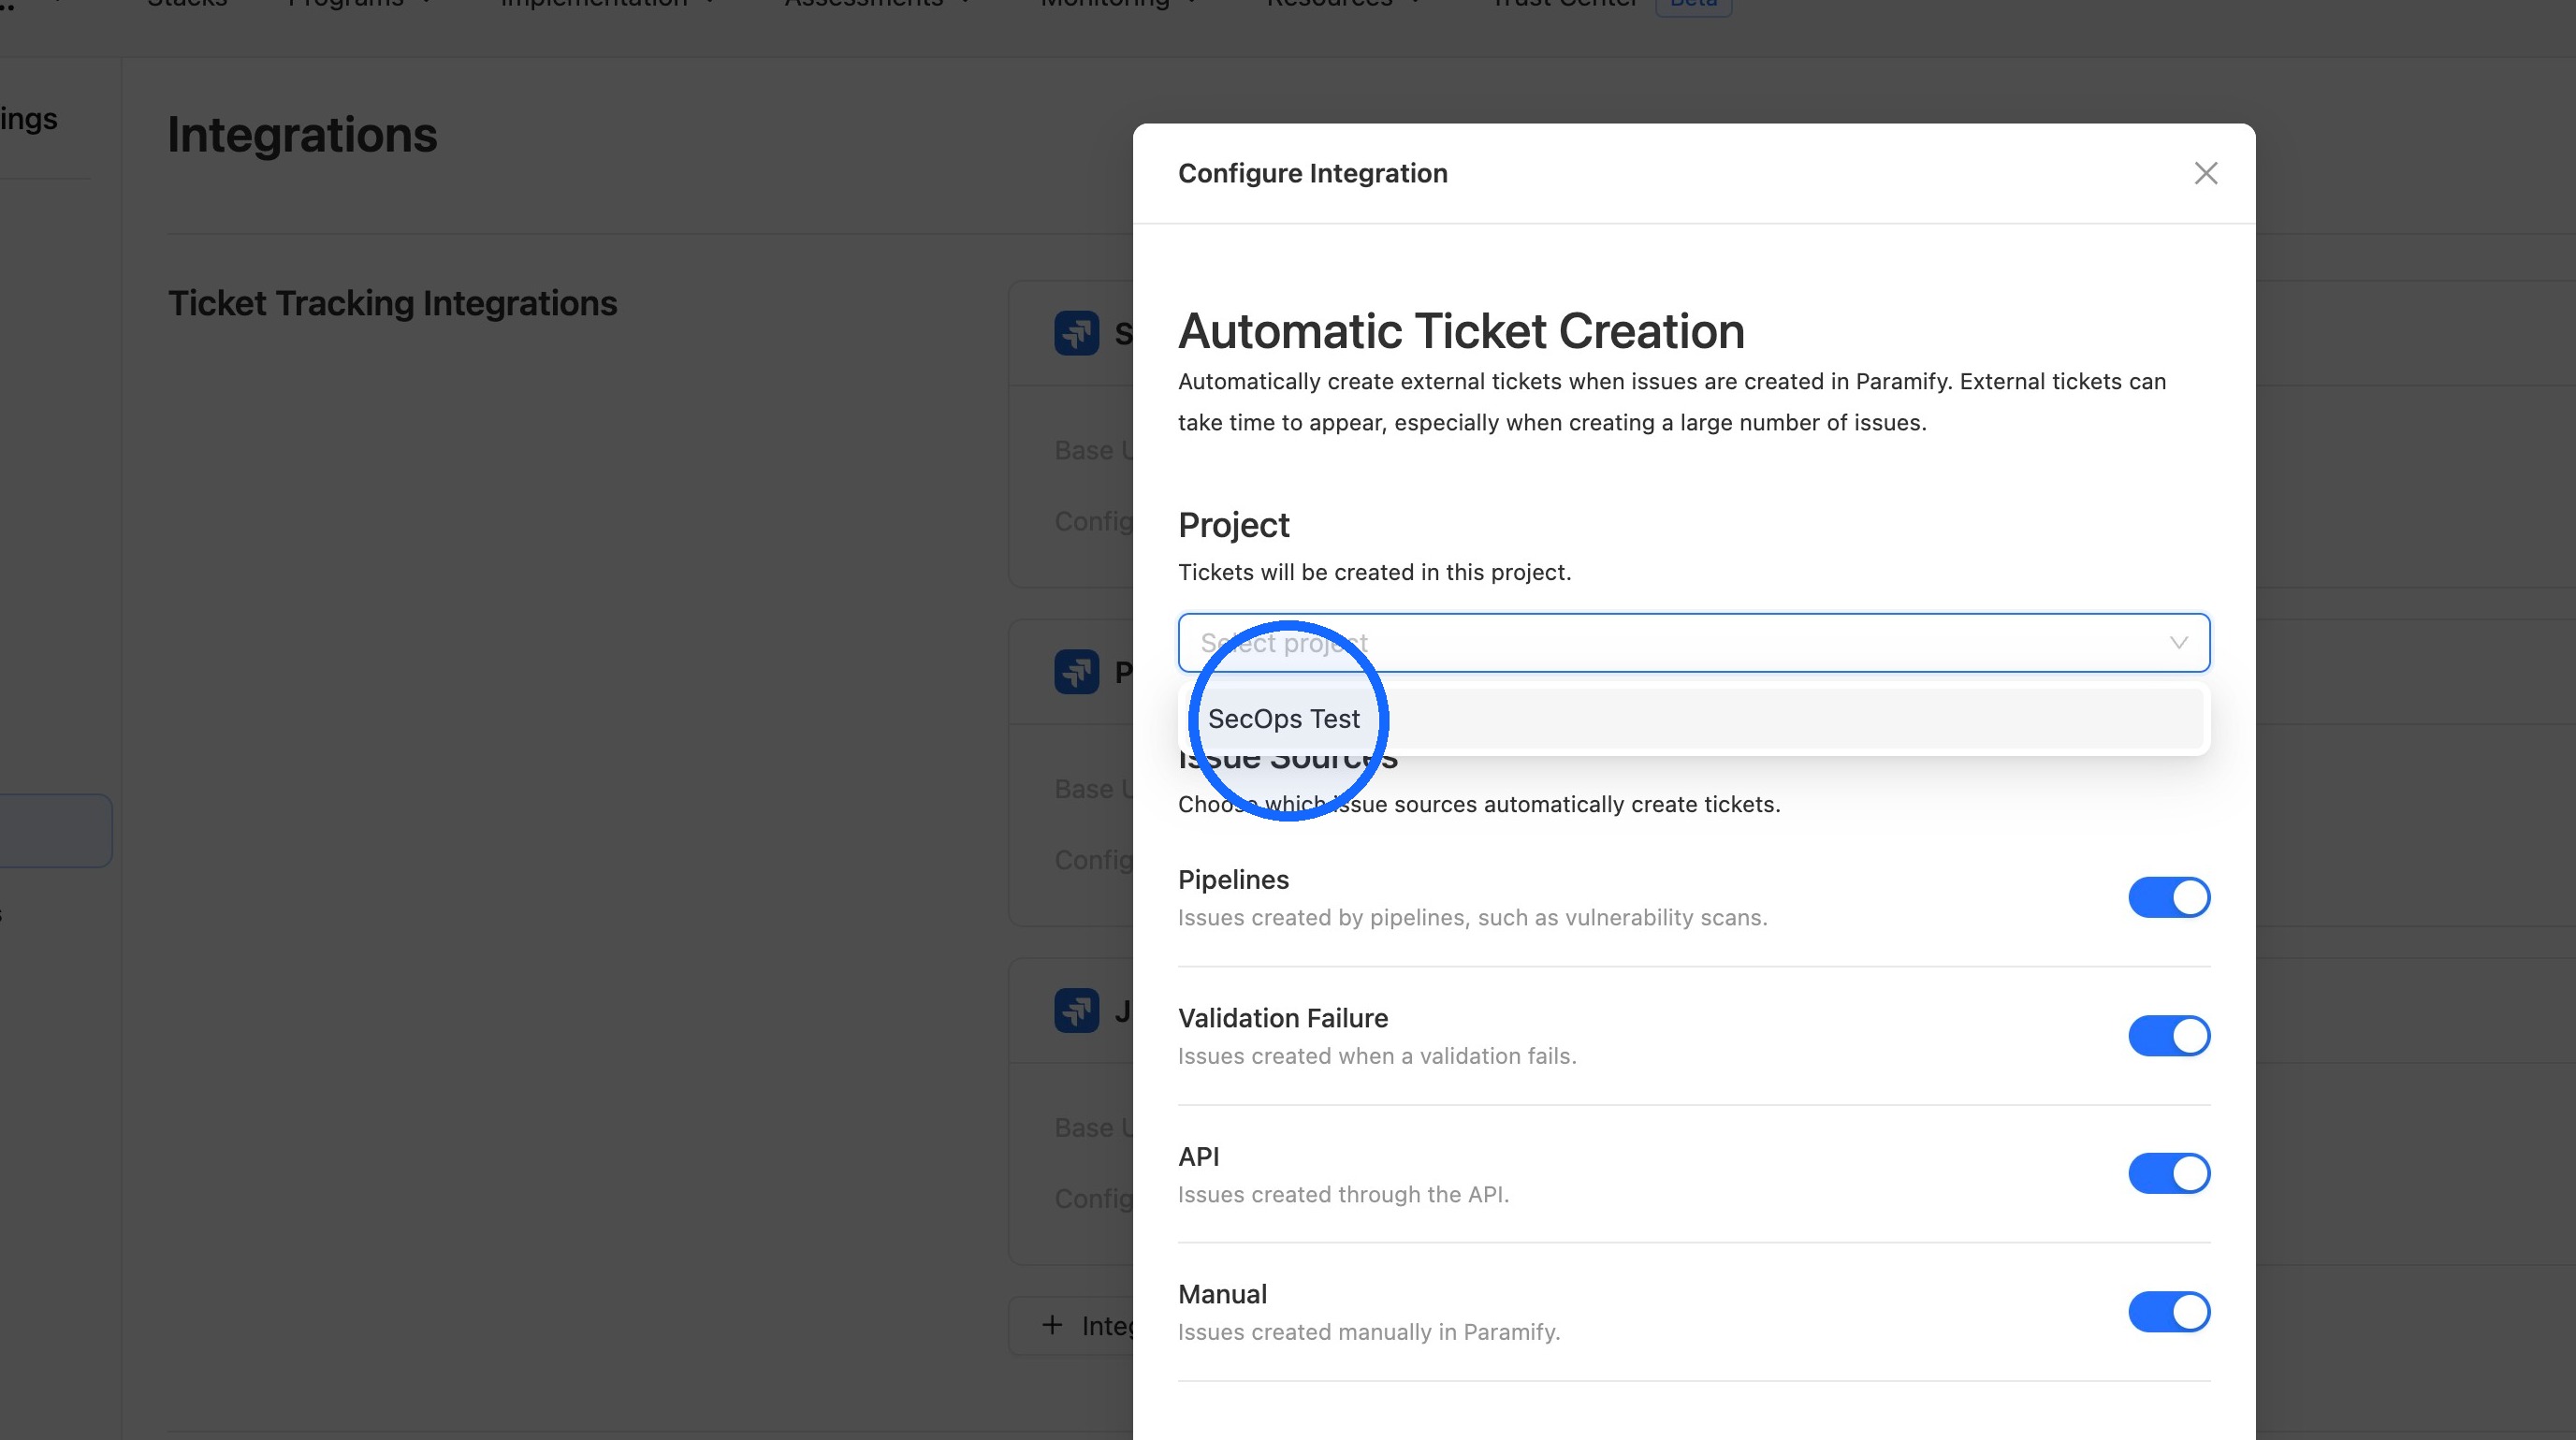
19. Select a Jira project
Select the project you want tickets created in.
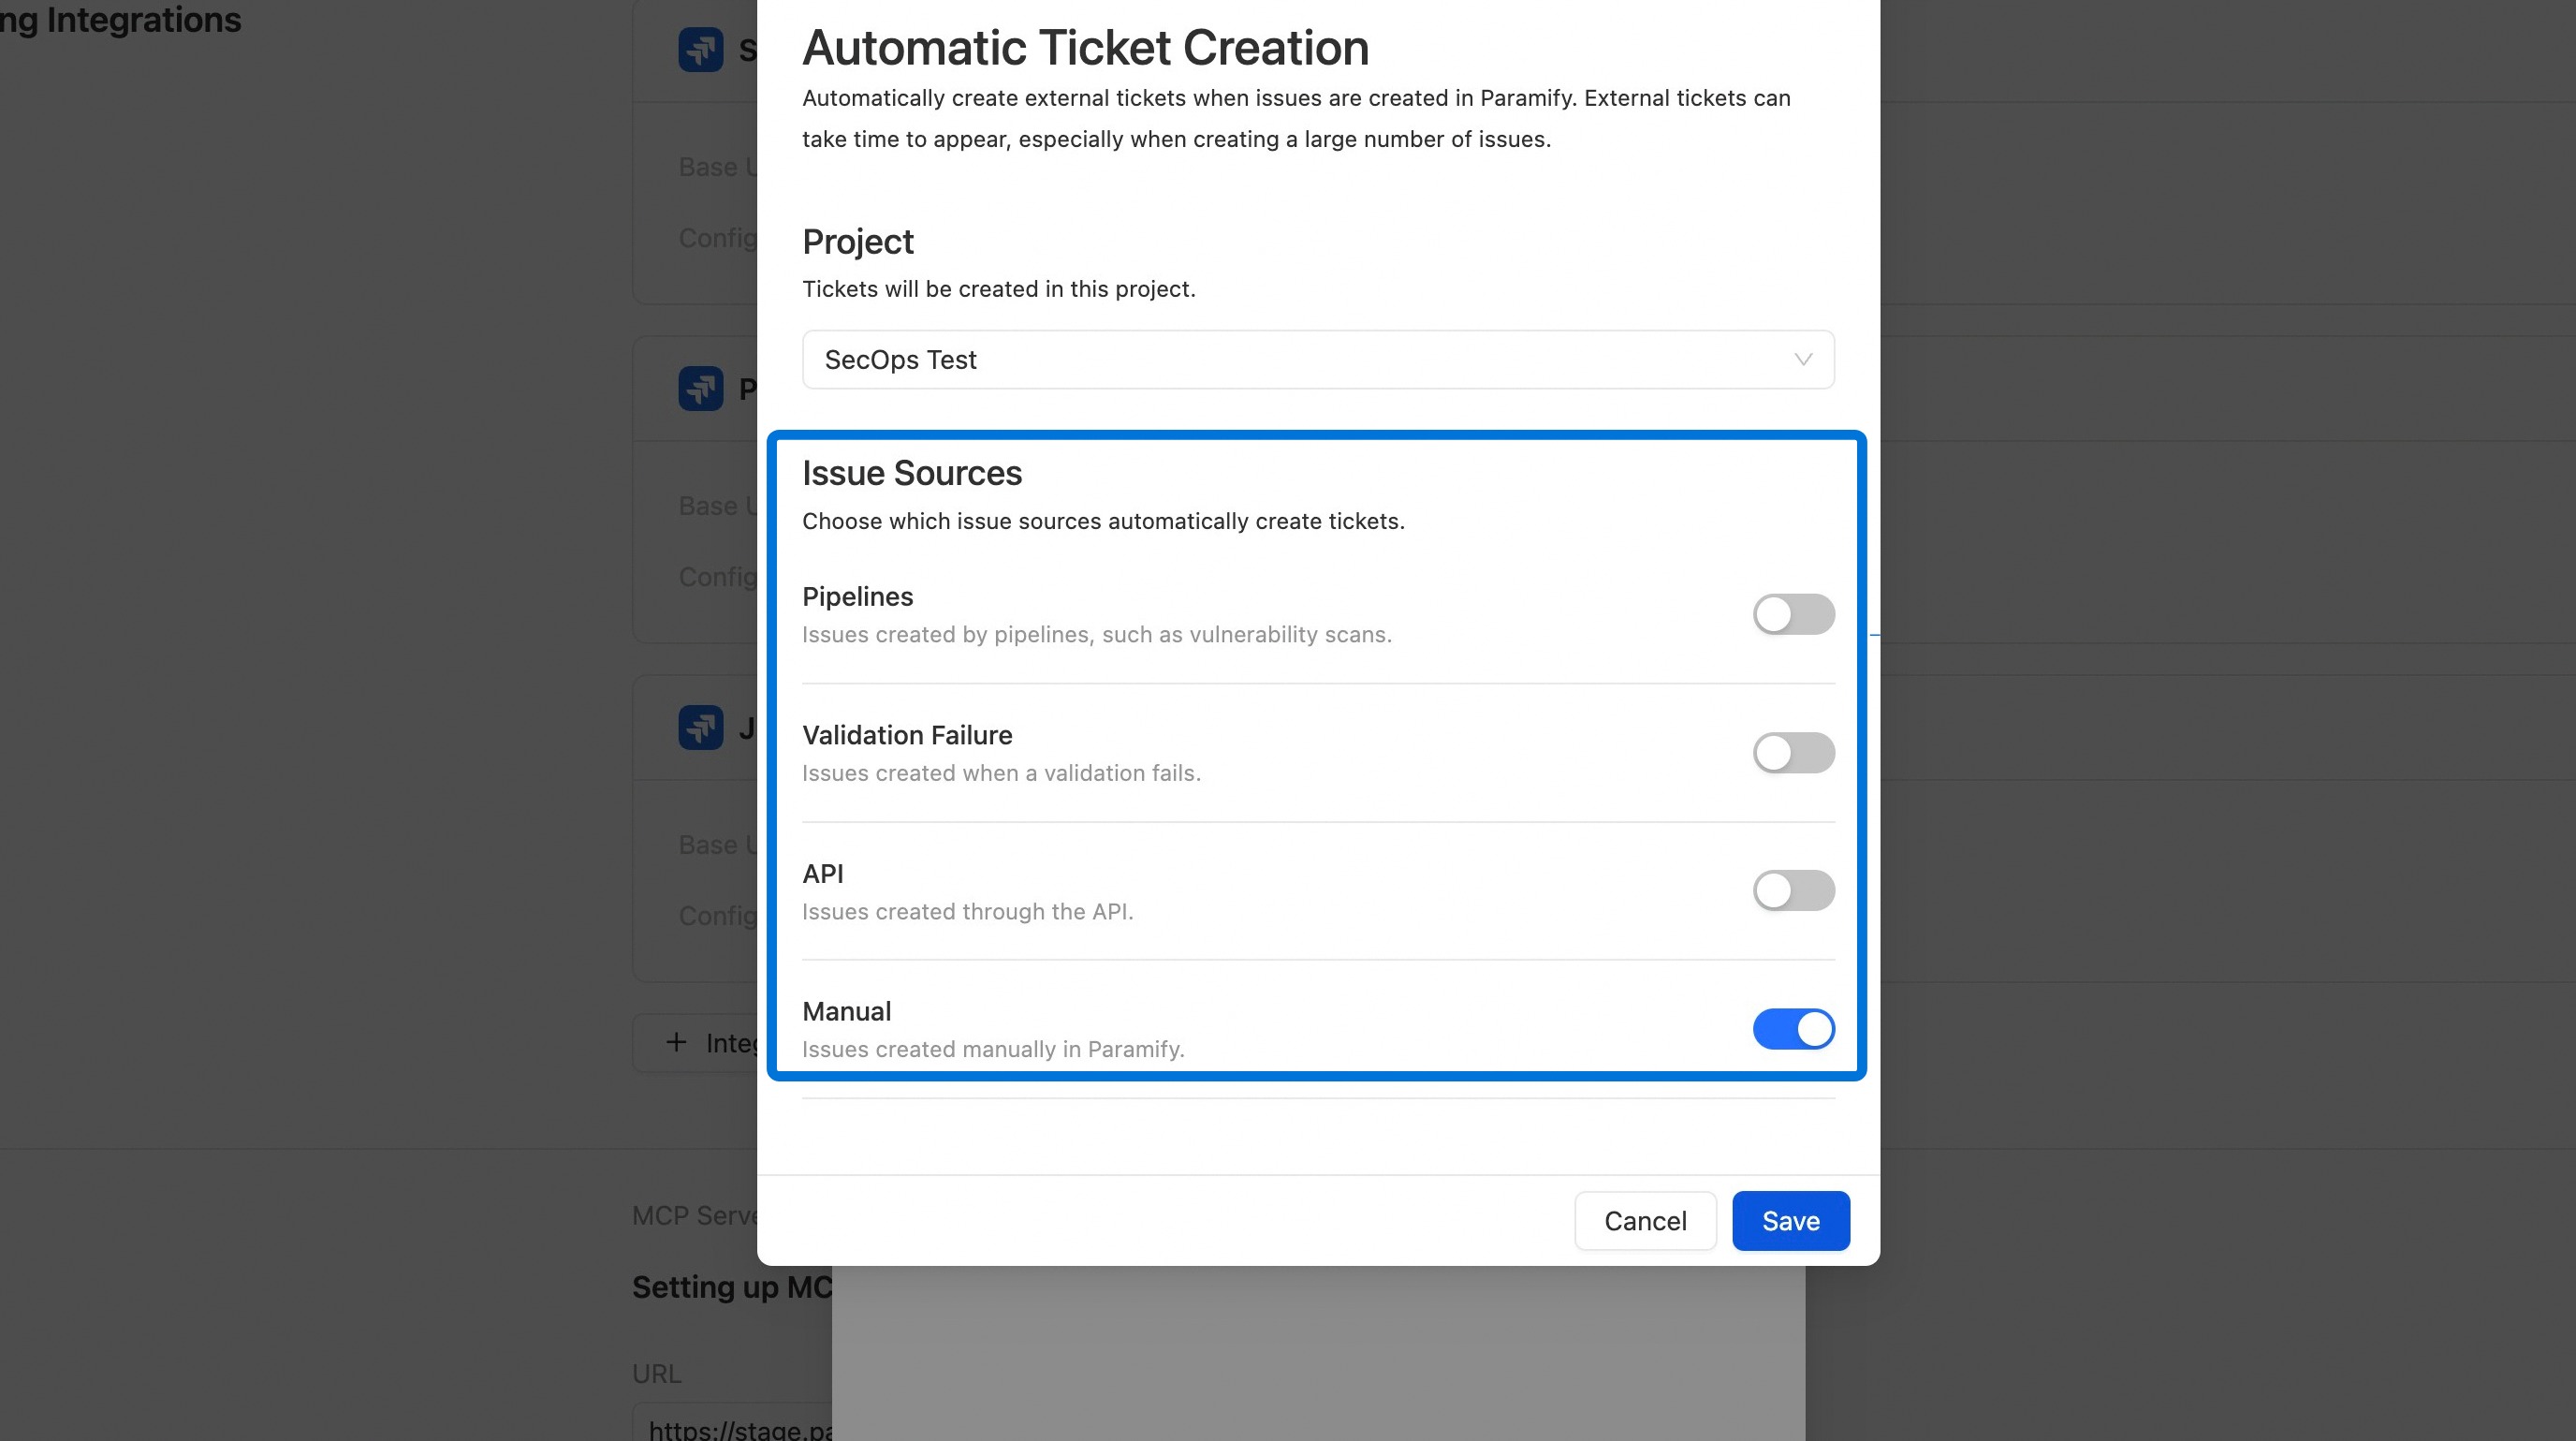
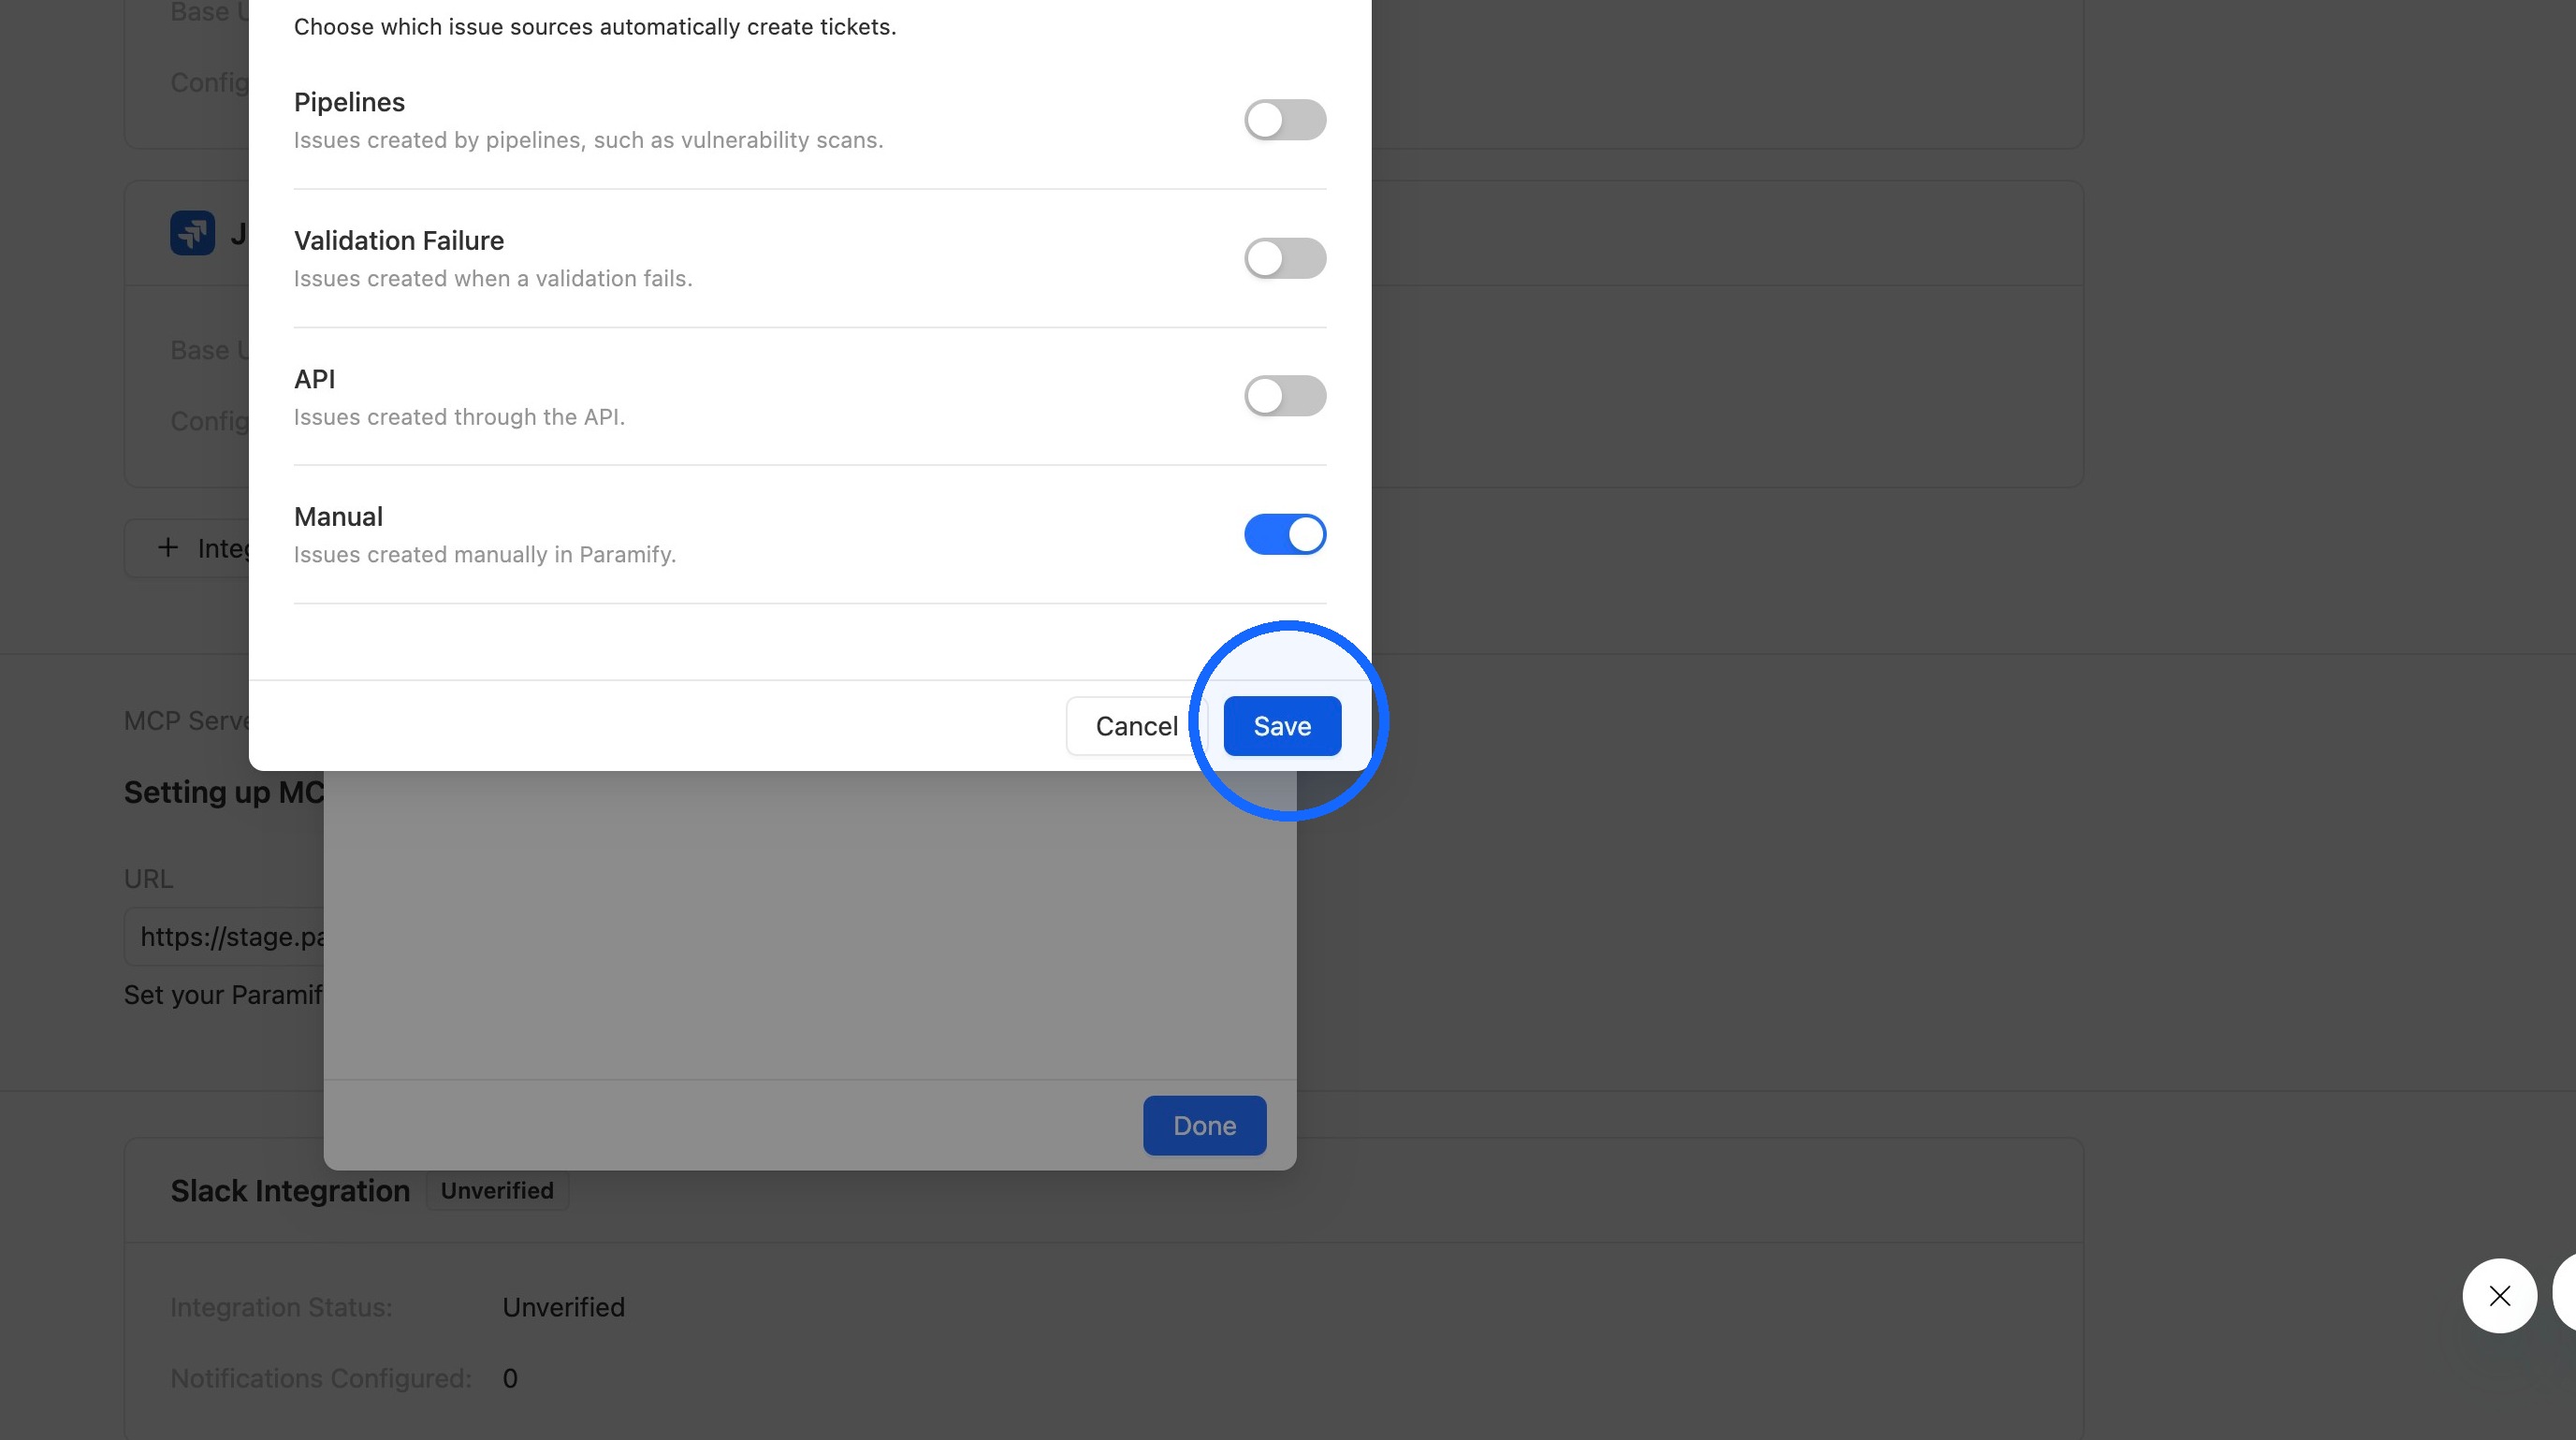
20. Select issue sources
Select which Issue Sources will automatically create tickets.
21. Save automatic ticket creation
Click Save.
NEXT STEP
To learn how to import Jira tickets into Paramify and export Paramify issues to Jira, follow the Jira Ticket Import and Export walkthrough.
Comments
0 comments
Please sign in to leave a comment.