
Vulnerability & Configuration Pipelines turn vulnerability scan files into tracked Issues in Paramify. A Pipeline Preset maps the scan file's fields once, and that mapping is reused every cycle. Each record is filtered, deduplicated, and used to create or update an Issue. Configuration Pipelines work the same way for configuration scans.
Create a Pipeline Preset
This section creates a Pipeline Preset, not the Pipeline itself. A preset is a saved set of field mappings for a scan file. Once saved, the preset is selected when setting up the Pipeline. Every request in that Pipeline then uses the preset's mappings, so fields don't need to be mapped each time a new scan is uploaded.
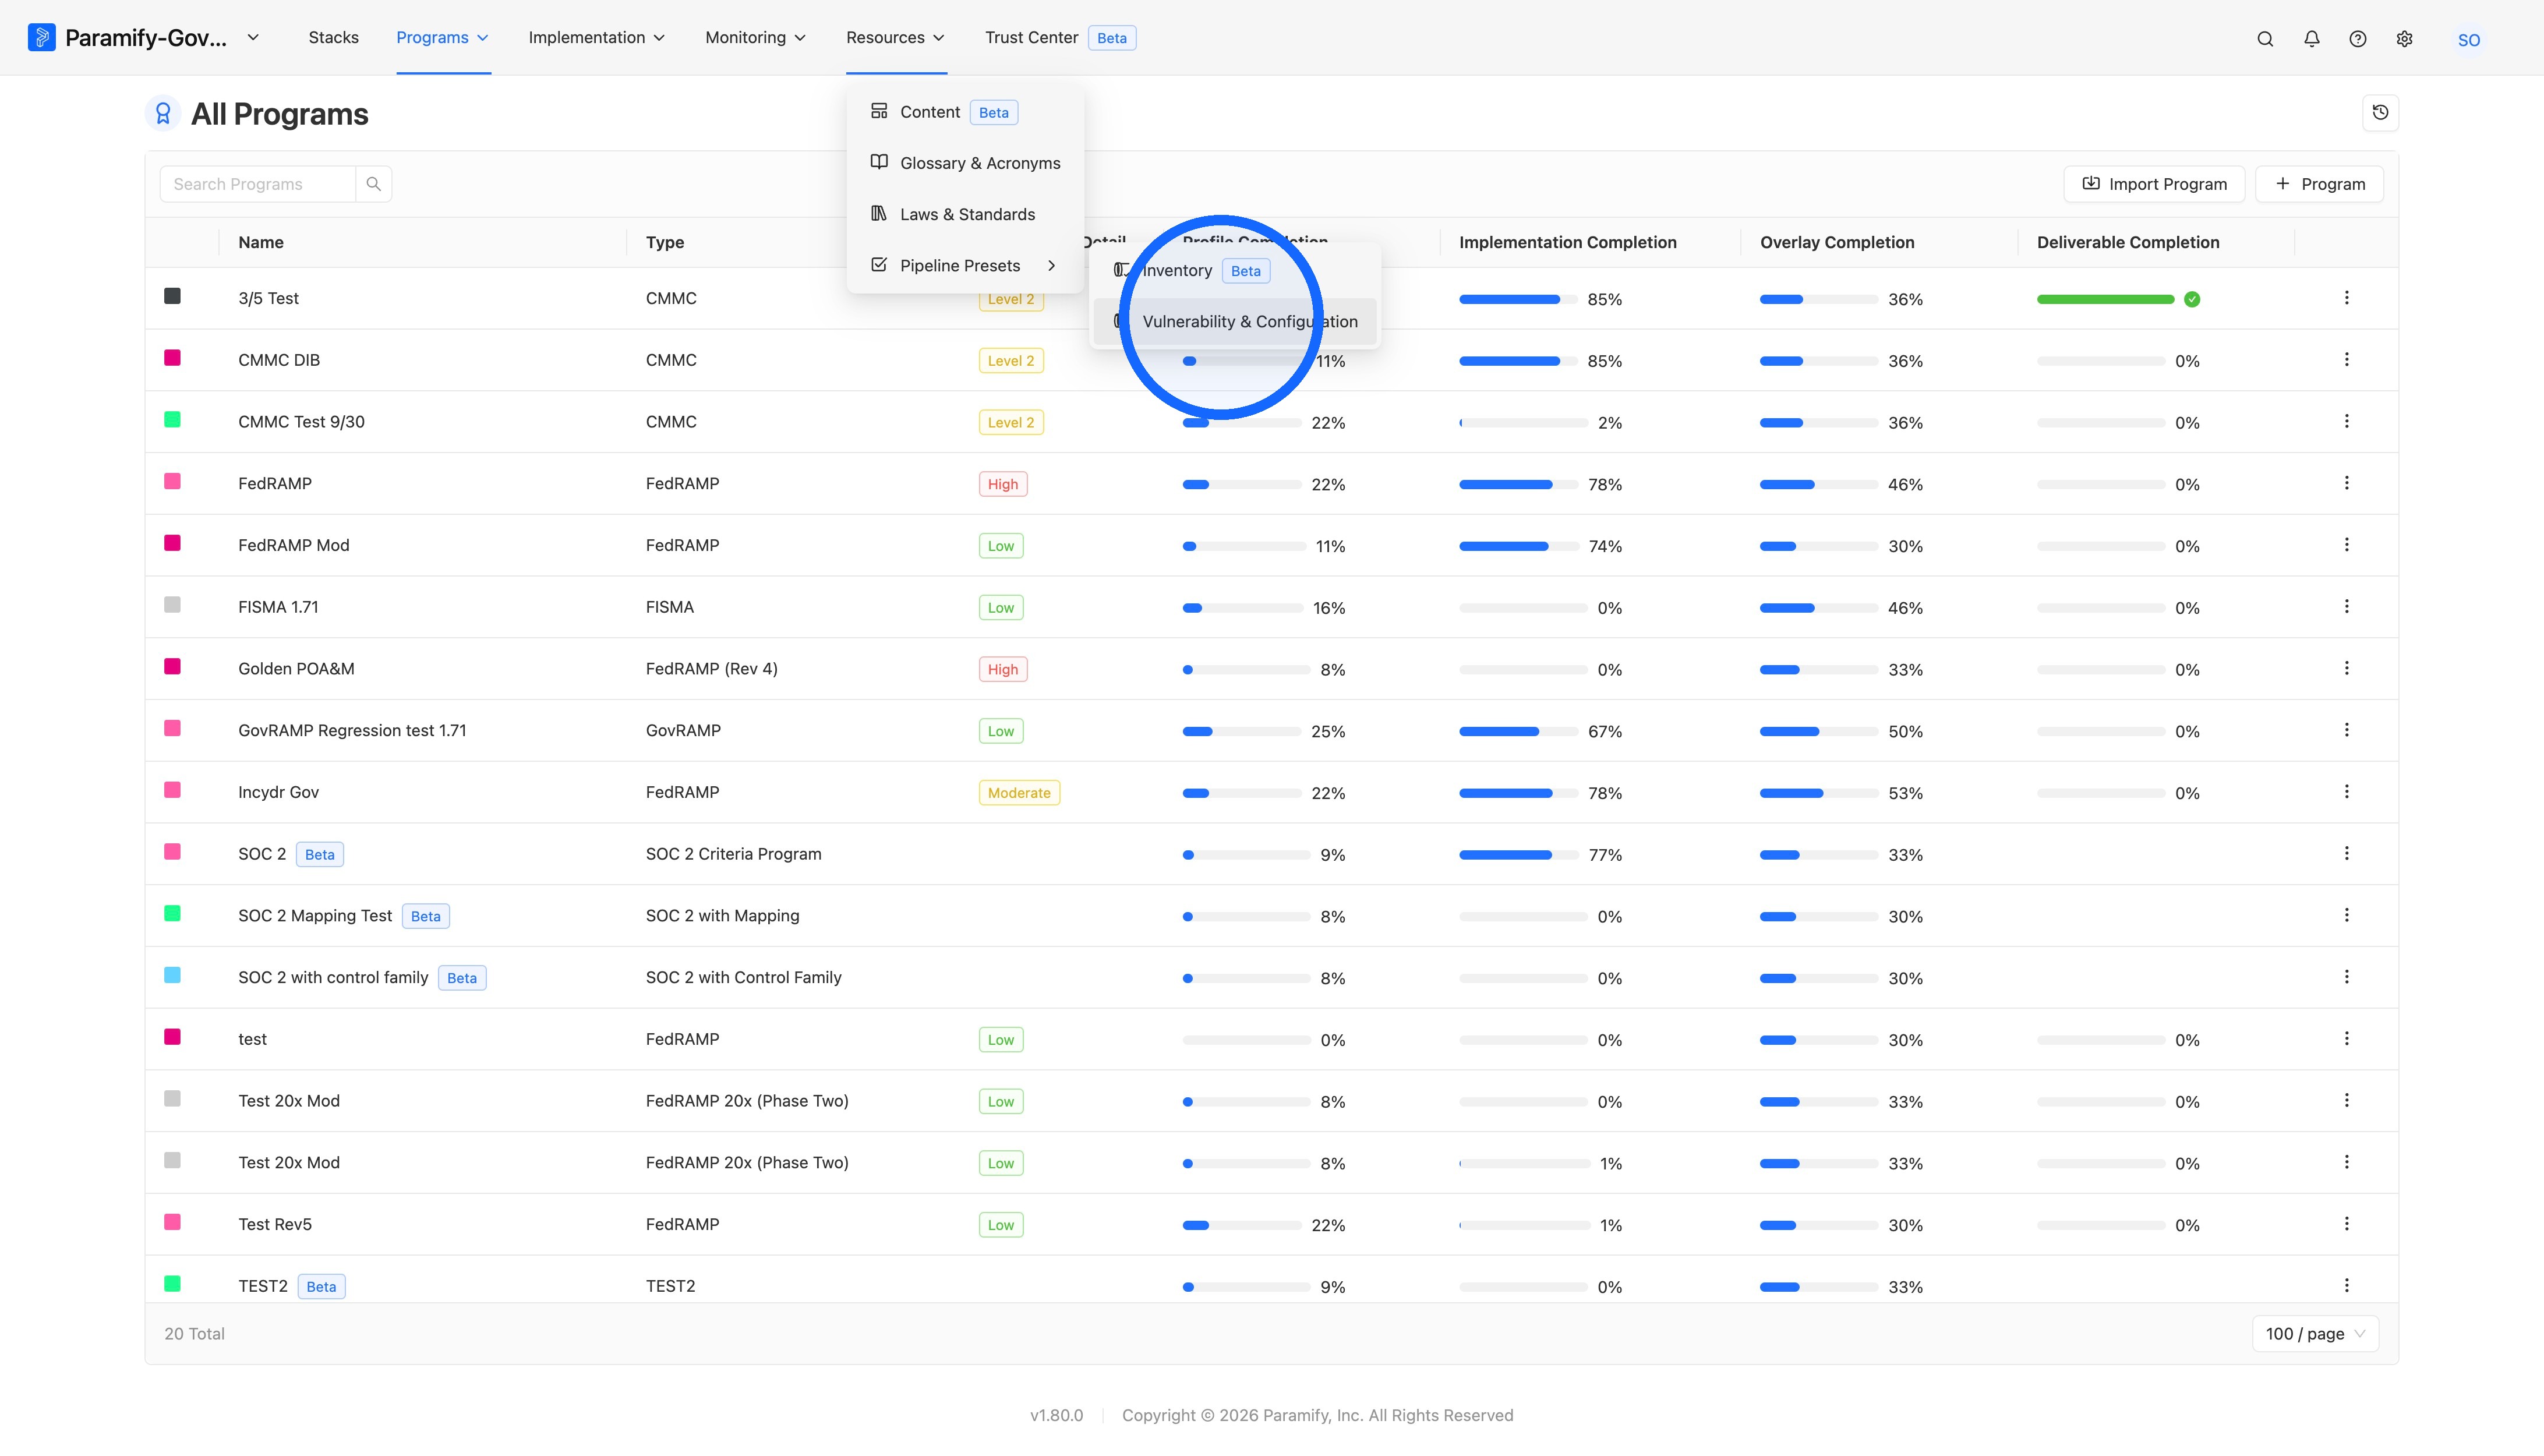
1. Open the Vulnerability & Configuration presets
Select Resources, then Pipeline Presets, then Vulnerability & Configuration.
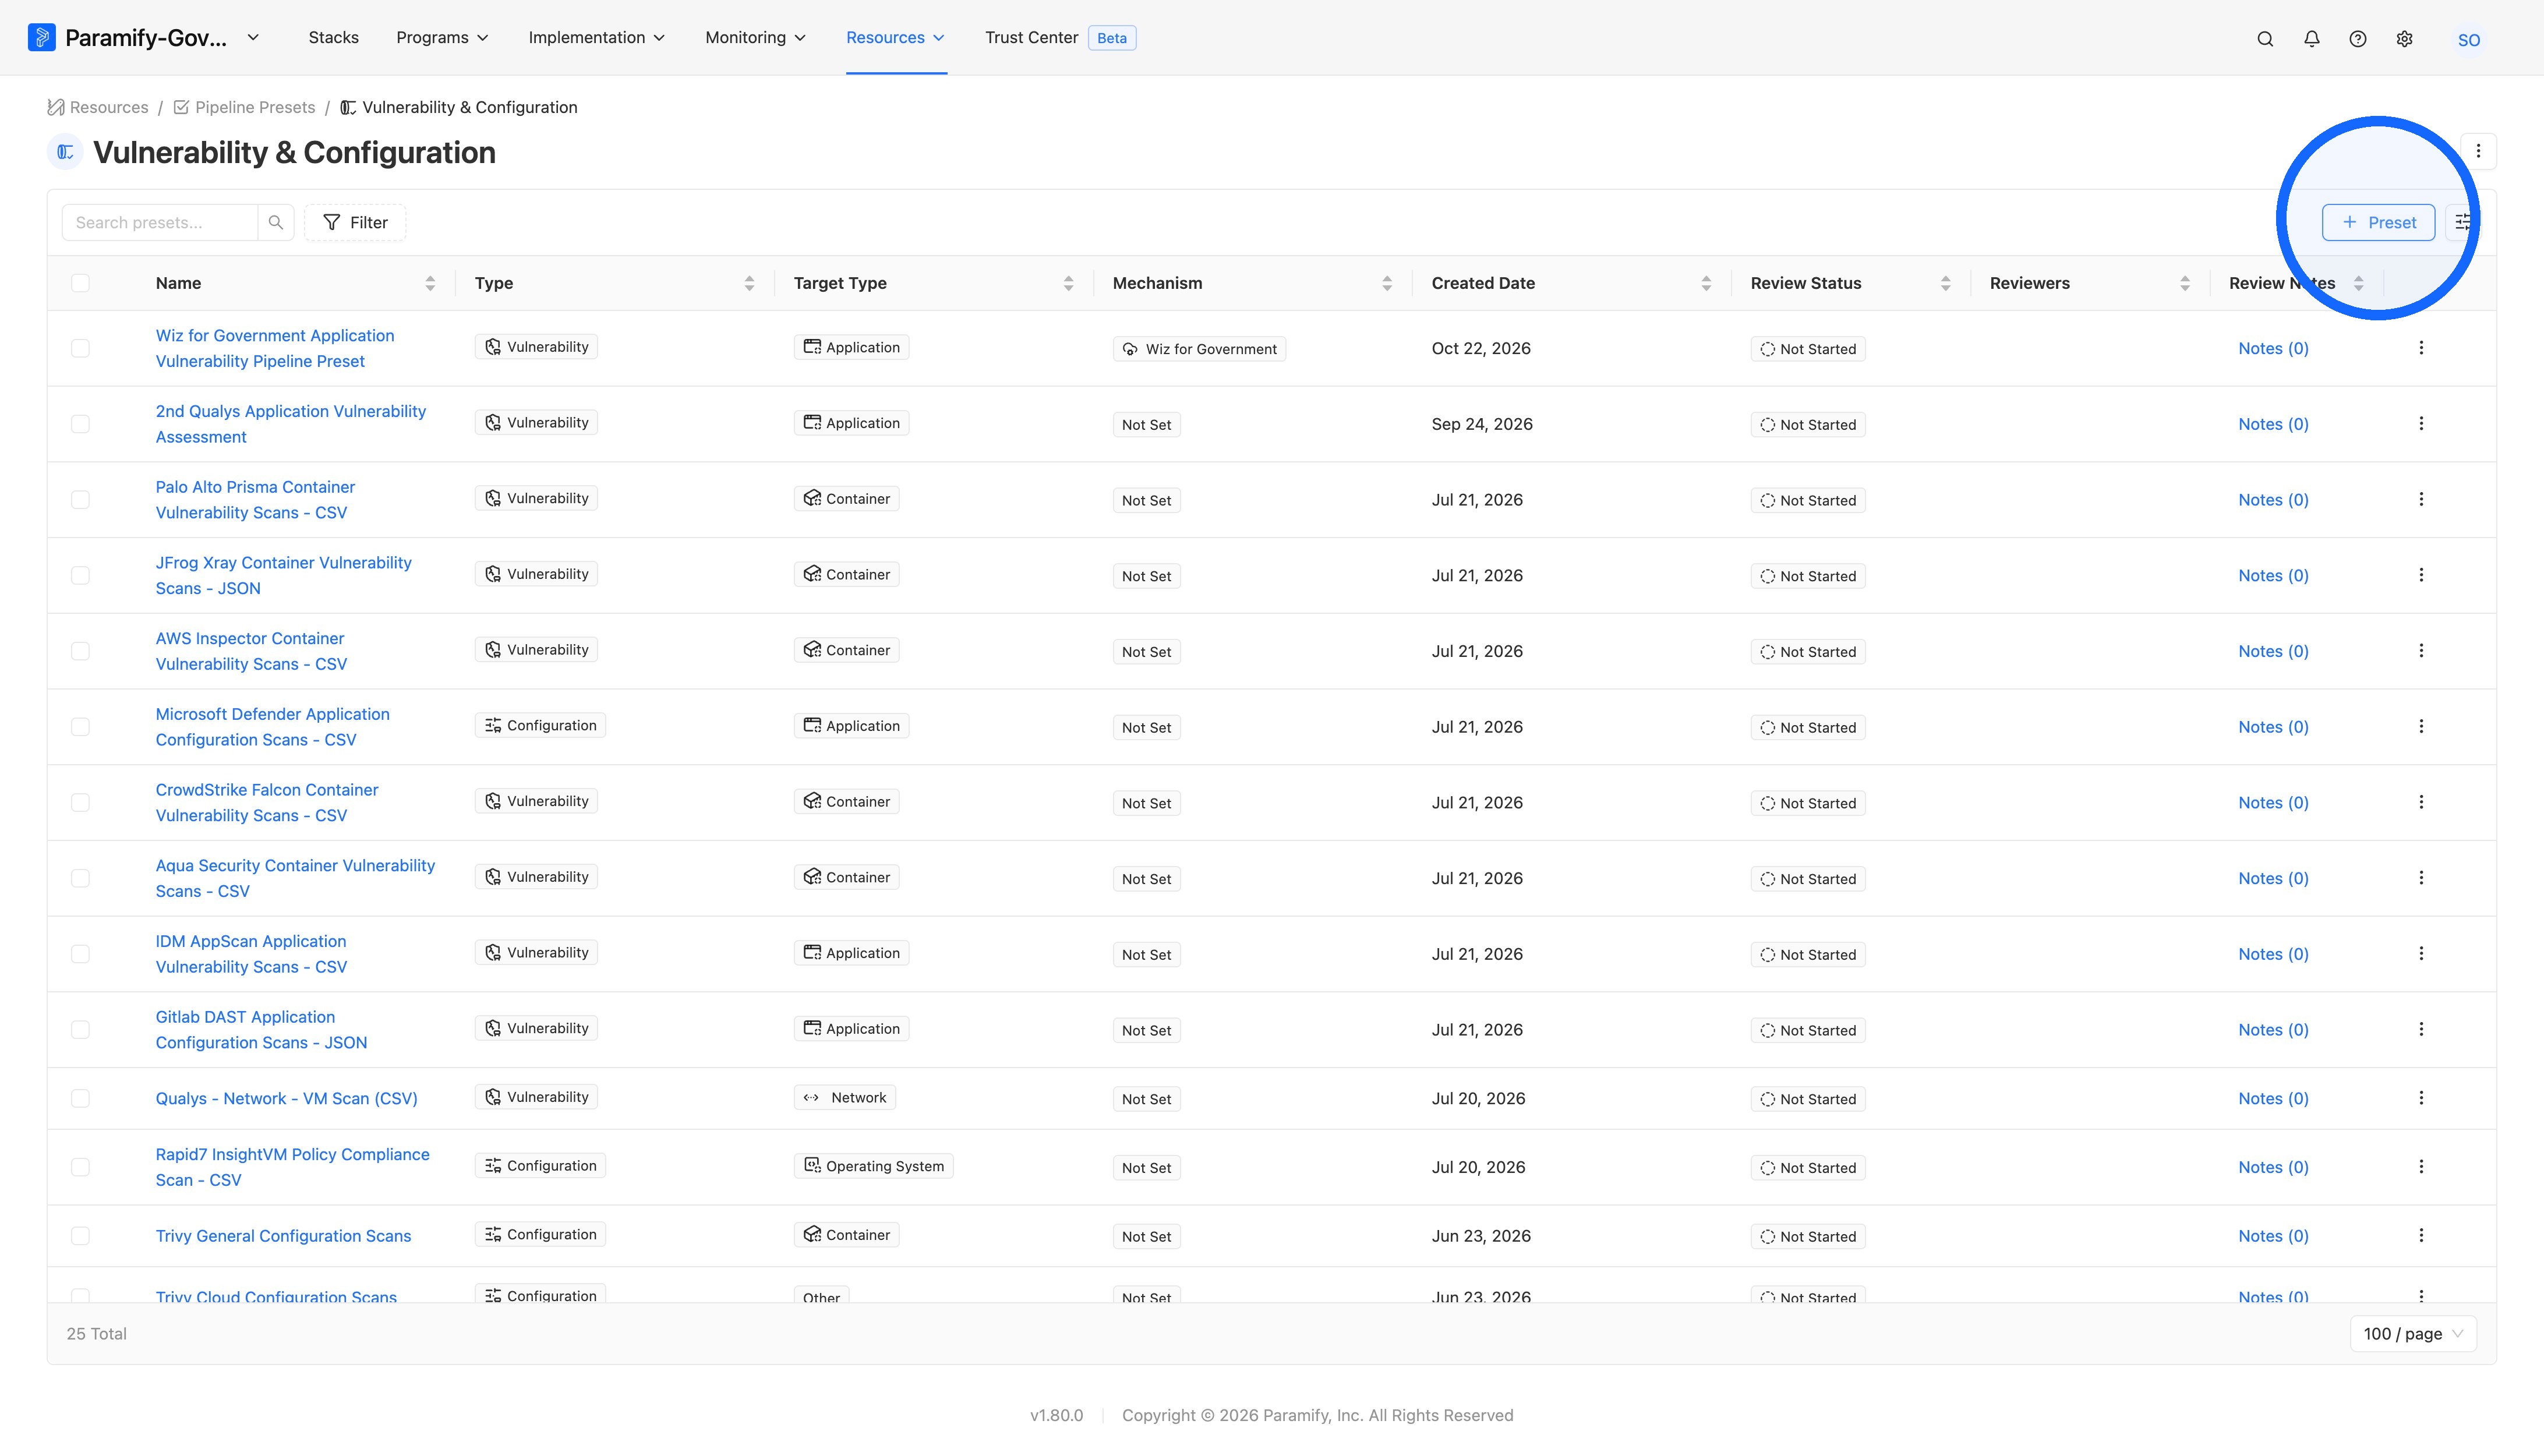
2. Add a new preset
Click + Preset.
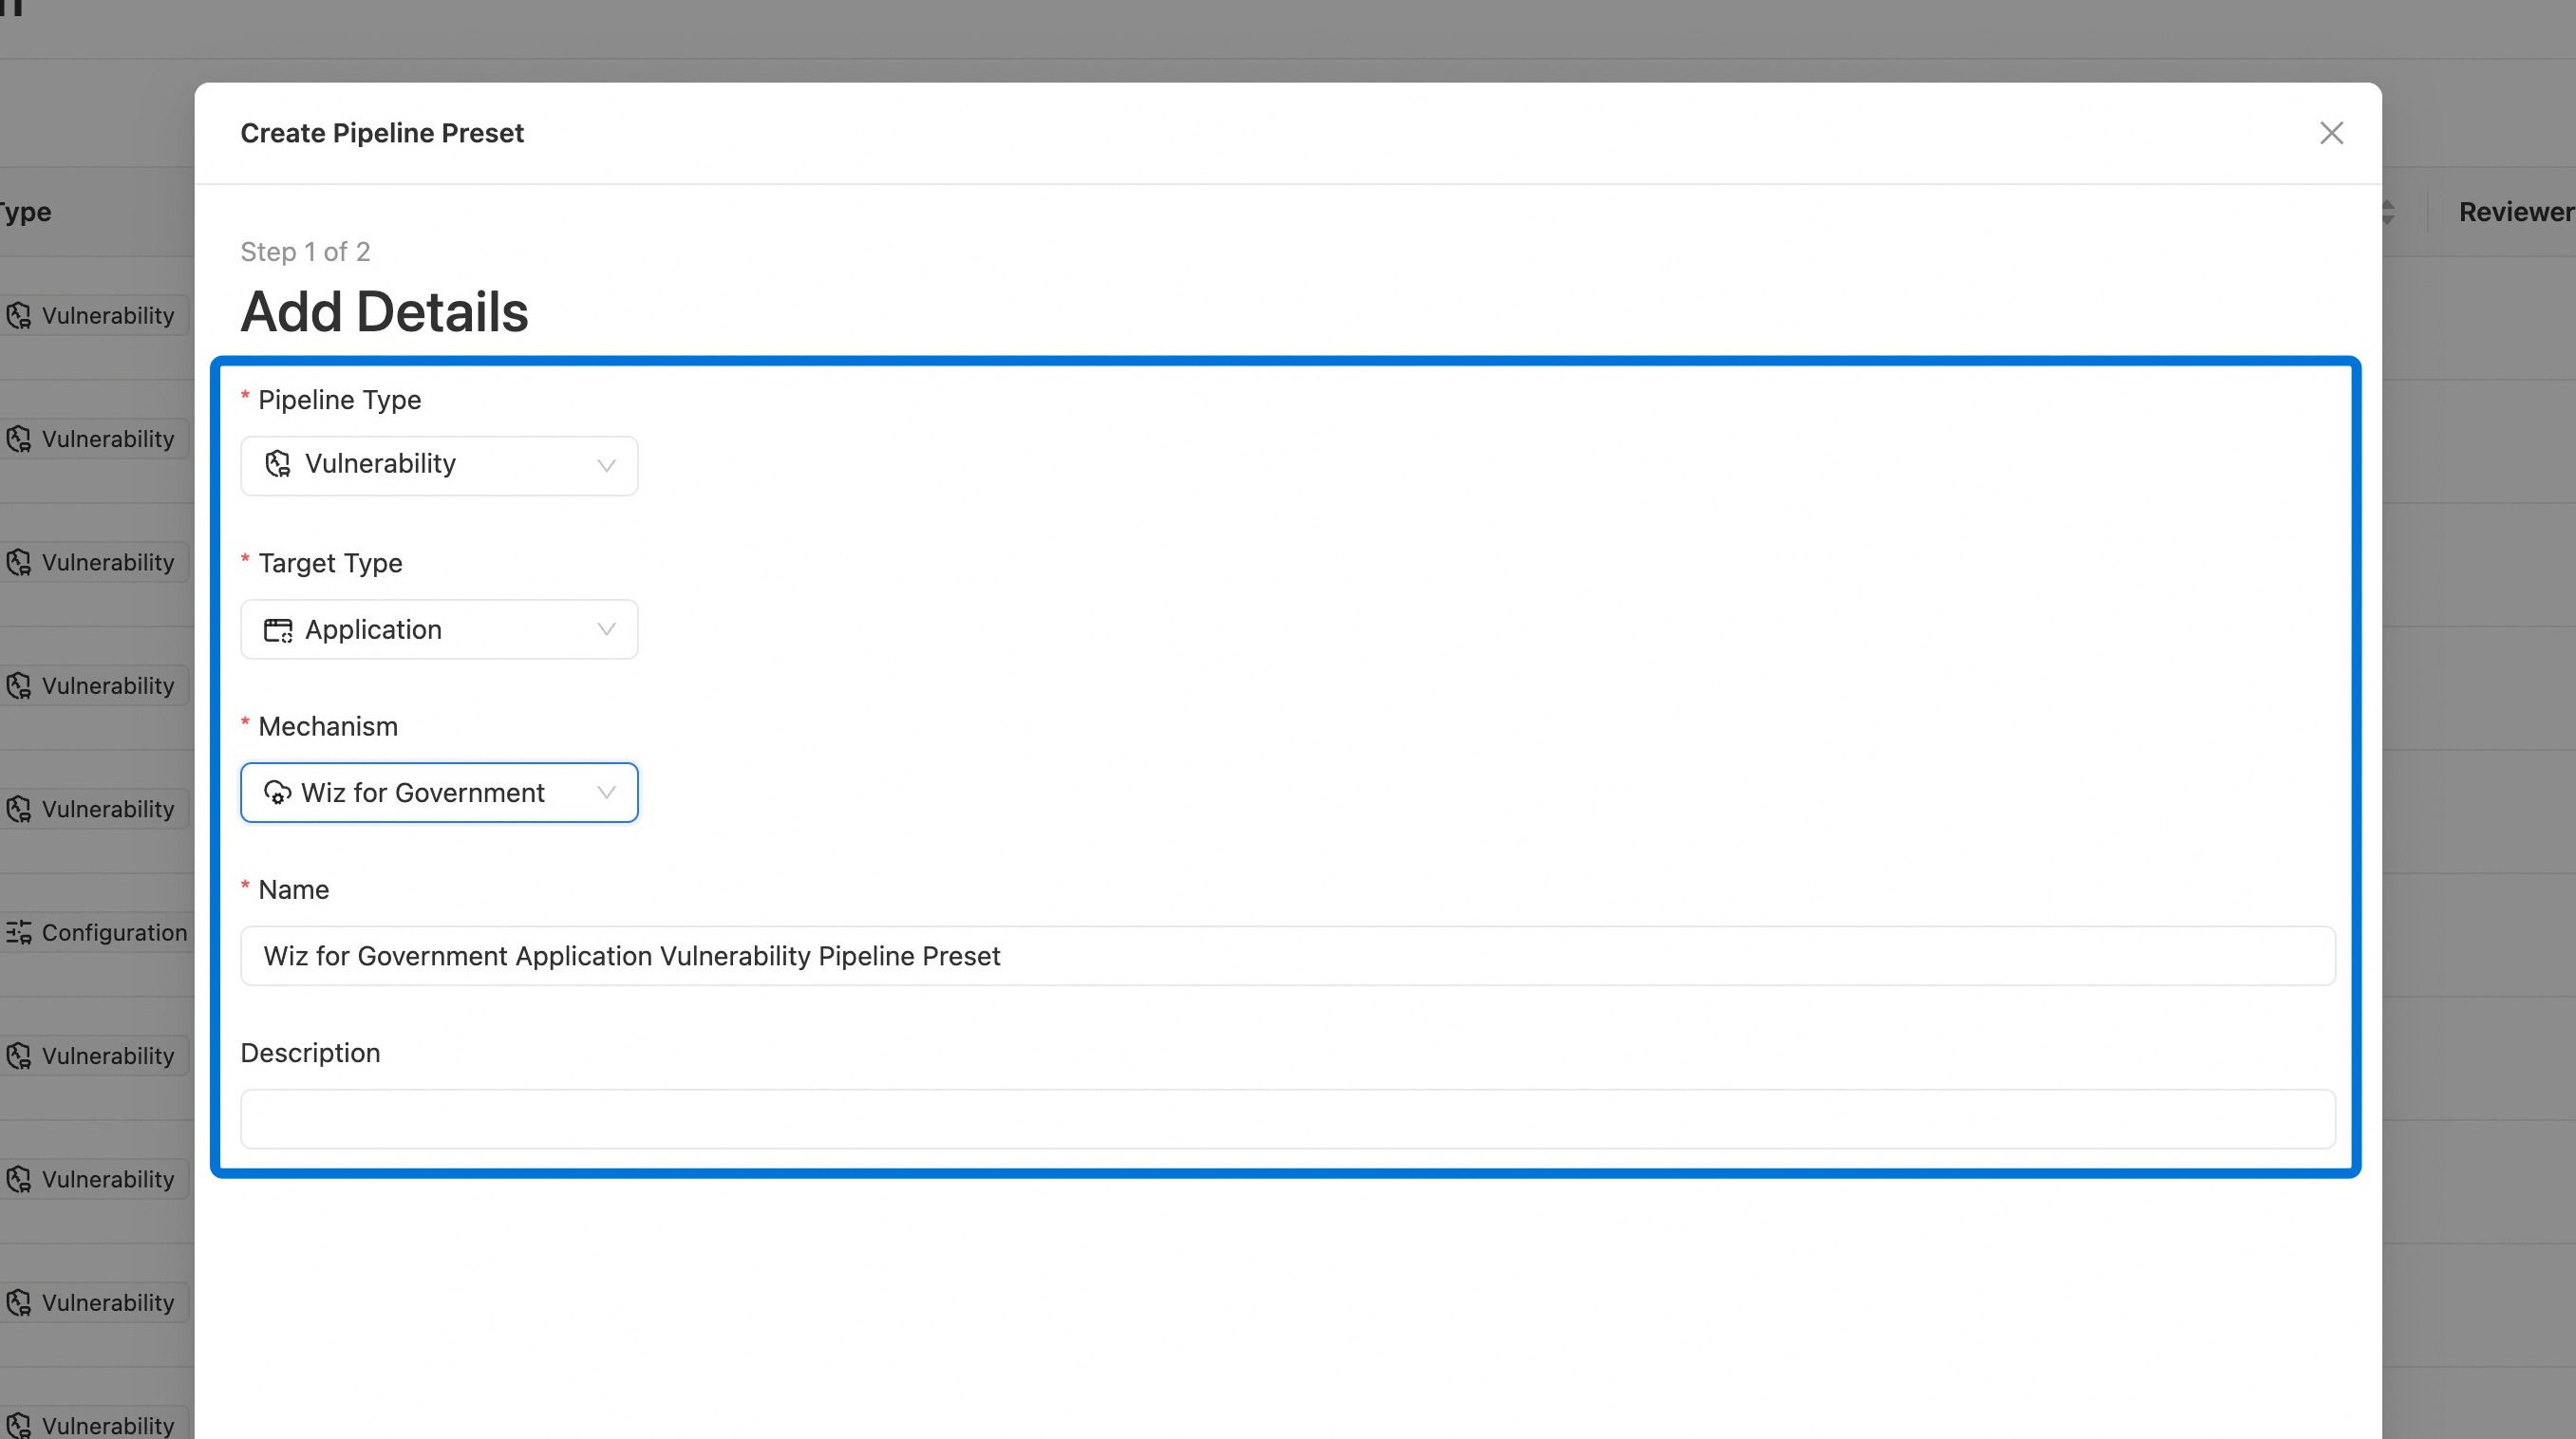
3. Enter the preset details
Fill in Pipeline Type, Target Type, Mechanism, and Name, then click Next.
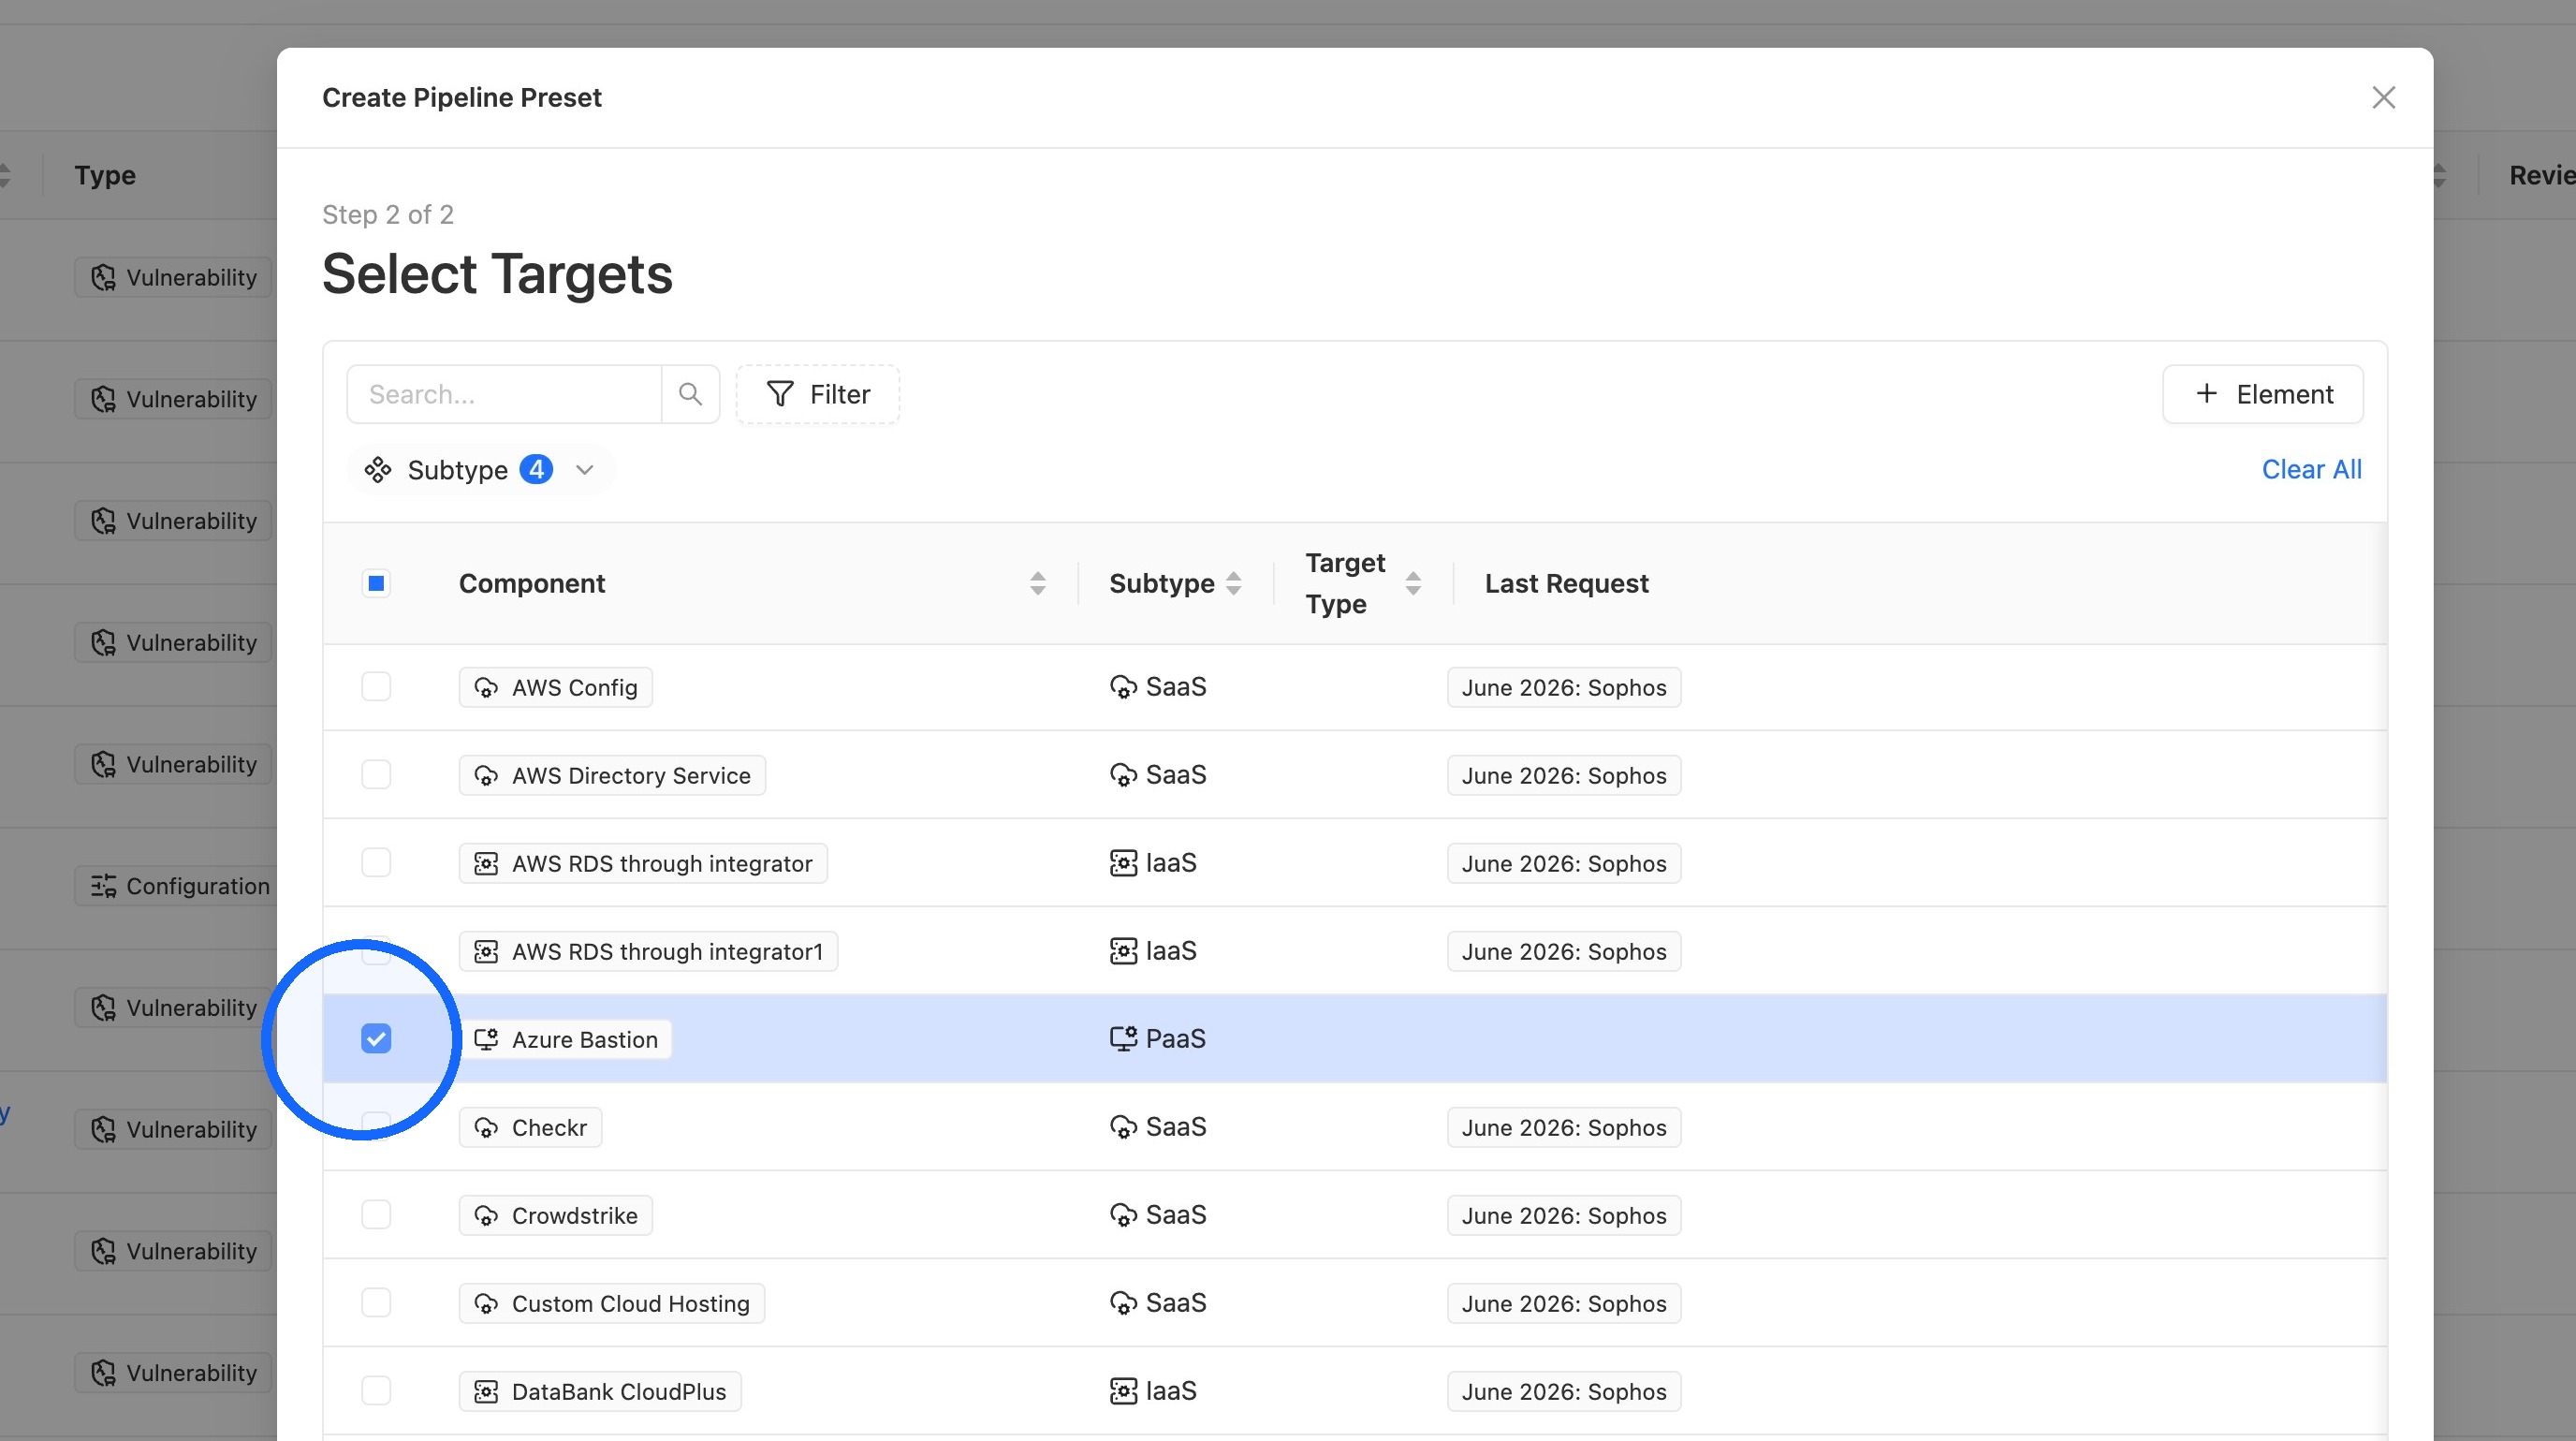
4. Select the target components
Select the Component(s) the scan will target, then click Create.
Preset Configuration
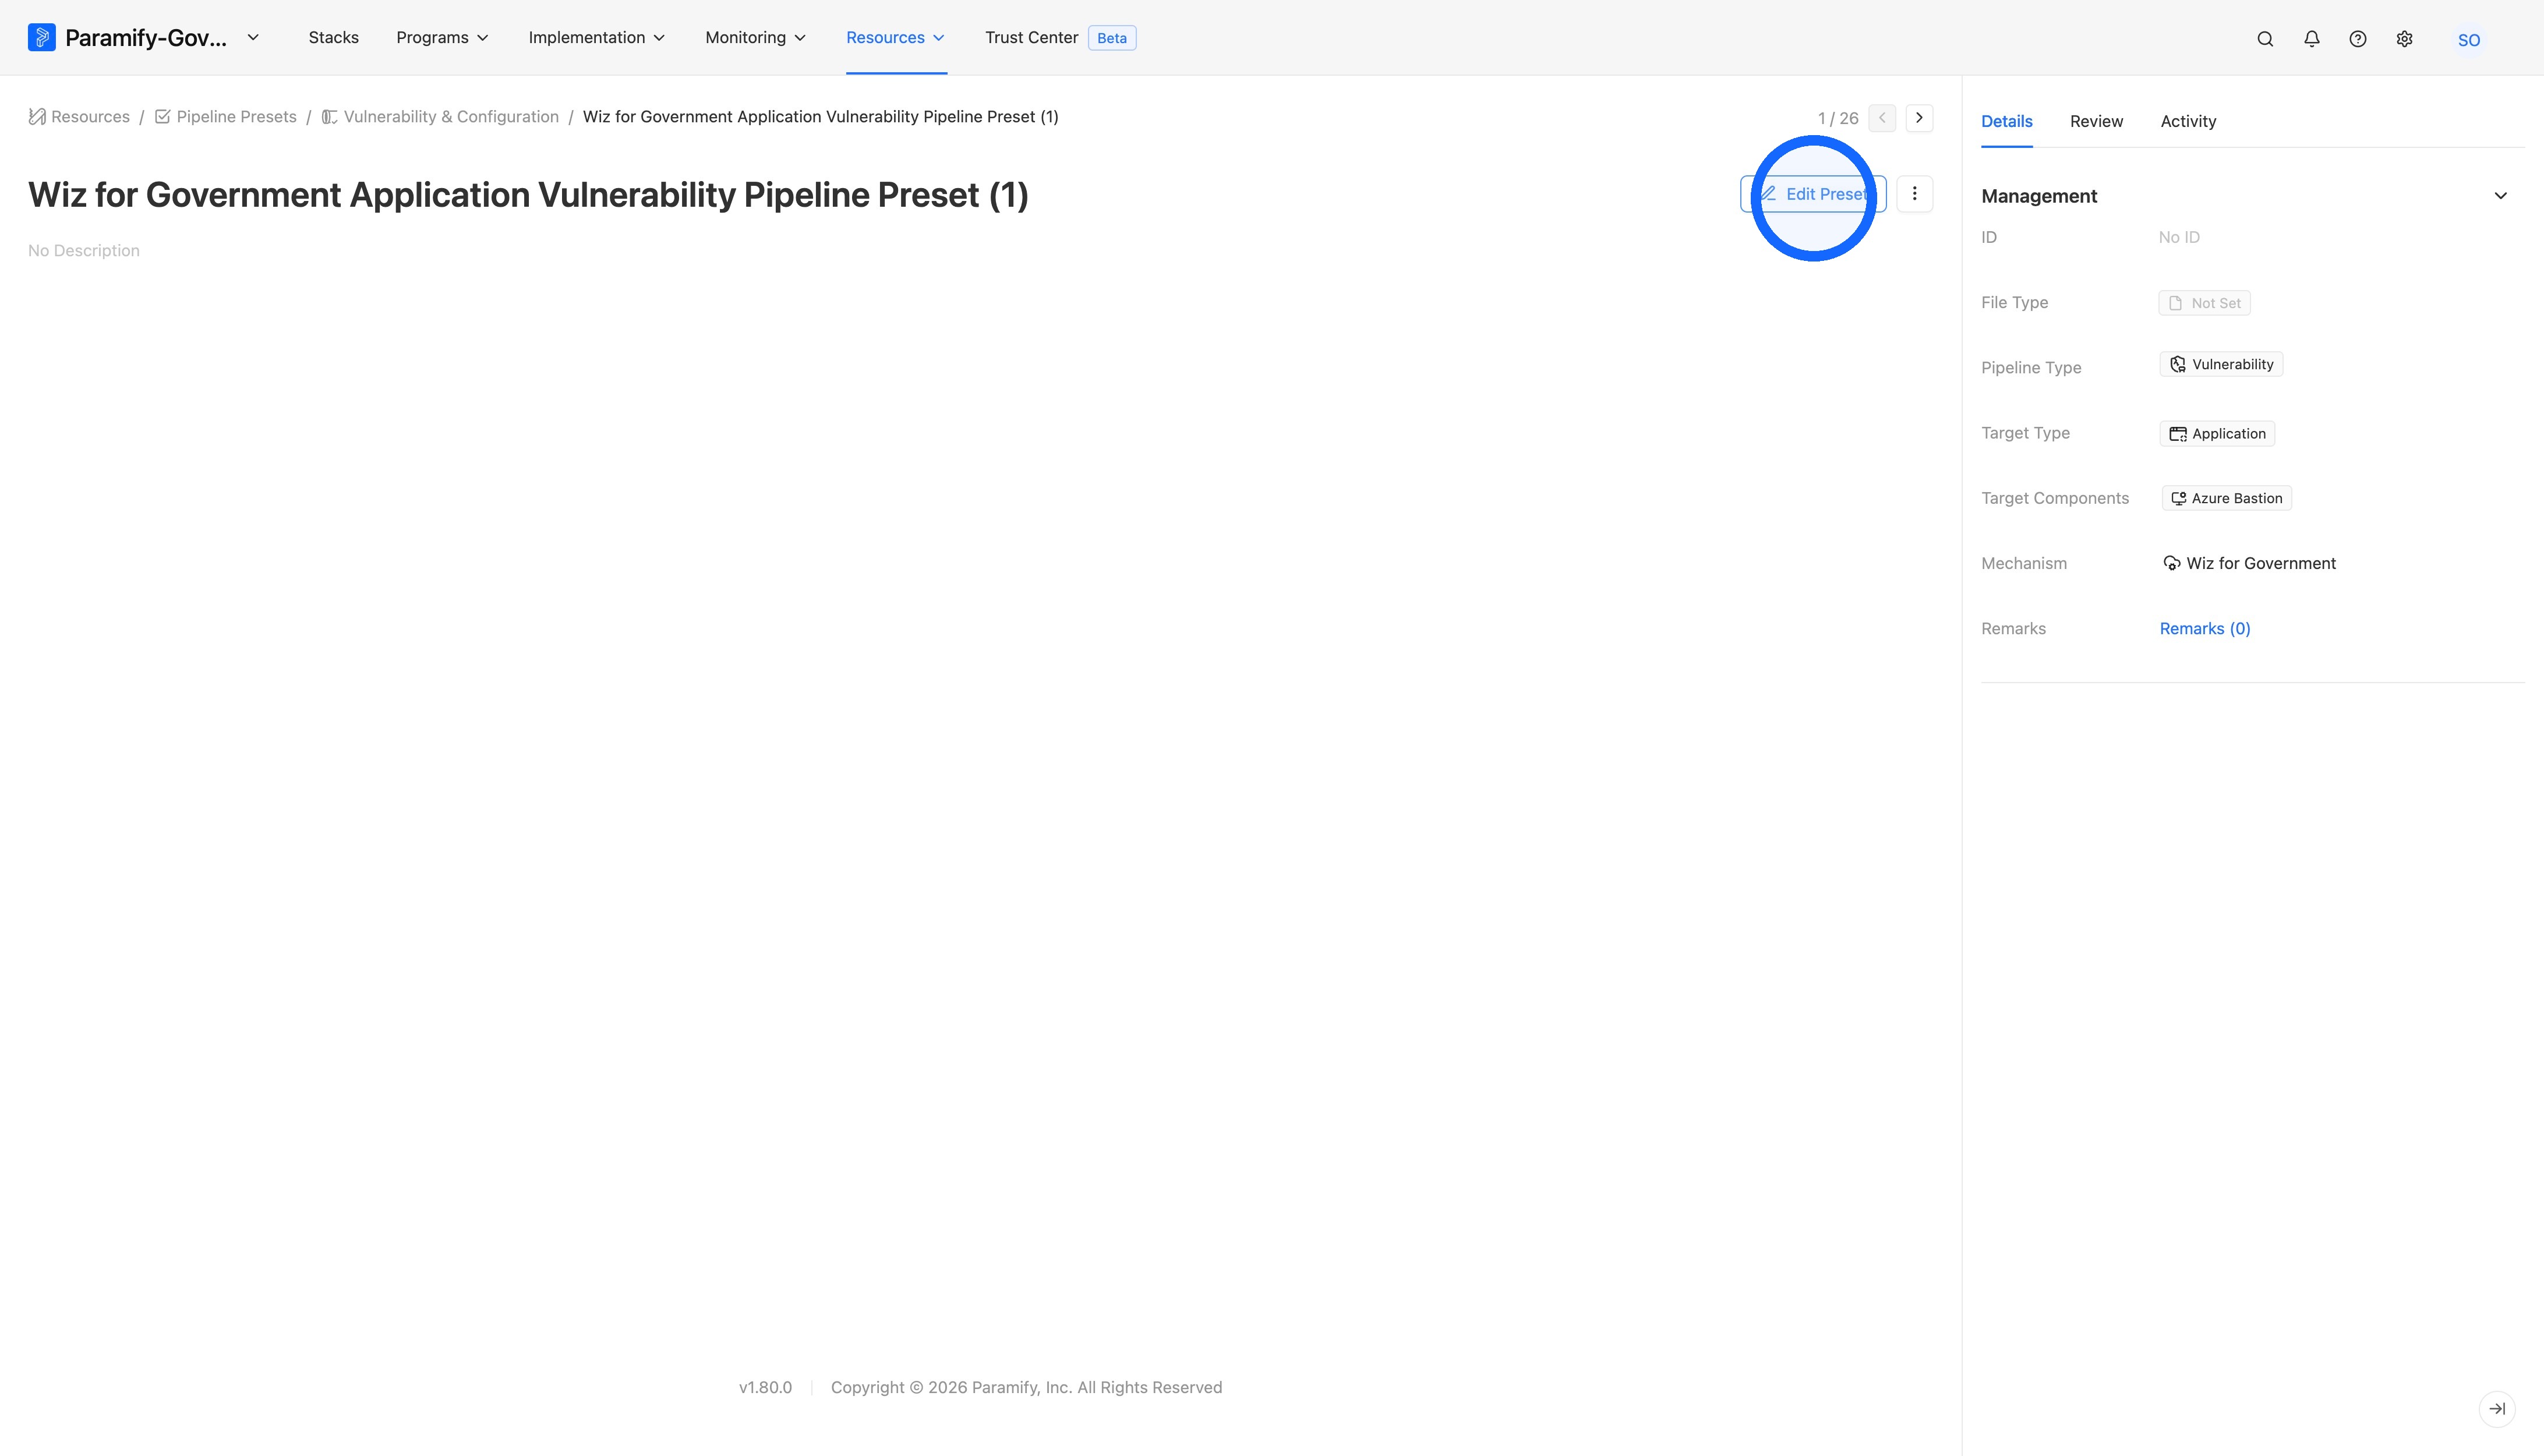
5. Edit the new preset
Select the newly created preset and click Edit Preset.
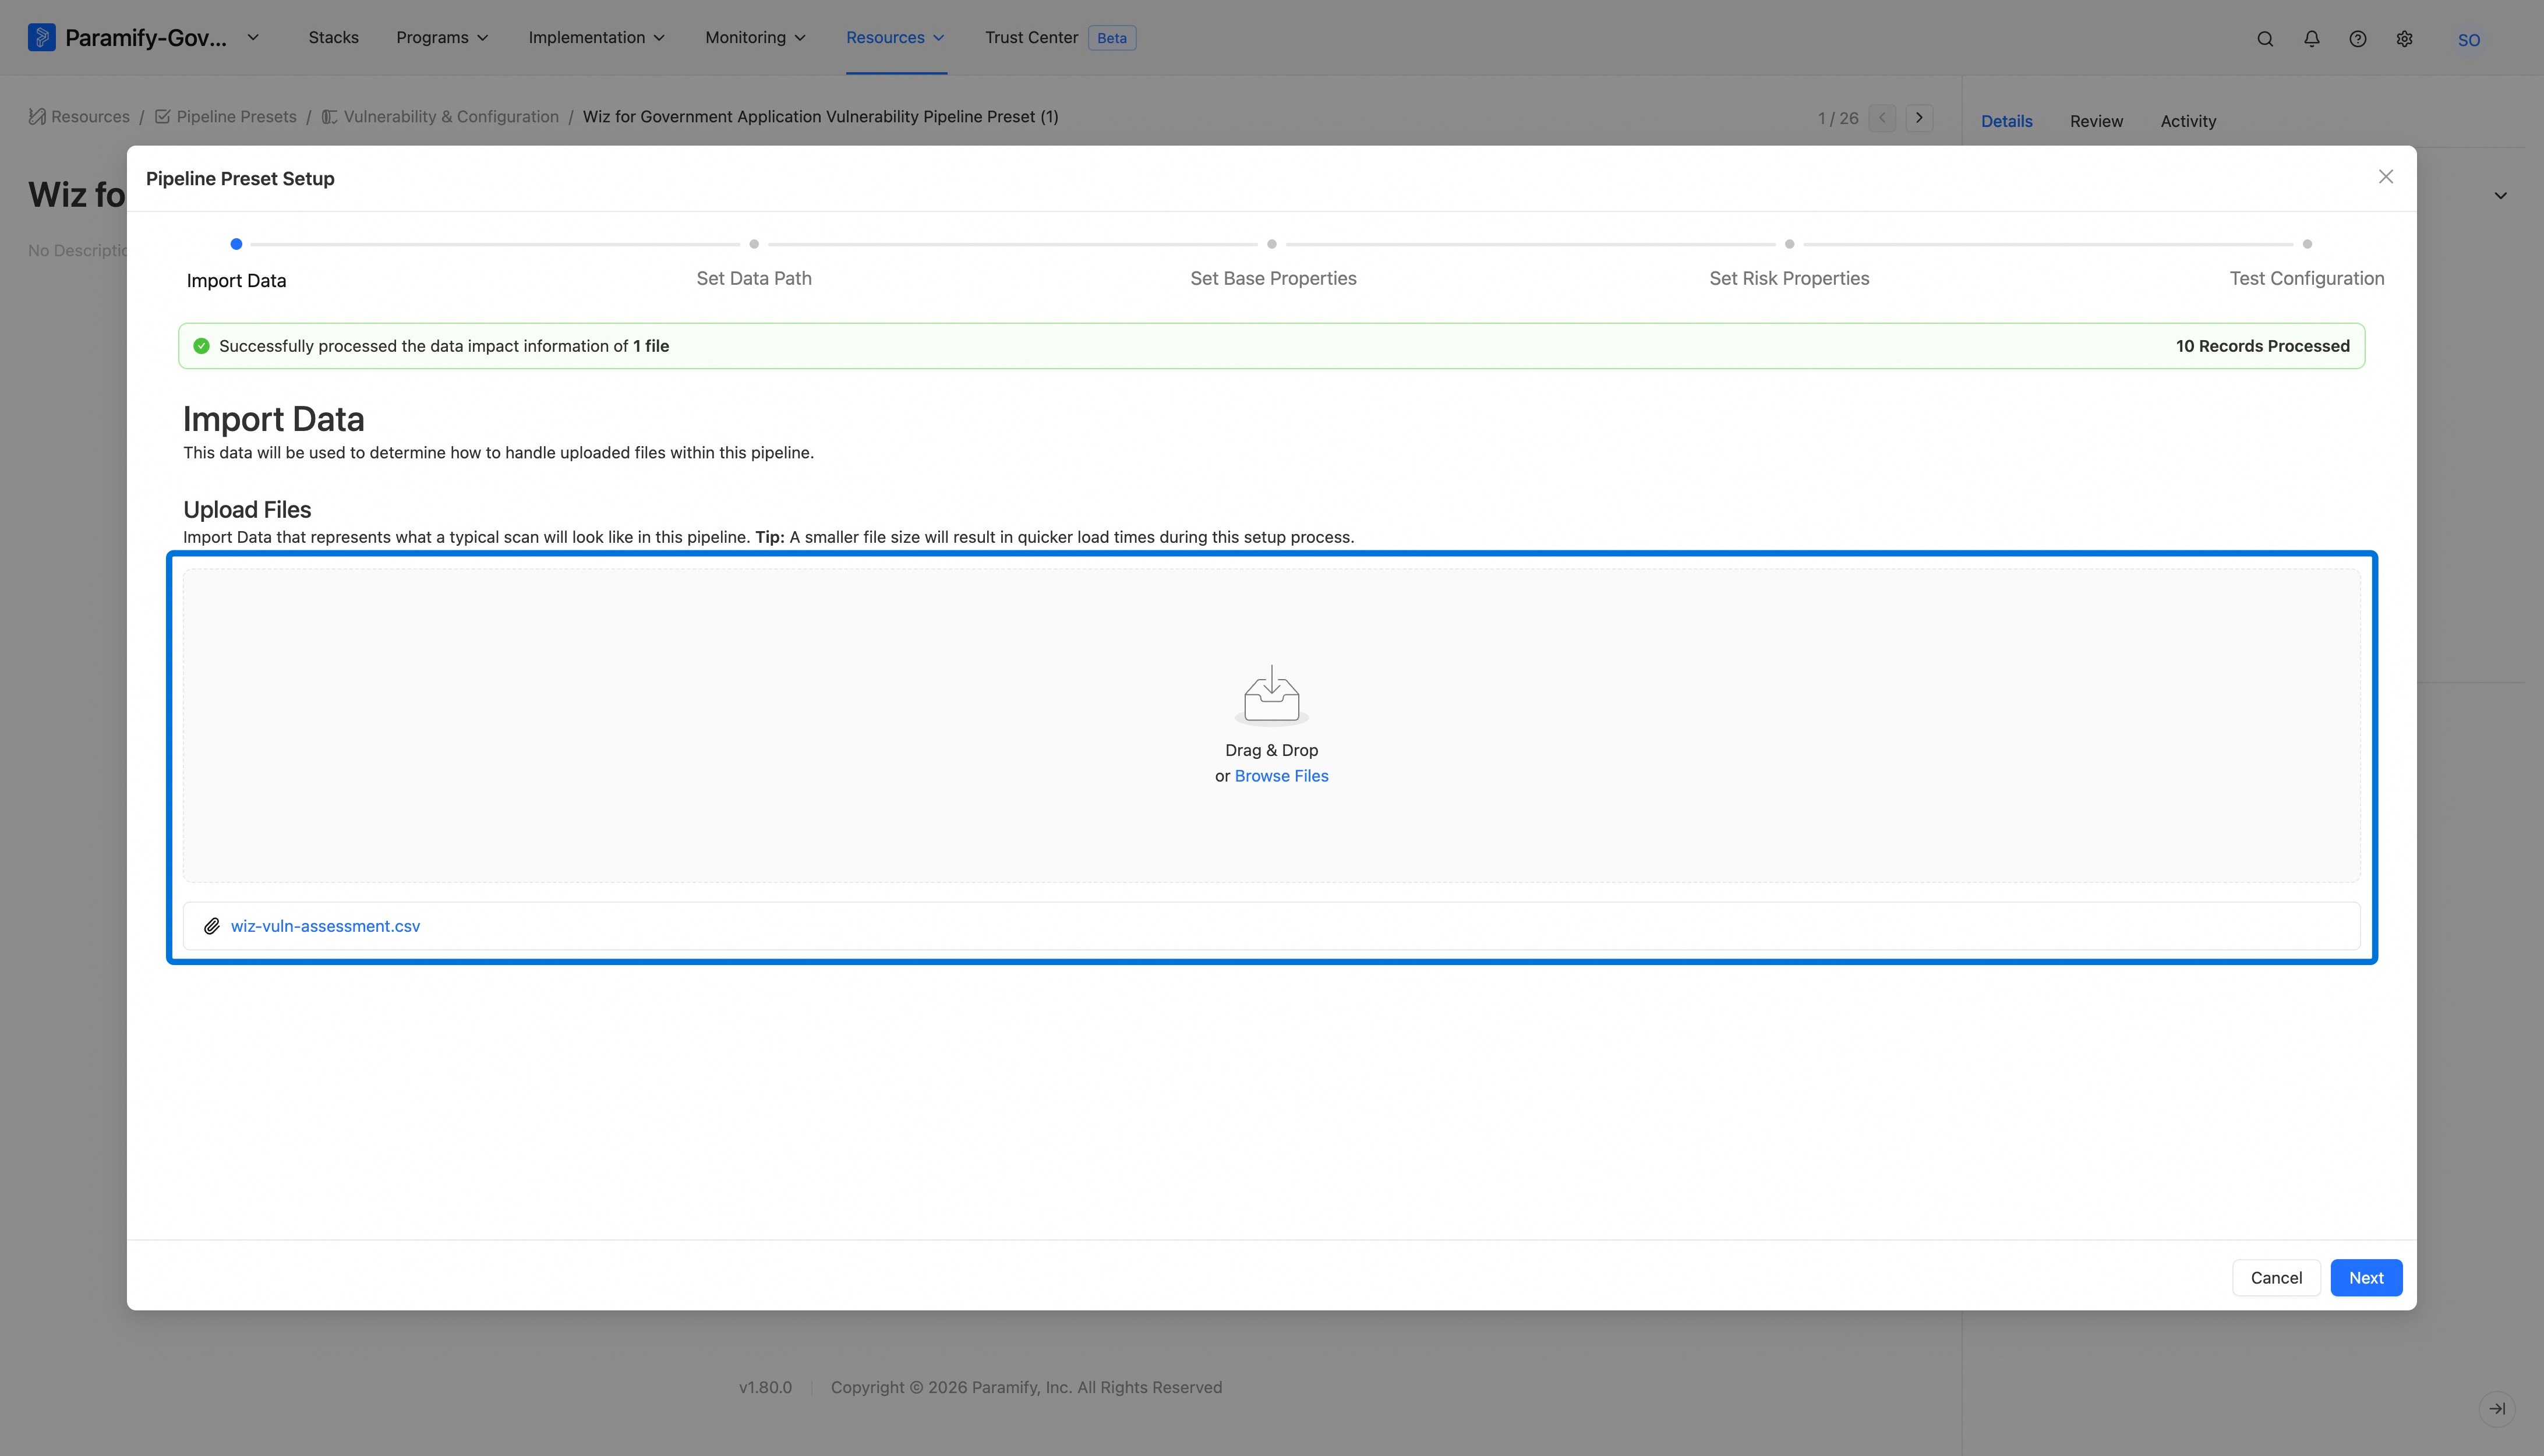
6. Upload an example scan file
Upload an example scan file for the preset to reference, then click Next.
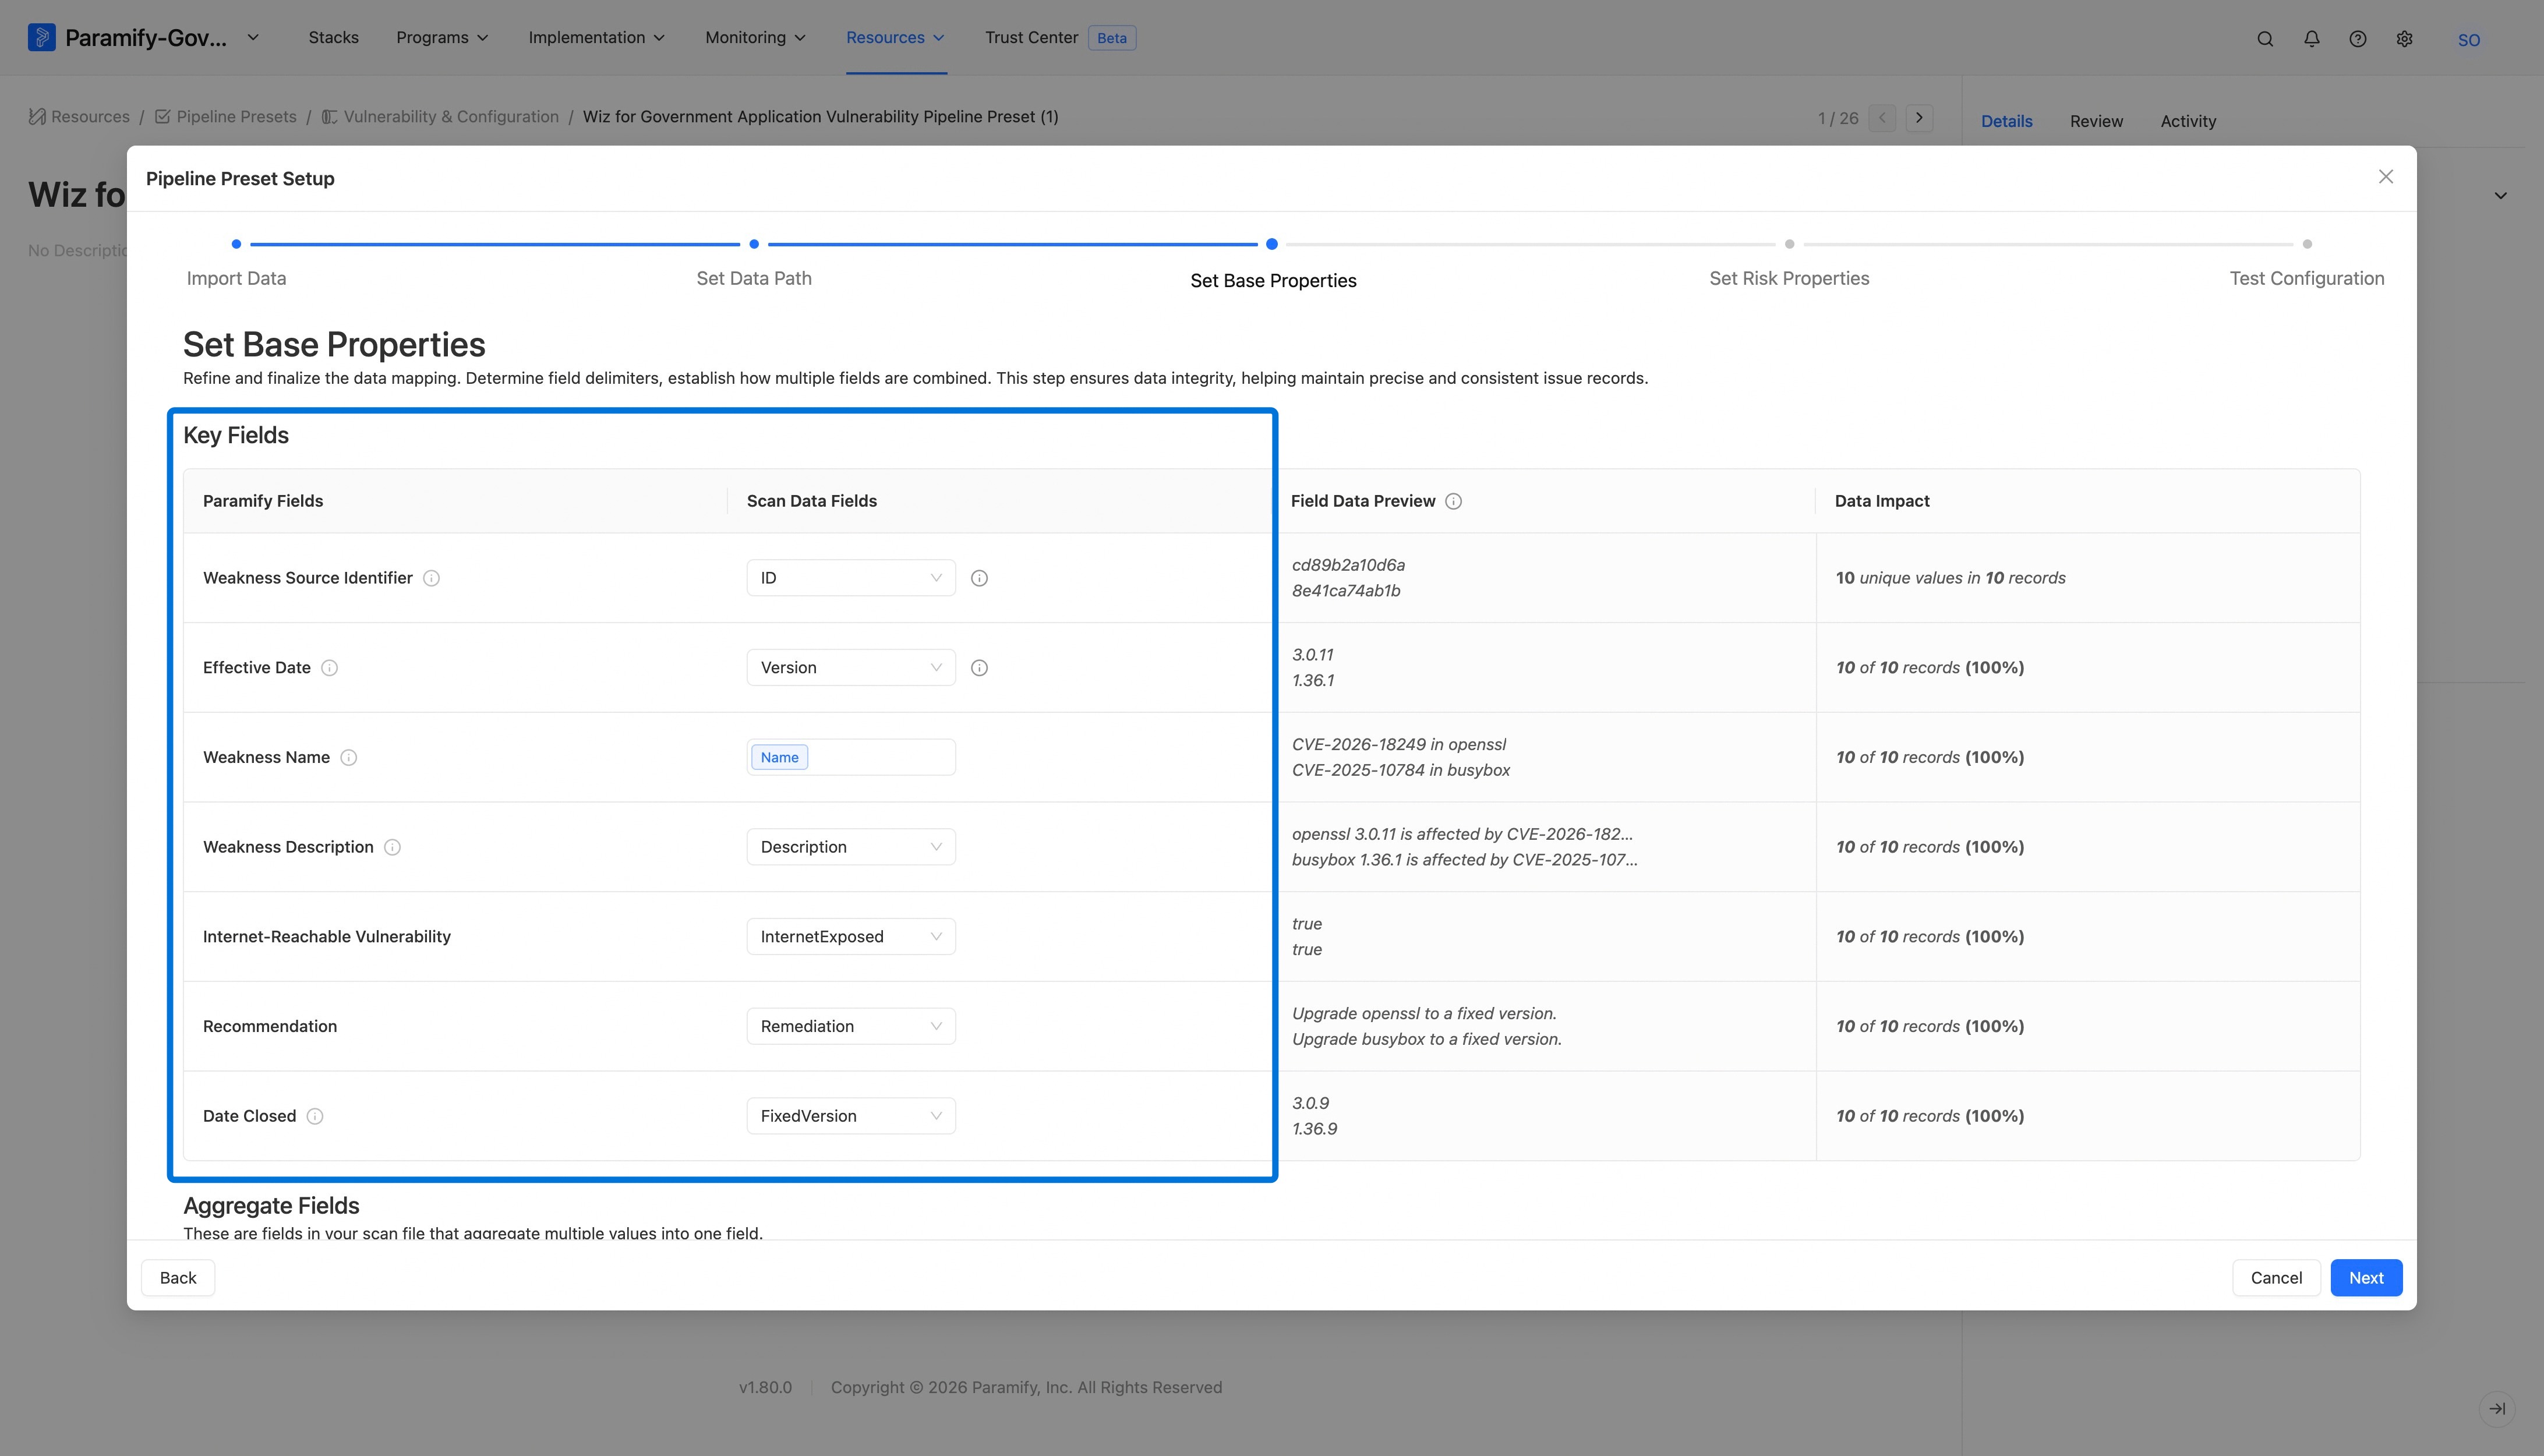
7. Map the key fields
In the Key Fields section, map Paramify's fields to the scan data fields.
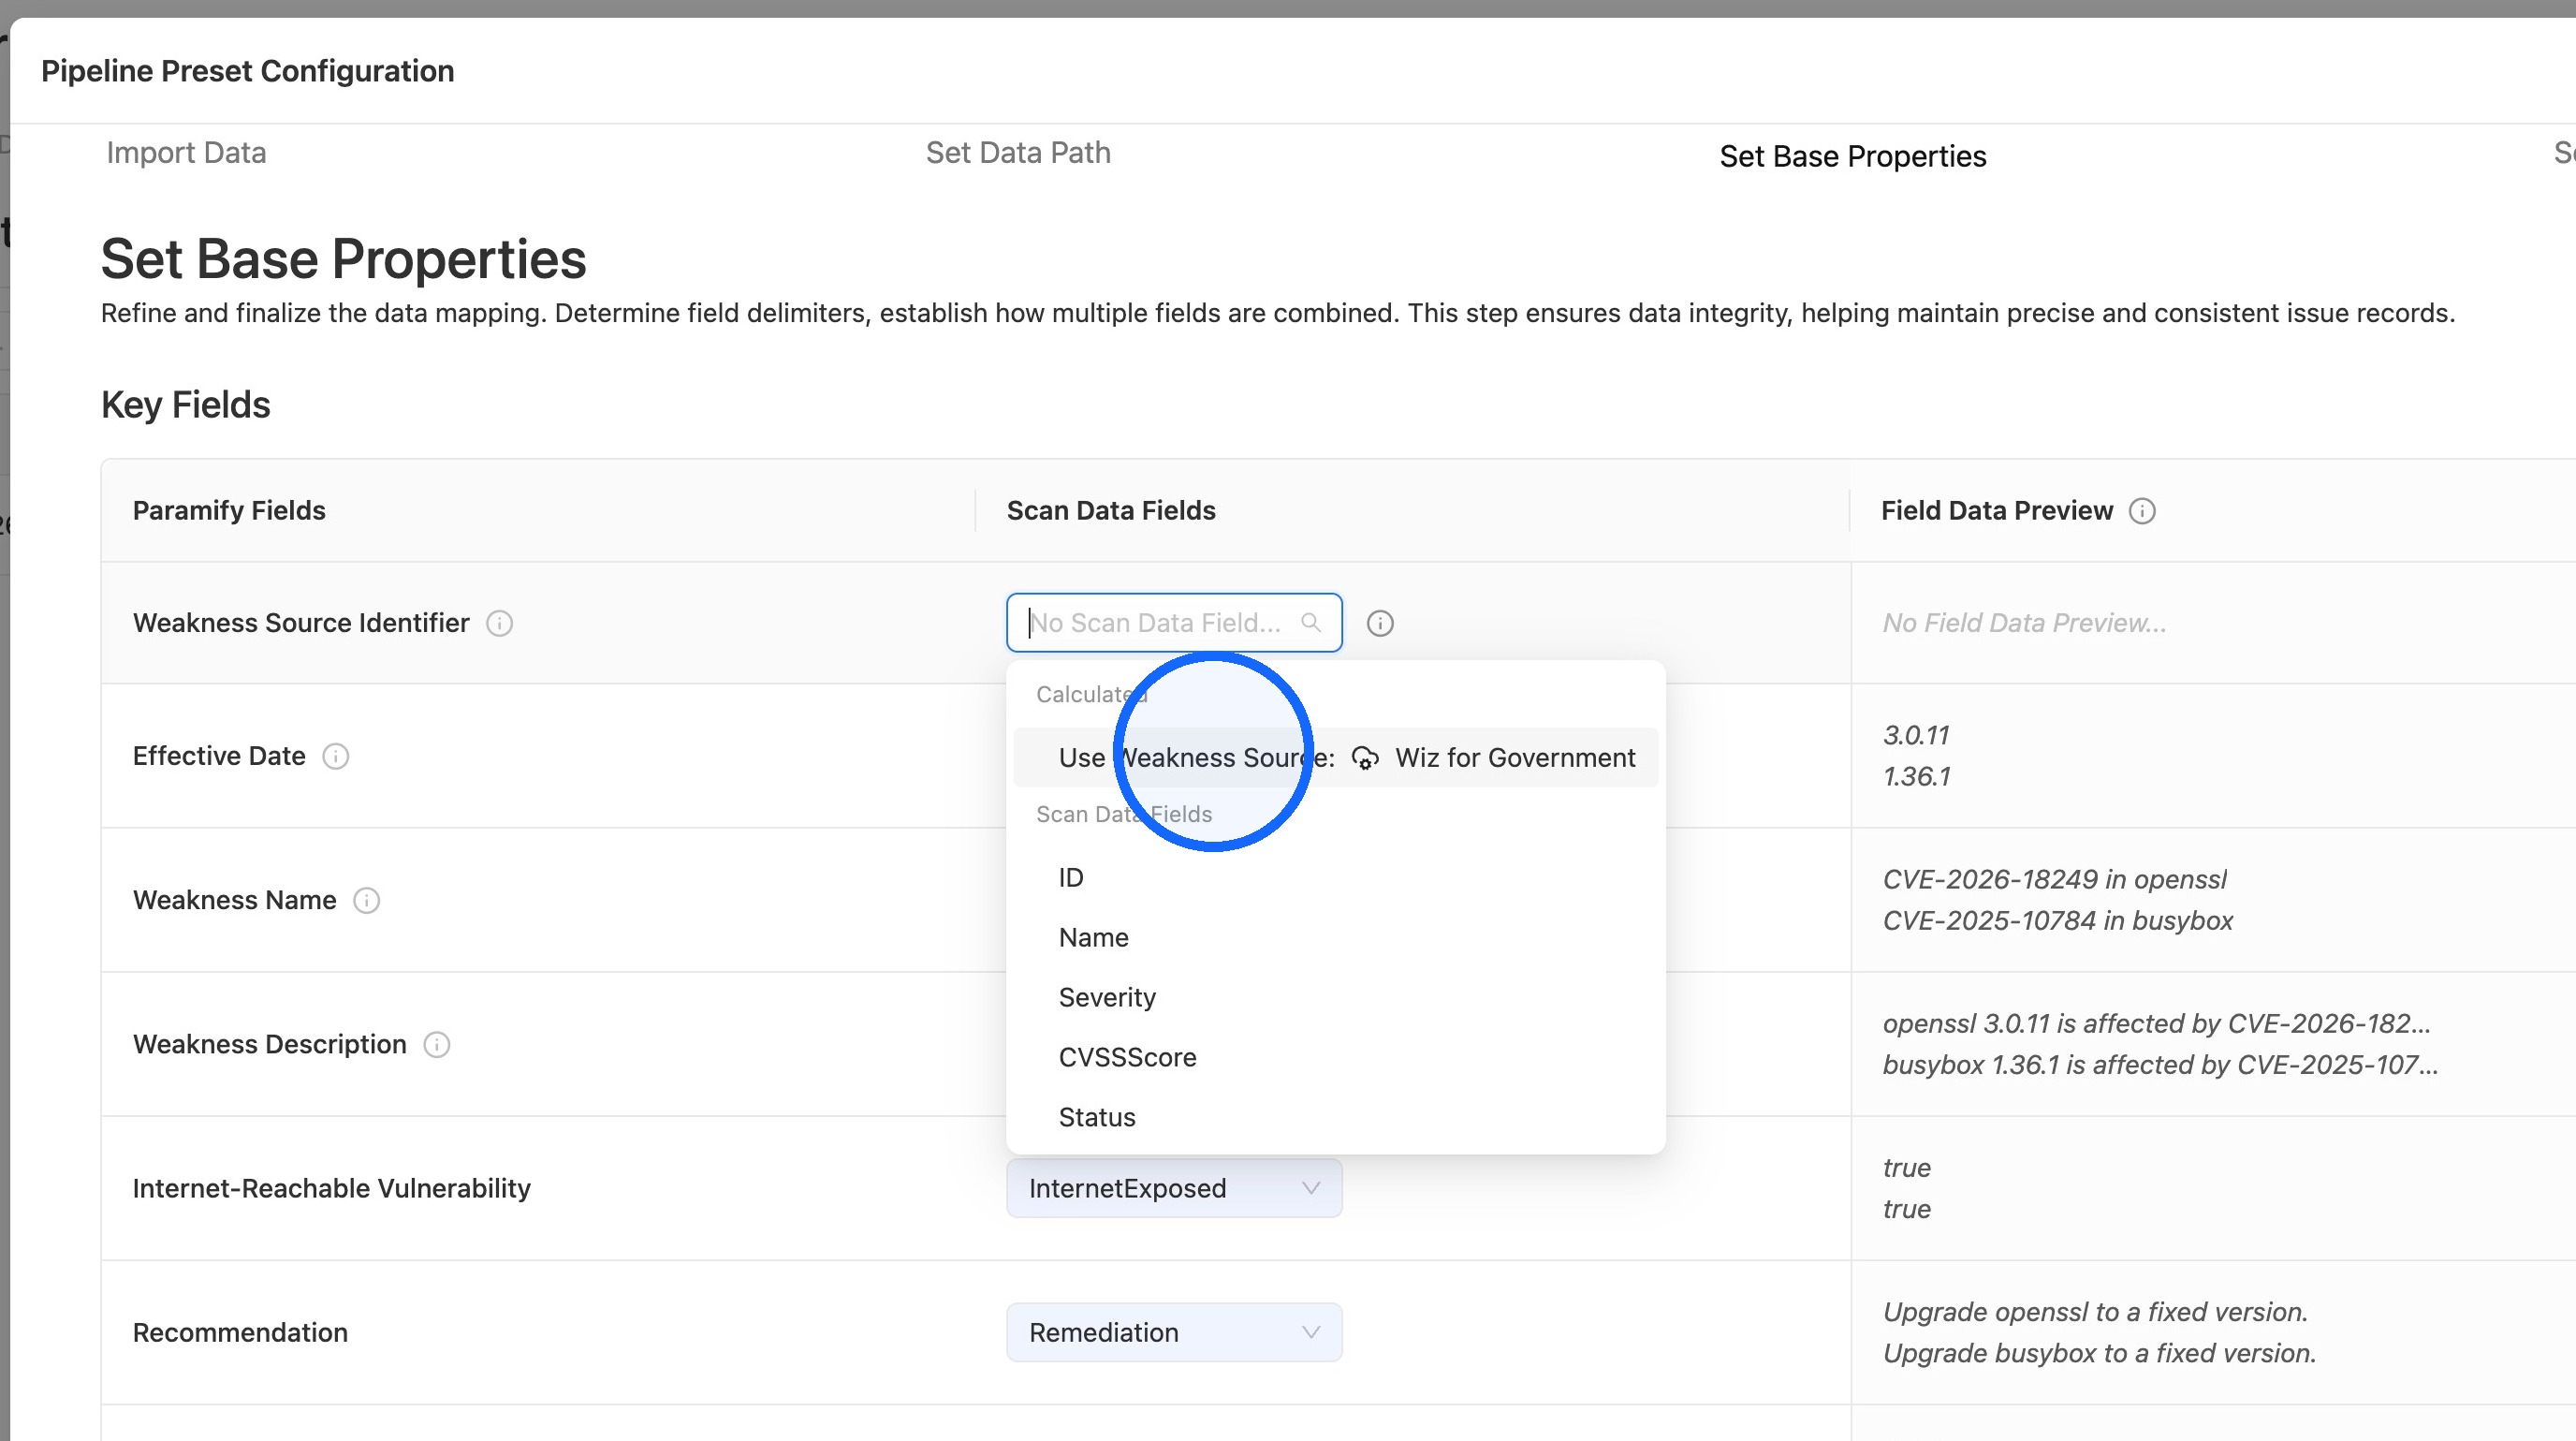
7a. Setting the weakness source identifier
In the Weakness Source Identifier dropdown, select Use Weakness Source: [your Mechanism] (under Calculated) to tag every finding with the scan tool you selected as this preset’s Mechanism.
NOTE
Use this option when the file contains results from a single scan tool. If the file mixes results from several tools, select the column that identifies each finding’s tool instead.
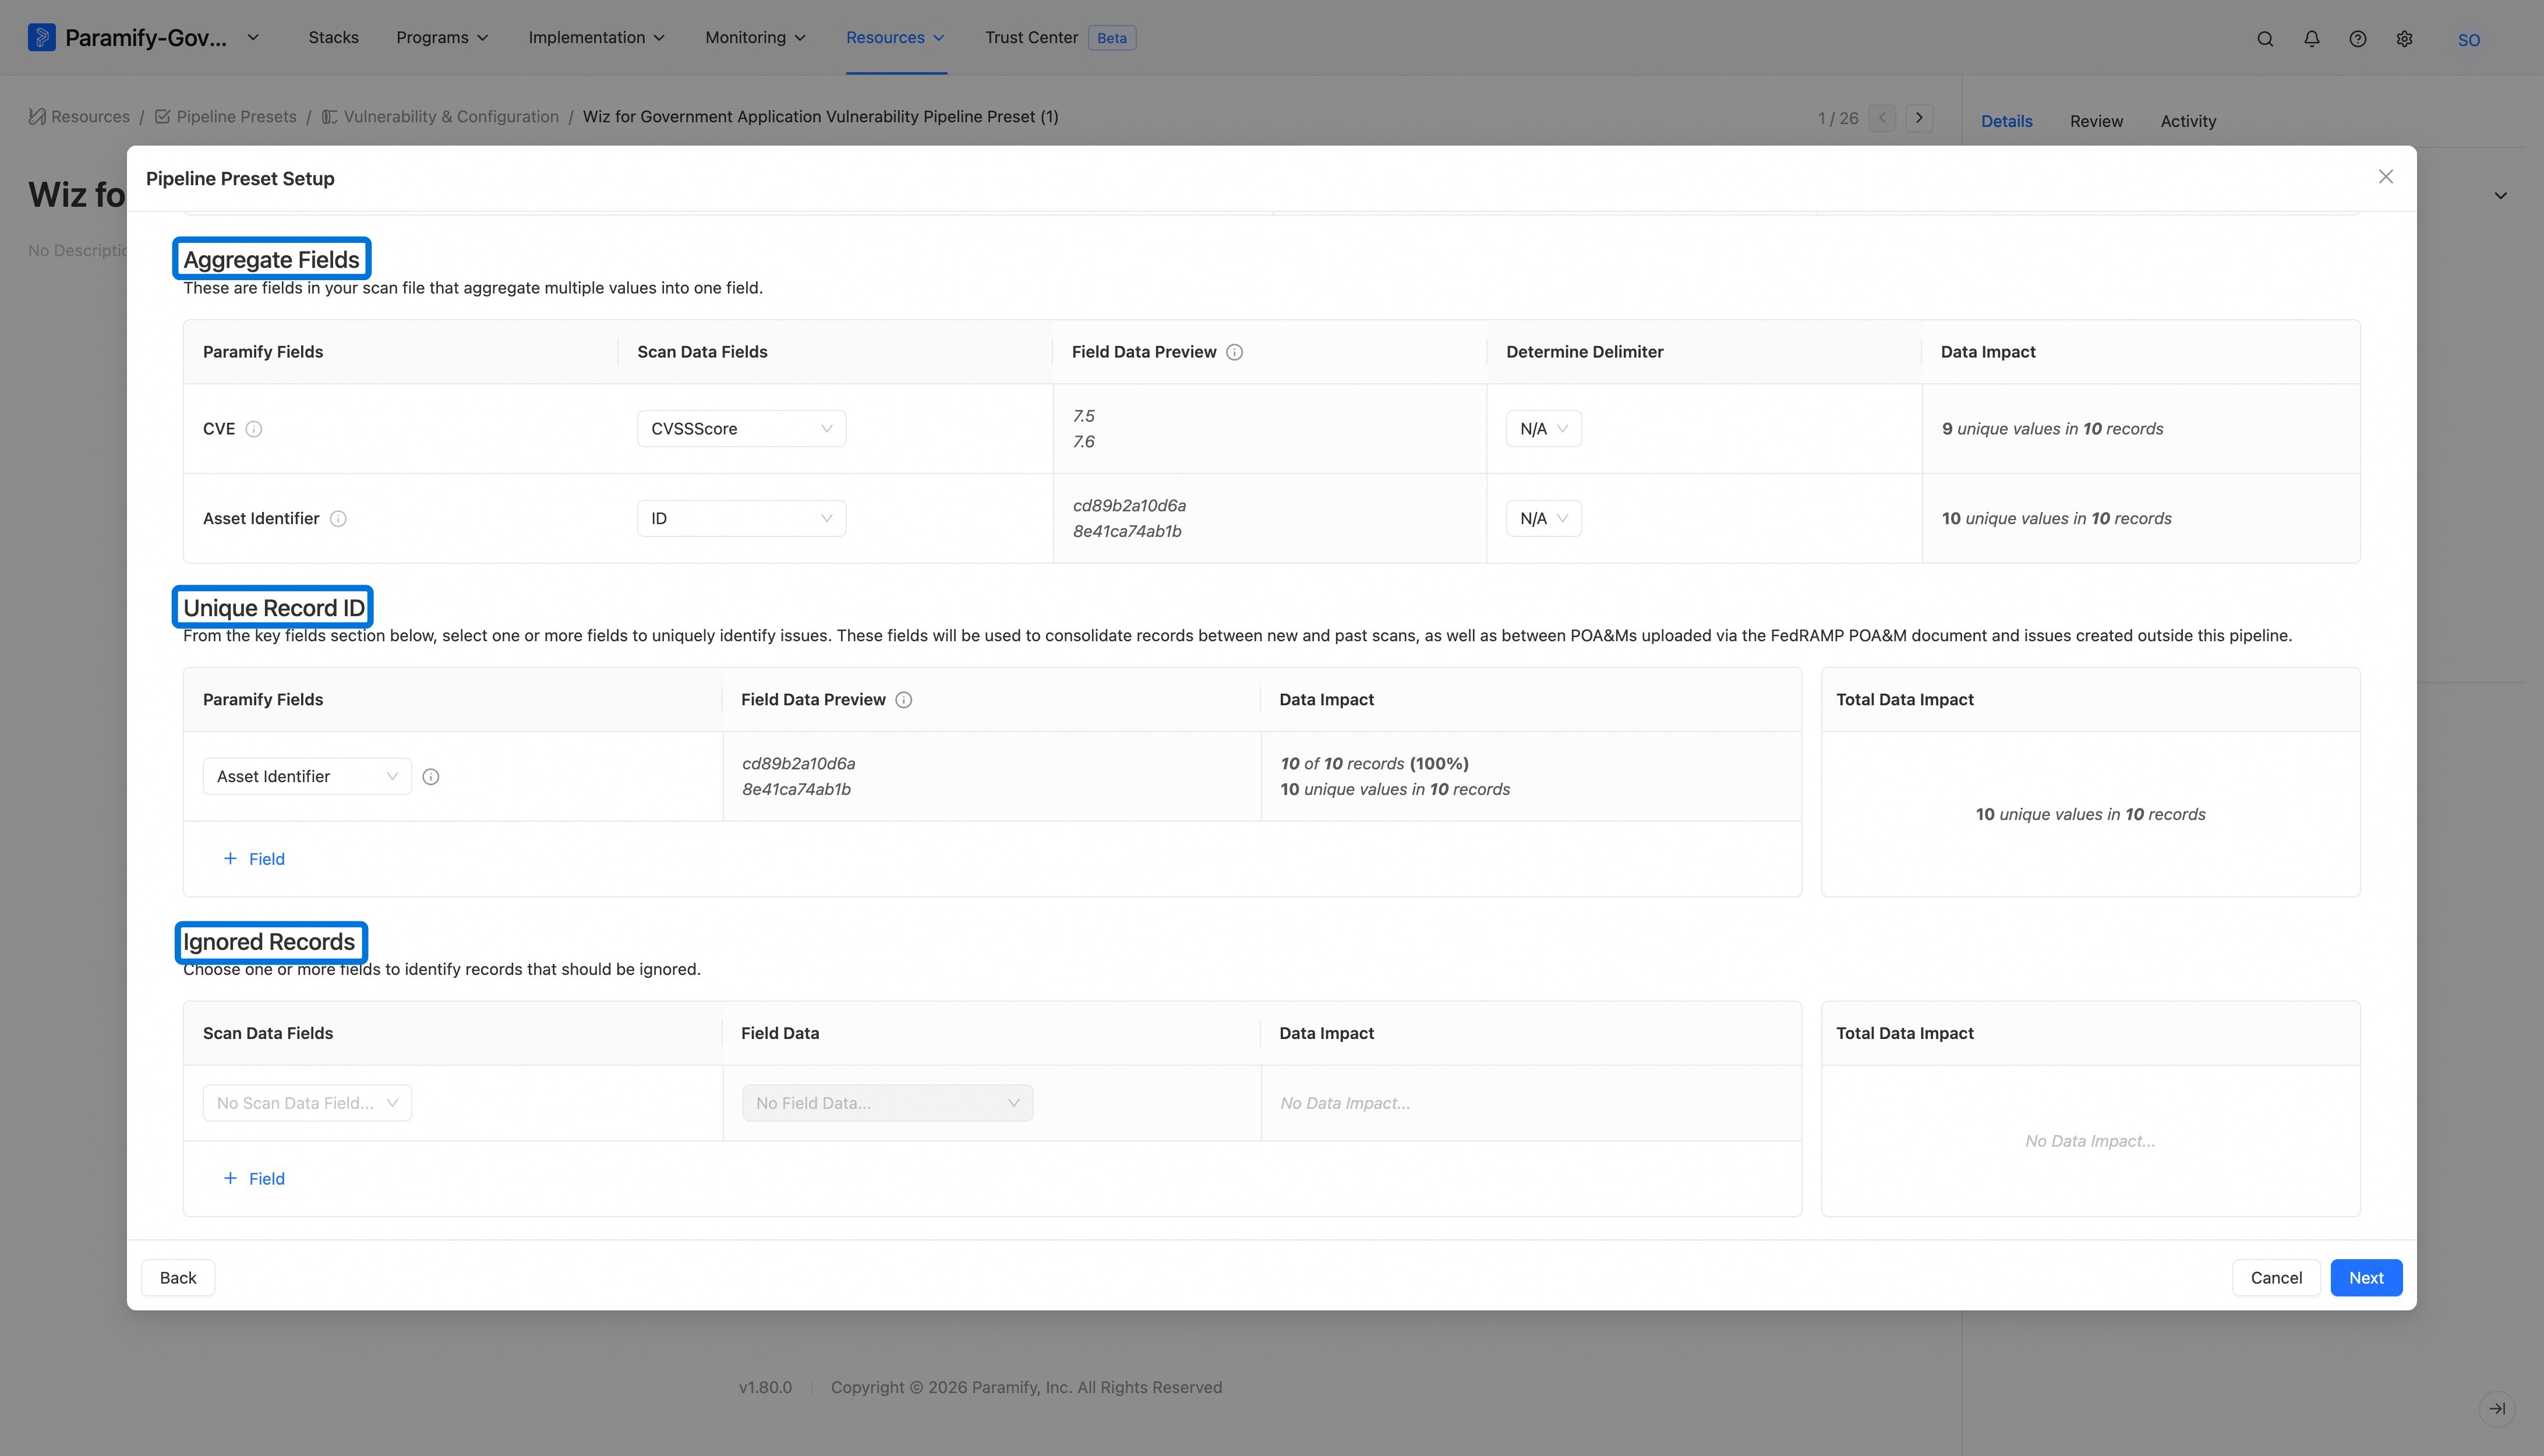
8. Map the remaining record fields
Map the following fields, then click Next:
- Aggregate Fields: fields in the scan file that contain multiple values.
- Unique Record ID: the field that uniquely identifies each Issue that is created.
- Ignored Records: criteria for any rows that should be excluded.
9. Set scoring system priority
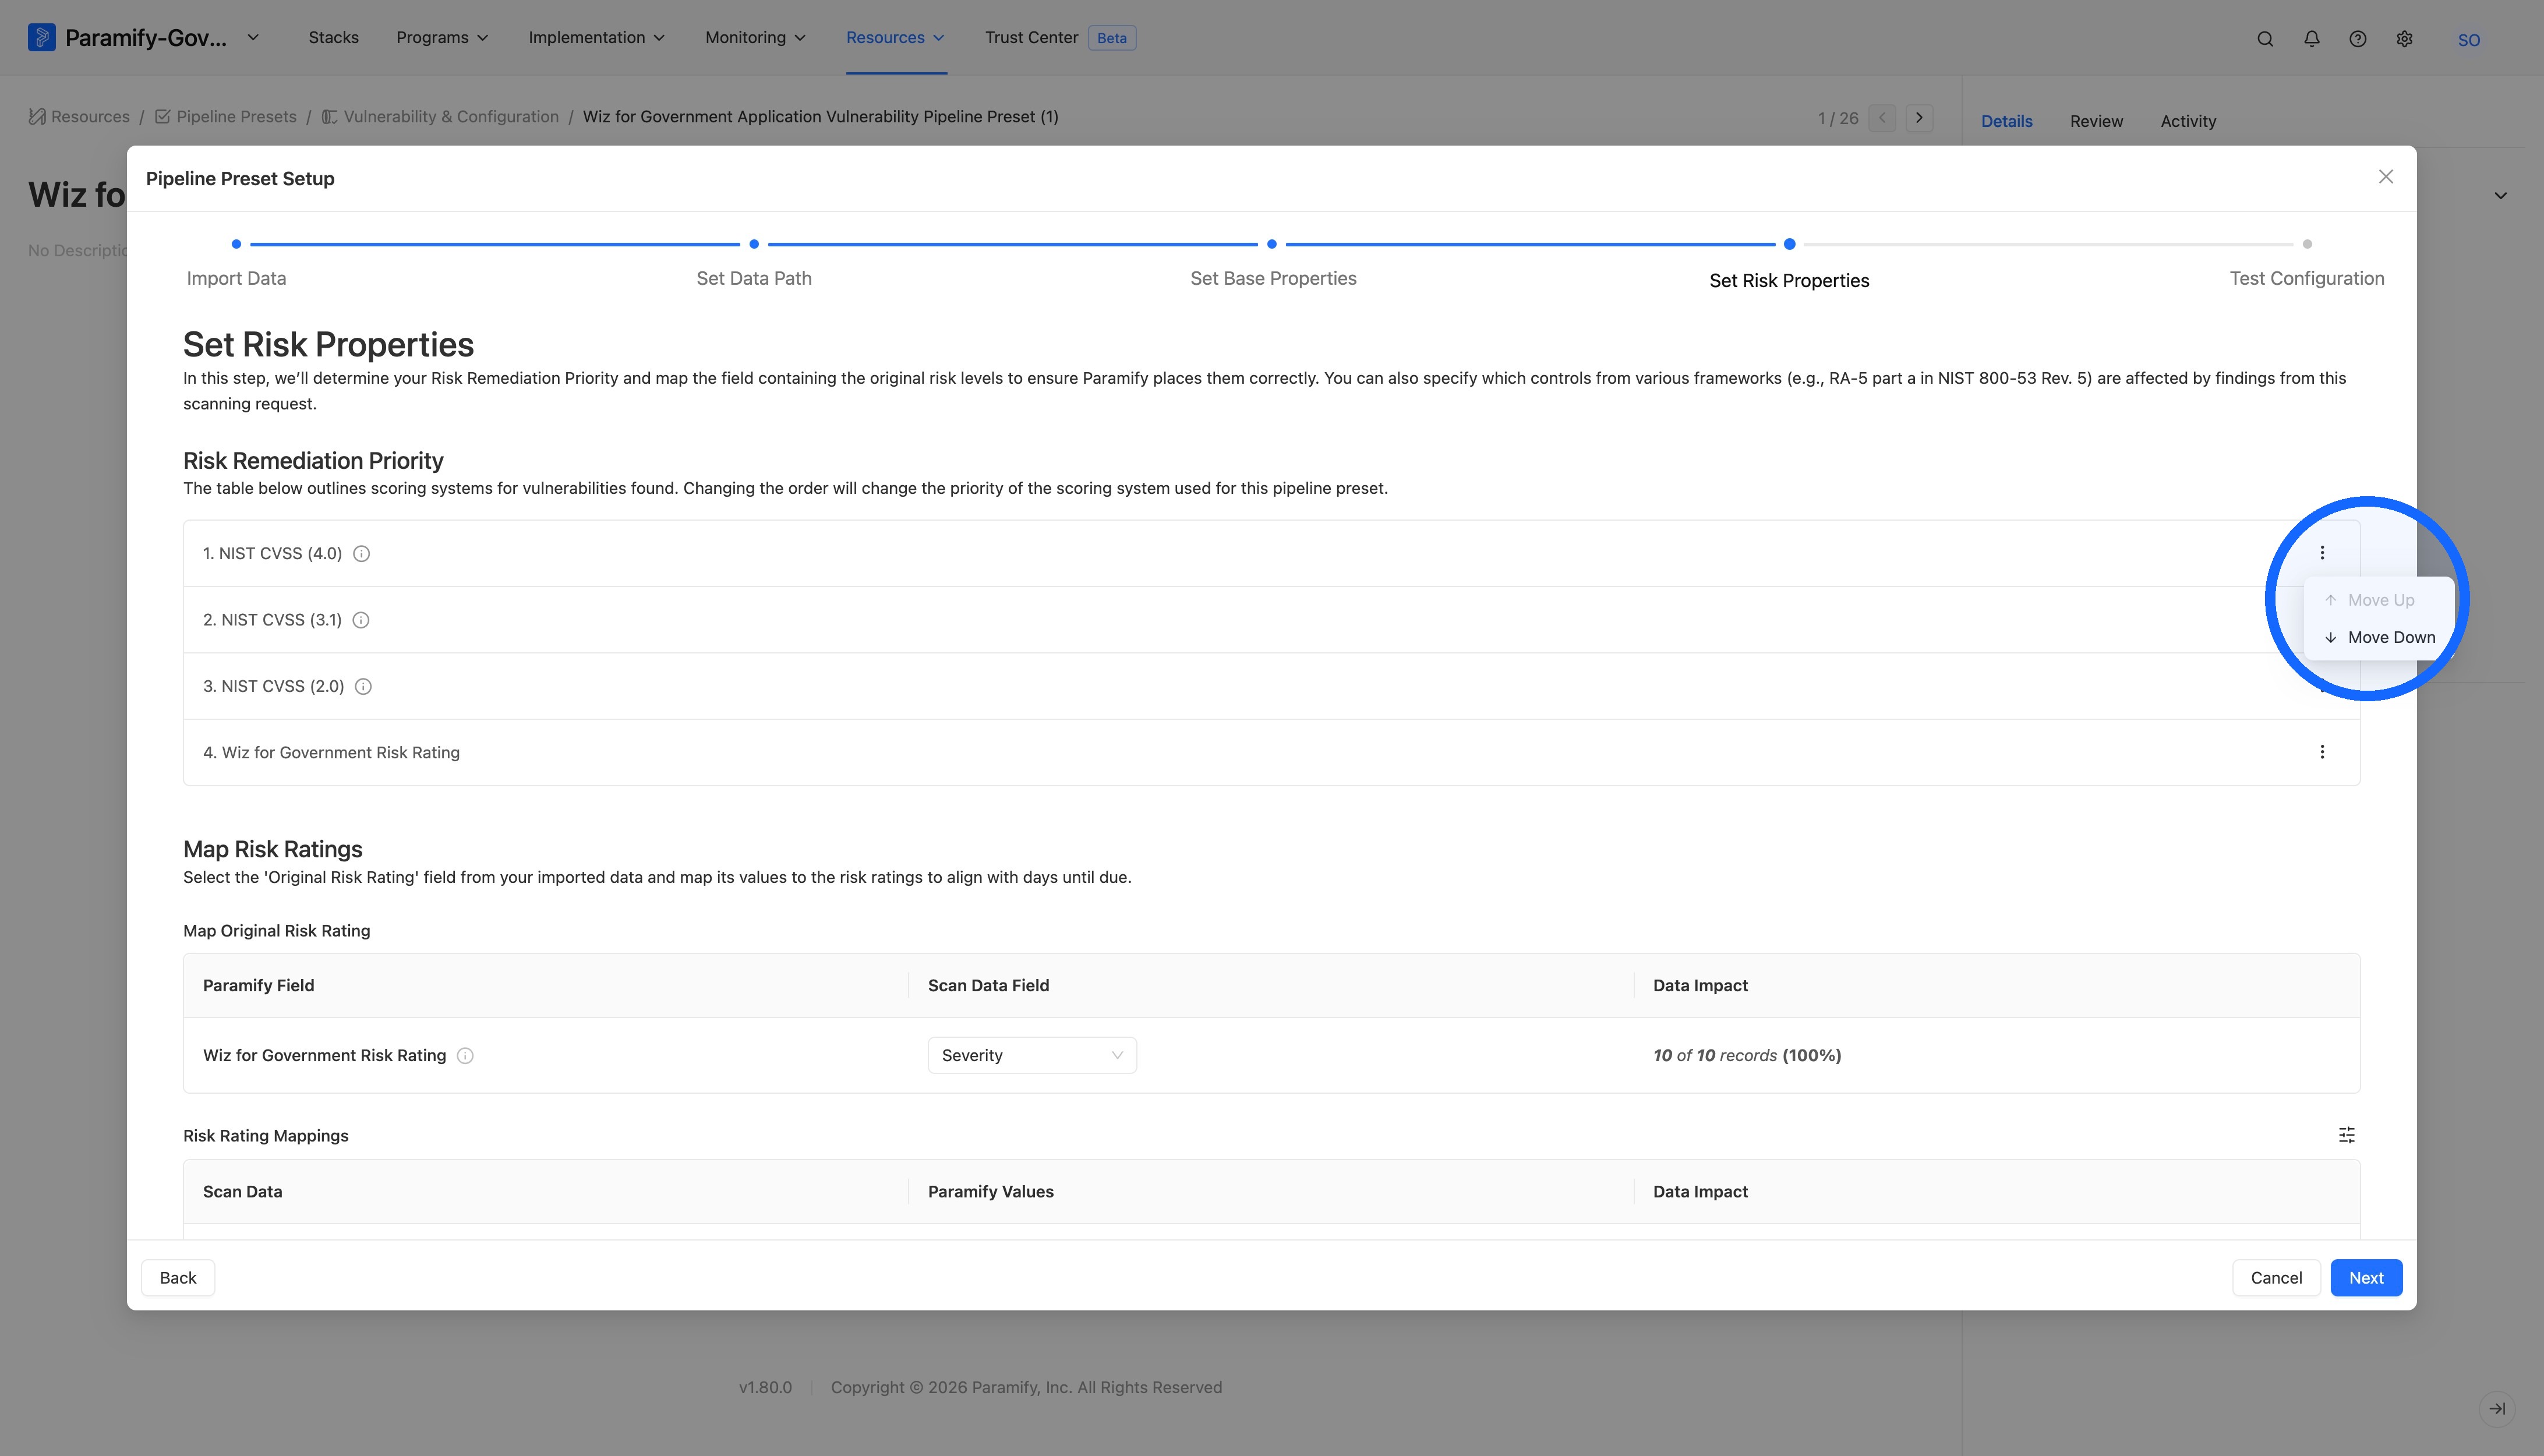
Select the three dots on the right side to order the priority of the different scoring systems.
NOTE
When a finding includes scores from more than one scoring system, Paramify uses the system highest in this list to set the finding's risk rating, which also determines its remediation due date. If a finding has no score from the top system, Paramify moves down the list to the next system that has a score. For example, moving Wiz for Government Risk Rating to the top means Paramify will use Wiz's severity instead of the NIST CVSS score whenever both are available.
10. Map the risk rating
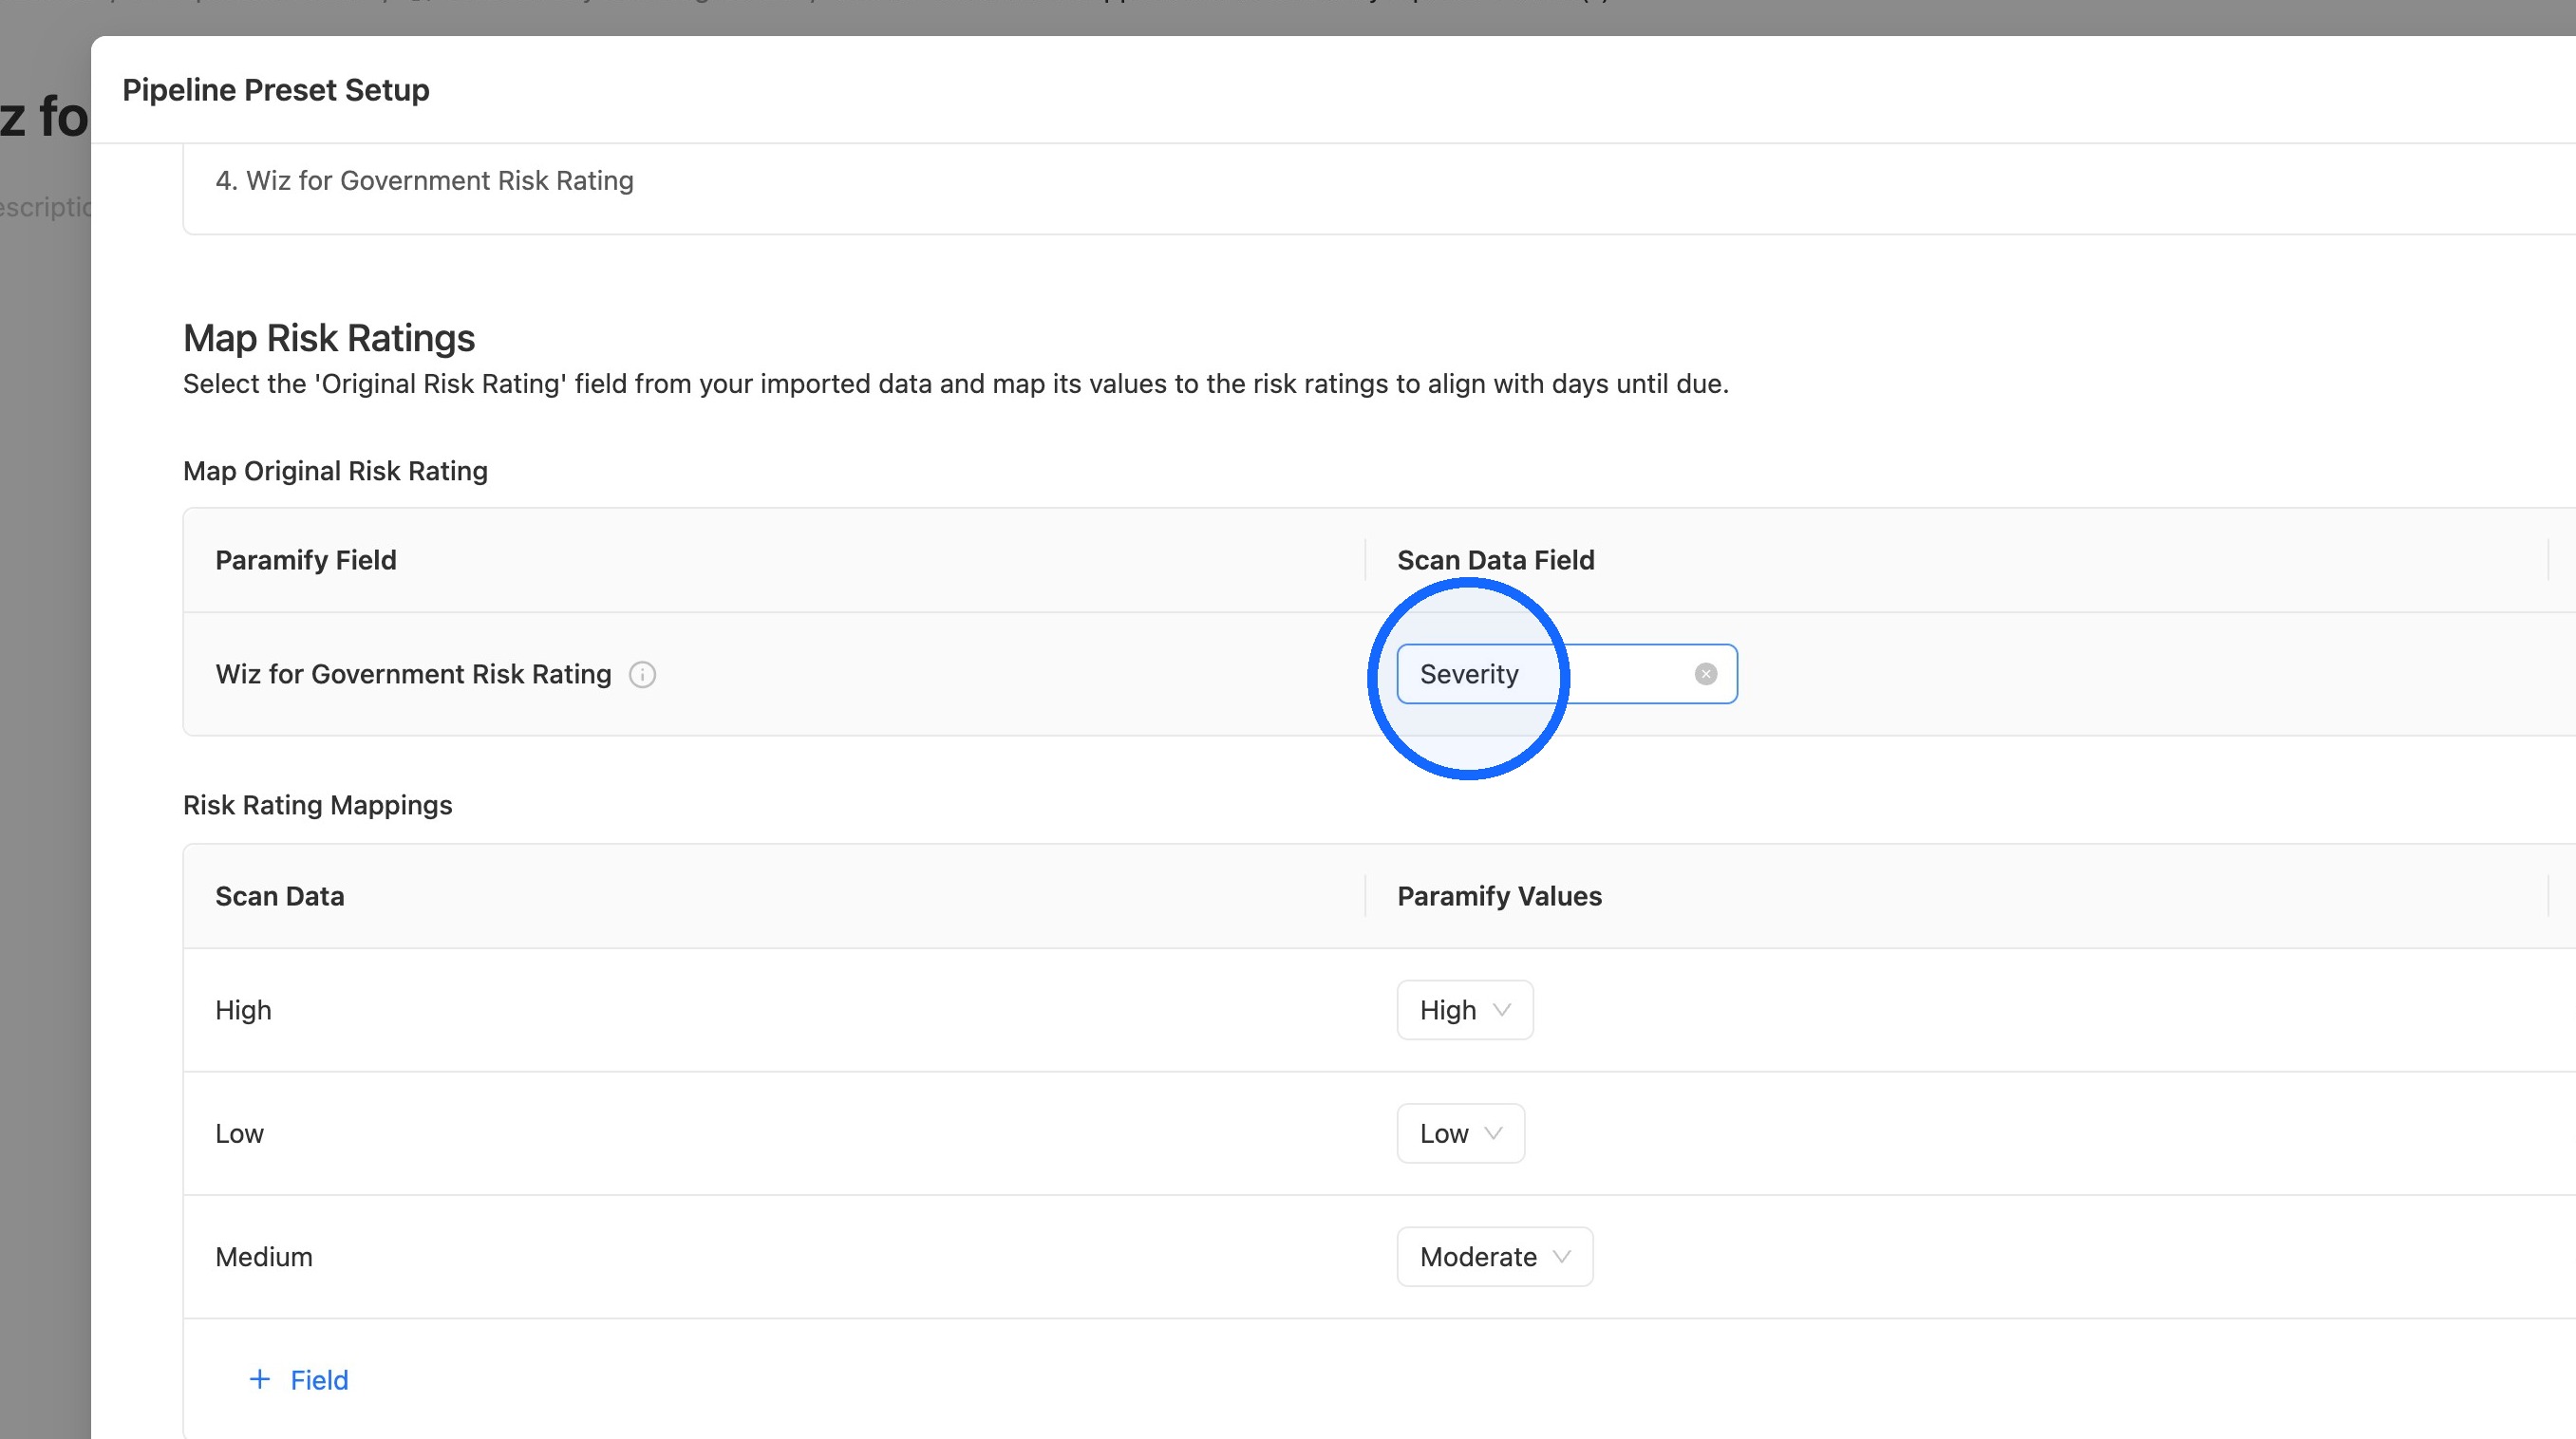
Map the Paramify Risk Rating to the relevant scan field, and edit the resulting Risk Rating Mappings below it if necessary.
11. Add control requirement mappings
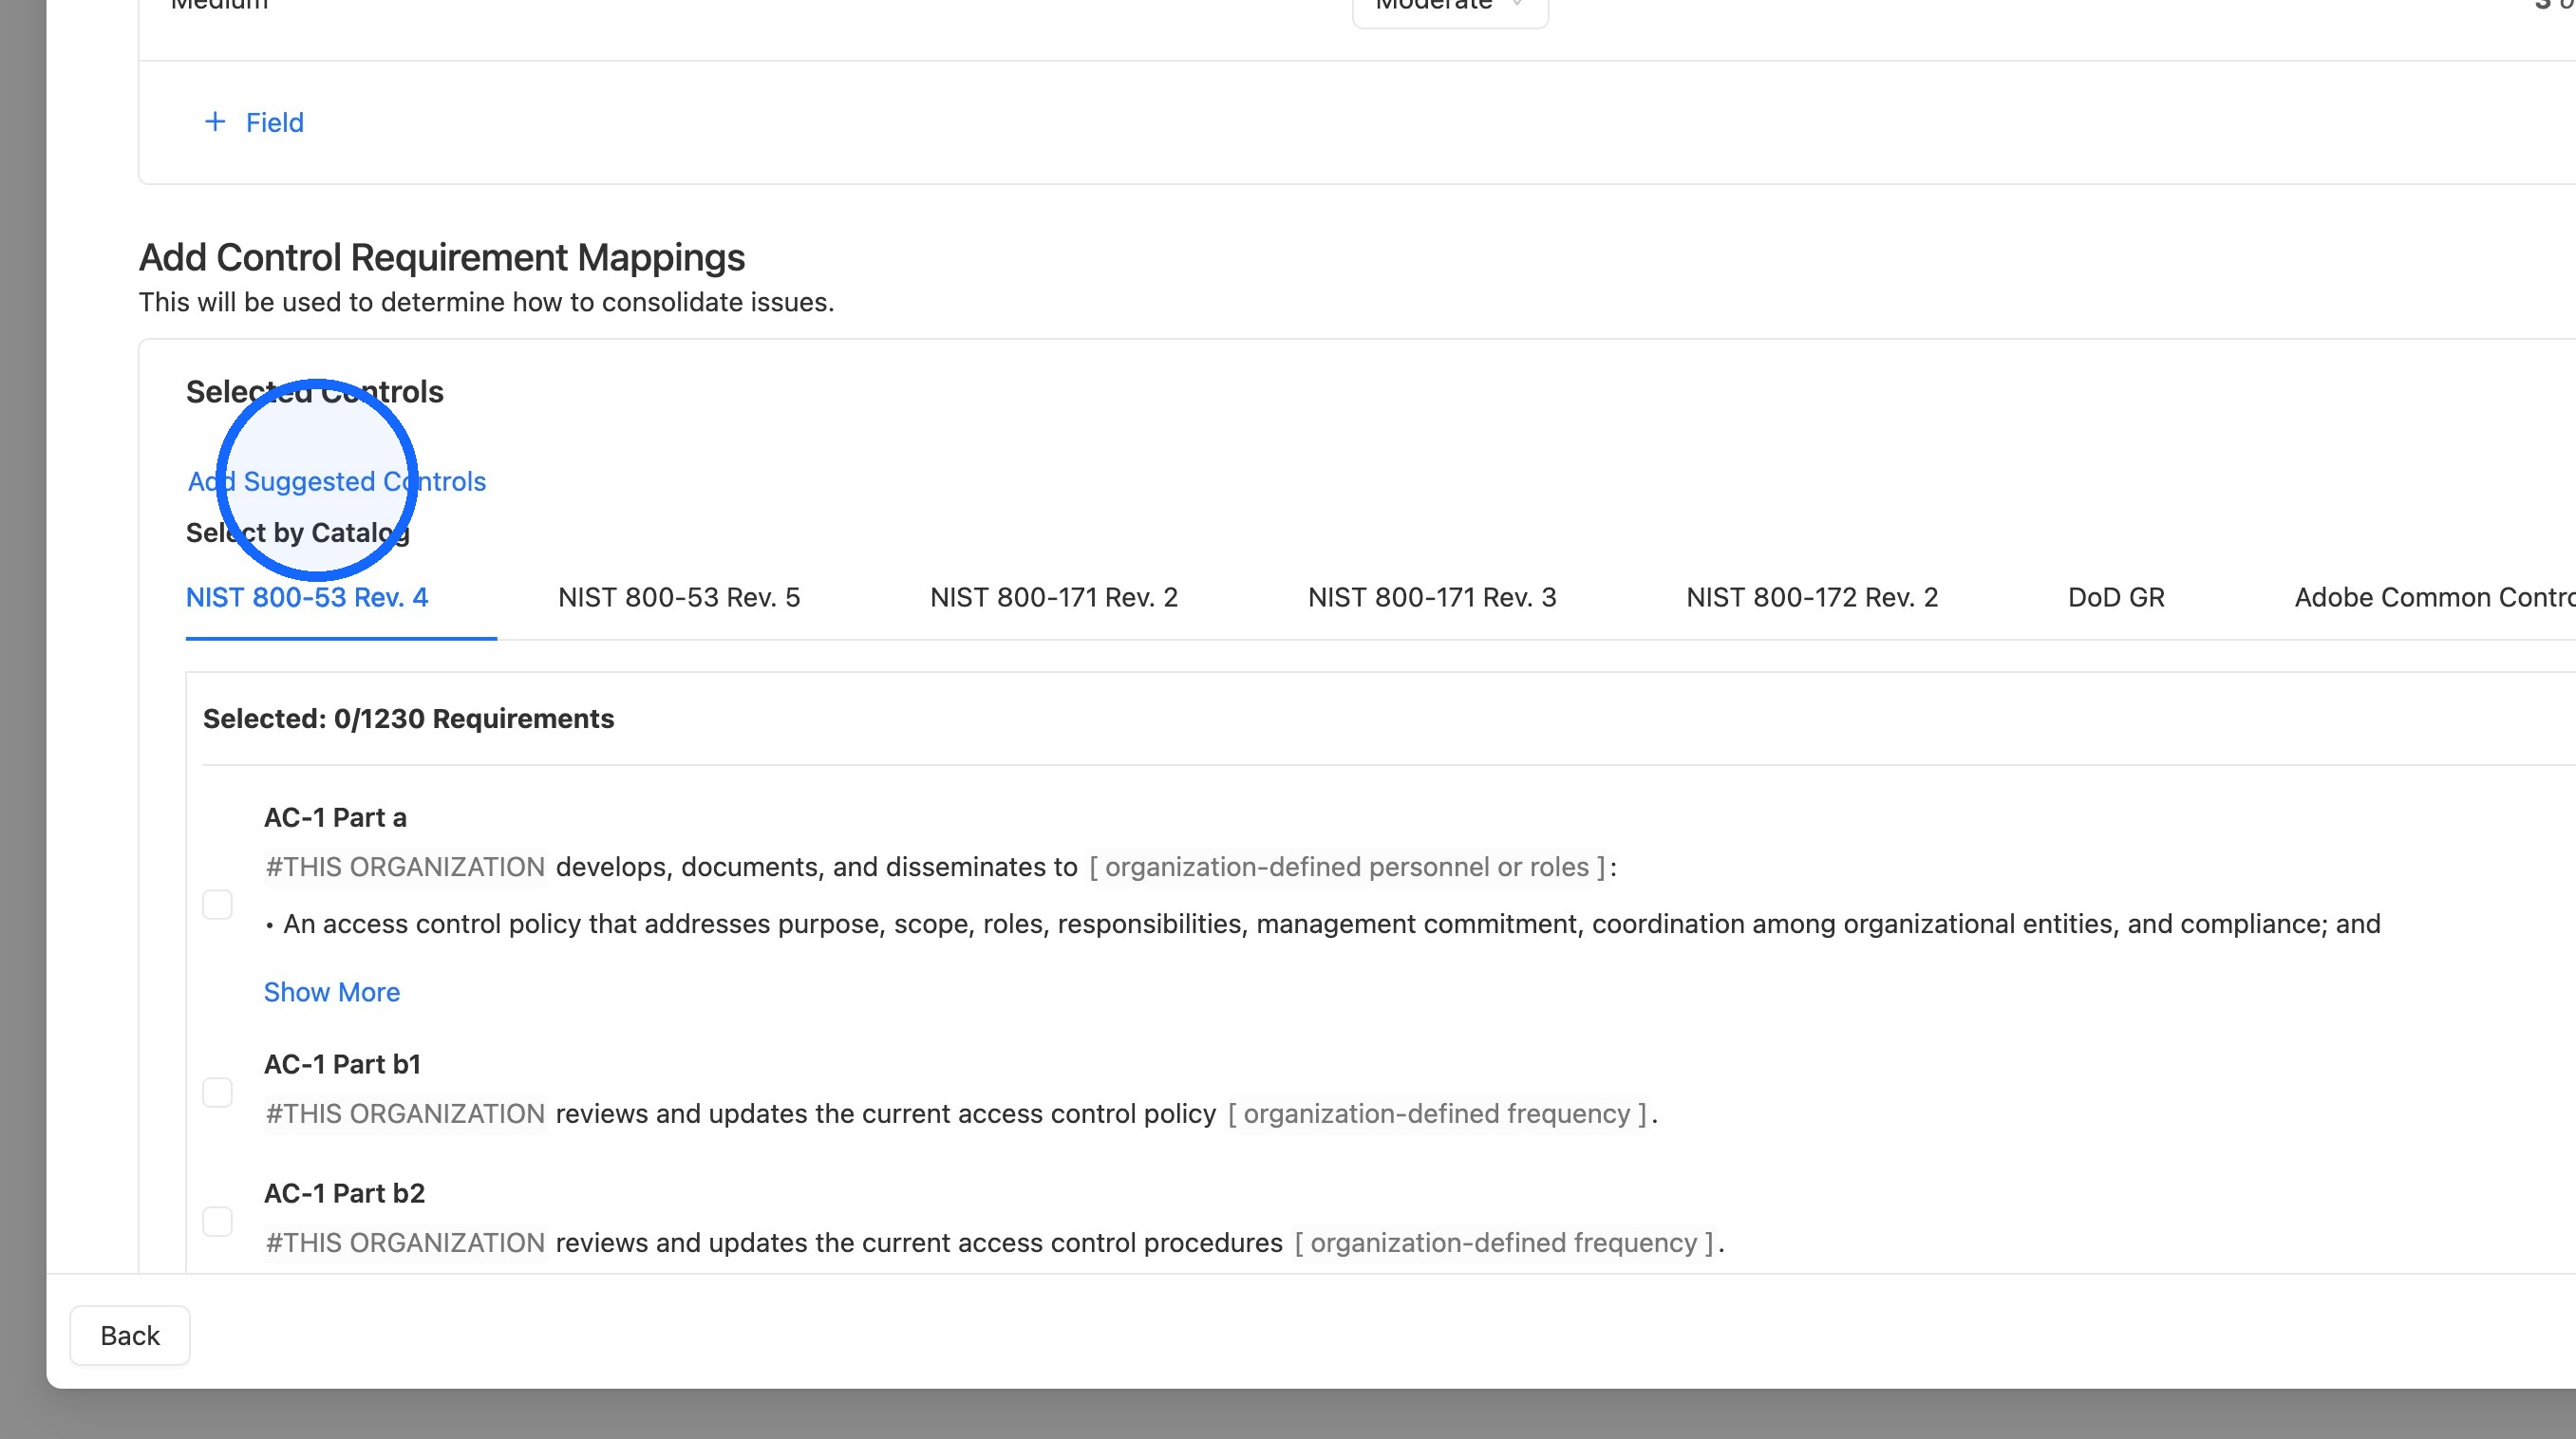
Add the Control Requirement Mappings, then click Next. This example uses the Add Suggested Controls button.
NOTE
Control Requirement Mappings decide which controls the Issues from this Pipeline's scans get attached to. When a scan creates an Issue, Paramify attaches it to every control selected here. The Issue then appears on that control wherever the control exists, no matter which framework or Program it belongs to. The mappings are optional, so issue creation will work without it.
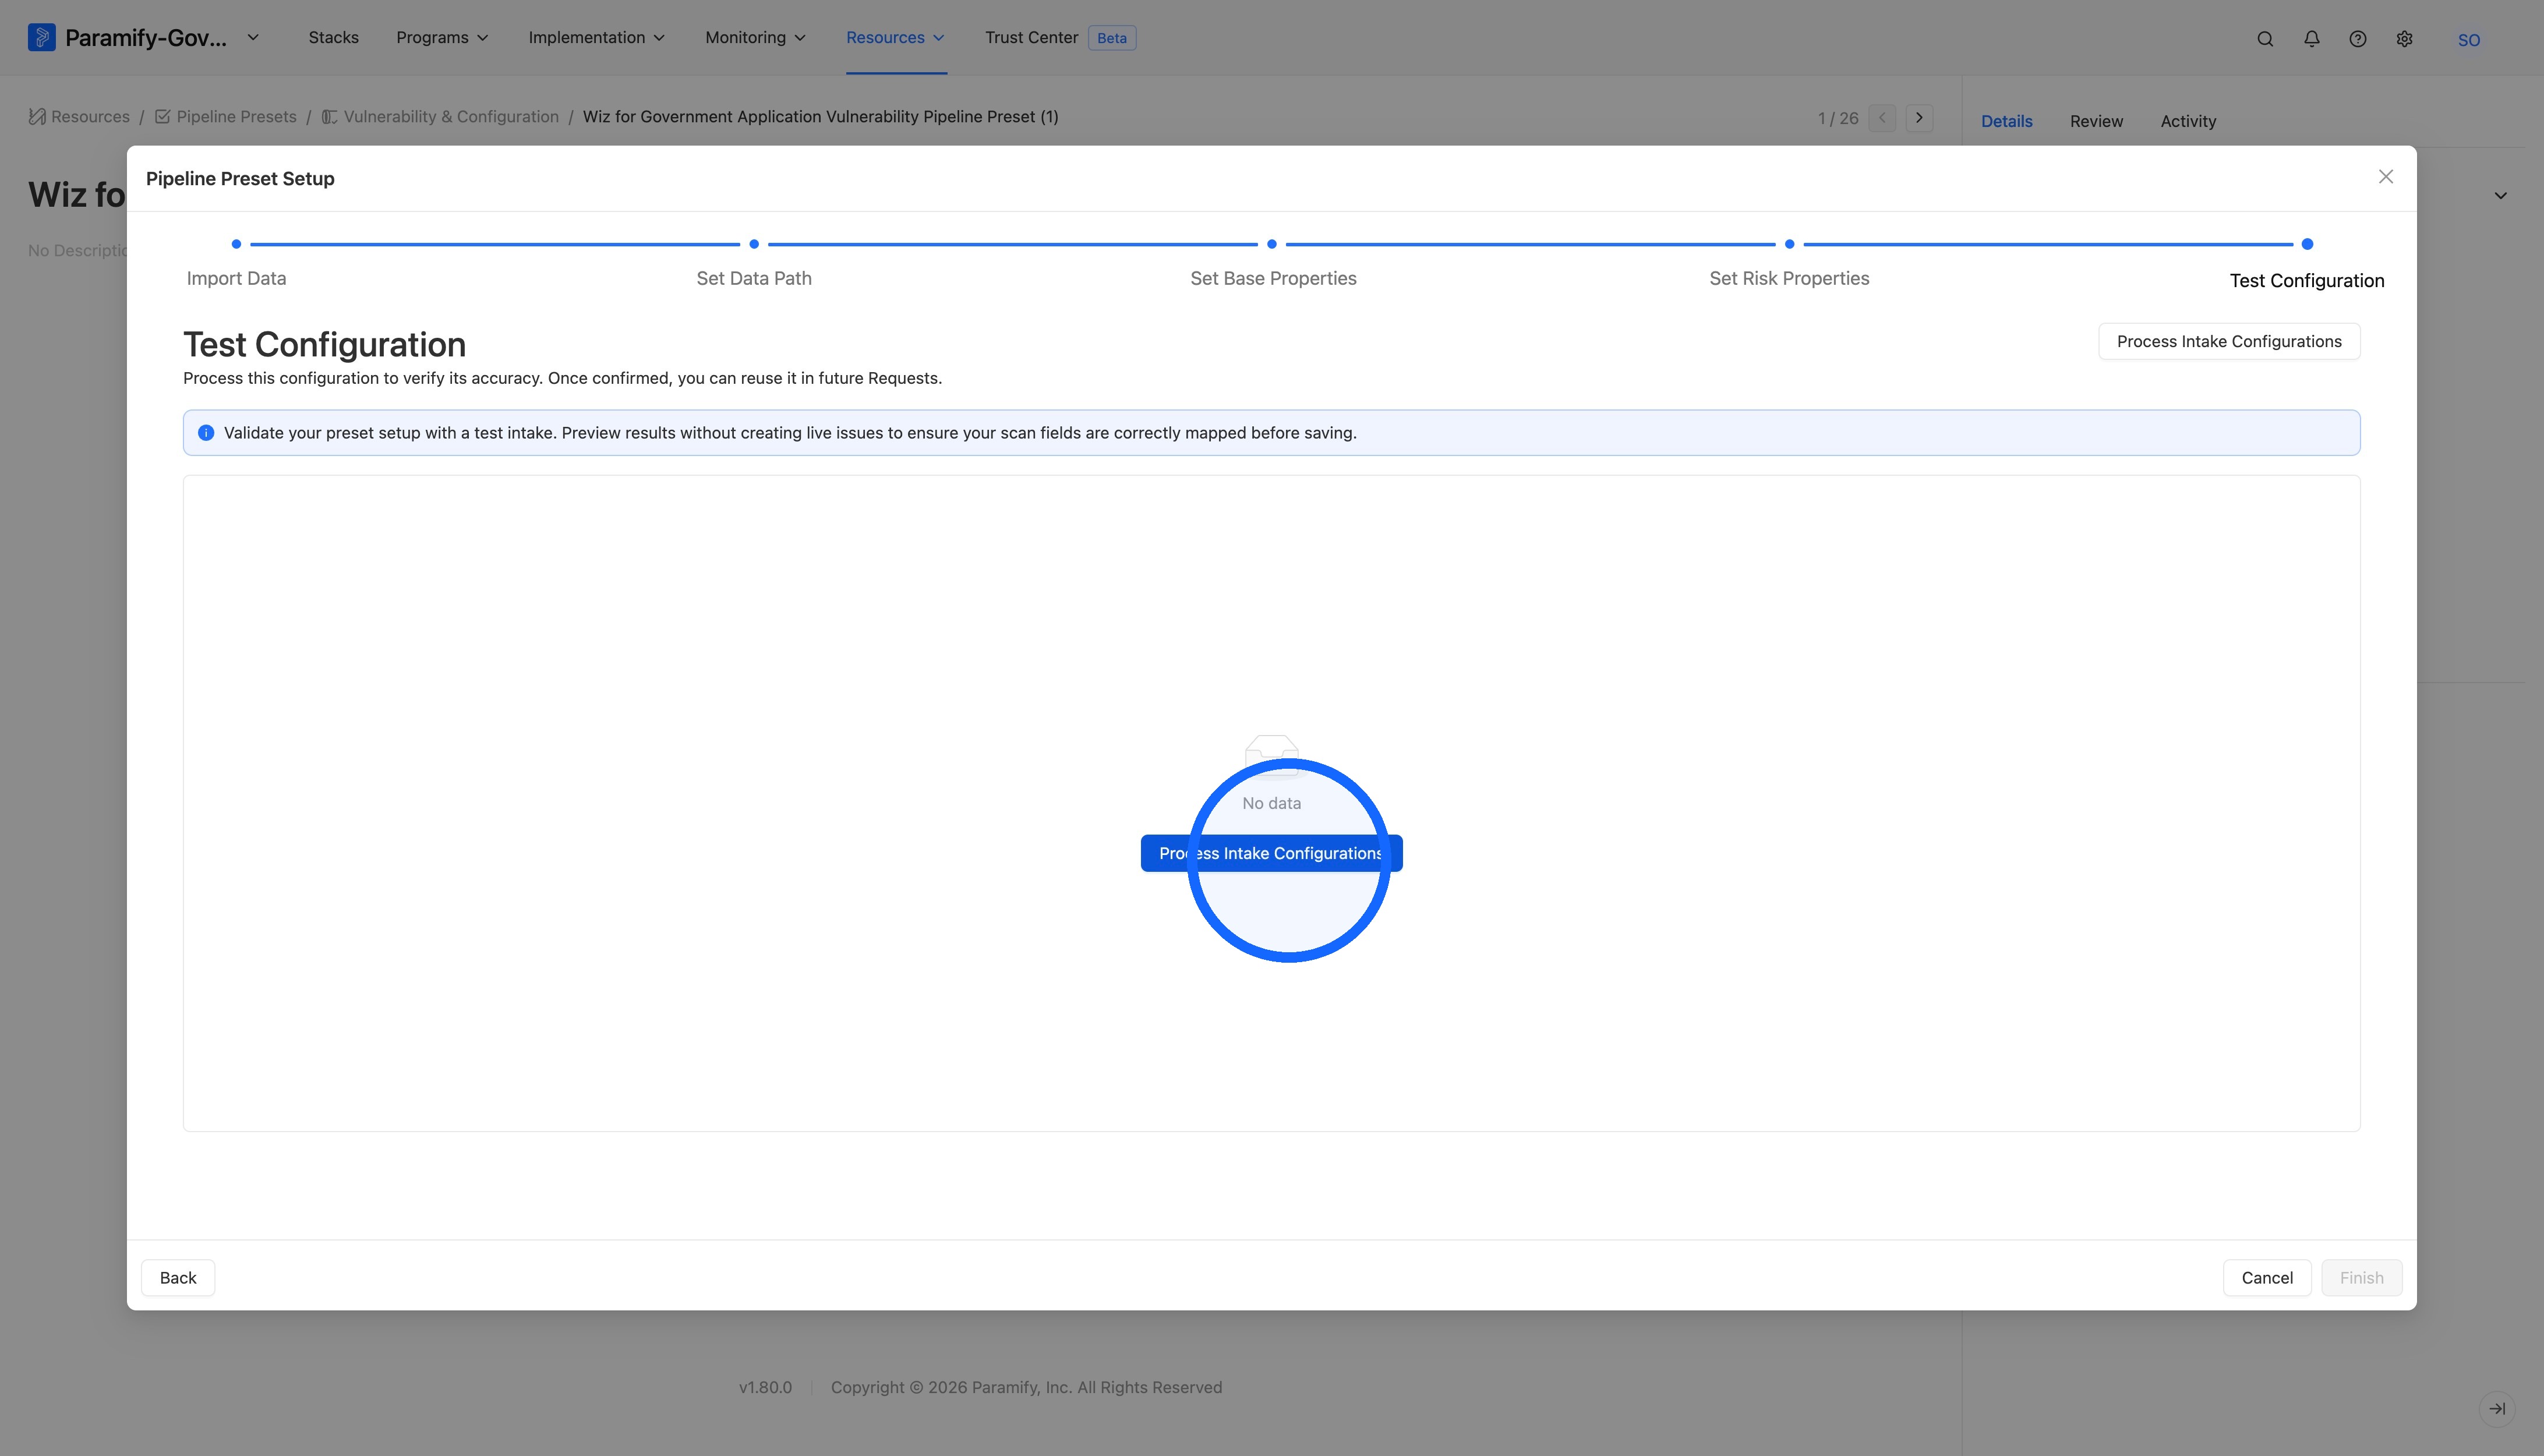
12. Process the intake configurations
Click Process Intake Configurations.
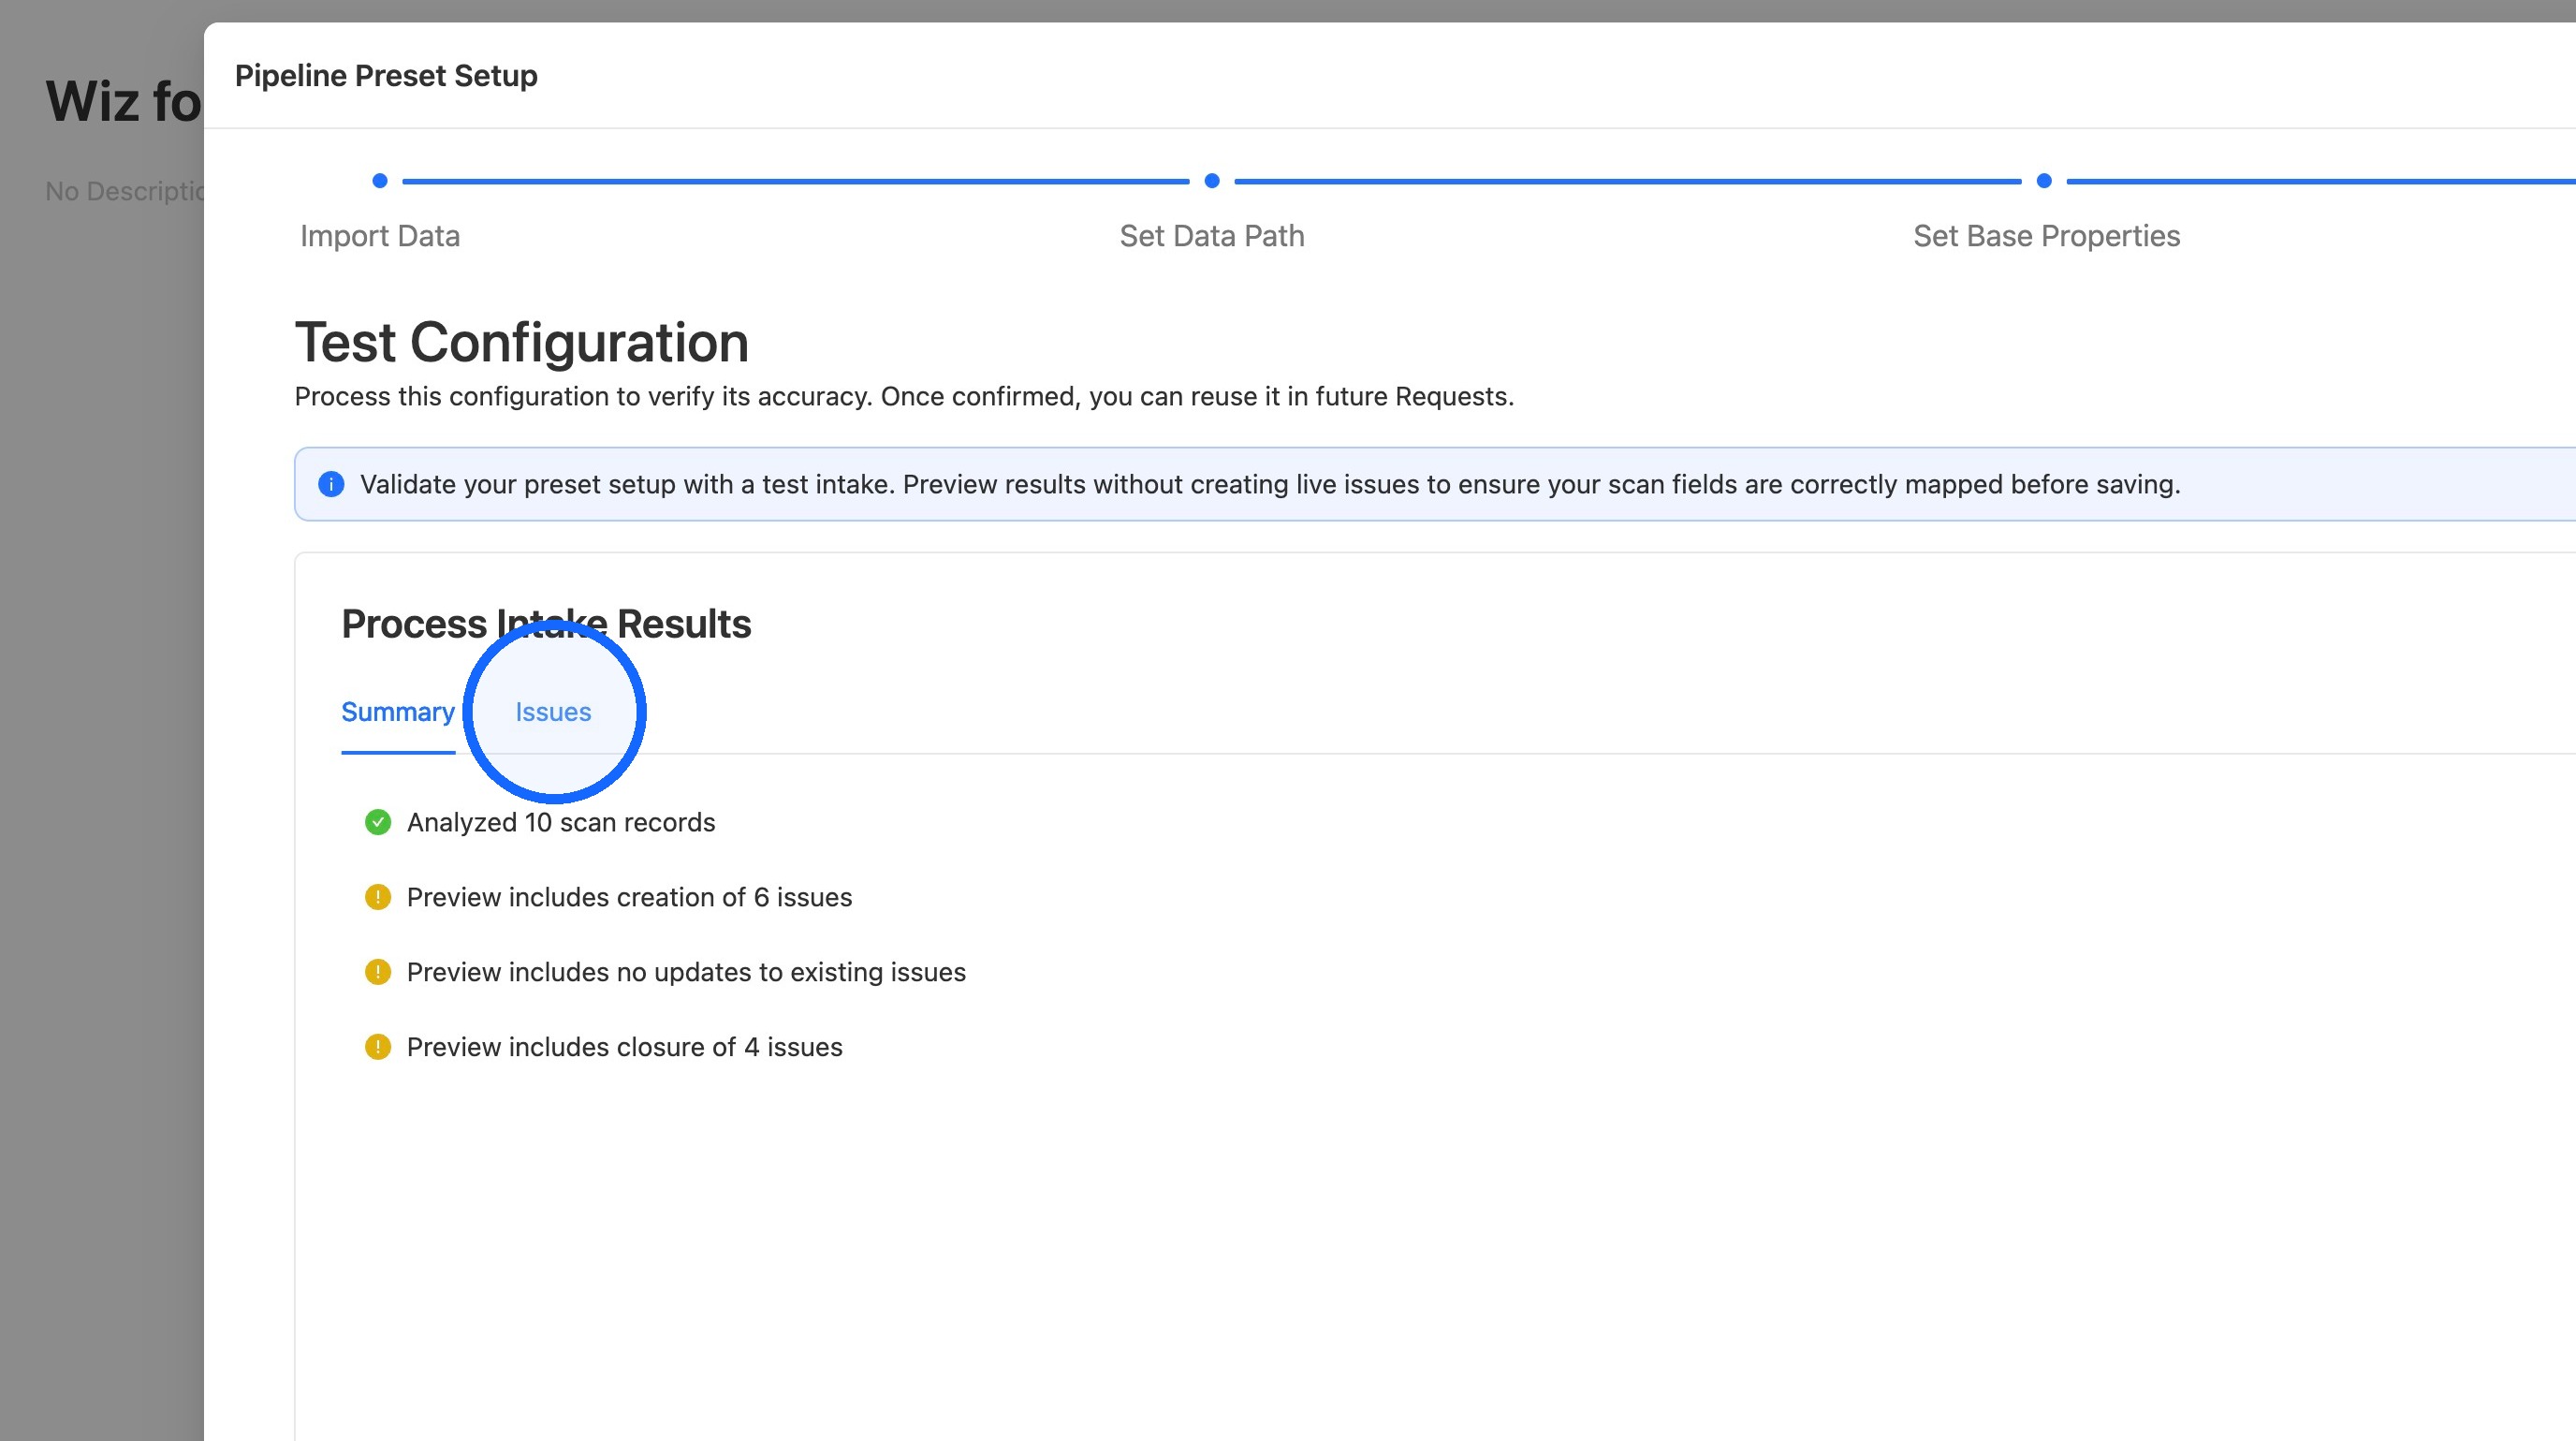
13. Open the Issues tab
Click the Issues tab to see how the scan file was processed.
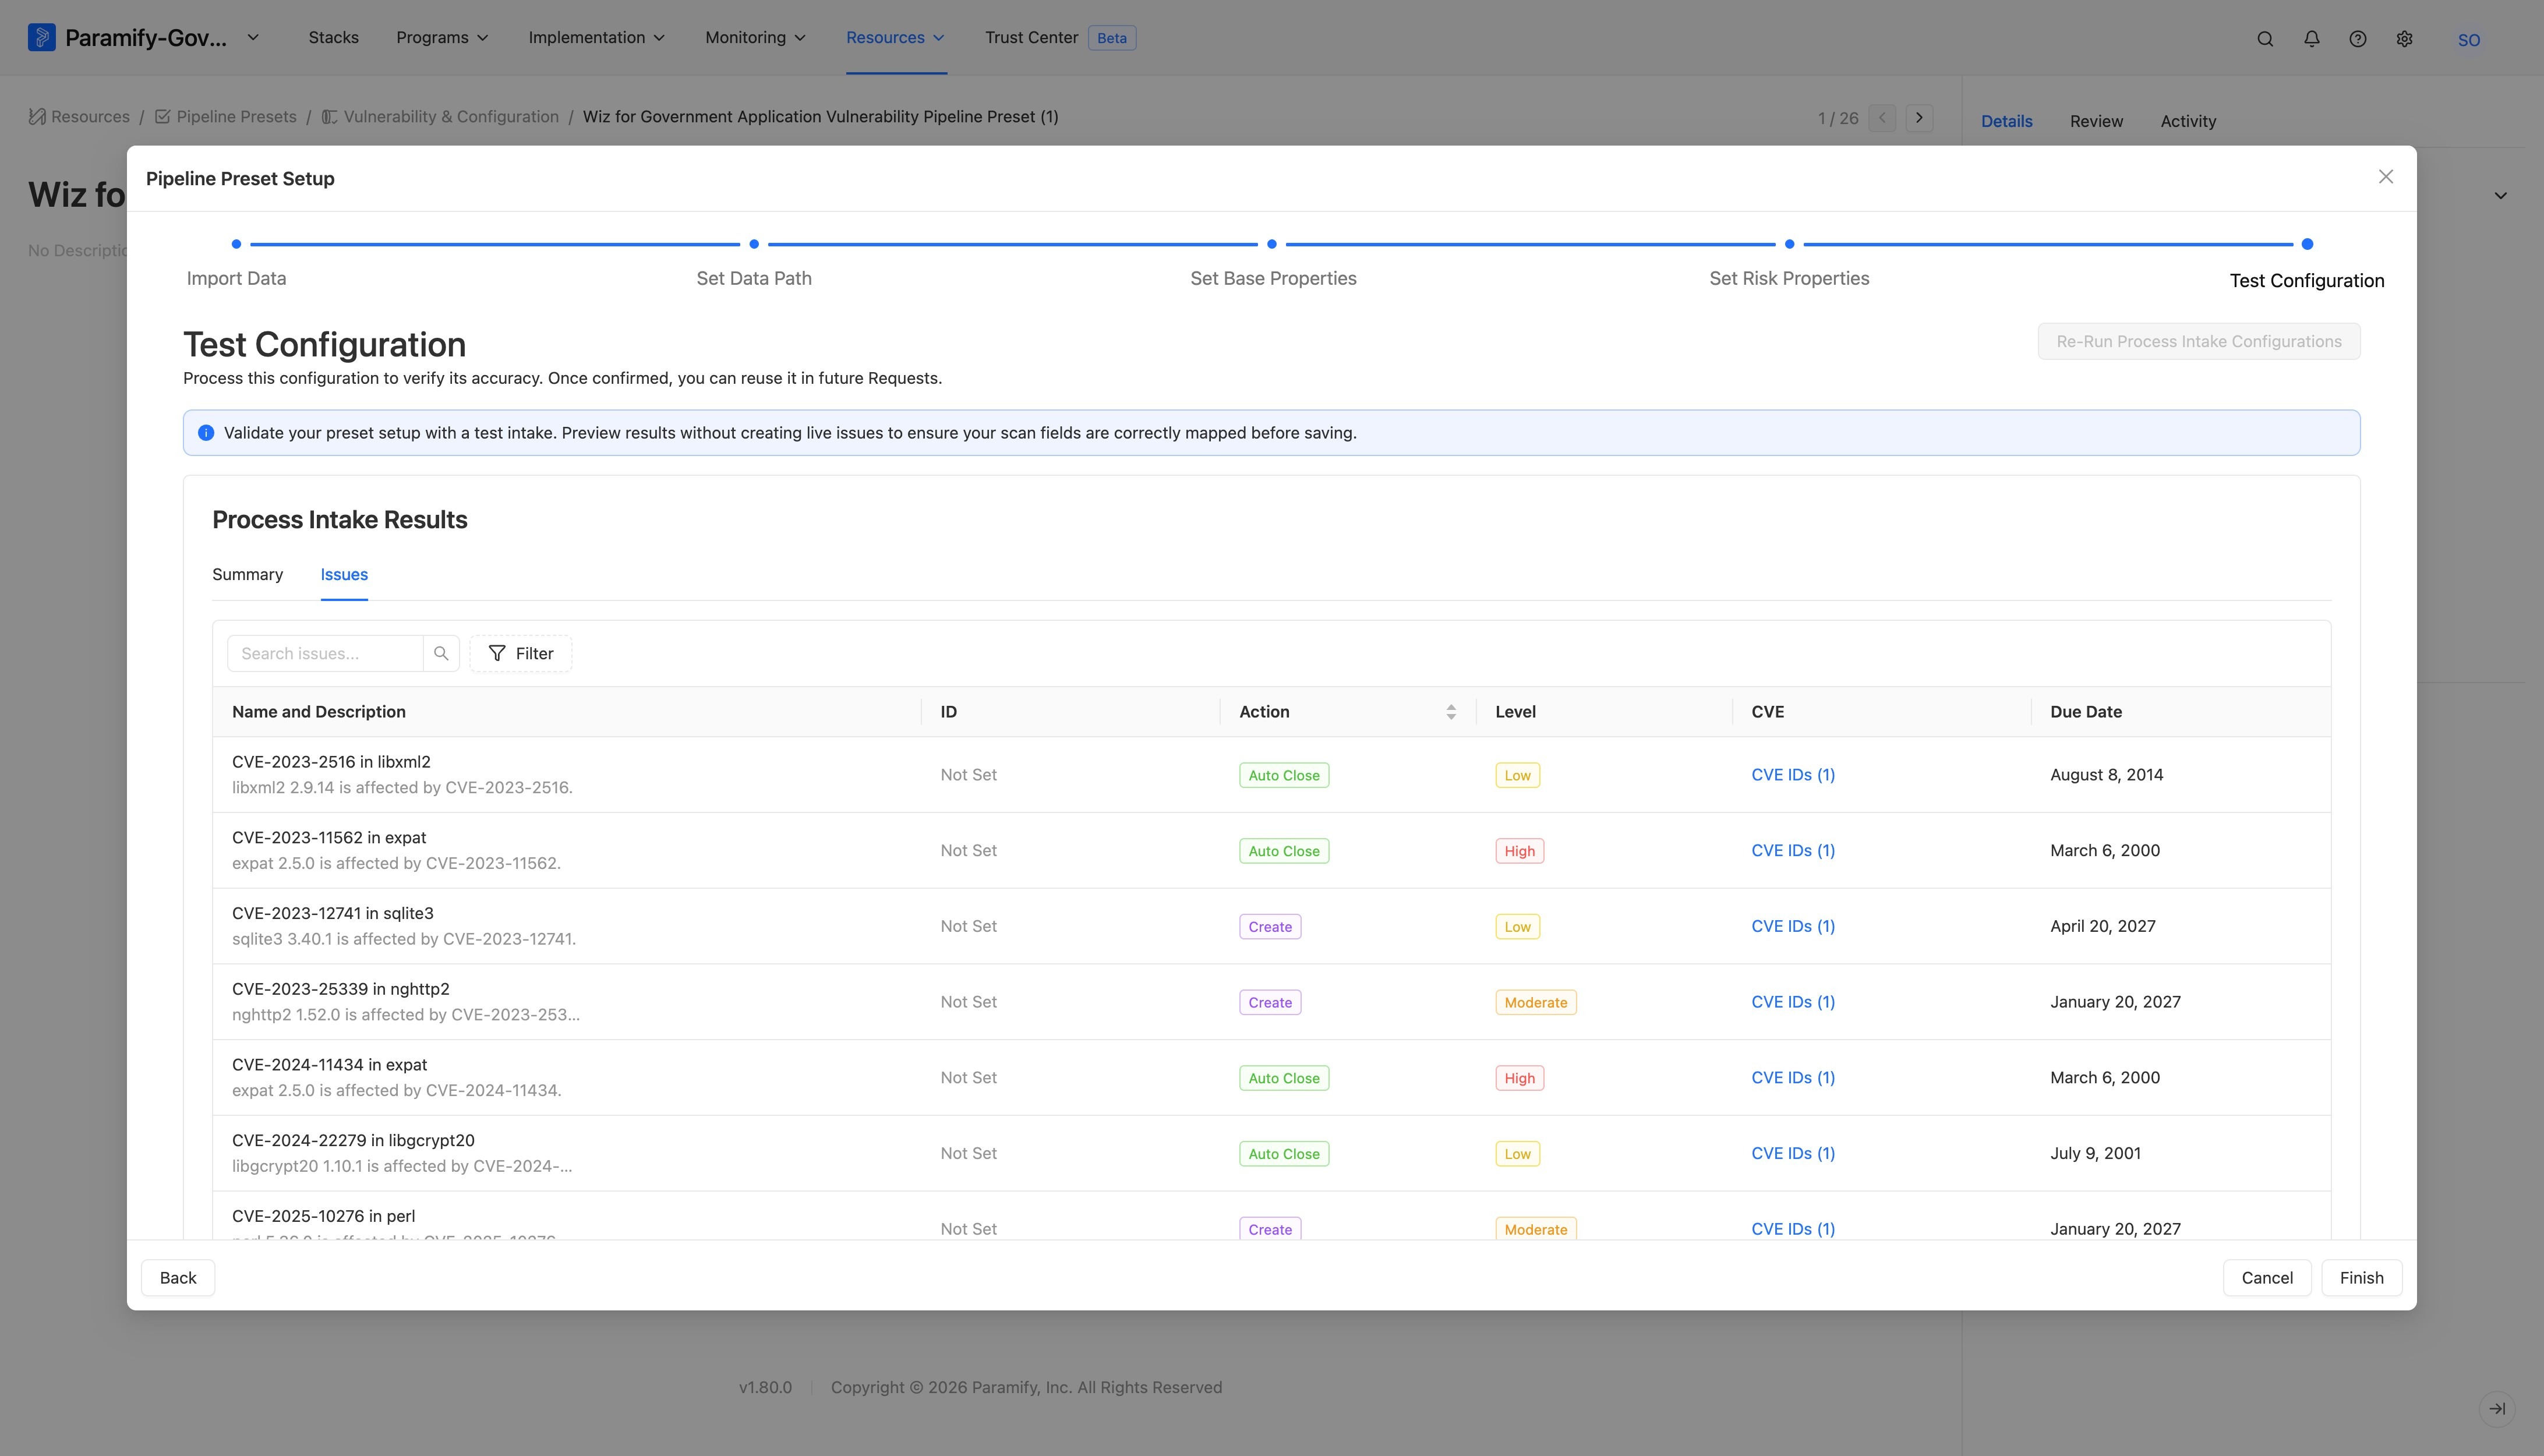
14. Review the processed Issues
Review the Issues created from the example scan file.
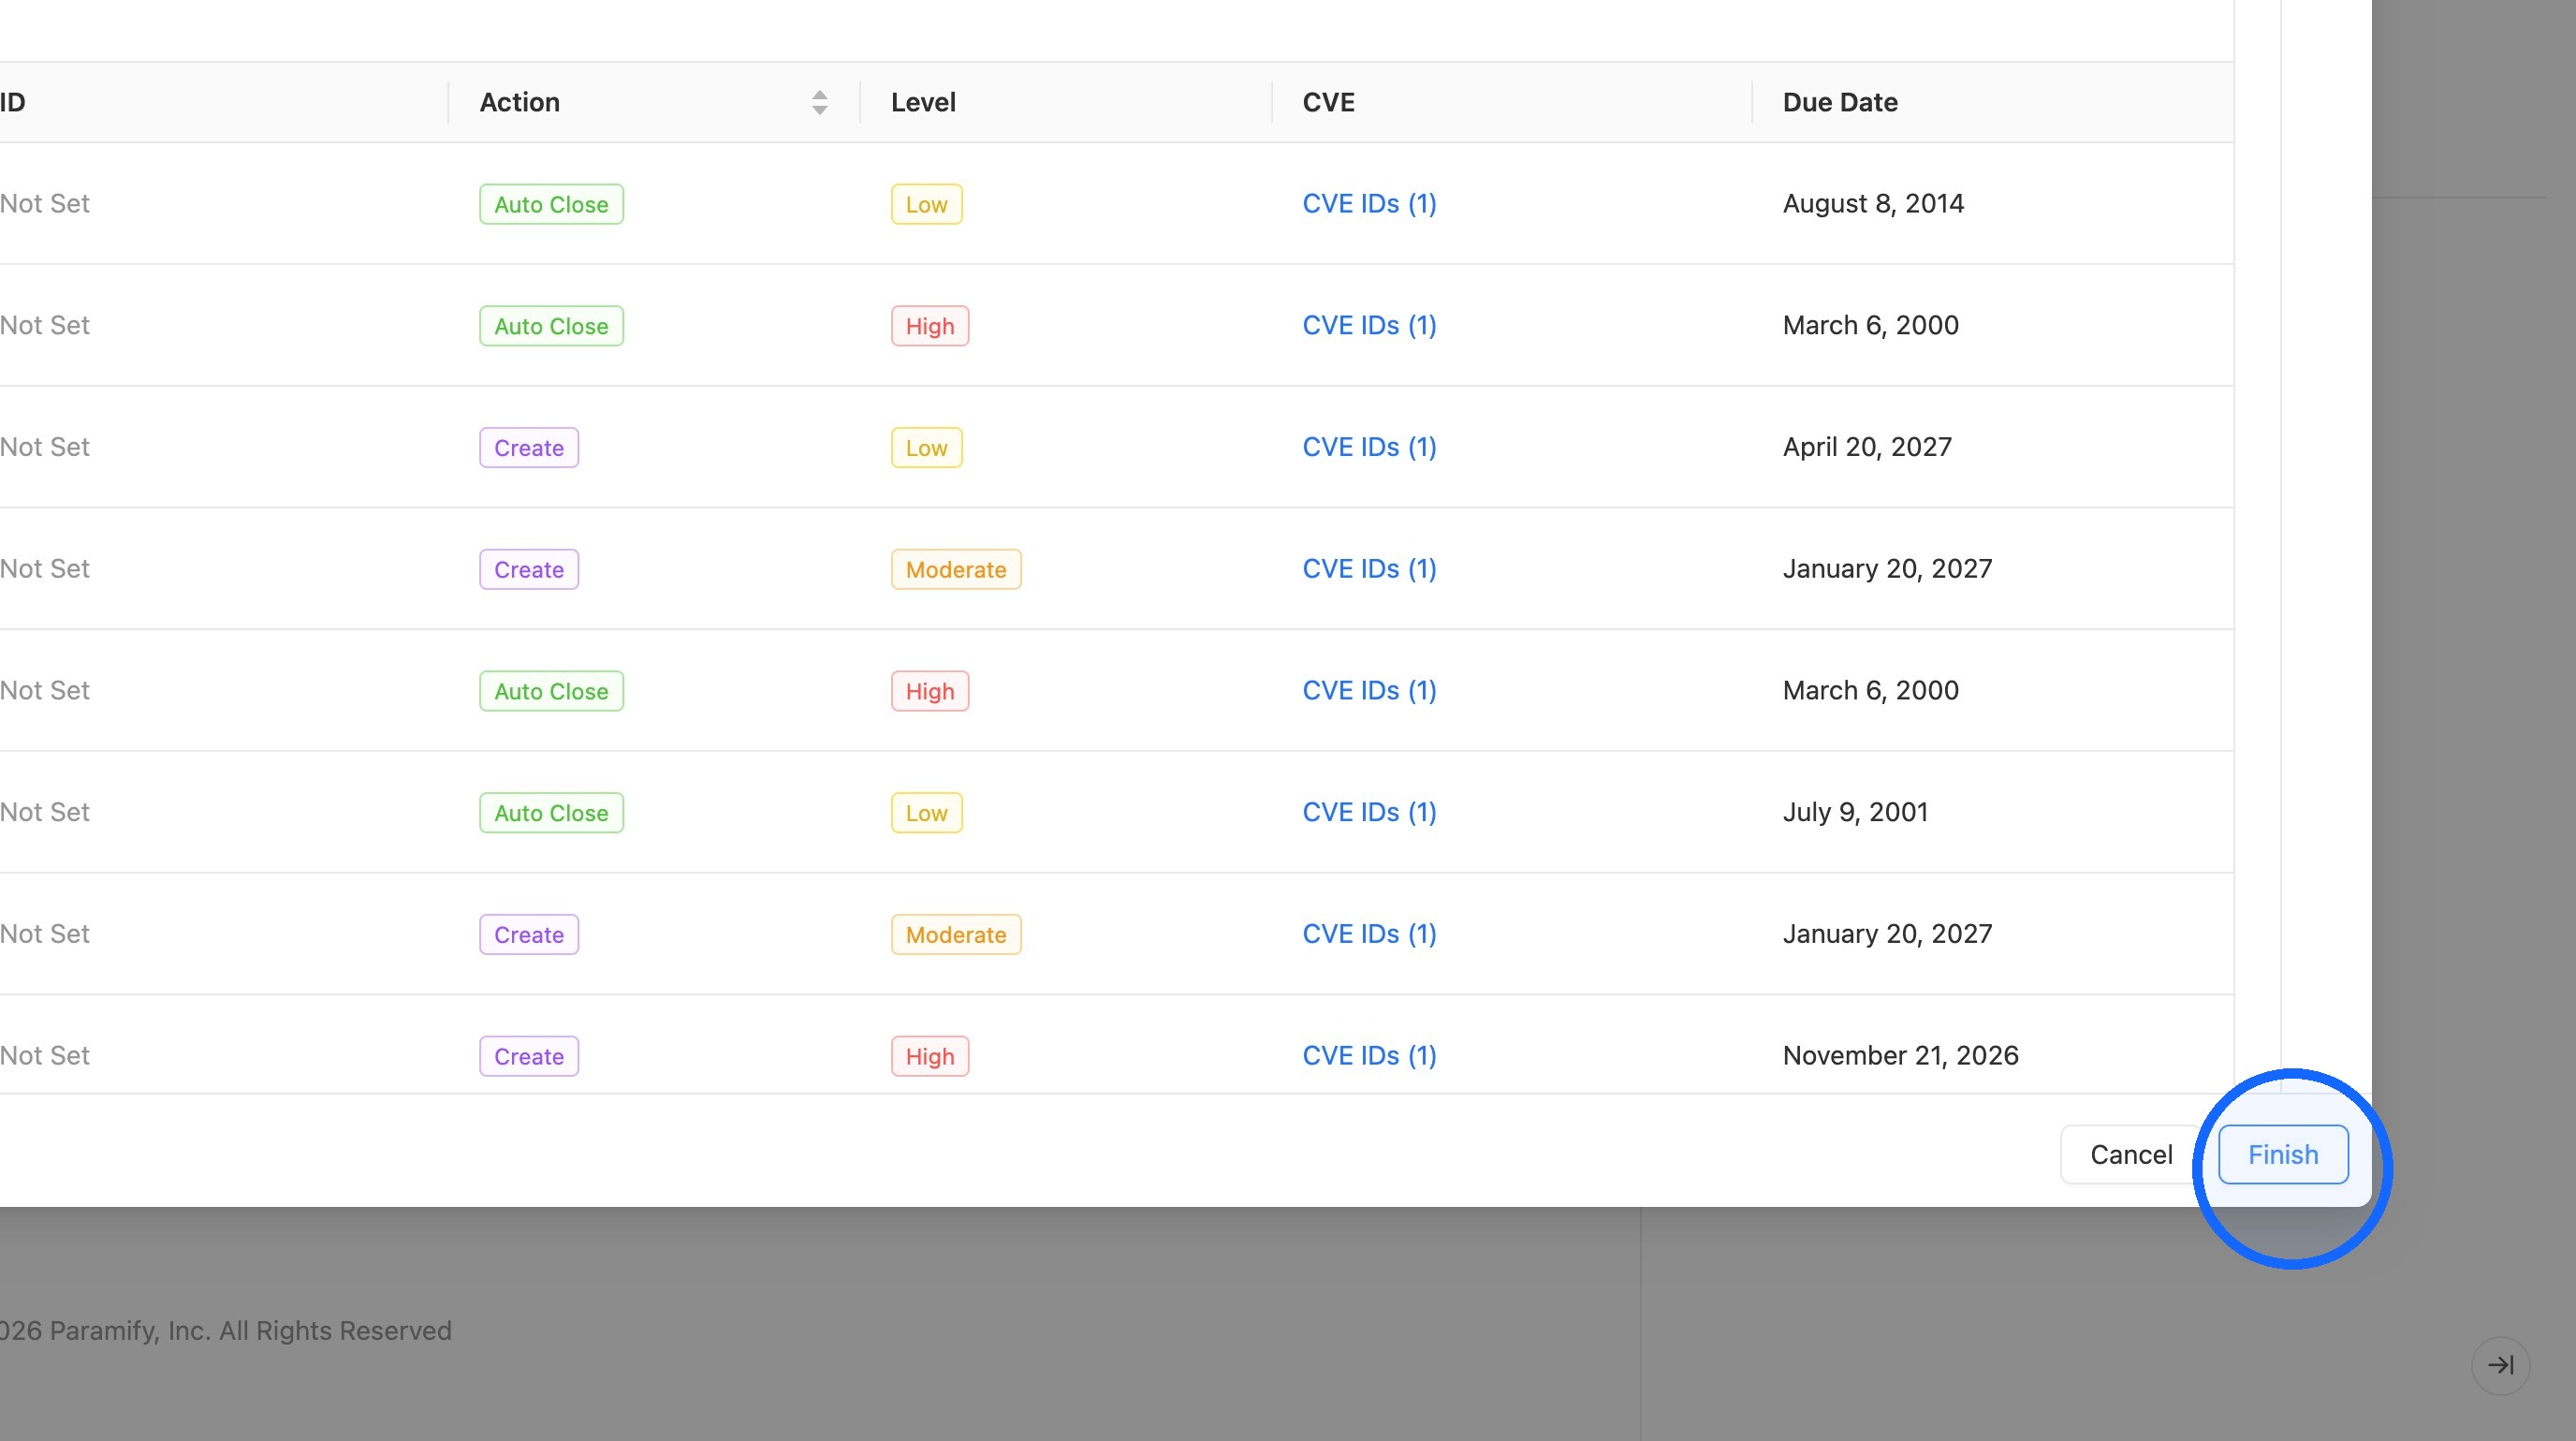
15. Finish the preset
If everything looks correct, click Finish.
Pipeline Creation
This section sets up the Pipeline itself. The Pipeline uses the previously created preset and tracks requests on the configured frequency. When a scan is processed here, Paramify creates and updates Issues based on the scan results.
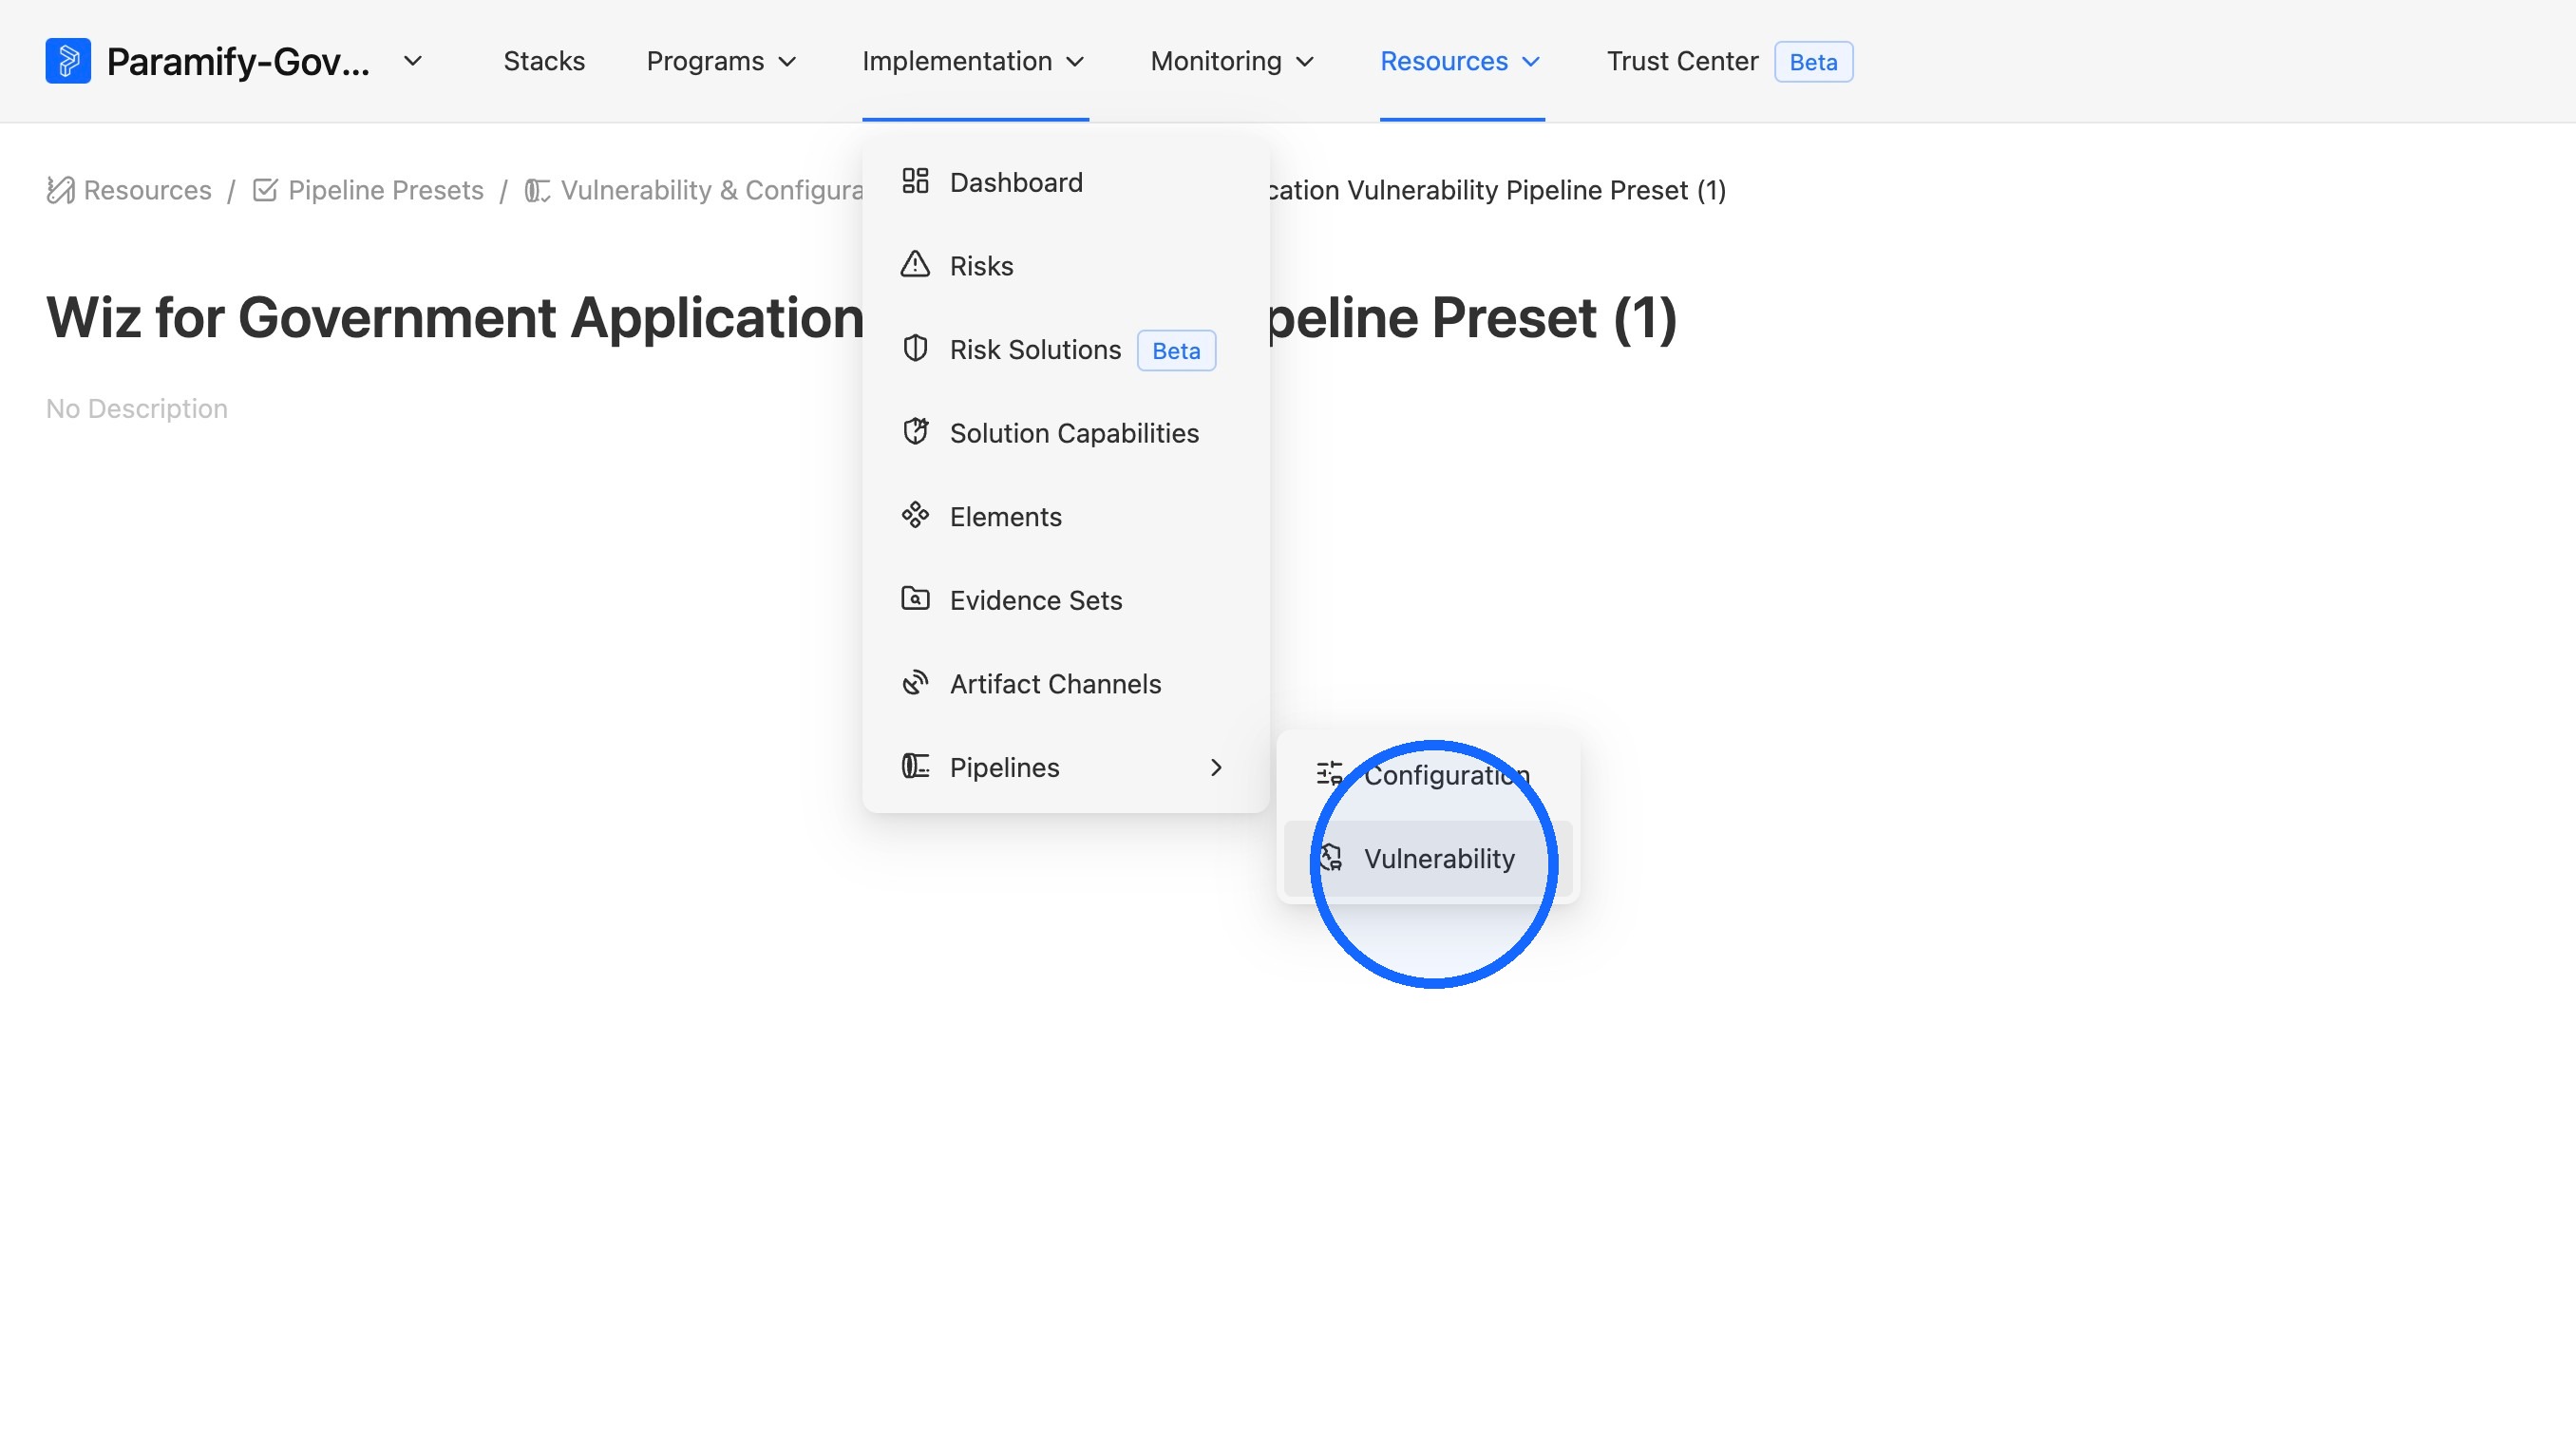
16. Open Vulnerability Pipelines
Select Implementation, then Pipelines, then Vulnerability.
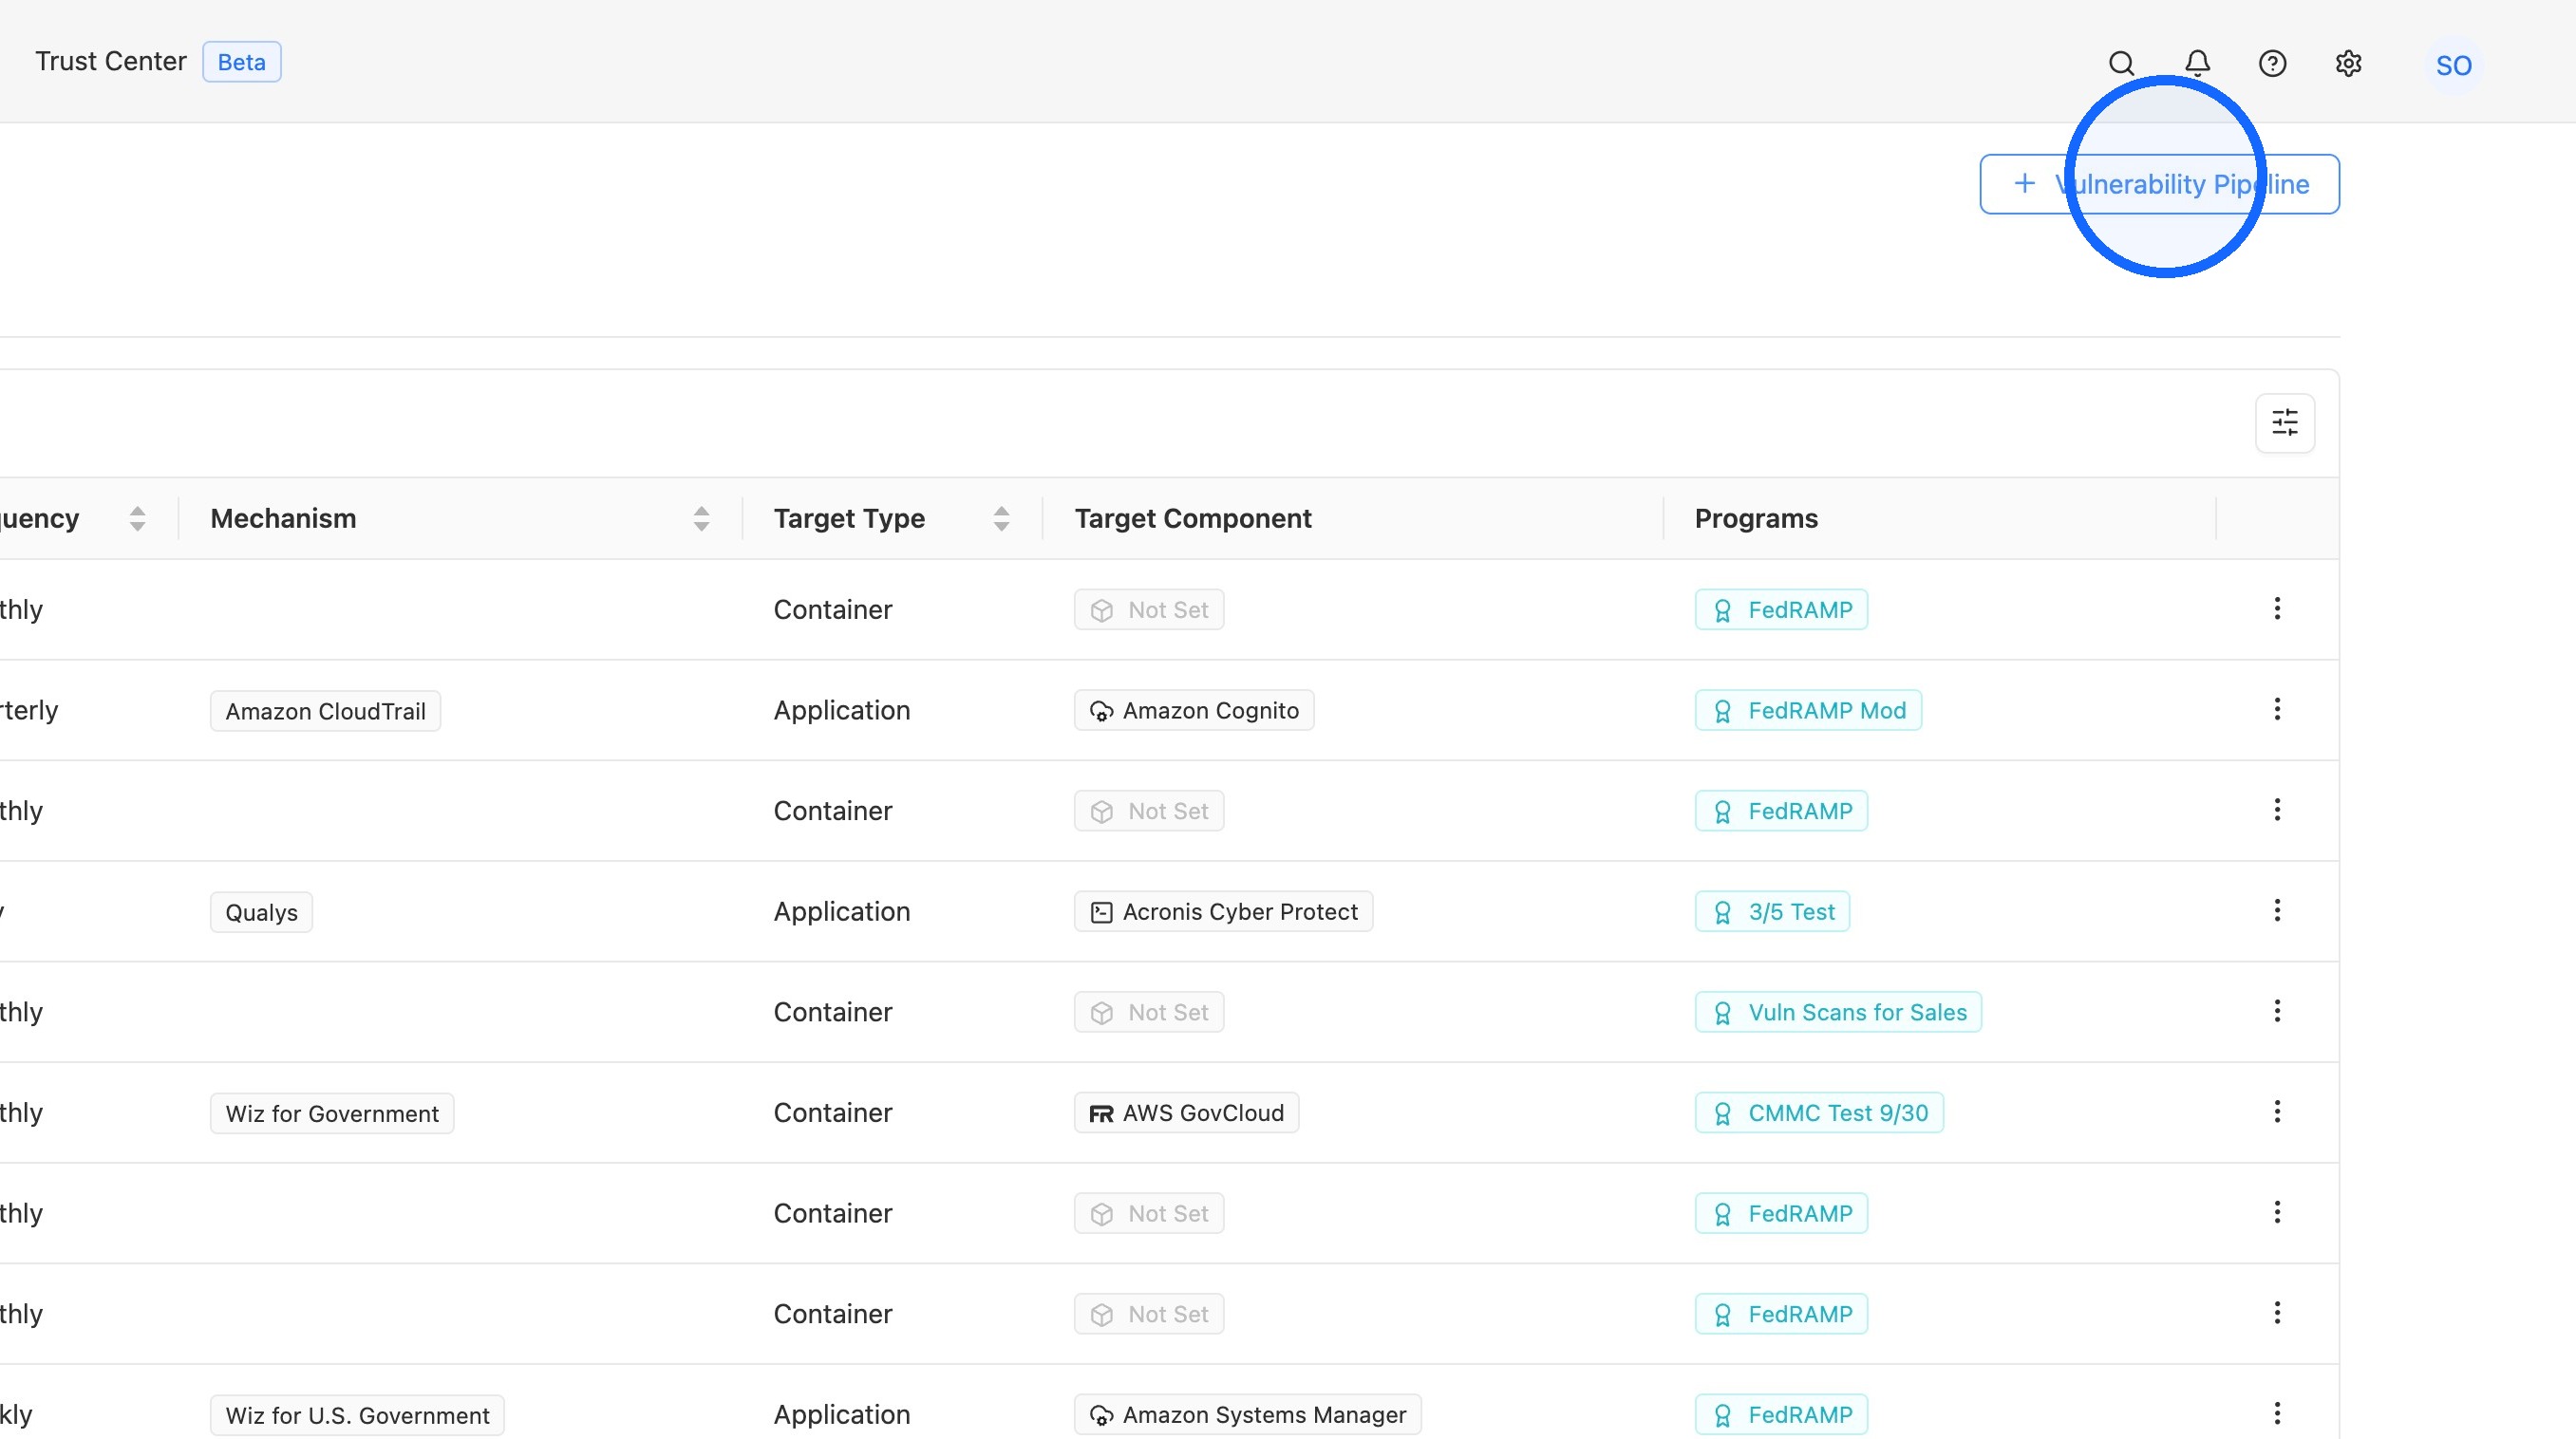
17. Add a Vulnerability Pipeline
Click + Vulnerability Pipeline.
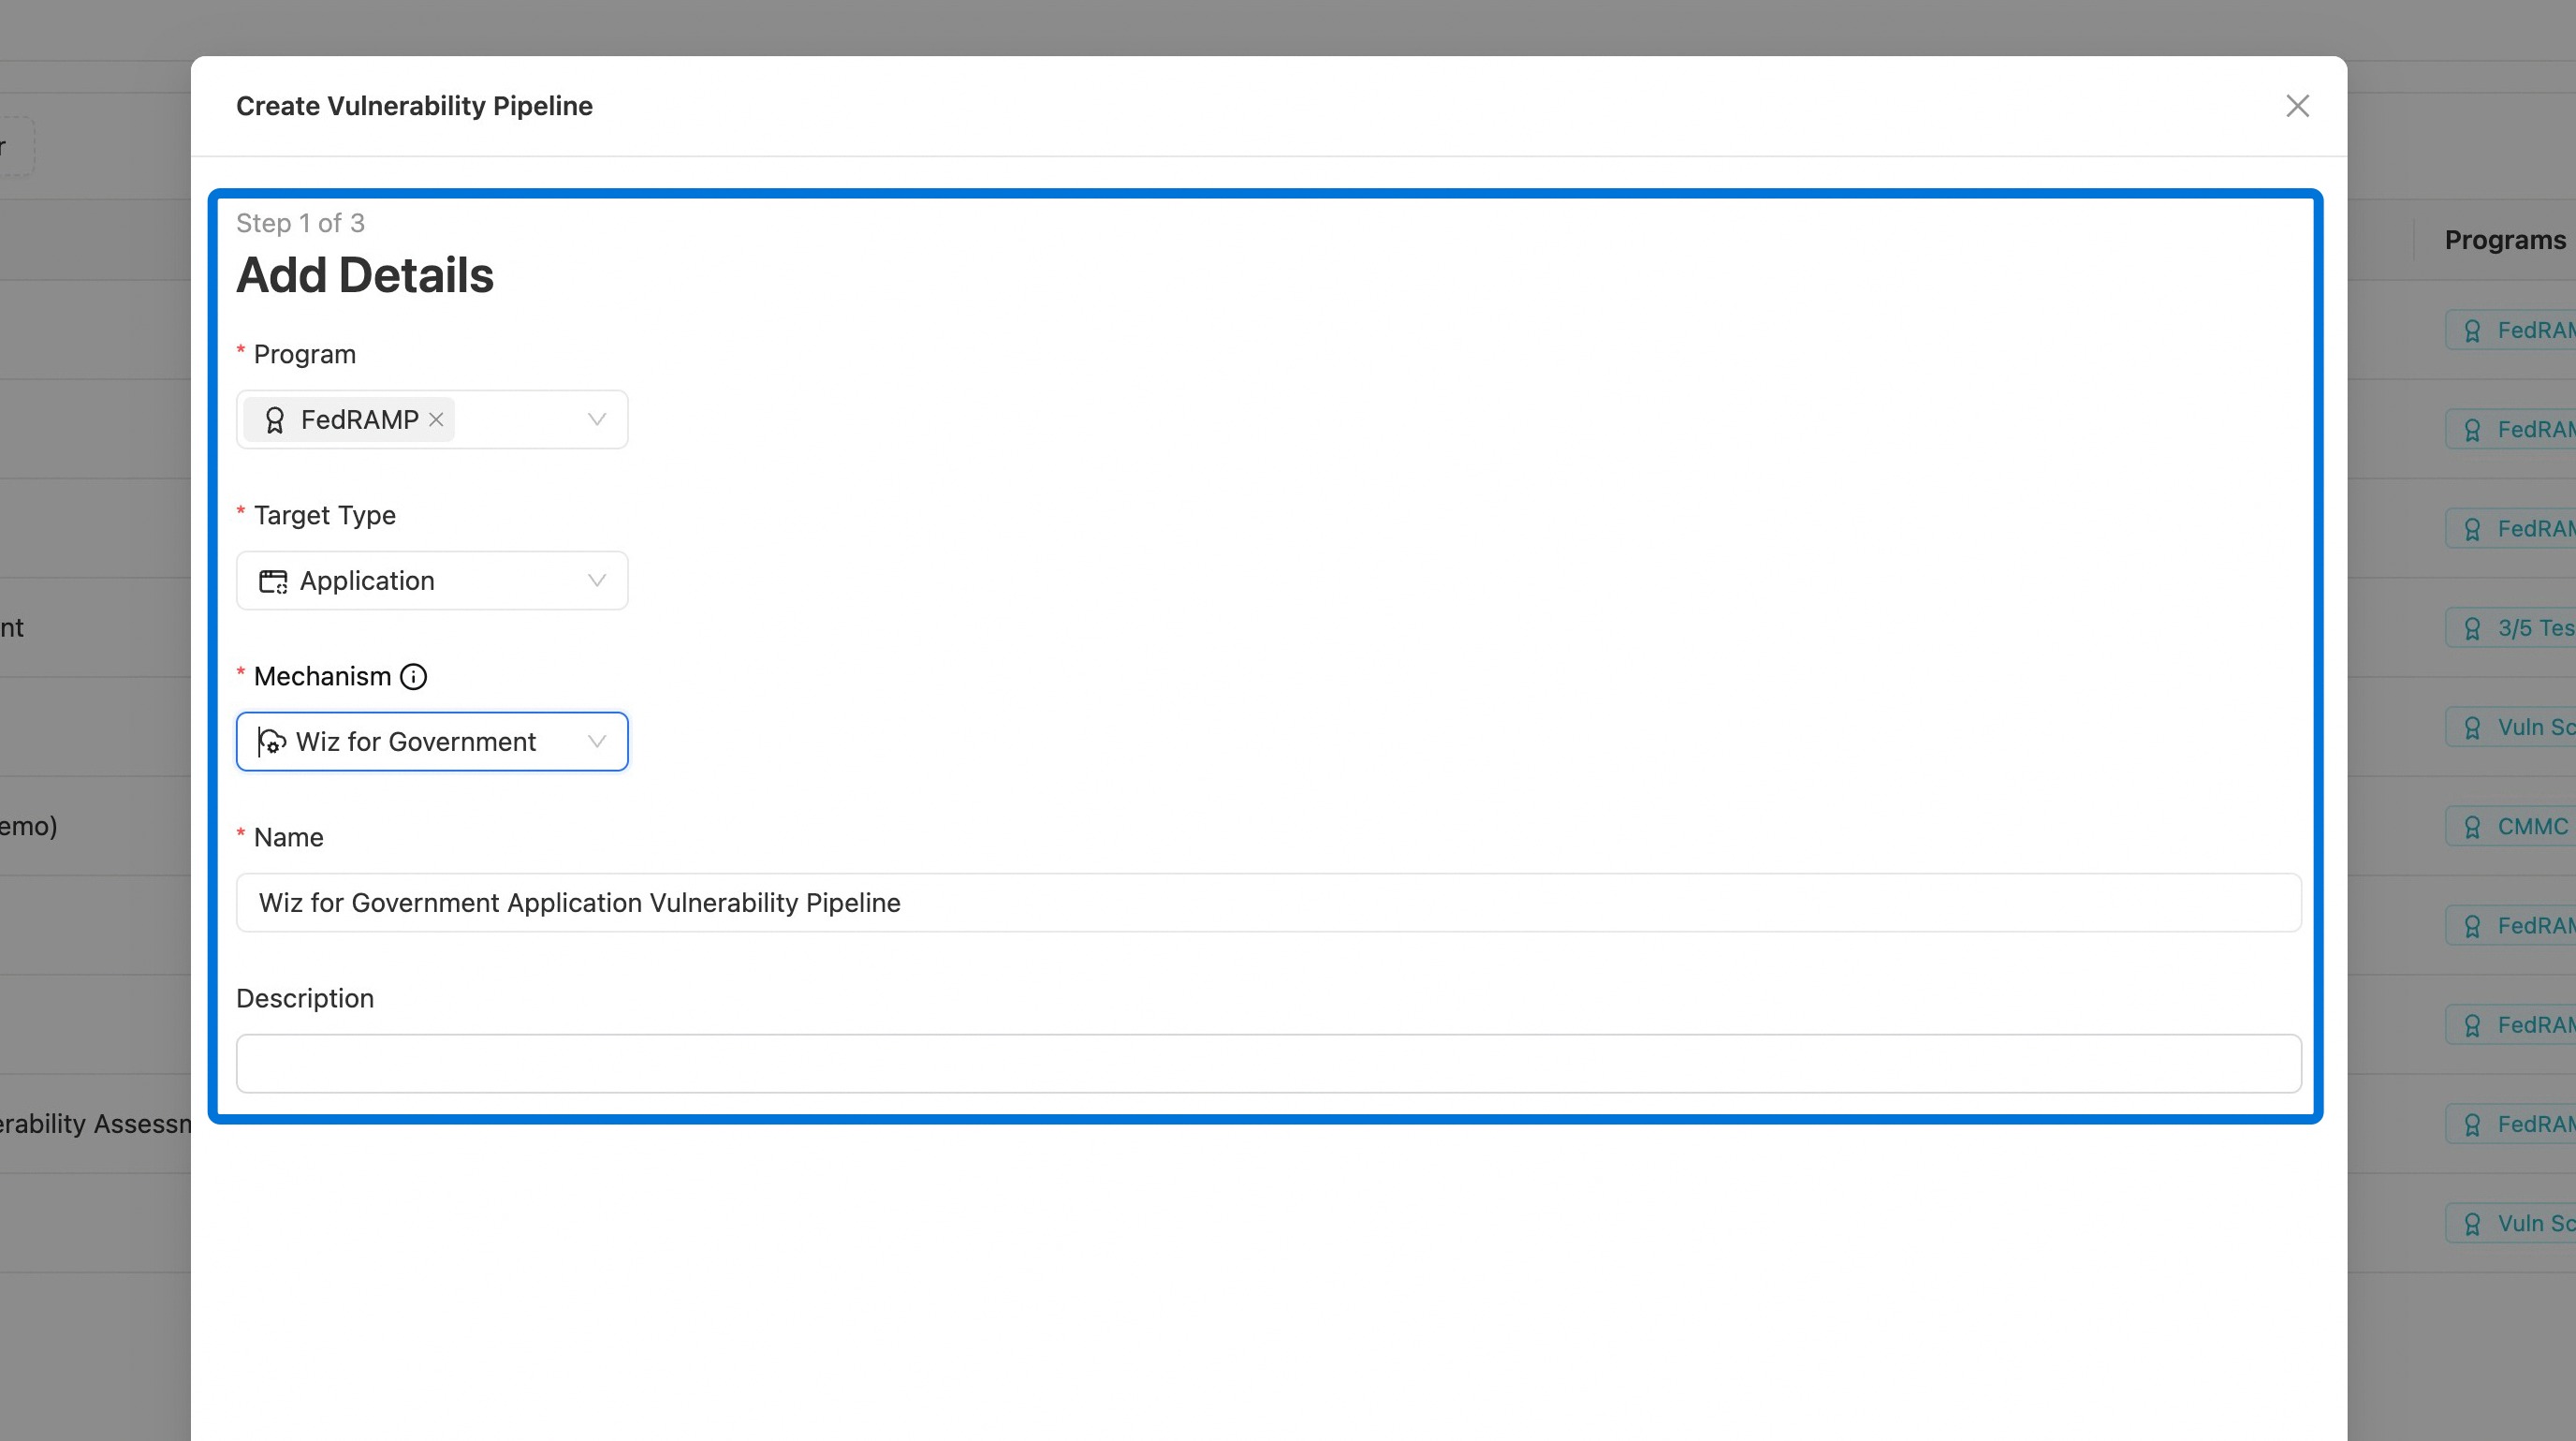
18. Enter the Pipeline details
Fill in the initial details for the Vulnerability Pipeline, then click Next.
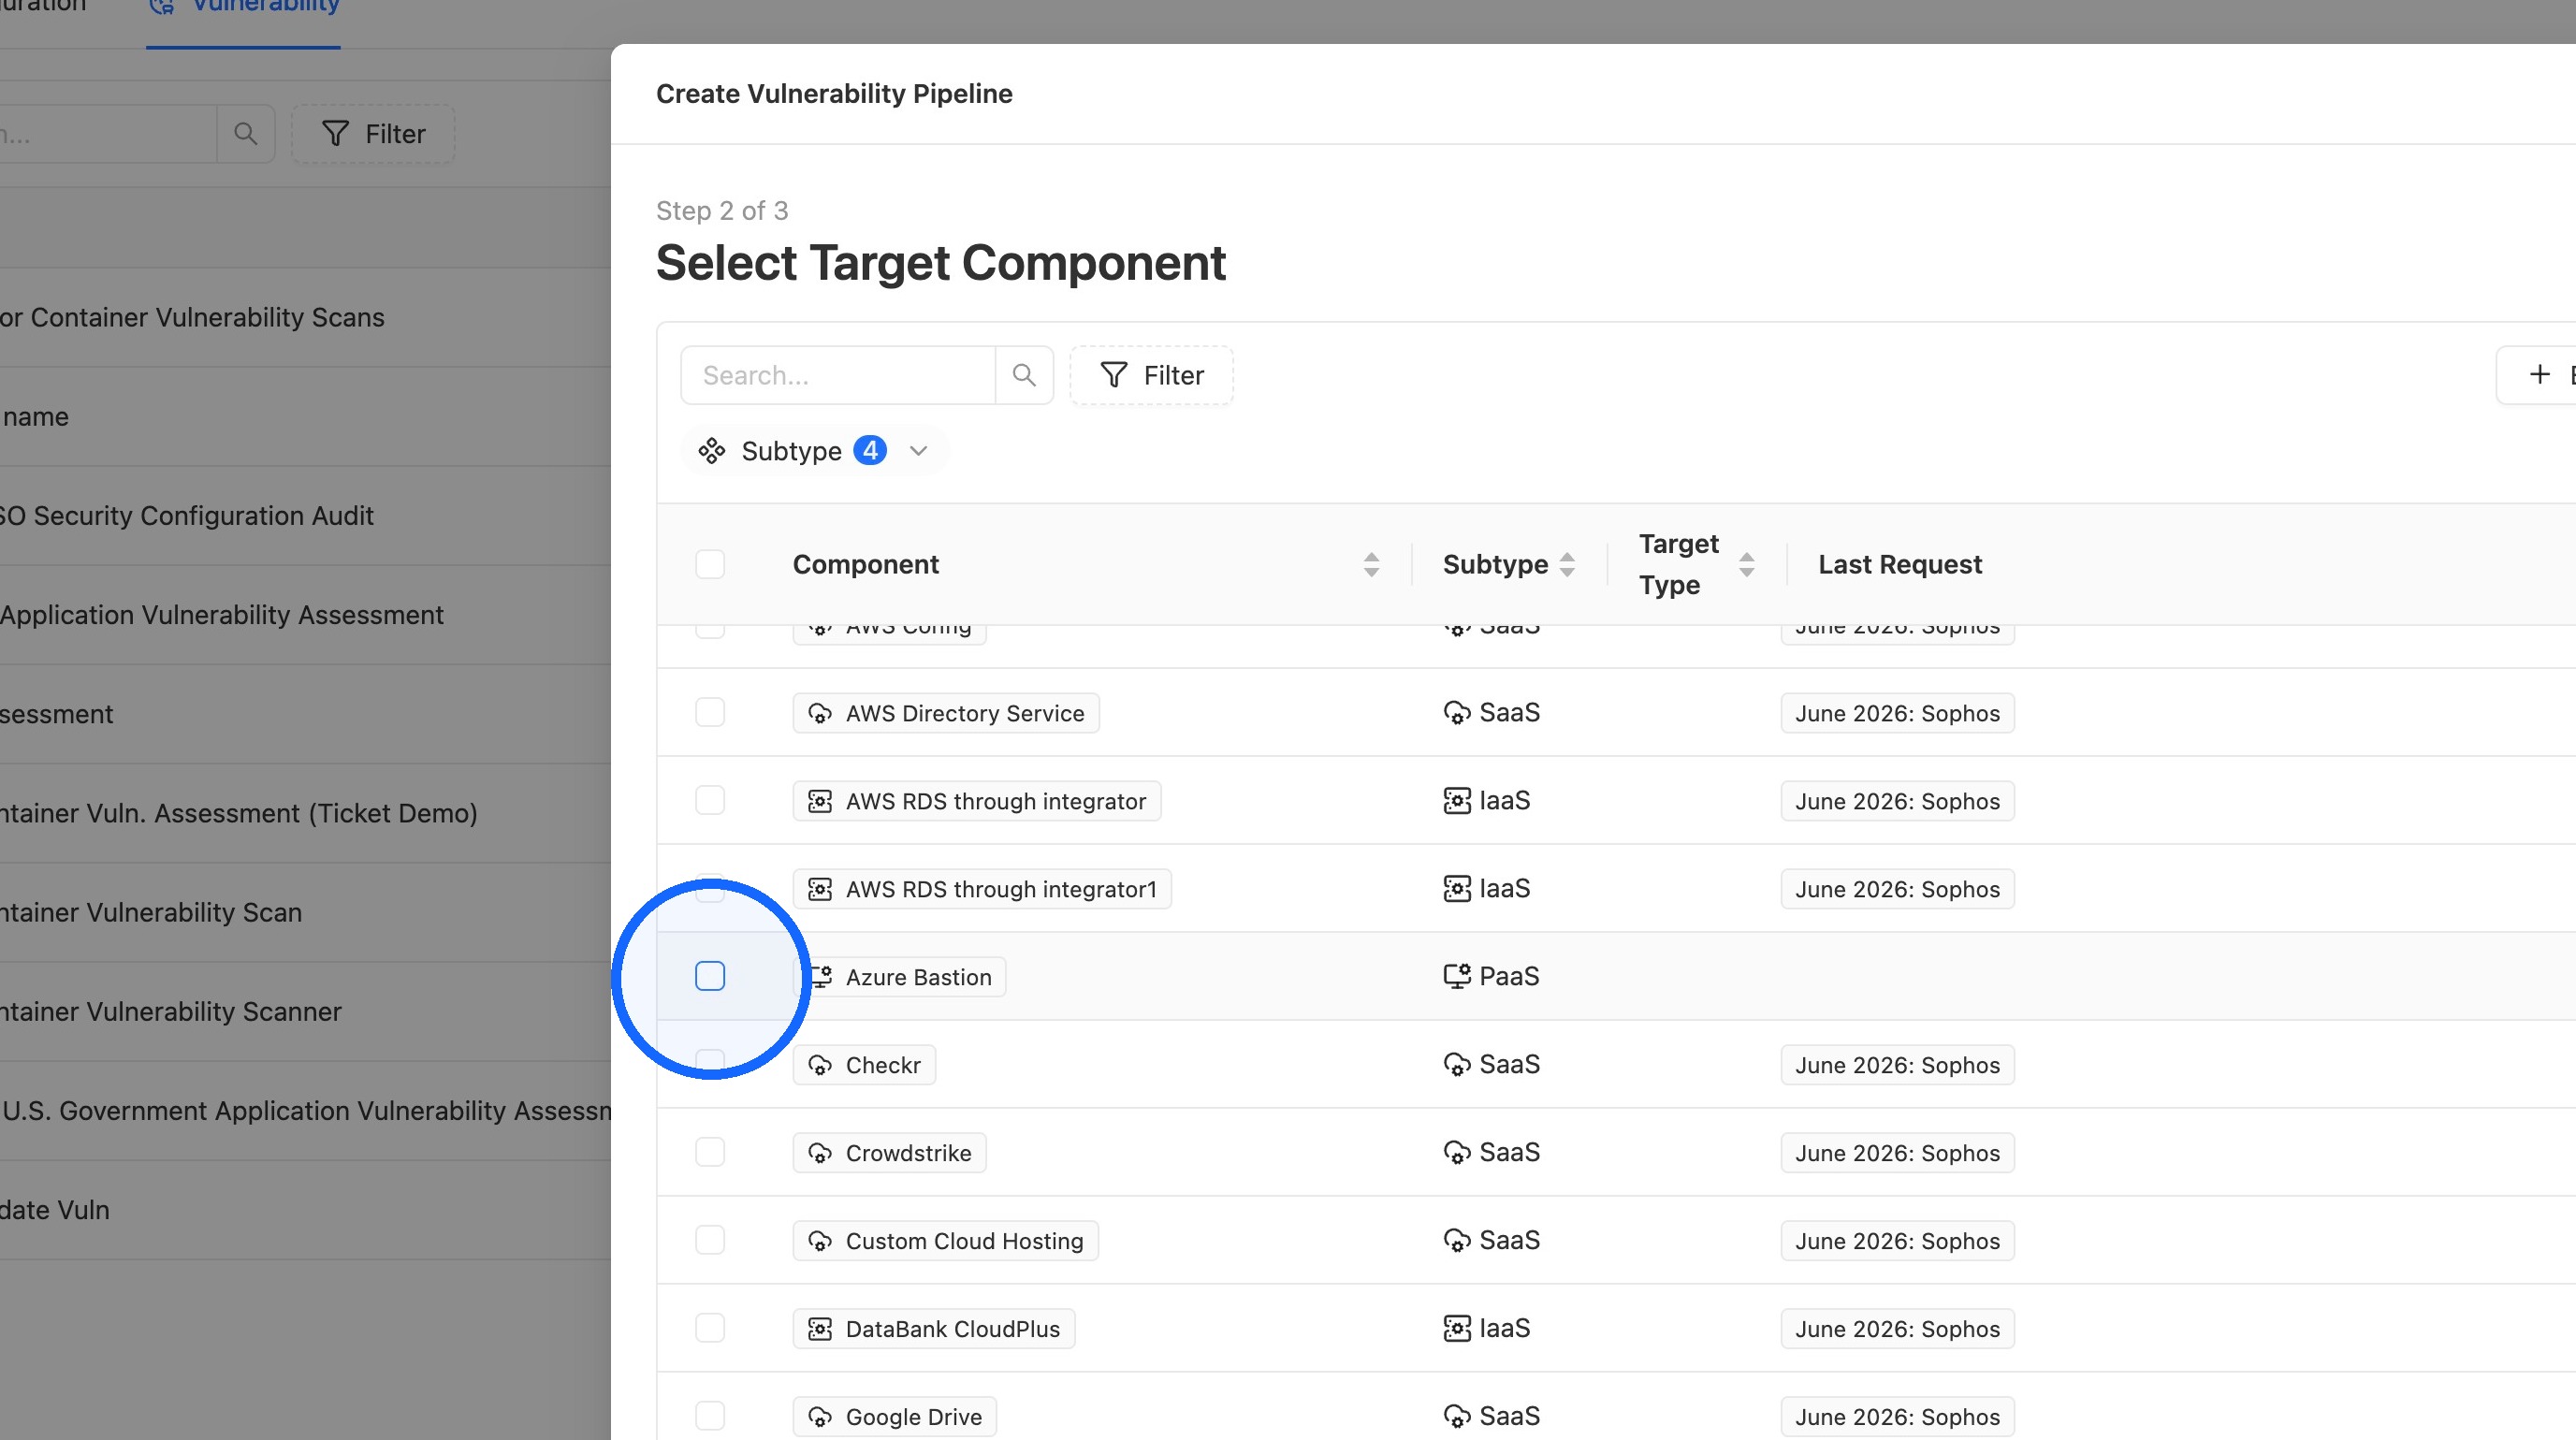
19. Select the target components
Select the Target Component(s), then click Next.
20. Set the frequency
Select the Frequency, then click Save.
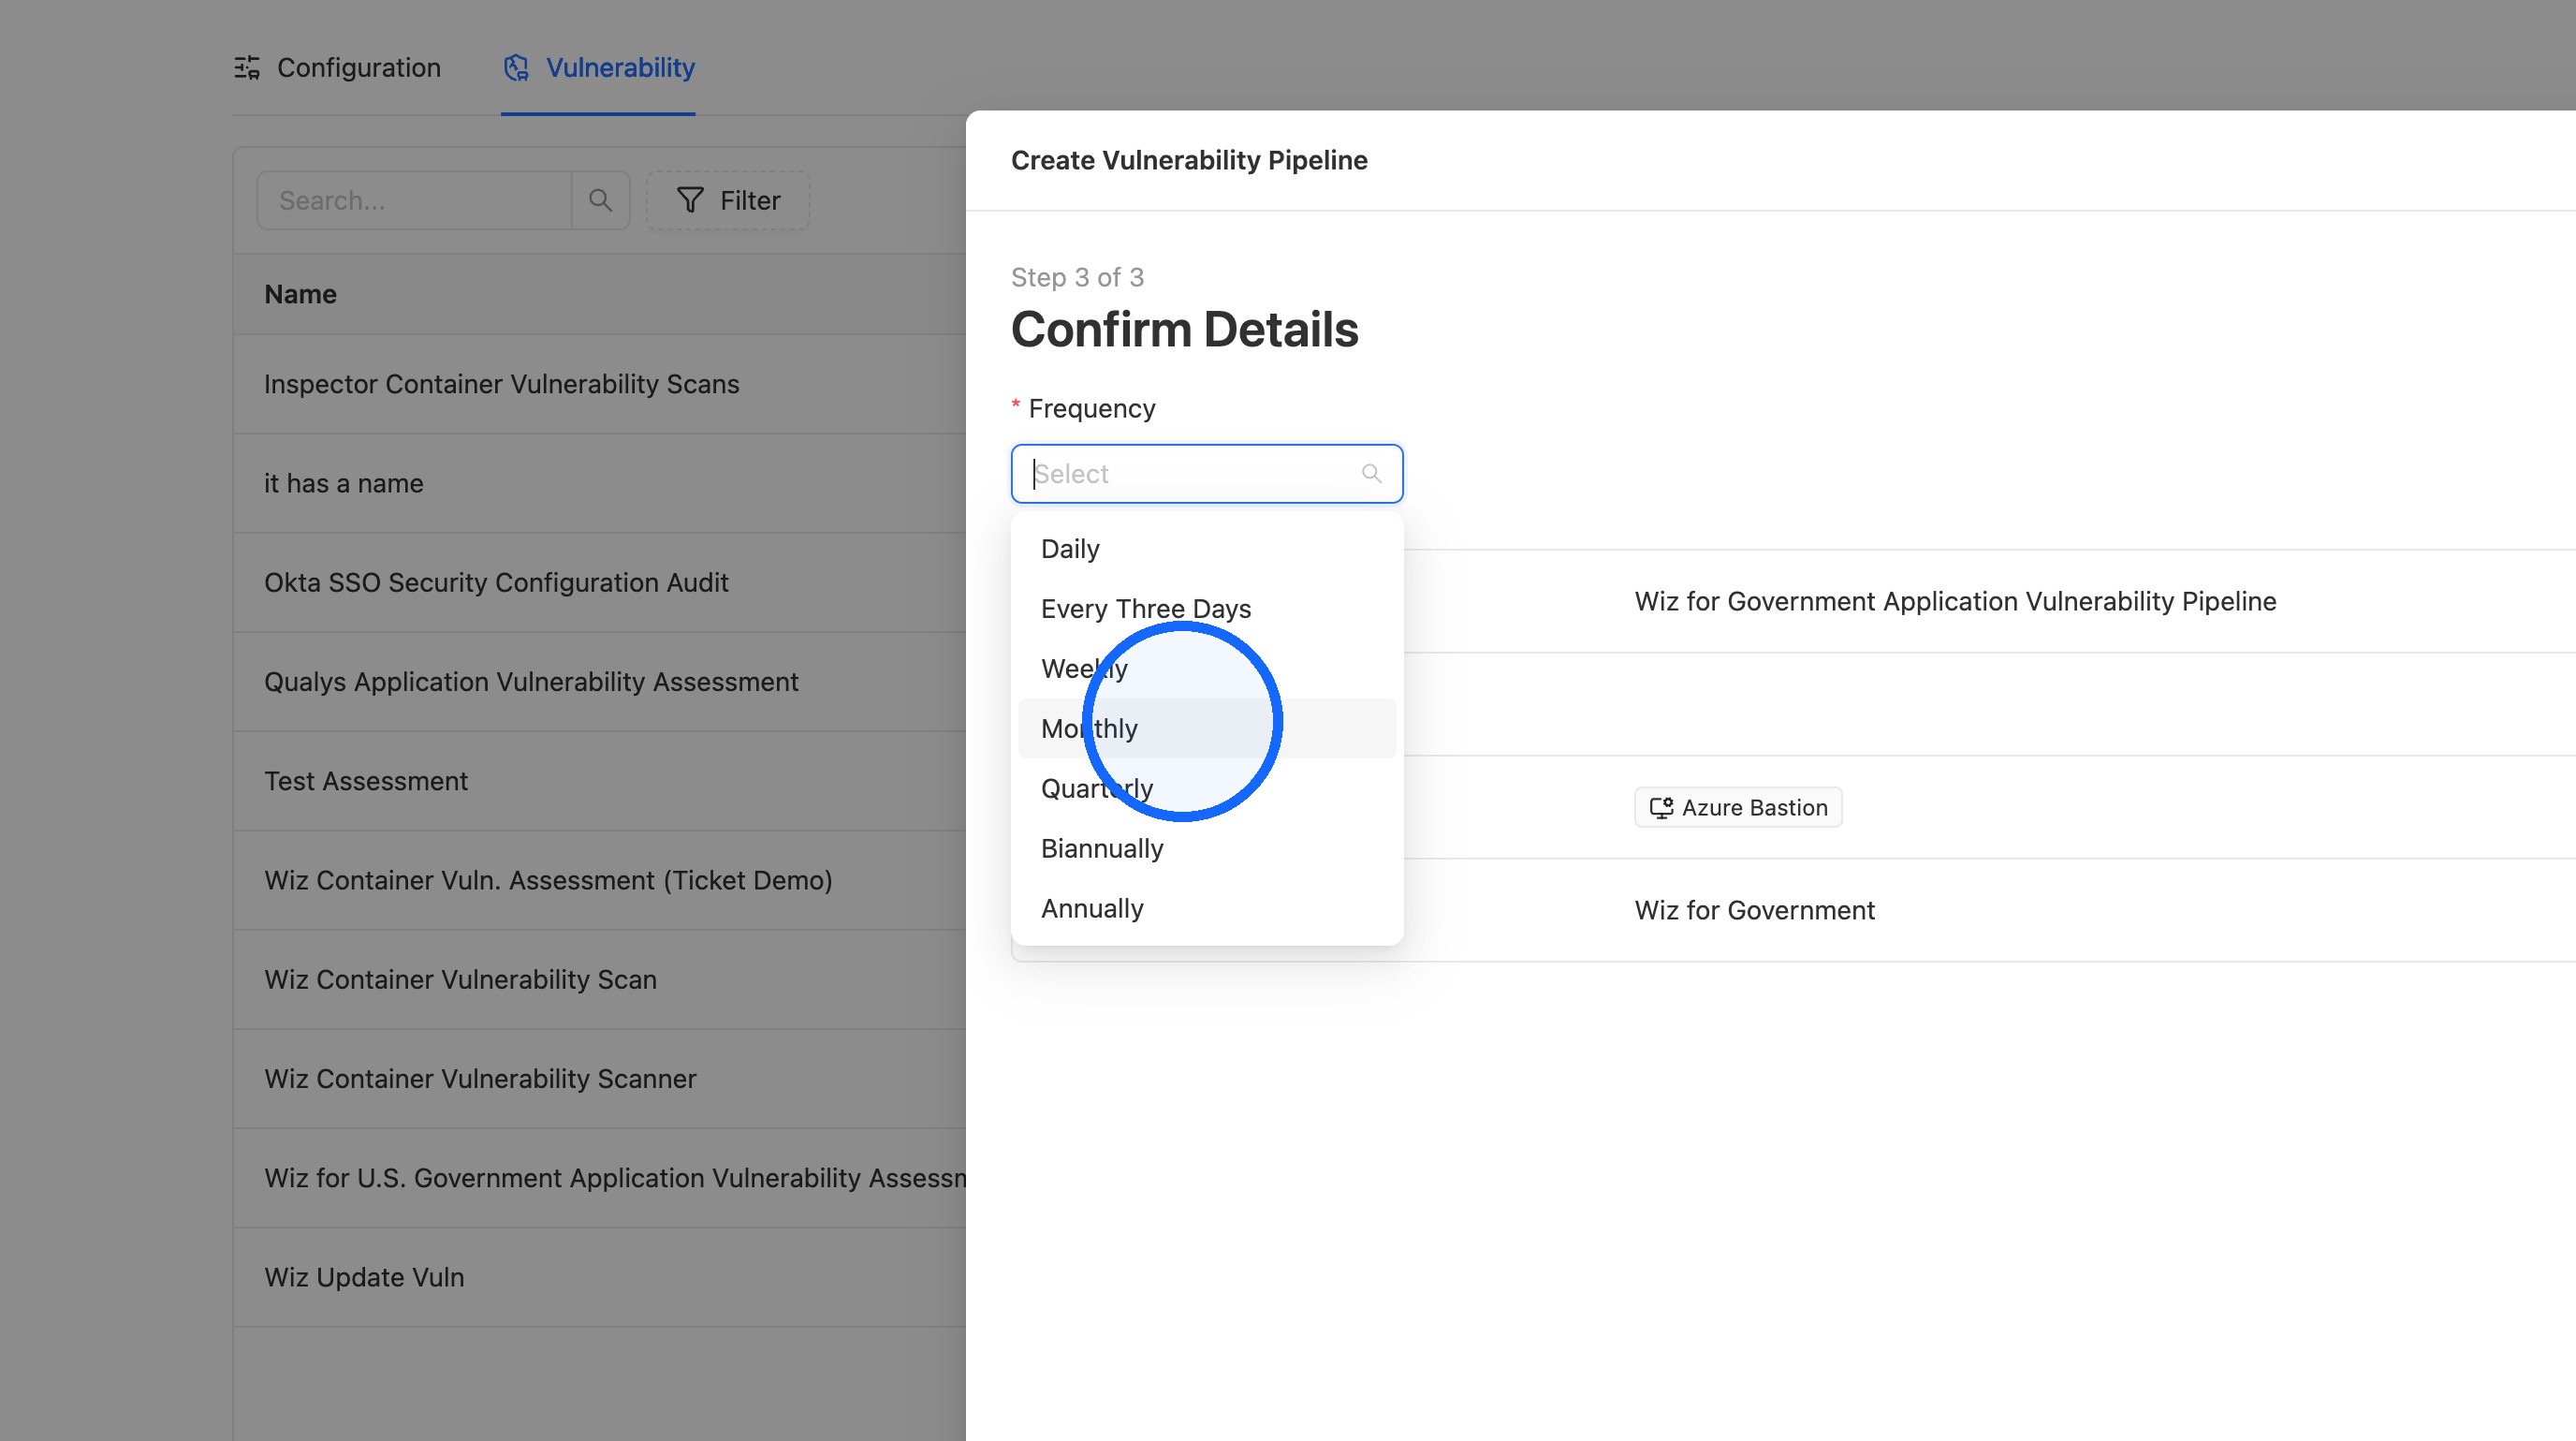
21. Open the new Pipeline
Open the newly created Vulnerability Pipeline.
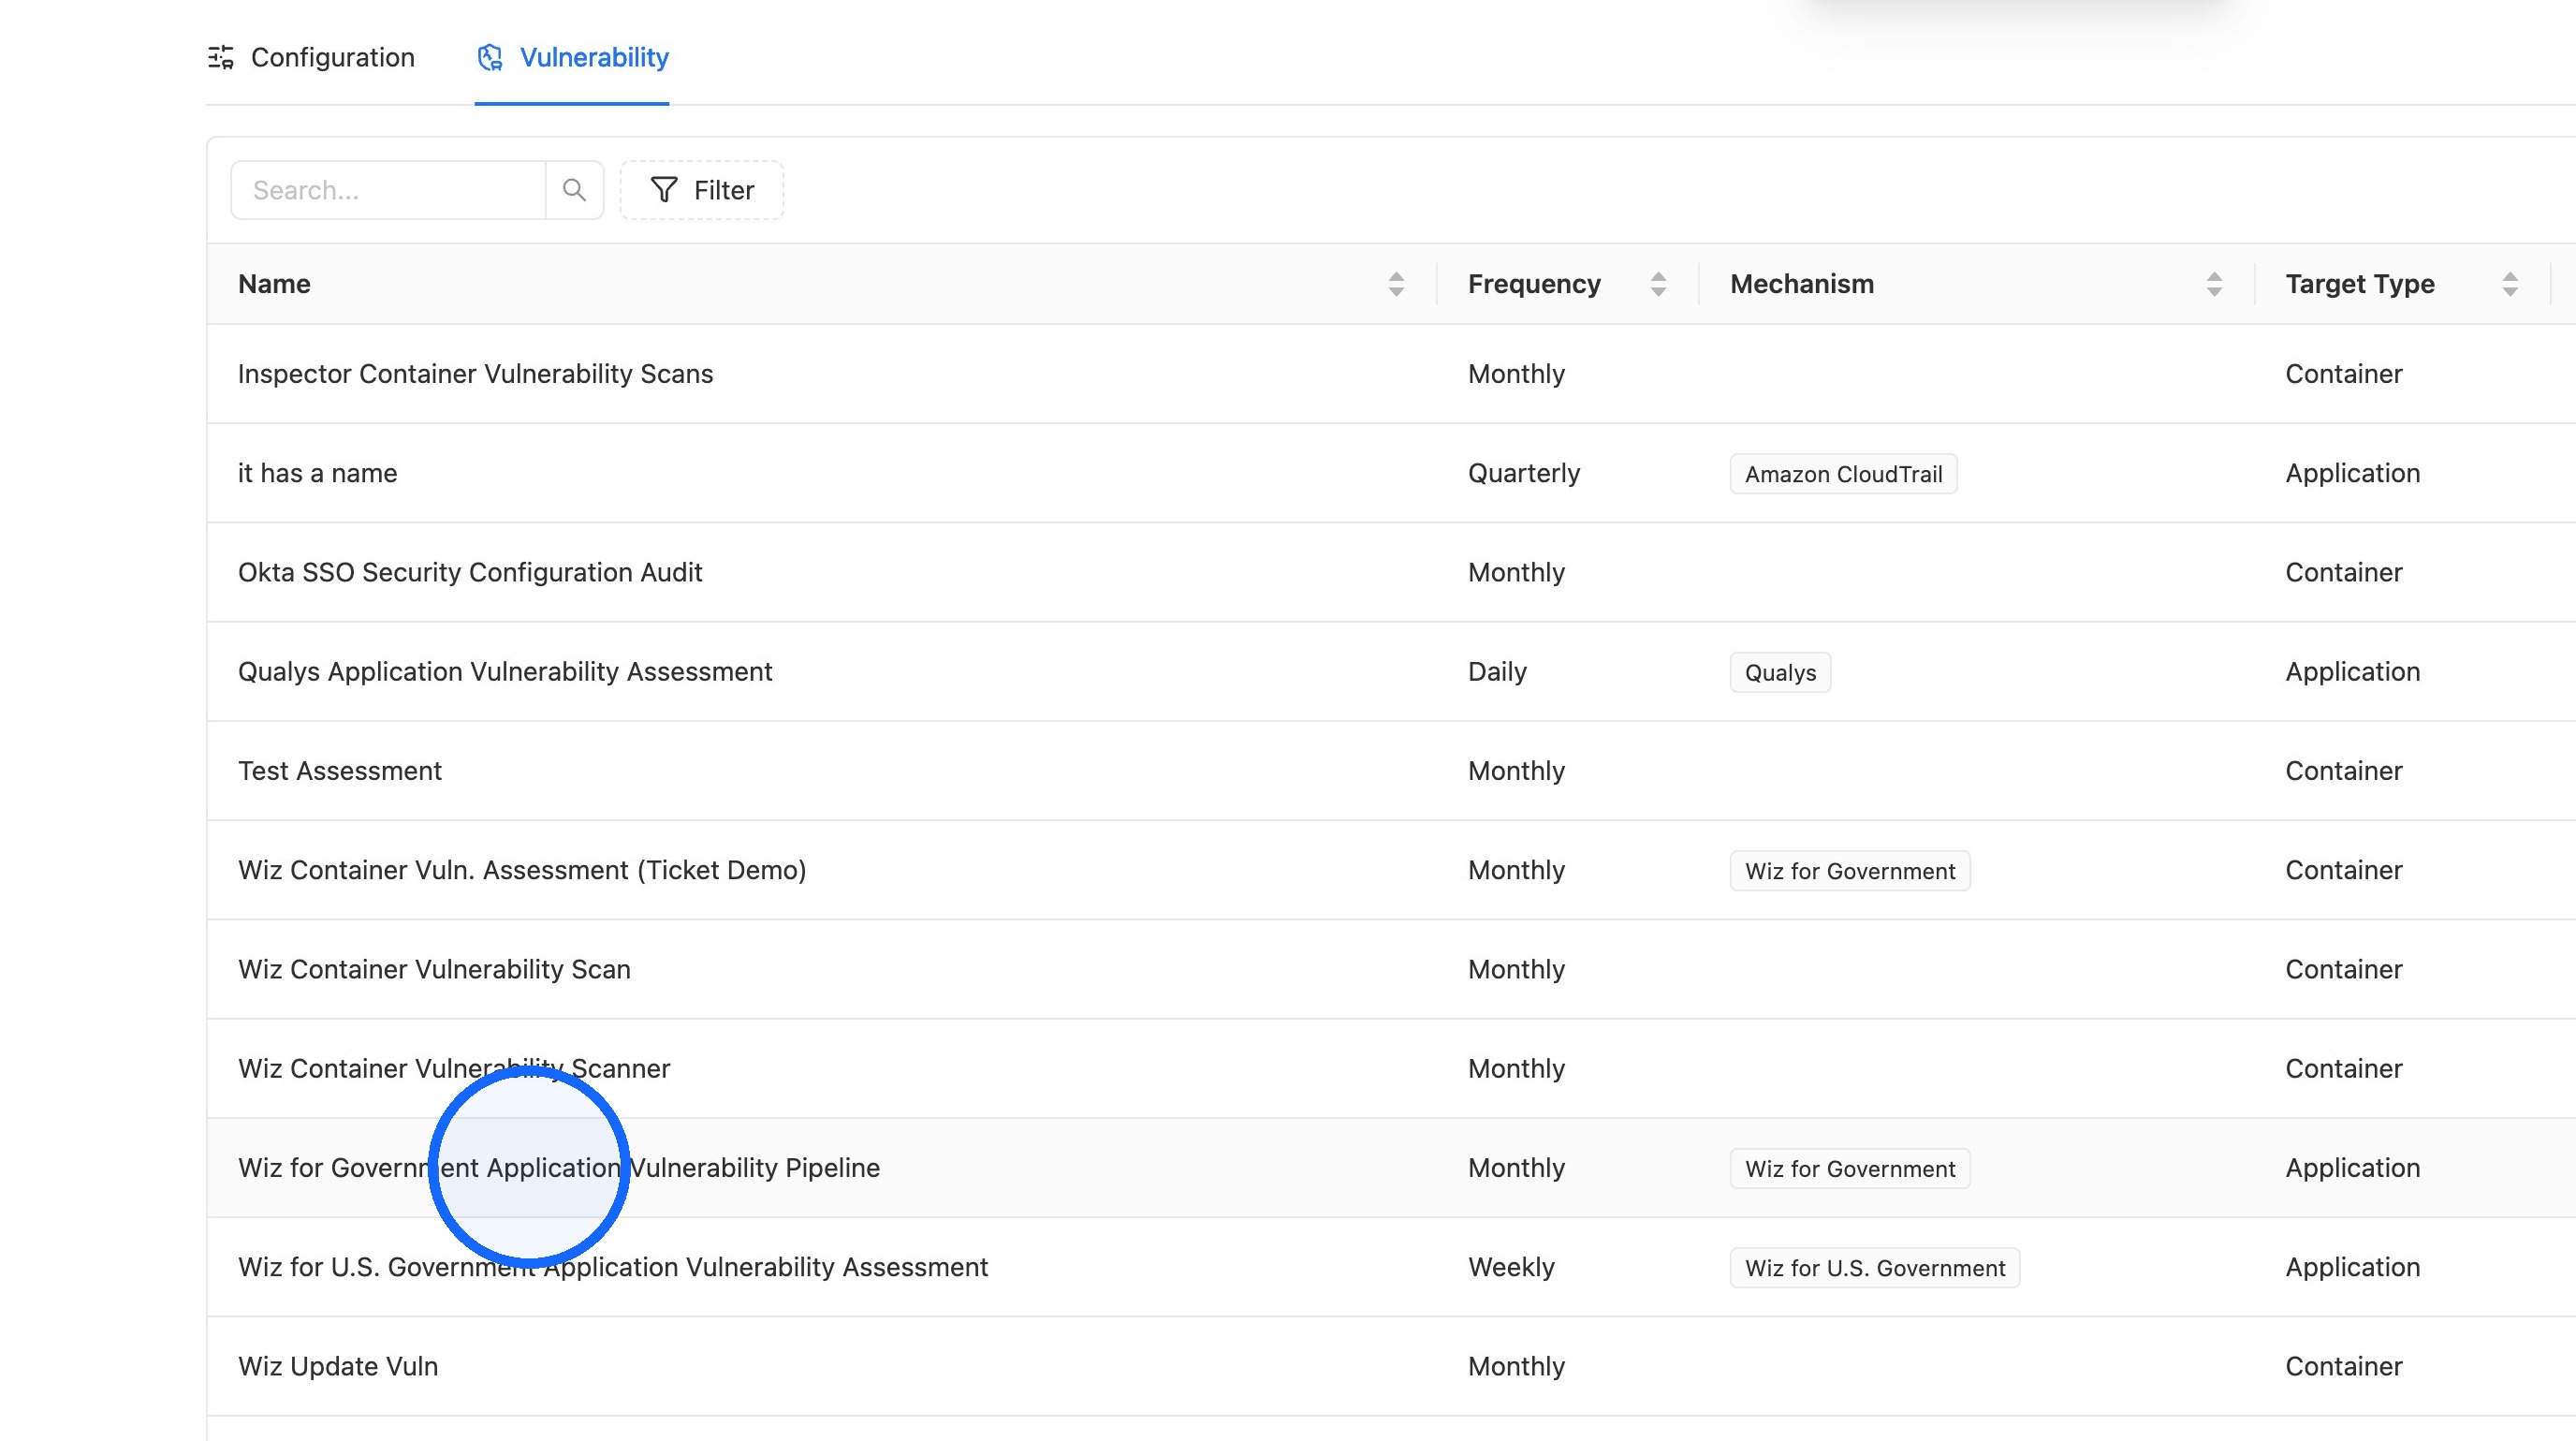
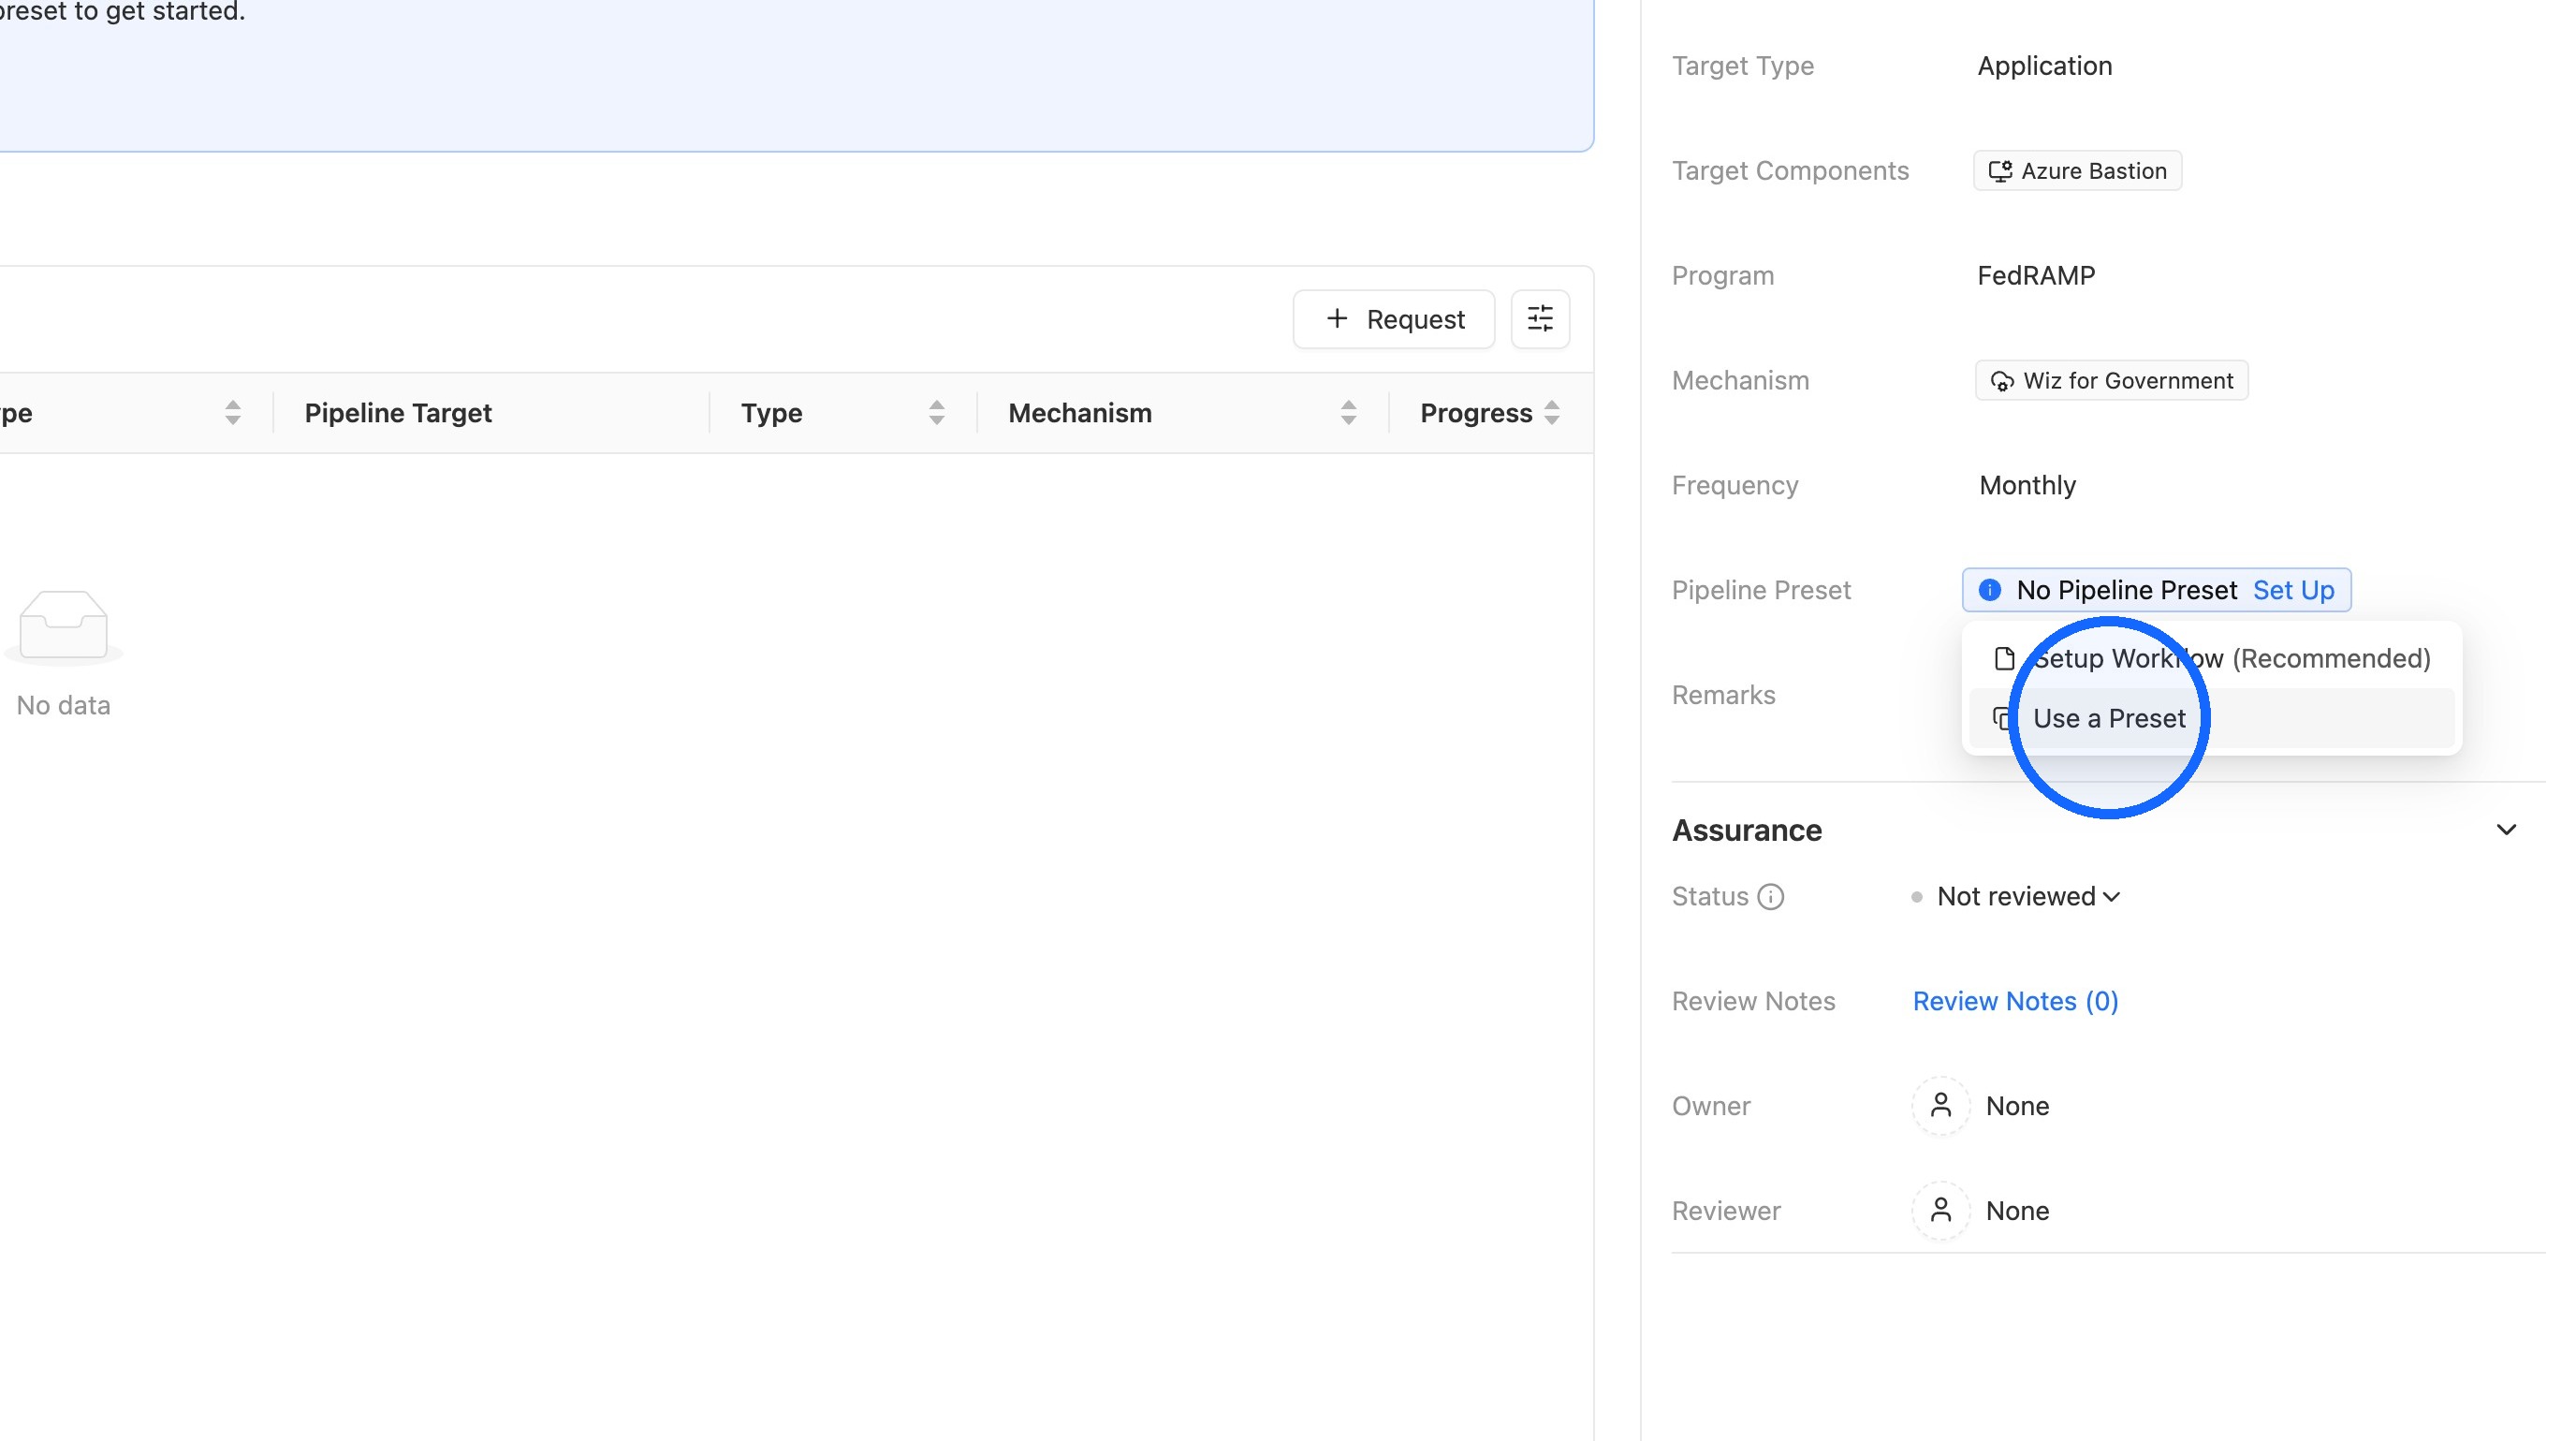
22. Set up the Pipeline Preset
In the right panel, click Set Up in the Pipeline Preset field, then click Use a Preset.
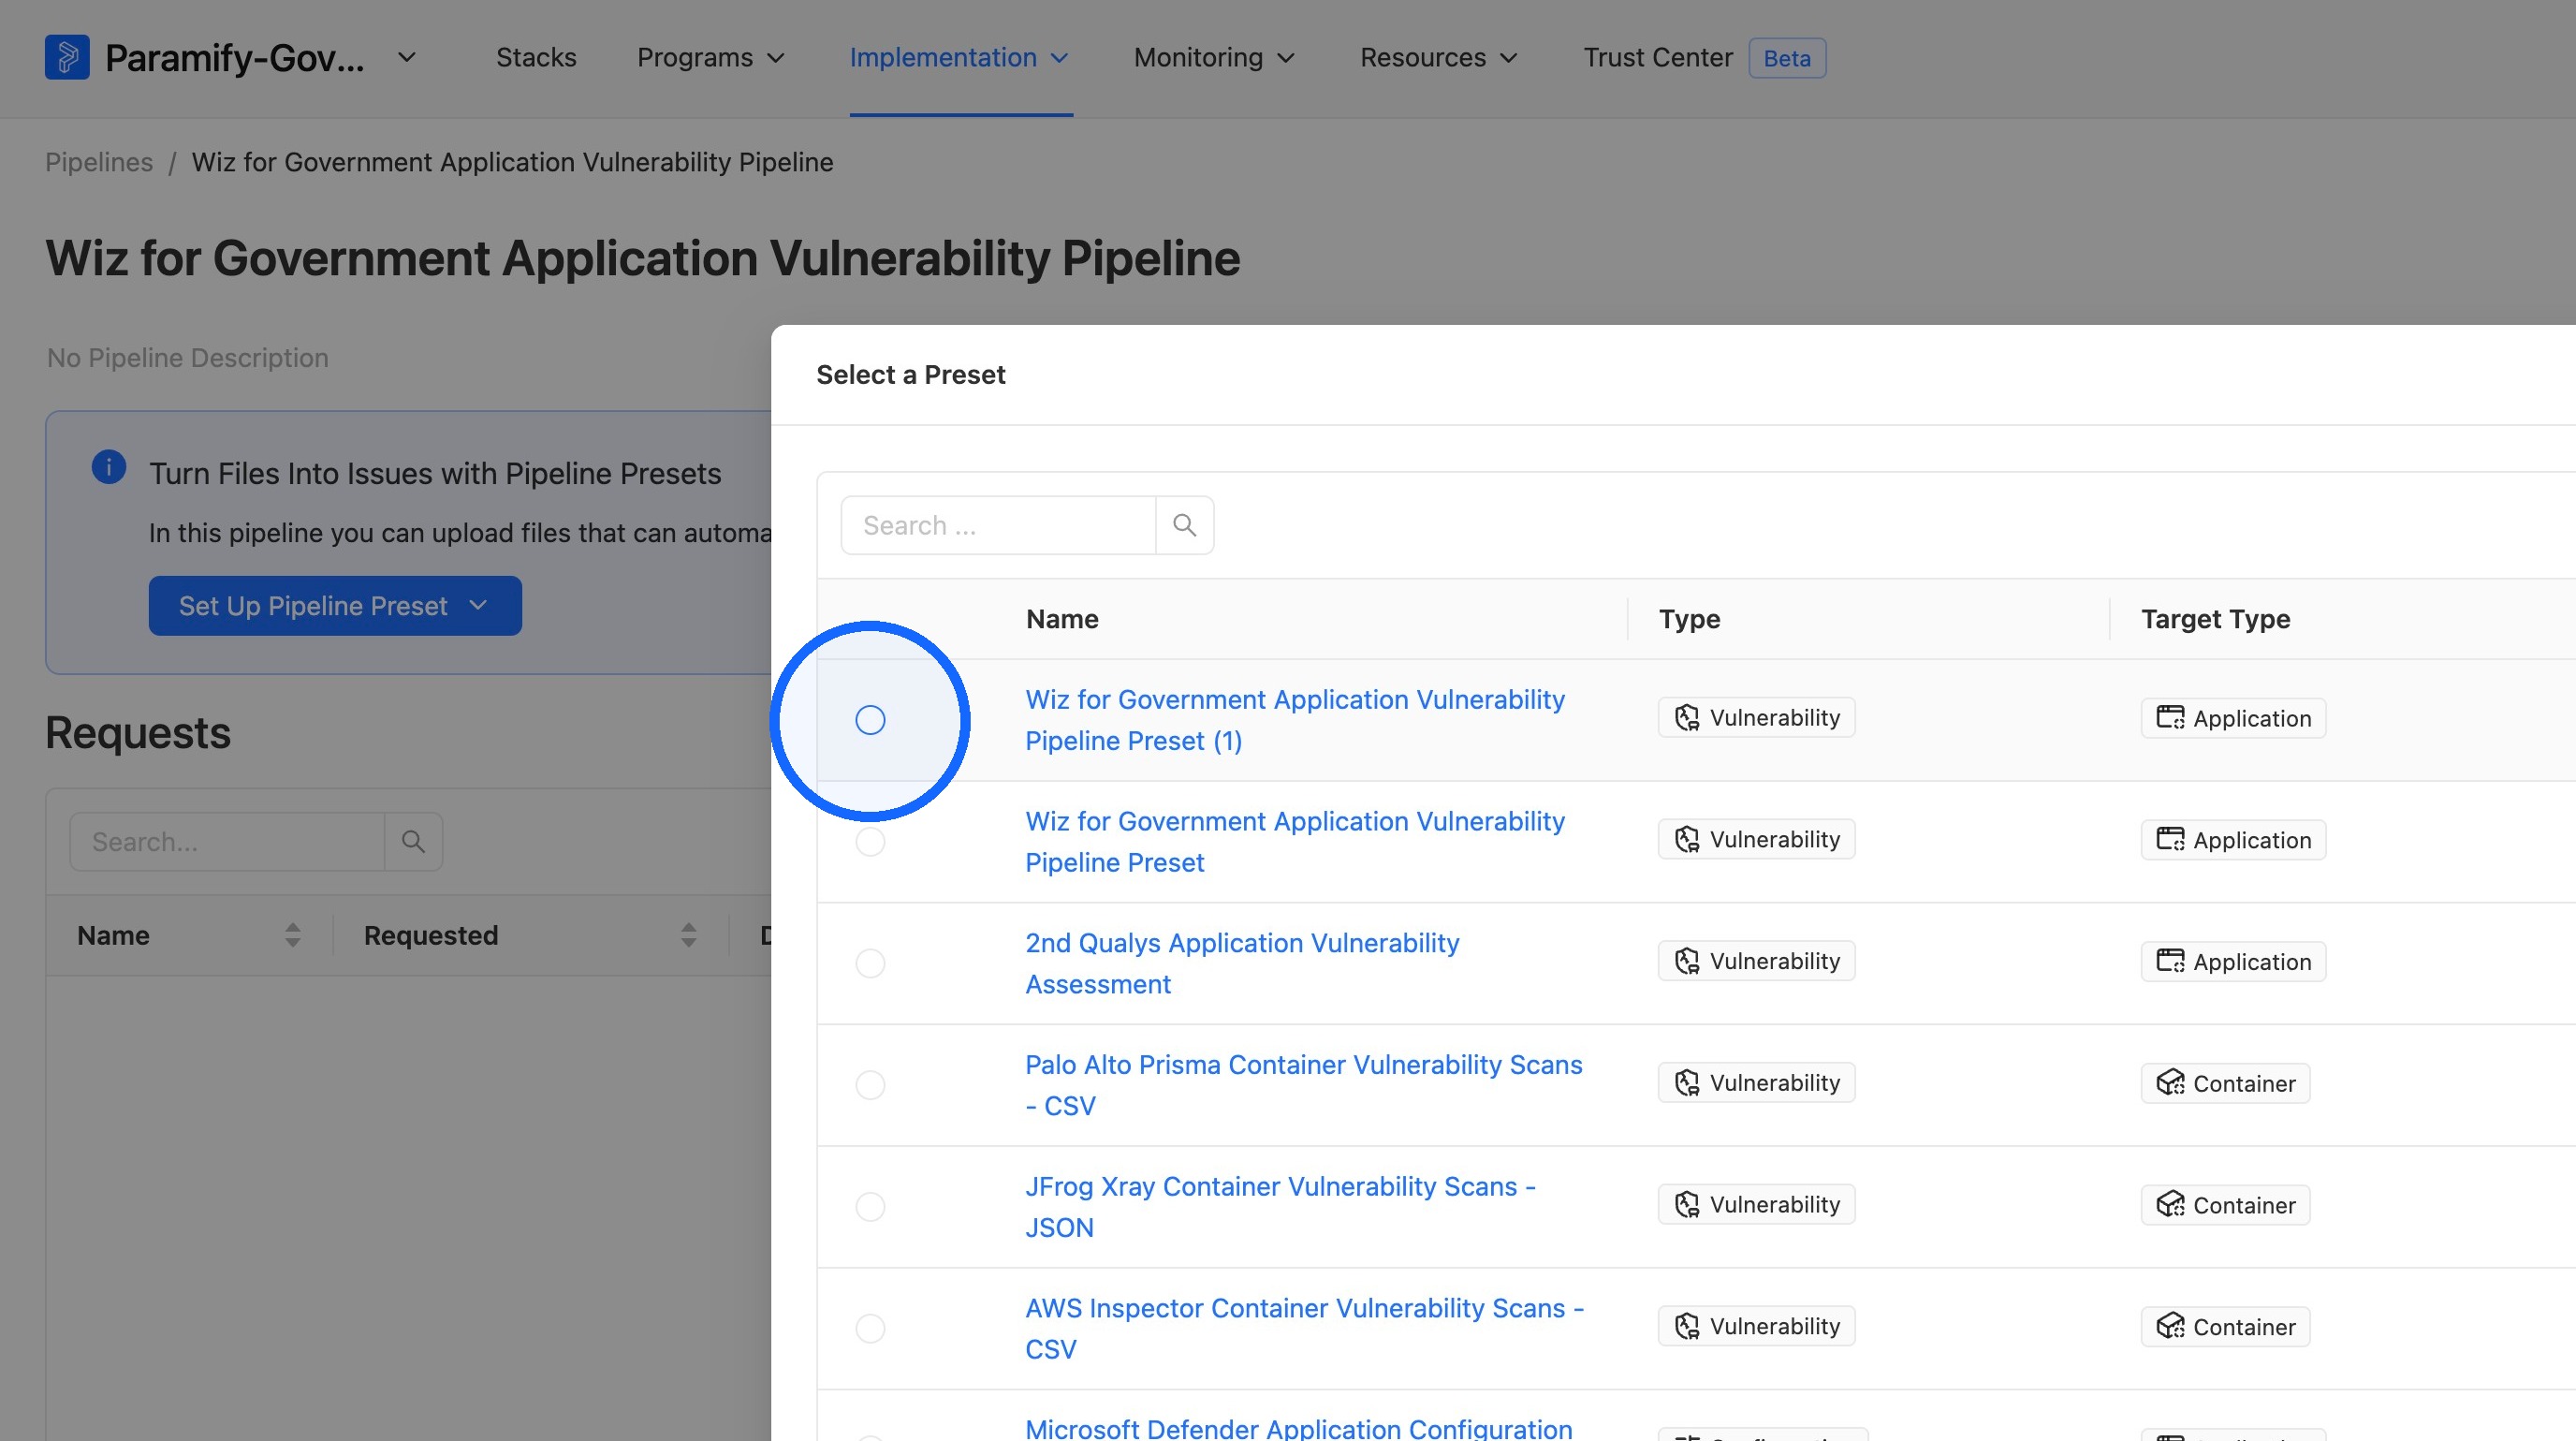
23. Select the preset
Select the Pipeline Preset created earlier.
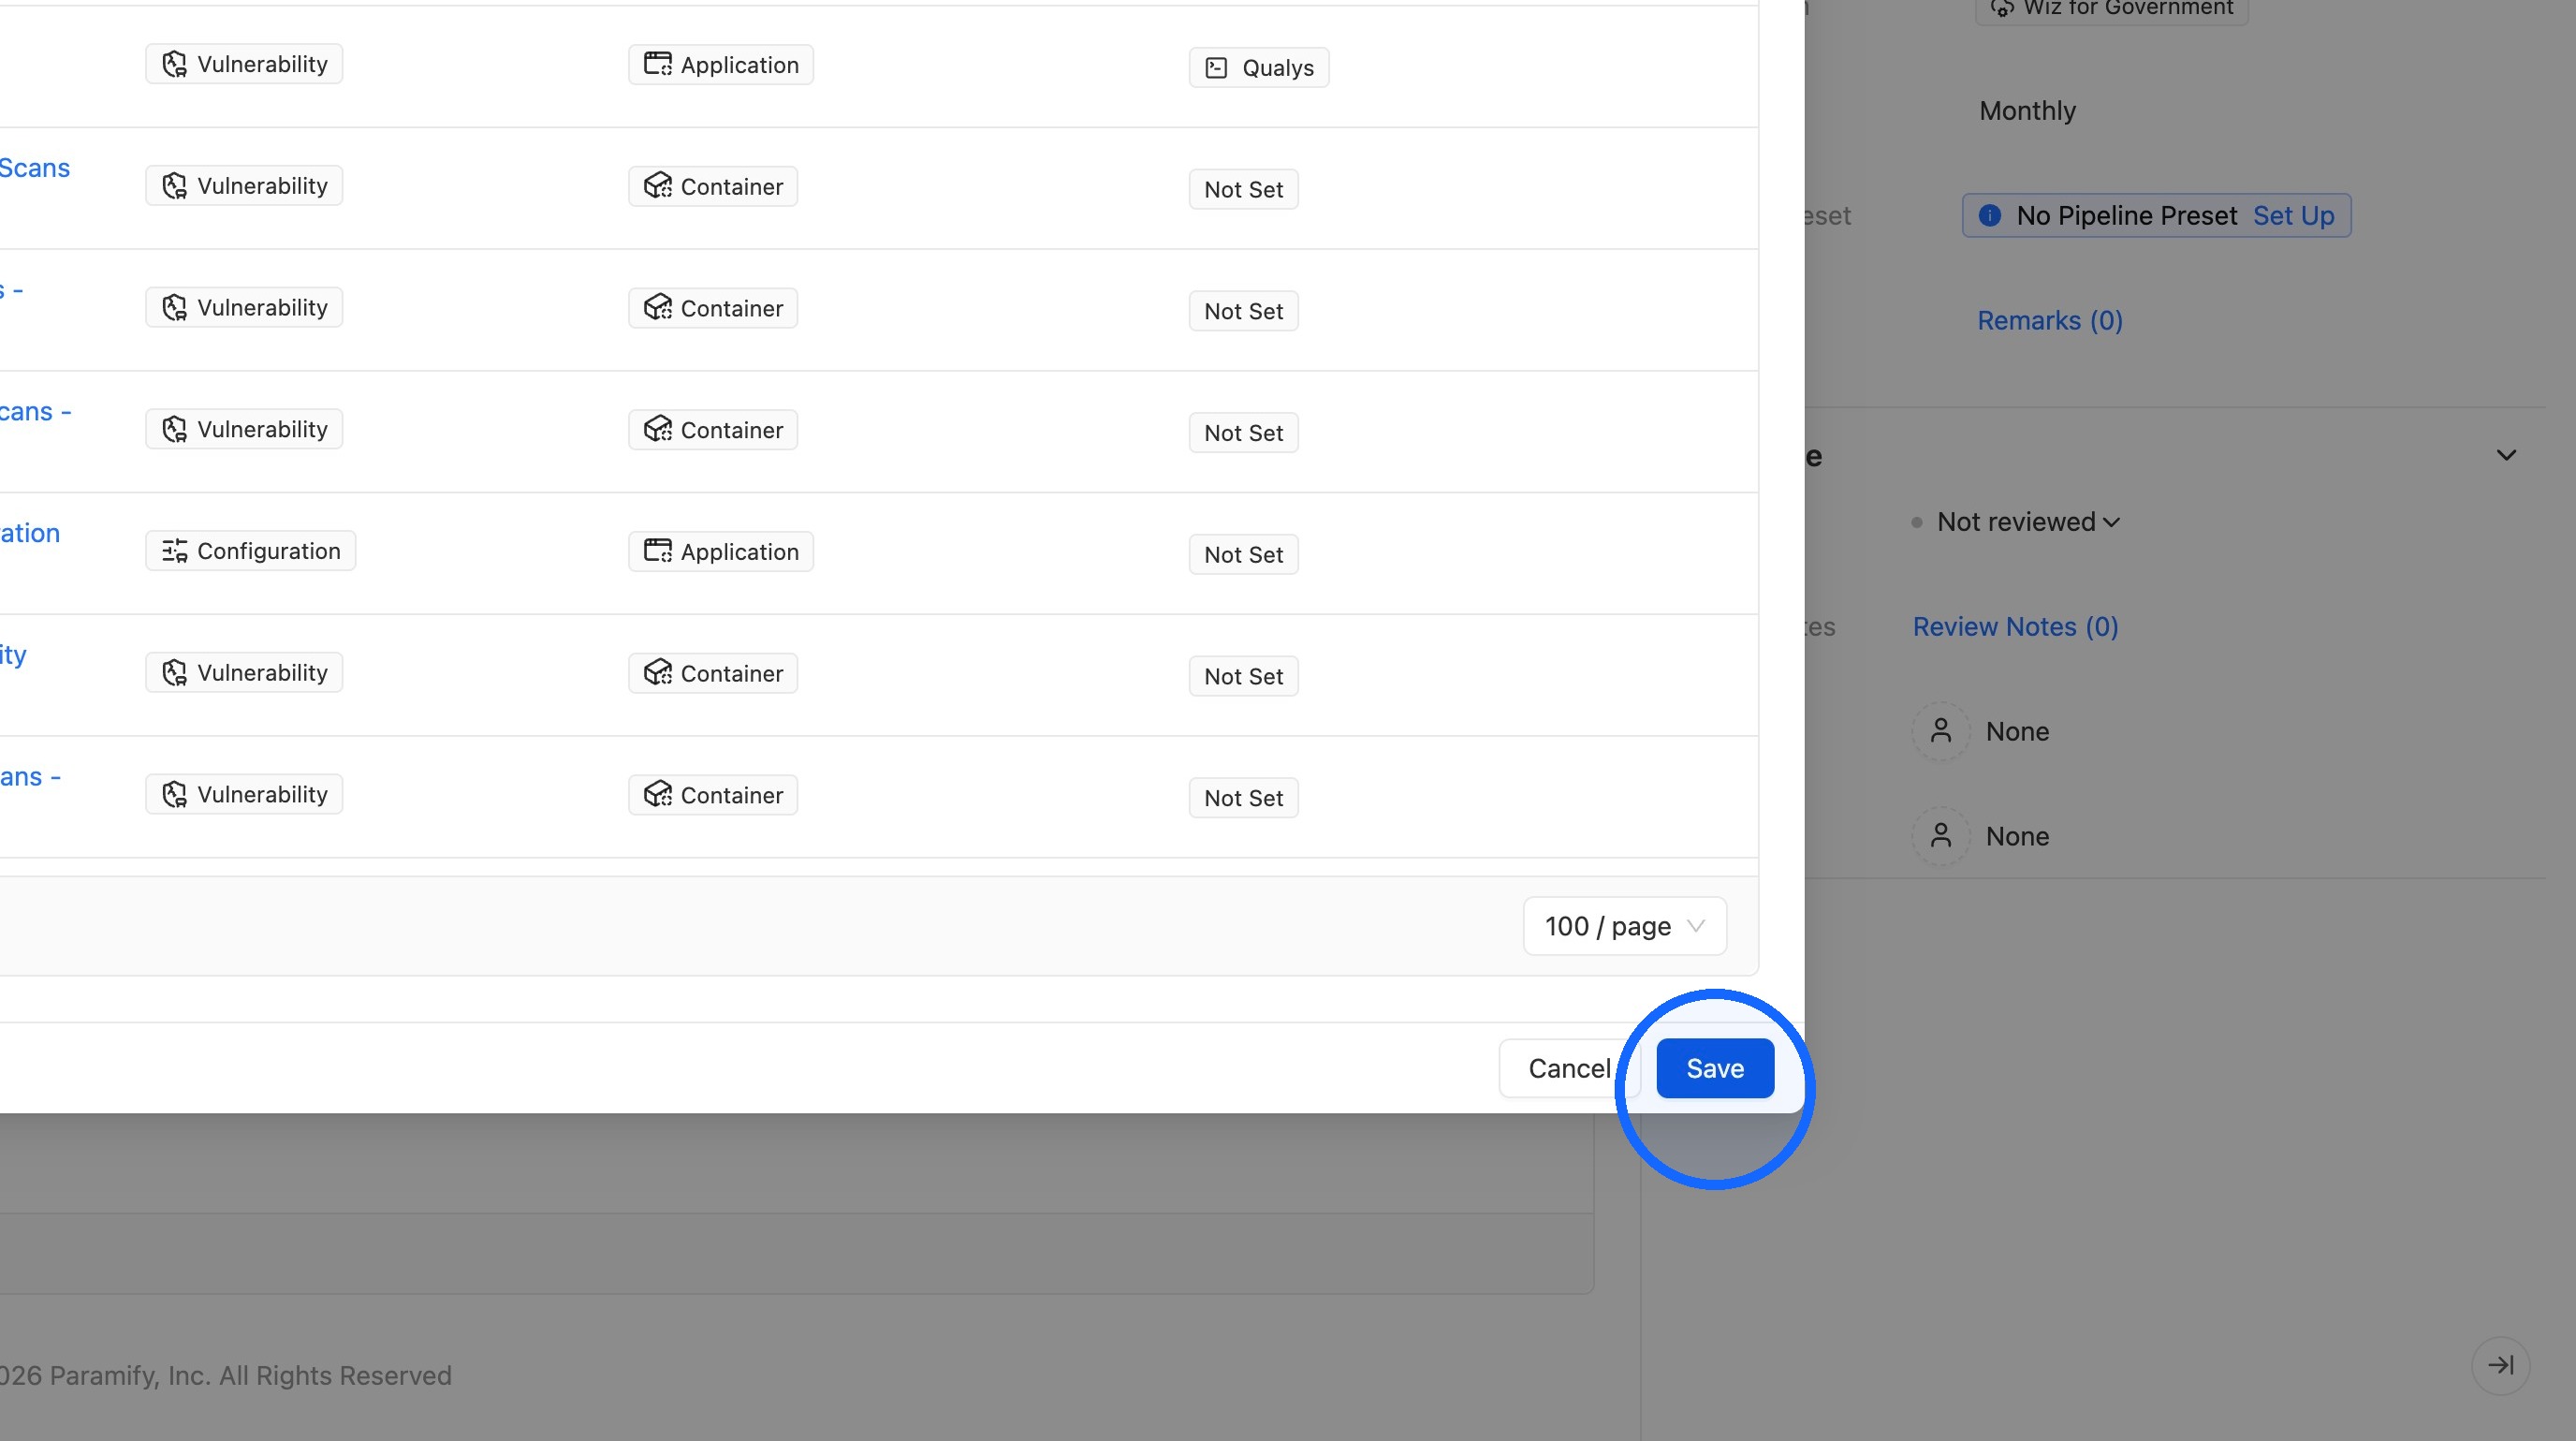
24. Save the Pipeline
Click Save.
Request Creation
This section adds a Request to the Pipeline and uploads a scan file to it. The Request stores and tracks the scan as evidence, and Paramify creates Issues from it automatically.
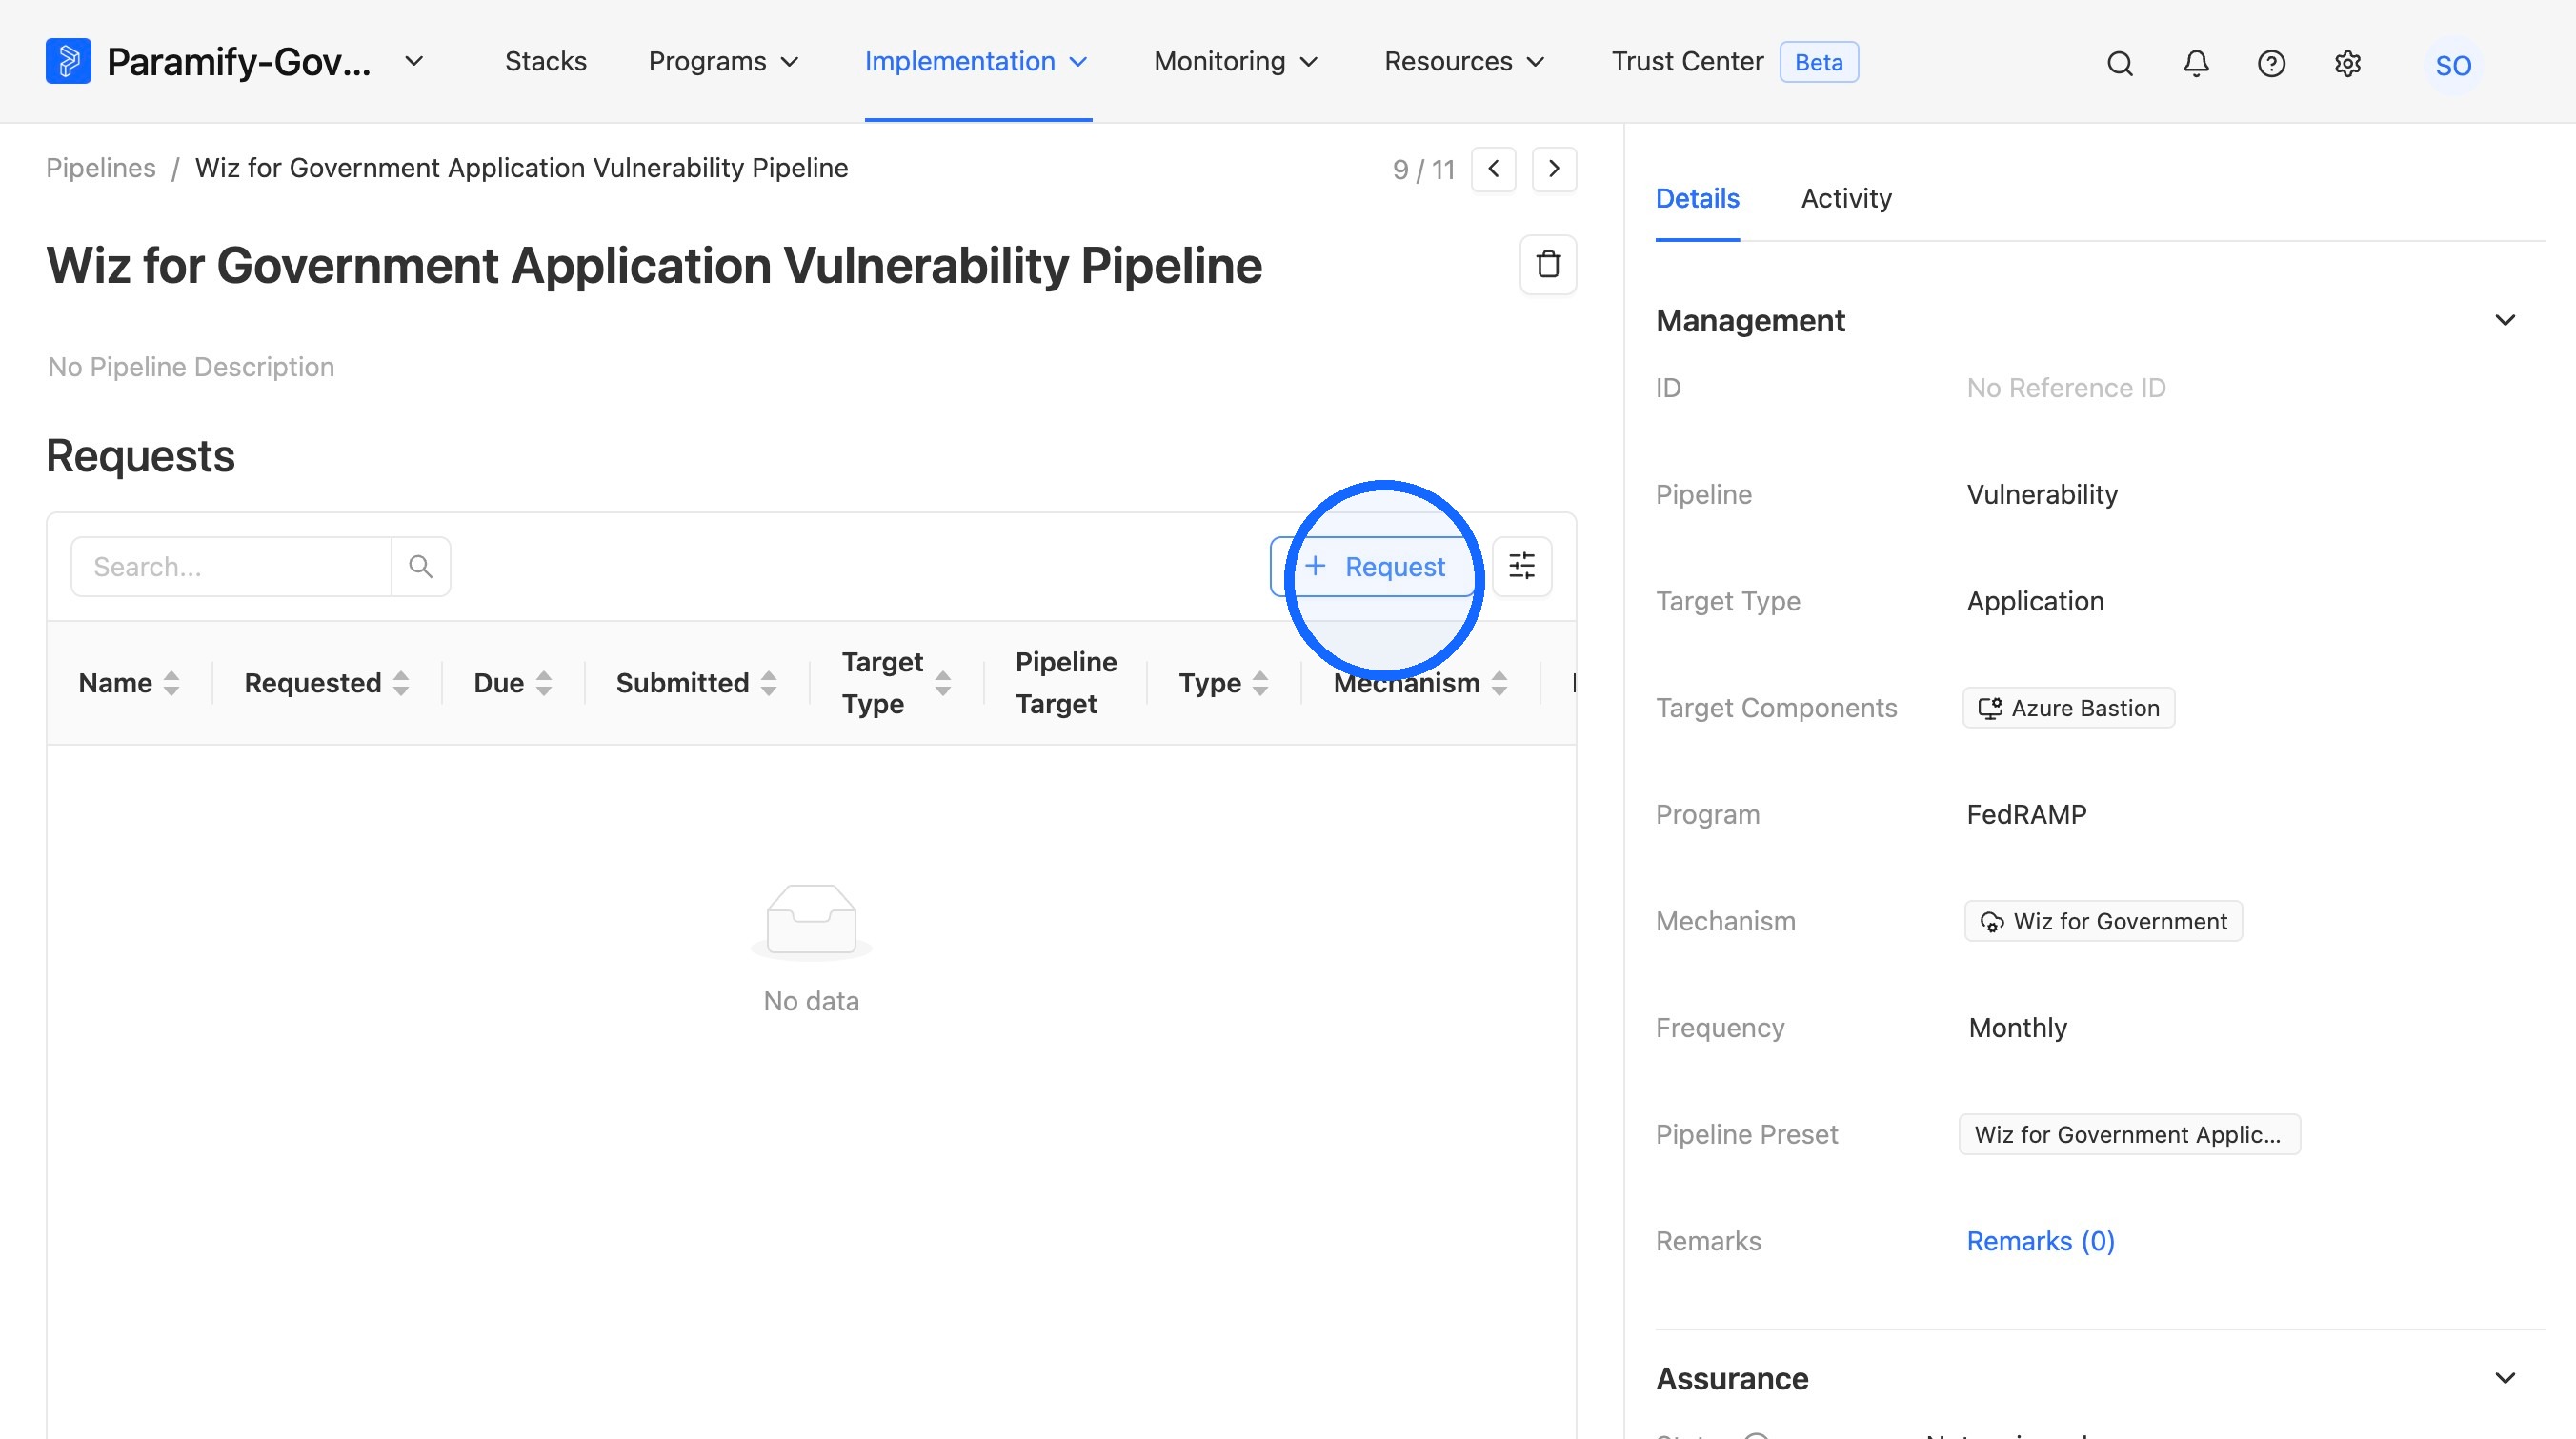
25. Add a new Request
Click + Request.
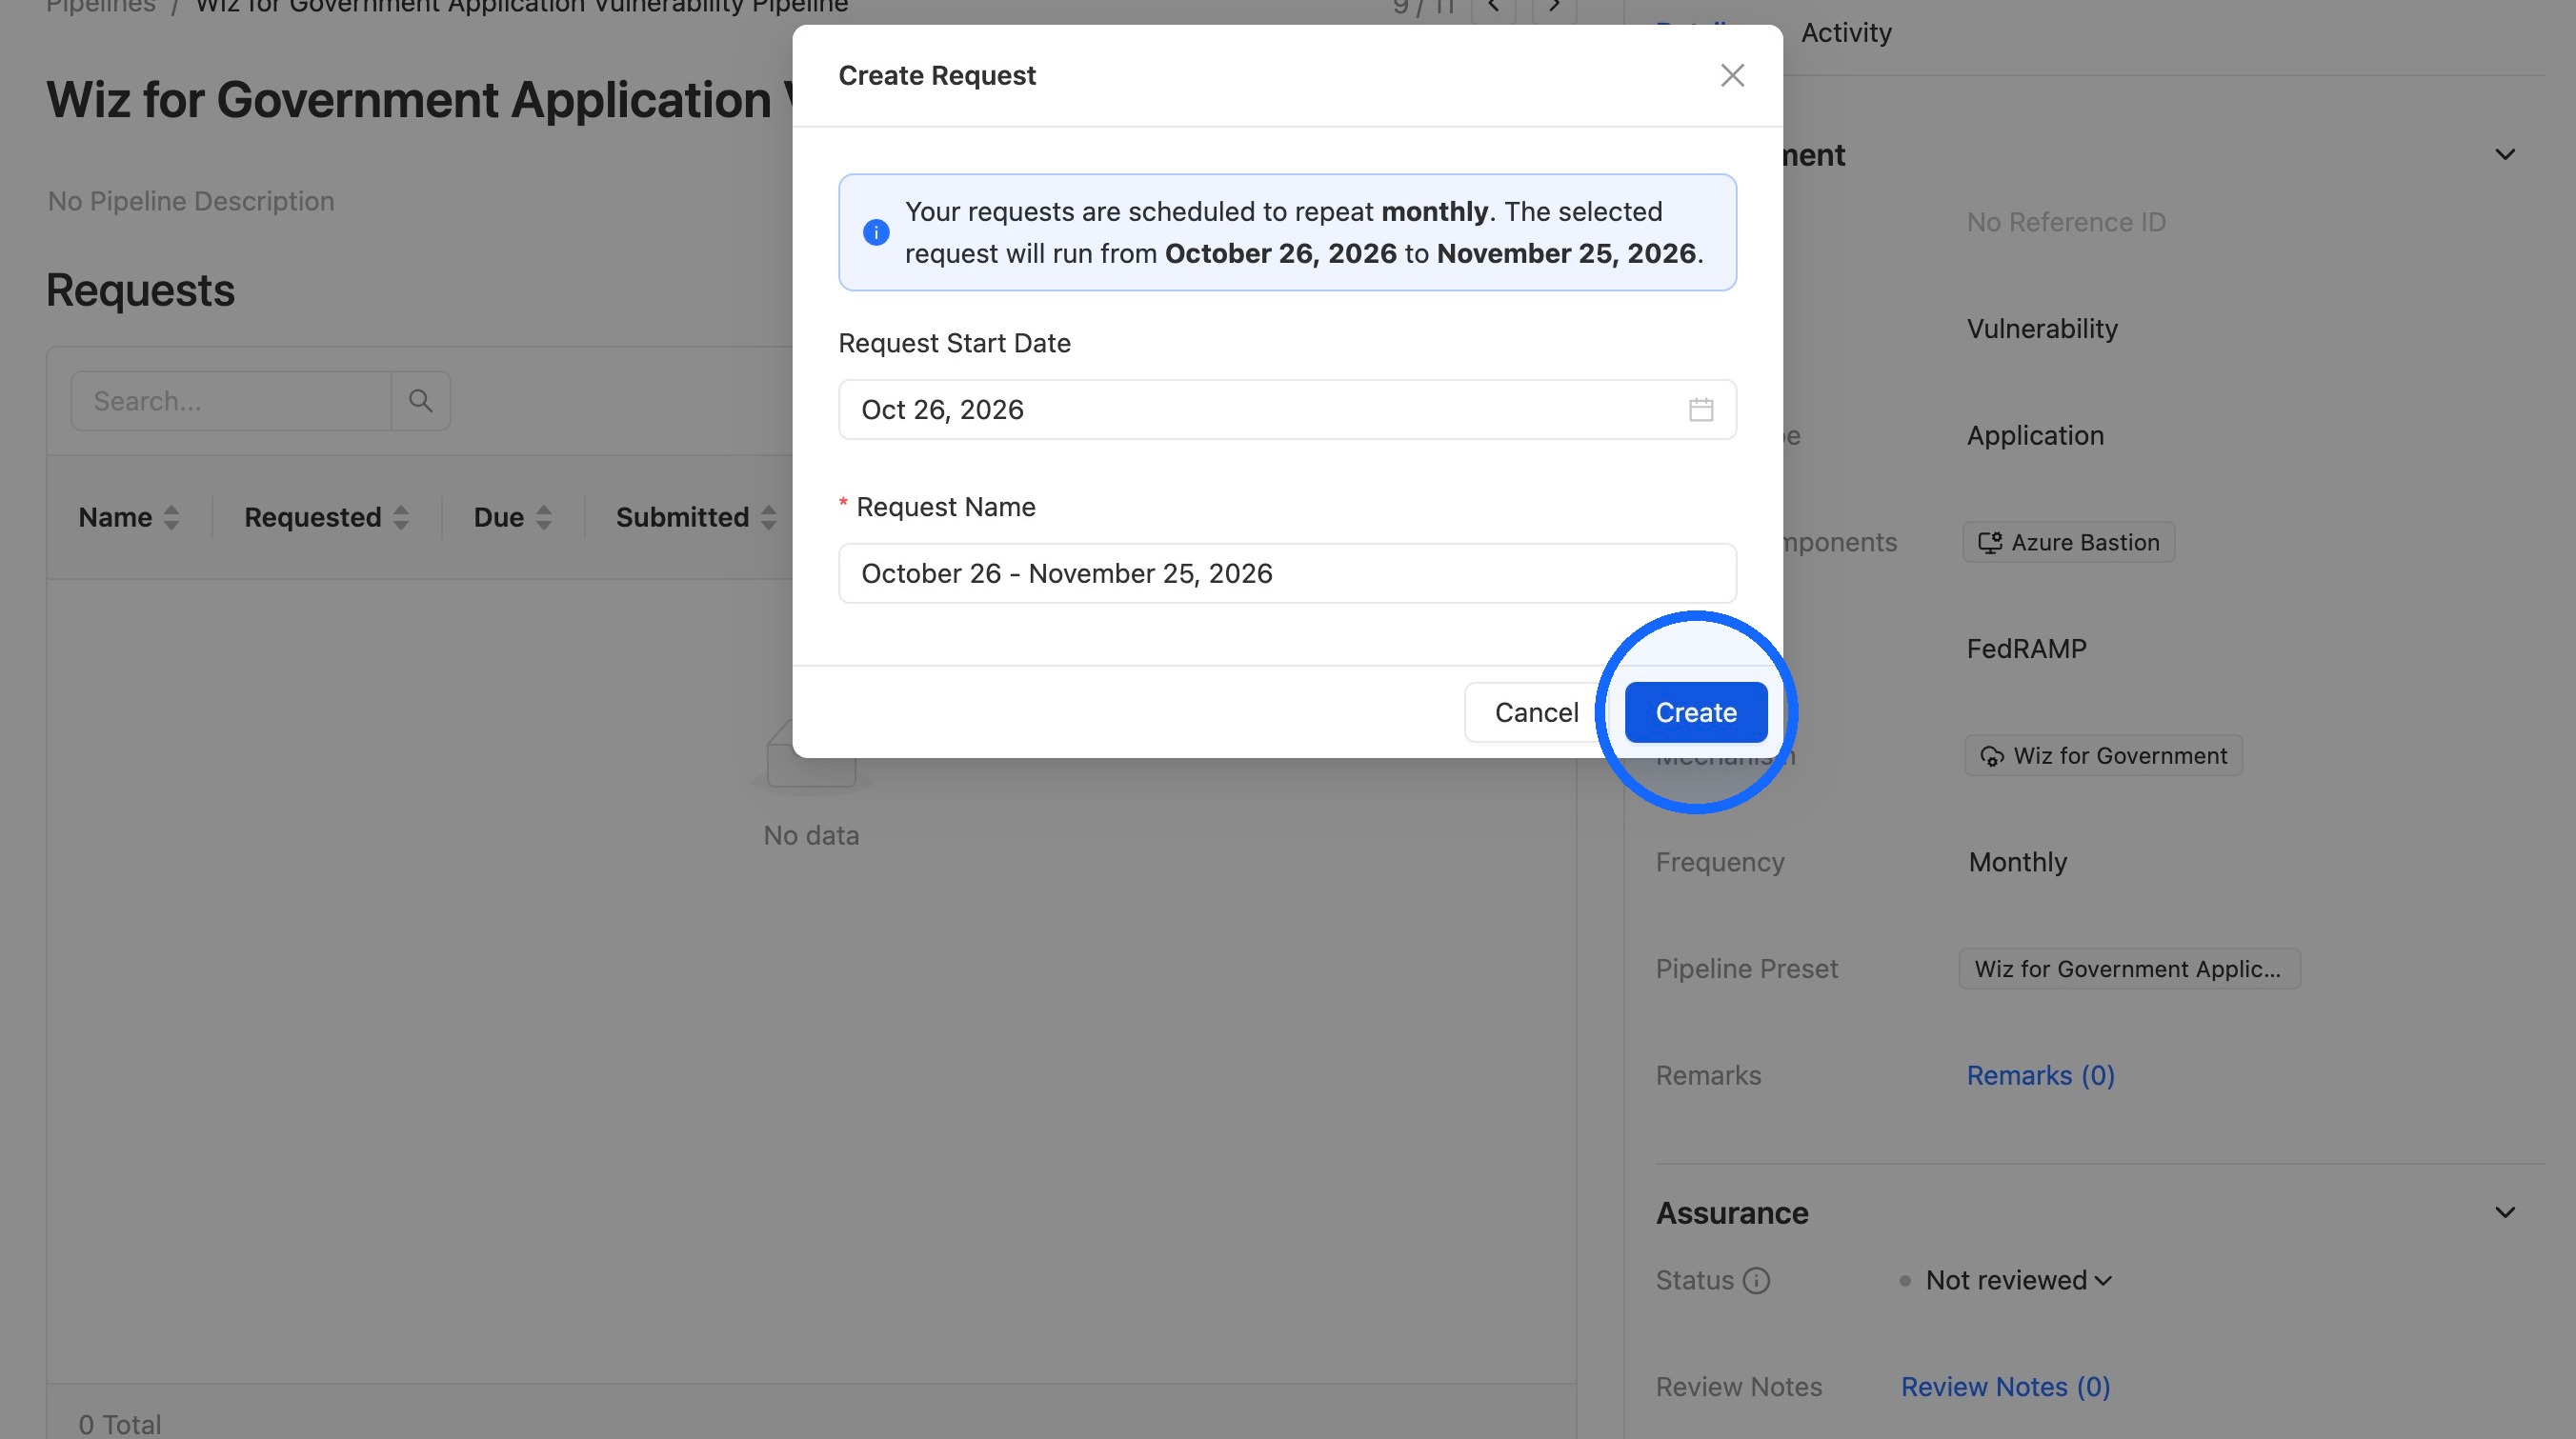
26. Create the Request
Click Create.
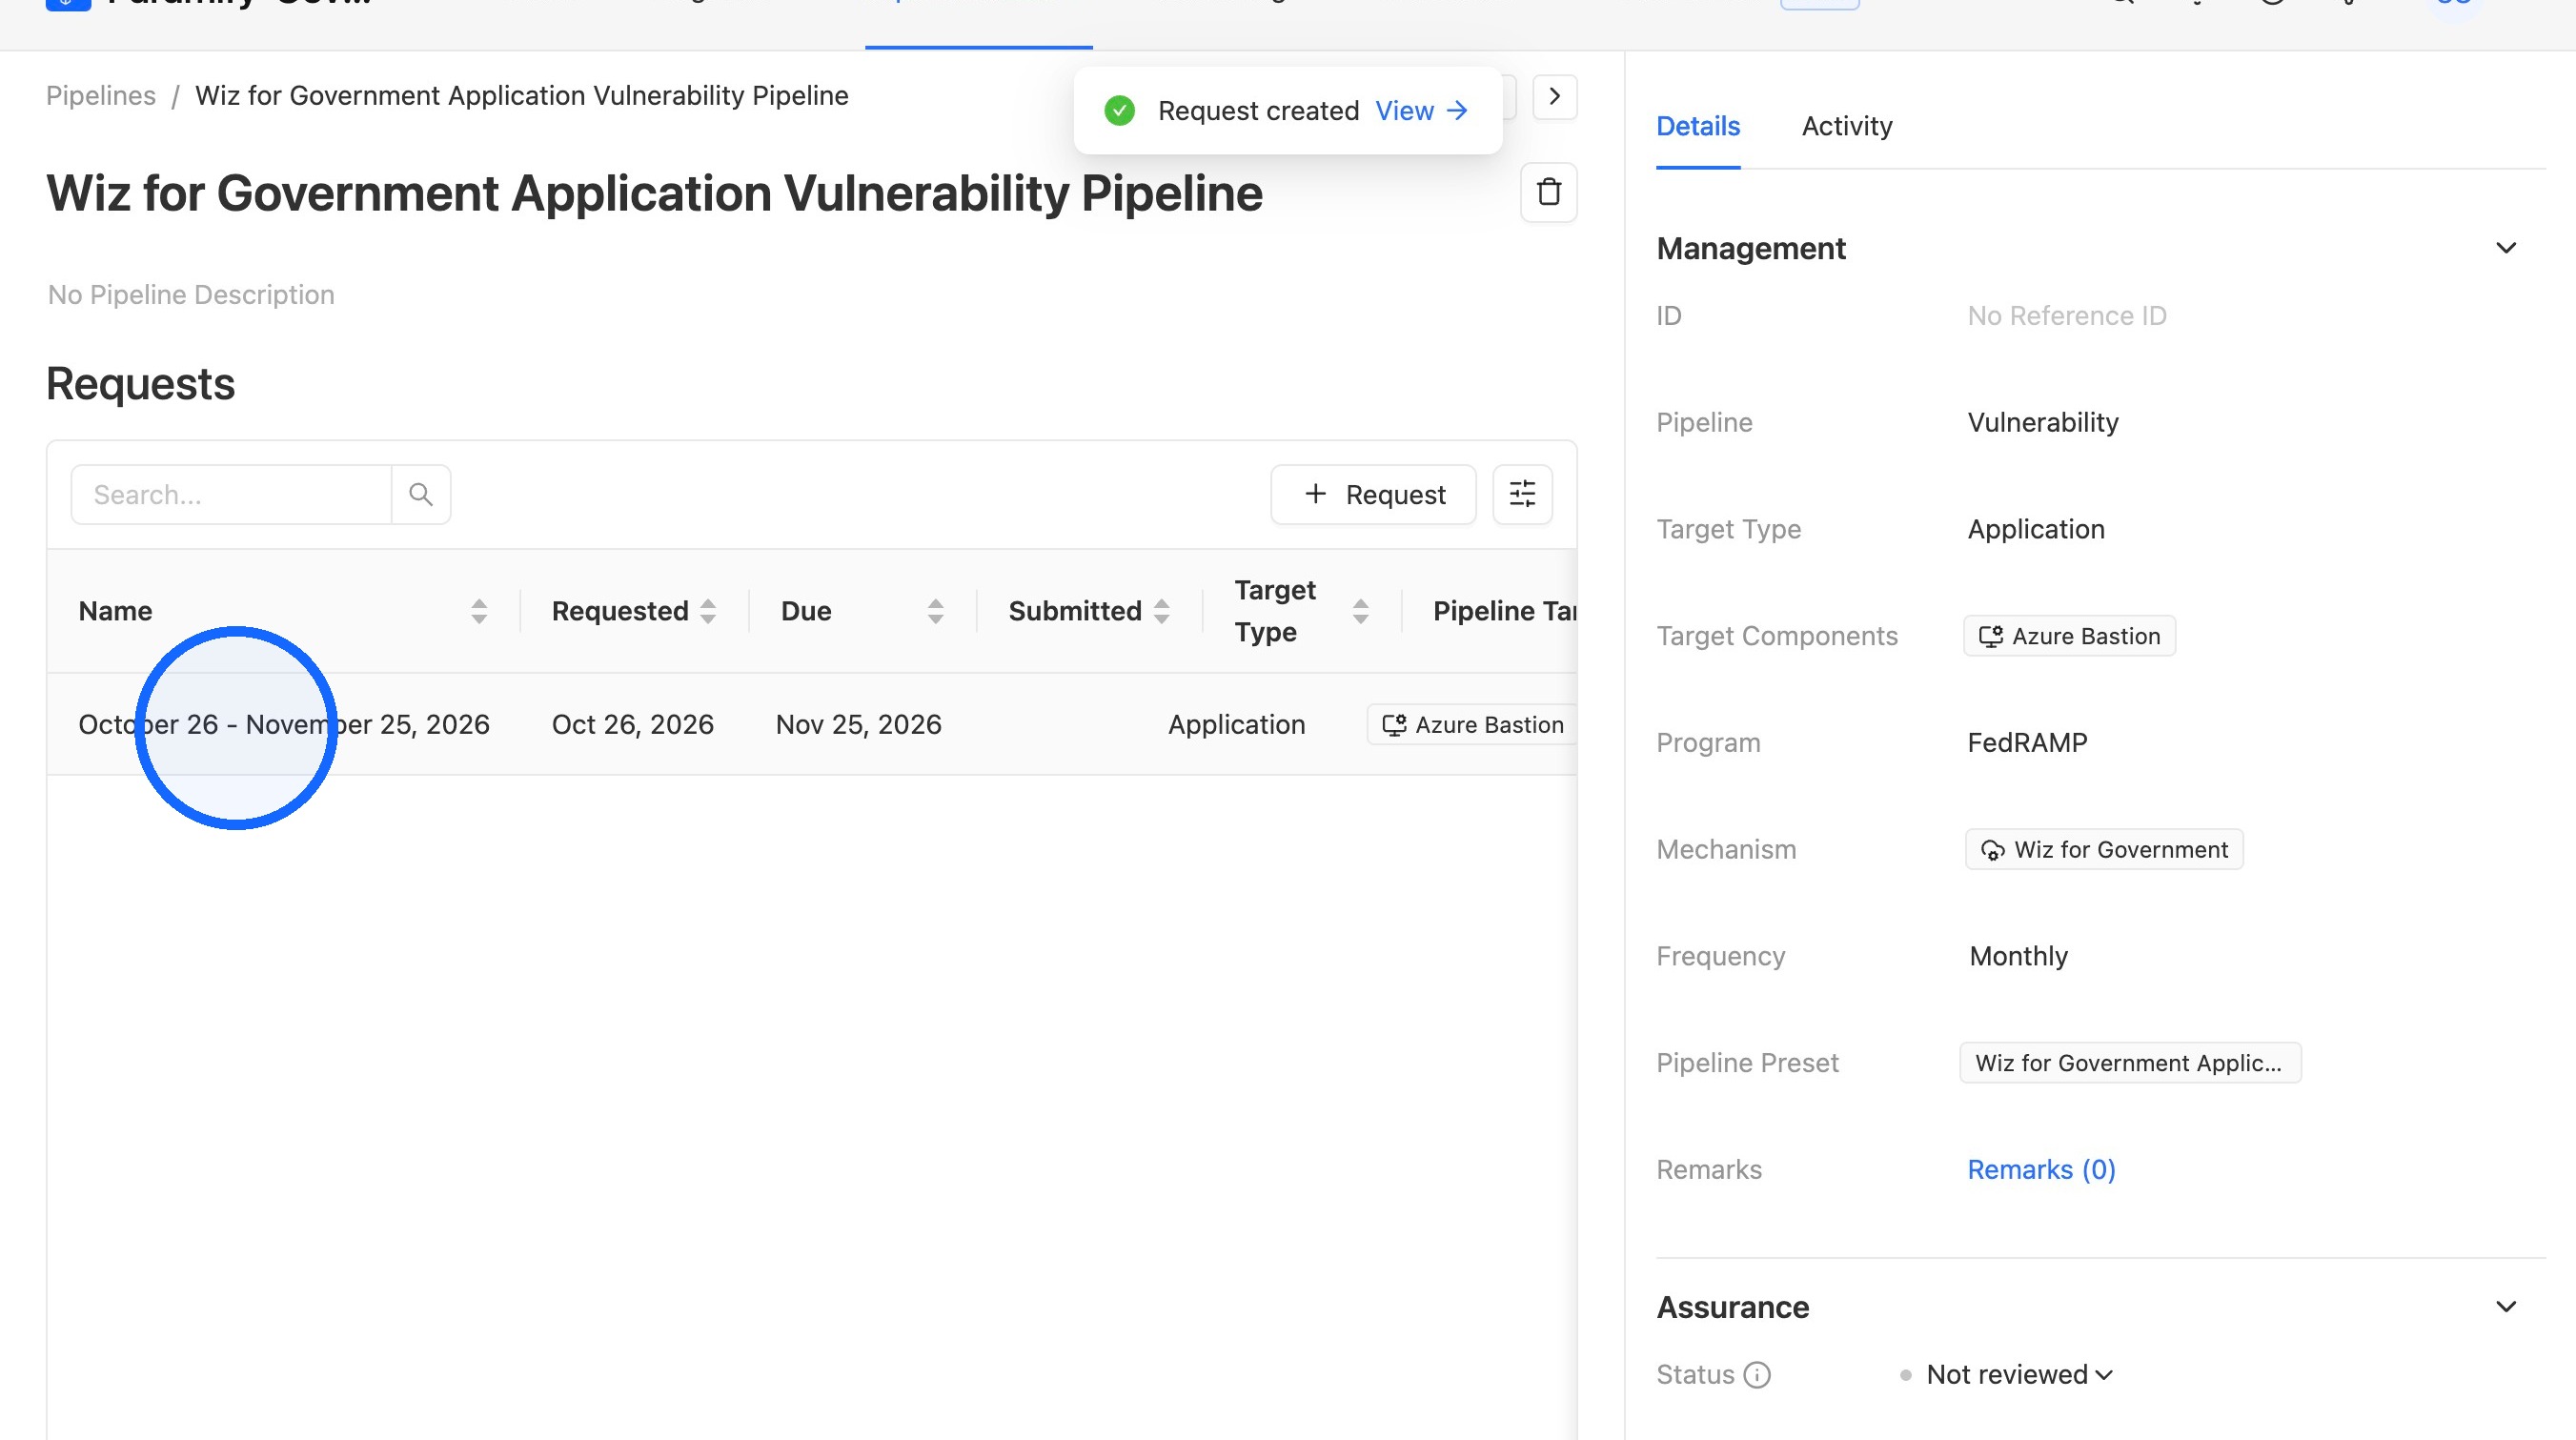
27. Open the new Request
Open the newly created Request.
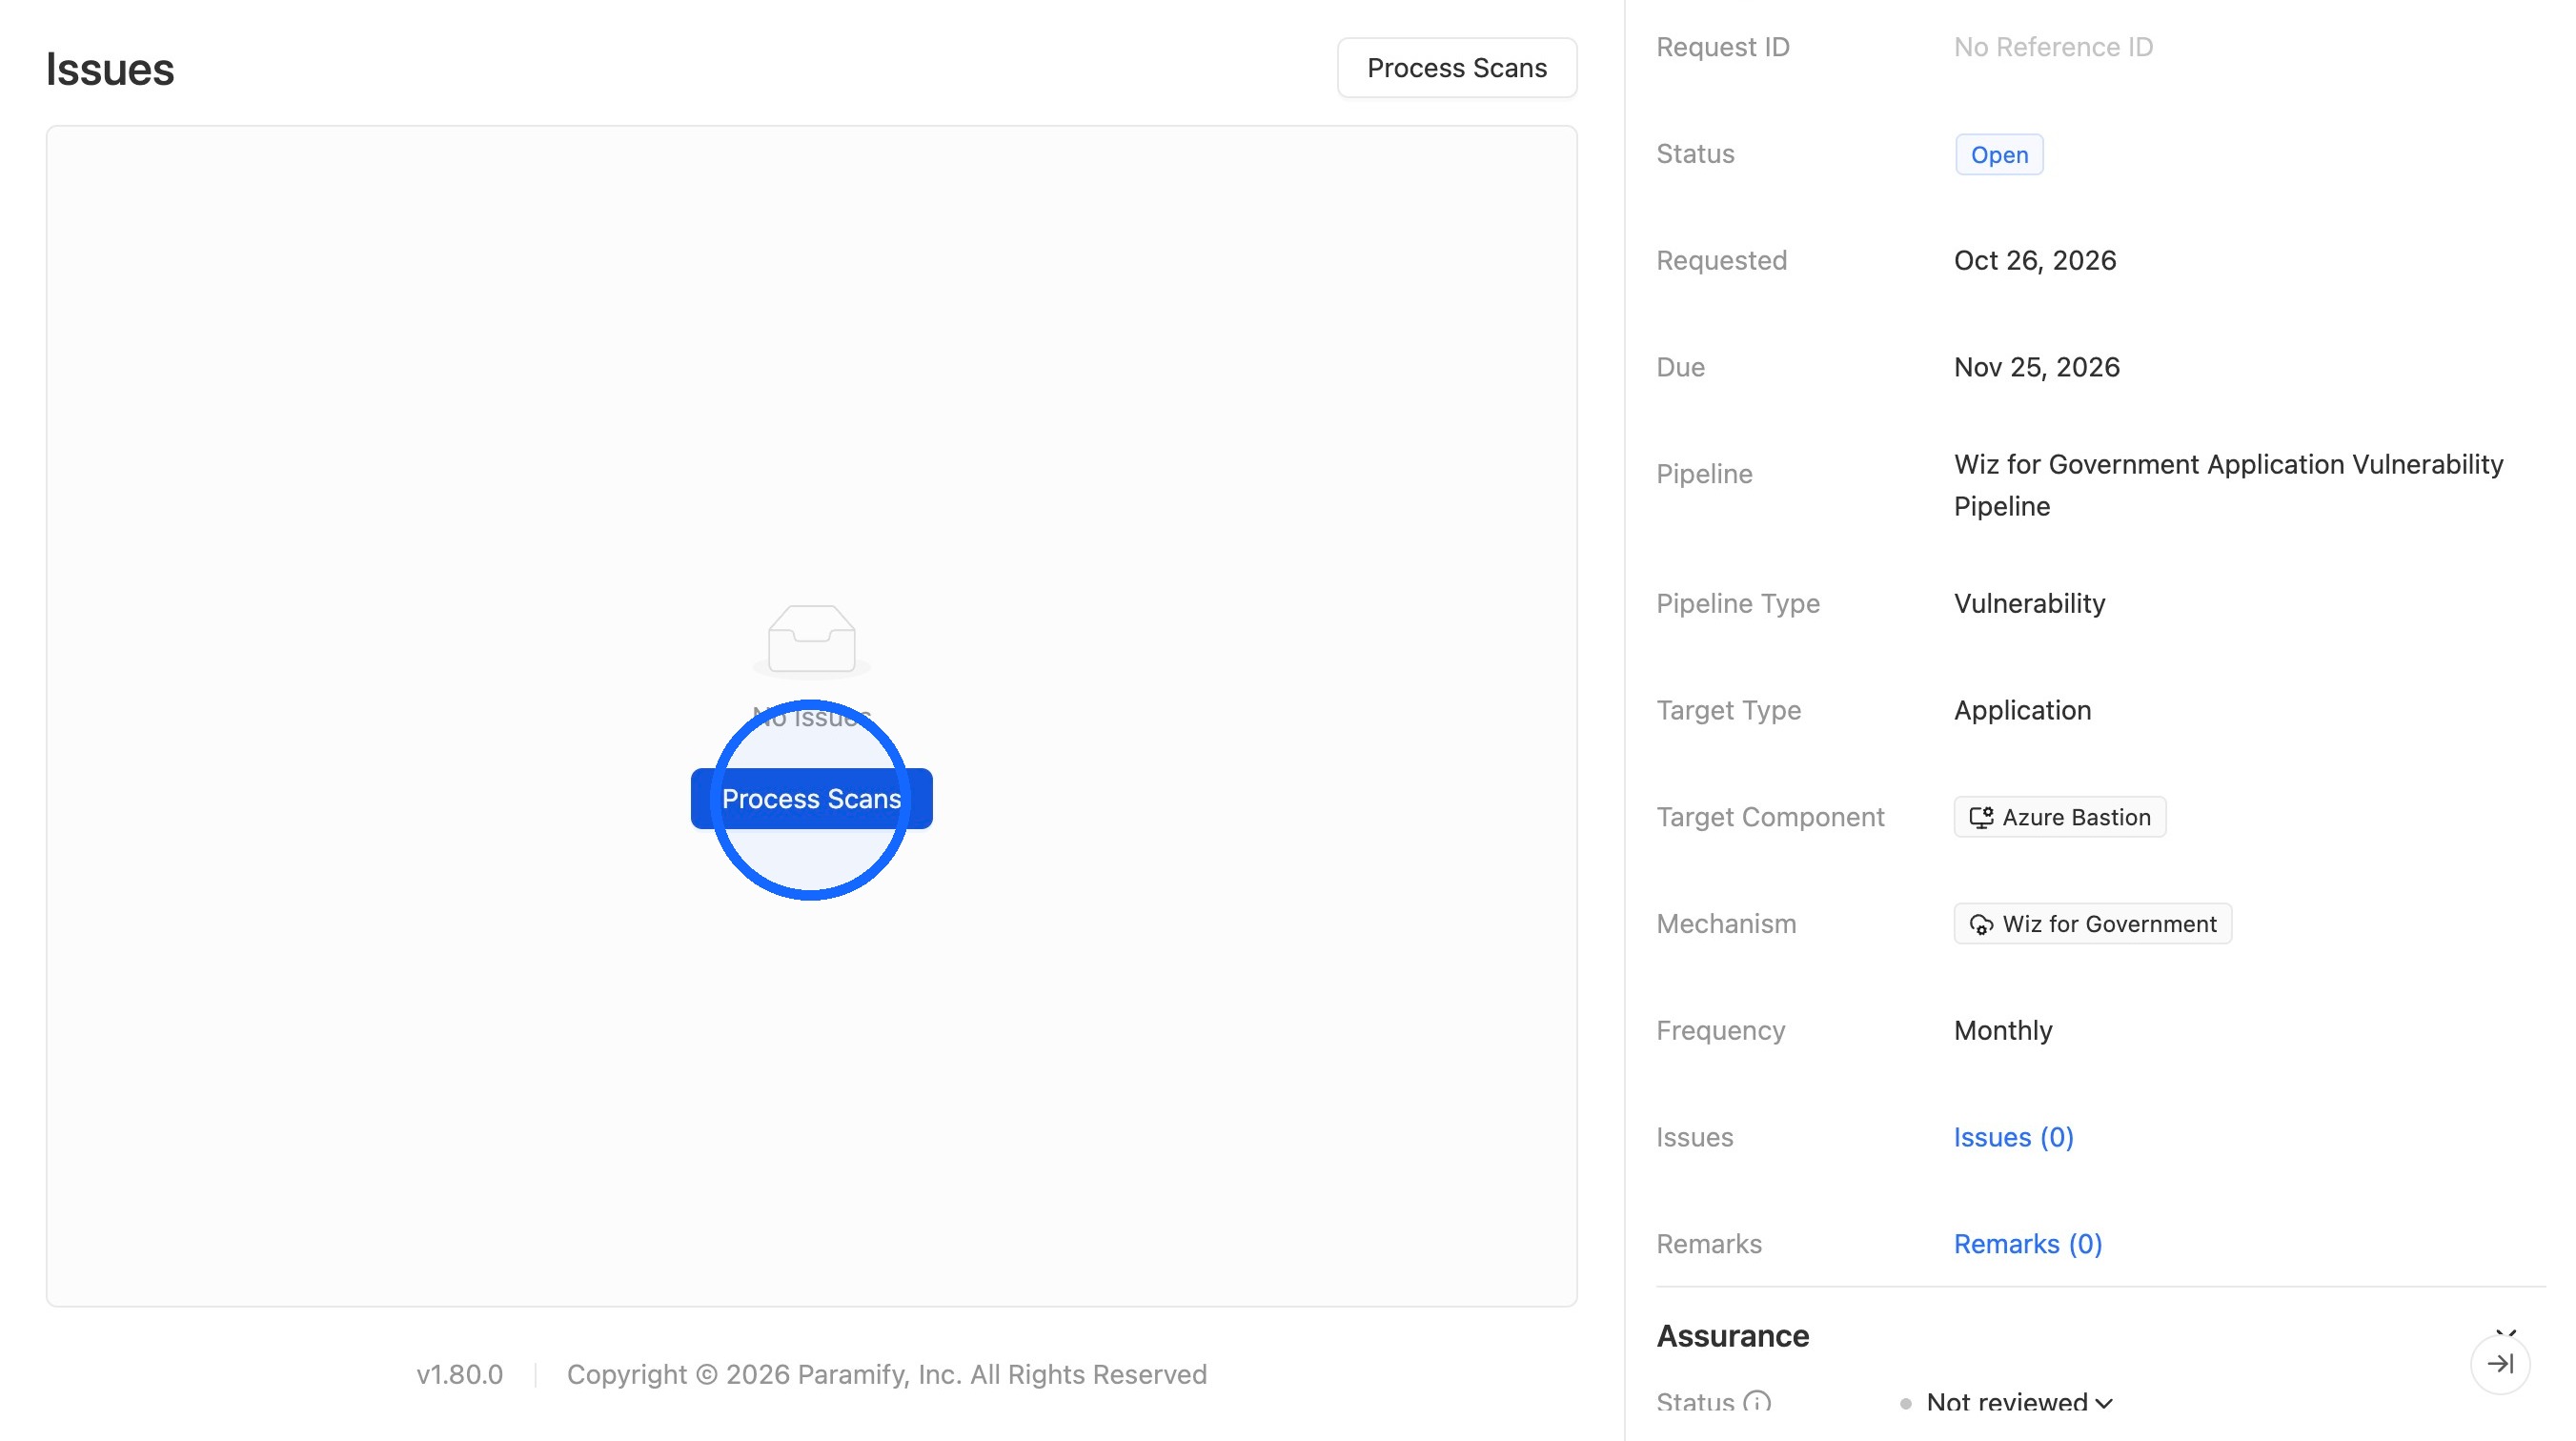
28. Start processing scans
Click Process Scans.
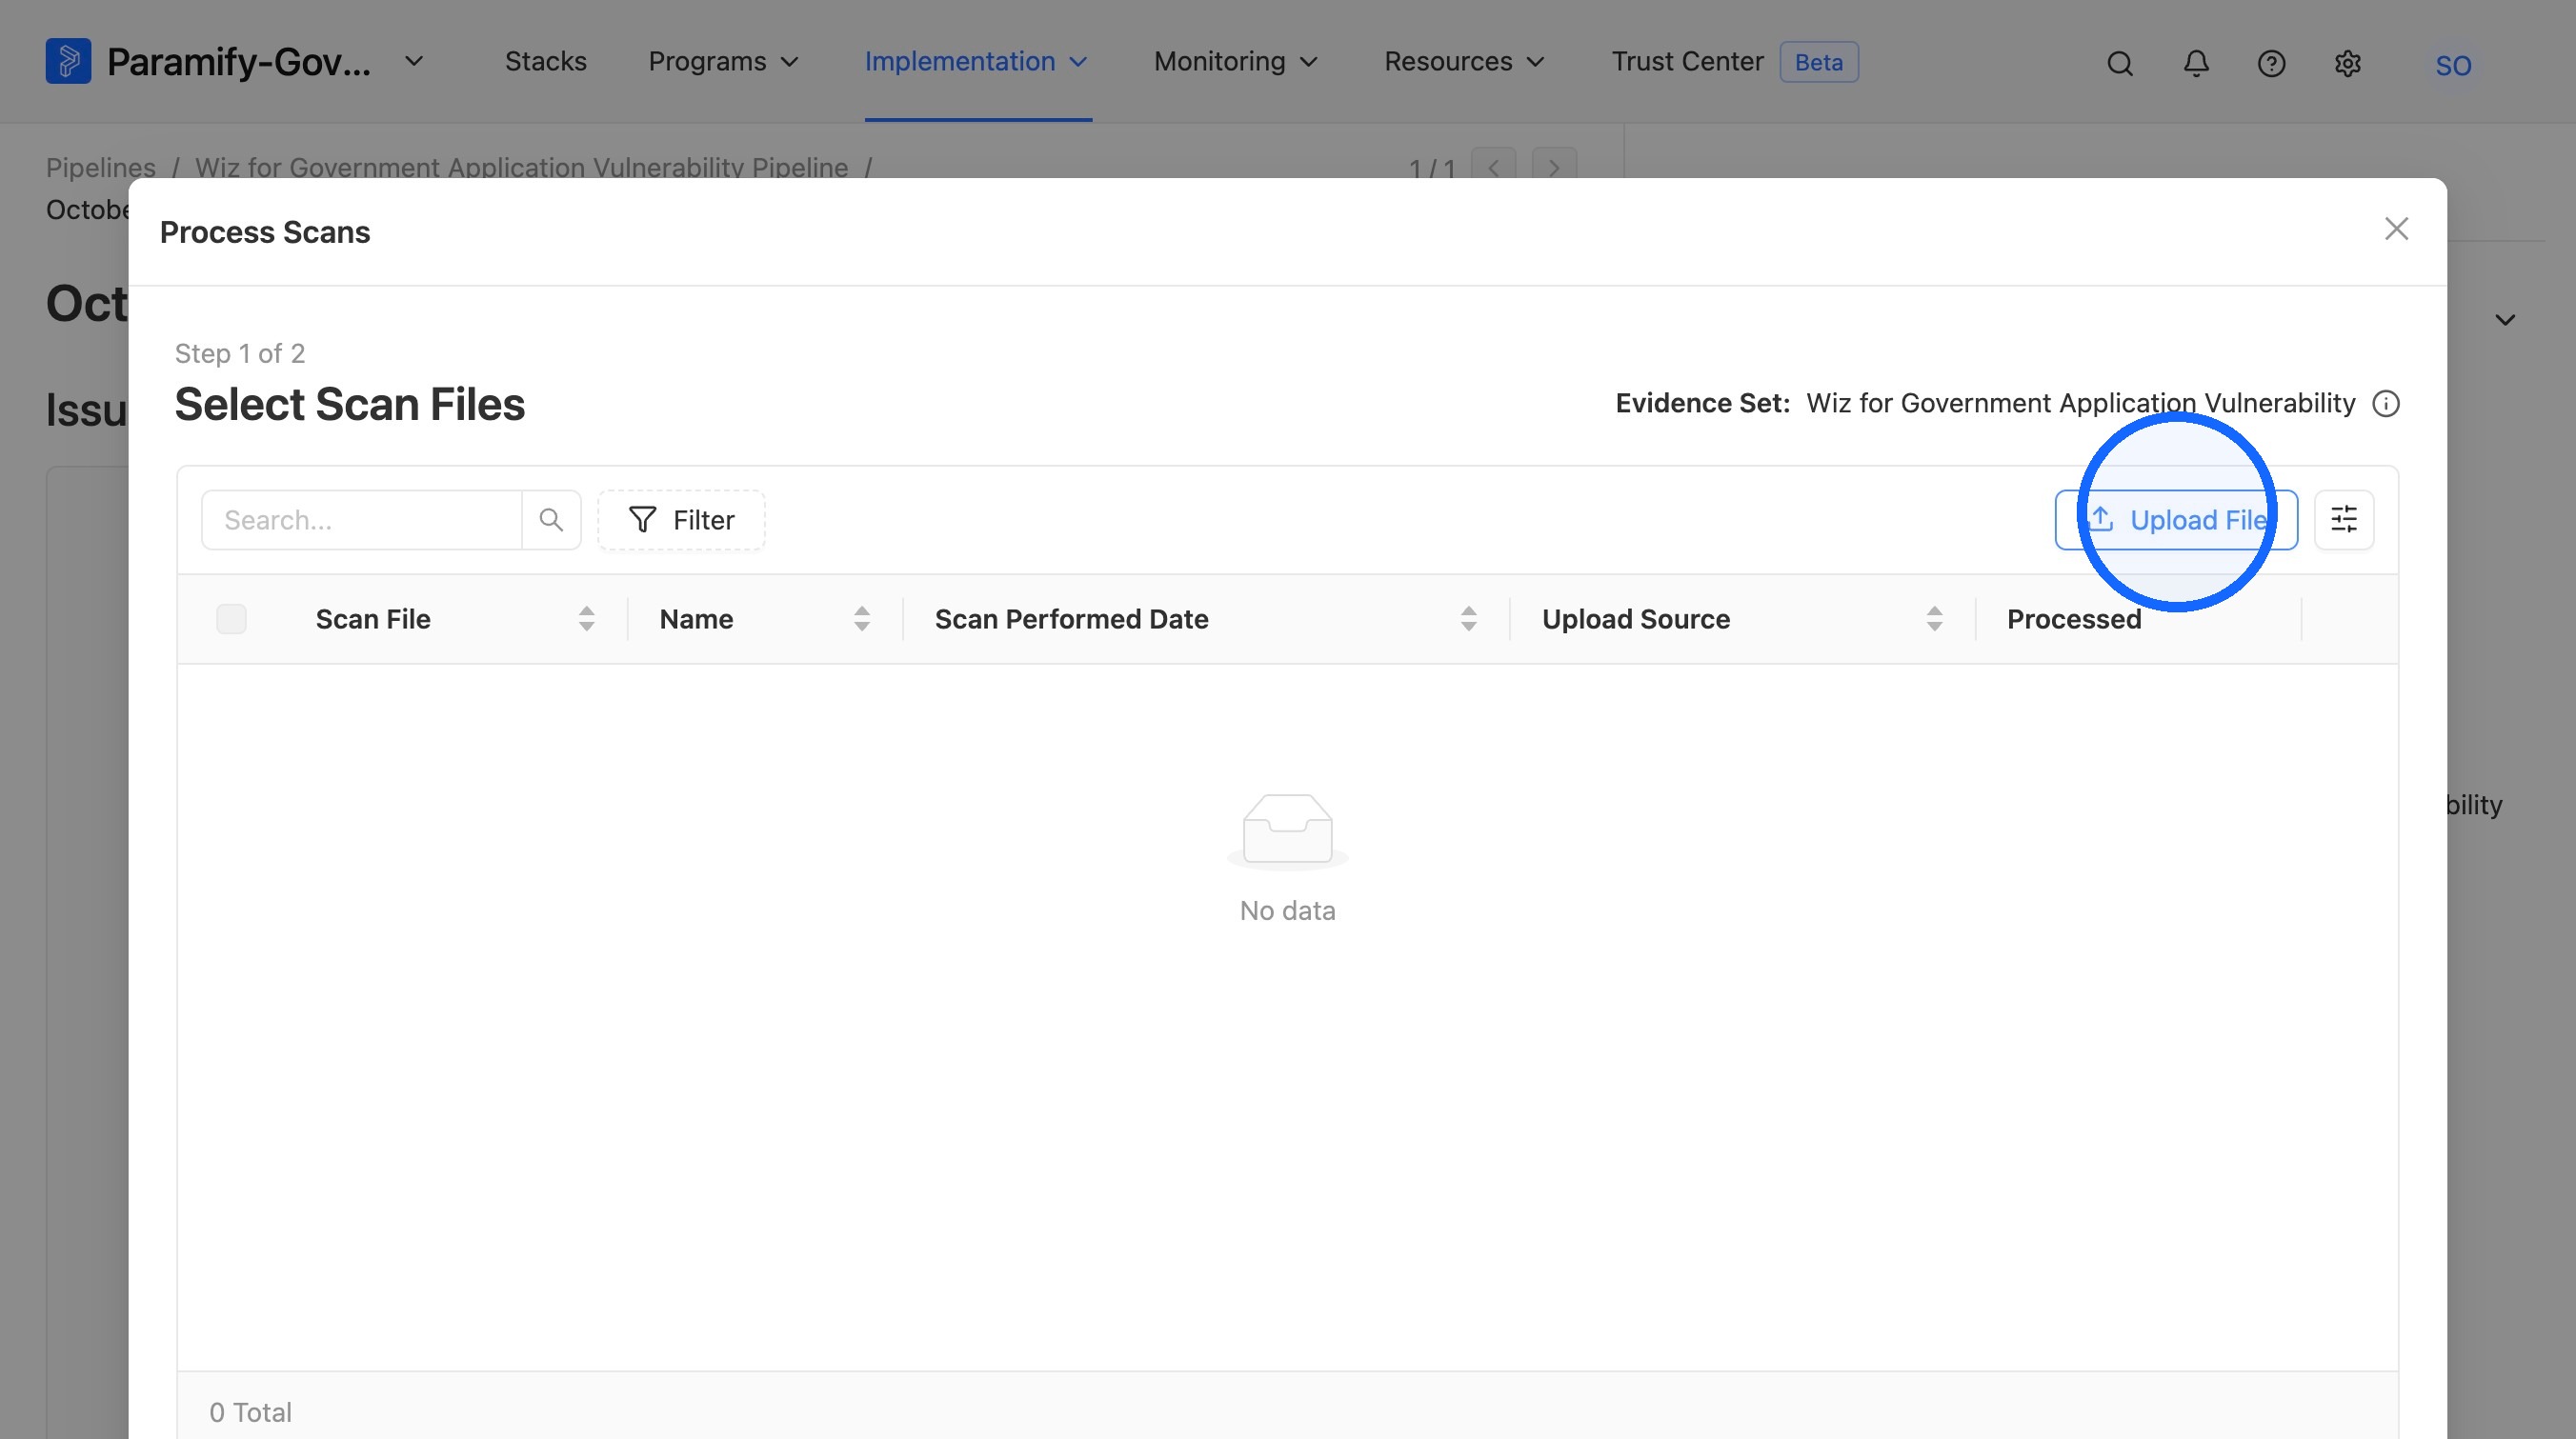
29. Upload the scan file
Click Upload File. After the file uploads, click Next.
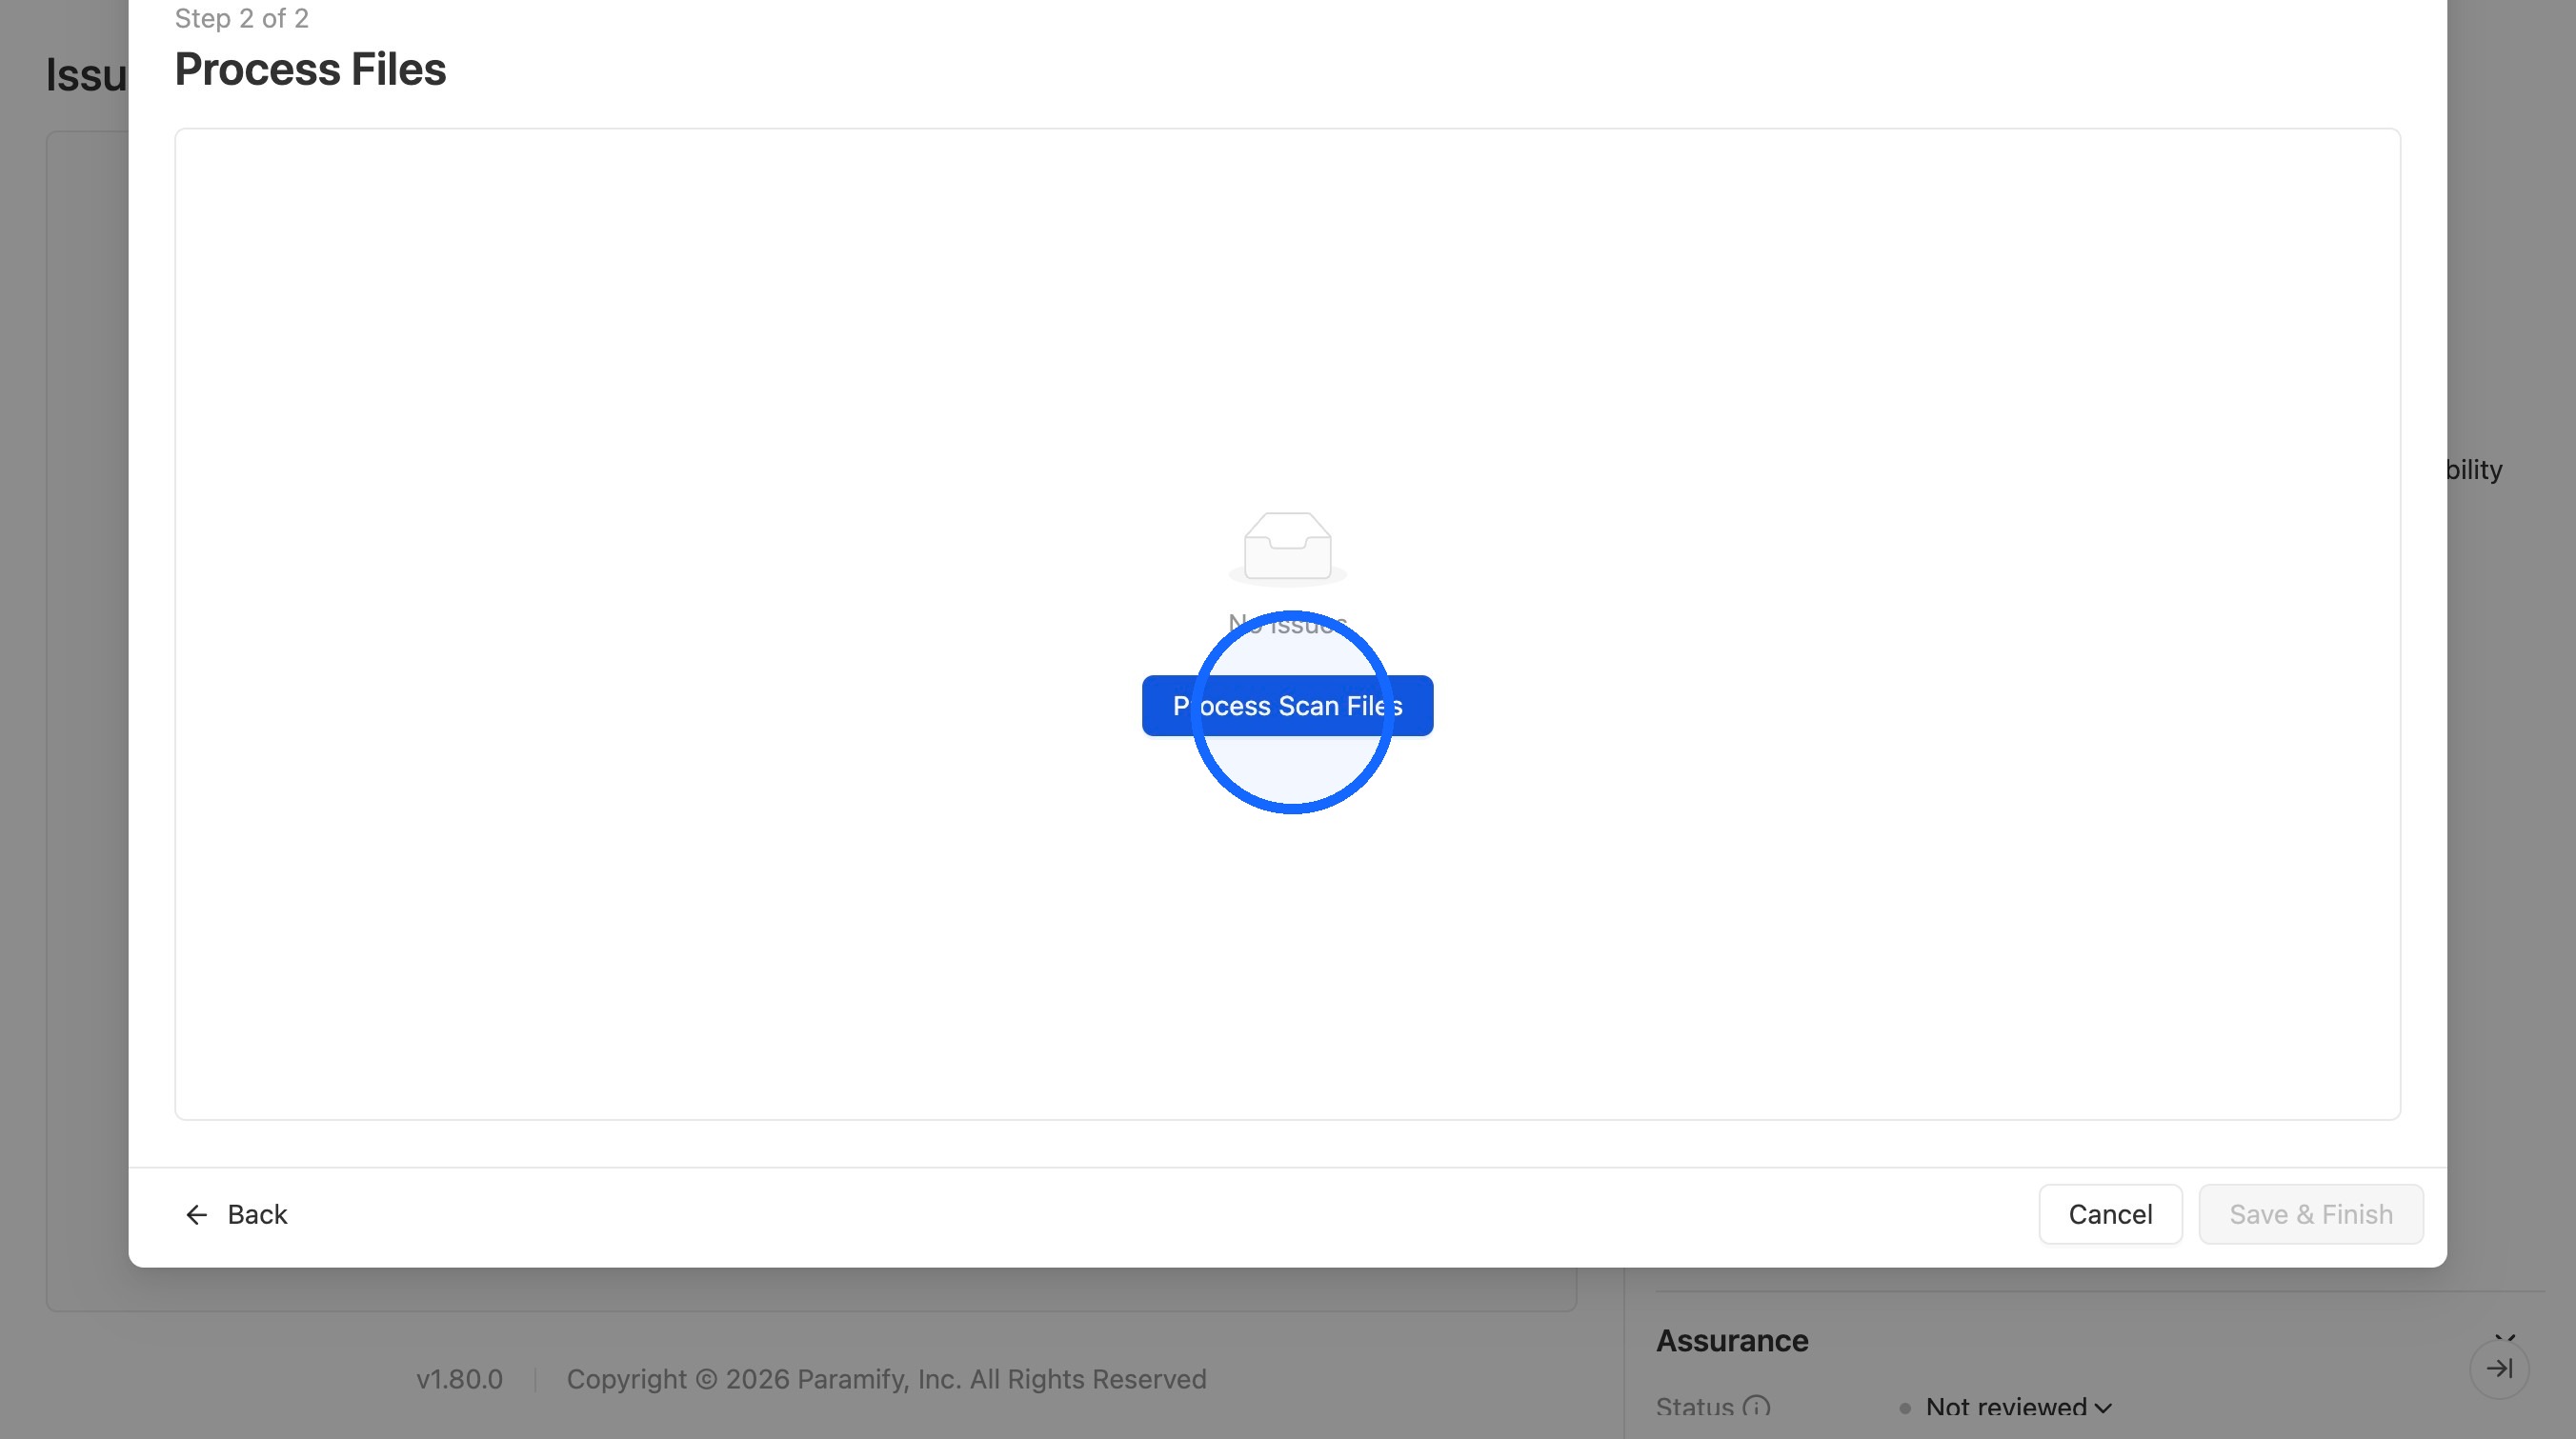
30. Process the scan files
Click Process Scan Files.
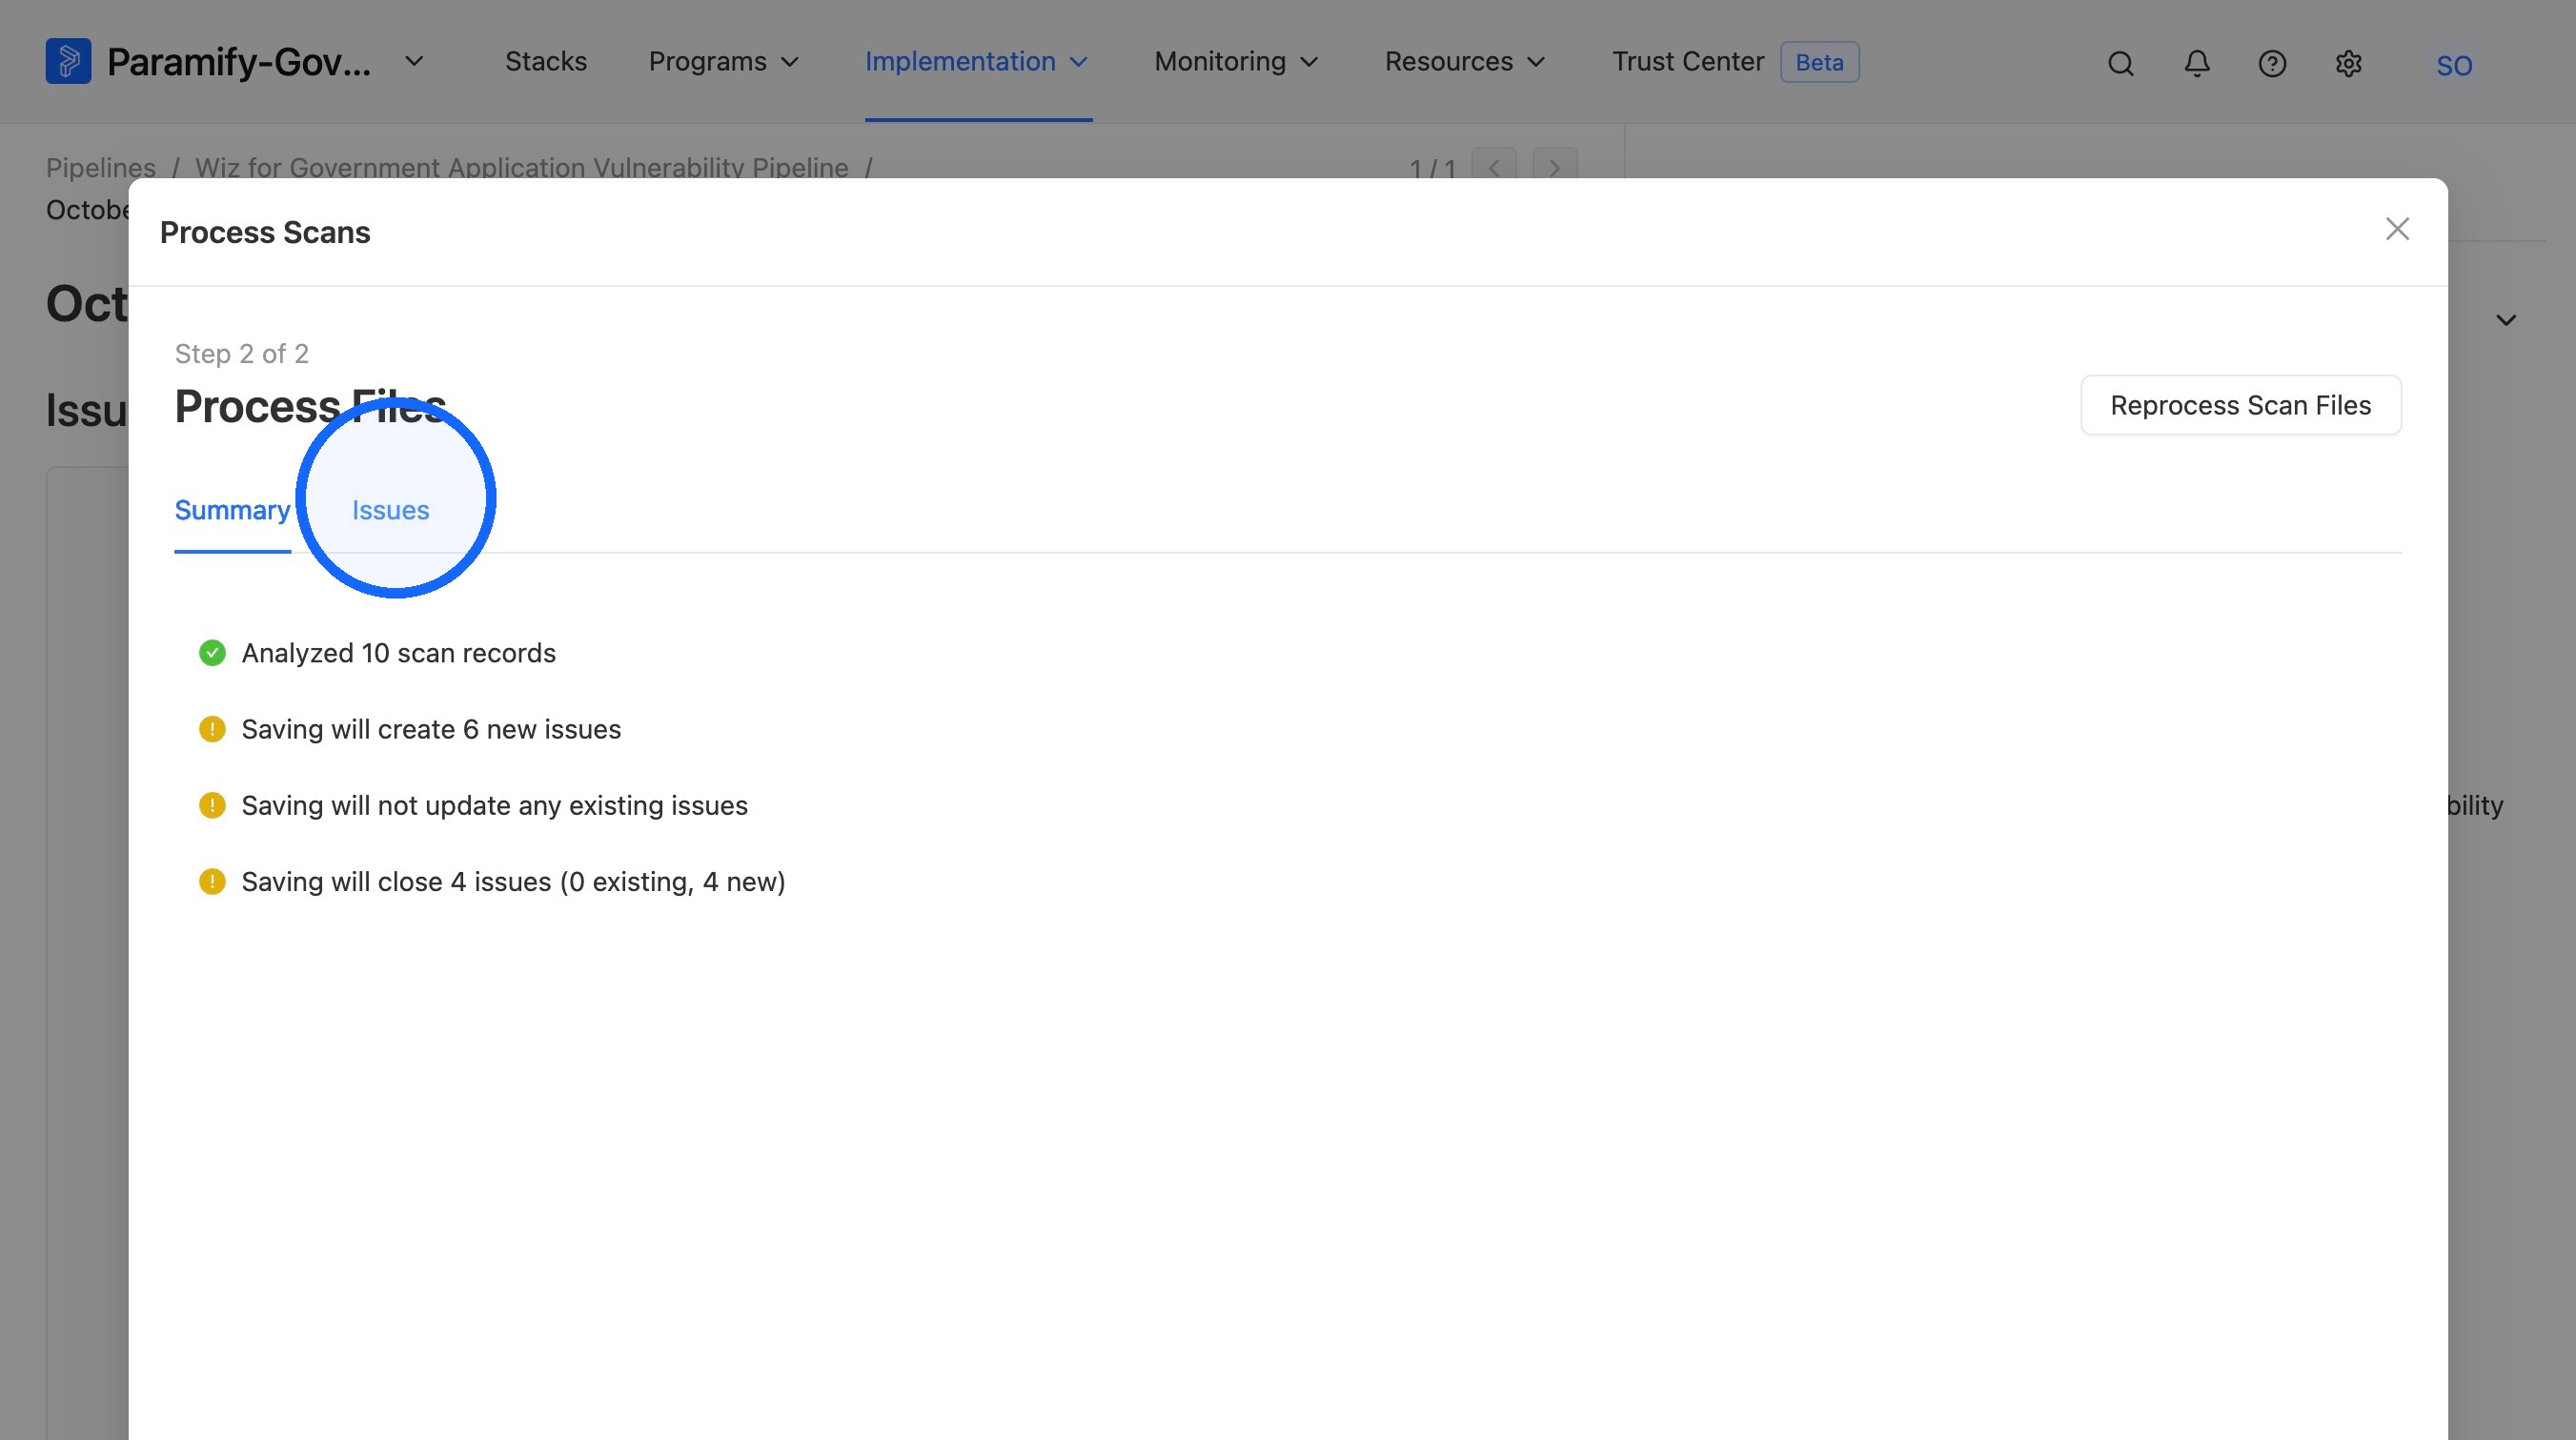
31. Review the Issues to be created
Click the Issues tab to see the details of the Issues that will be created.
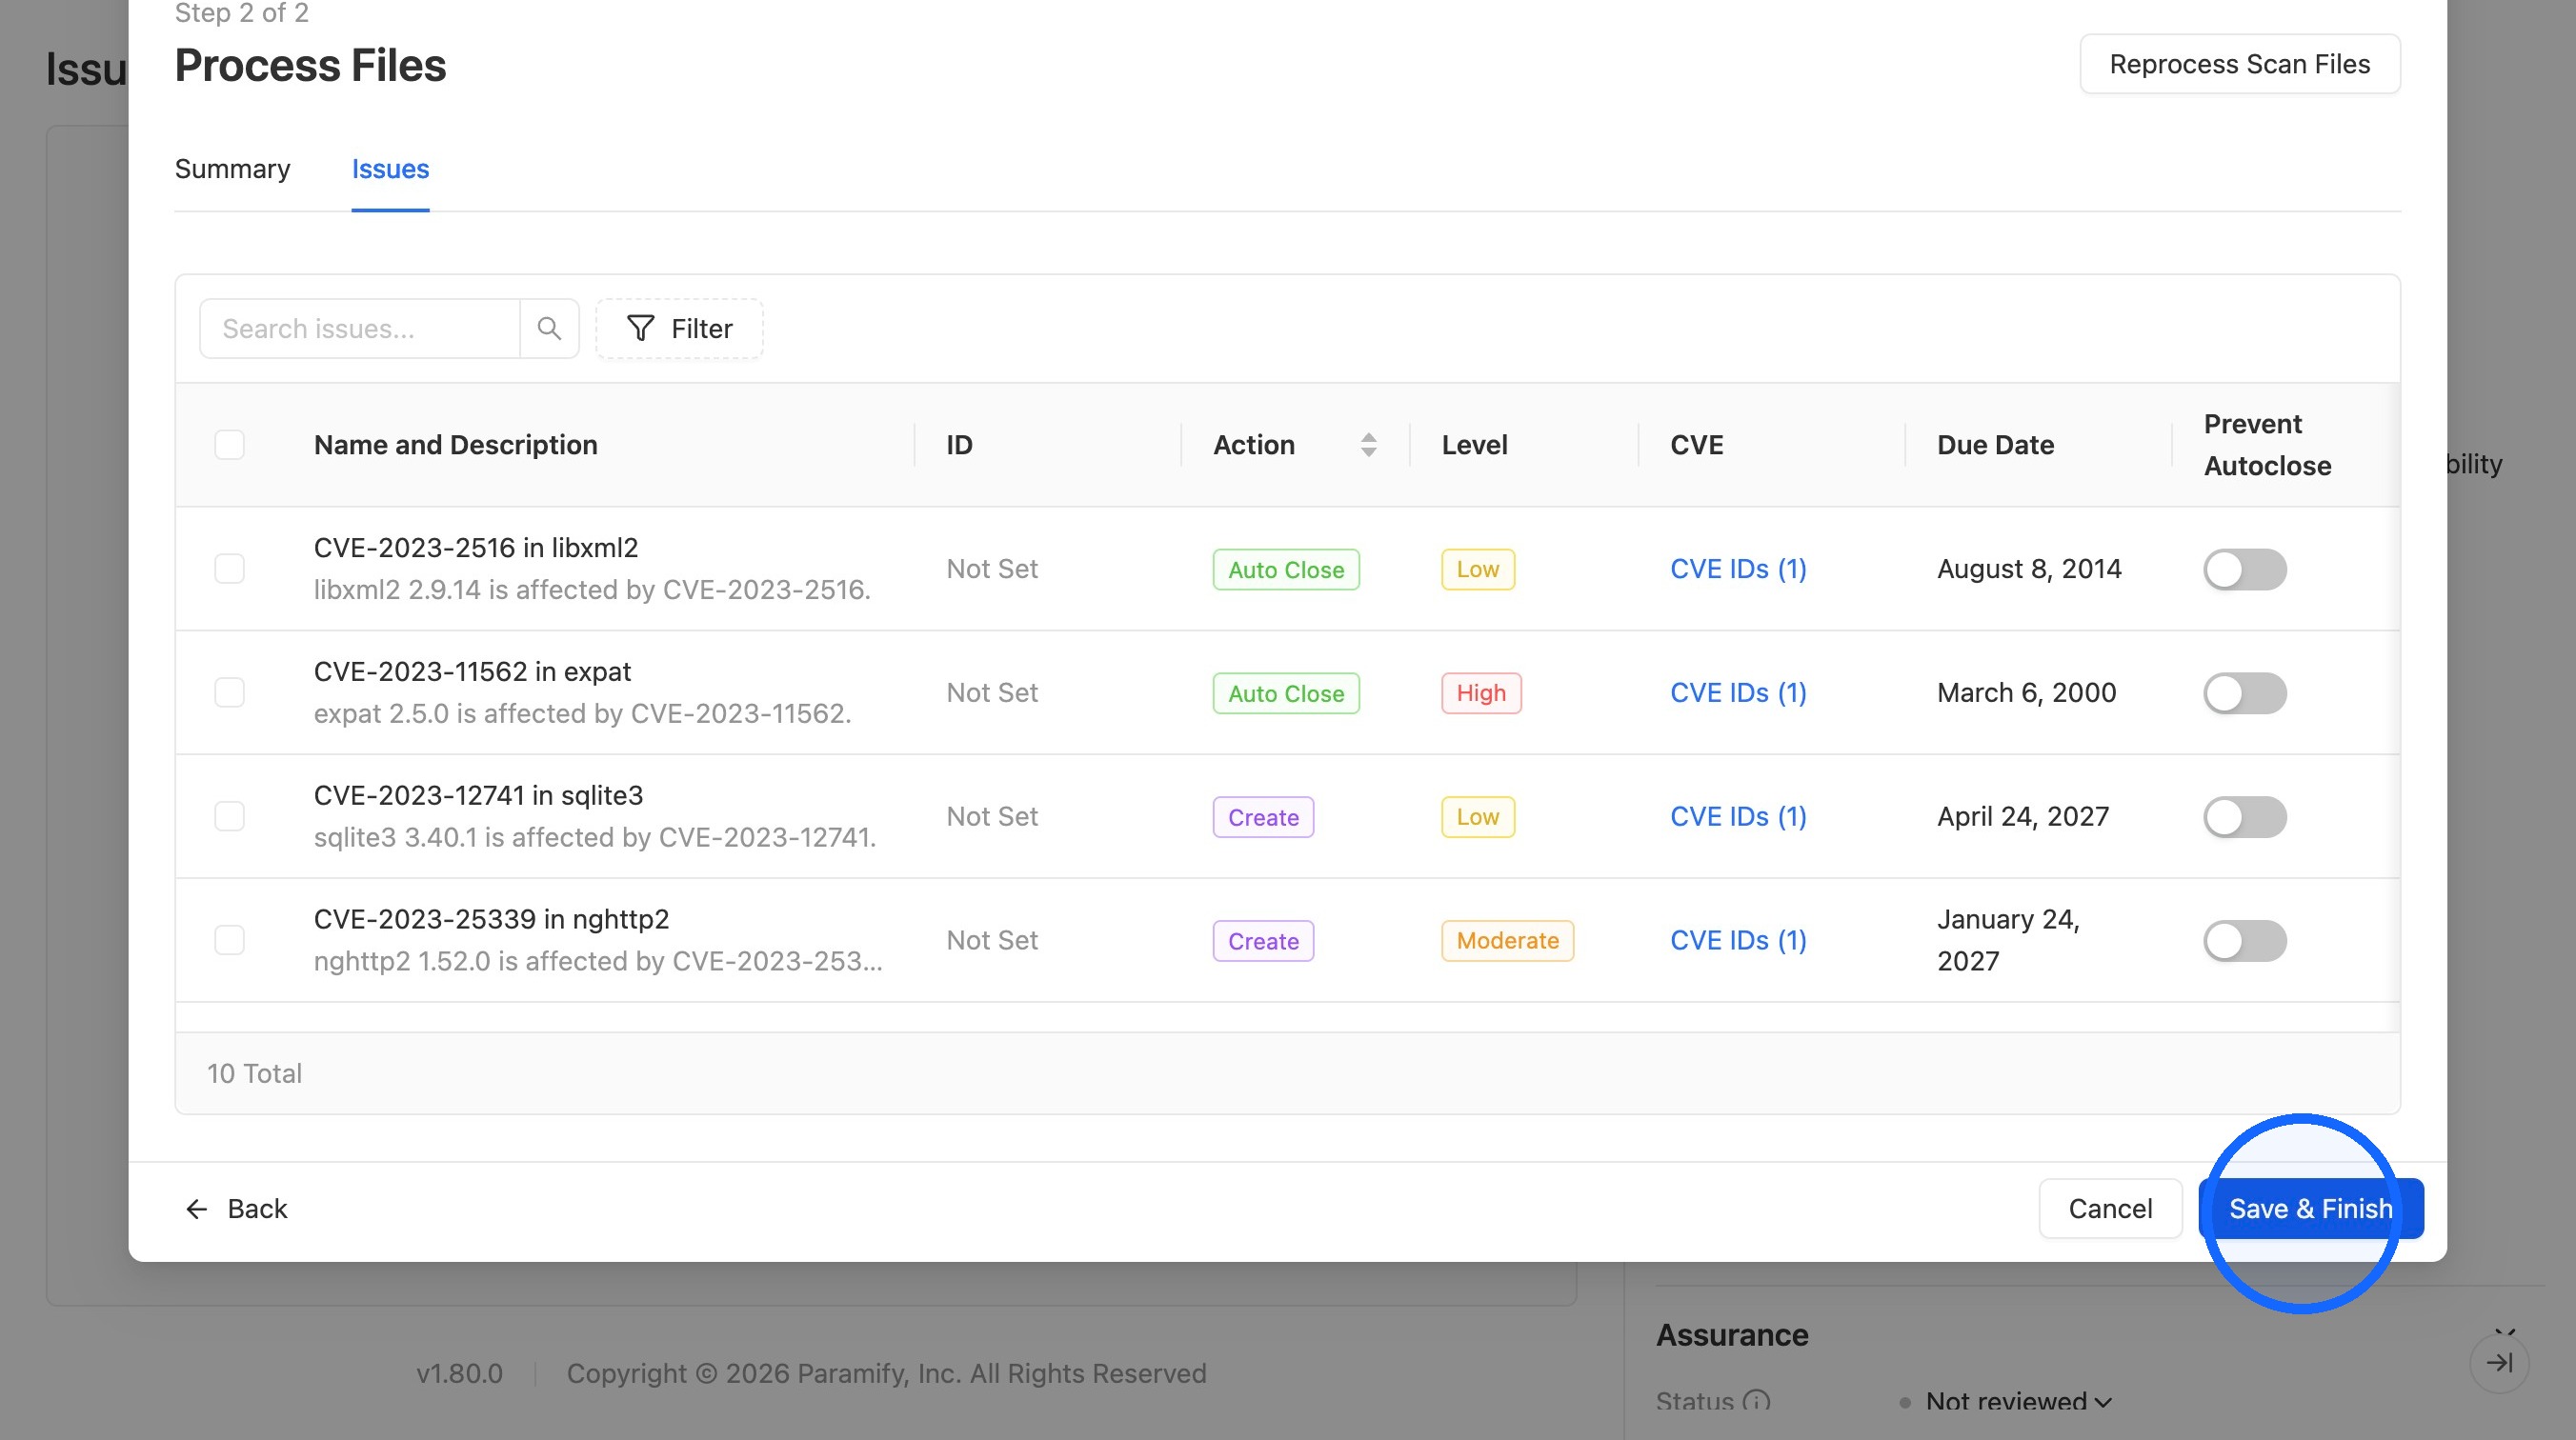
32. Save and finish
Click Save & Finish.
Comments
0 comments
Please sign in to leave a comment.