
This guide walks you through importing external Jira tickets into Paramify and exporting Paramify issues to Jira, so your security operations stay fully aligned.
Importing Jira tickets
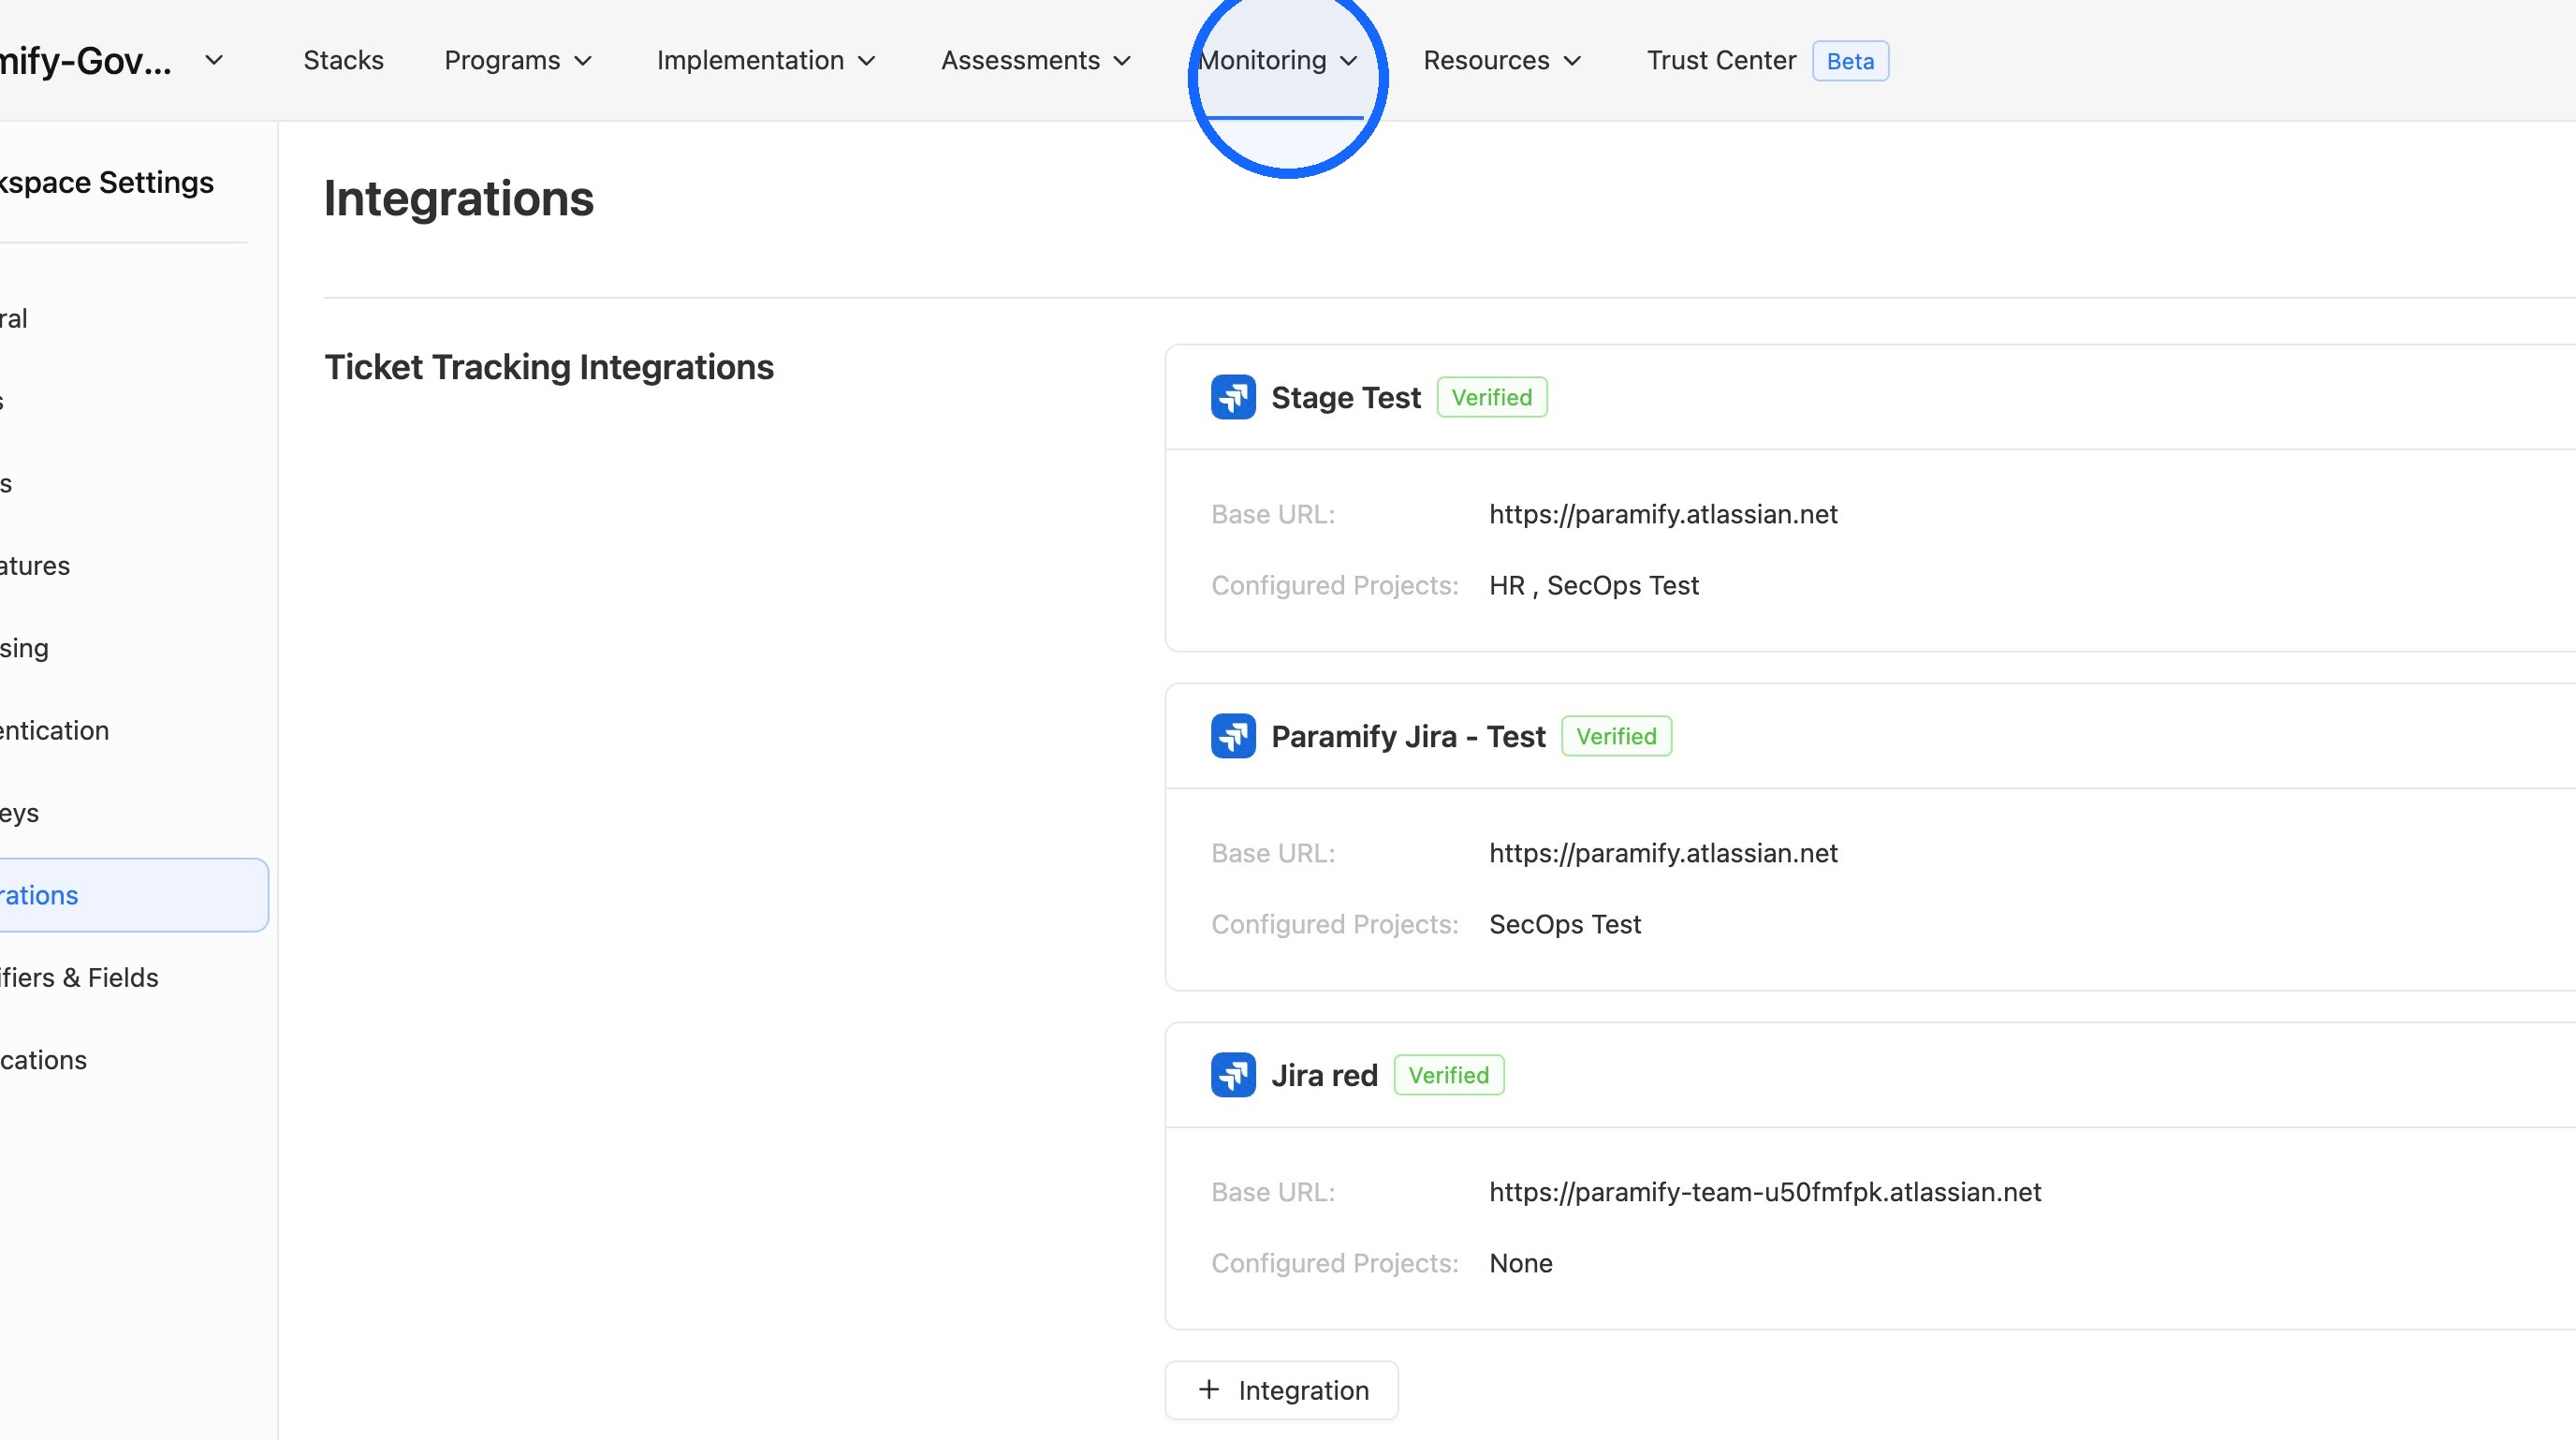
1. Open the Monitoring menu
Open the Monitoring dropdown.
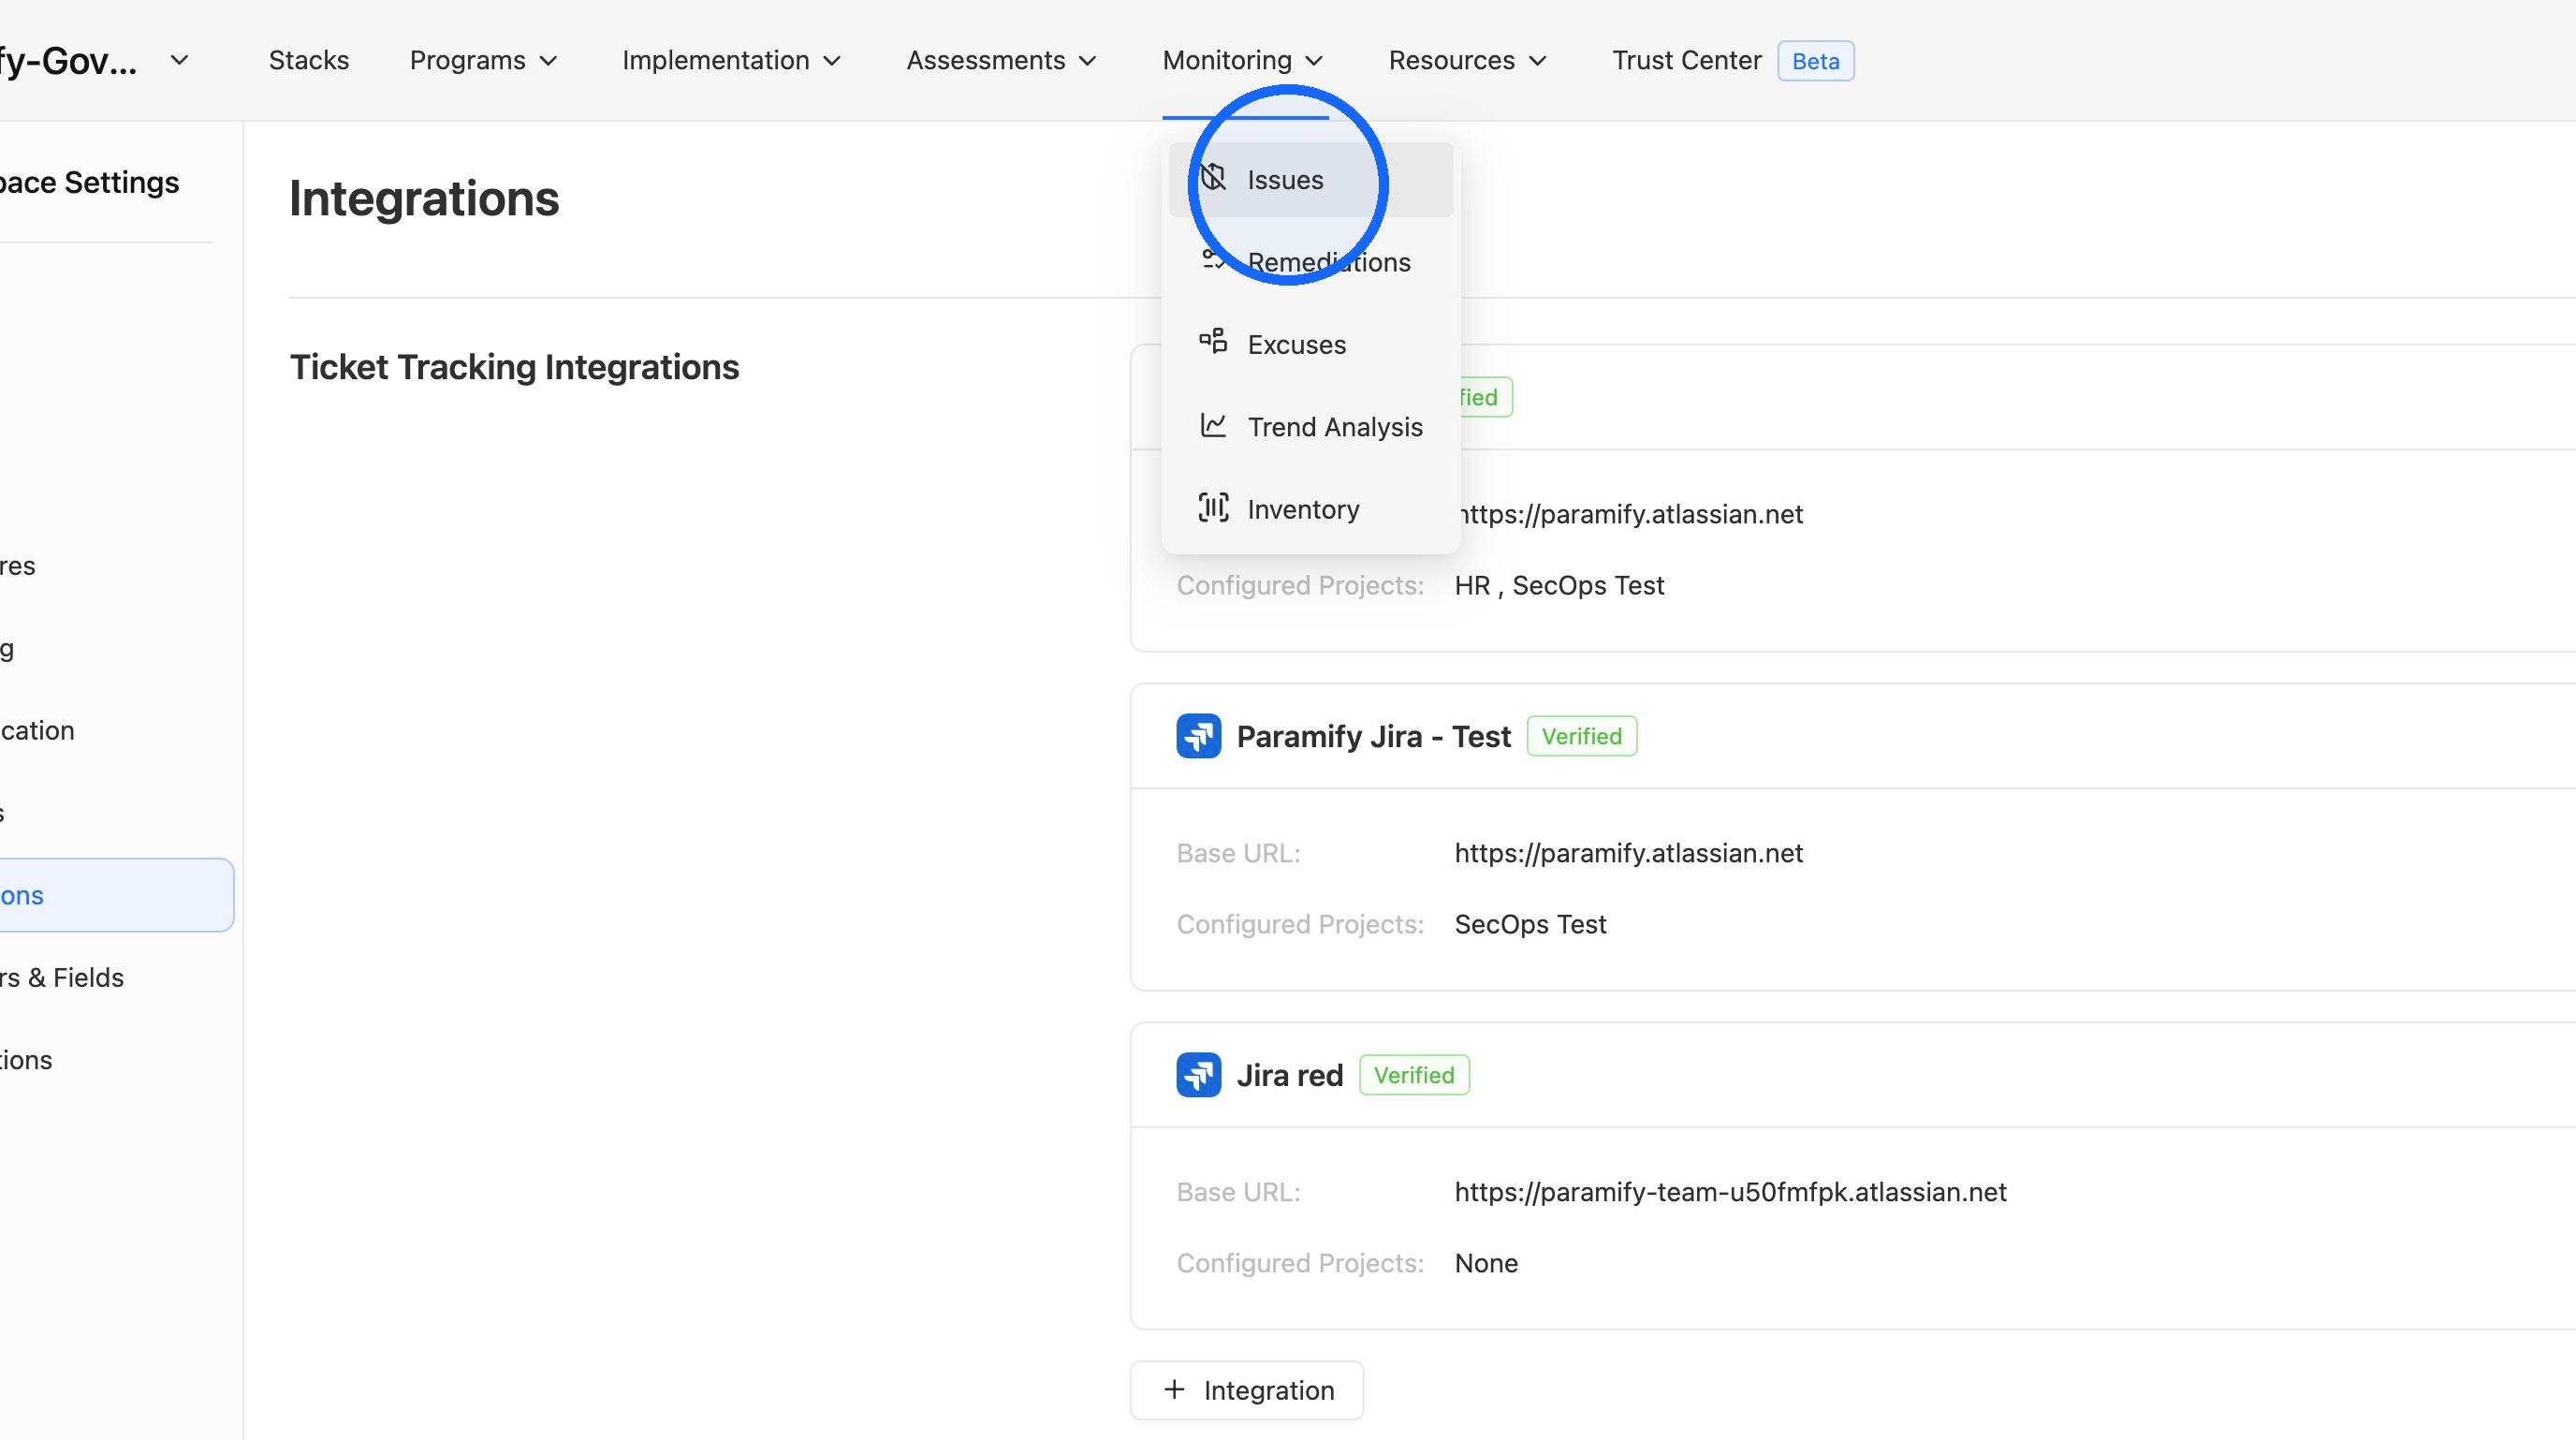
2. Go to Issues
Click Issues.
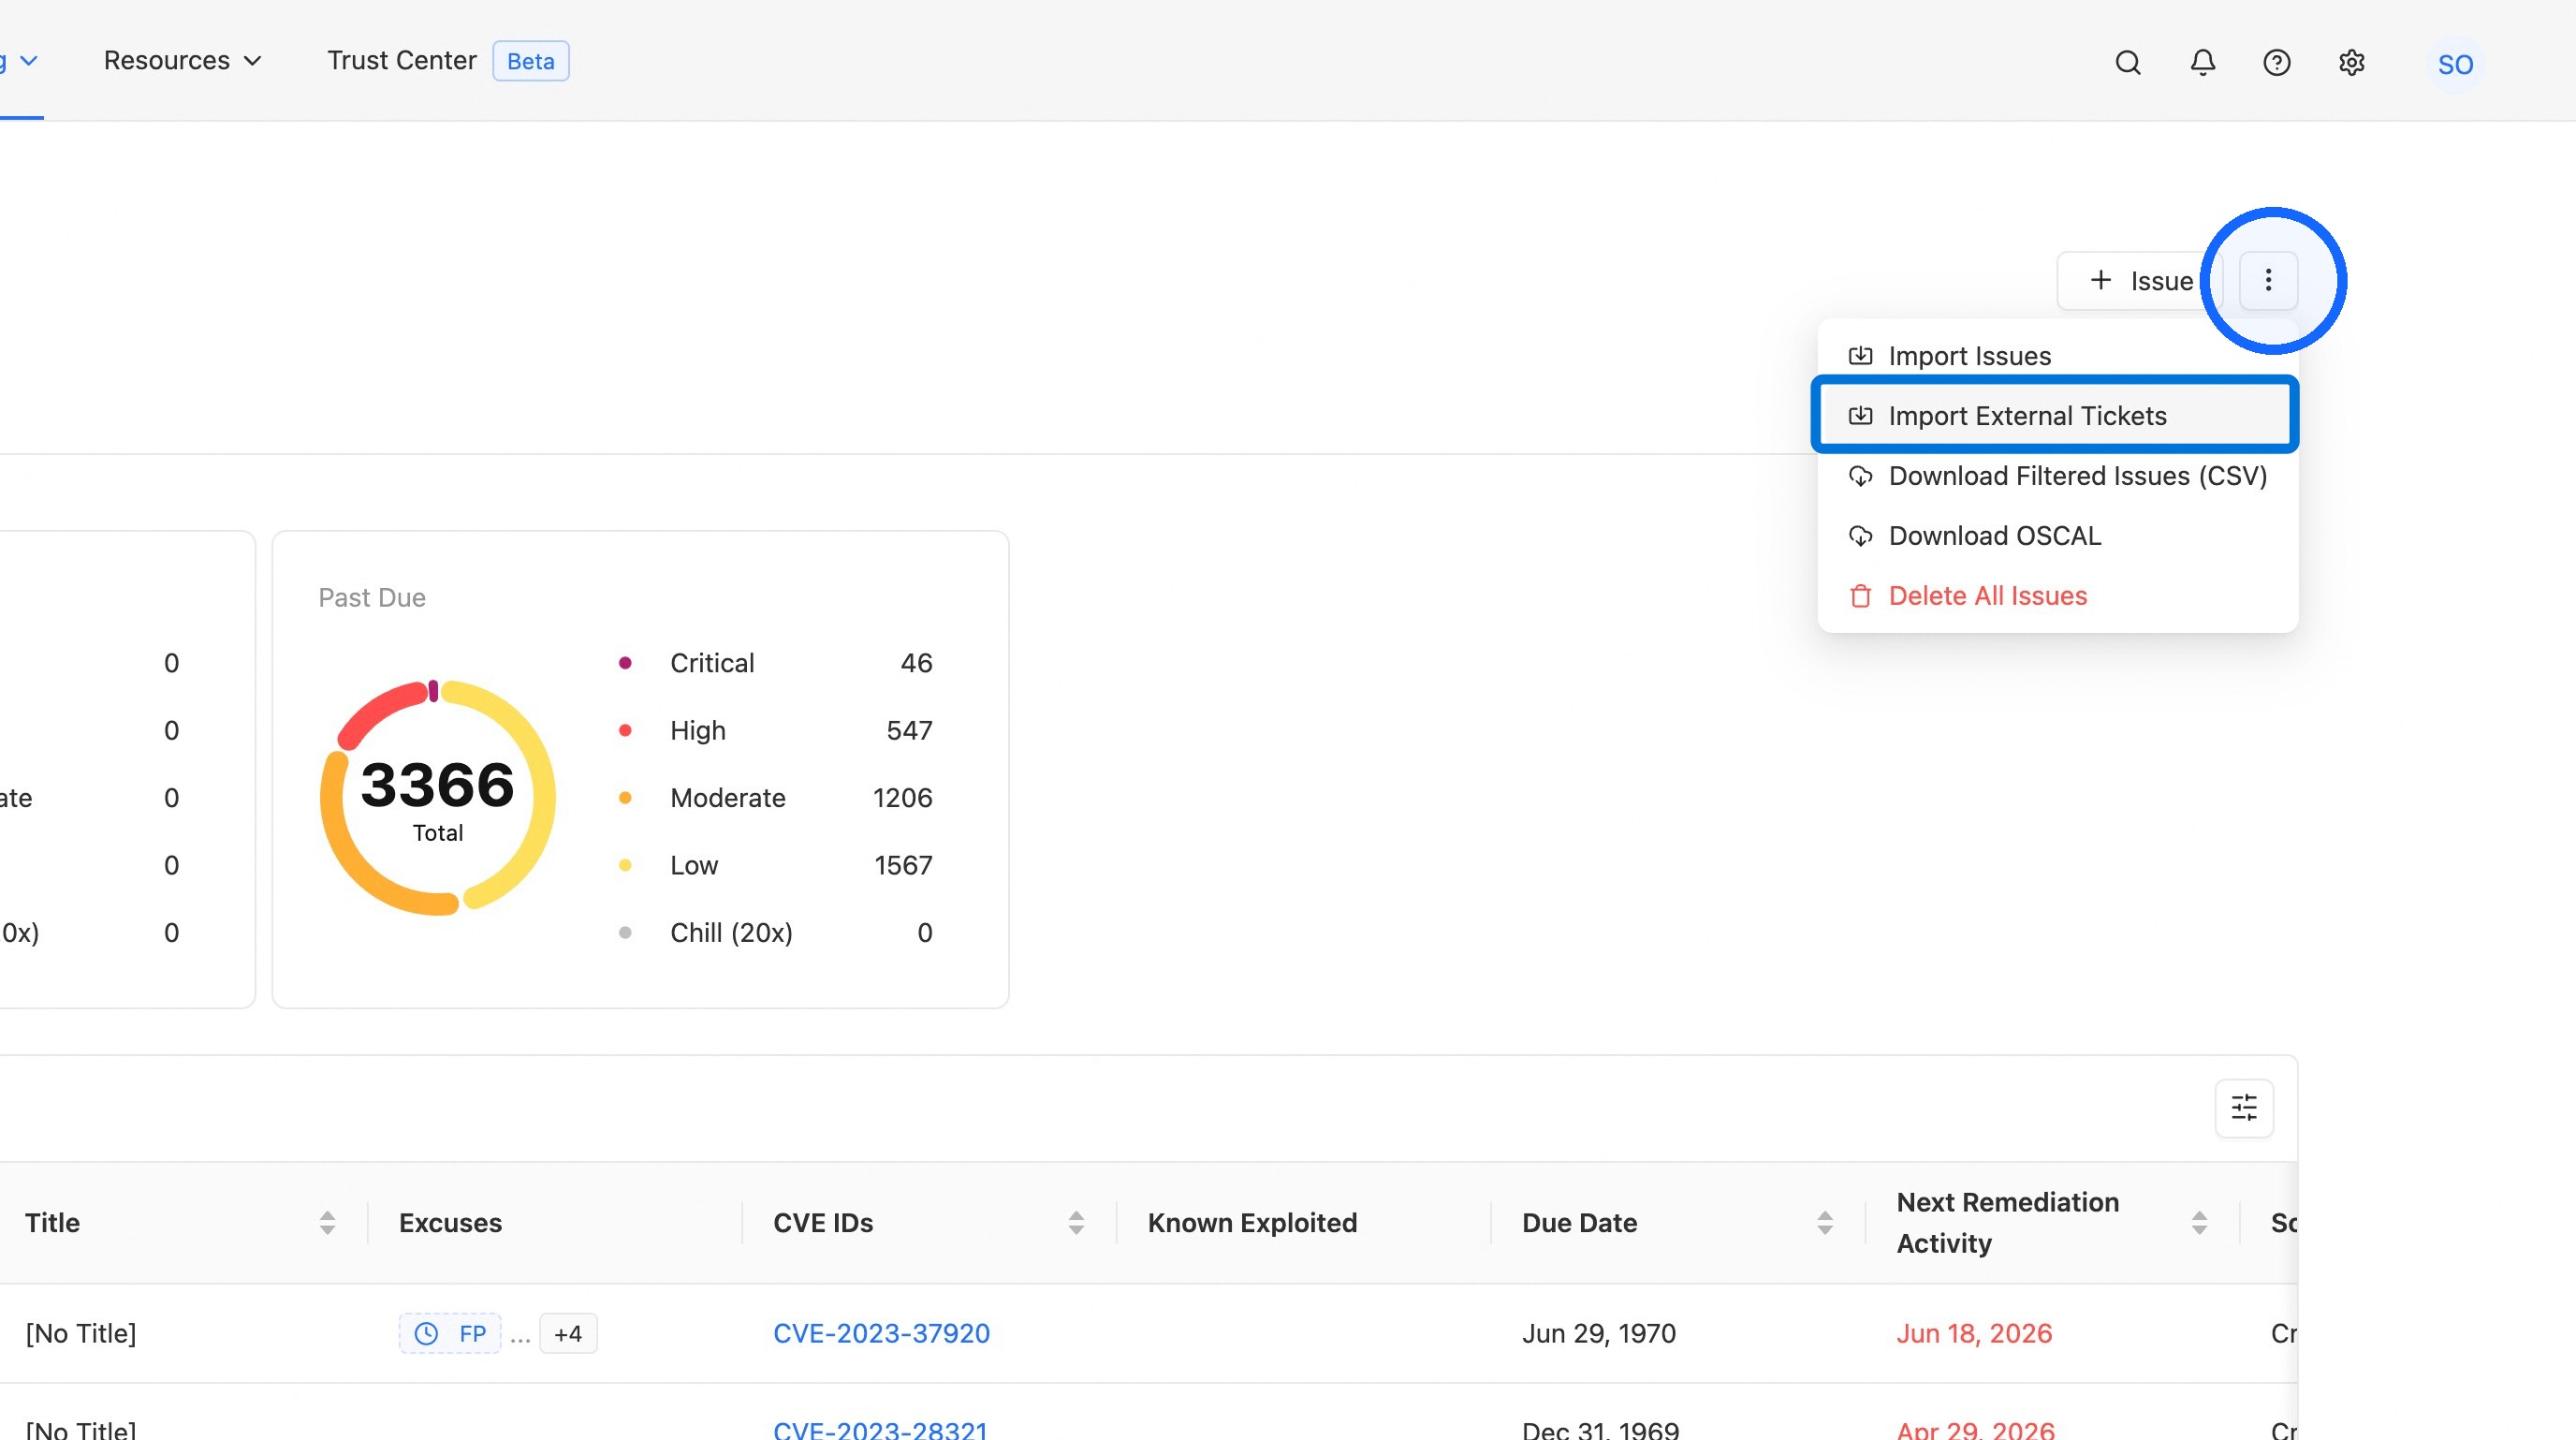
3. Start an import
Select the three dots in the top right corner, then click Import External Tickets.
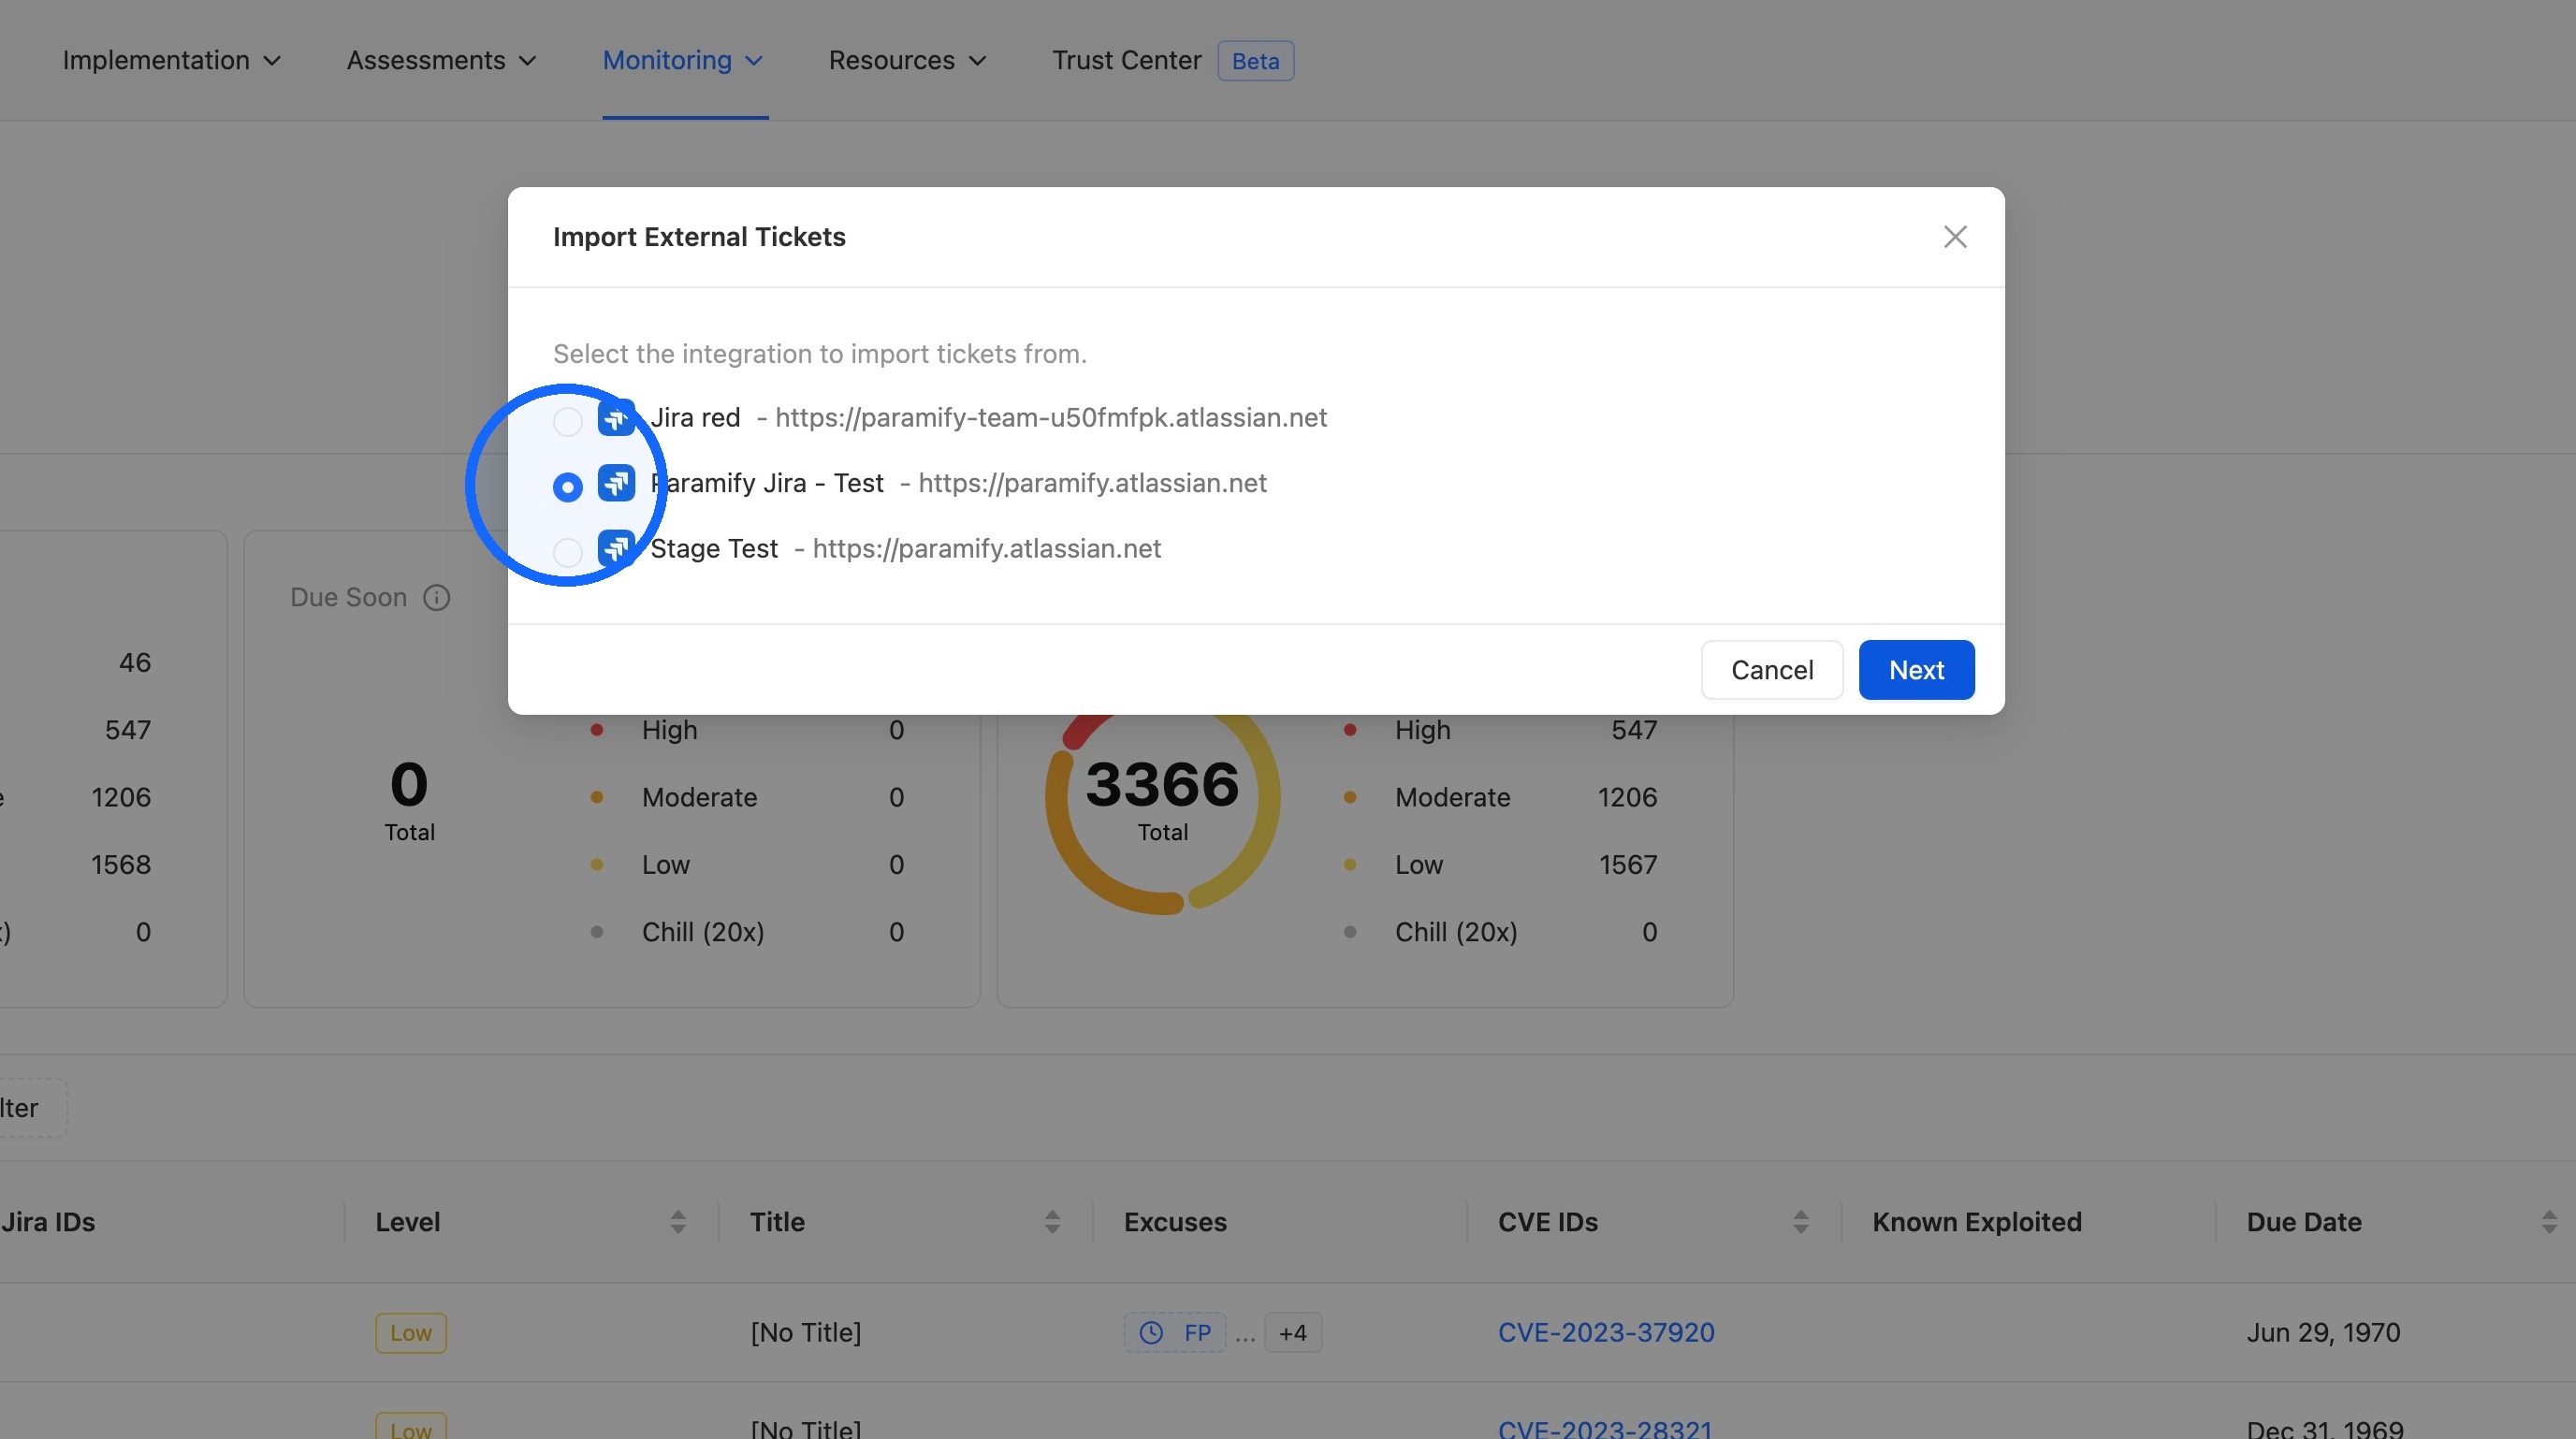
4. Select the integration
Select the integration to import tickets from, then click Next.
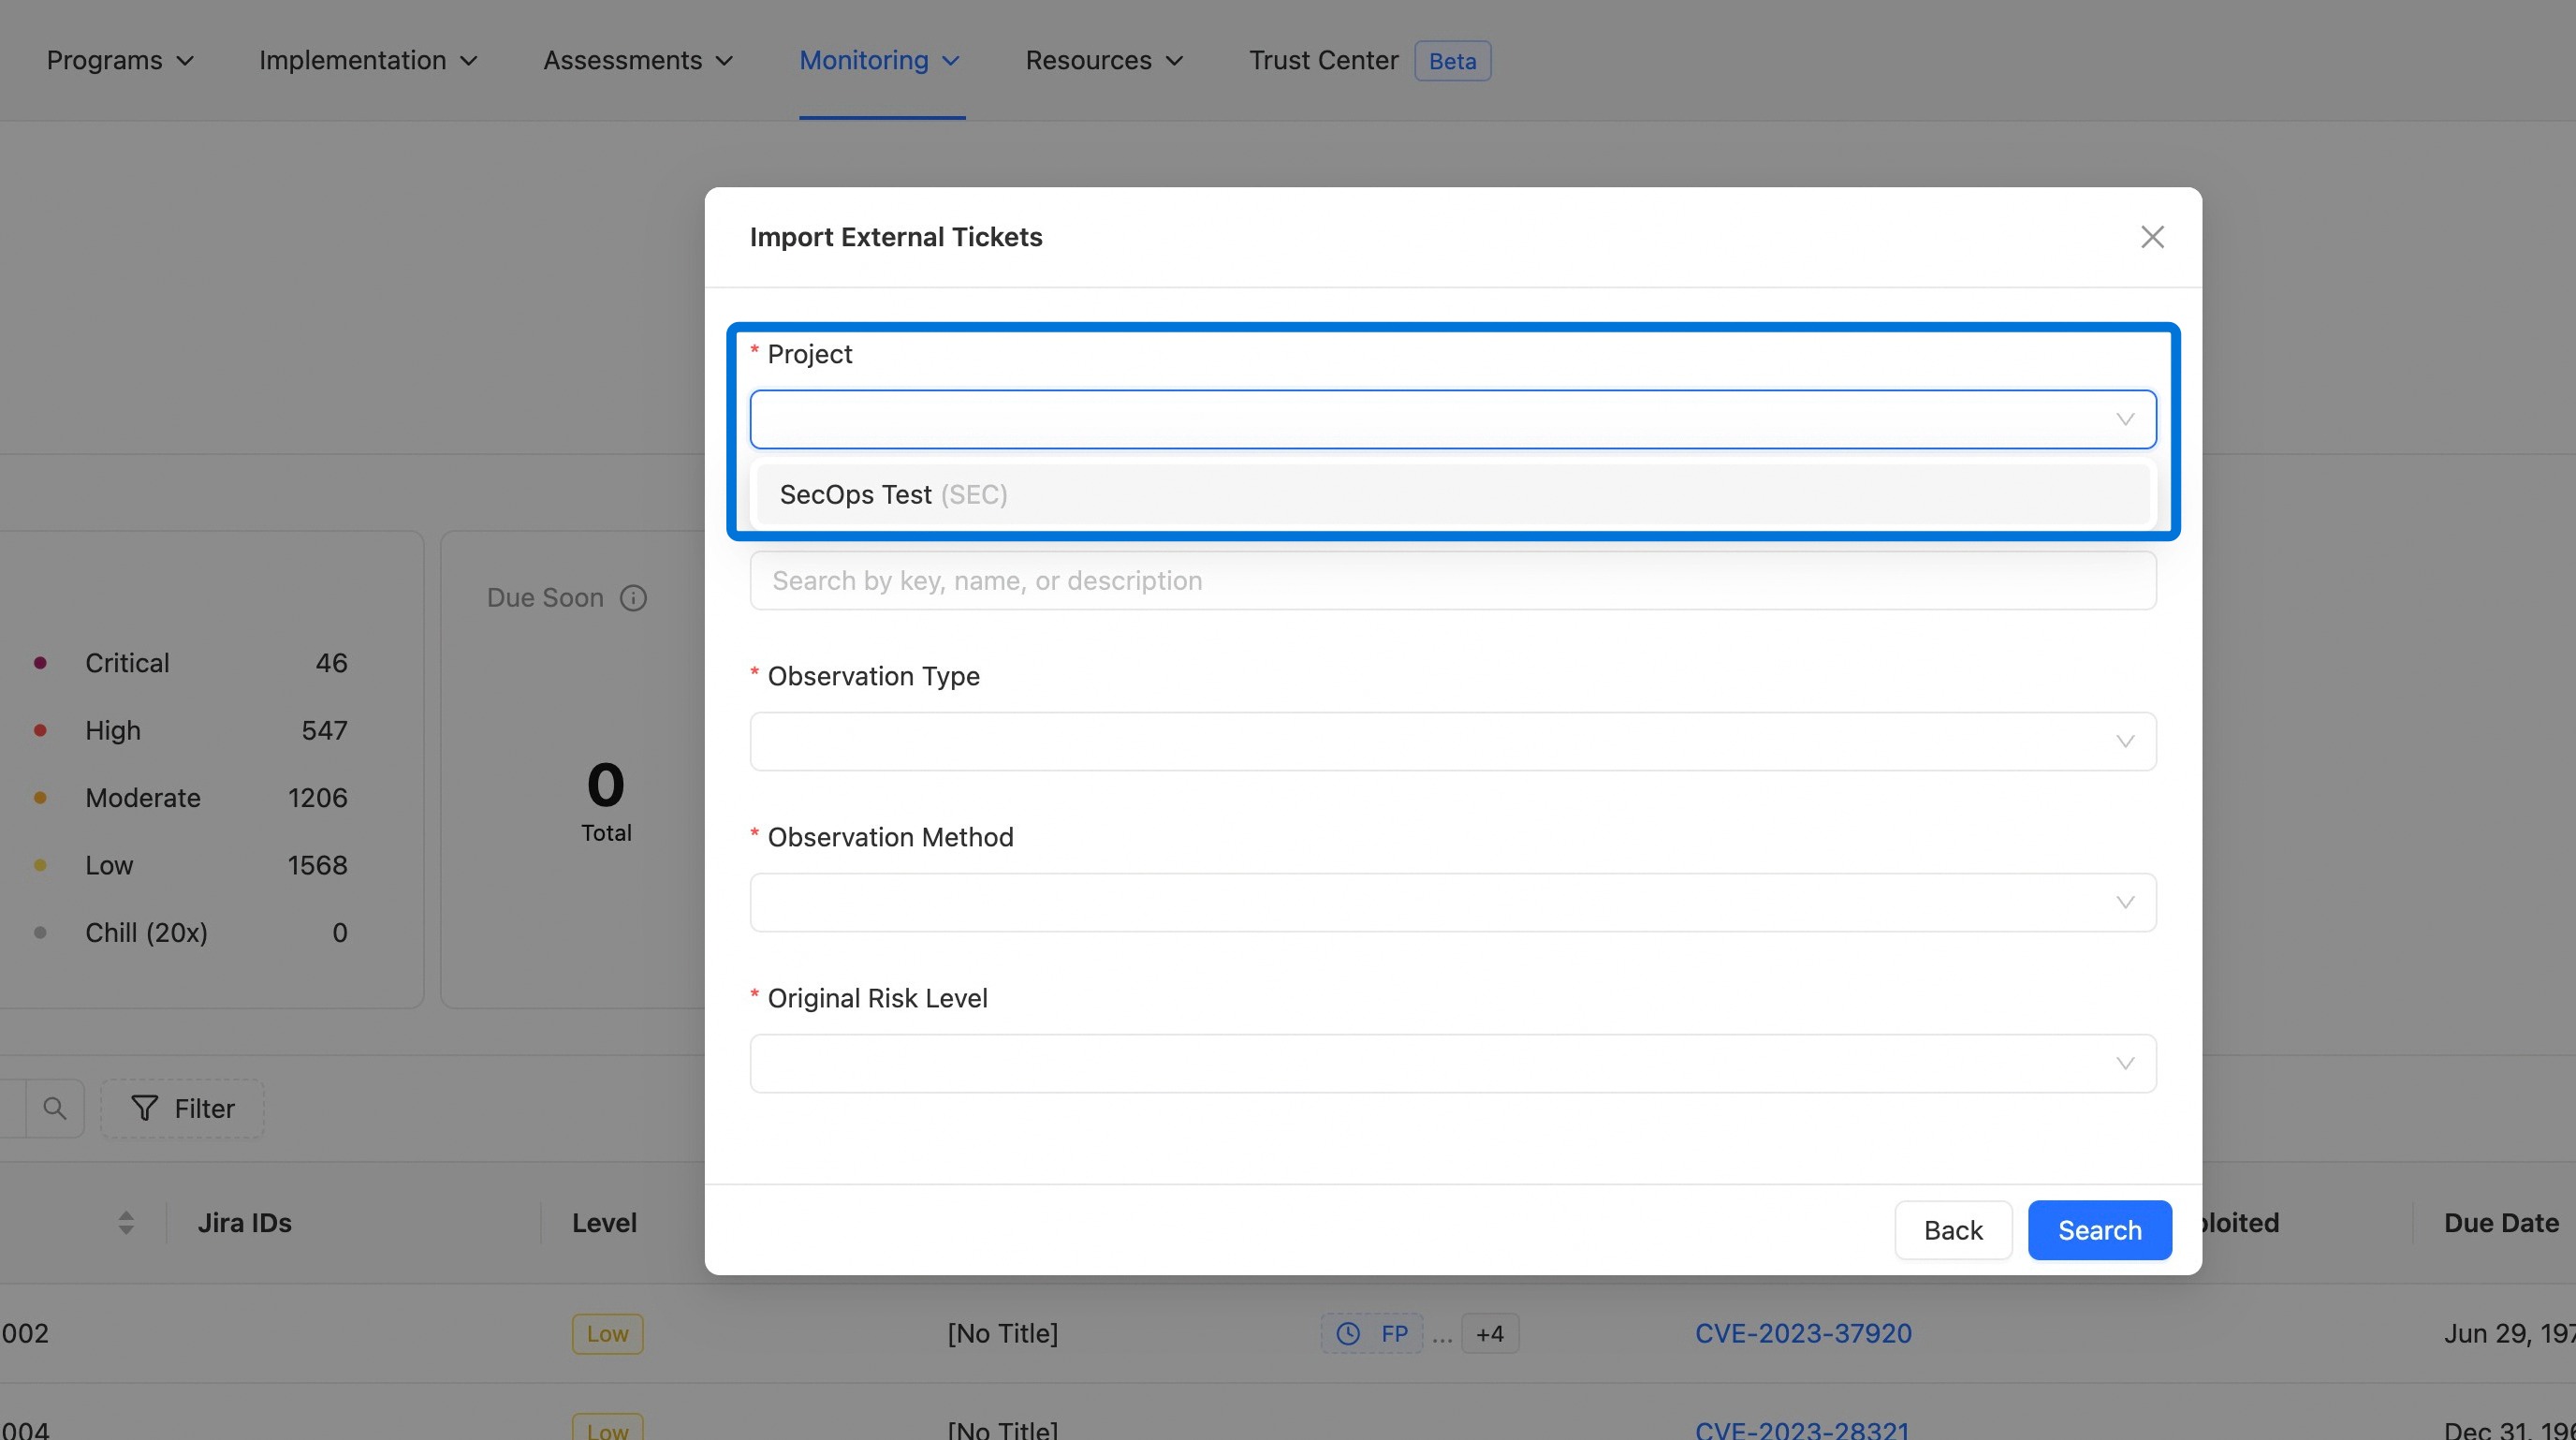
5. Select the Jira project
Select the project you want to import tickets from.
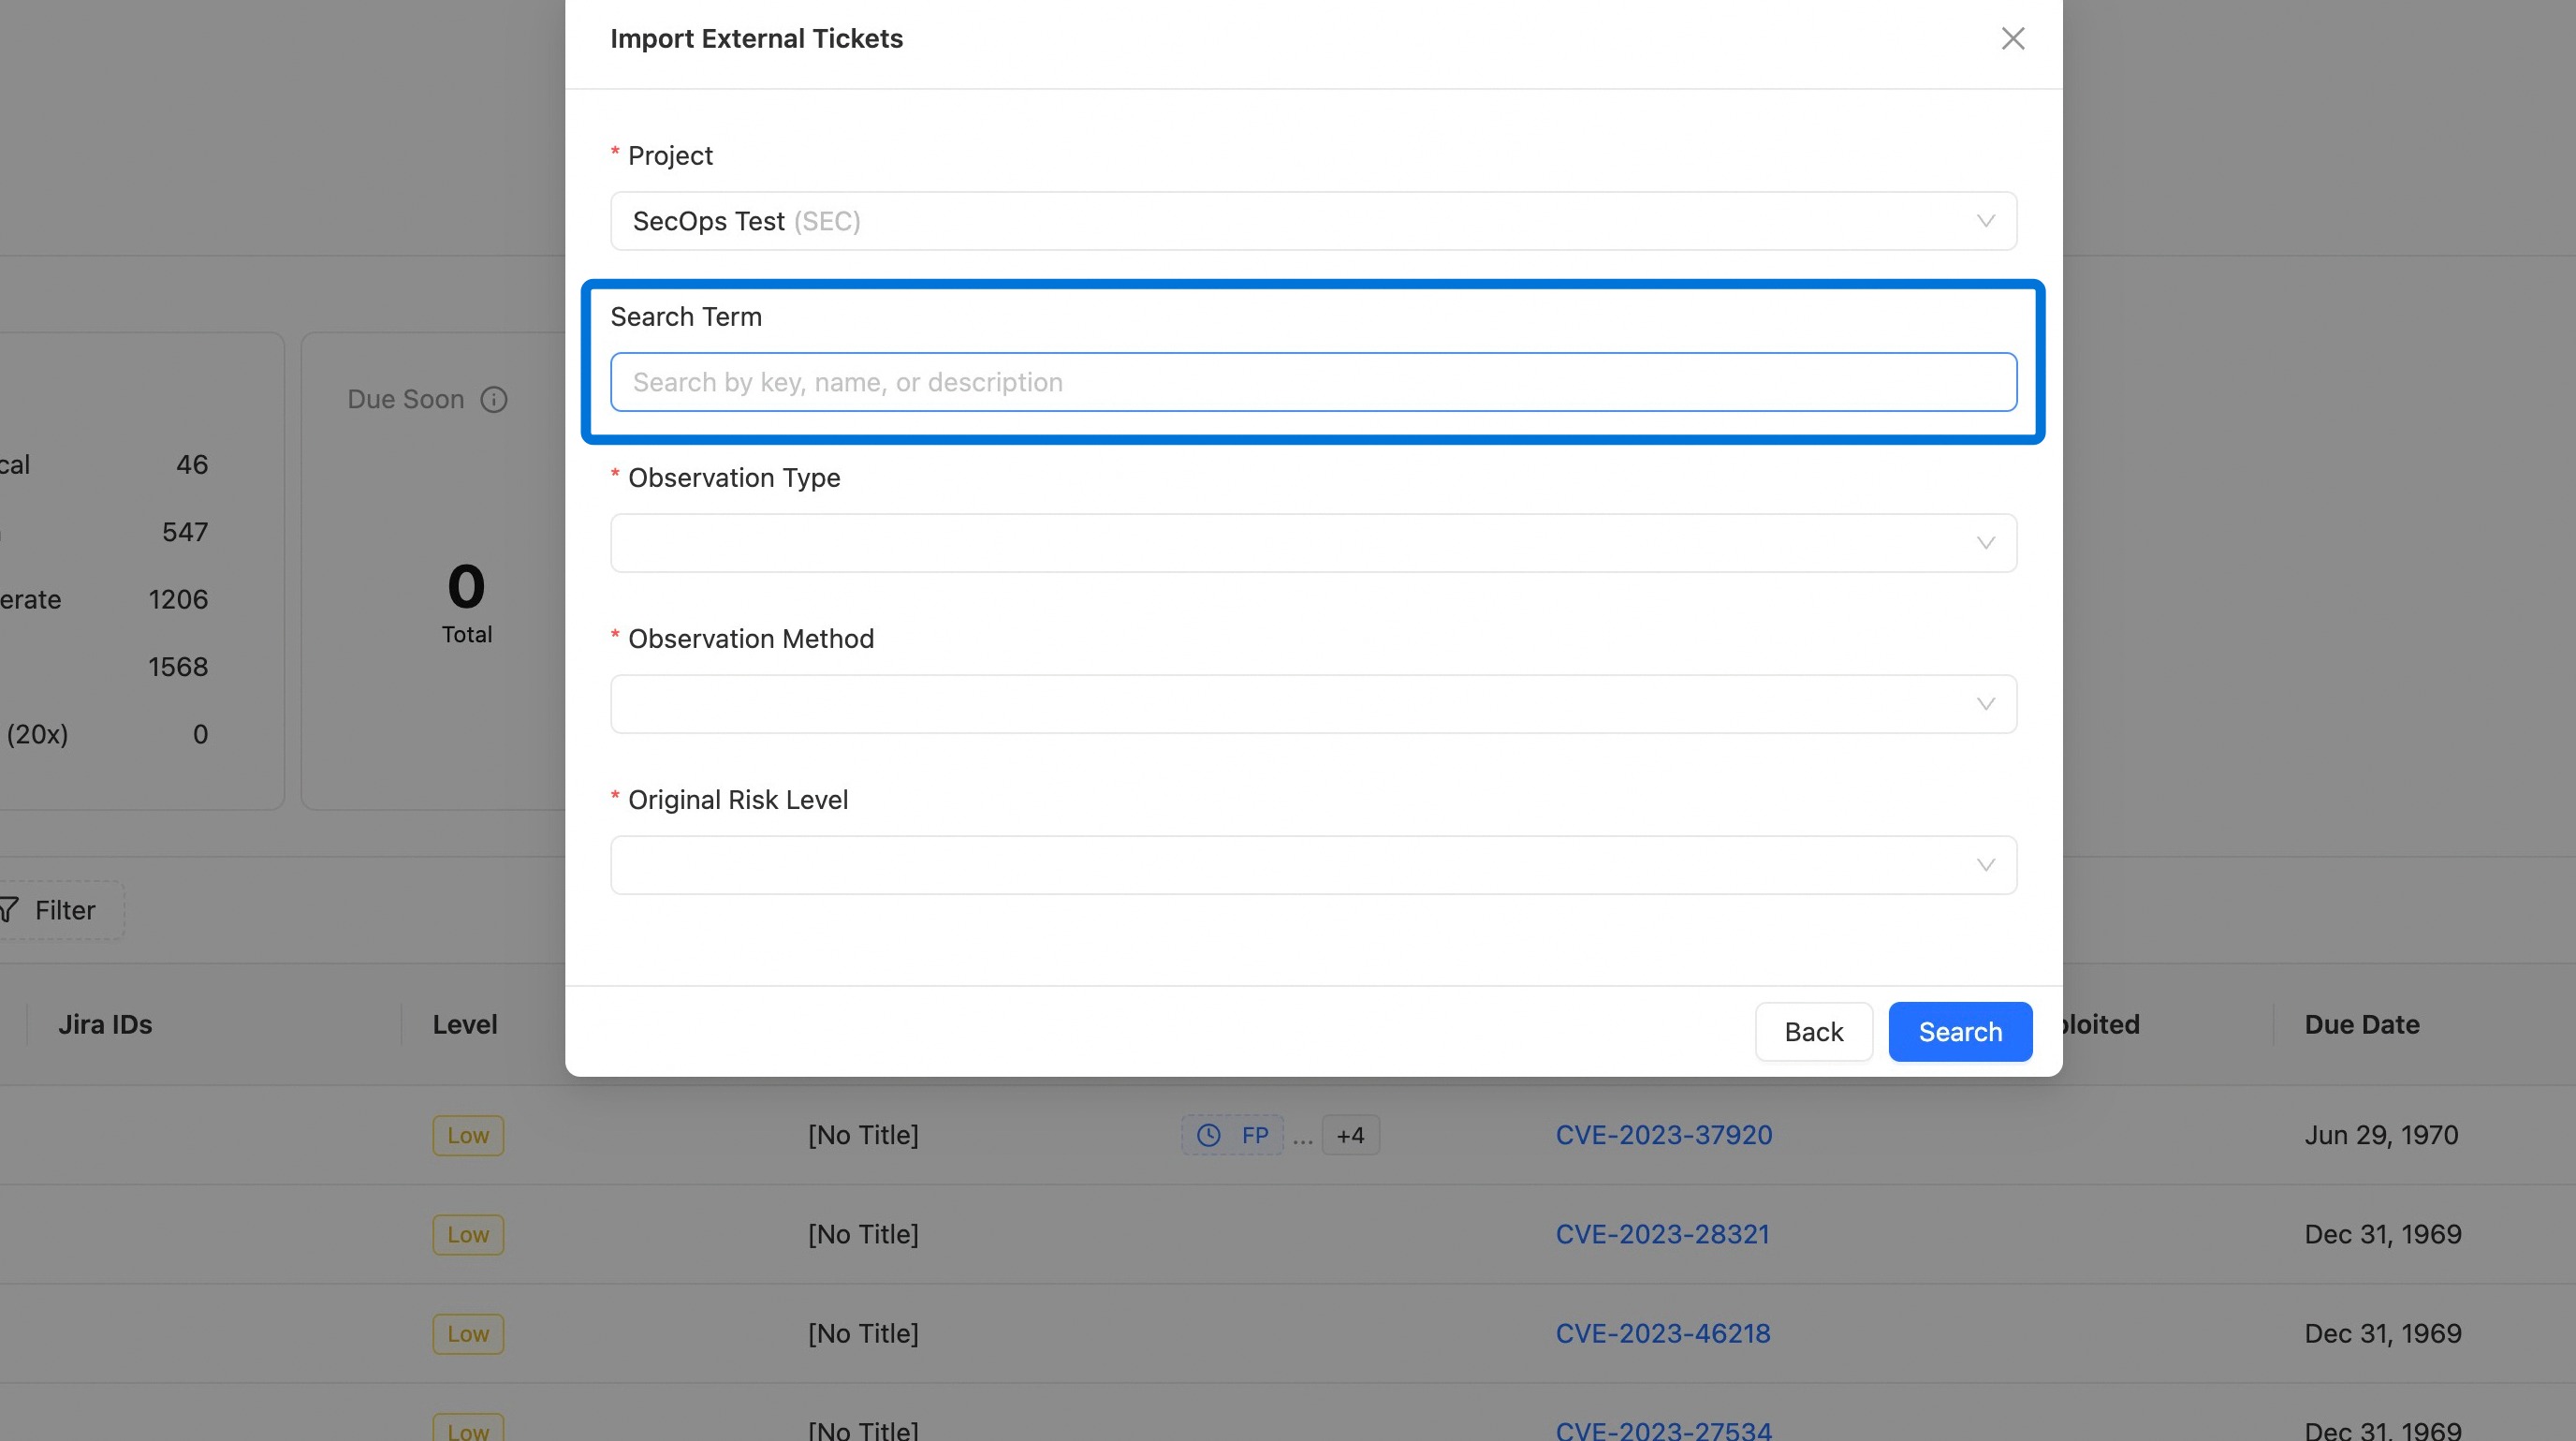
6. Enter a search term
Enter keywords in the Search Term field to scan the tickets in the selected project.
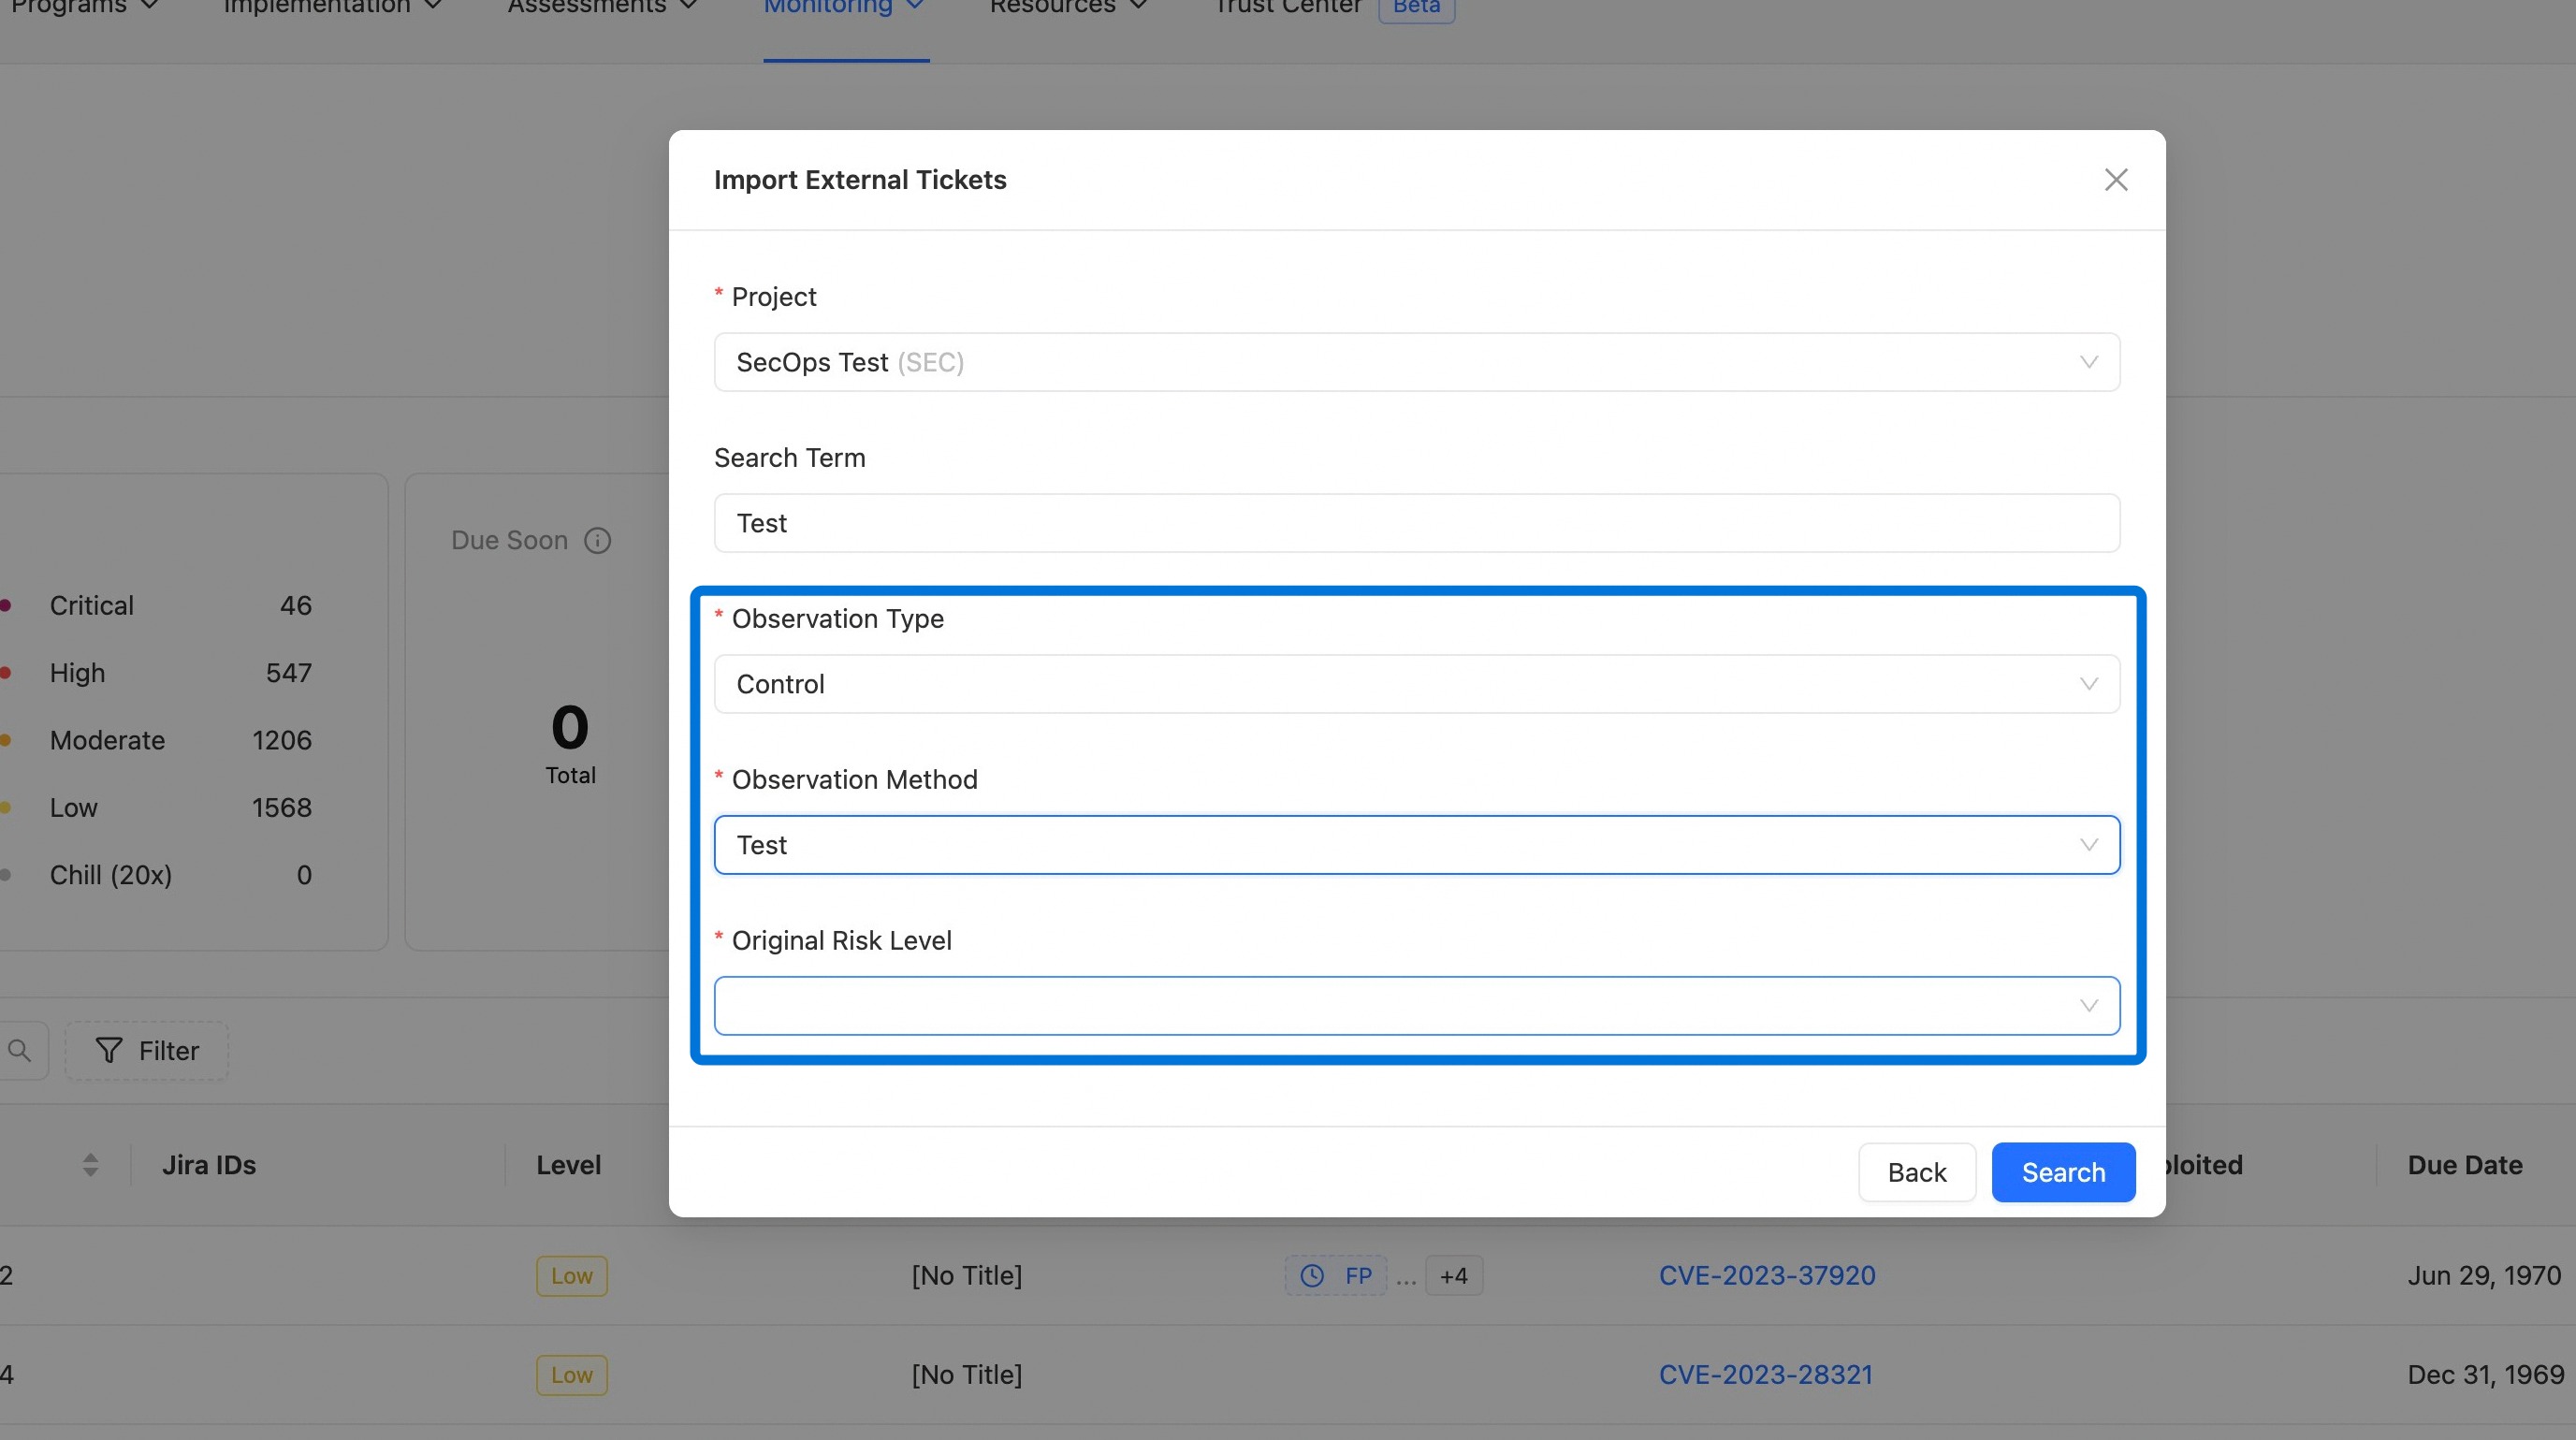
7. Set the import options
Set the three import values based on how you want external tickets imported into Paramify.
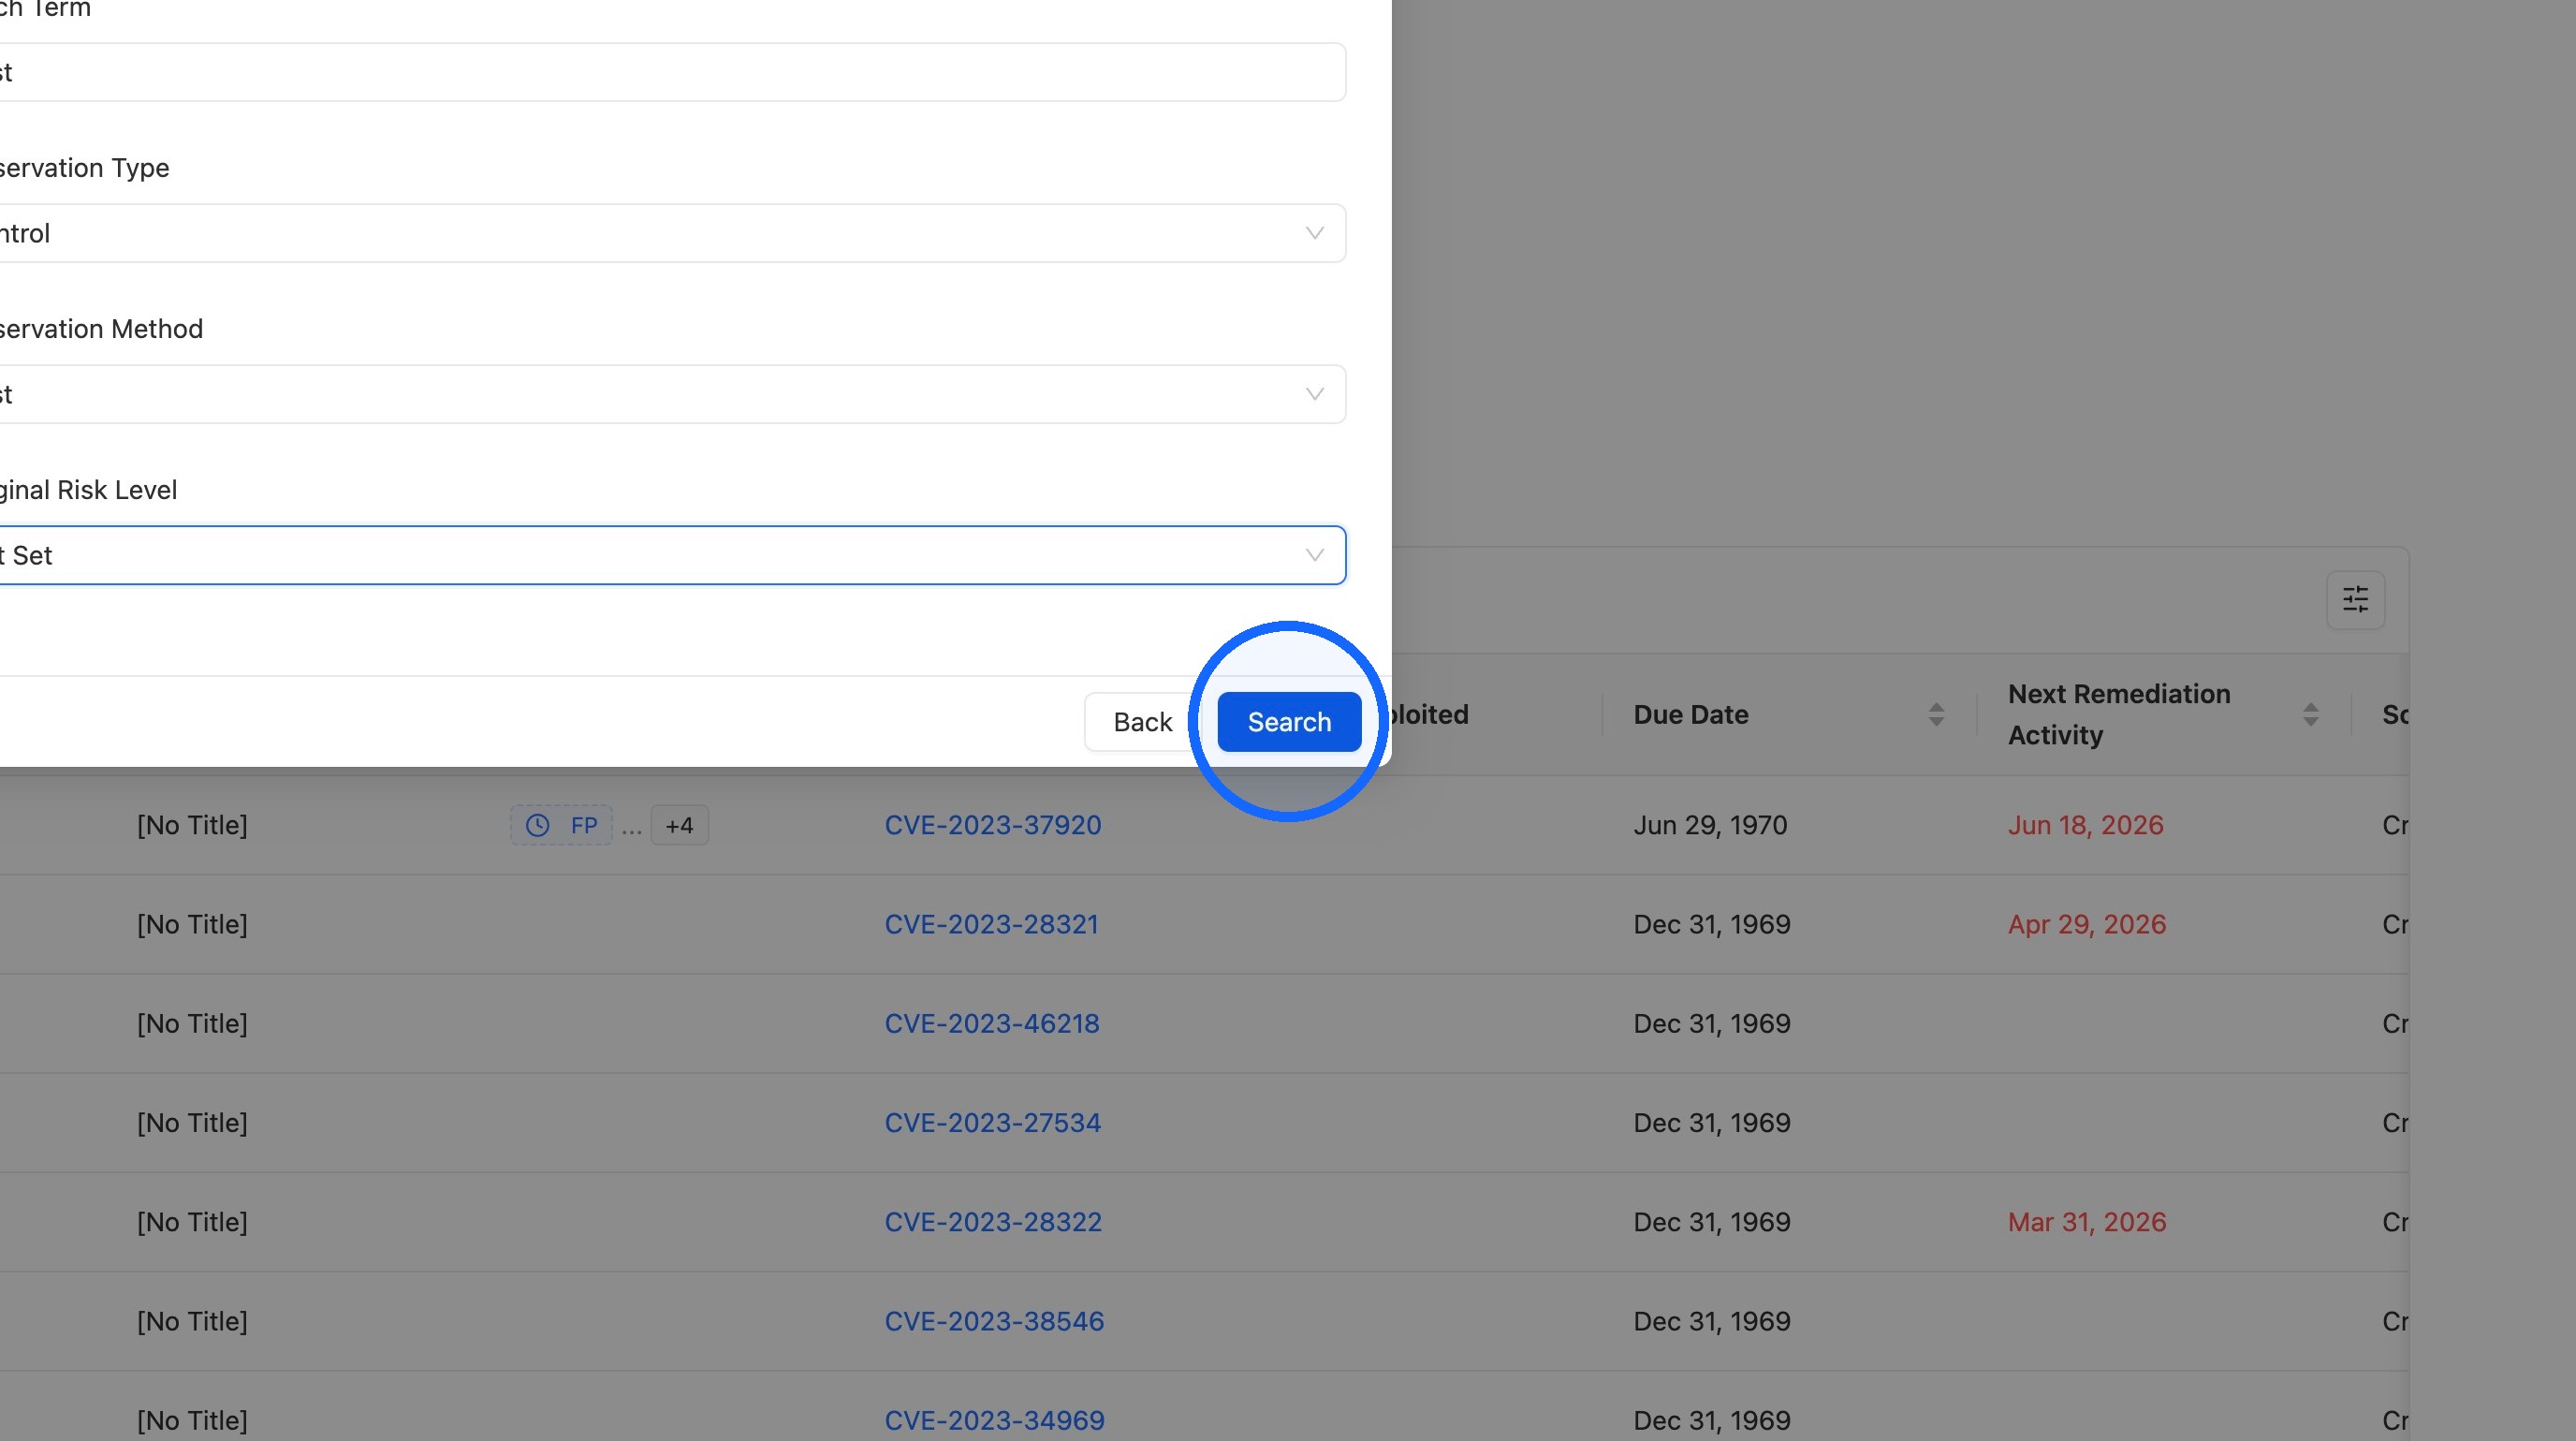
8. Search for tickets
Click Search.
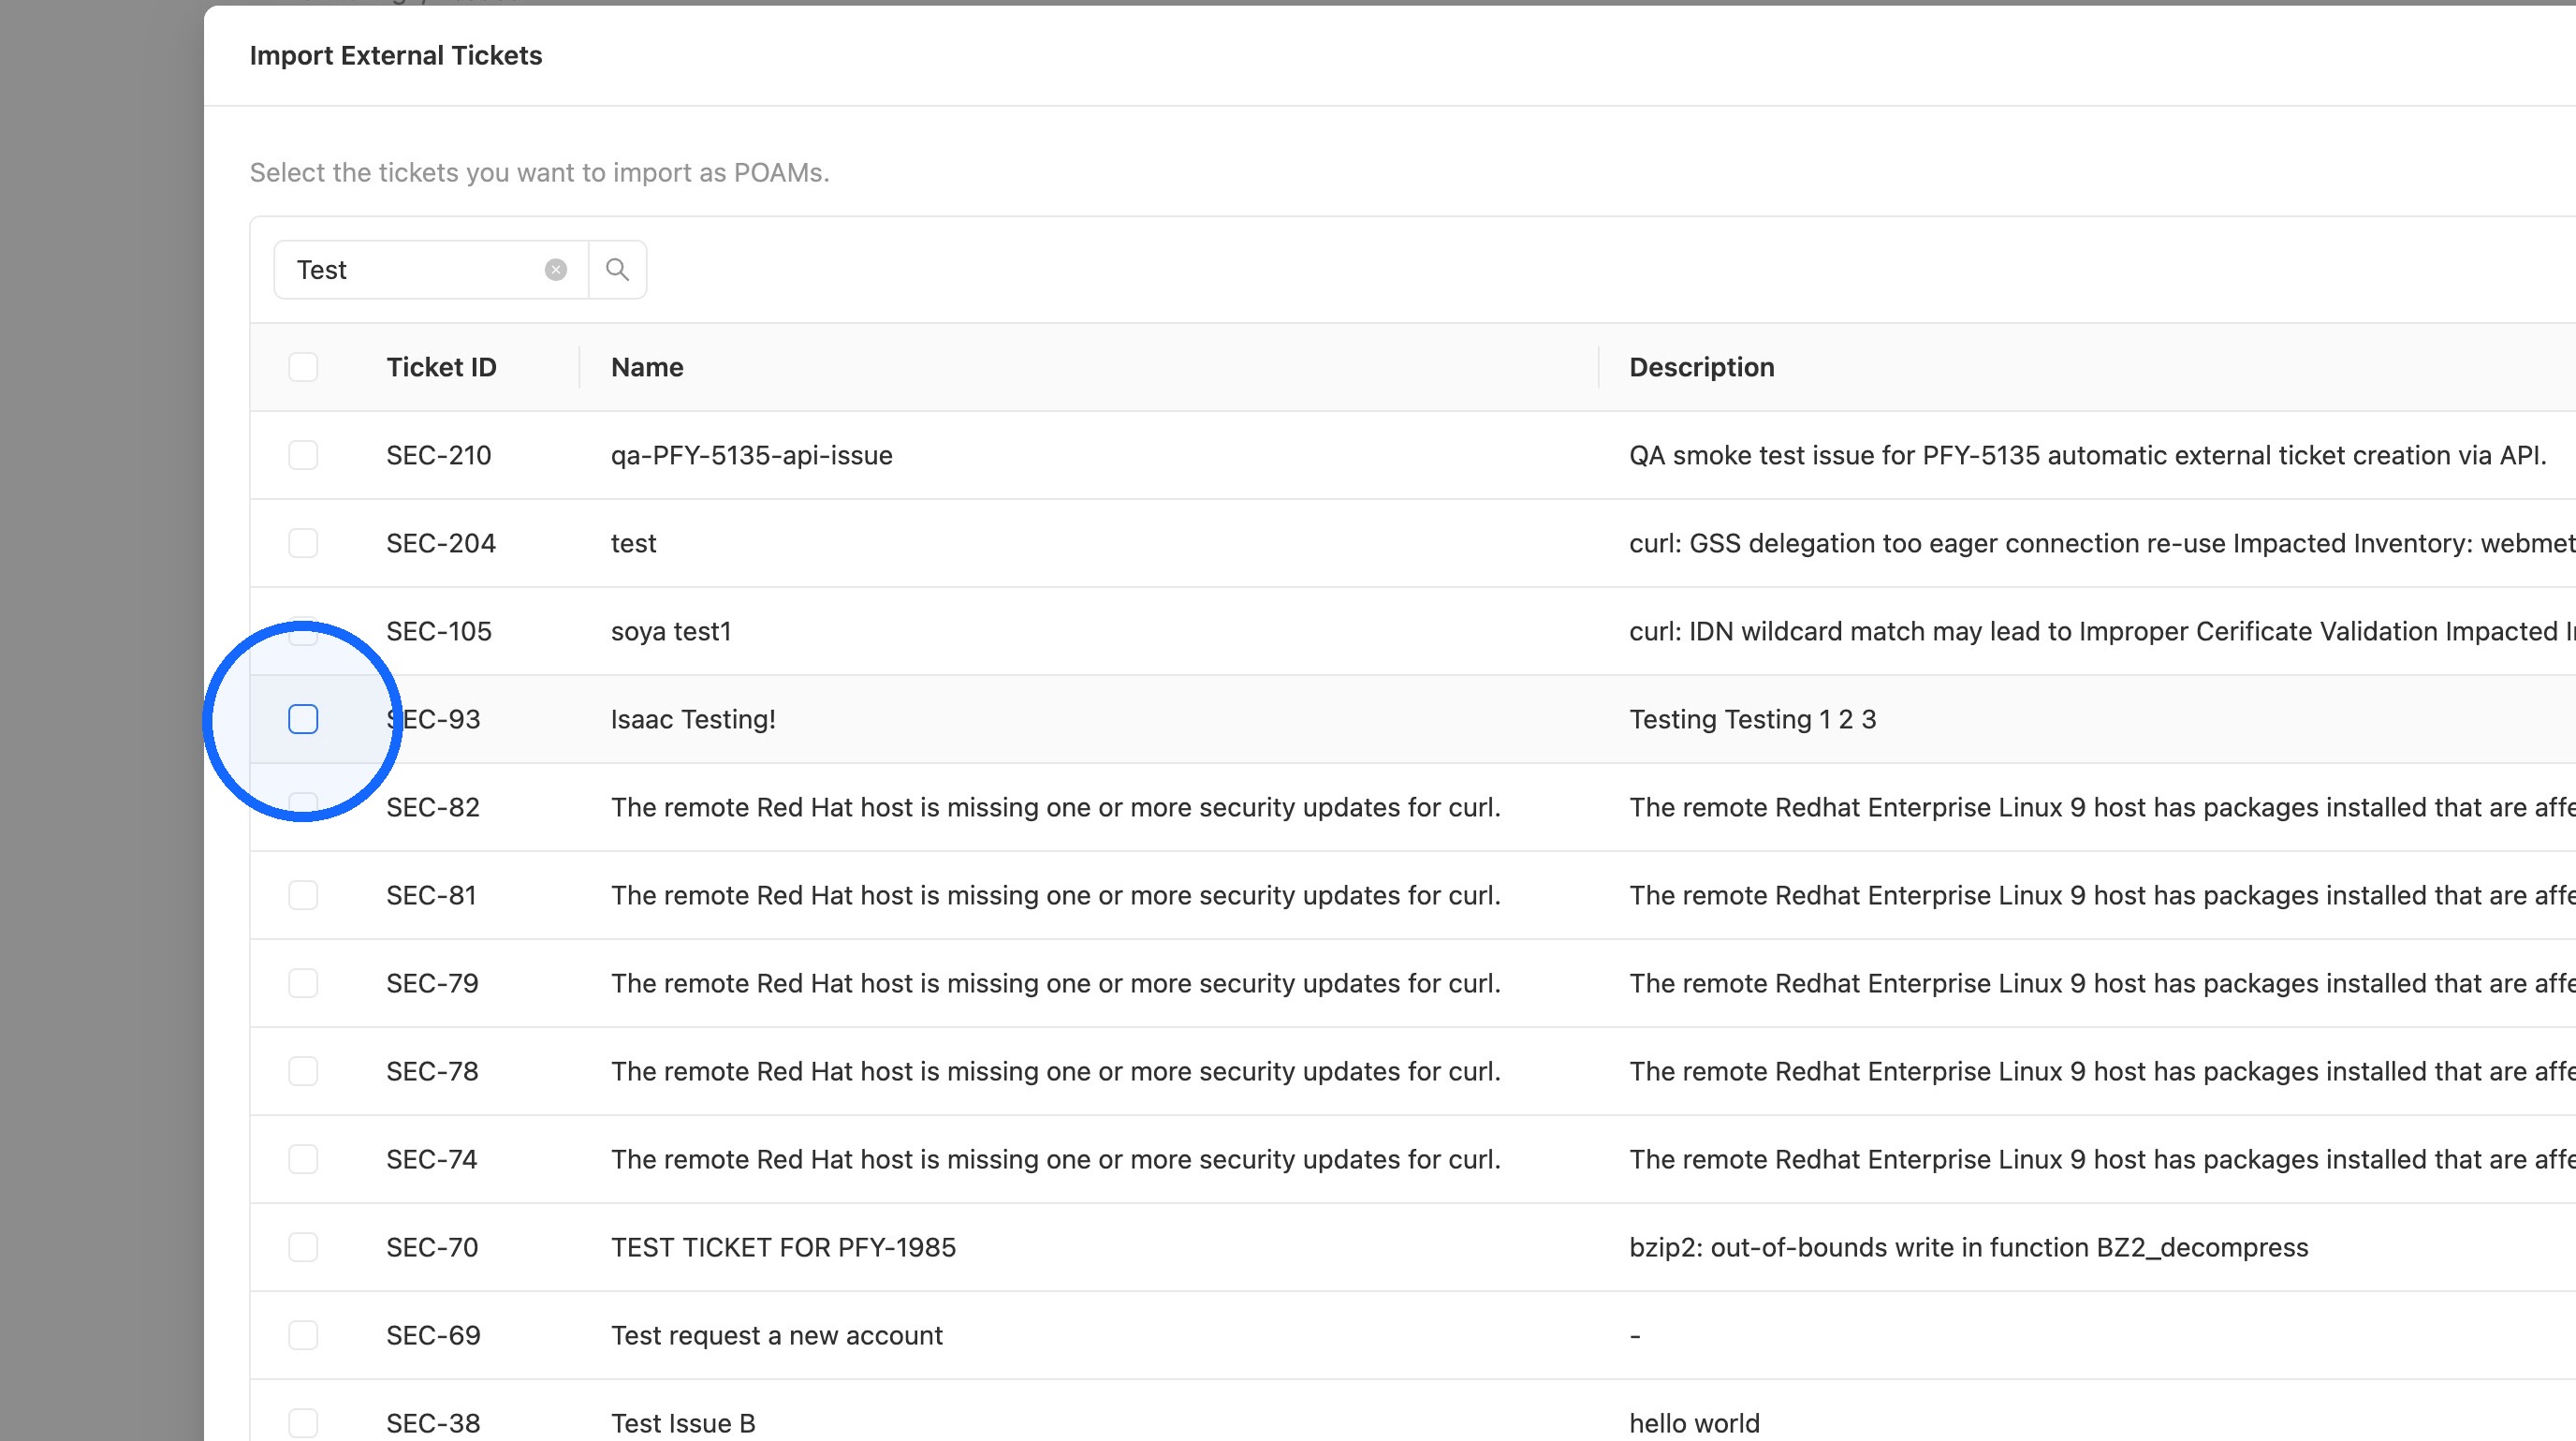
9. Select tickets to import
Select the checkbox for each matching ticket you want to import.
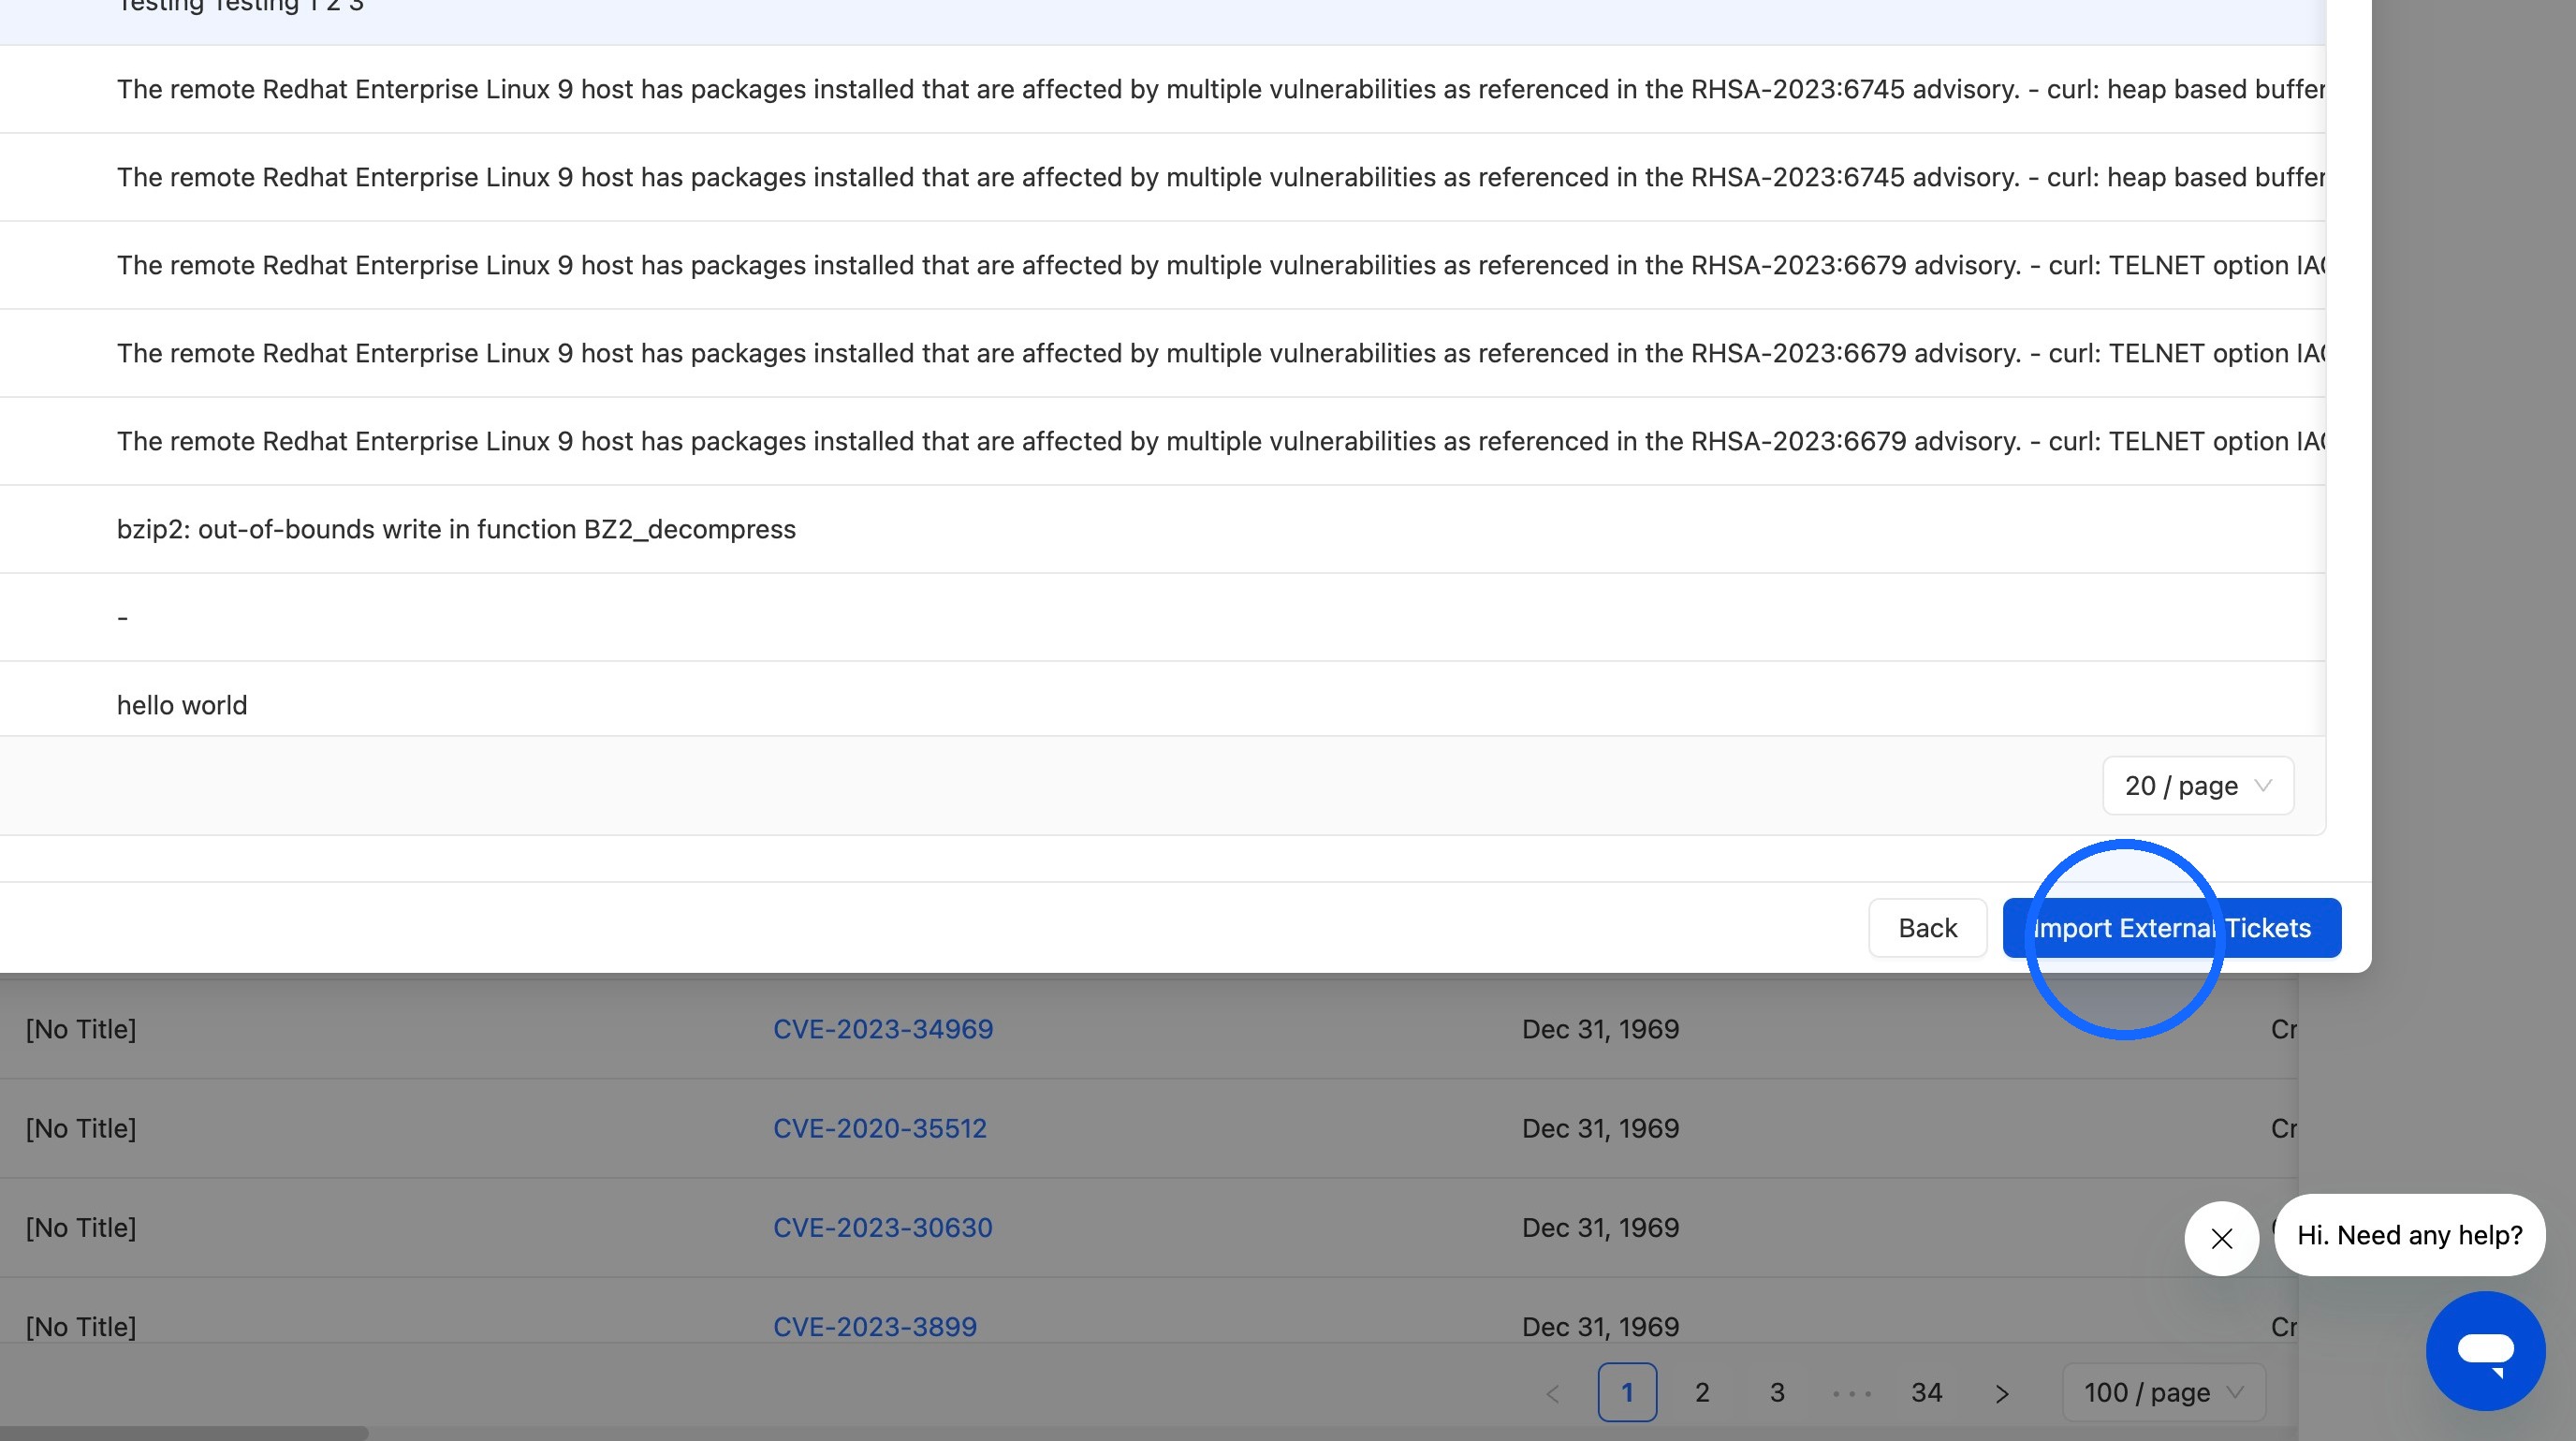
10. Import the tickets
Click Import External Tickets.
Exporting Paramify issues to Jira
Follow these steps to export an issue from Paramify into Jira as a ticket.
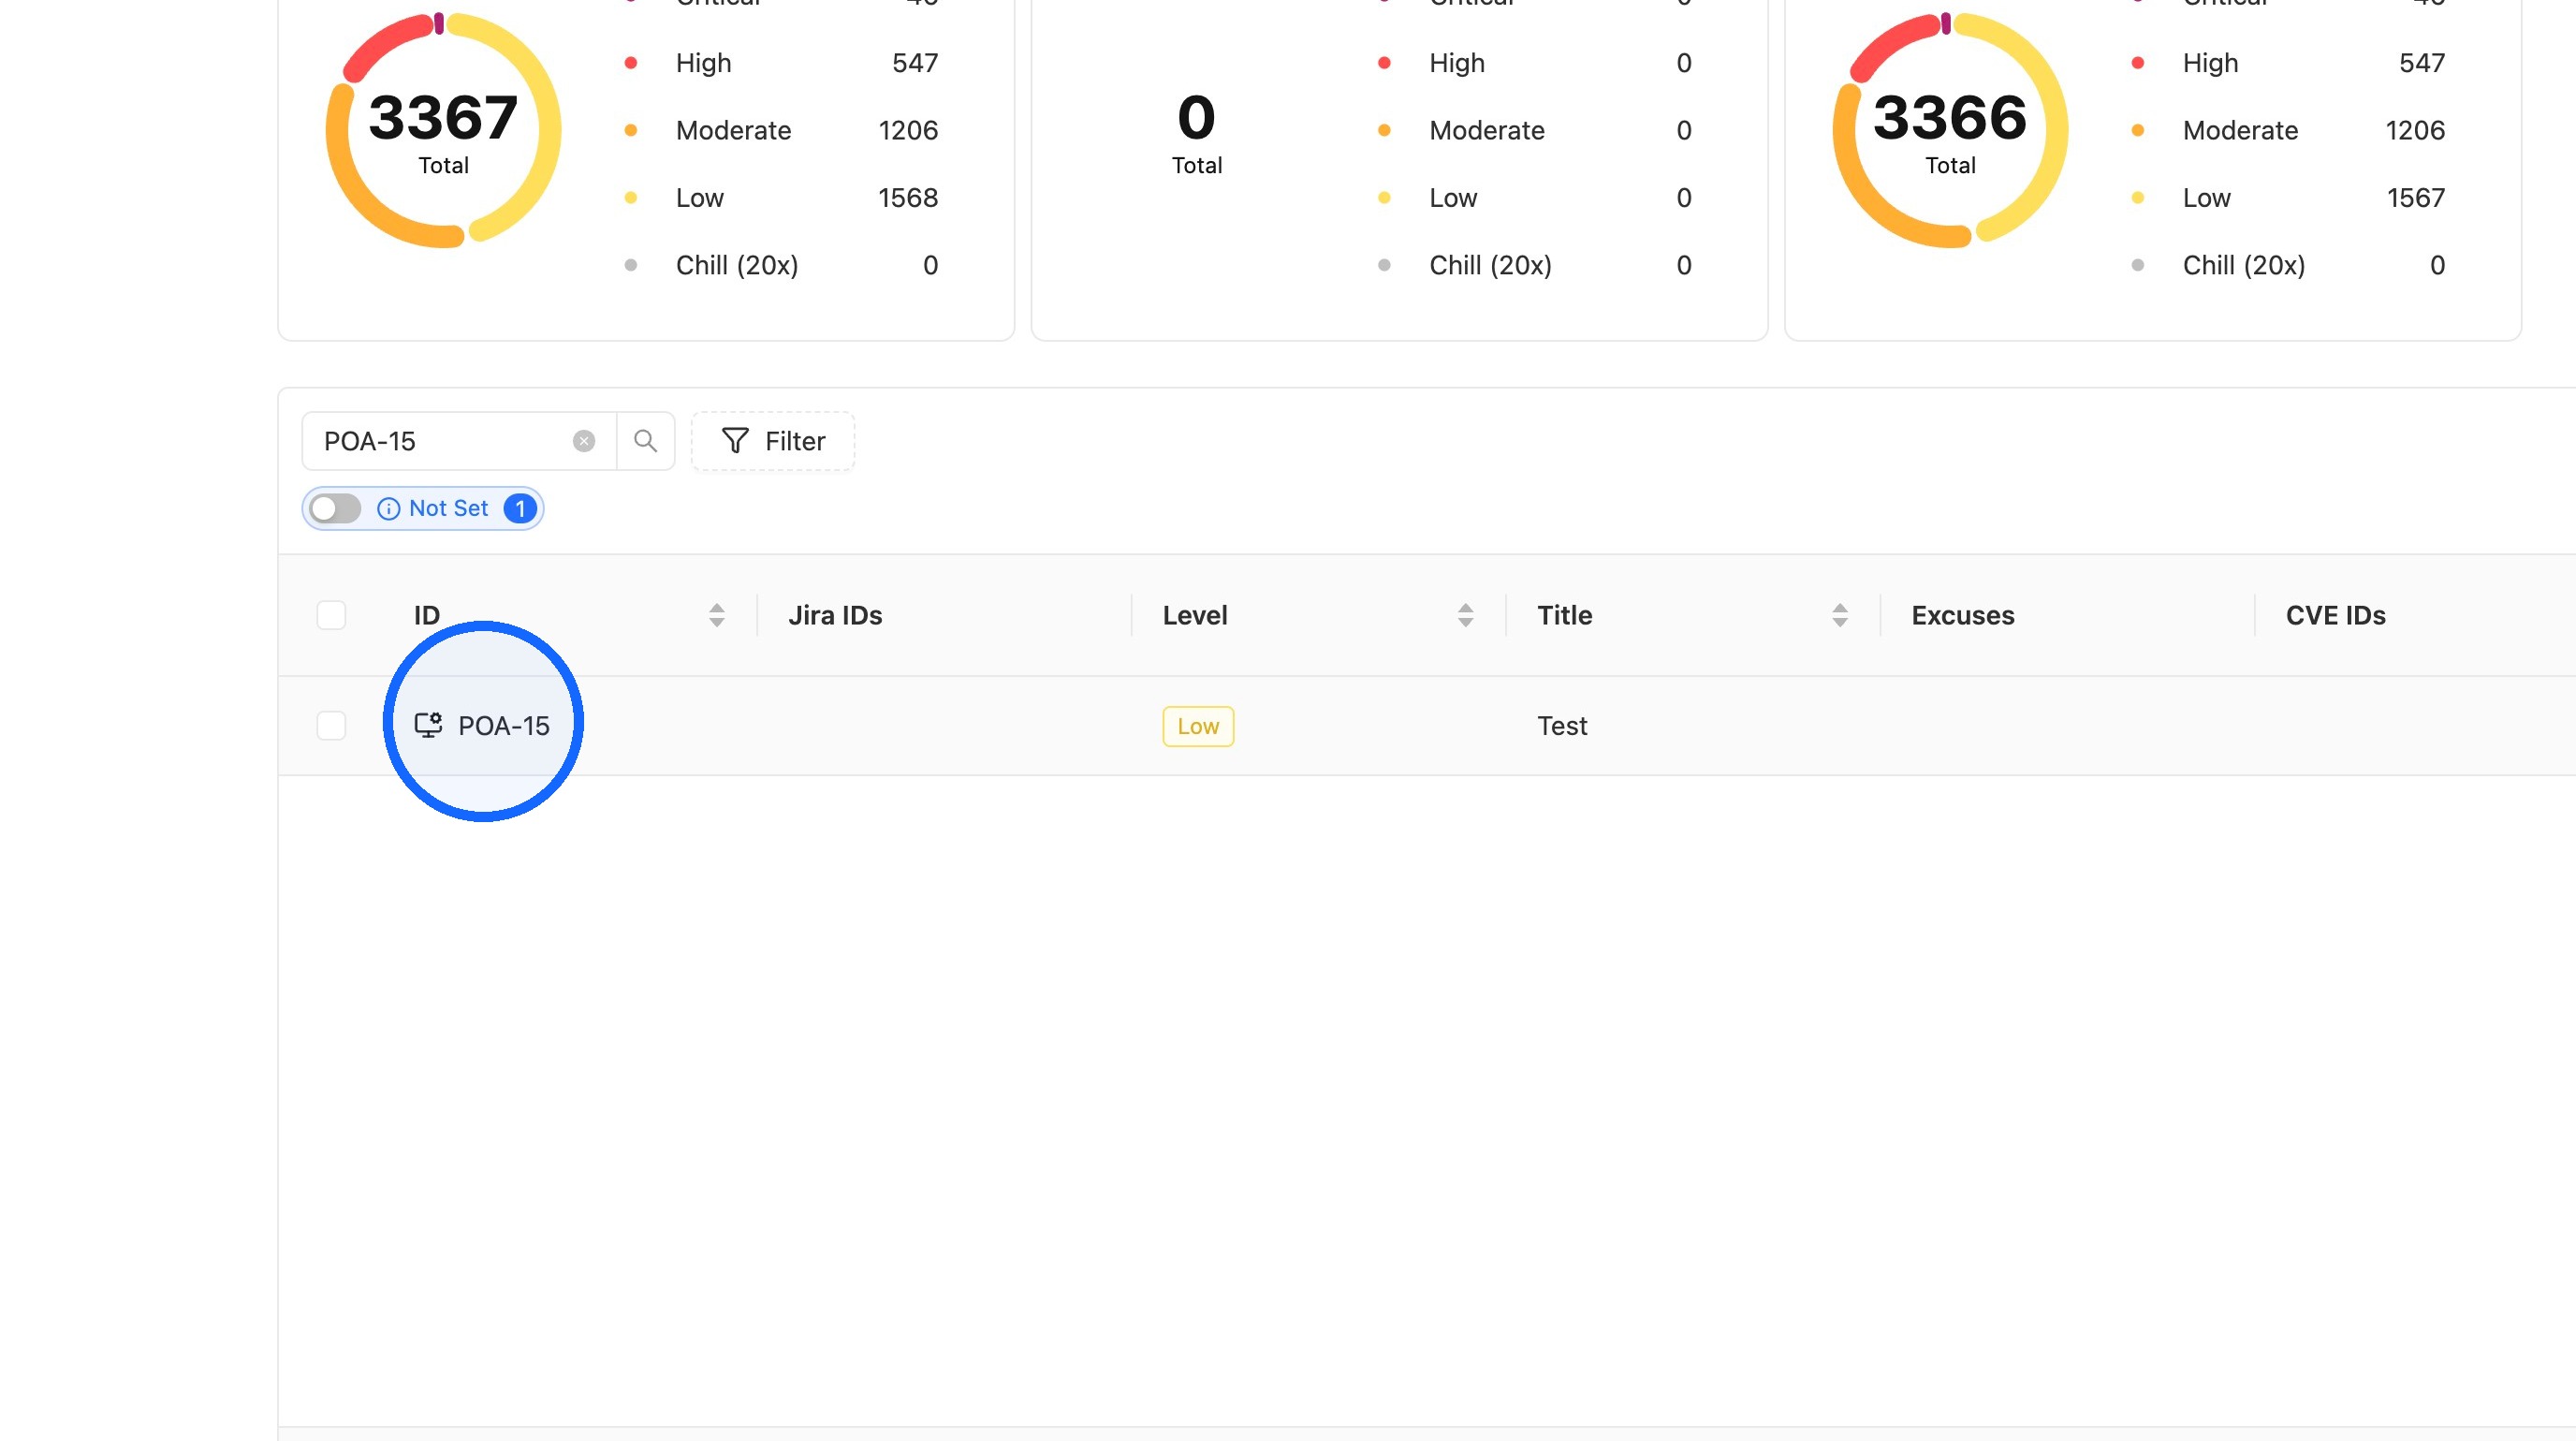
11. Open the issue
On the Issues page, click the issue you want to export to Jira.
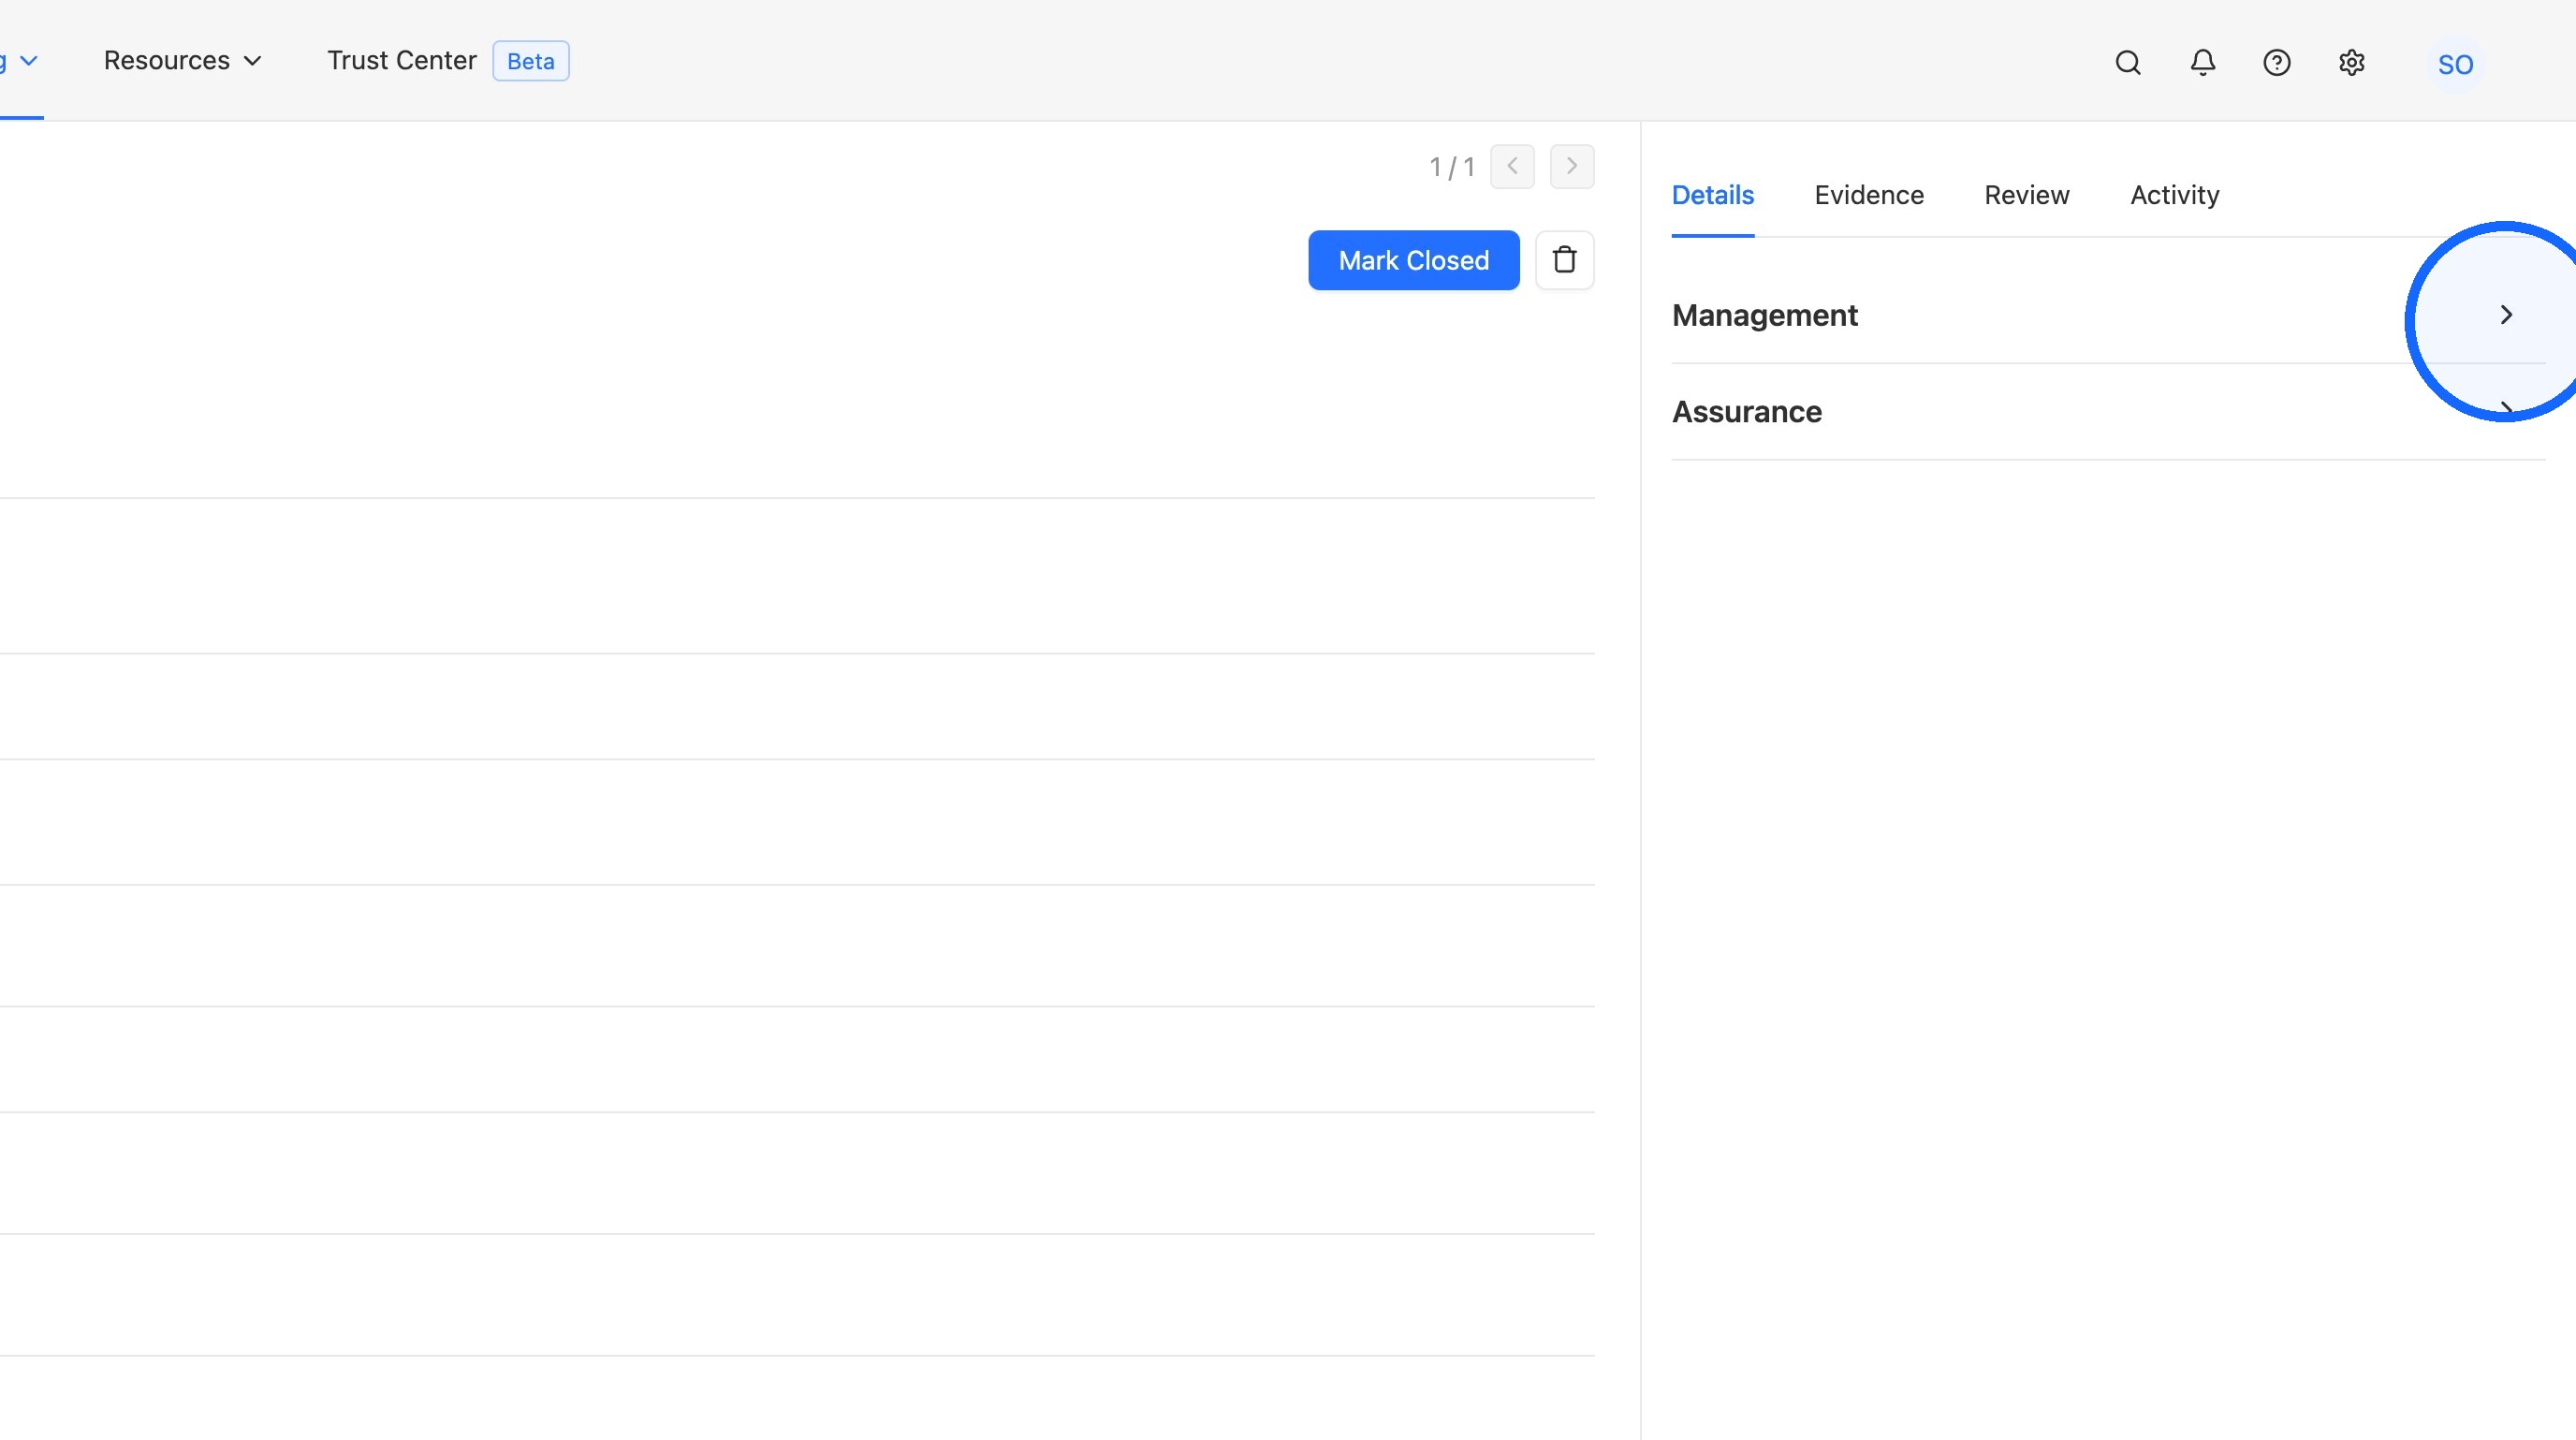
12. Expand the management tab
Expand the management tab on the right side of the page.
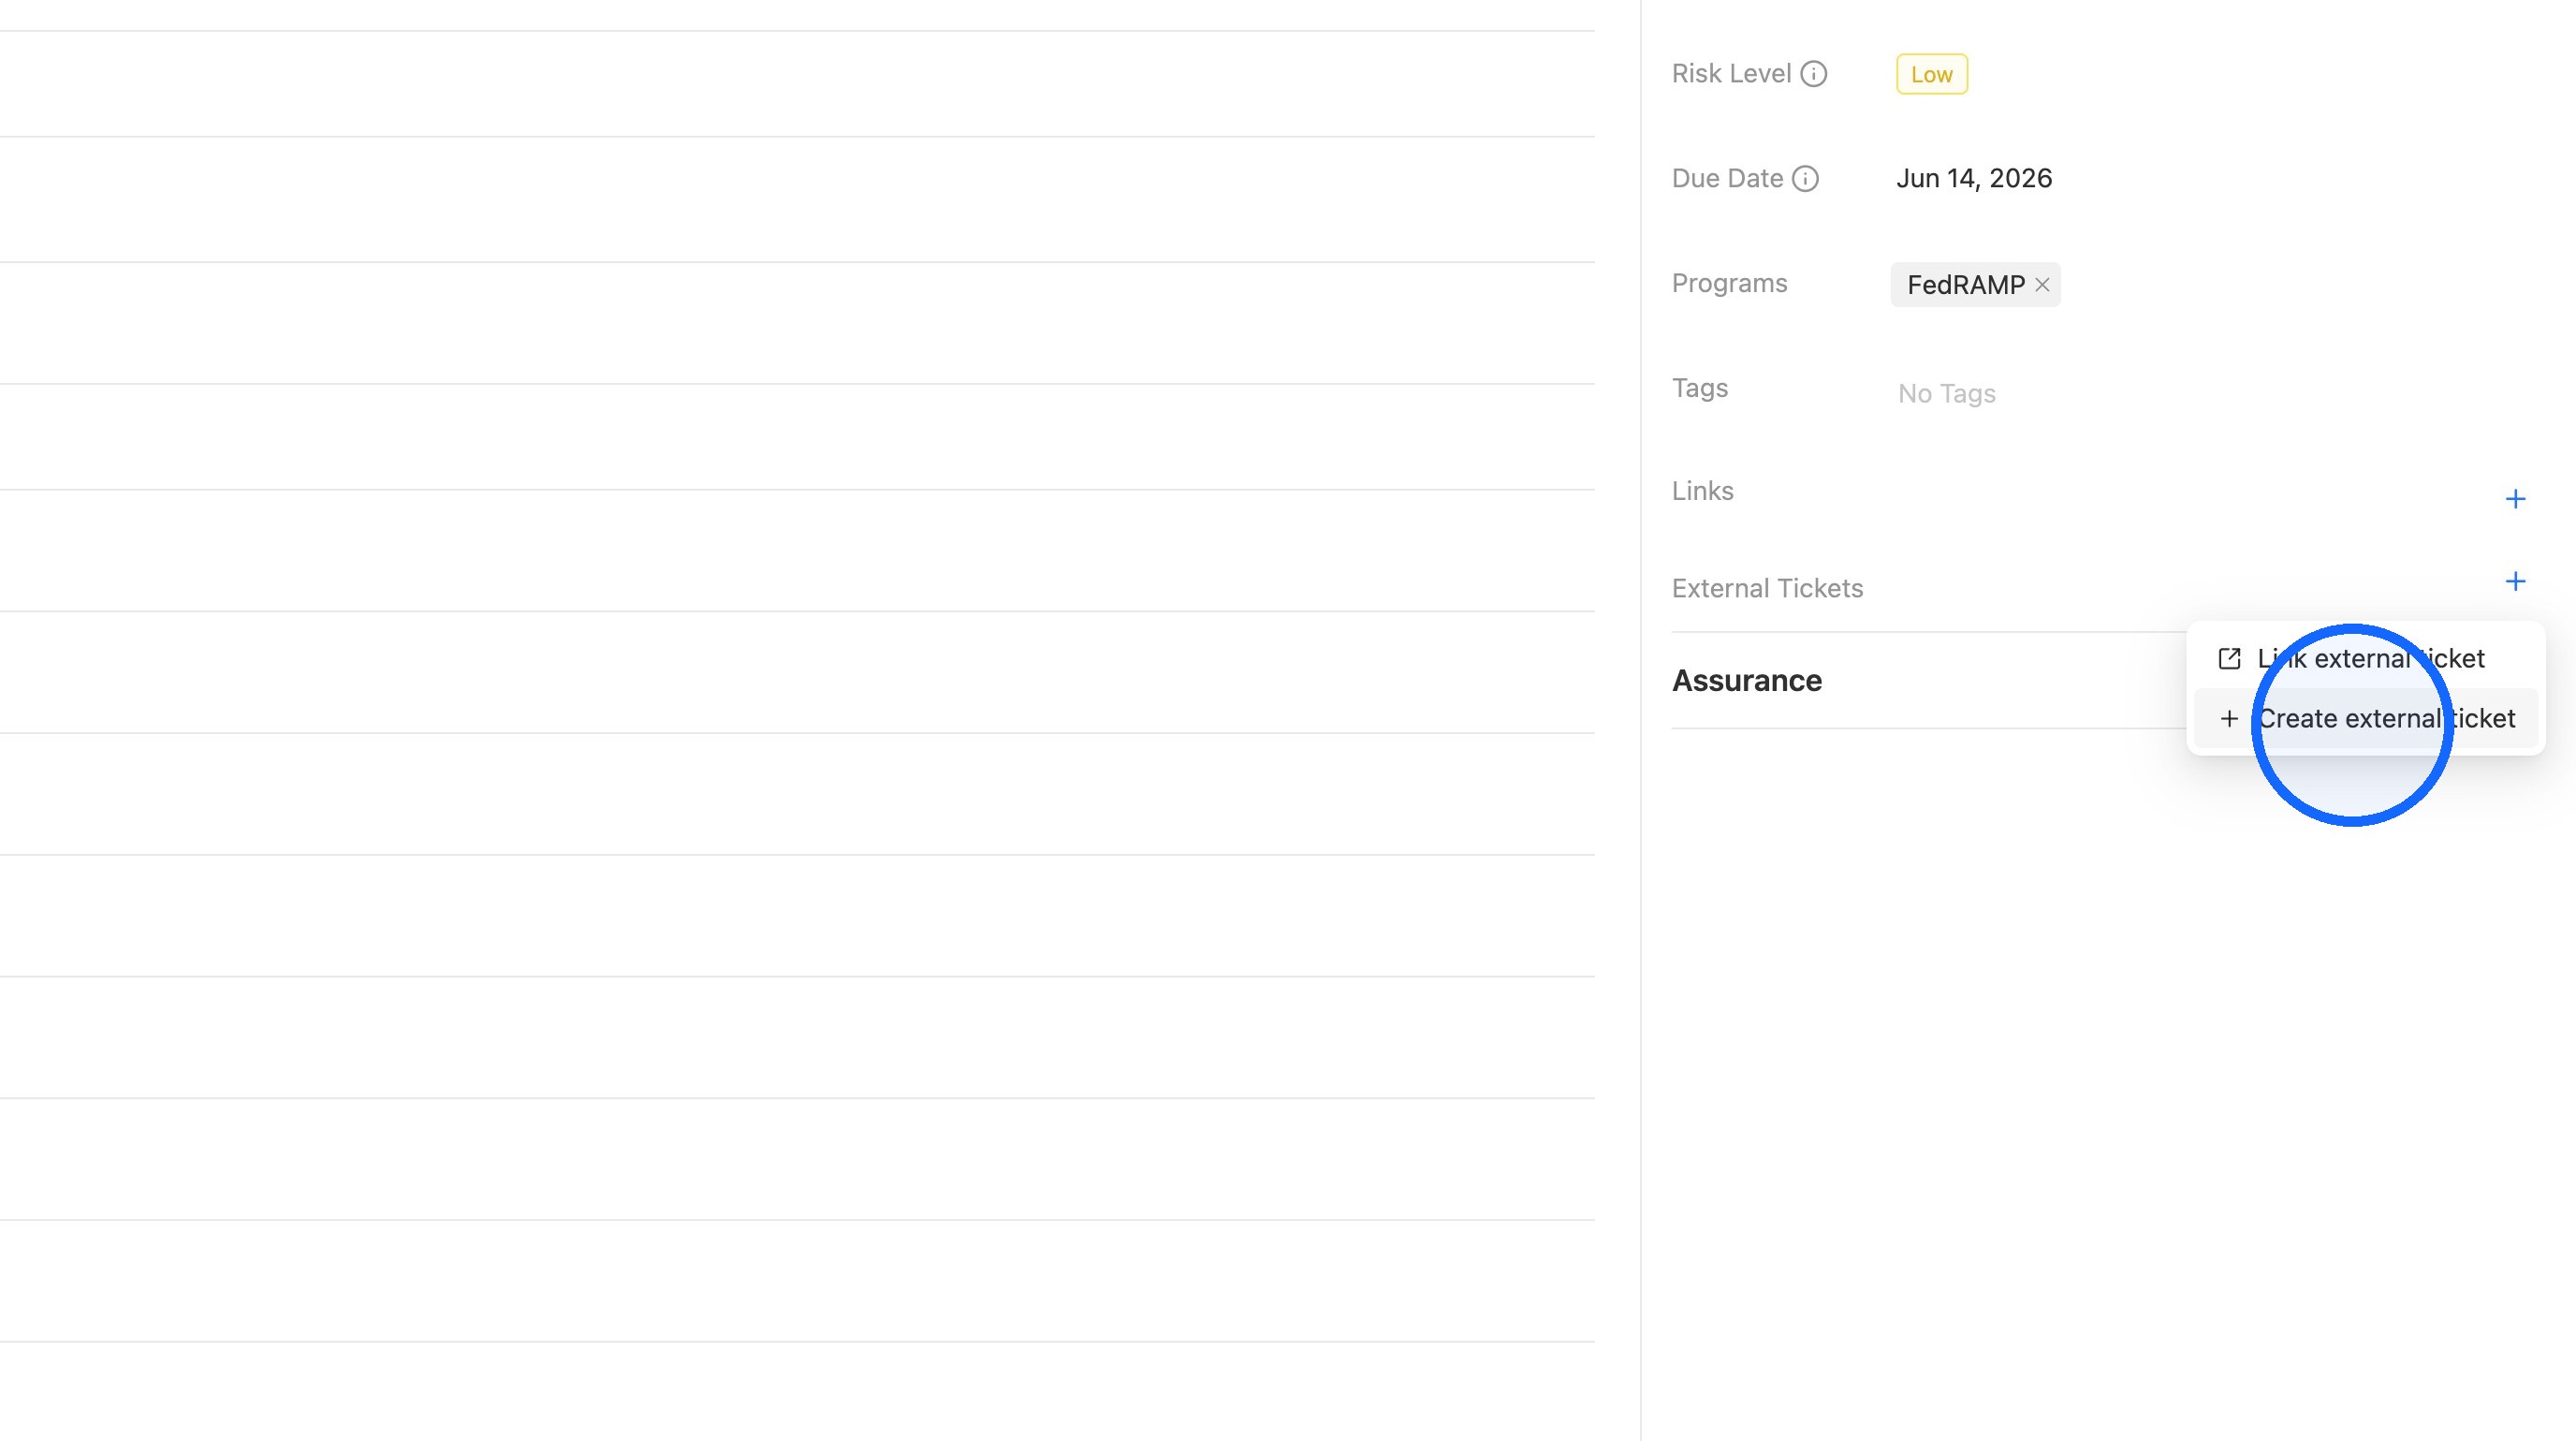
13. Create an external ticket
Open the External Tickets menu, then select Create external ticket.
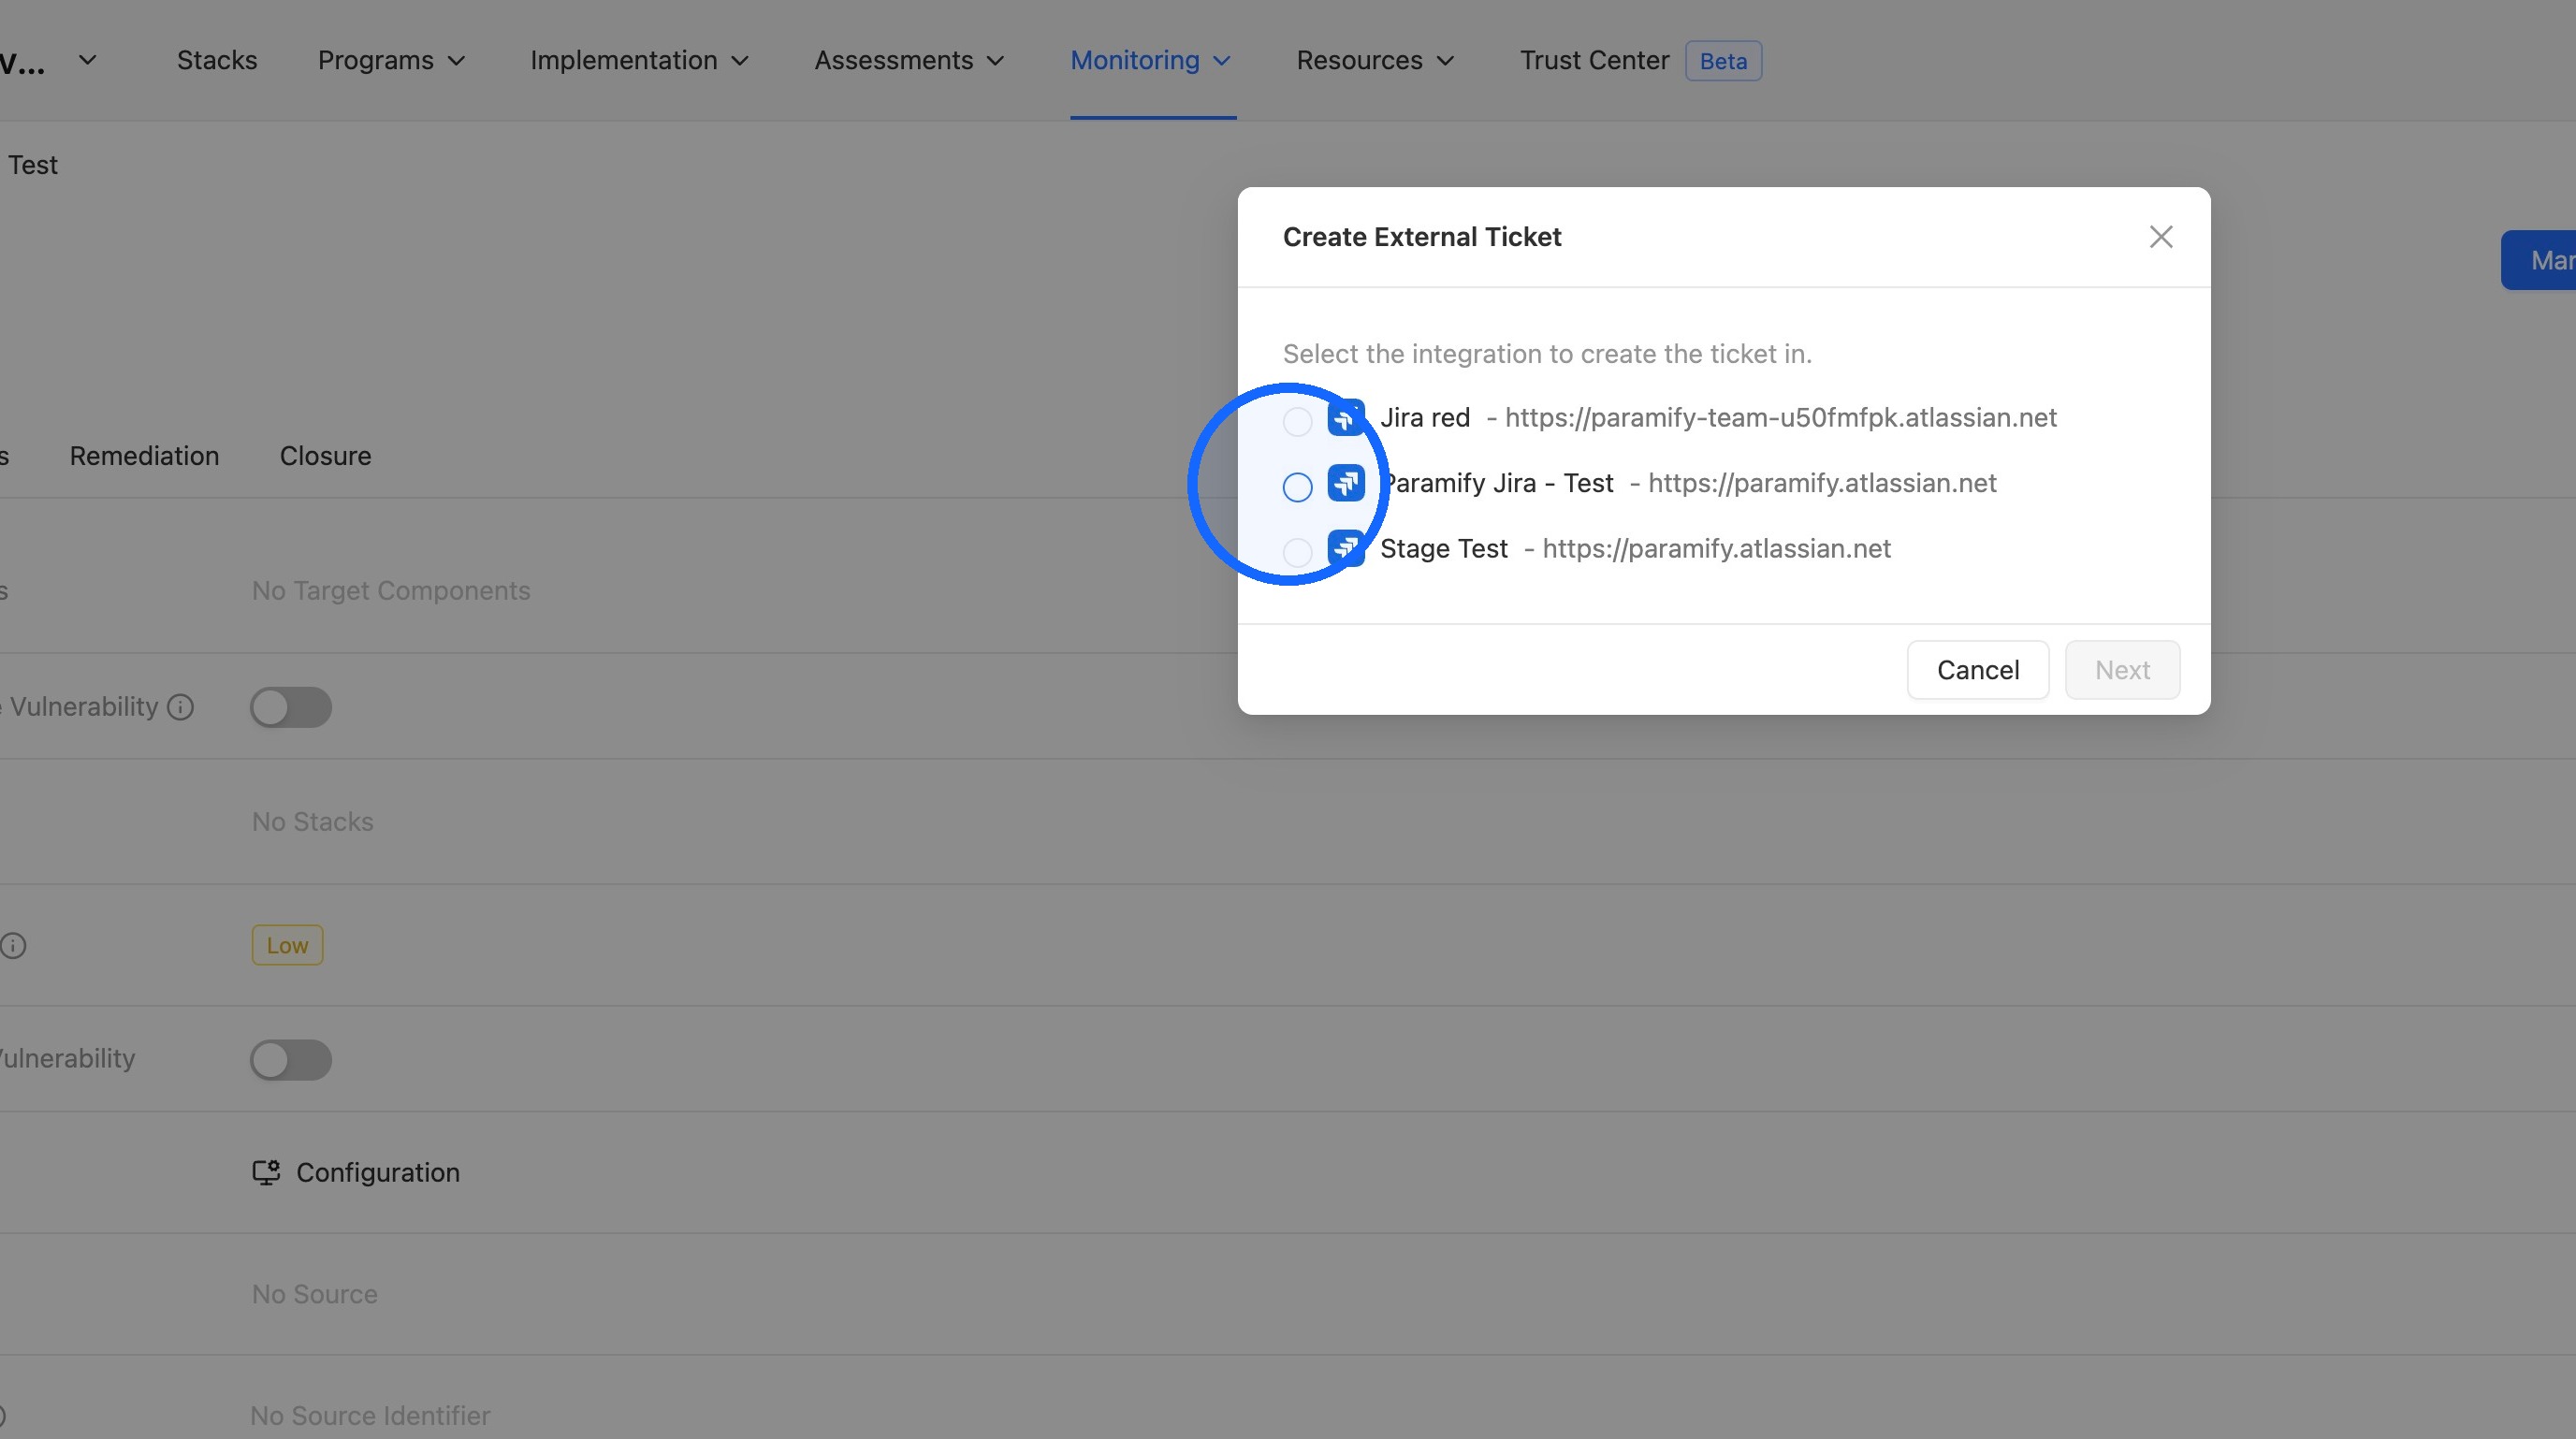
14. Select the integration
Select the integration you want to use, then click Next.
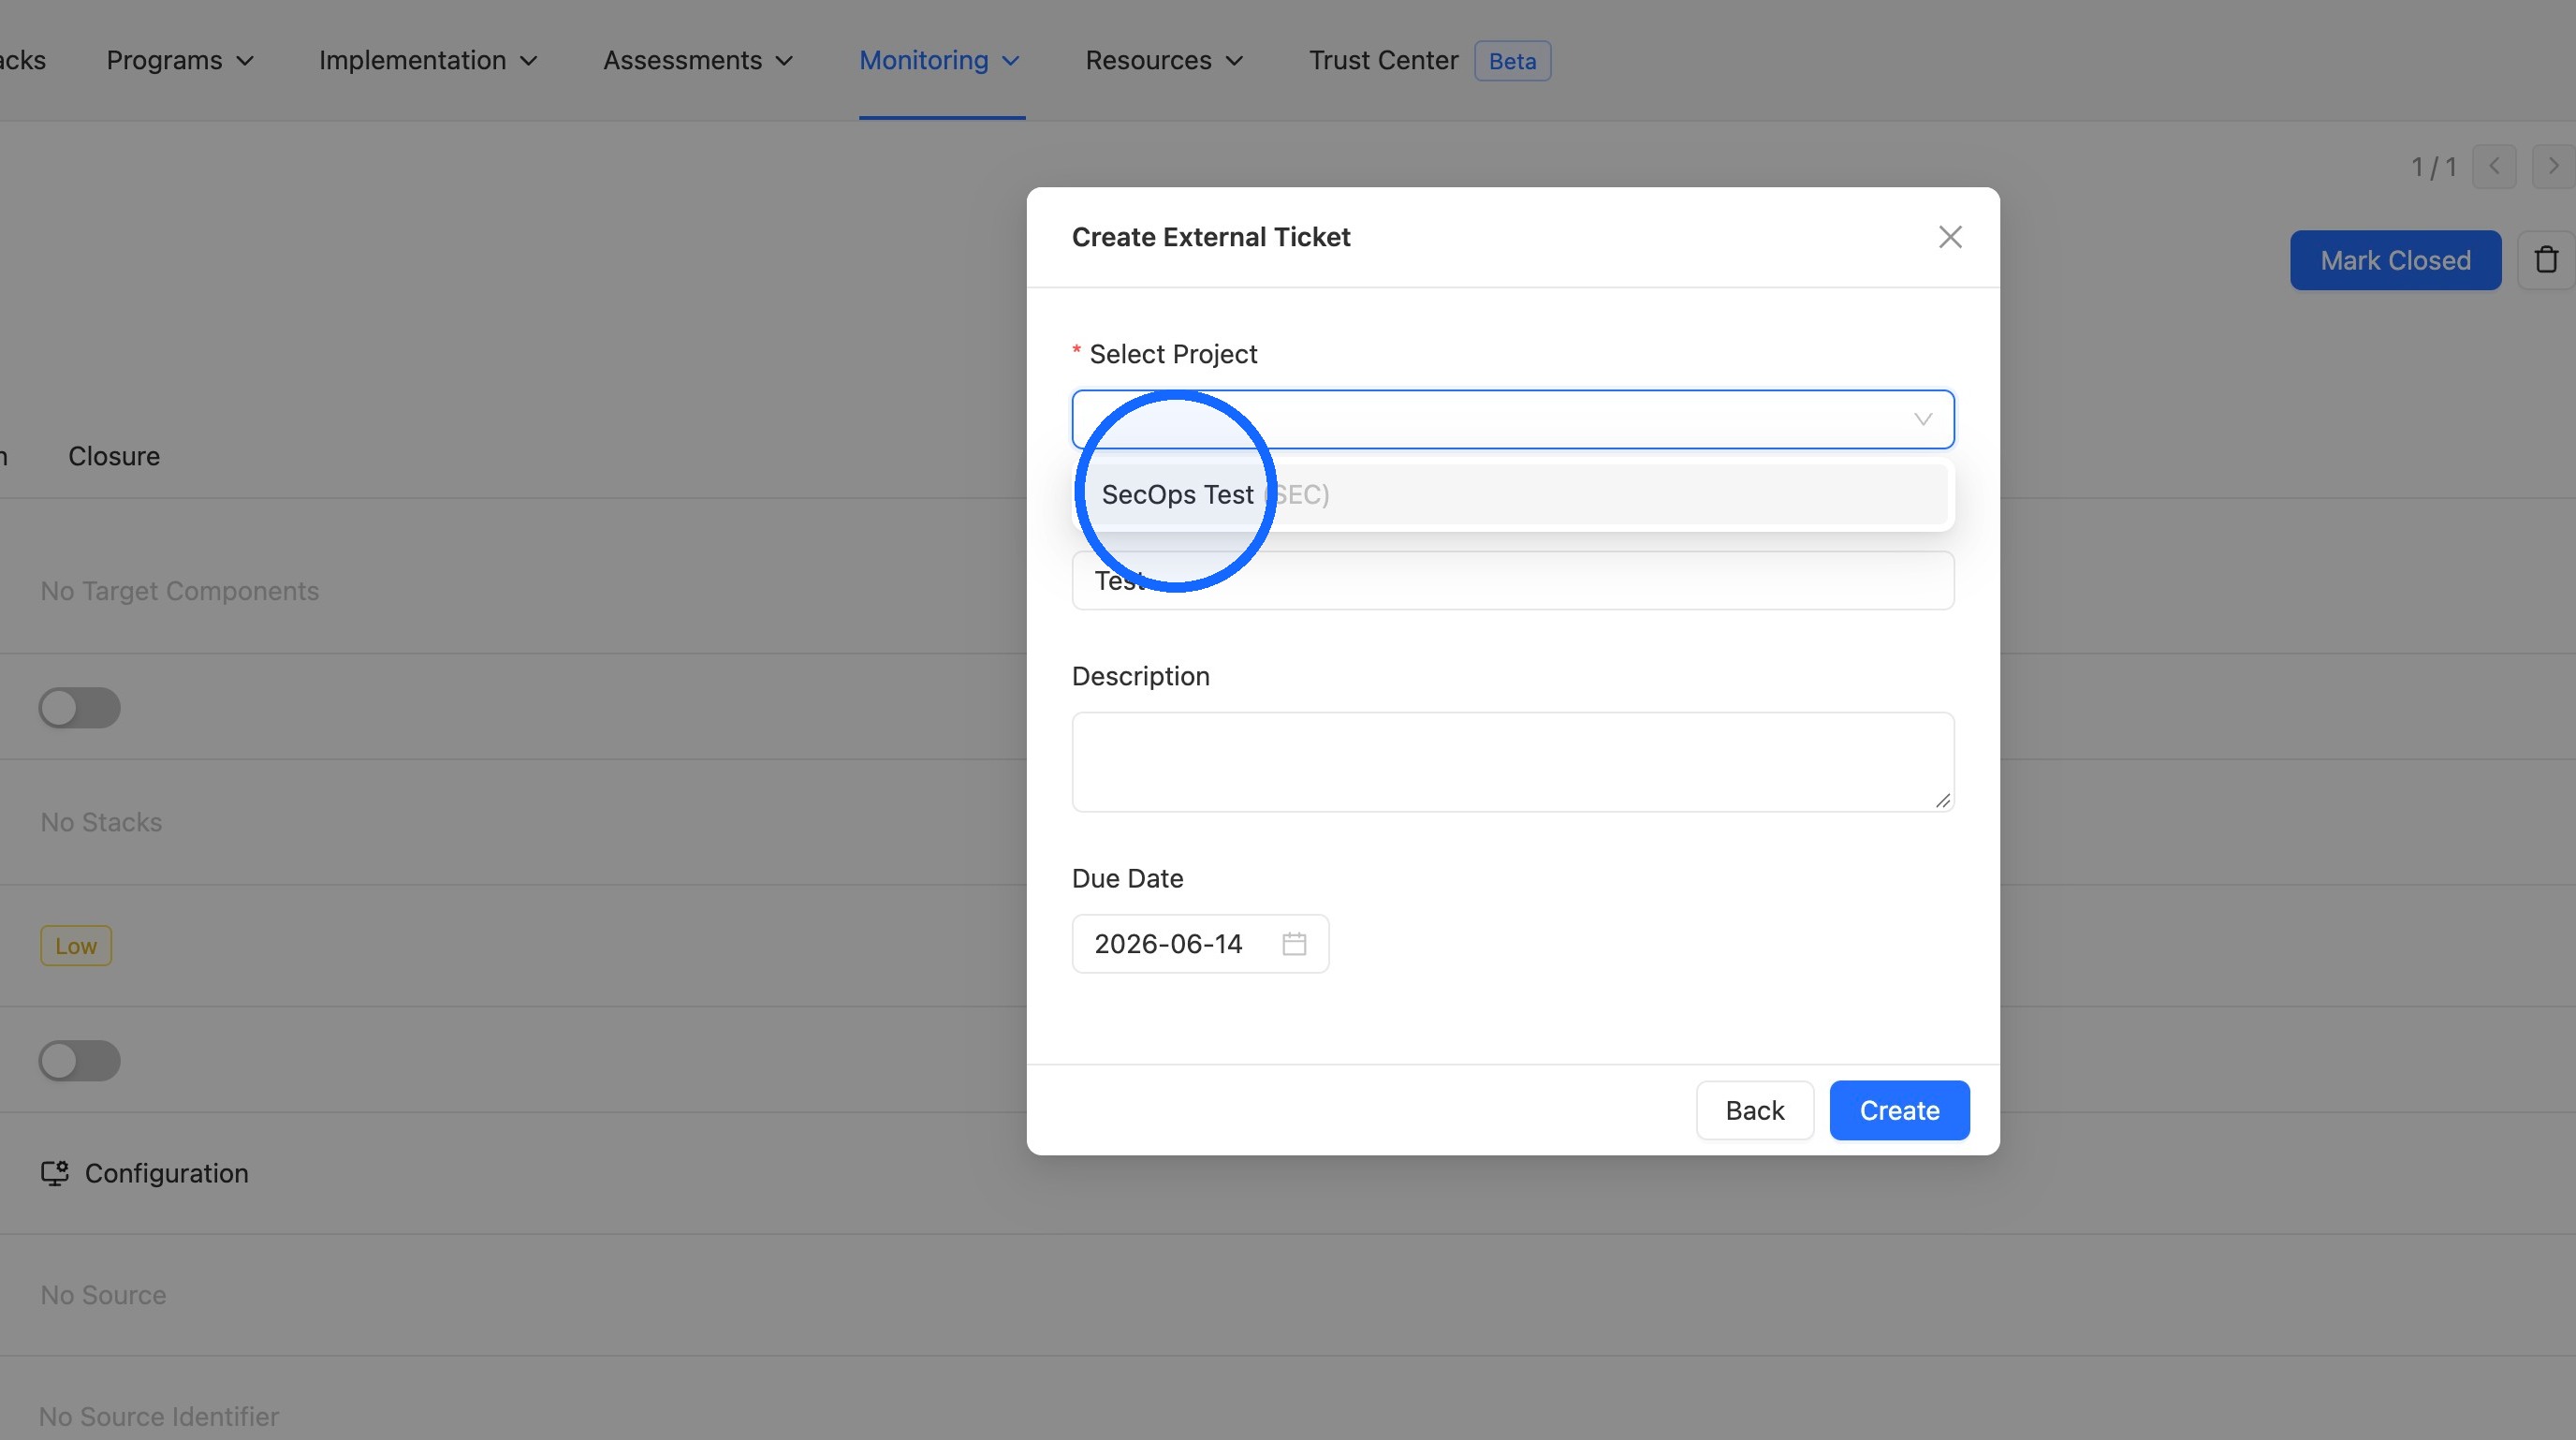
15. Select the Jira project
Select the project you want to add the ticket to.
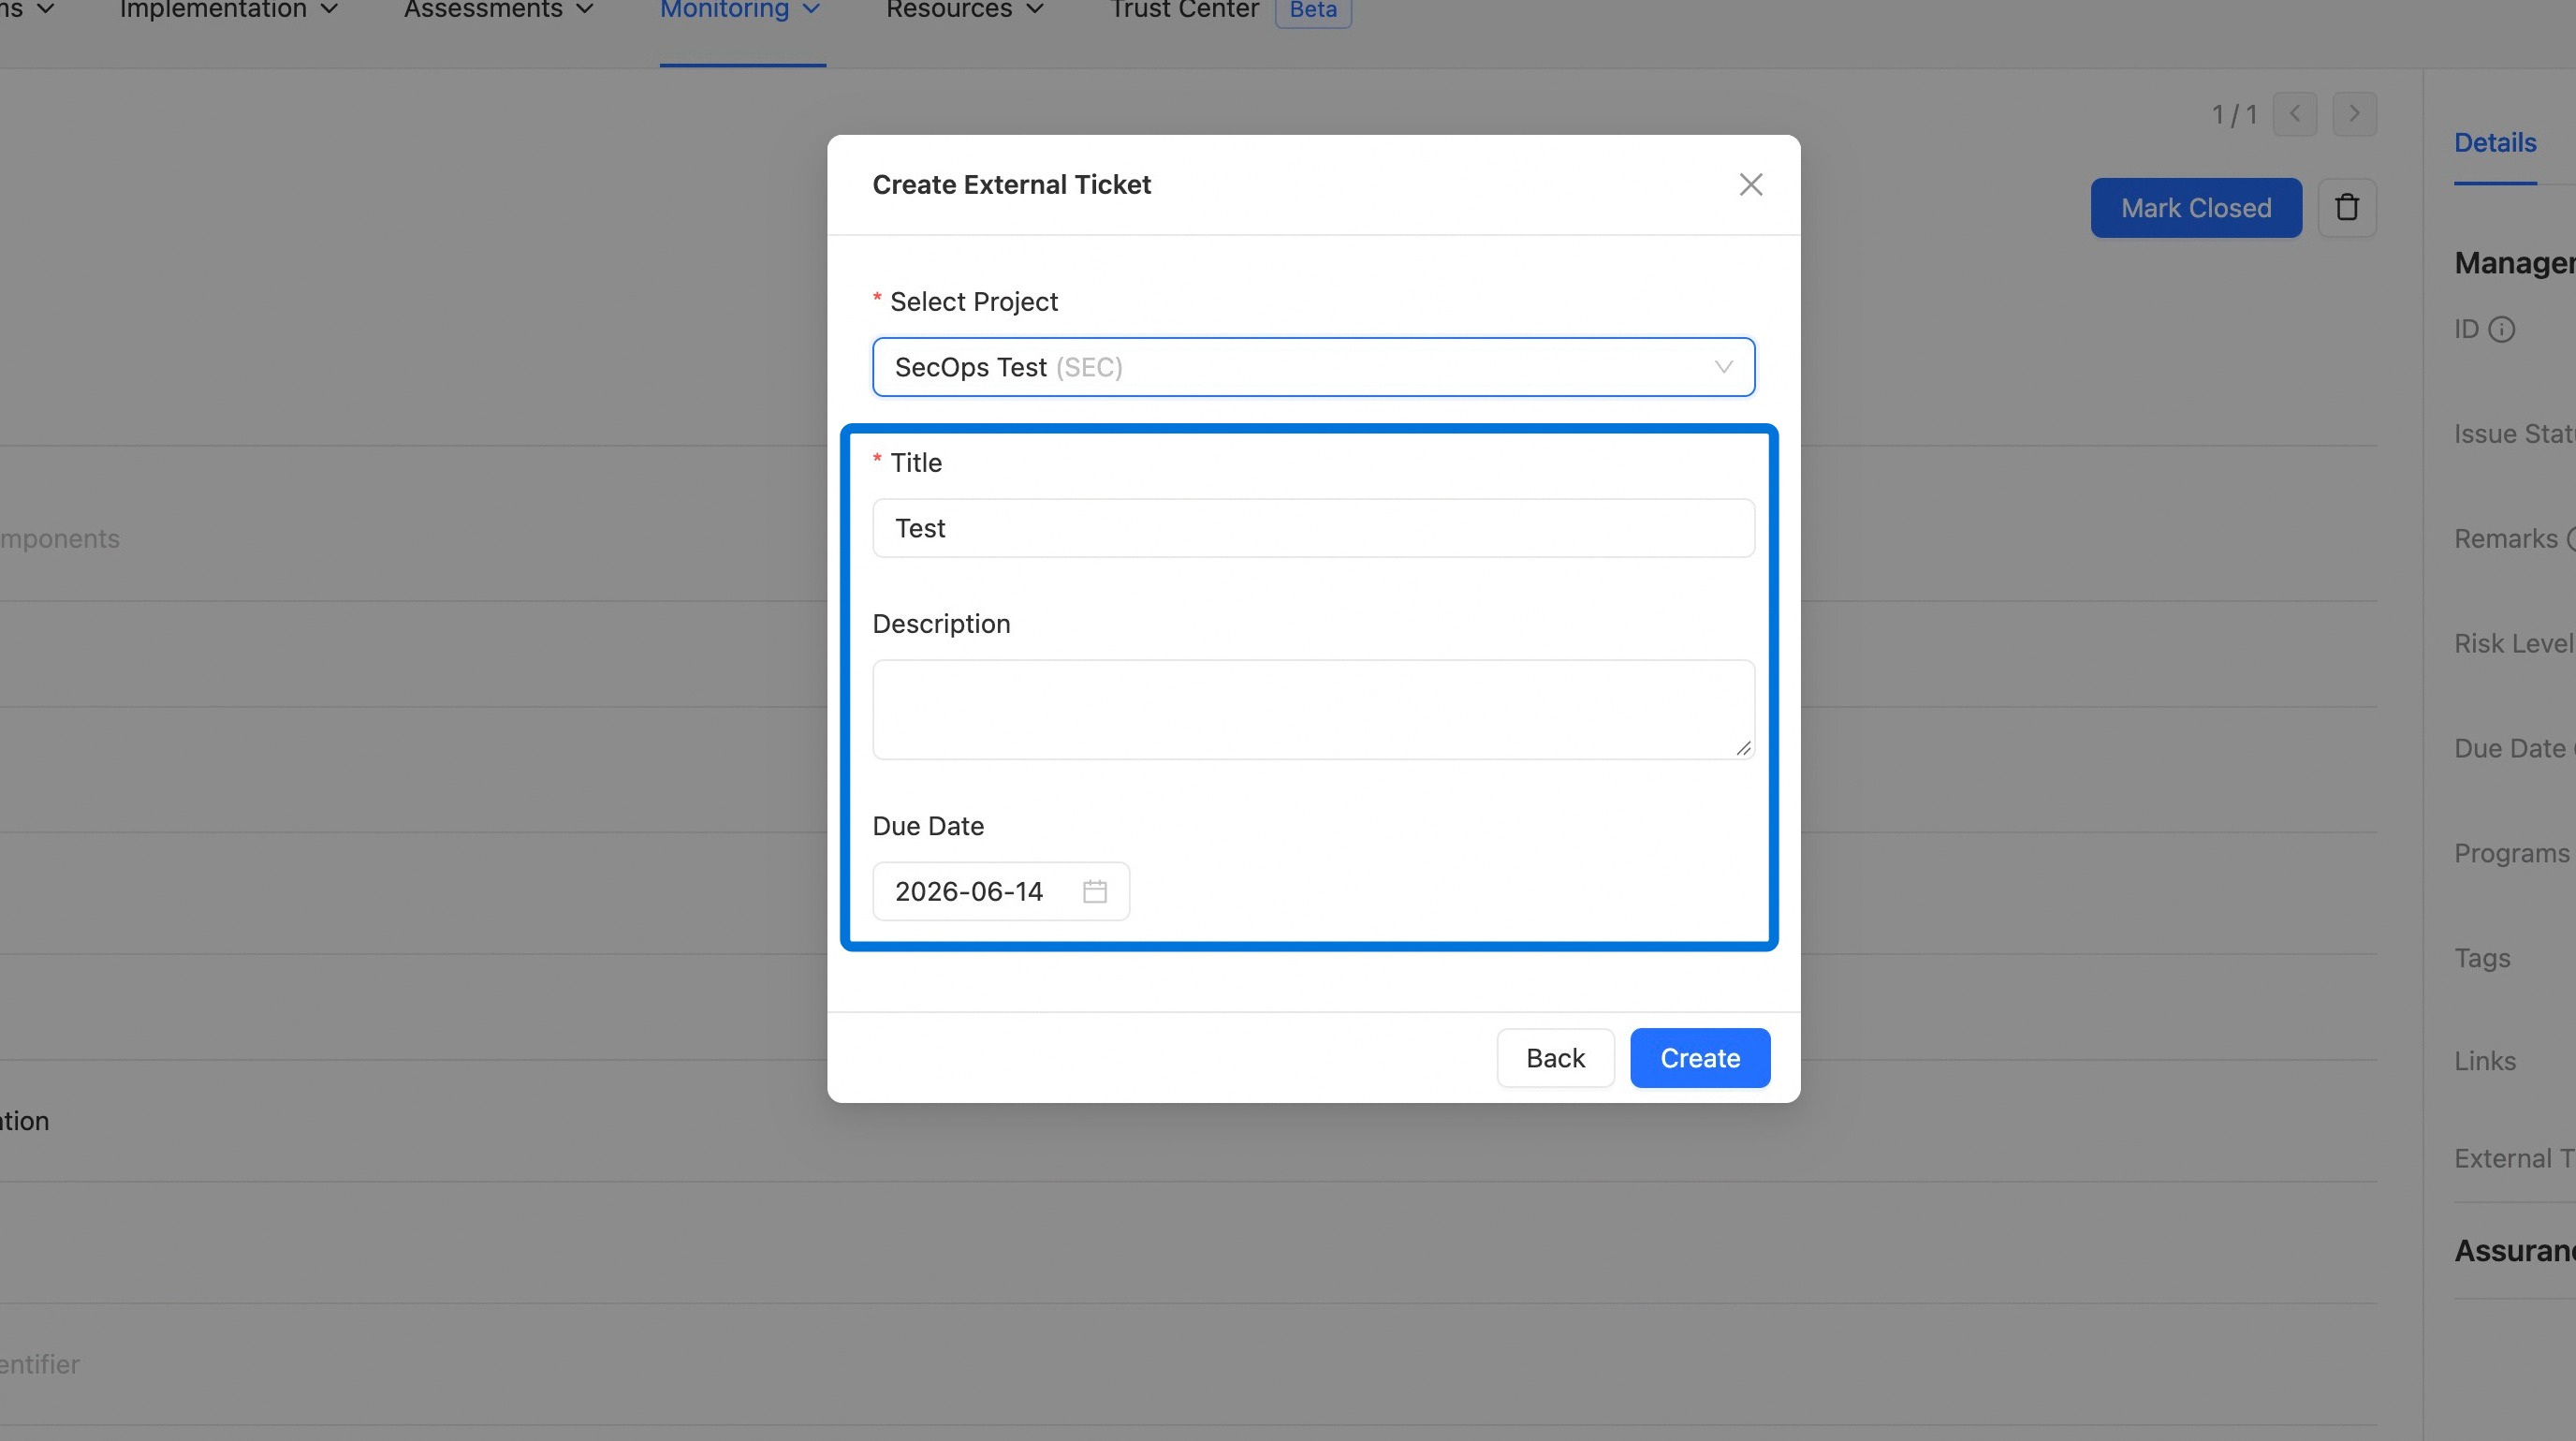
16. Fill in the ticket details
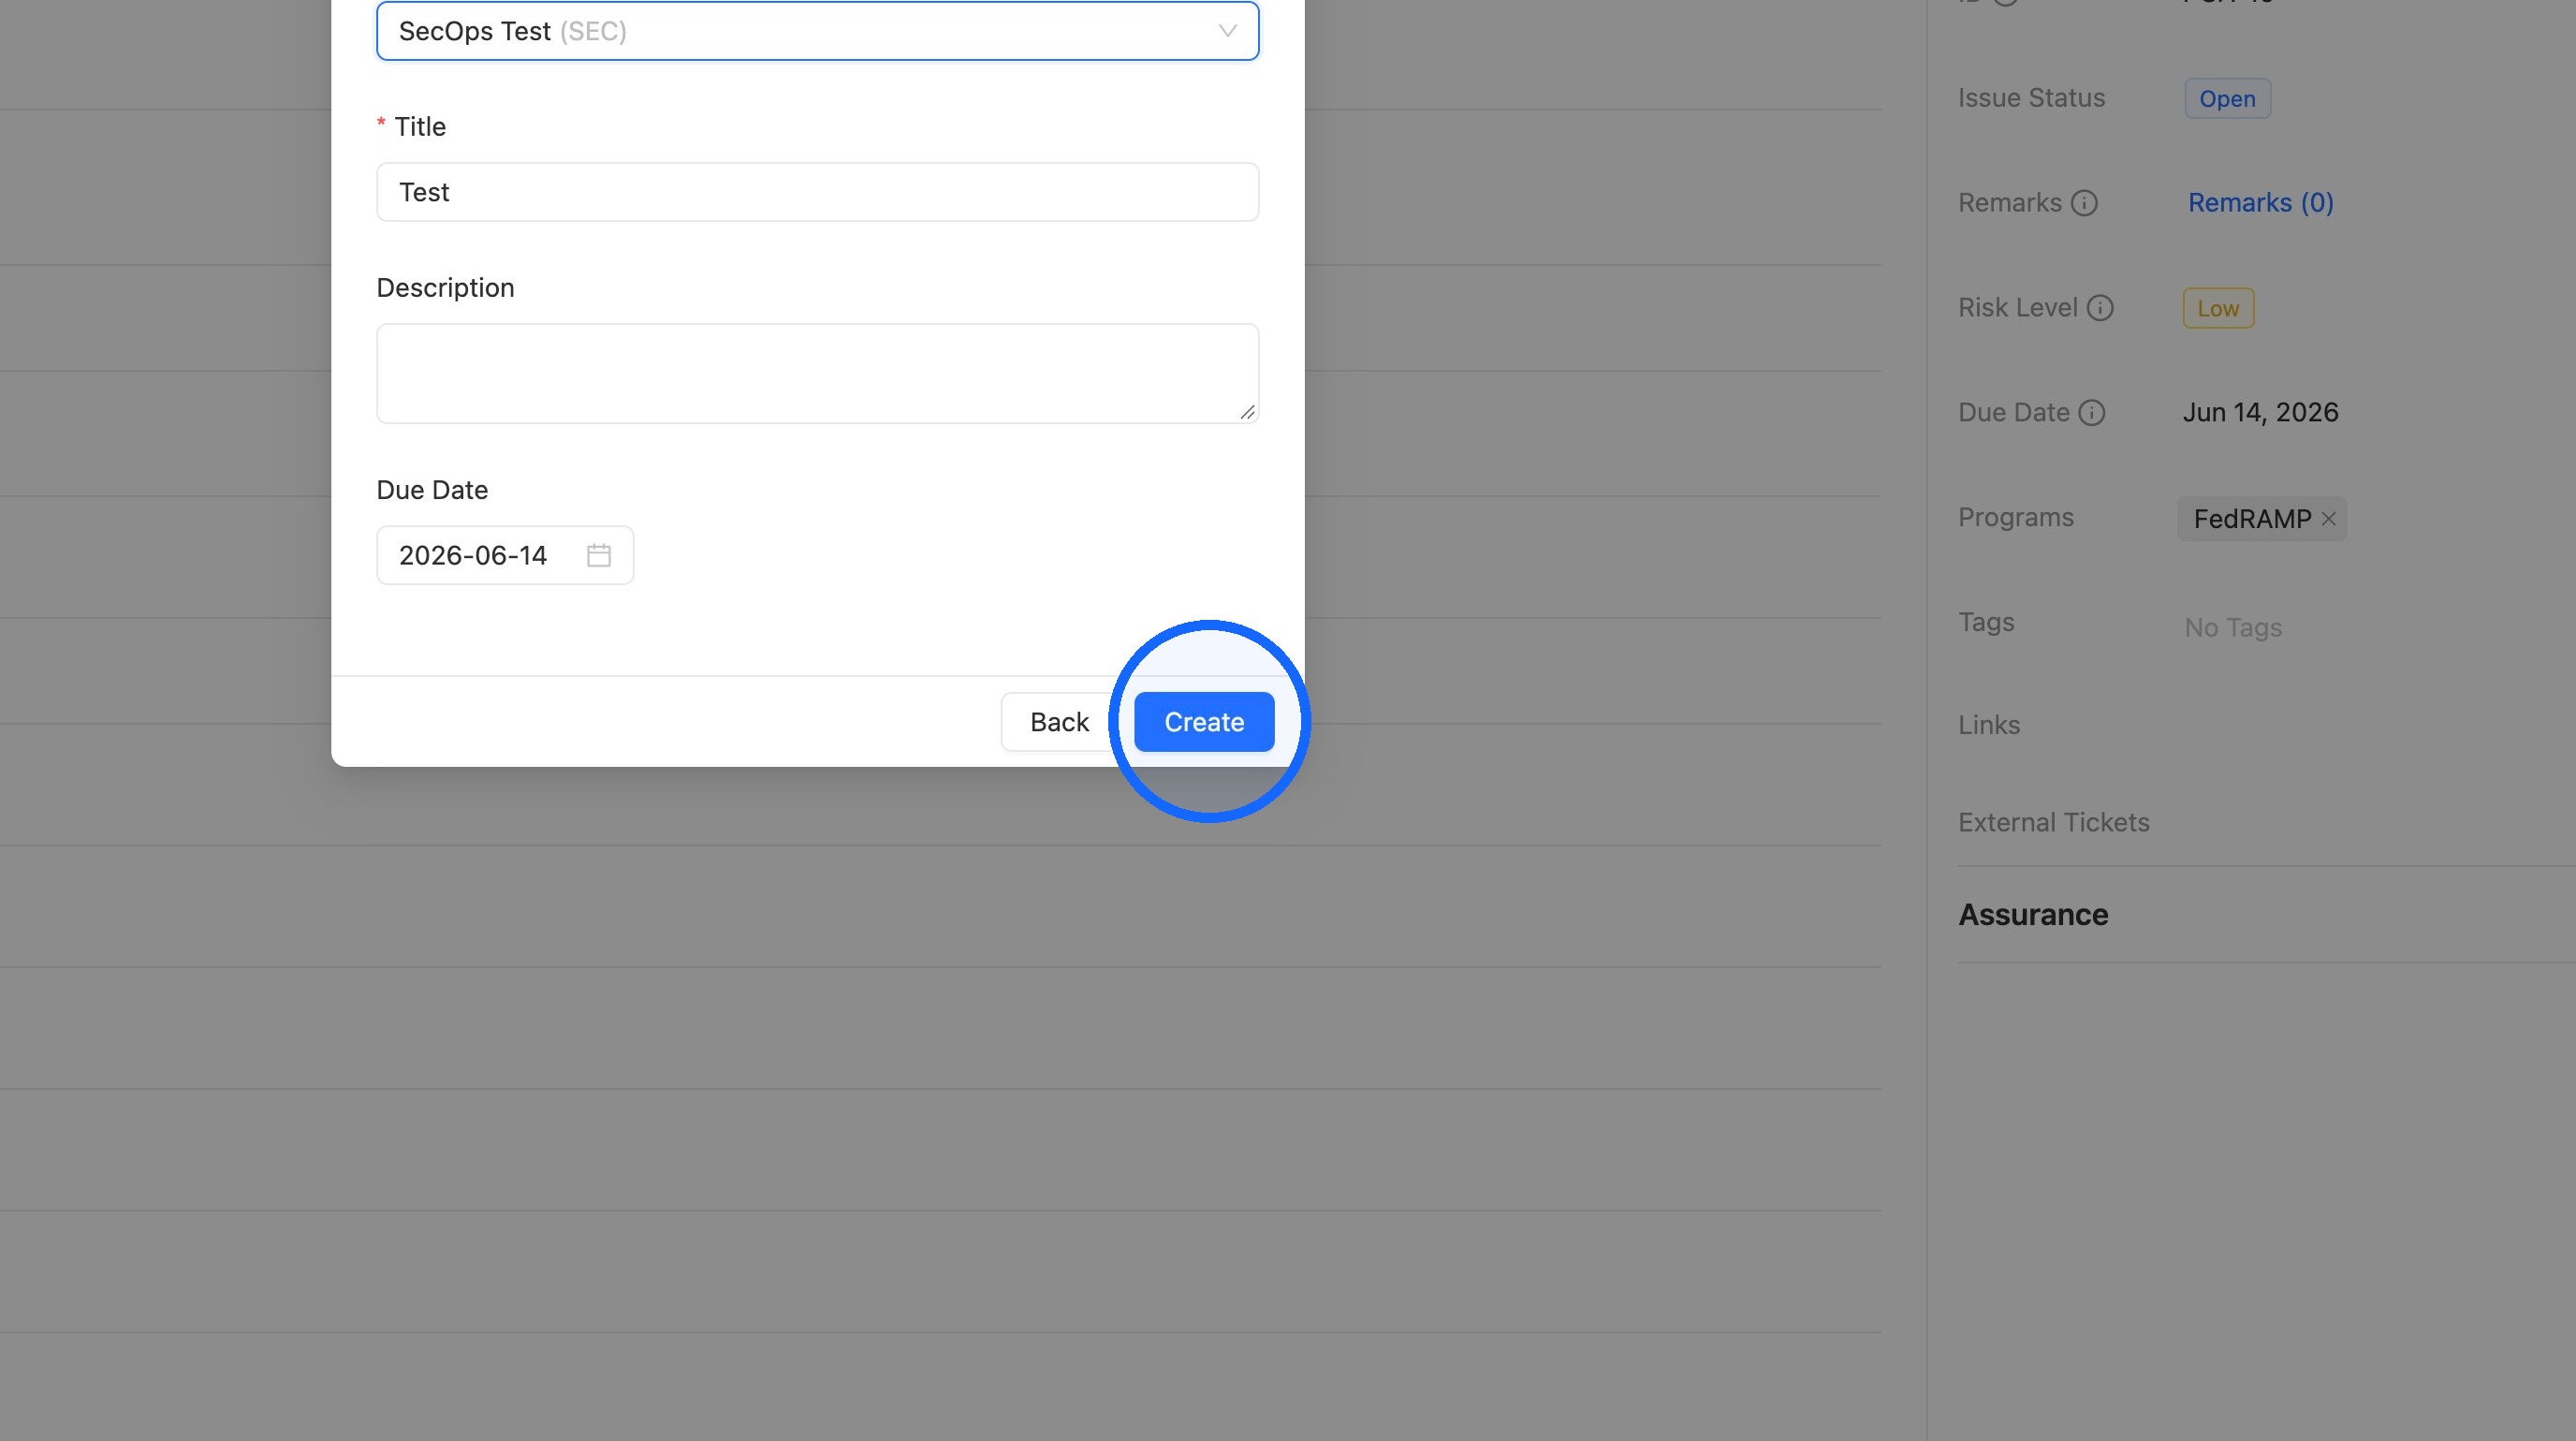
Fill in the remaining details, such as Title, Description, and Due Date.
17. Create the ticket
Click Create.
Comments
0 comments
Please sign in to leave a comment.