
Learn how to connect your Atlassian Jira account to Paramify to streamline incident reporting and ticket management. This guide walks you through linking your Jira account to Paramify.
Integration setup
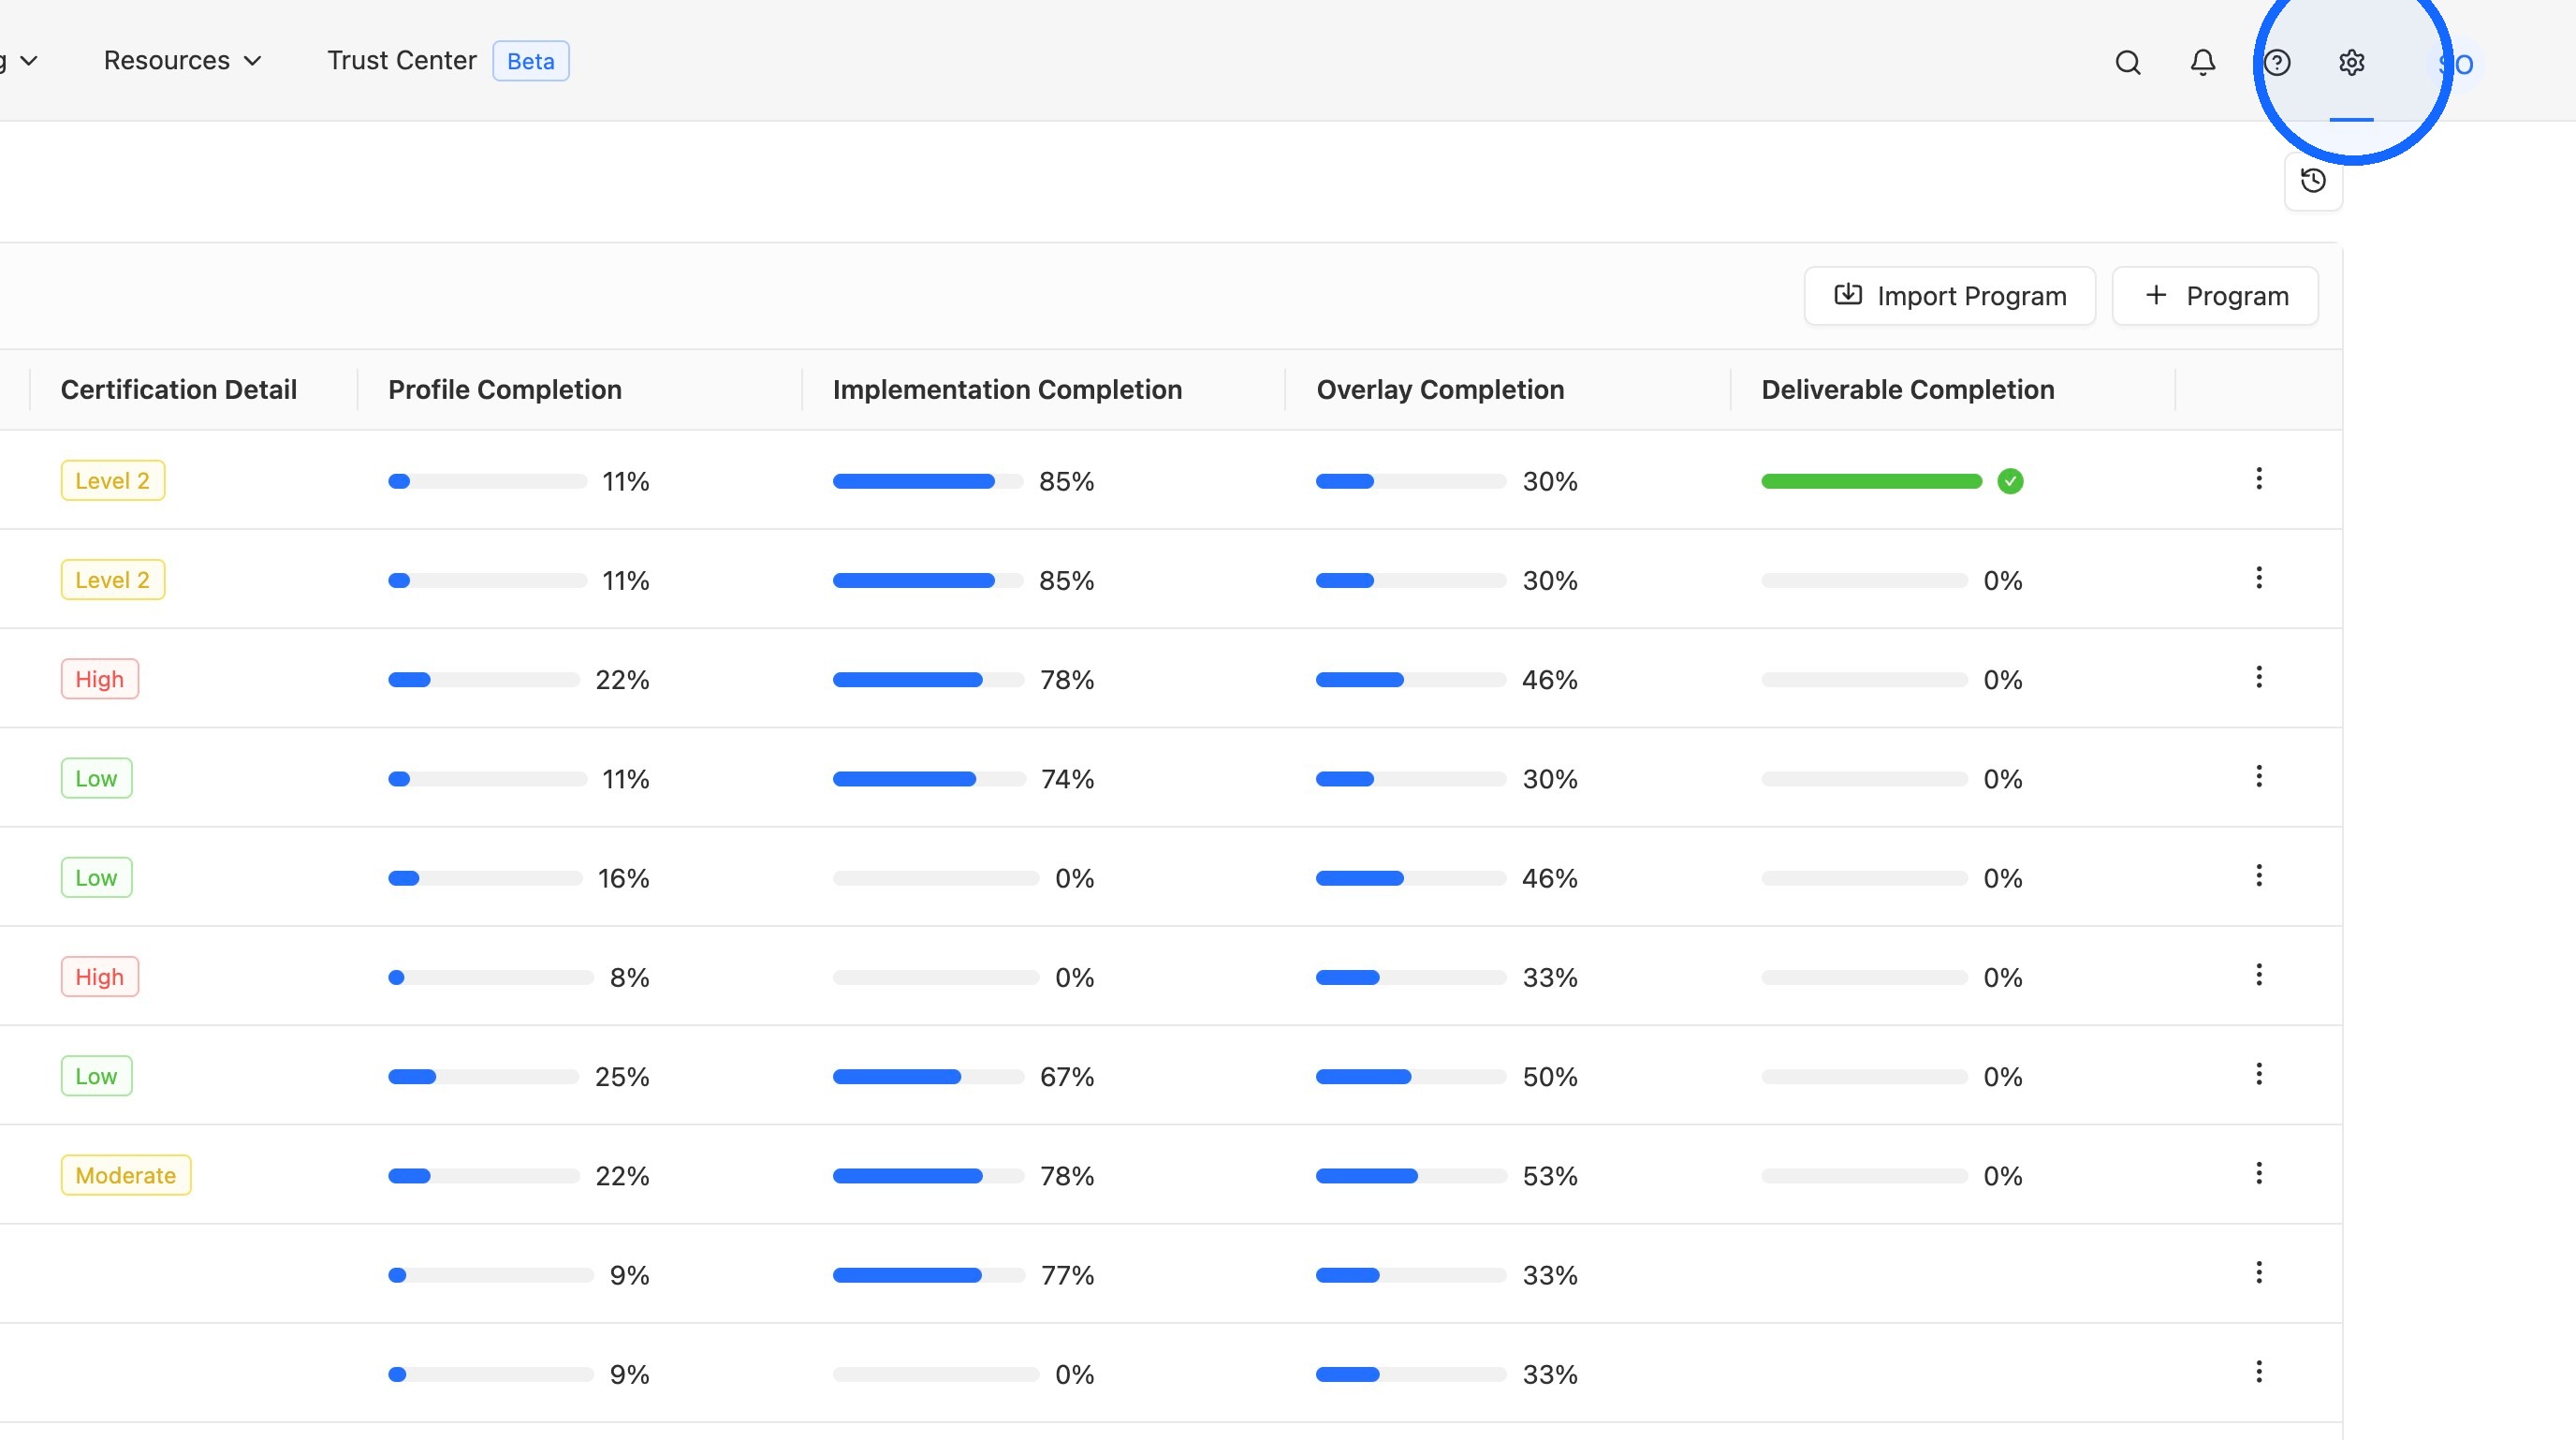
1. Navigate to Settings
Open Settings from the Paramify navigation.
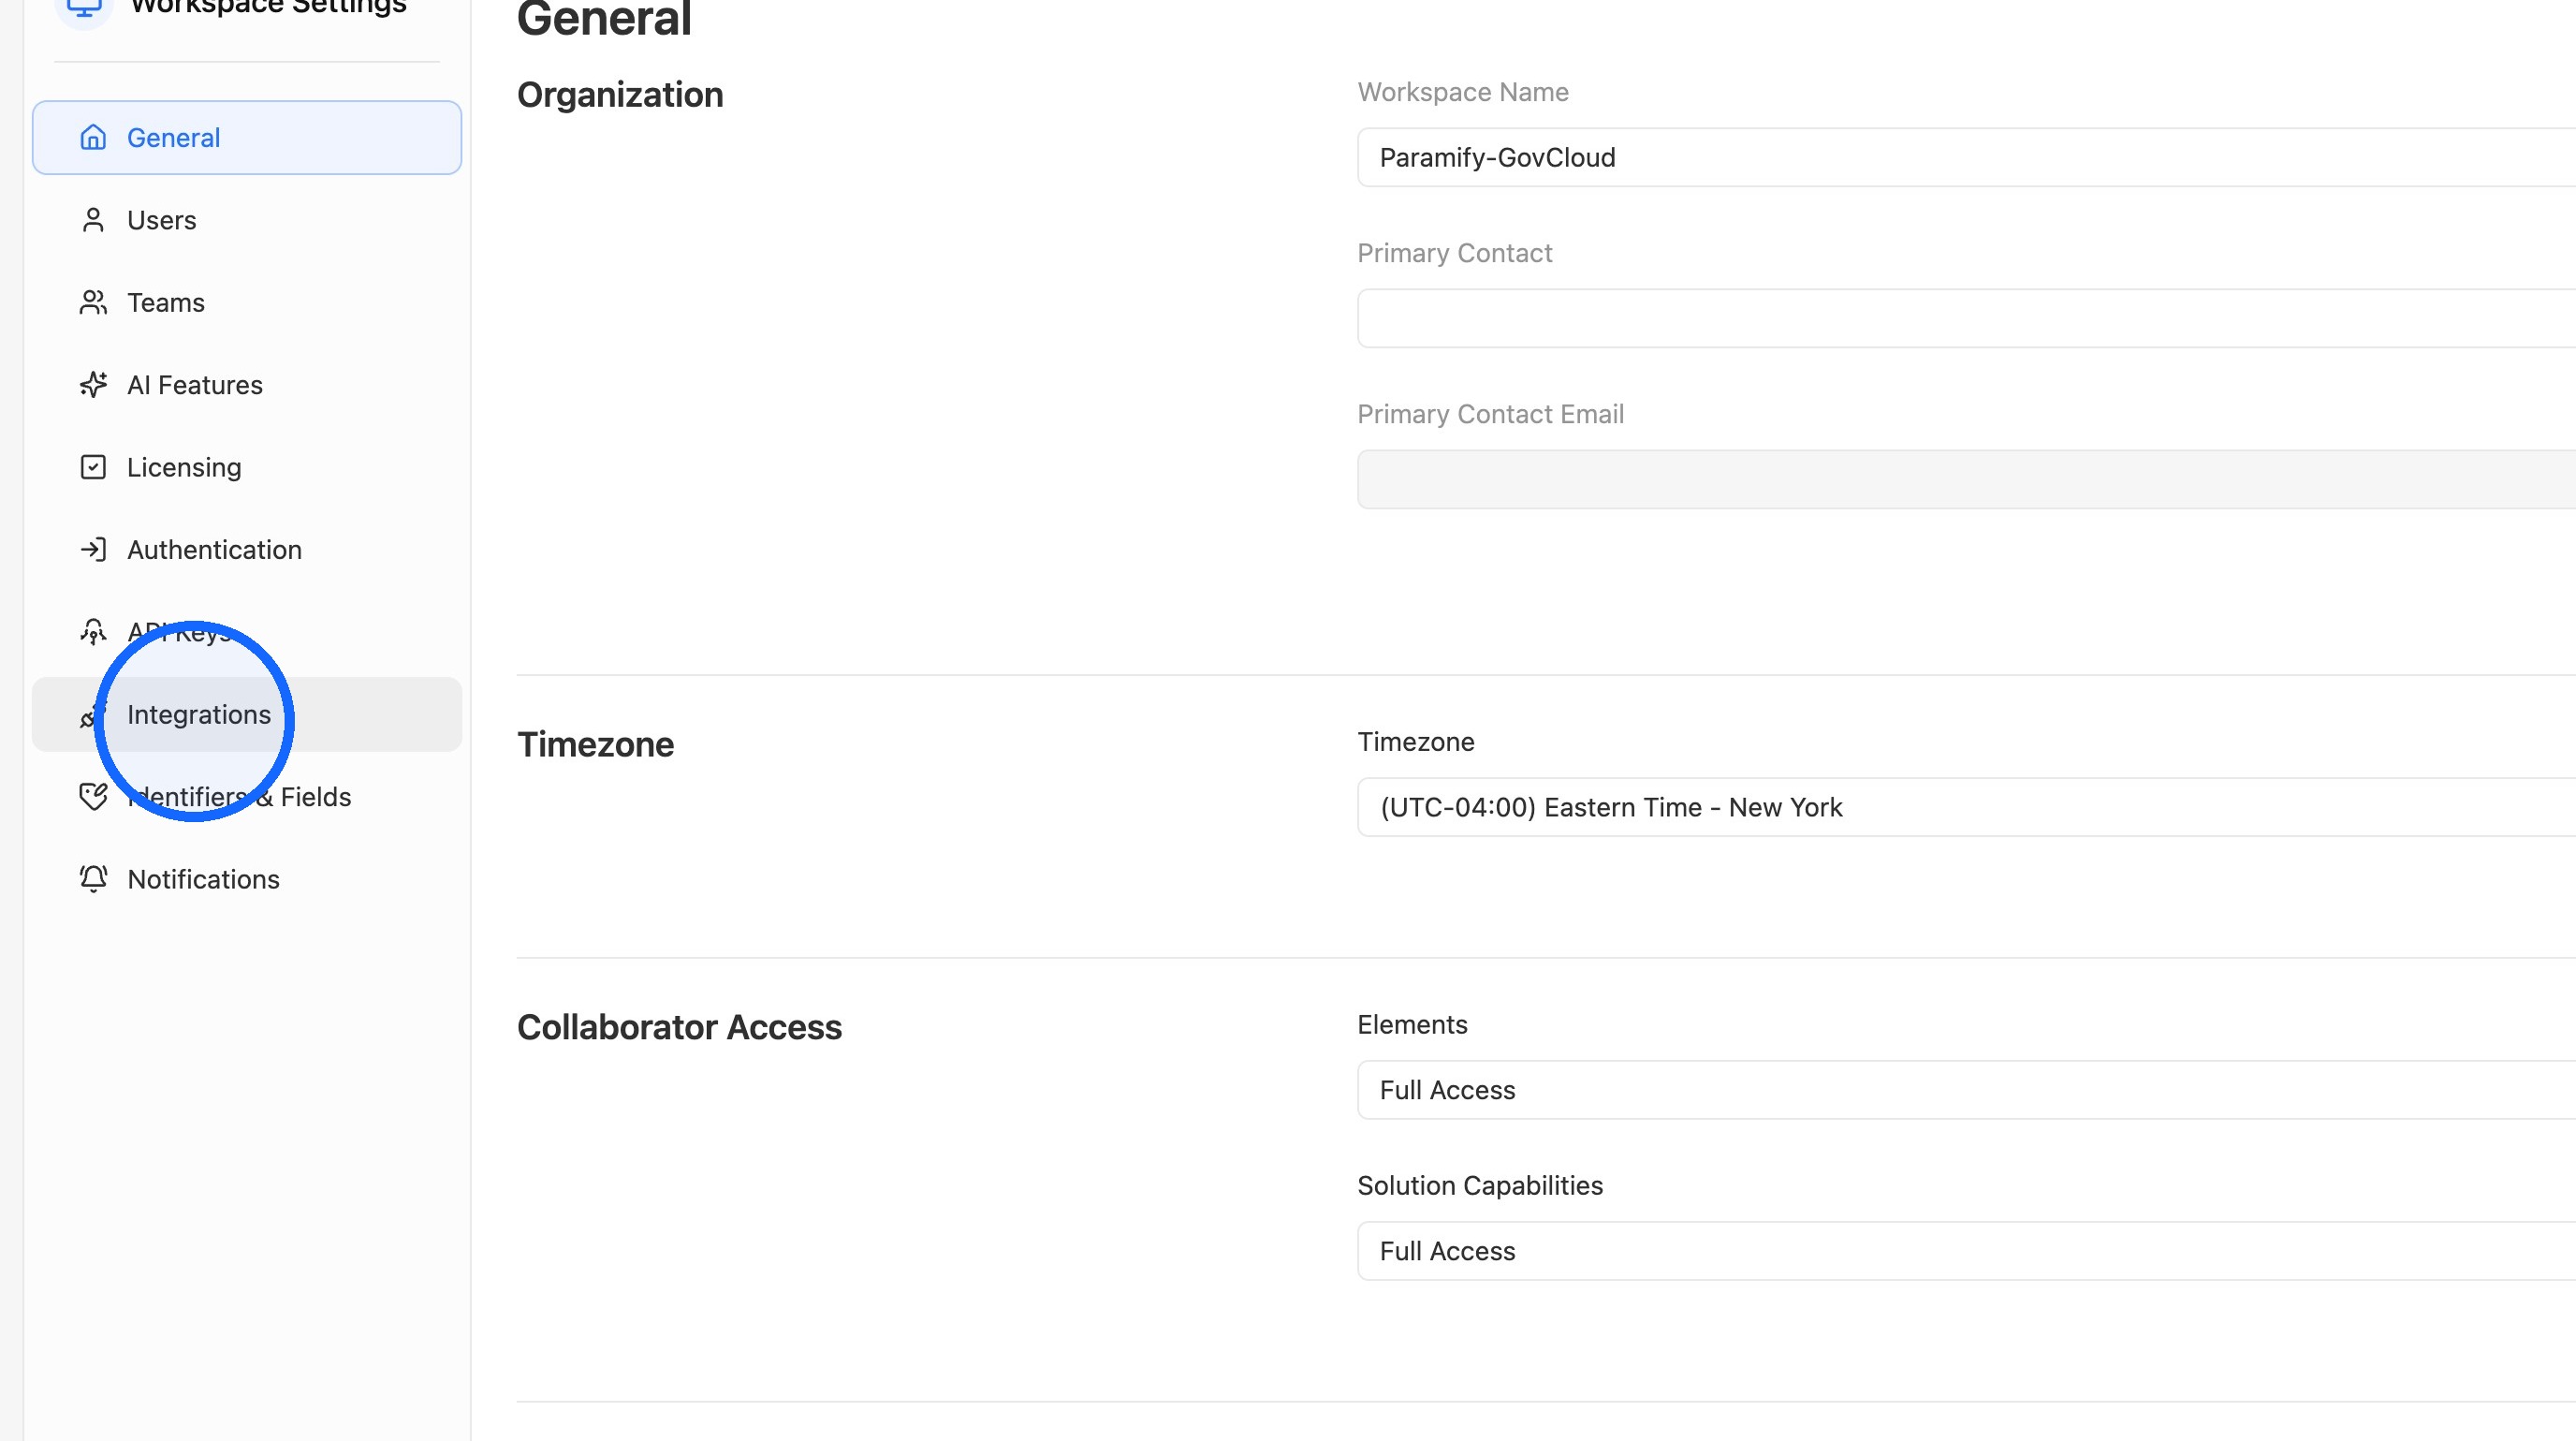
2. Open Integrations
Click Integrations under Workspace Settings.
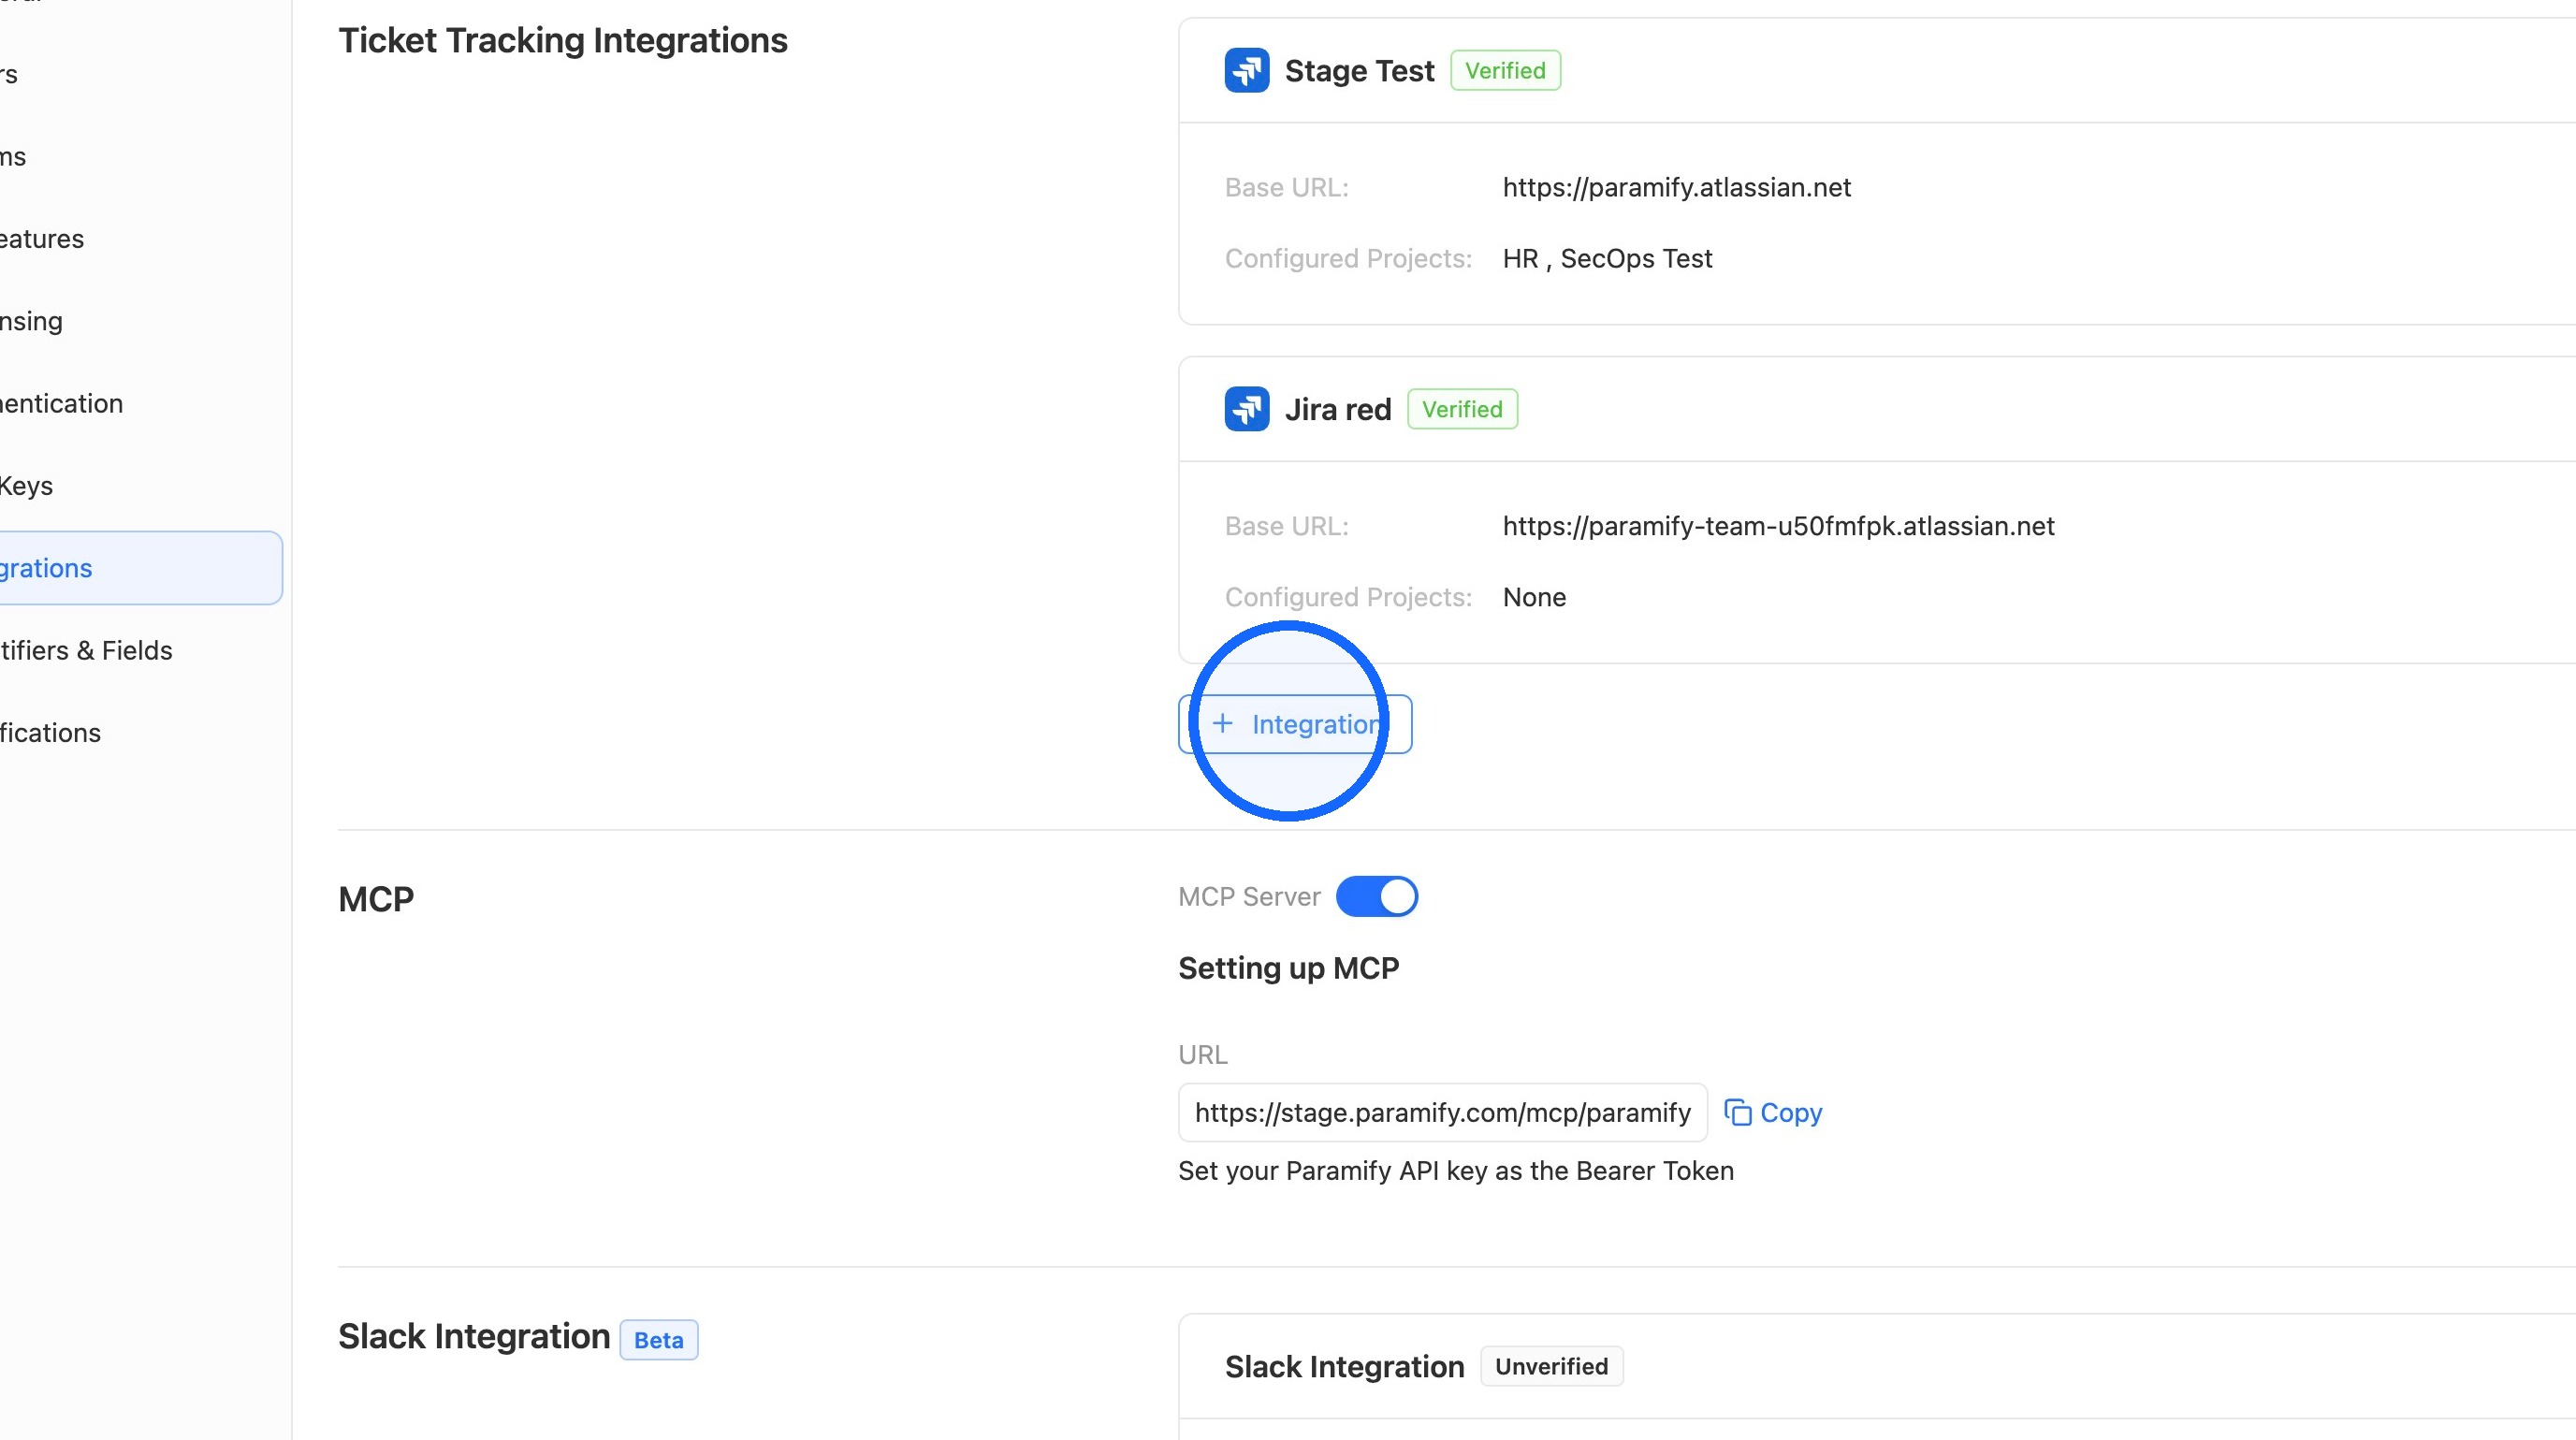
3. Add a new integration
Click + Integration.
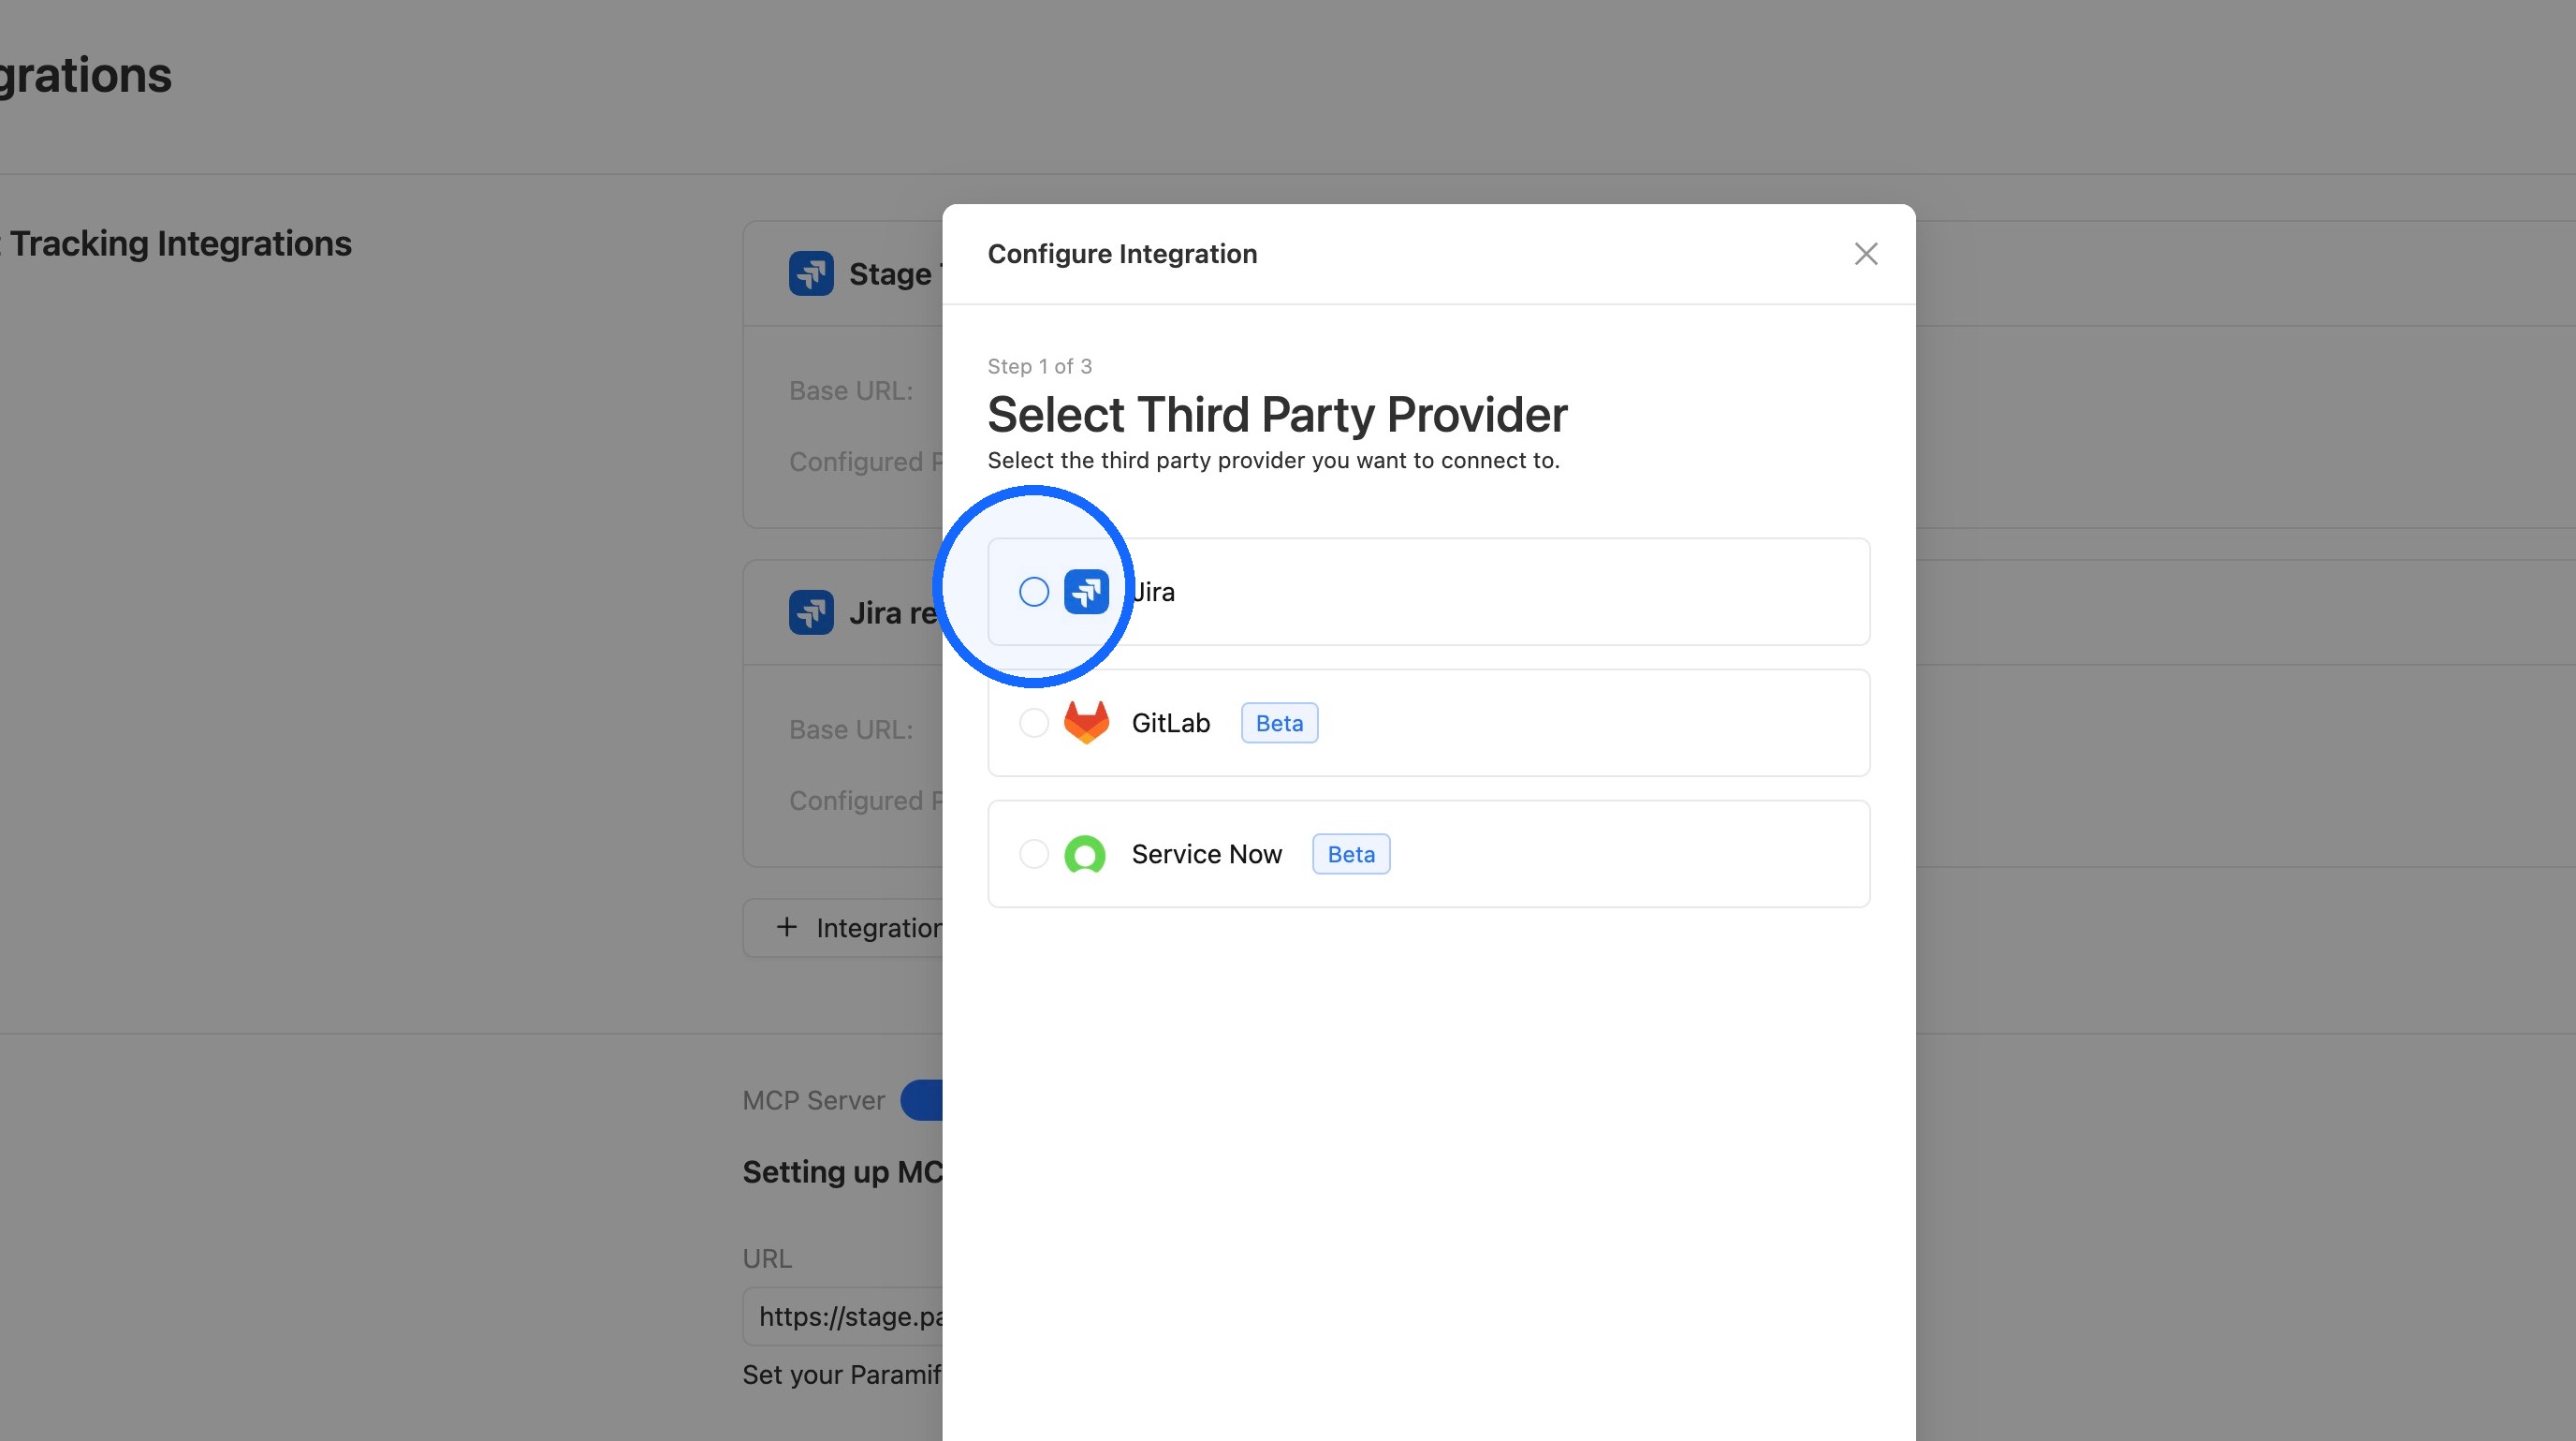
4. Select Jira
Select Jira as the third-party provider, then click Next in the bottom right of the modal.
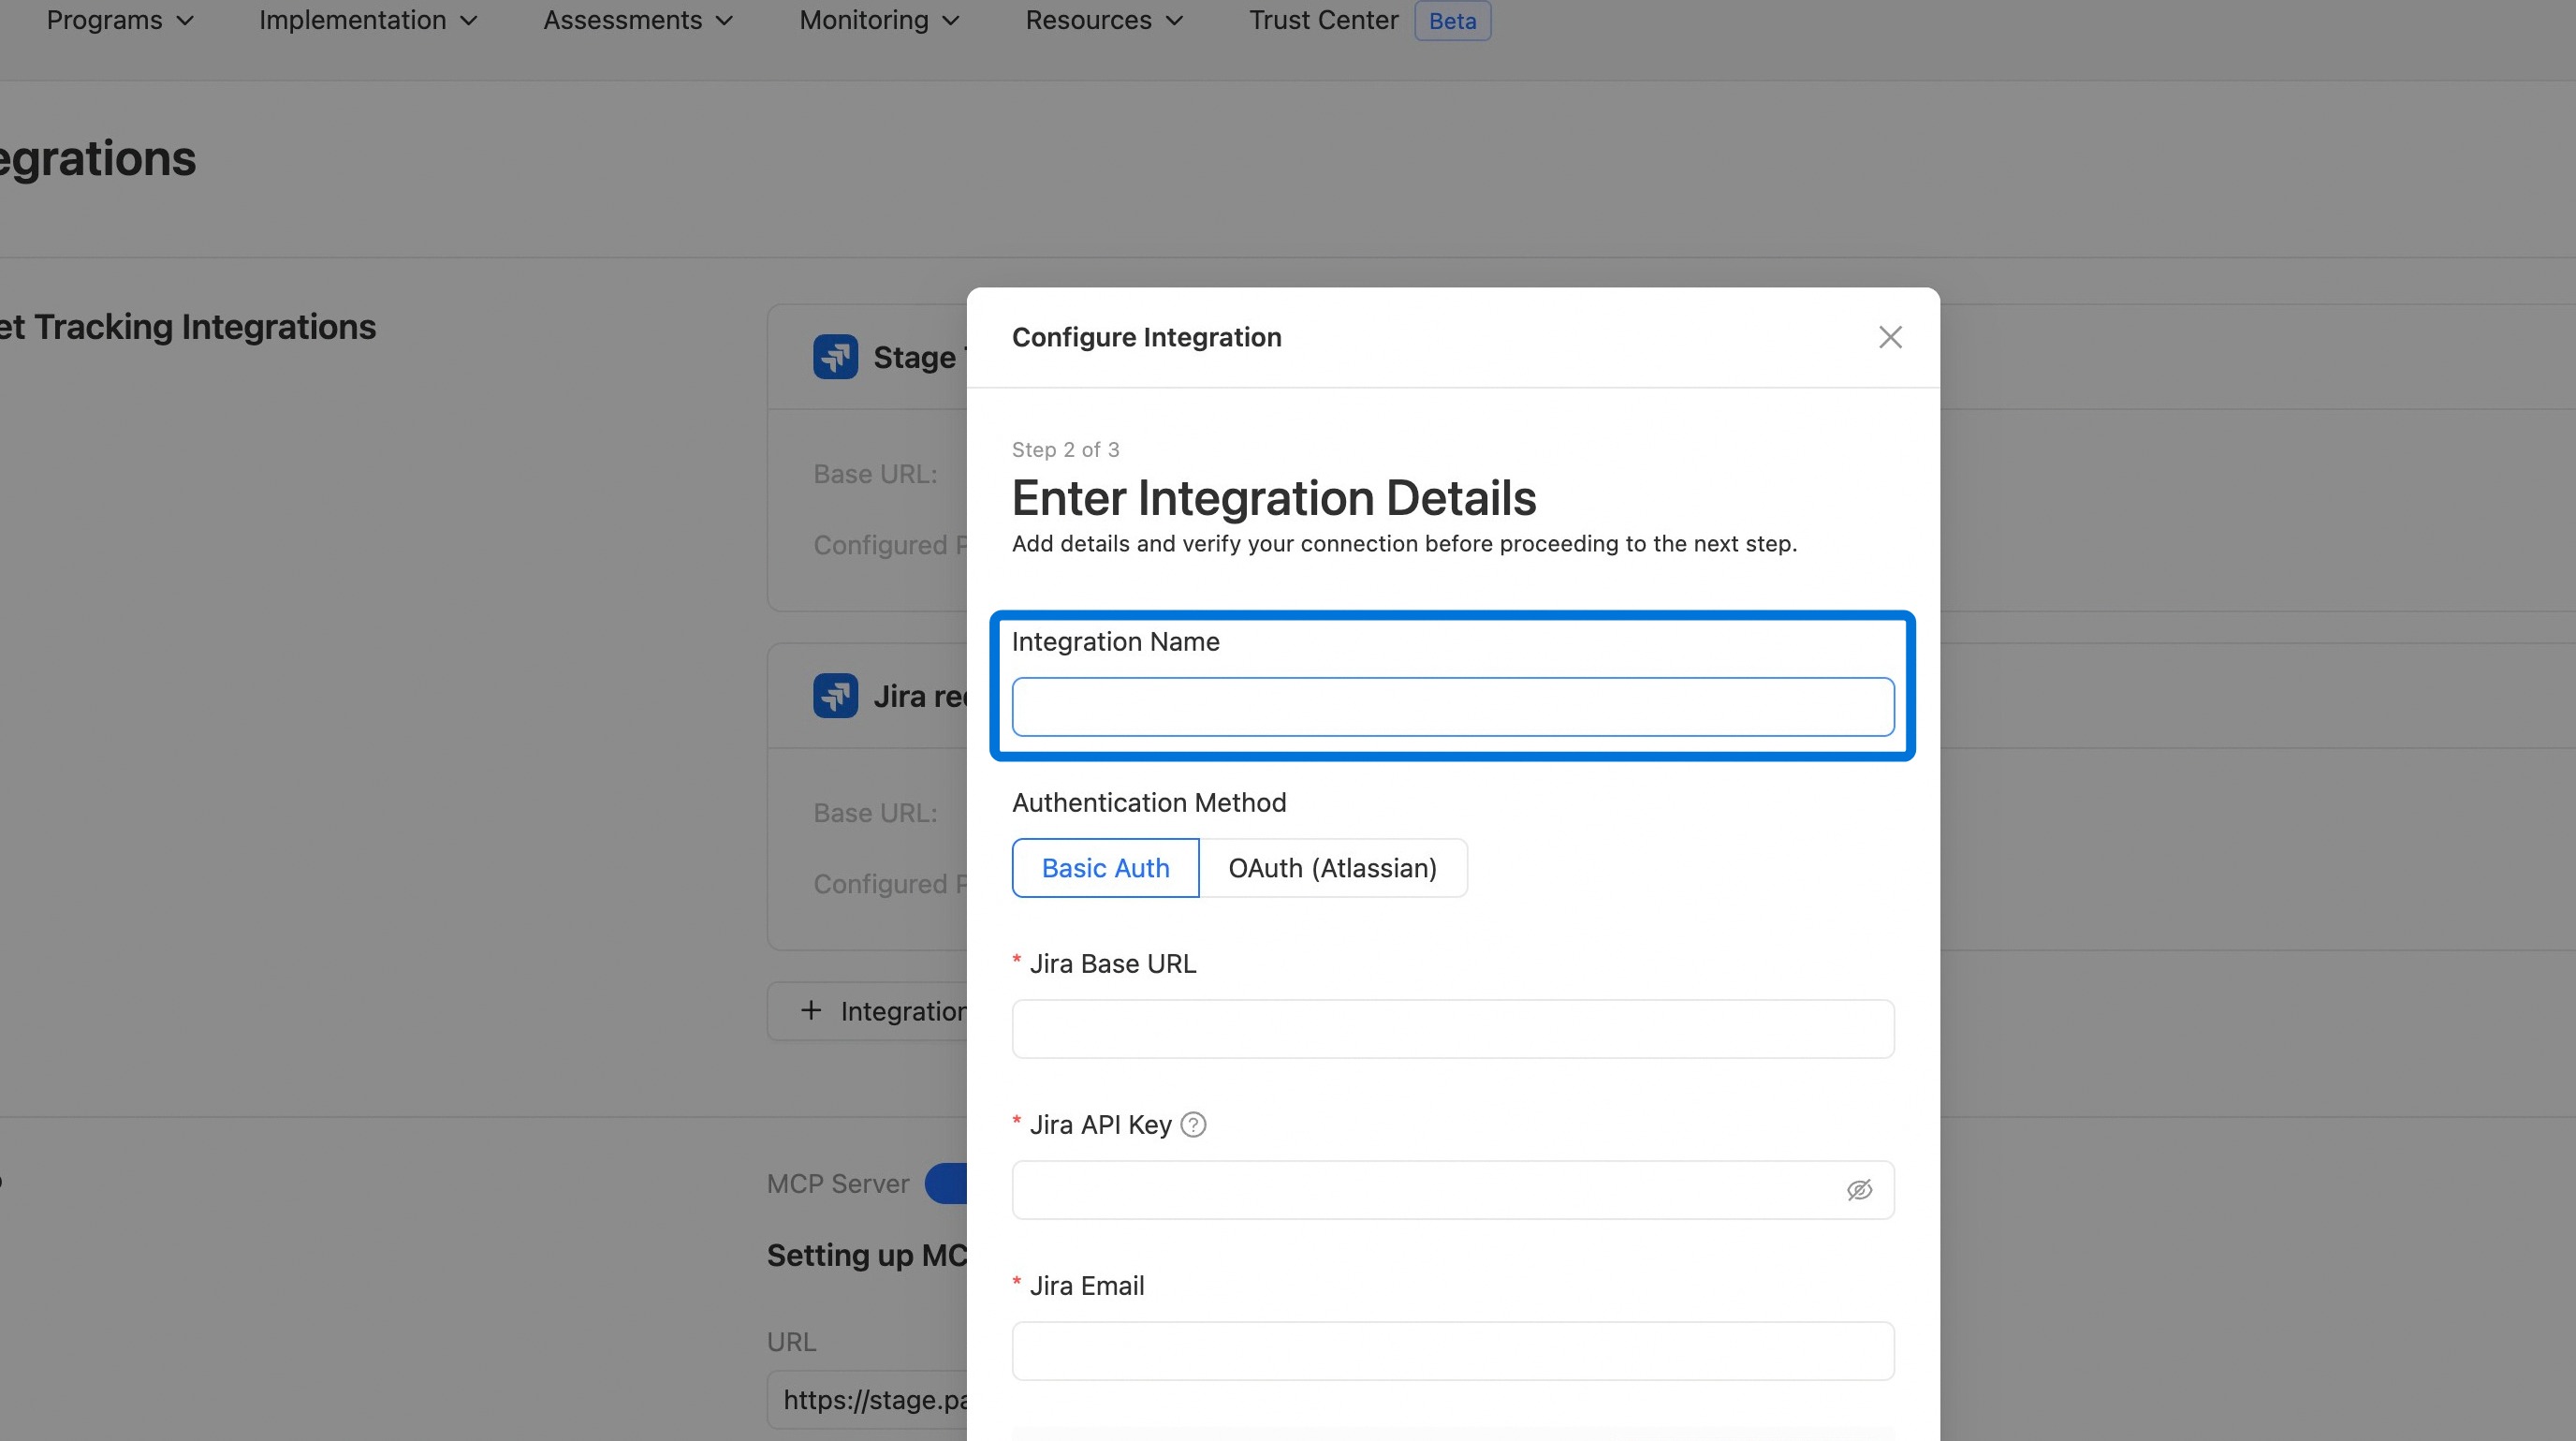
5. Name the integration
Enter a name for the integration.
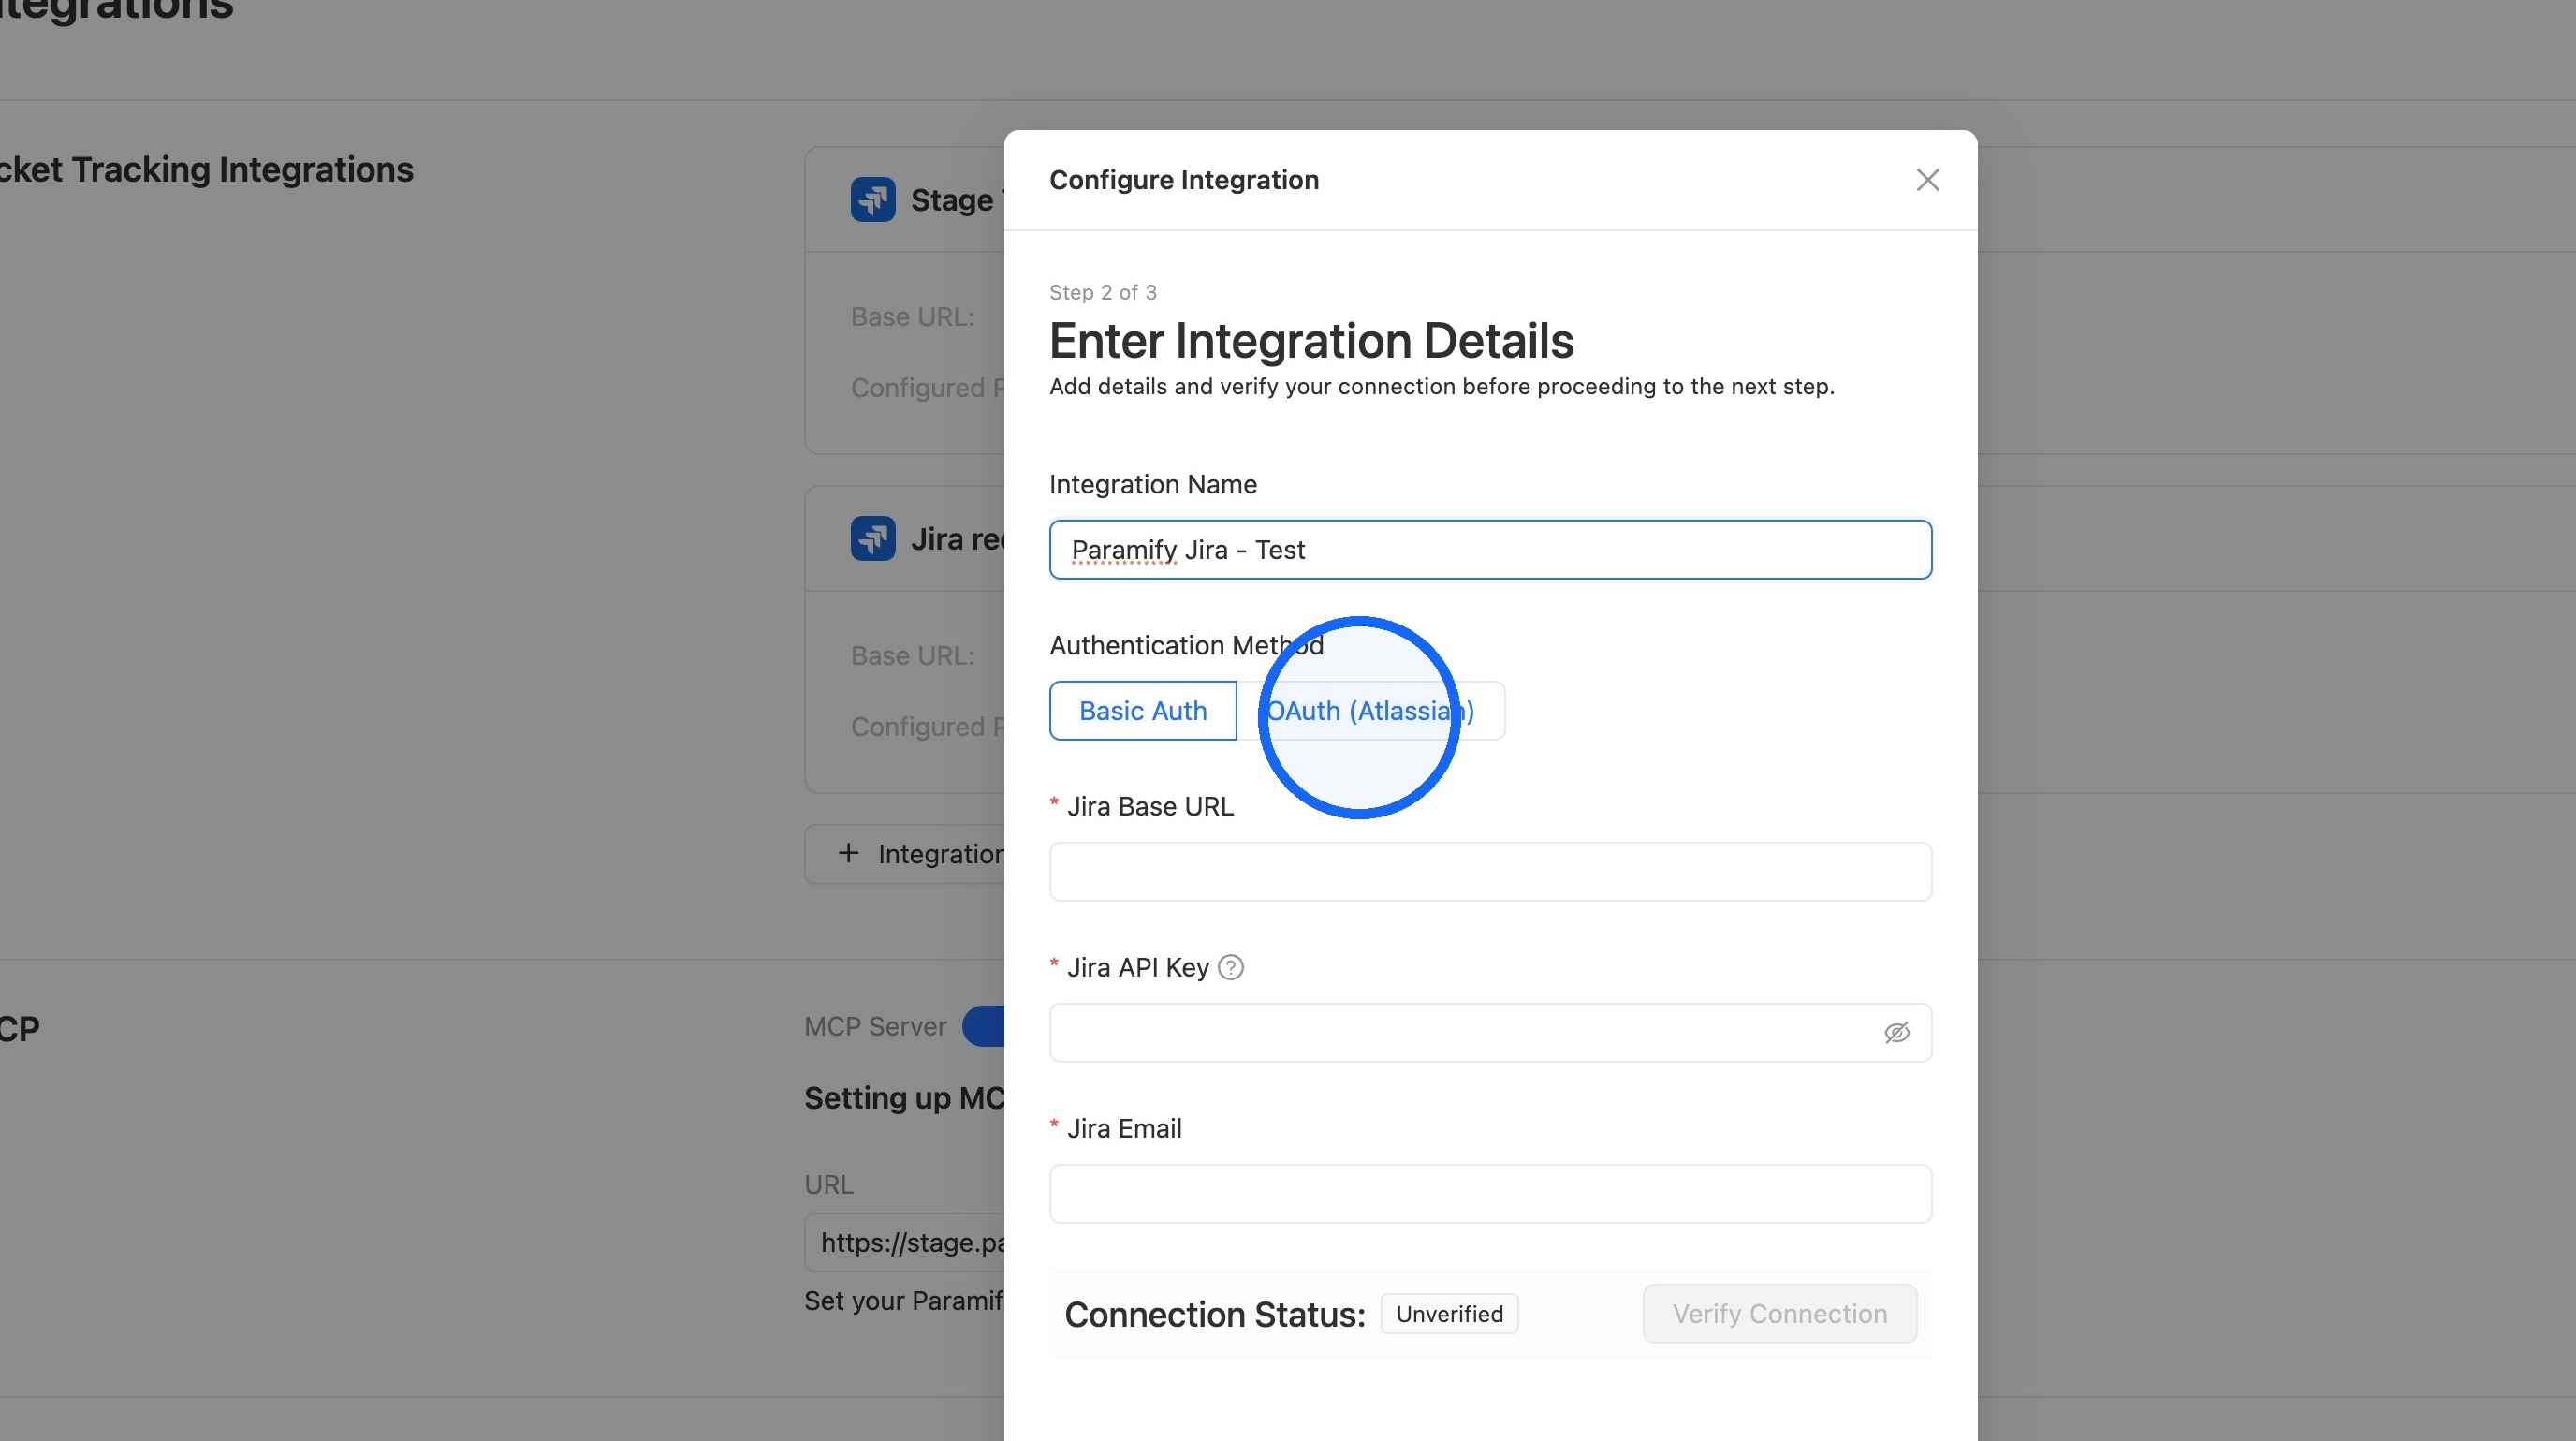
6. Choose an authentication method
Paste your credentials into the fields under Basic Auth, or click OAuth (Atlassian) to authenticate by logging in. This example uses OAuth.
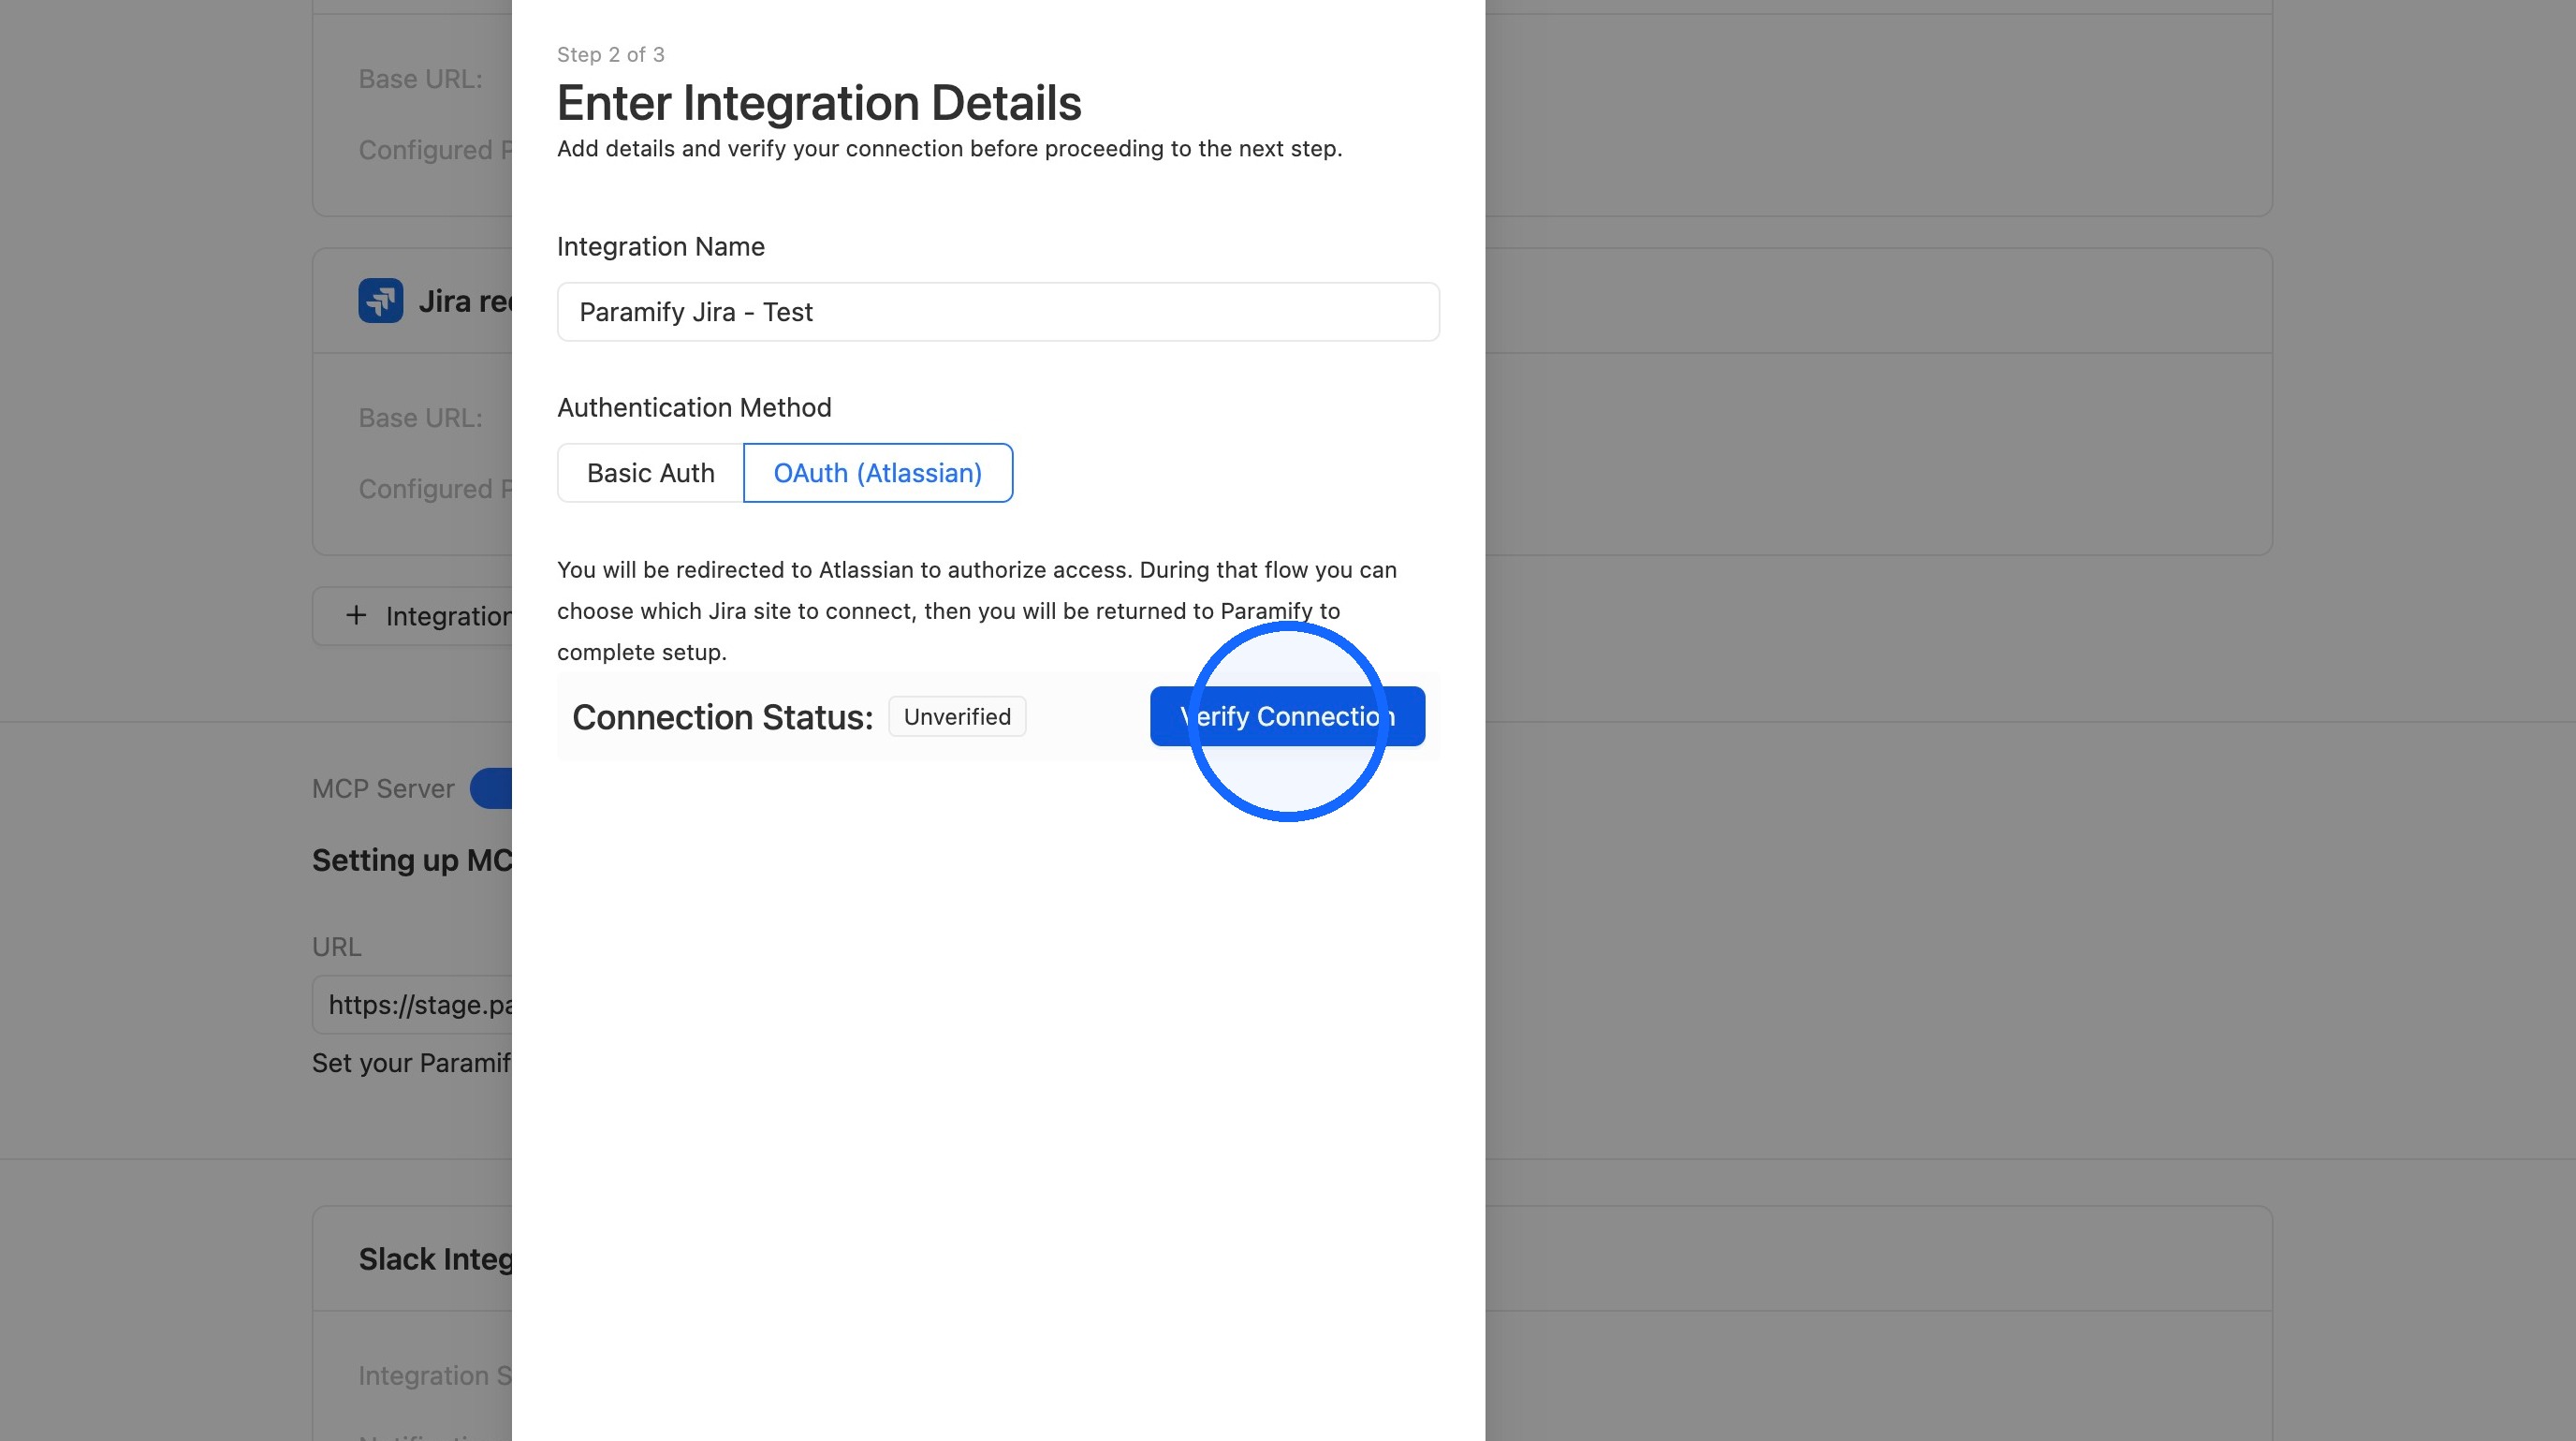
7. Verify the connection
Click Verify Connection.
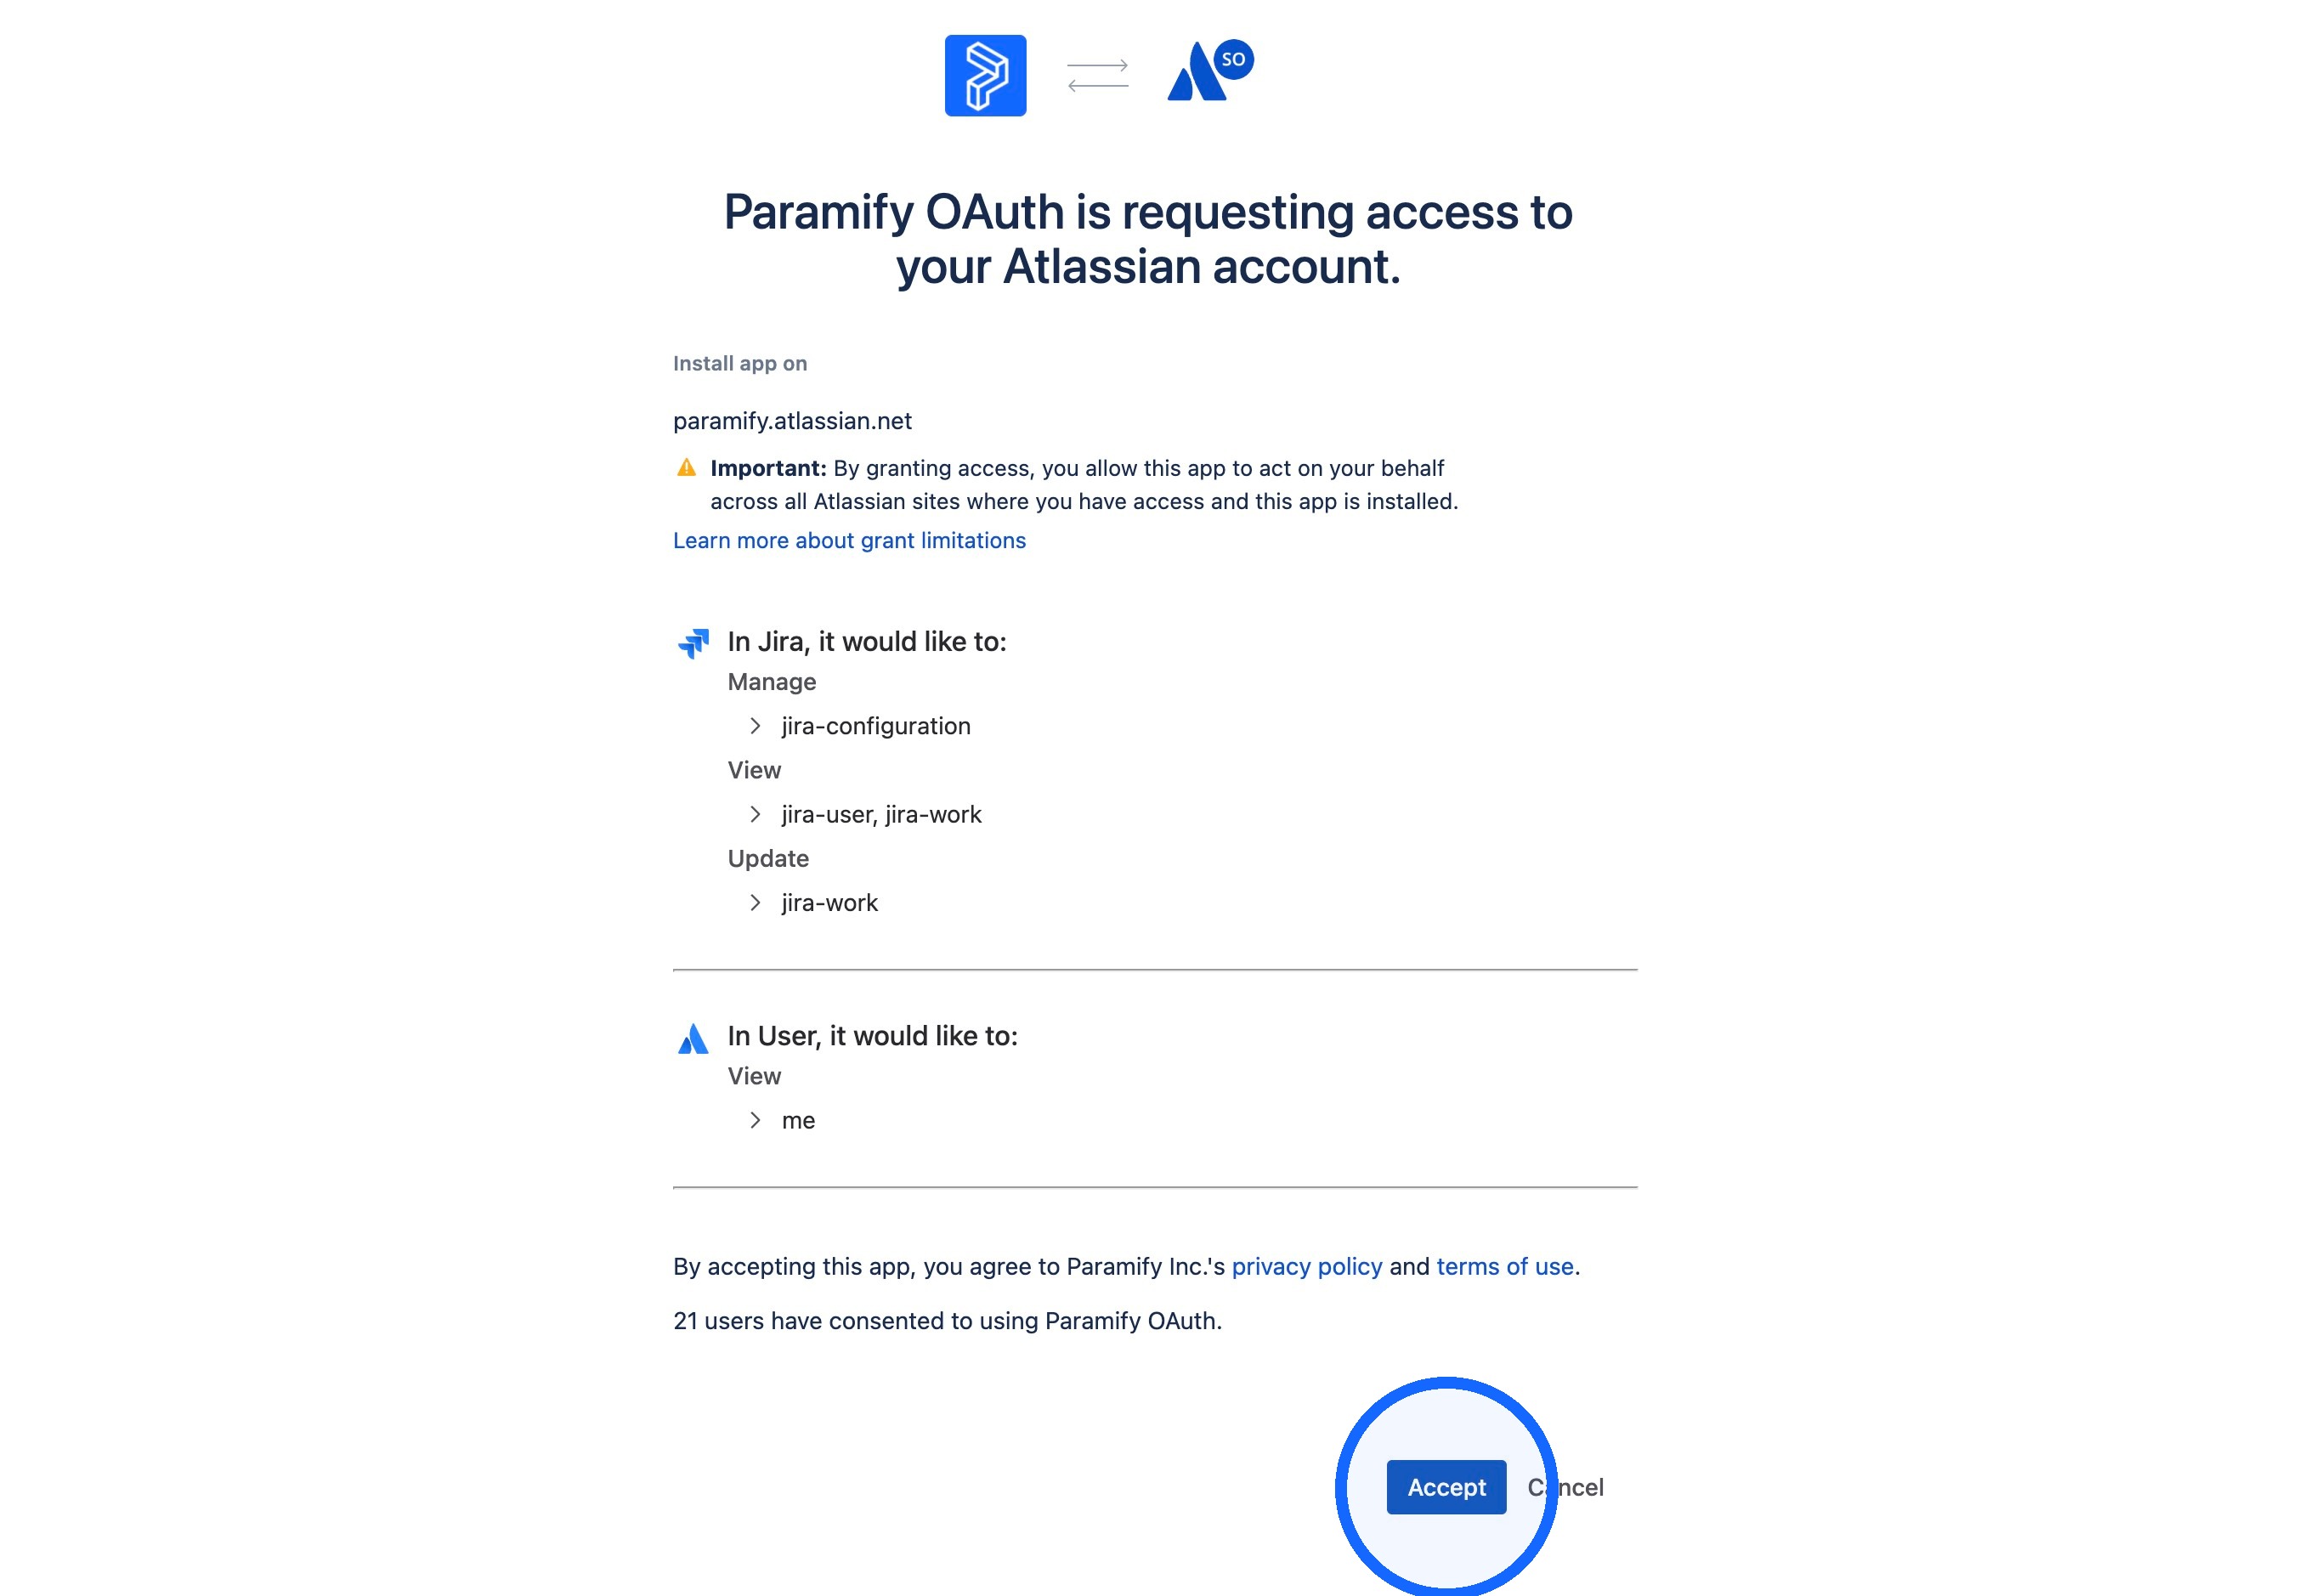
8. Accept the requested permissions
Click Accept to grant Paramify the requested Atlassian permissions.
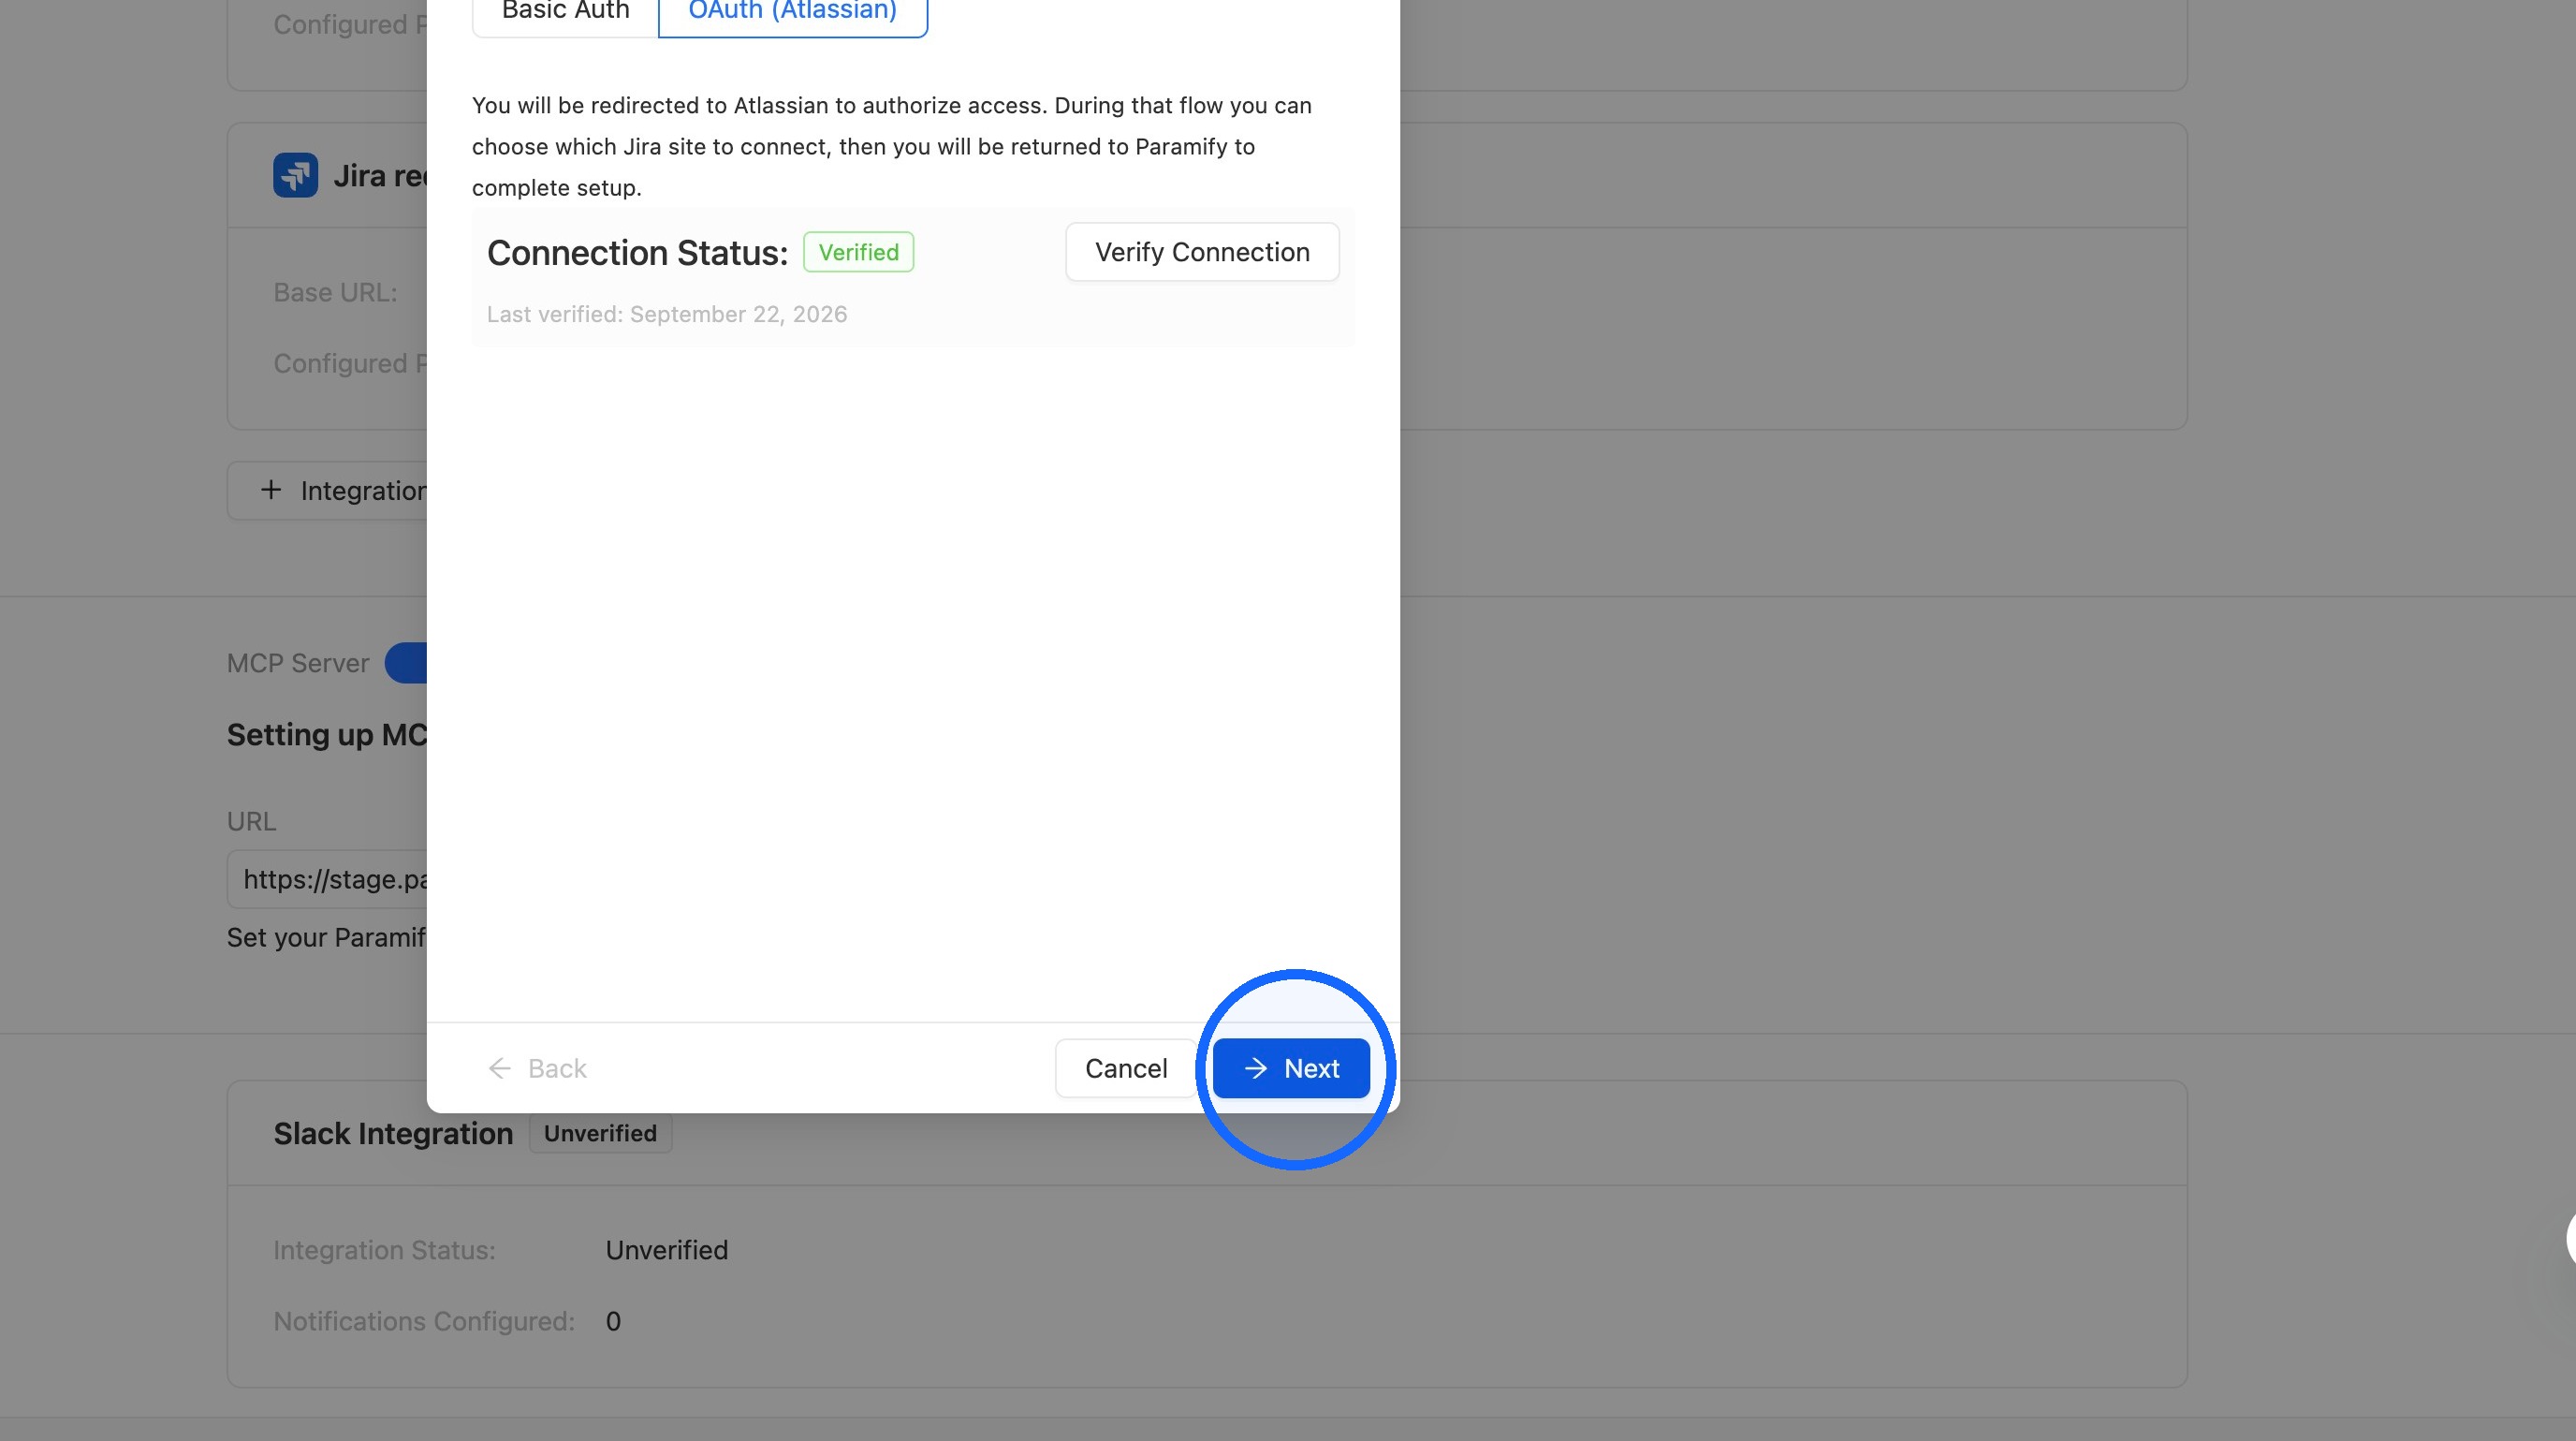
9. Continue to project selection
Click Next.
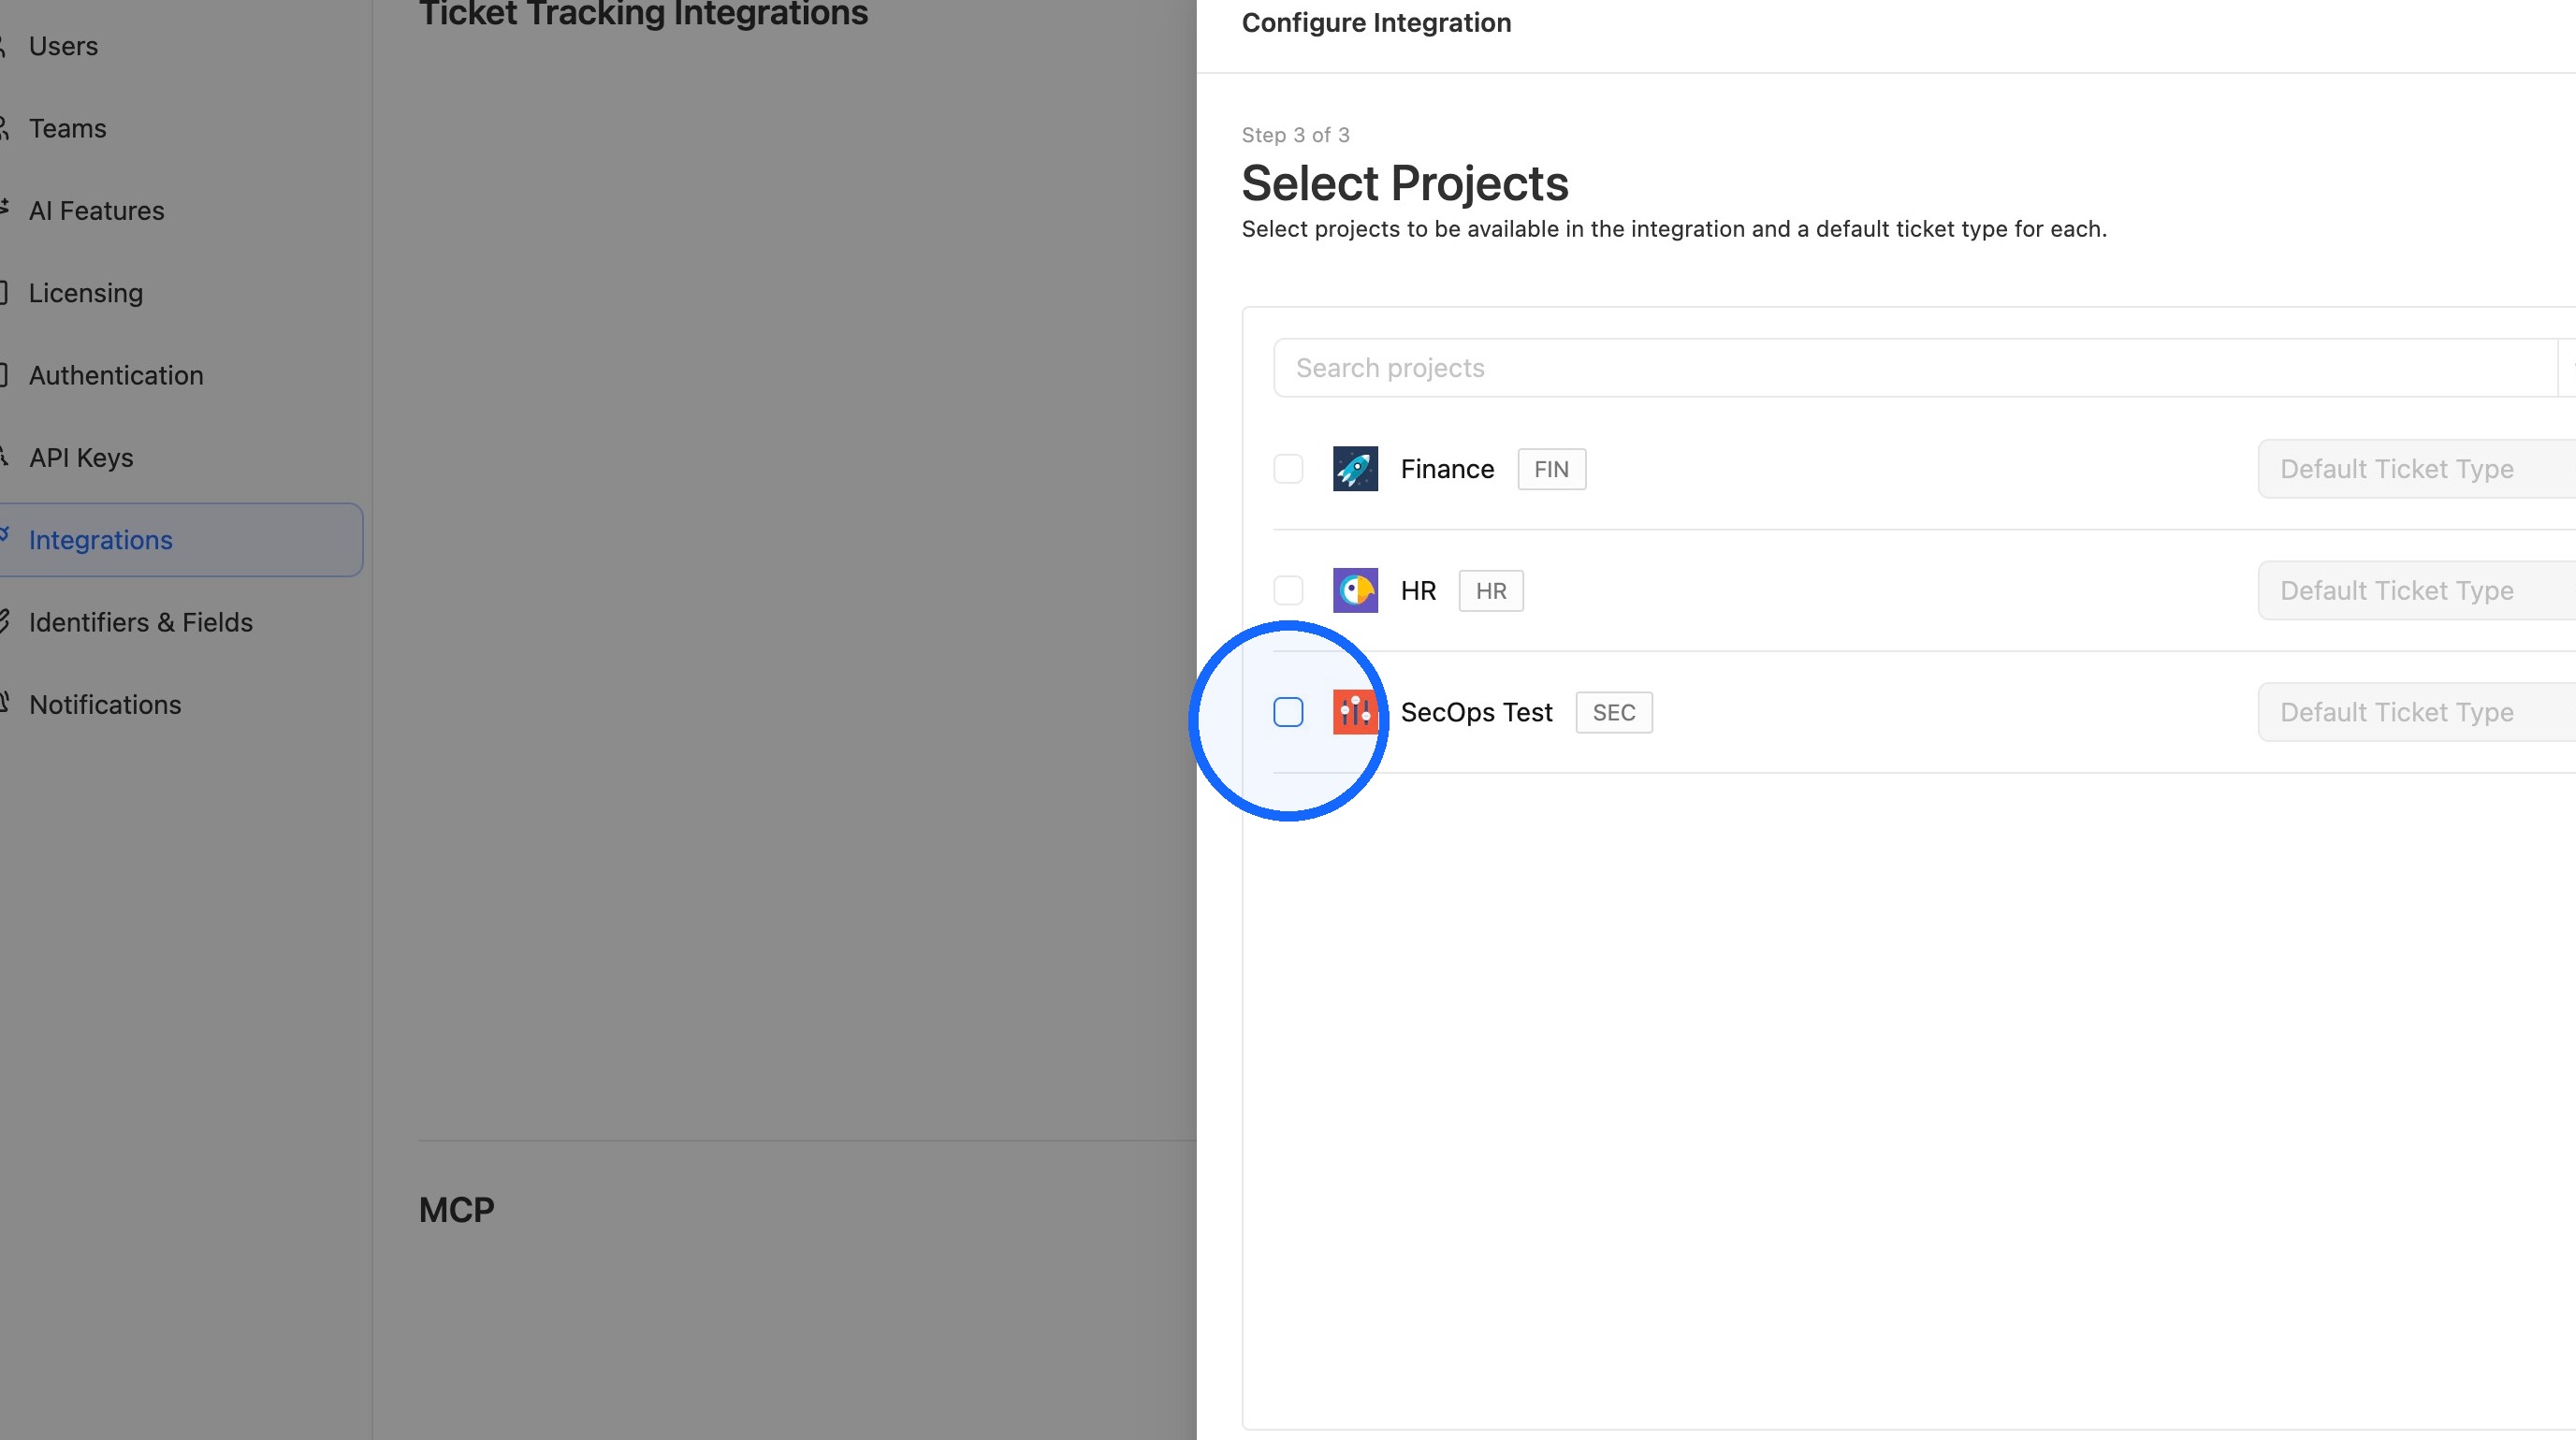
10. Select Jira projects
Select the Jira projects you want available in the integration.
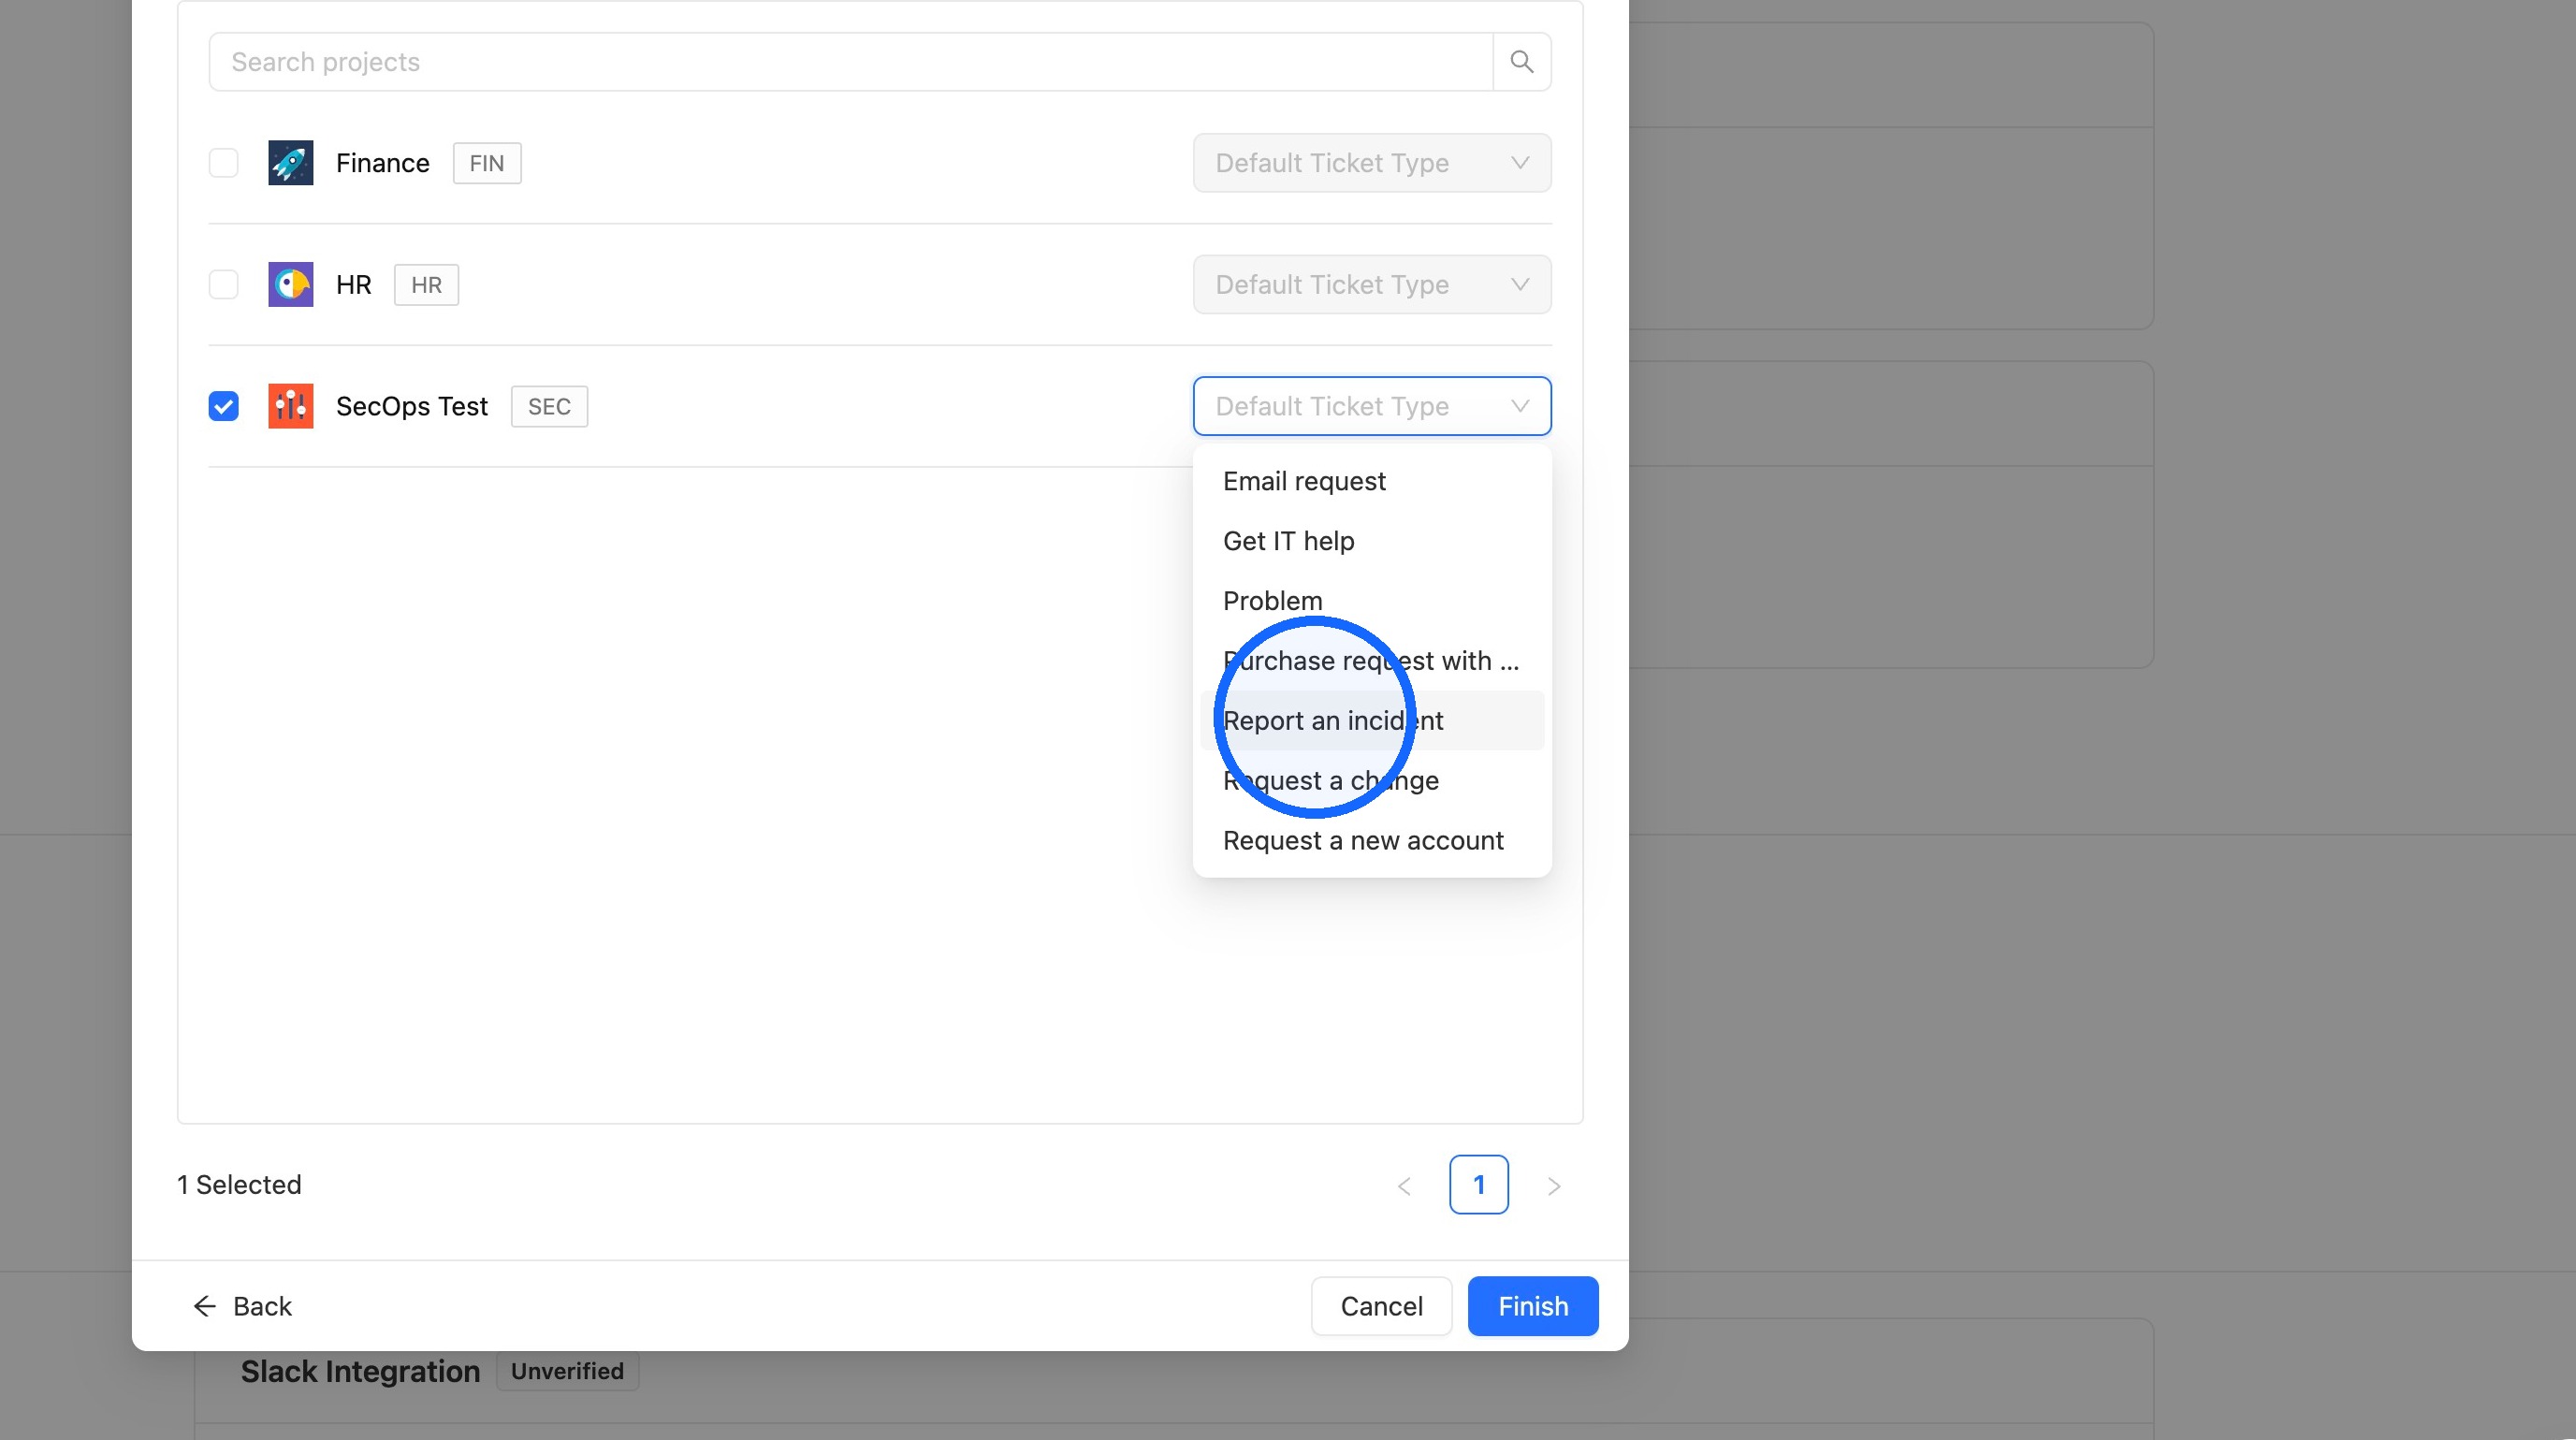
11. Set the default ticket type
Select a default ticket type for each project you selected.
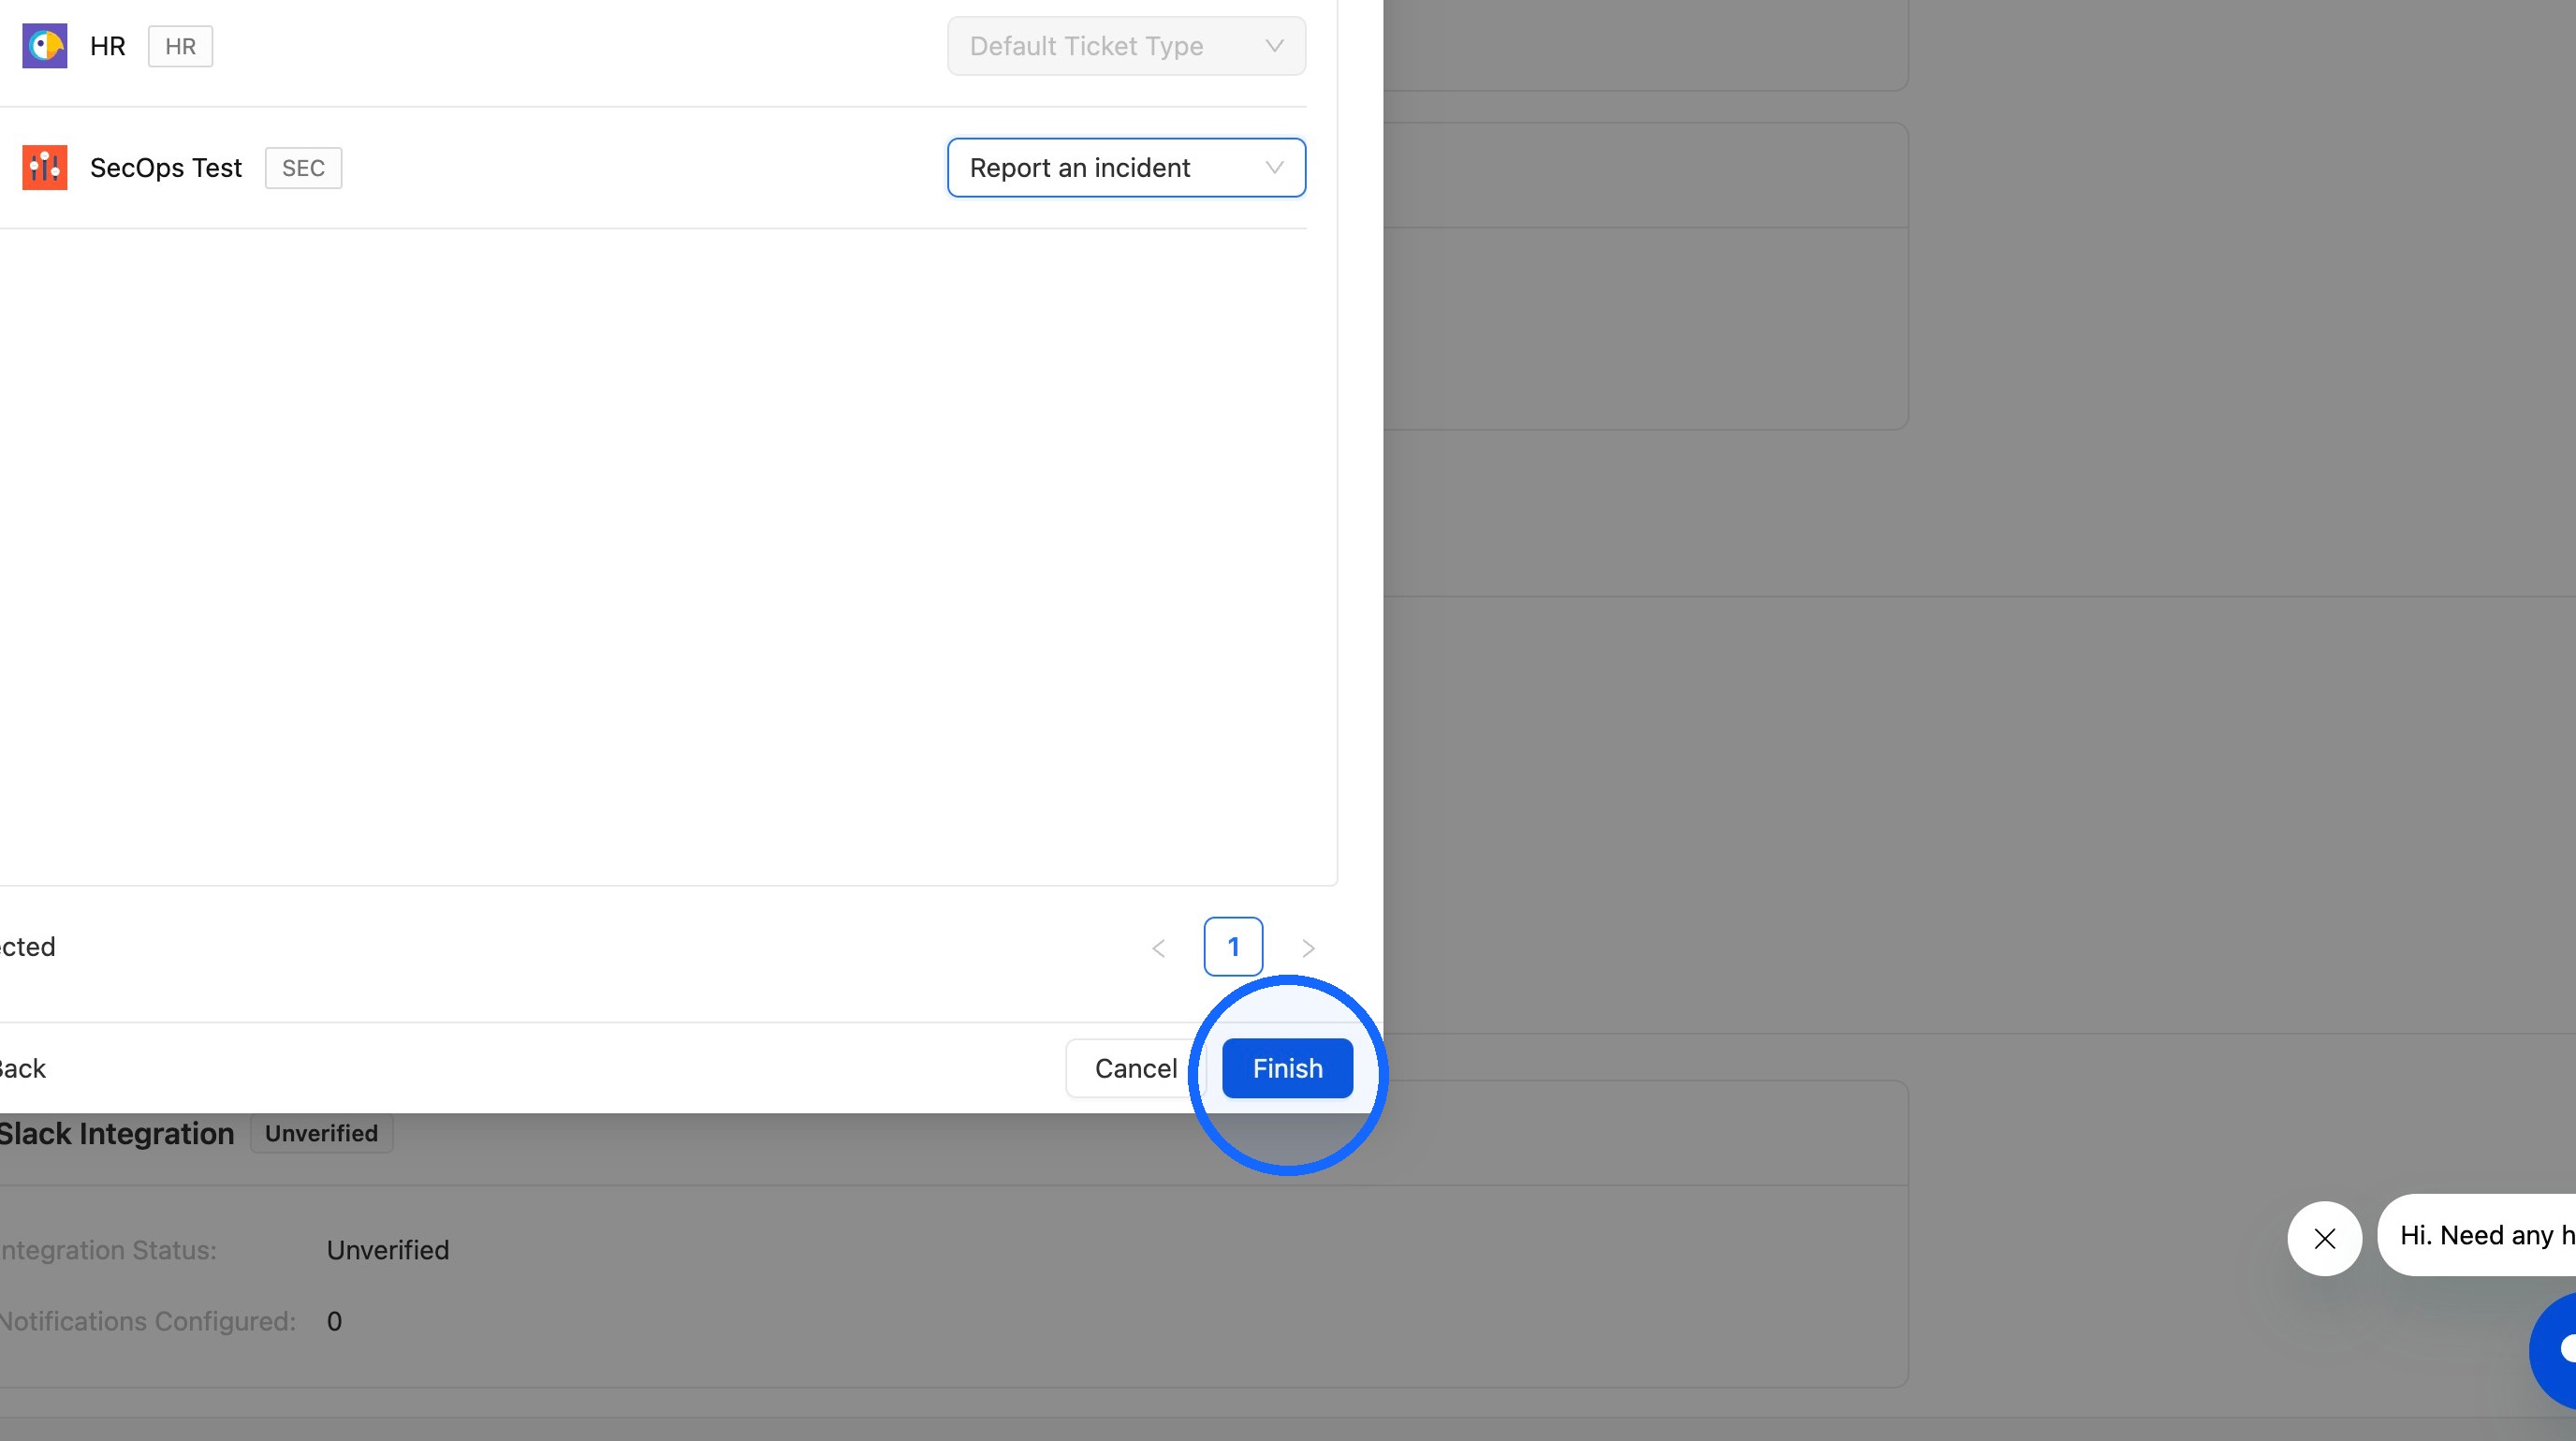
12. Finish the setup
Click Finish.
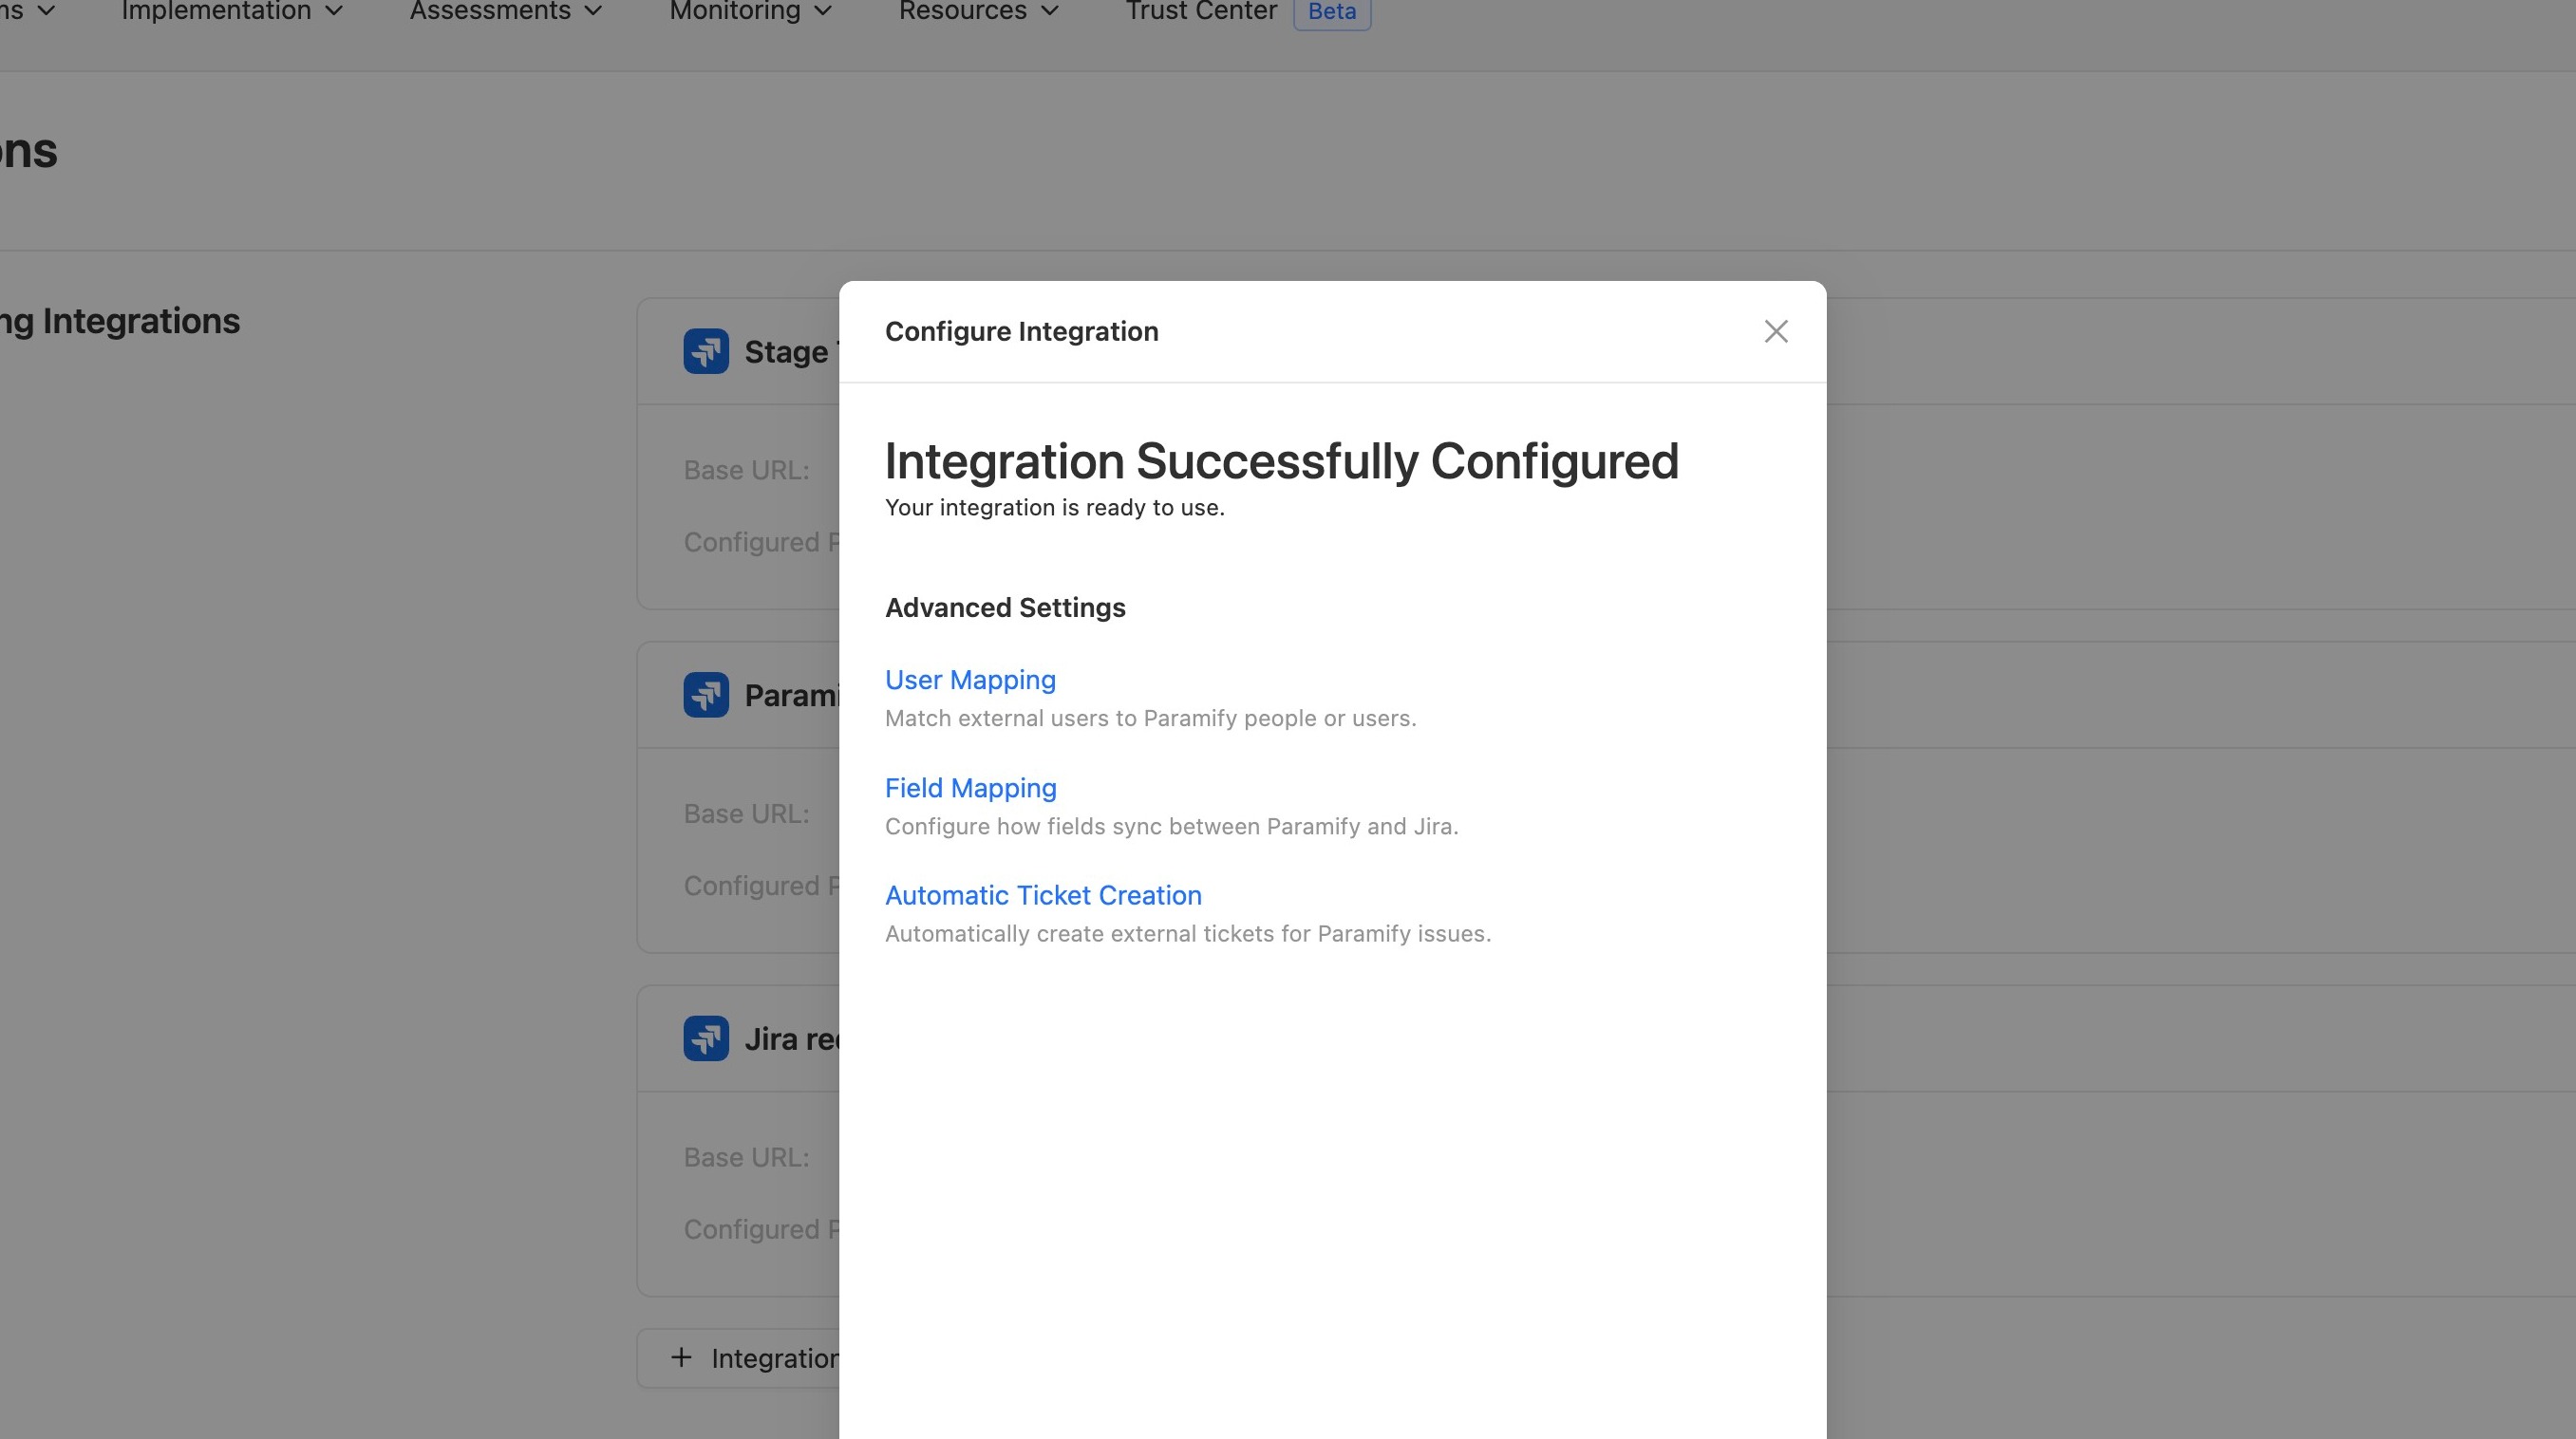
13. Confirm the integration
Your Jira integration is now configured and appears in your list of integrations.
NEXT STEP
To configure the advanced settings for this integration, follow the Jira Integration Advanced Settings walkthrough.
Comments
0 comments
Please sign in to leave a comment.