
Overview
In Paramify, Risk Families group related Risks, and each Risk is addressed by one or more Risk Solutions. A Risk Profile is a reusable selection of Risks and the Risk Solutions you want to end up on a stack, and a Risk Solution Preset maps solution parameters — the component that implements each Risk Solution — onto those Risk Solutions. You typically apply one Risk Profile to a Stack, then layer on several smaller, targeted Risk Solution Presets. To learn more about Risks and Risk Families, see this article.
Who can use this
Creating, editing, and deleting Risk Profiles and Risk Solution Presets, and granting workspaces access to them, requires account admin permissions. Applying an existing profile or preset to a stack does not require account admin.
Create a Risk Profile
1. Open the Risk Profiles page
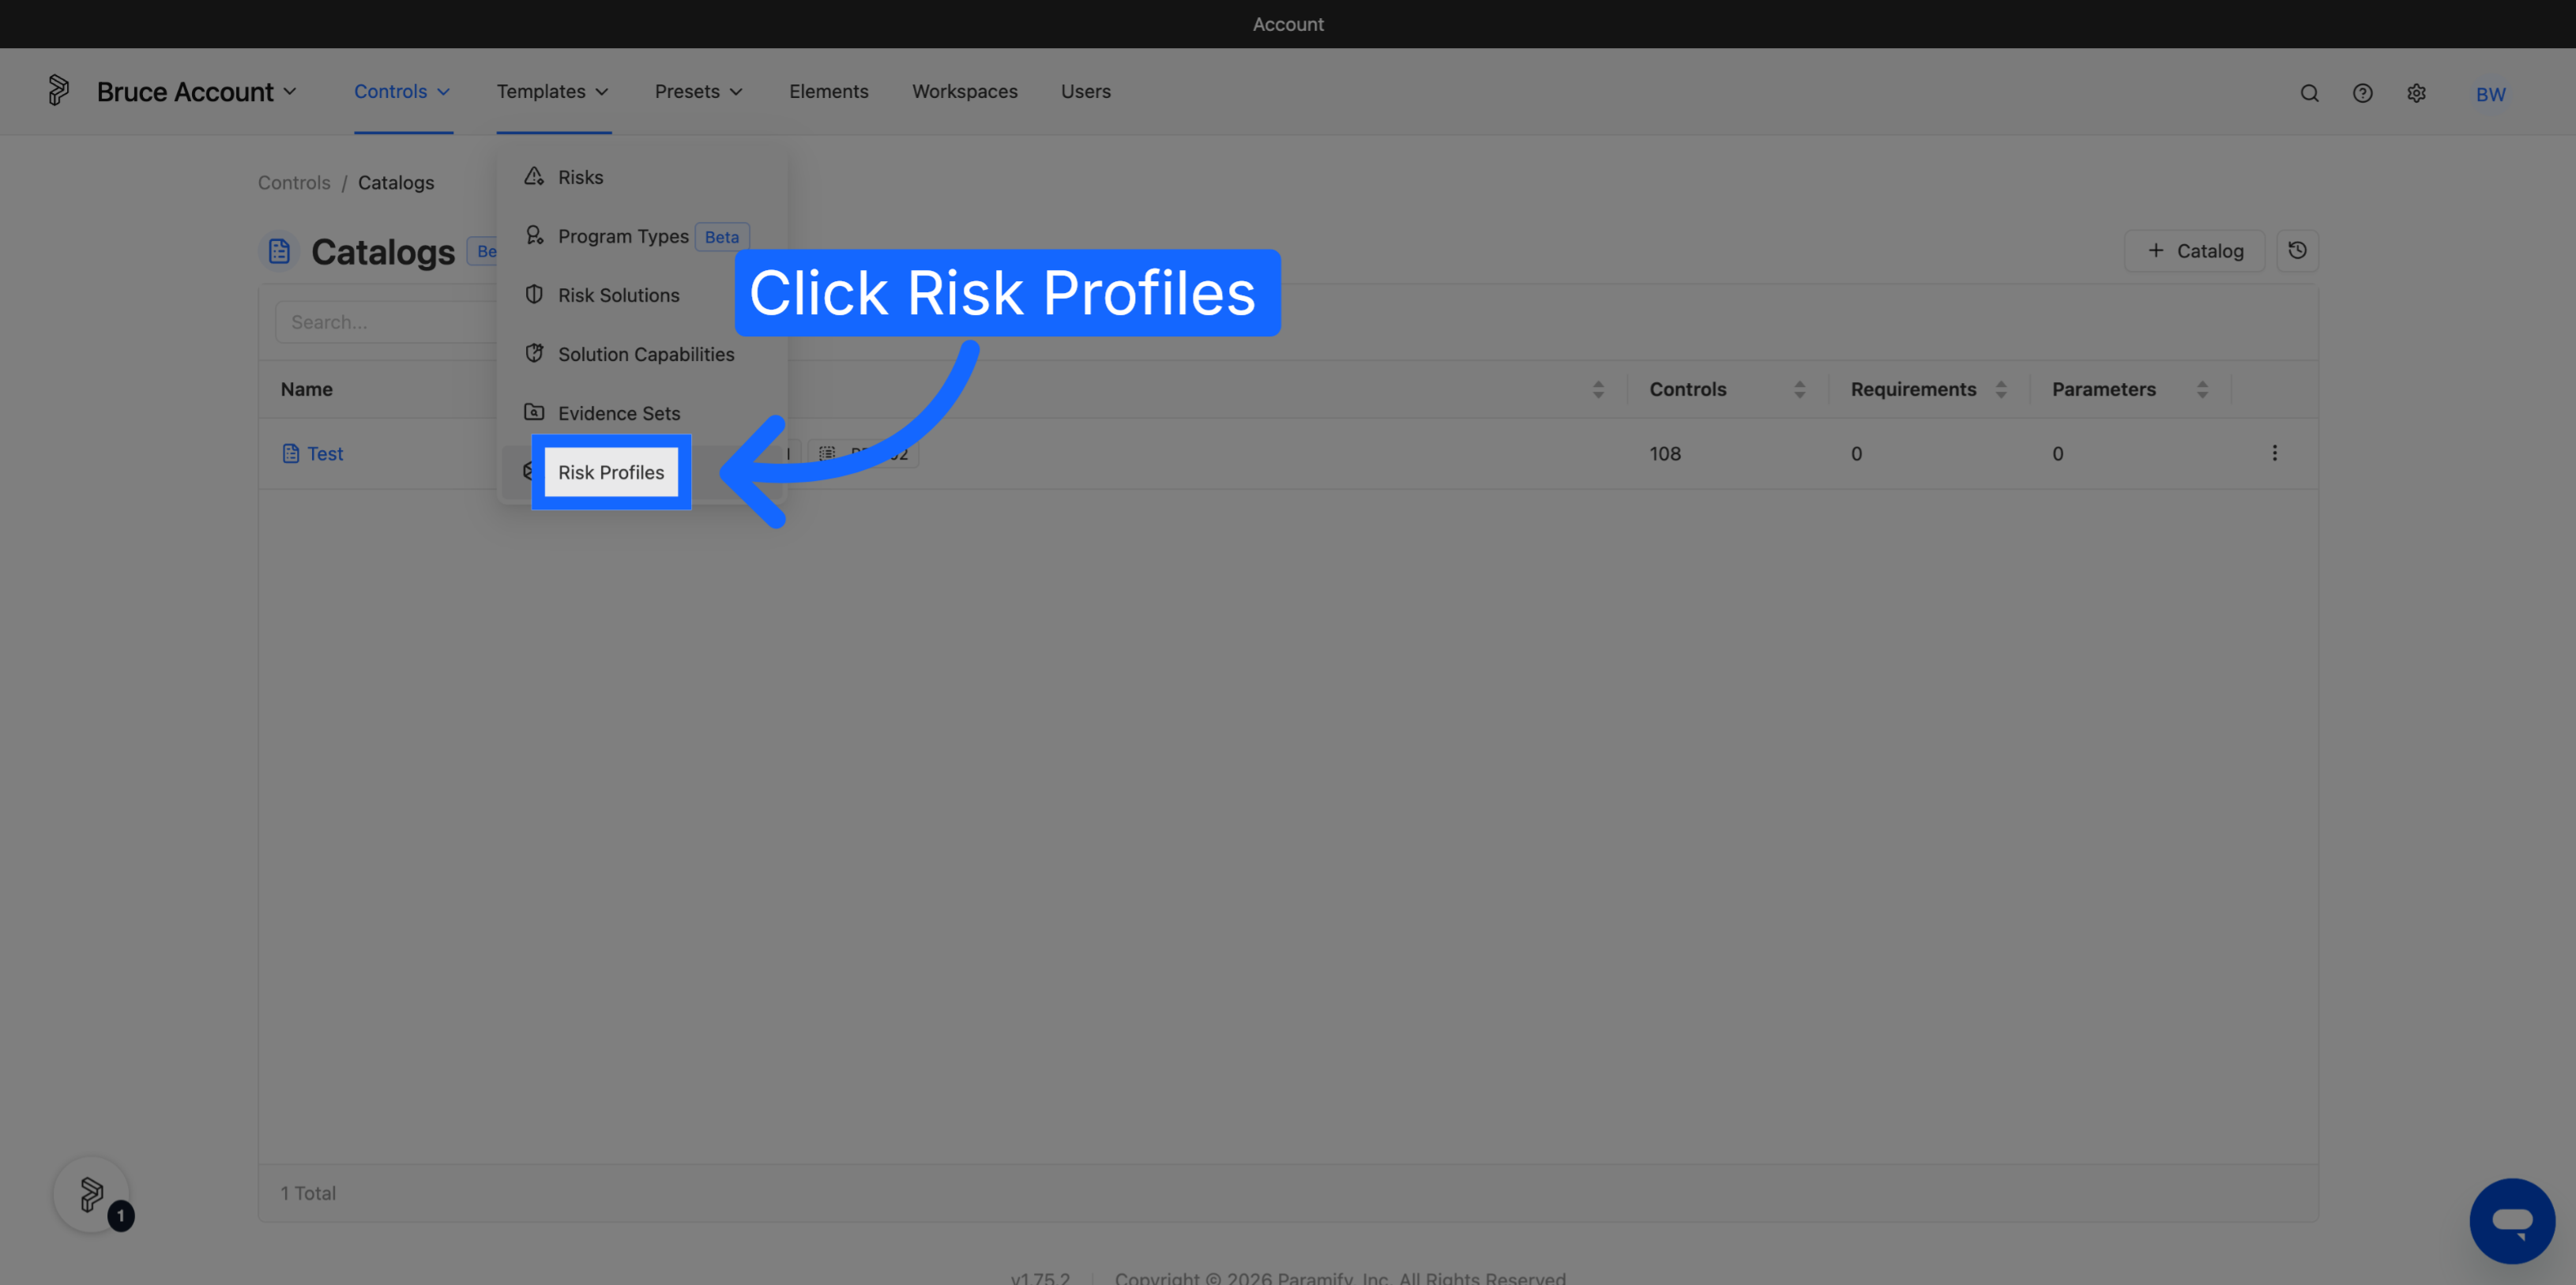
From your account, go to Templates → Risk Profiles.
2. Start a New Profile and Name it
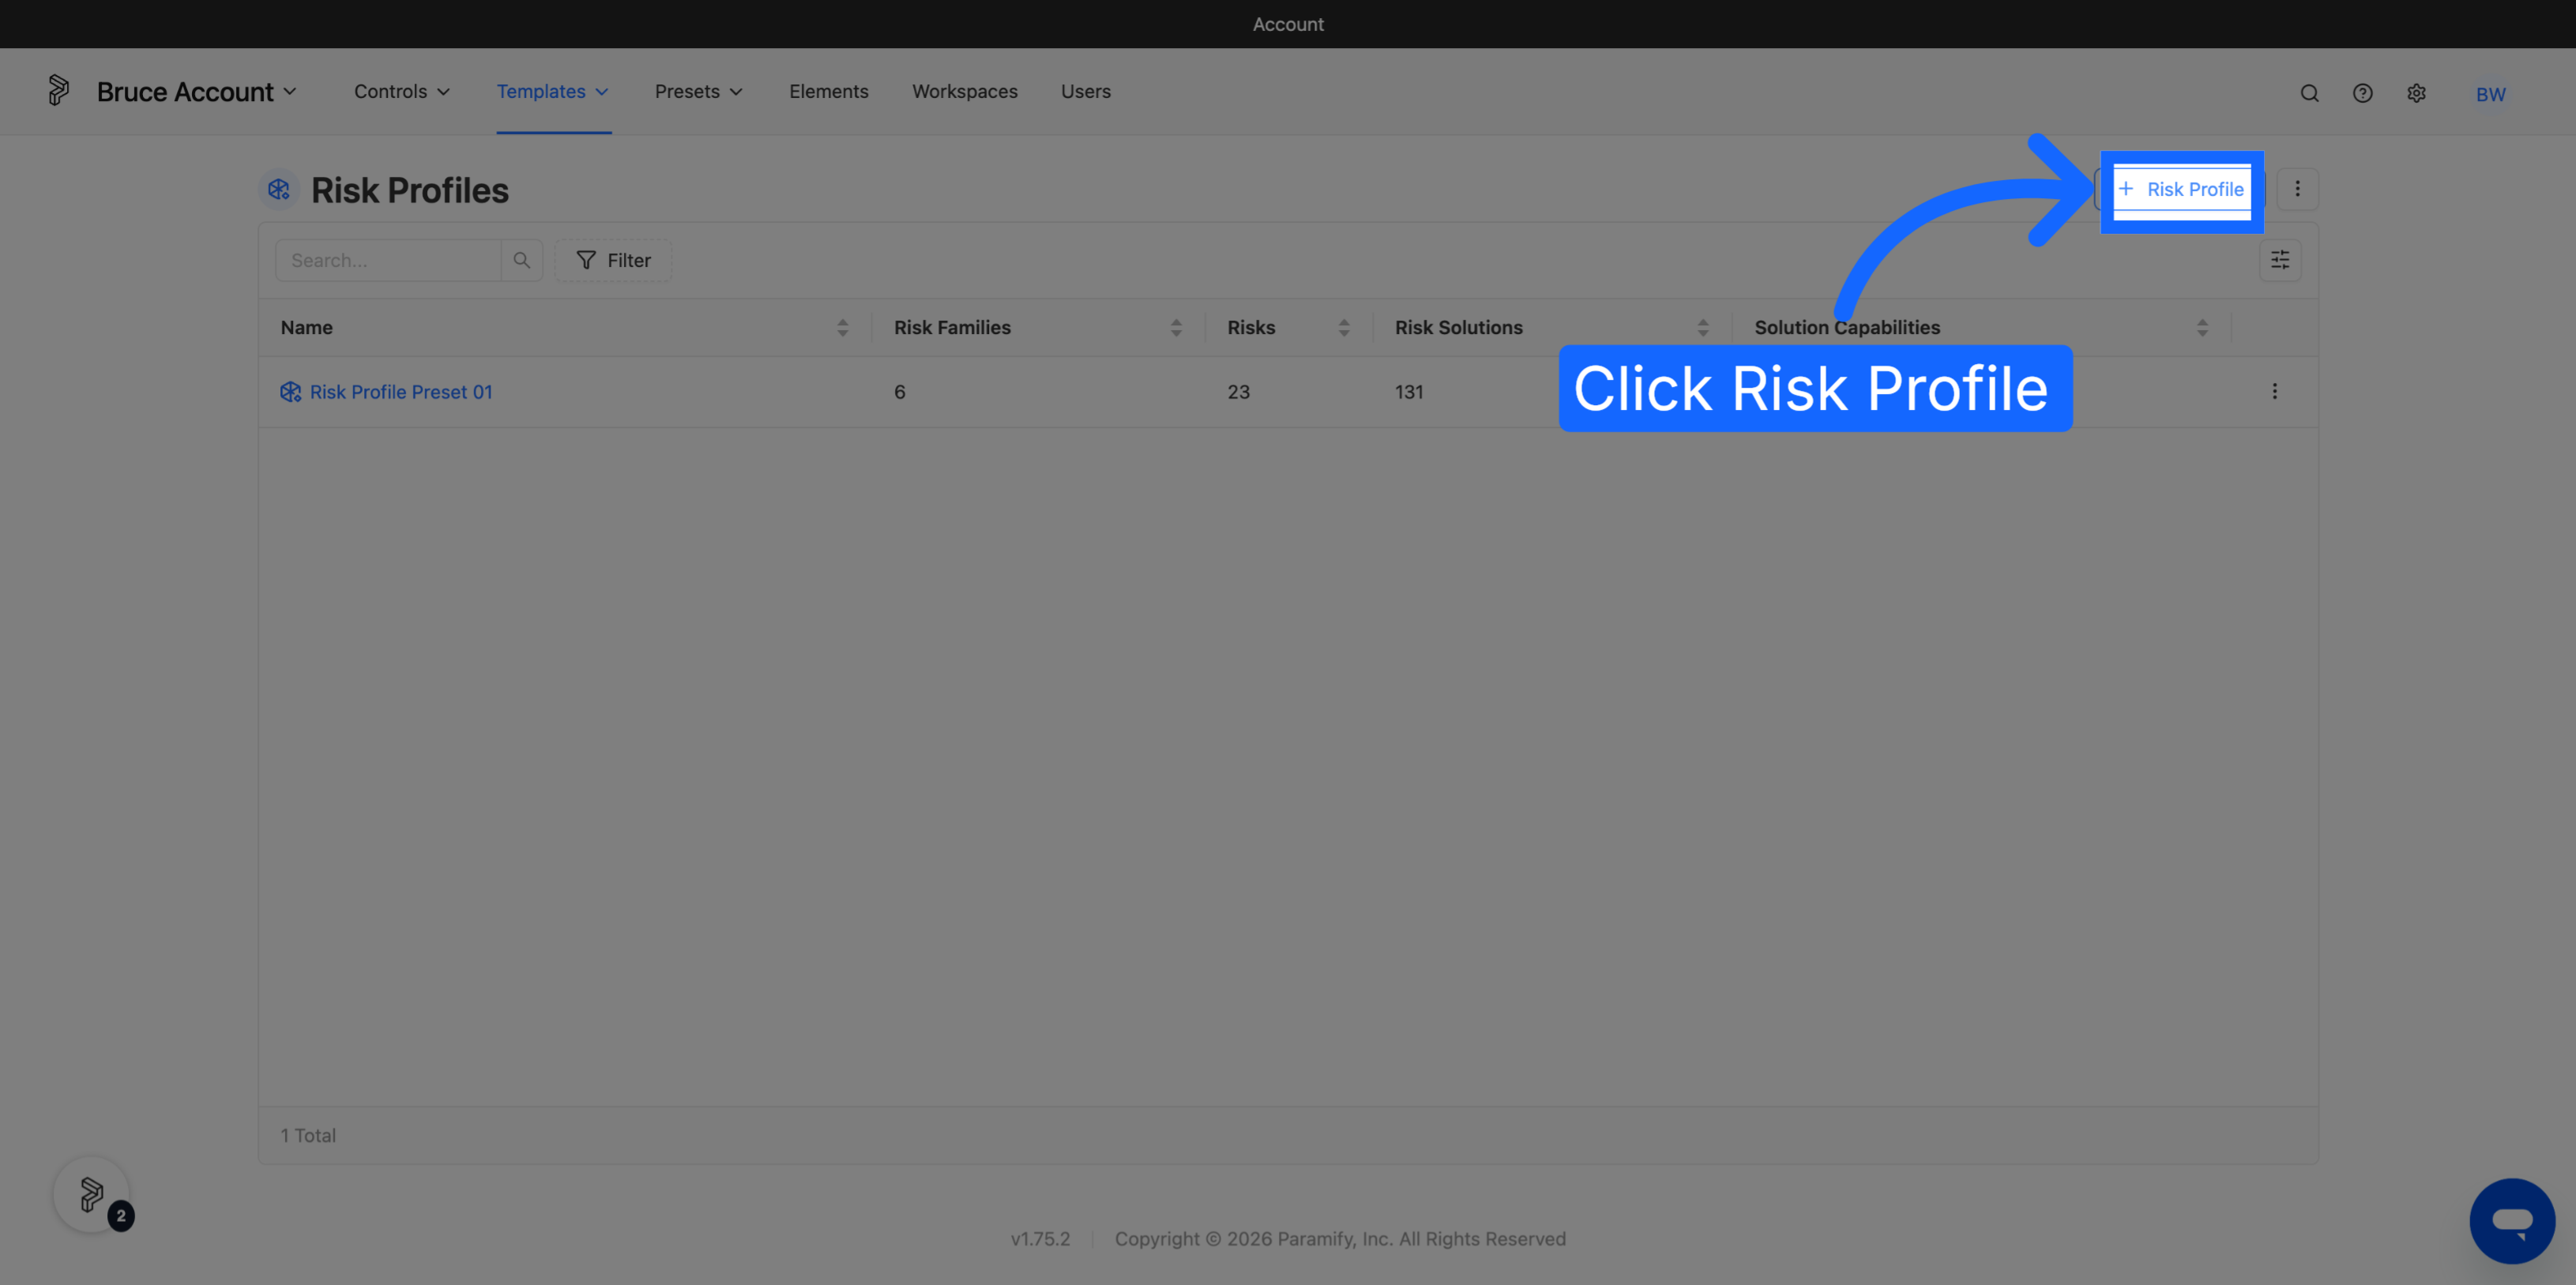
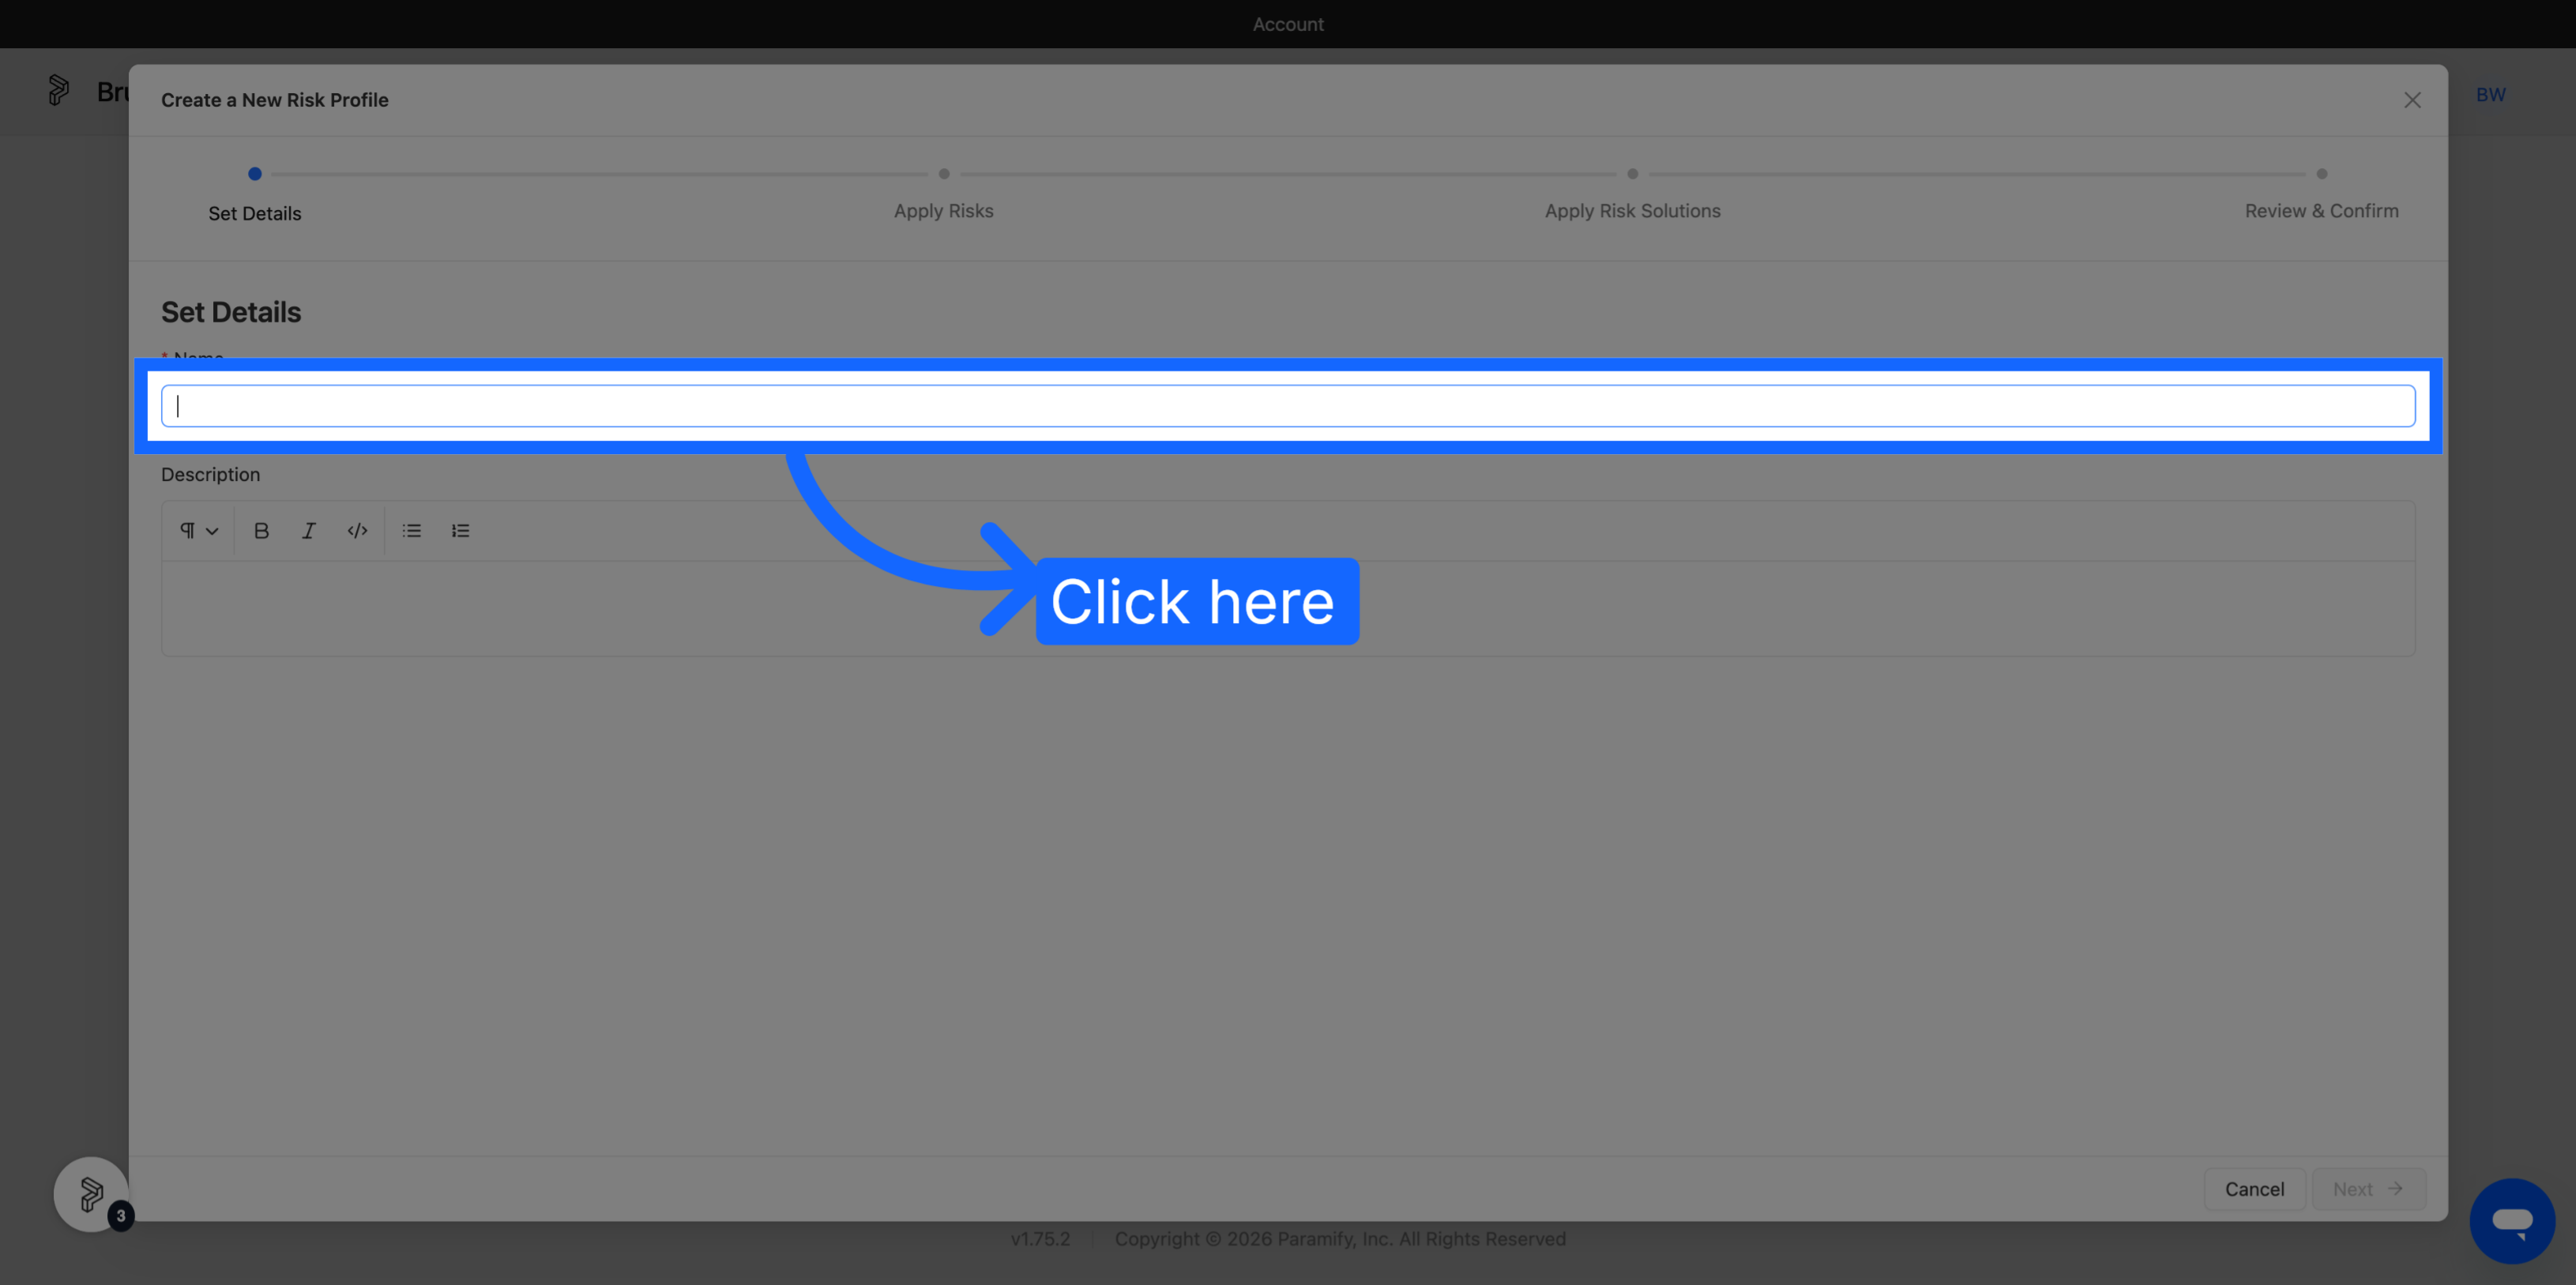
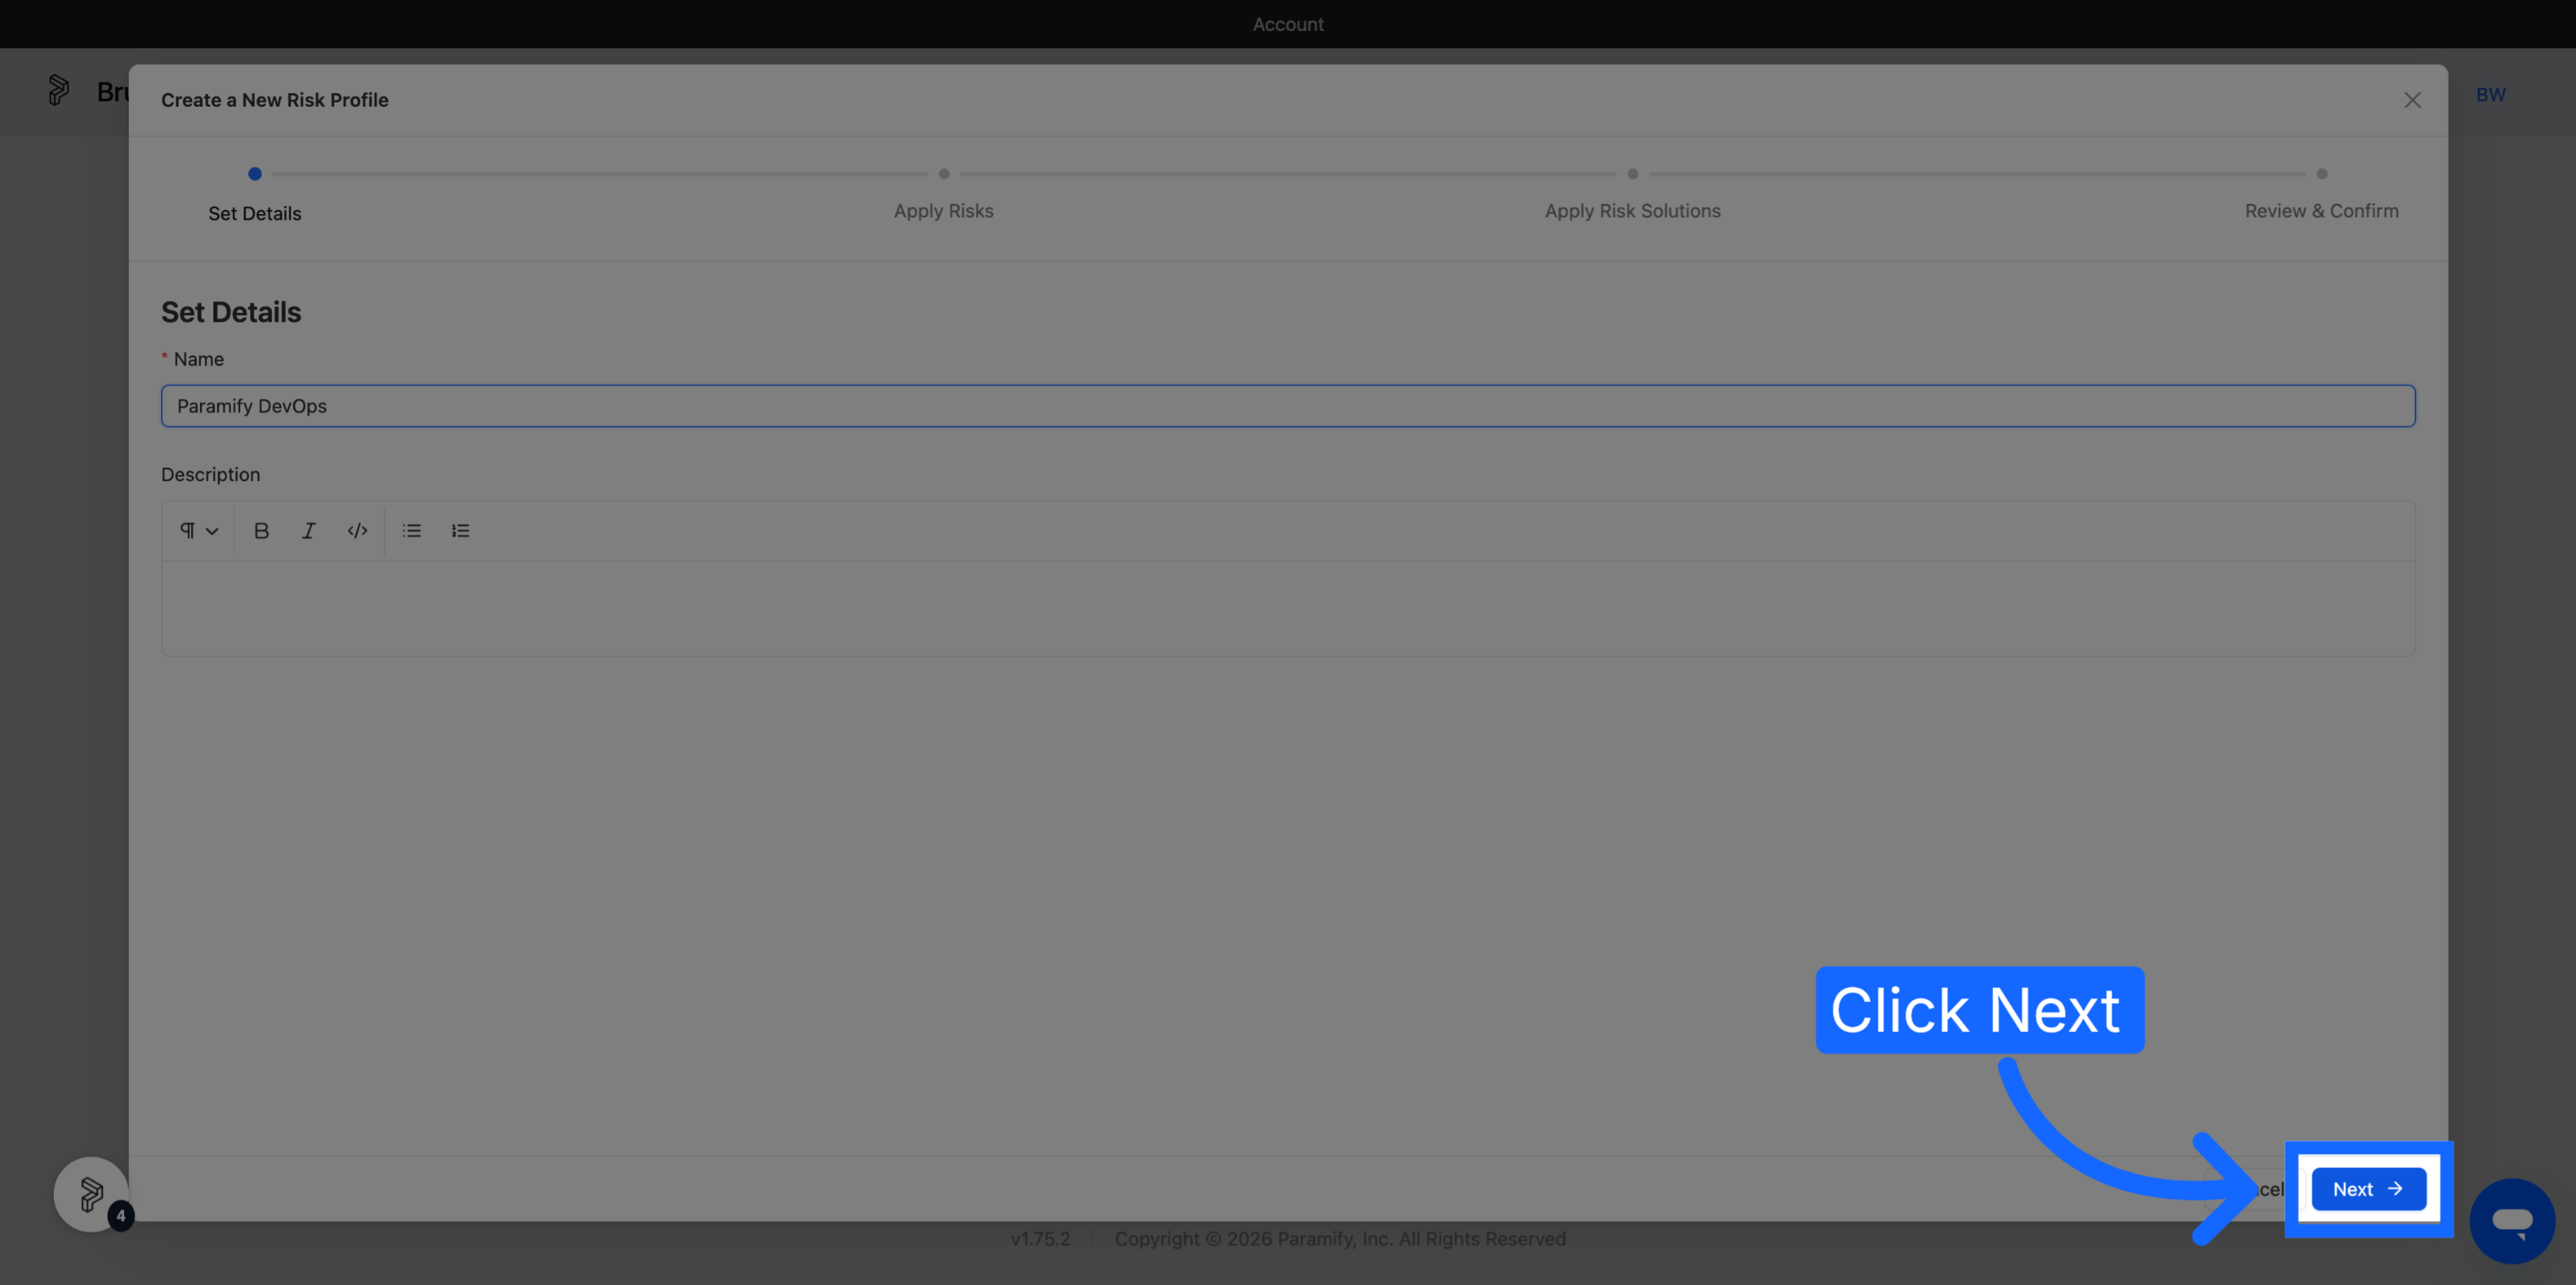
Click New Profile, then enter a name and an optional description.
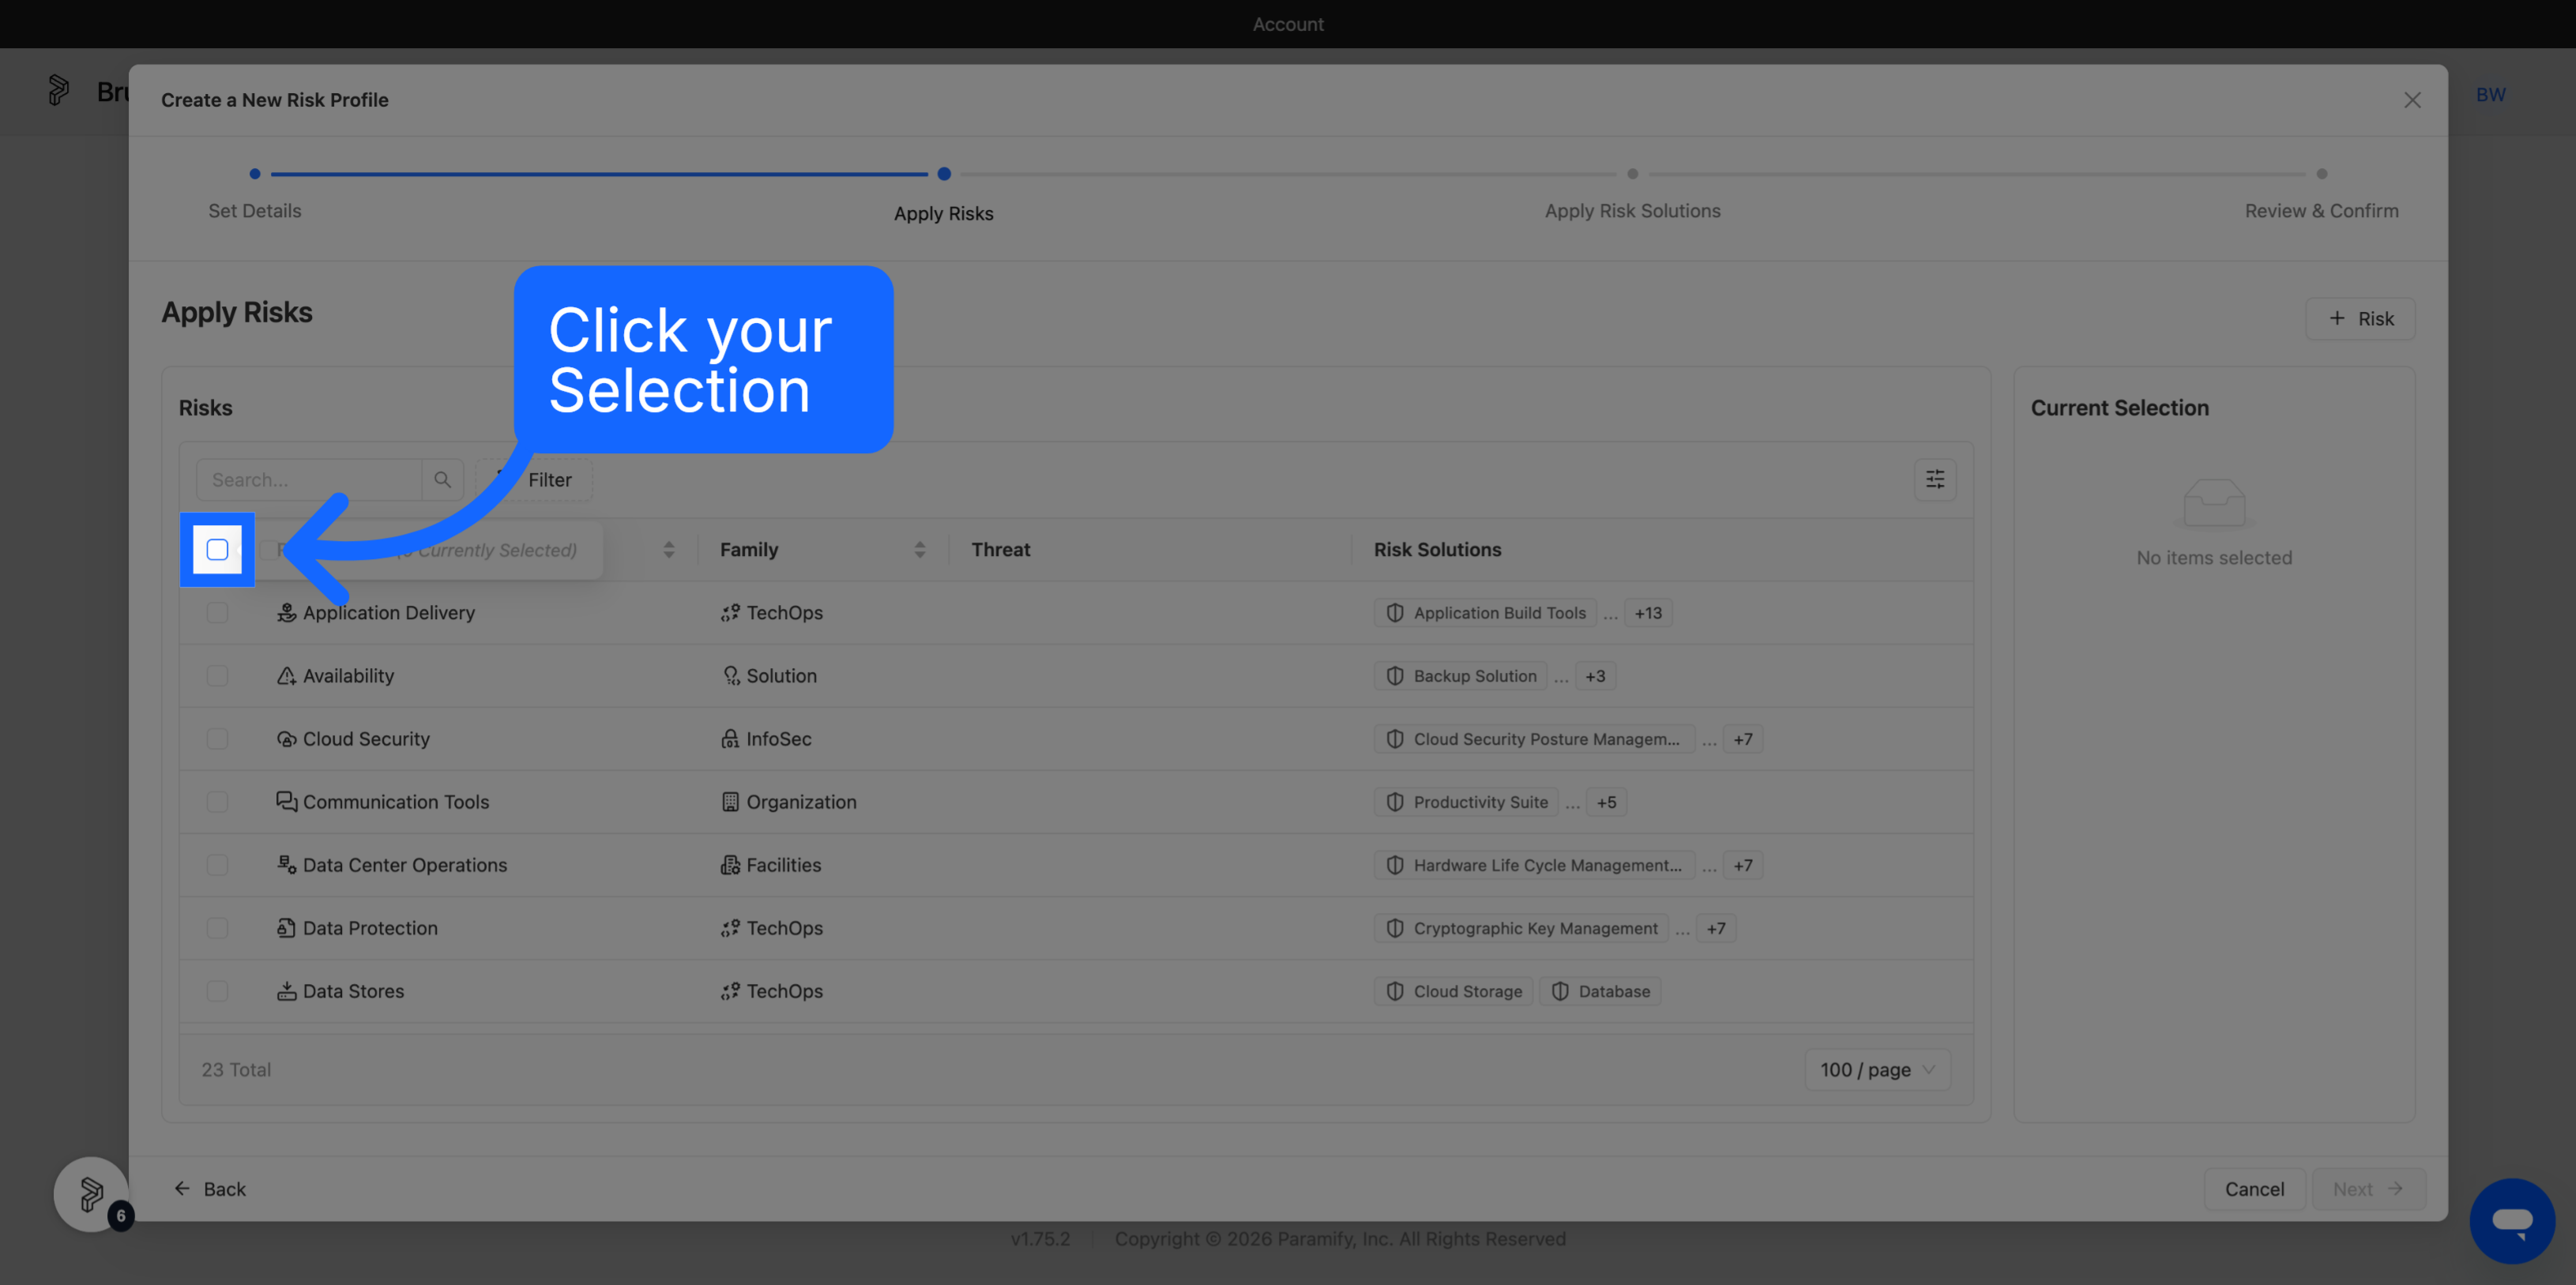
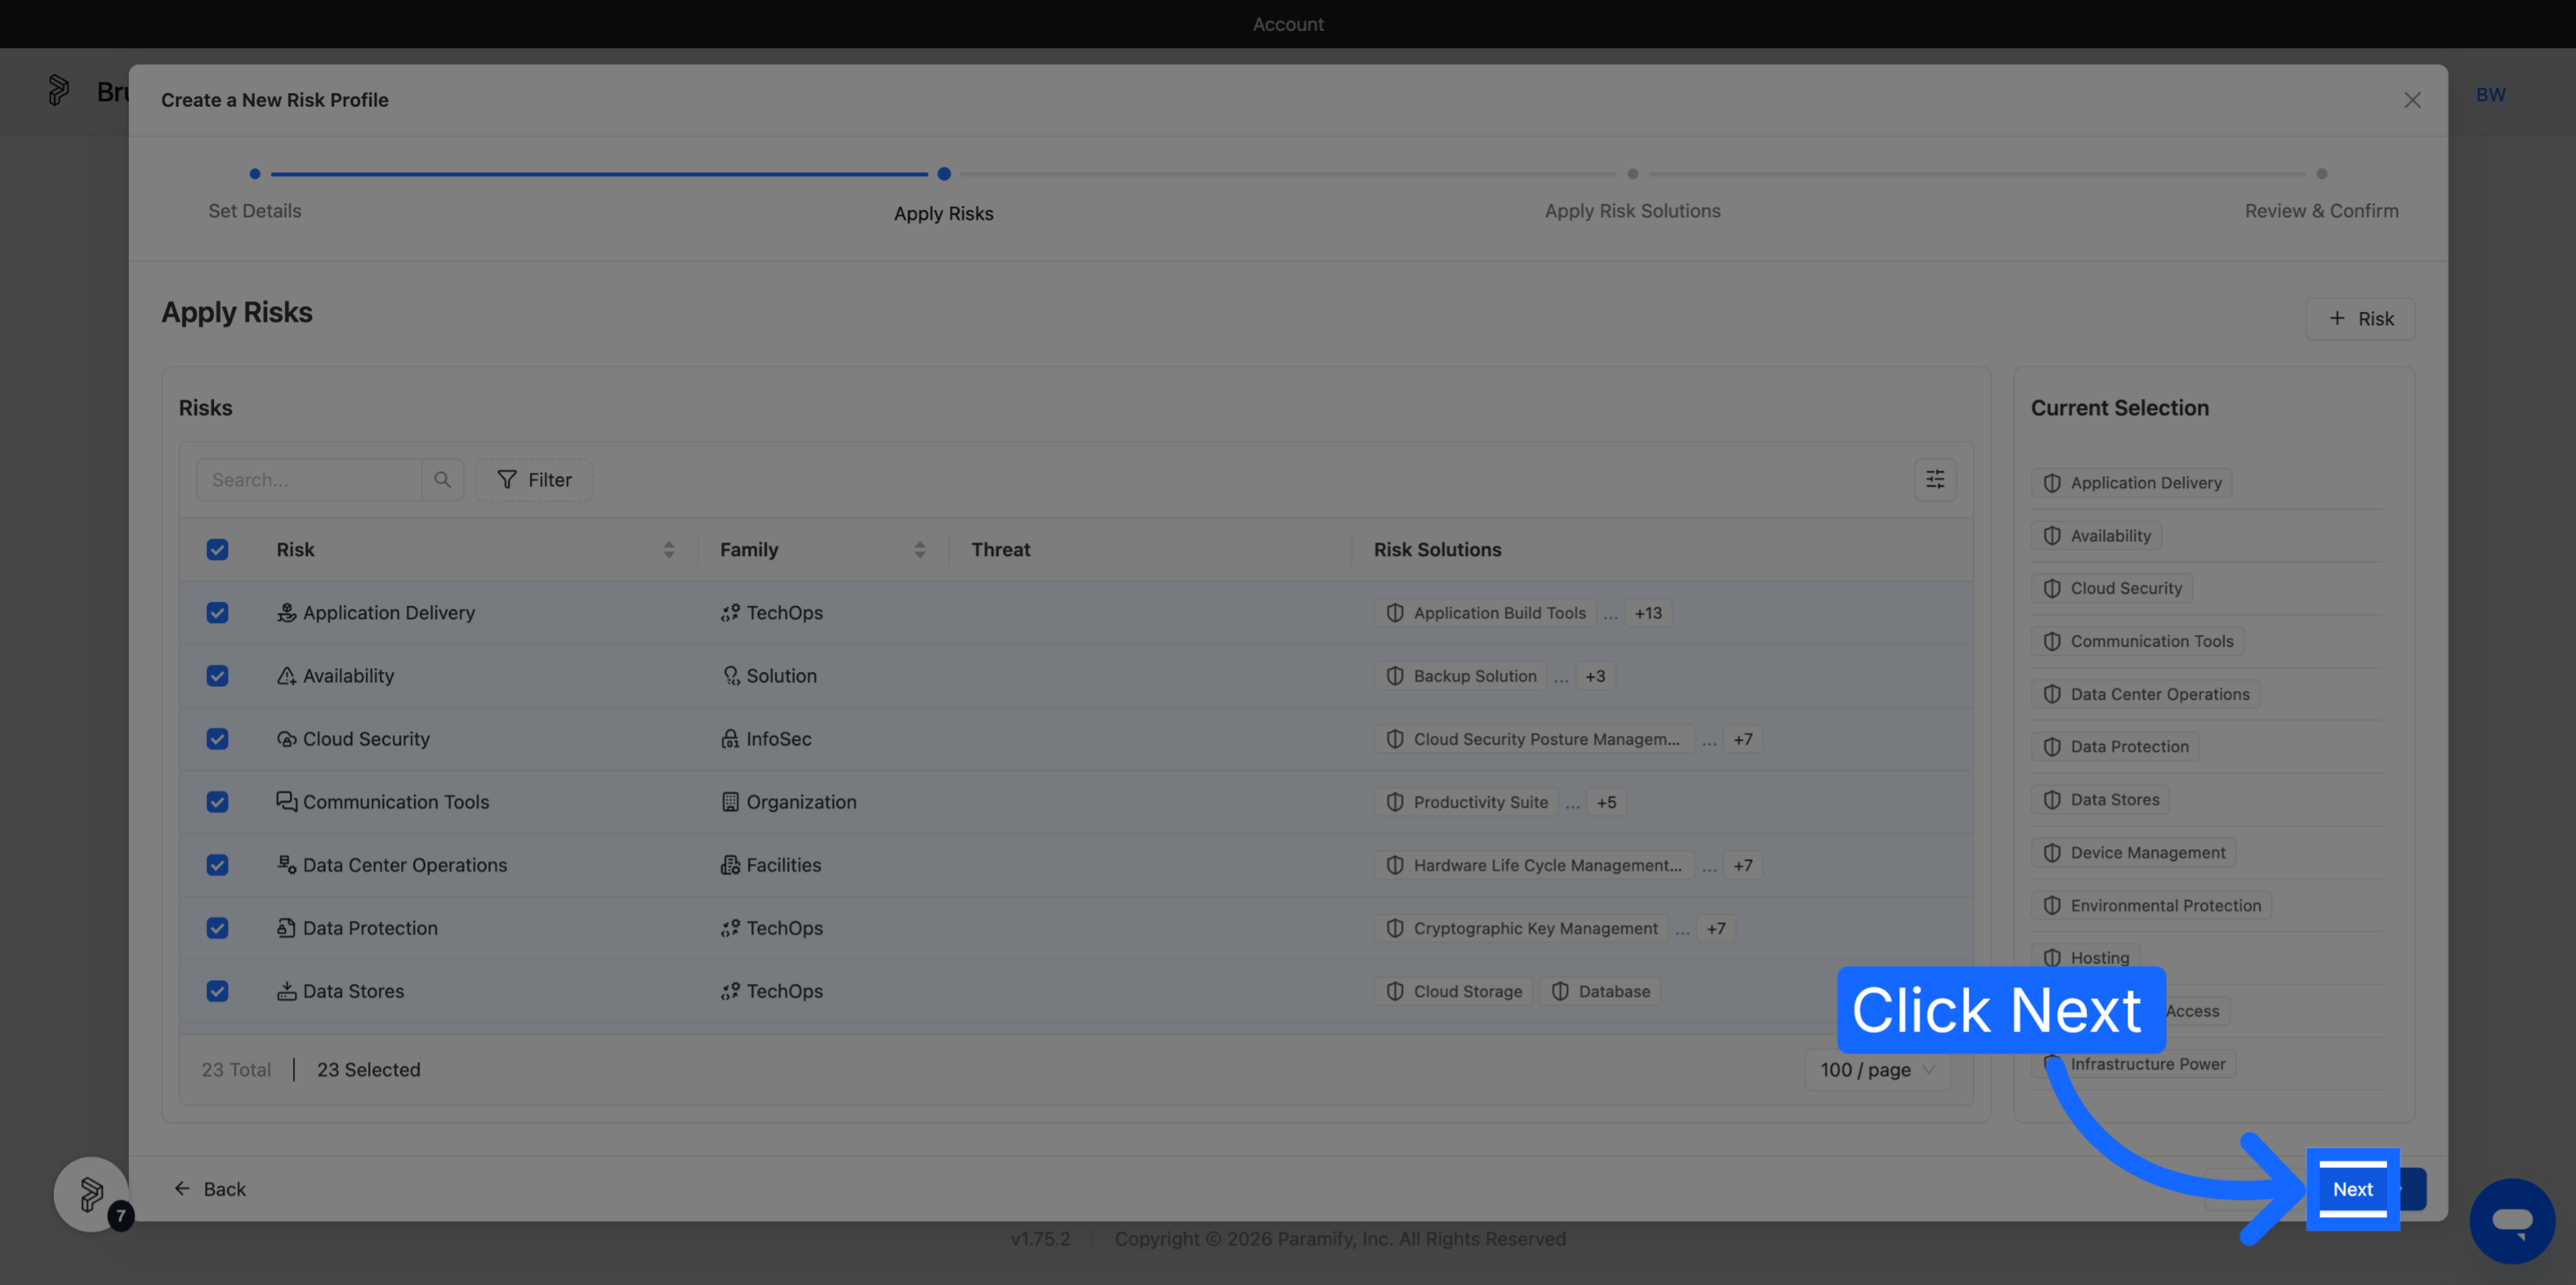
3. Select the Risks you Want to Cover
Choose the Risks this profile should cover — select them individually, or select all.
4. Confirm the Risk Solutions
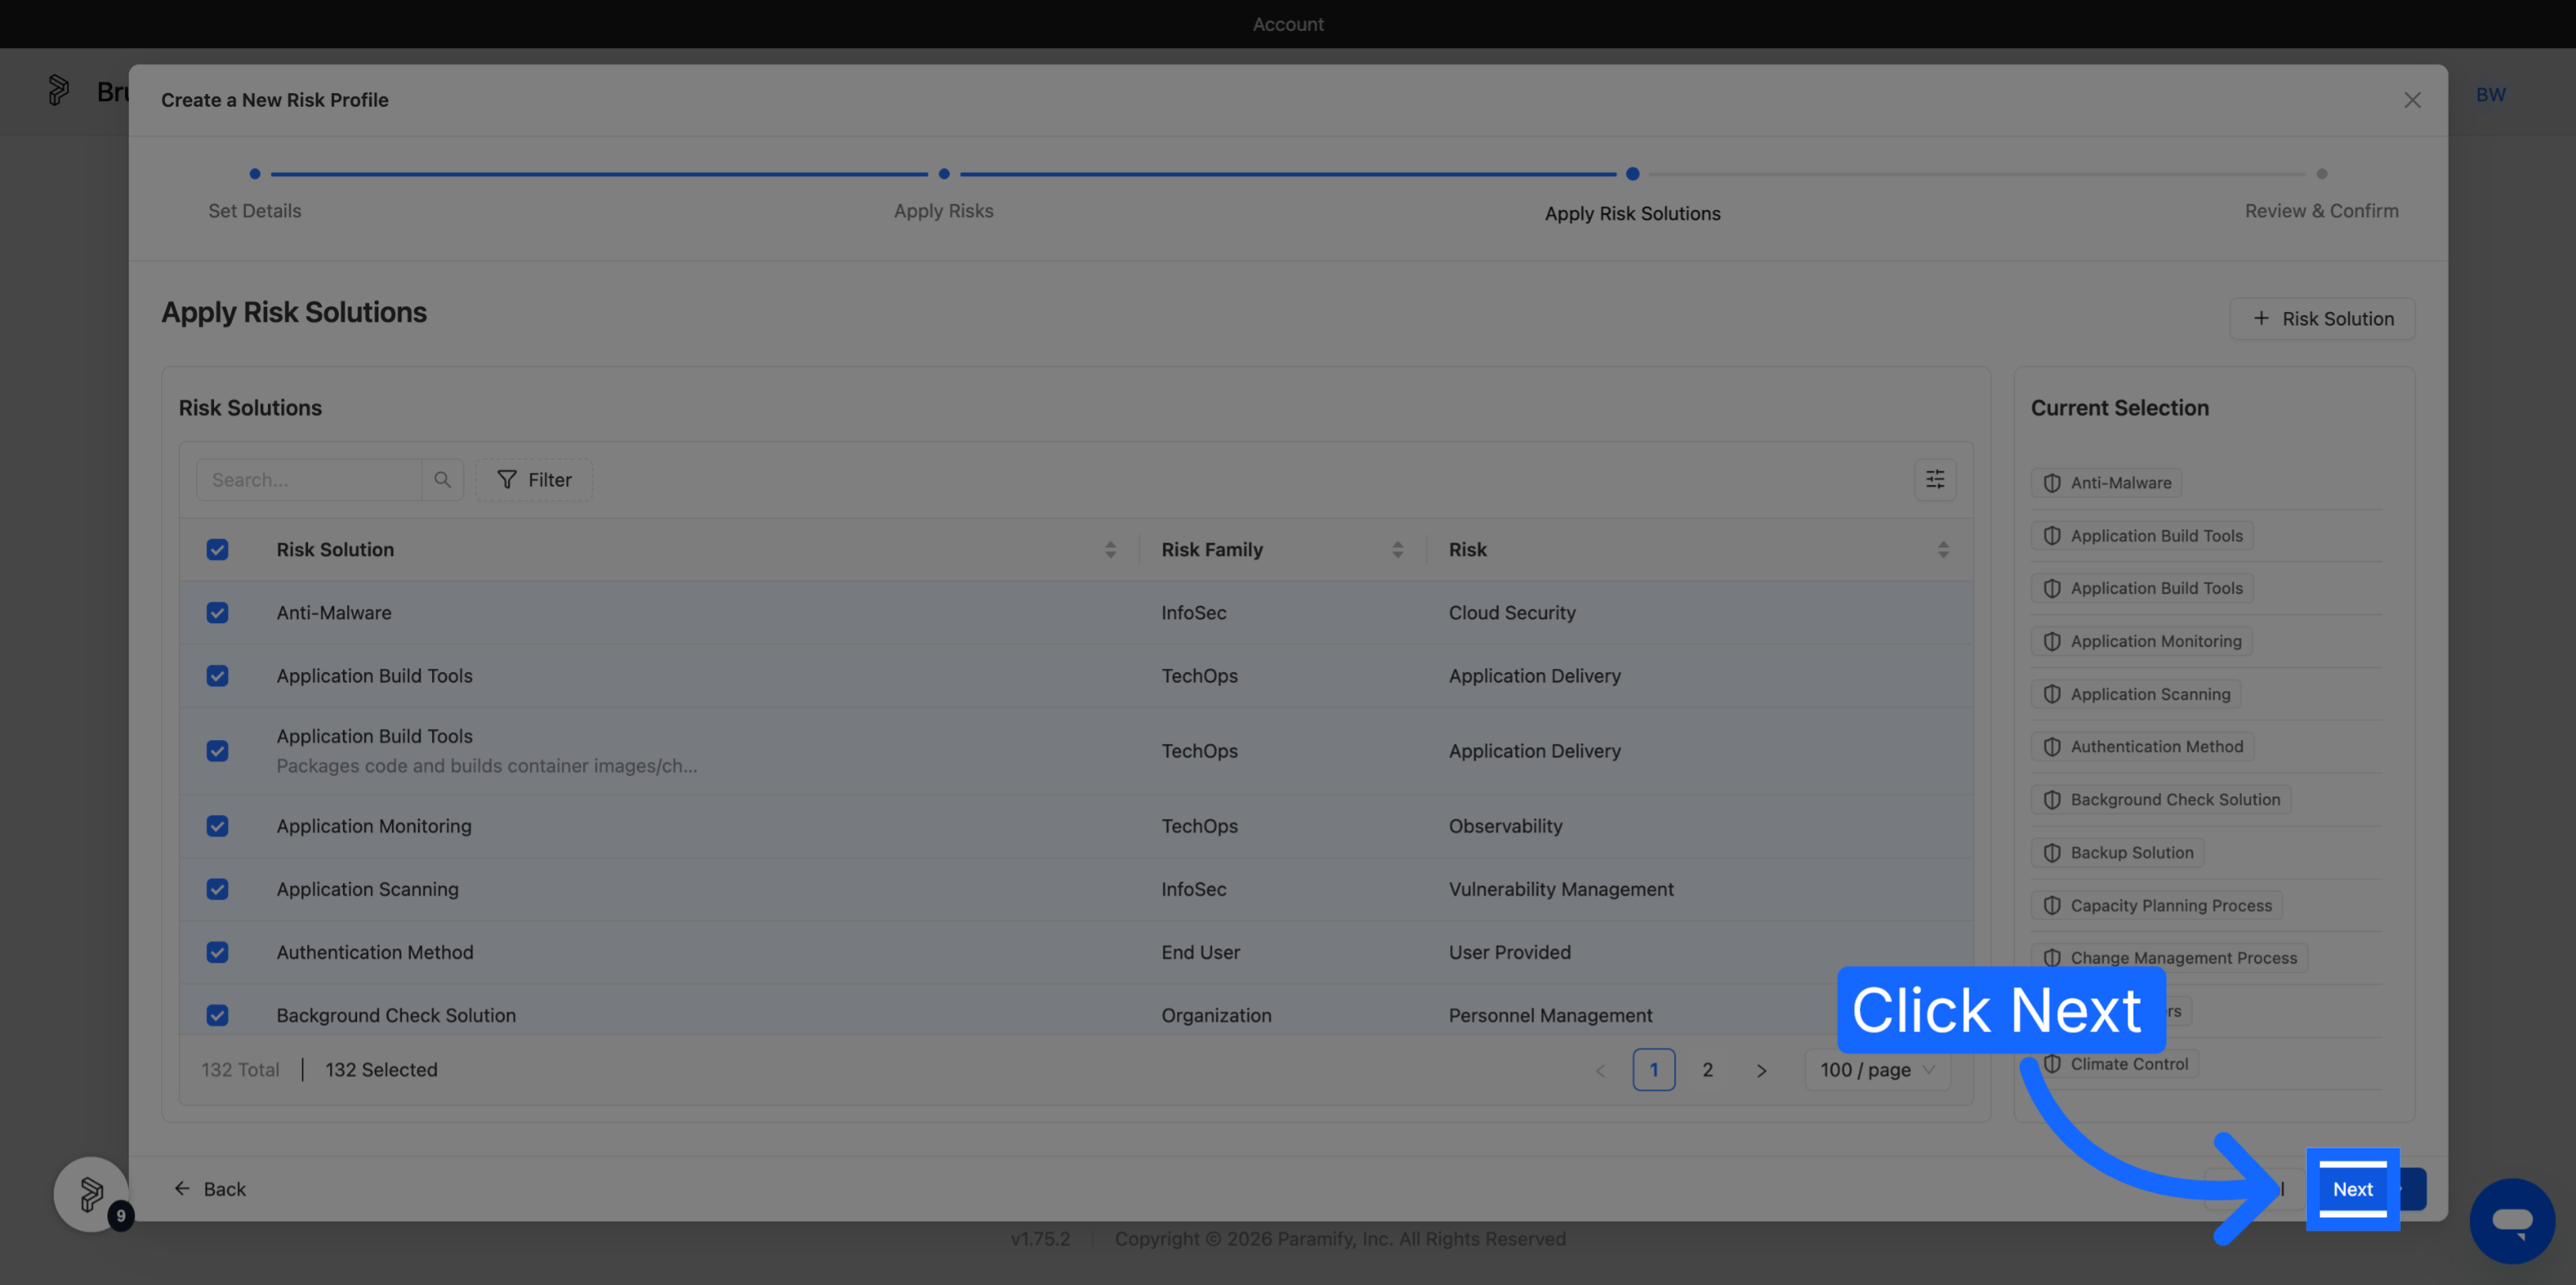
Paramify shows every Risk Solution inside the risks you selected and pre-selects all of them, so you only need to unselect the ones you do not want.
5. Review and Create the Profile
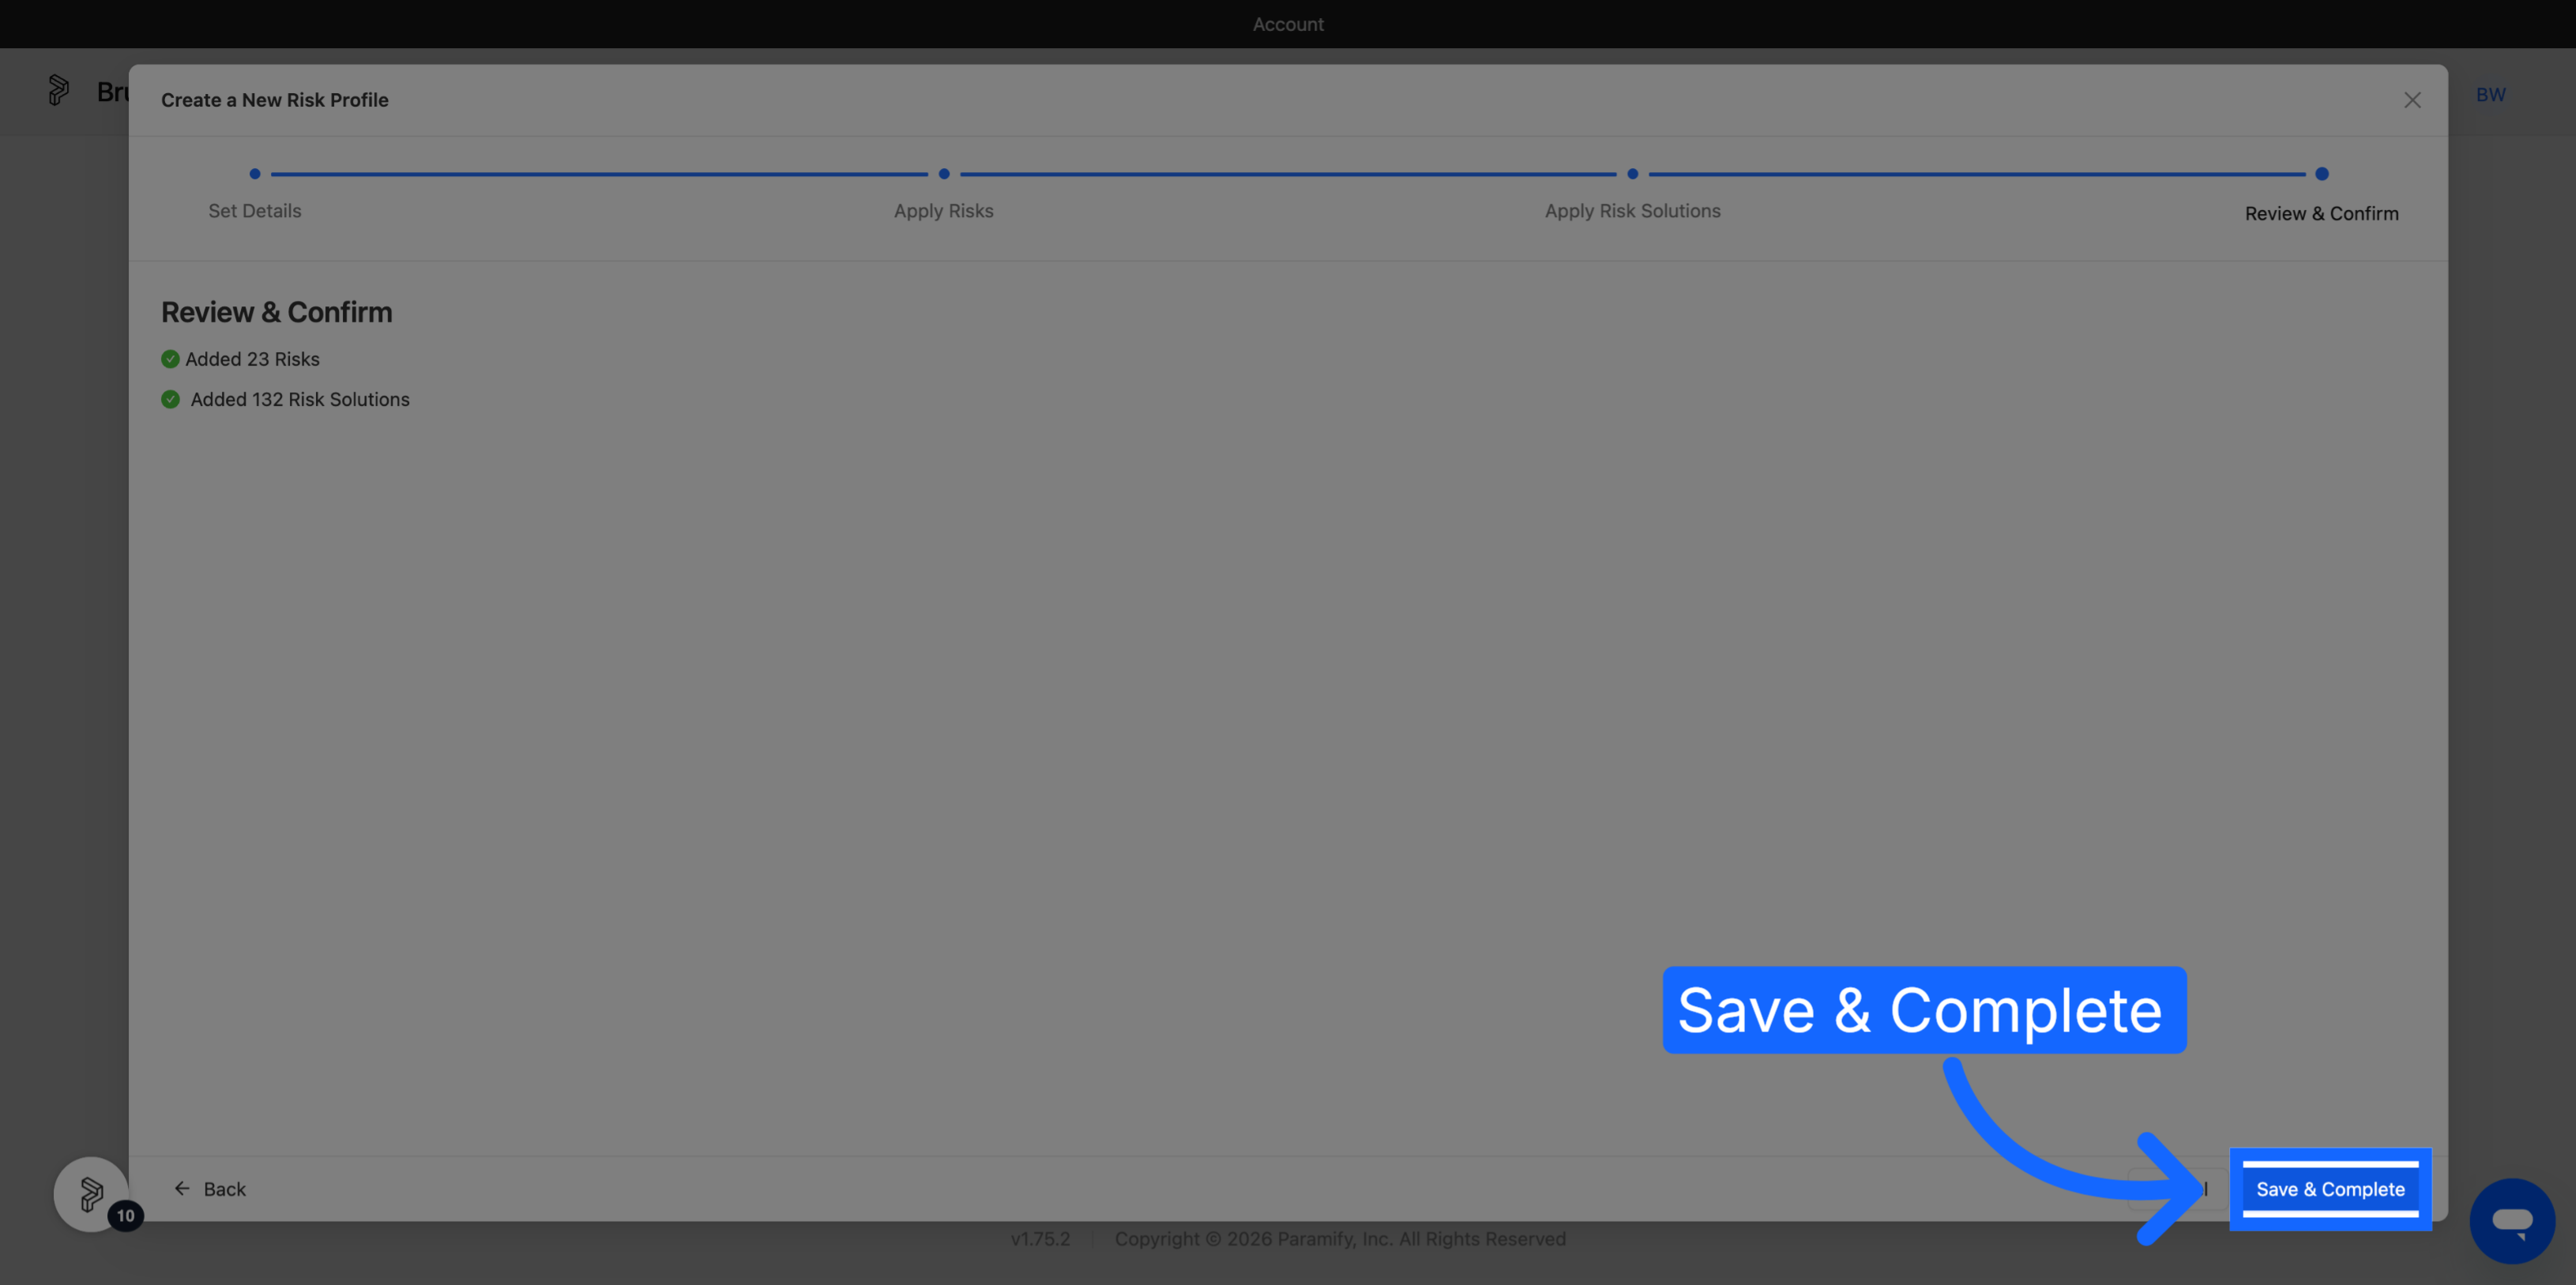
Check the summary — any selected risk with no risk solutions is flagged with a warning — then submit to create the profile.
6. Manage the Profile from its Detail Page
On the profile detail page, use the Risks and Risk Solutions tabs and their Manage selection buttons to adjust what the profile covers. You can also create brand new Risks and Risk Solutions from here, and they are added to the profile automatically.
Create a Risk Solution Preset
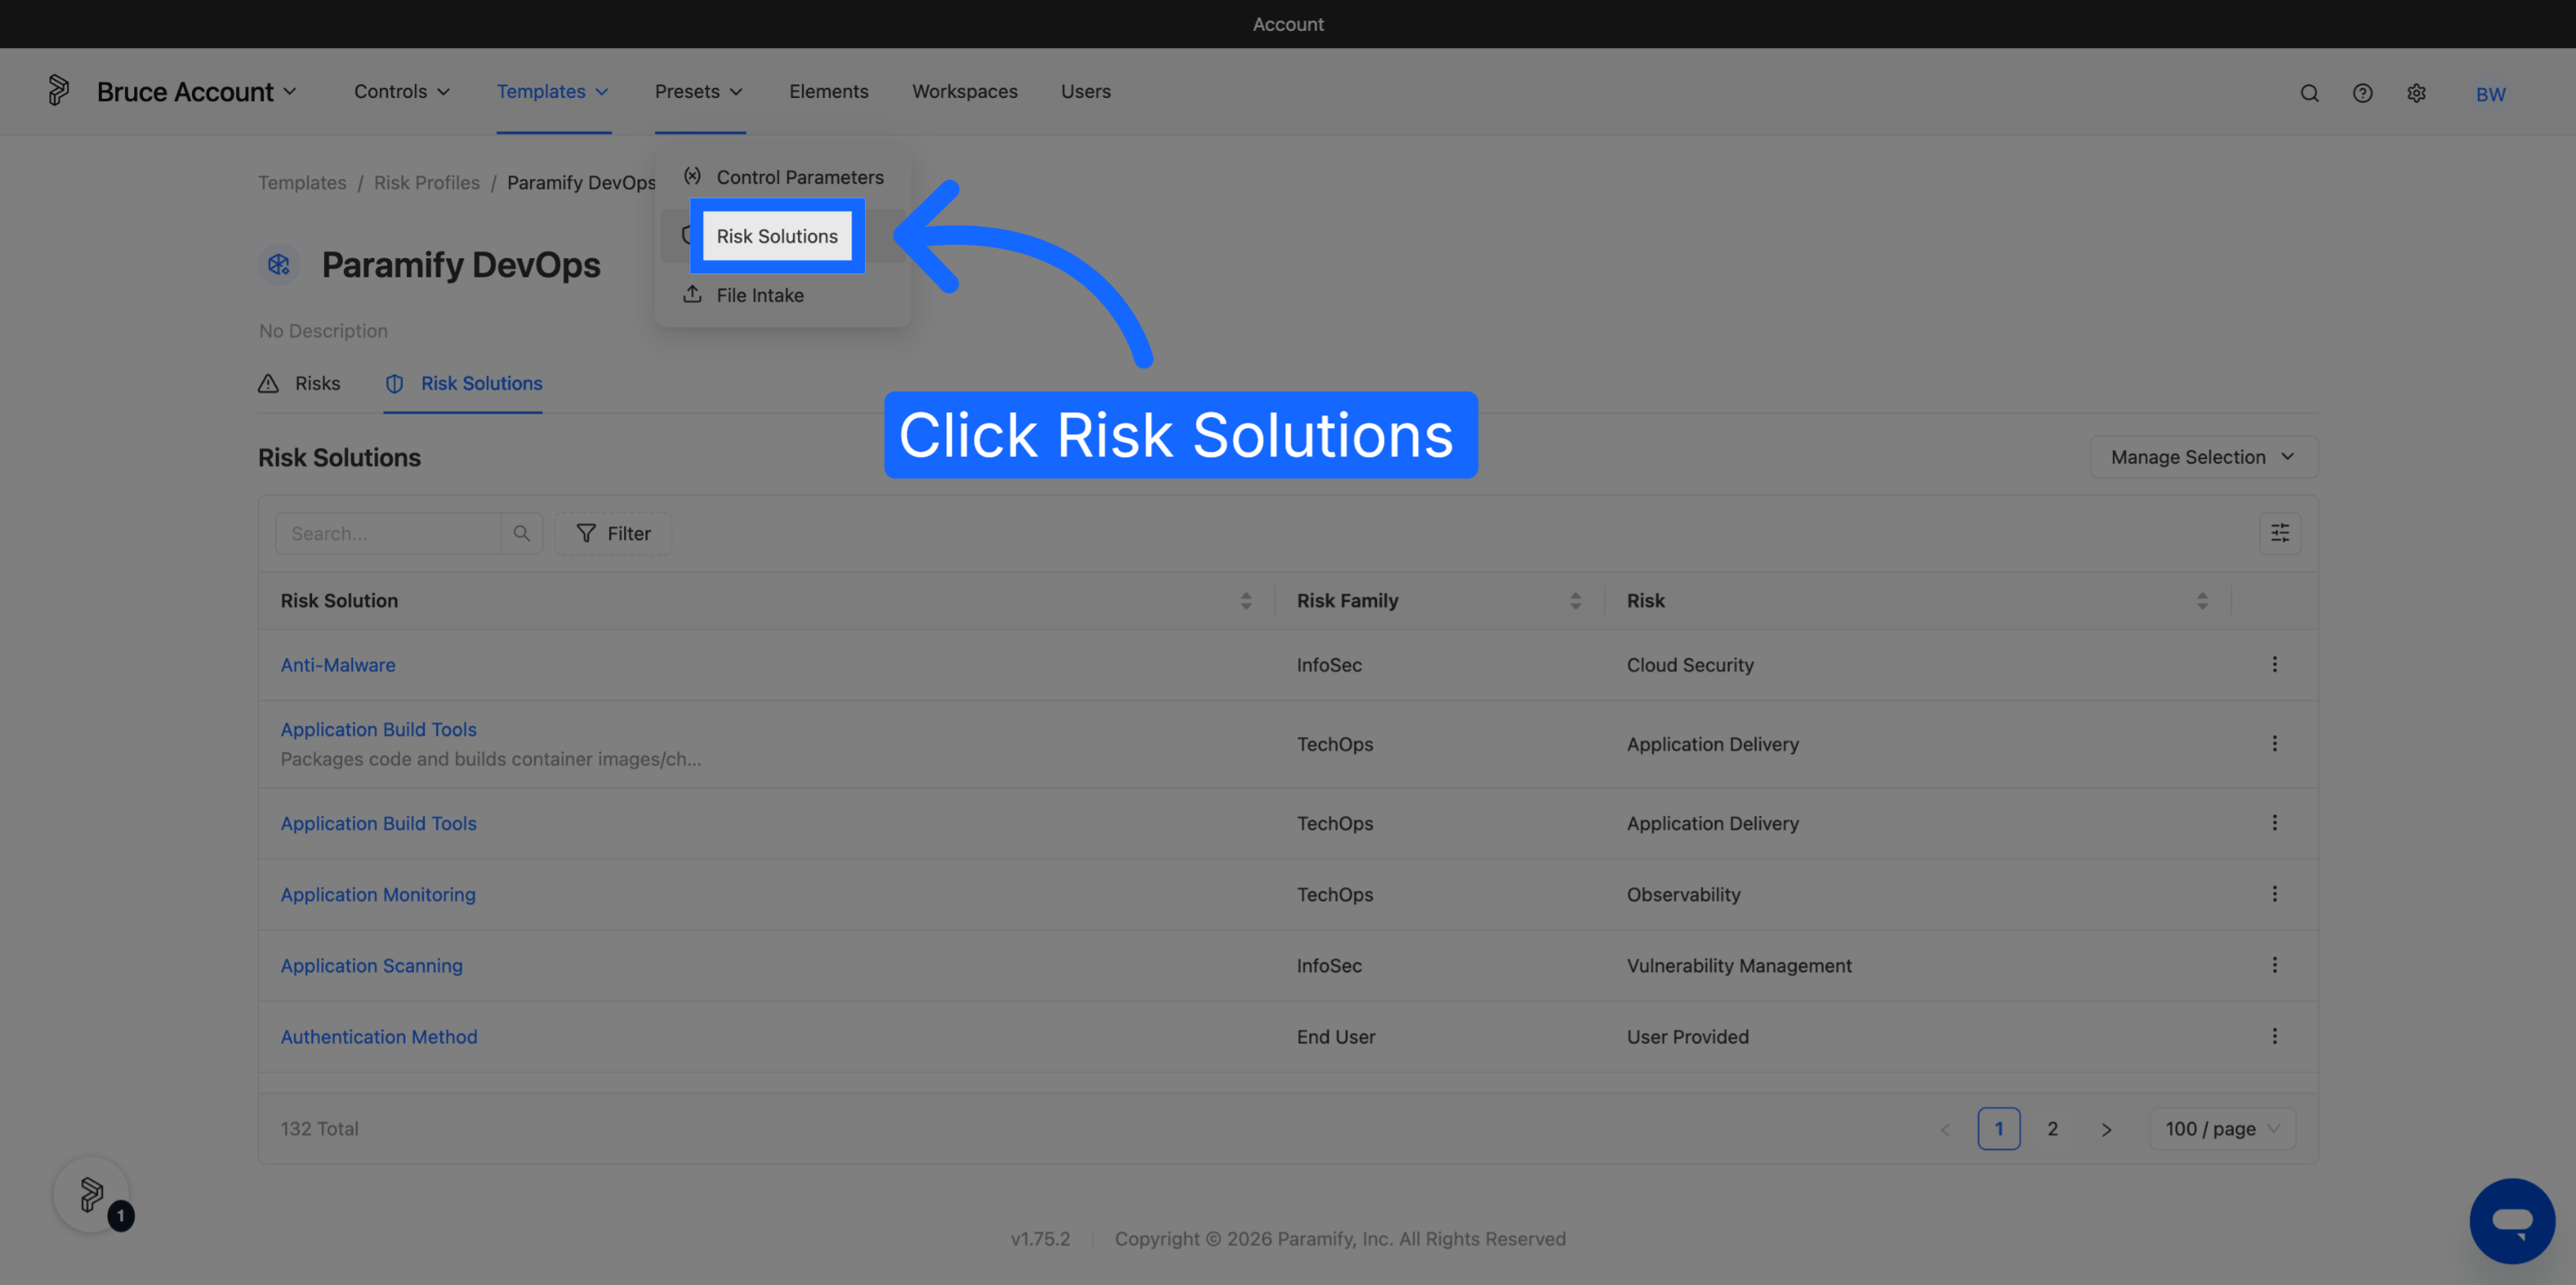
1. Open the Risk Solution Presets page
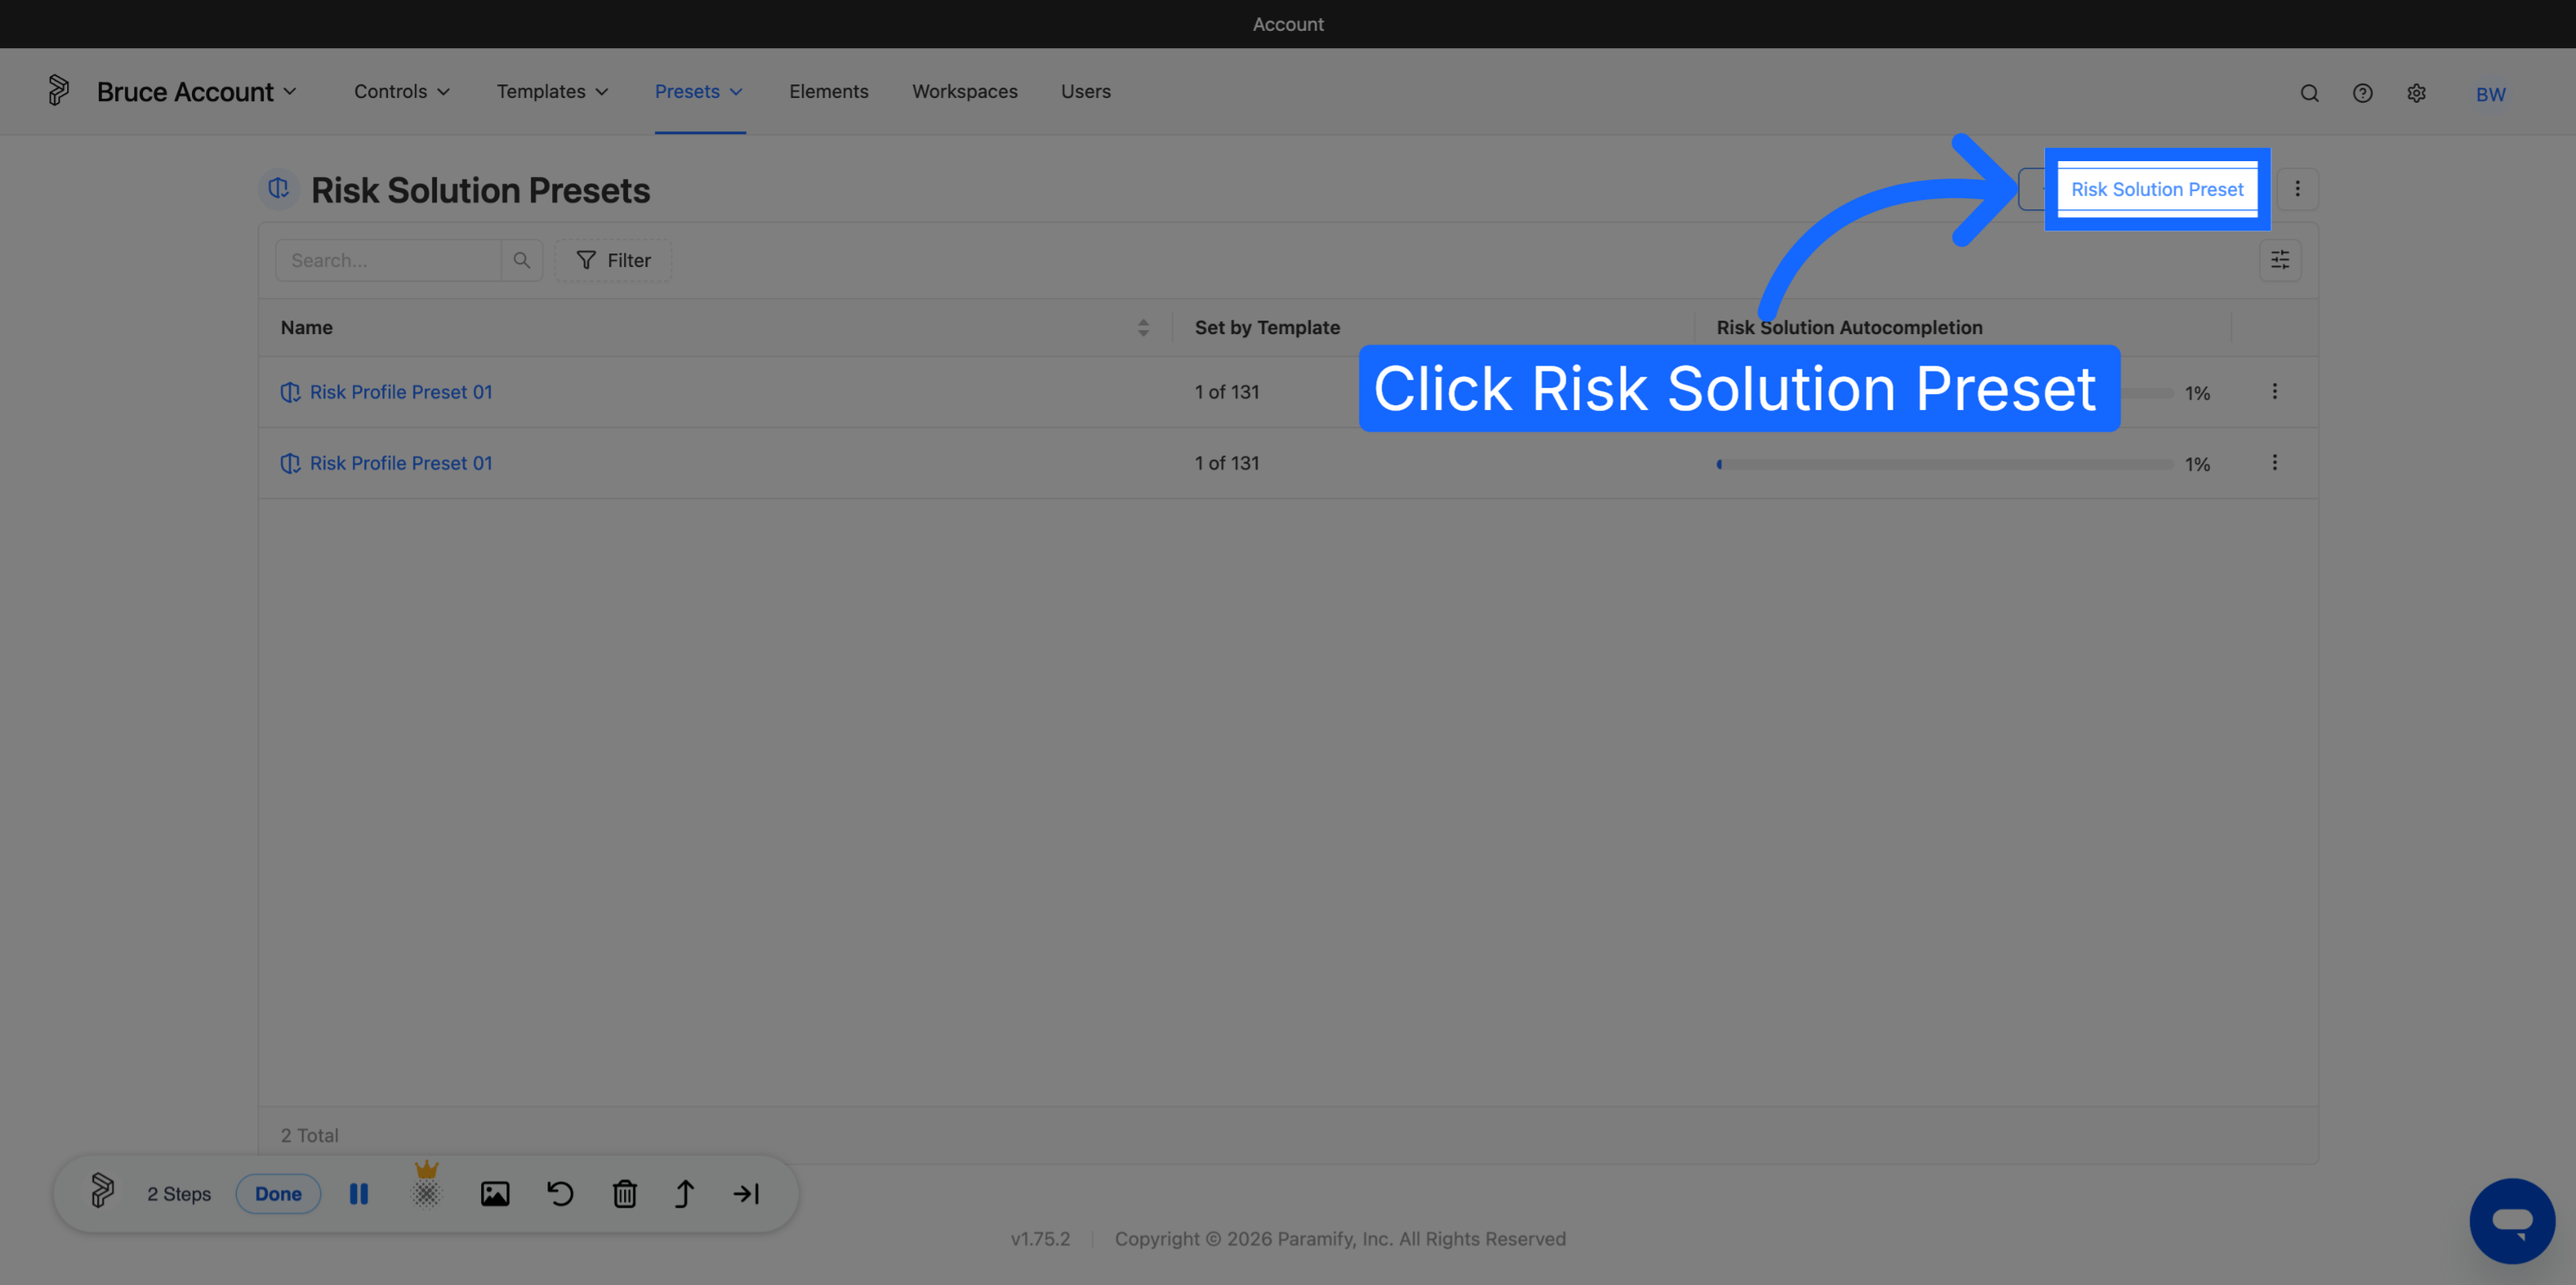
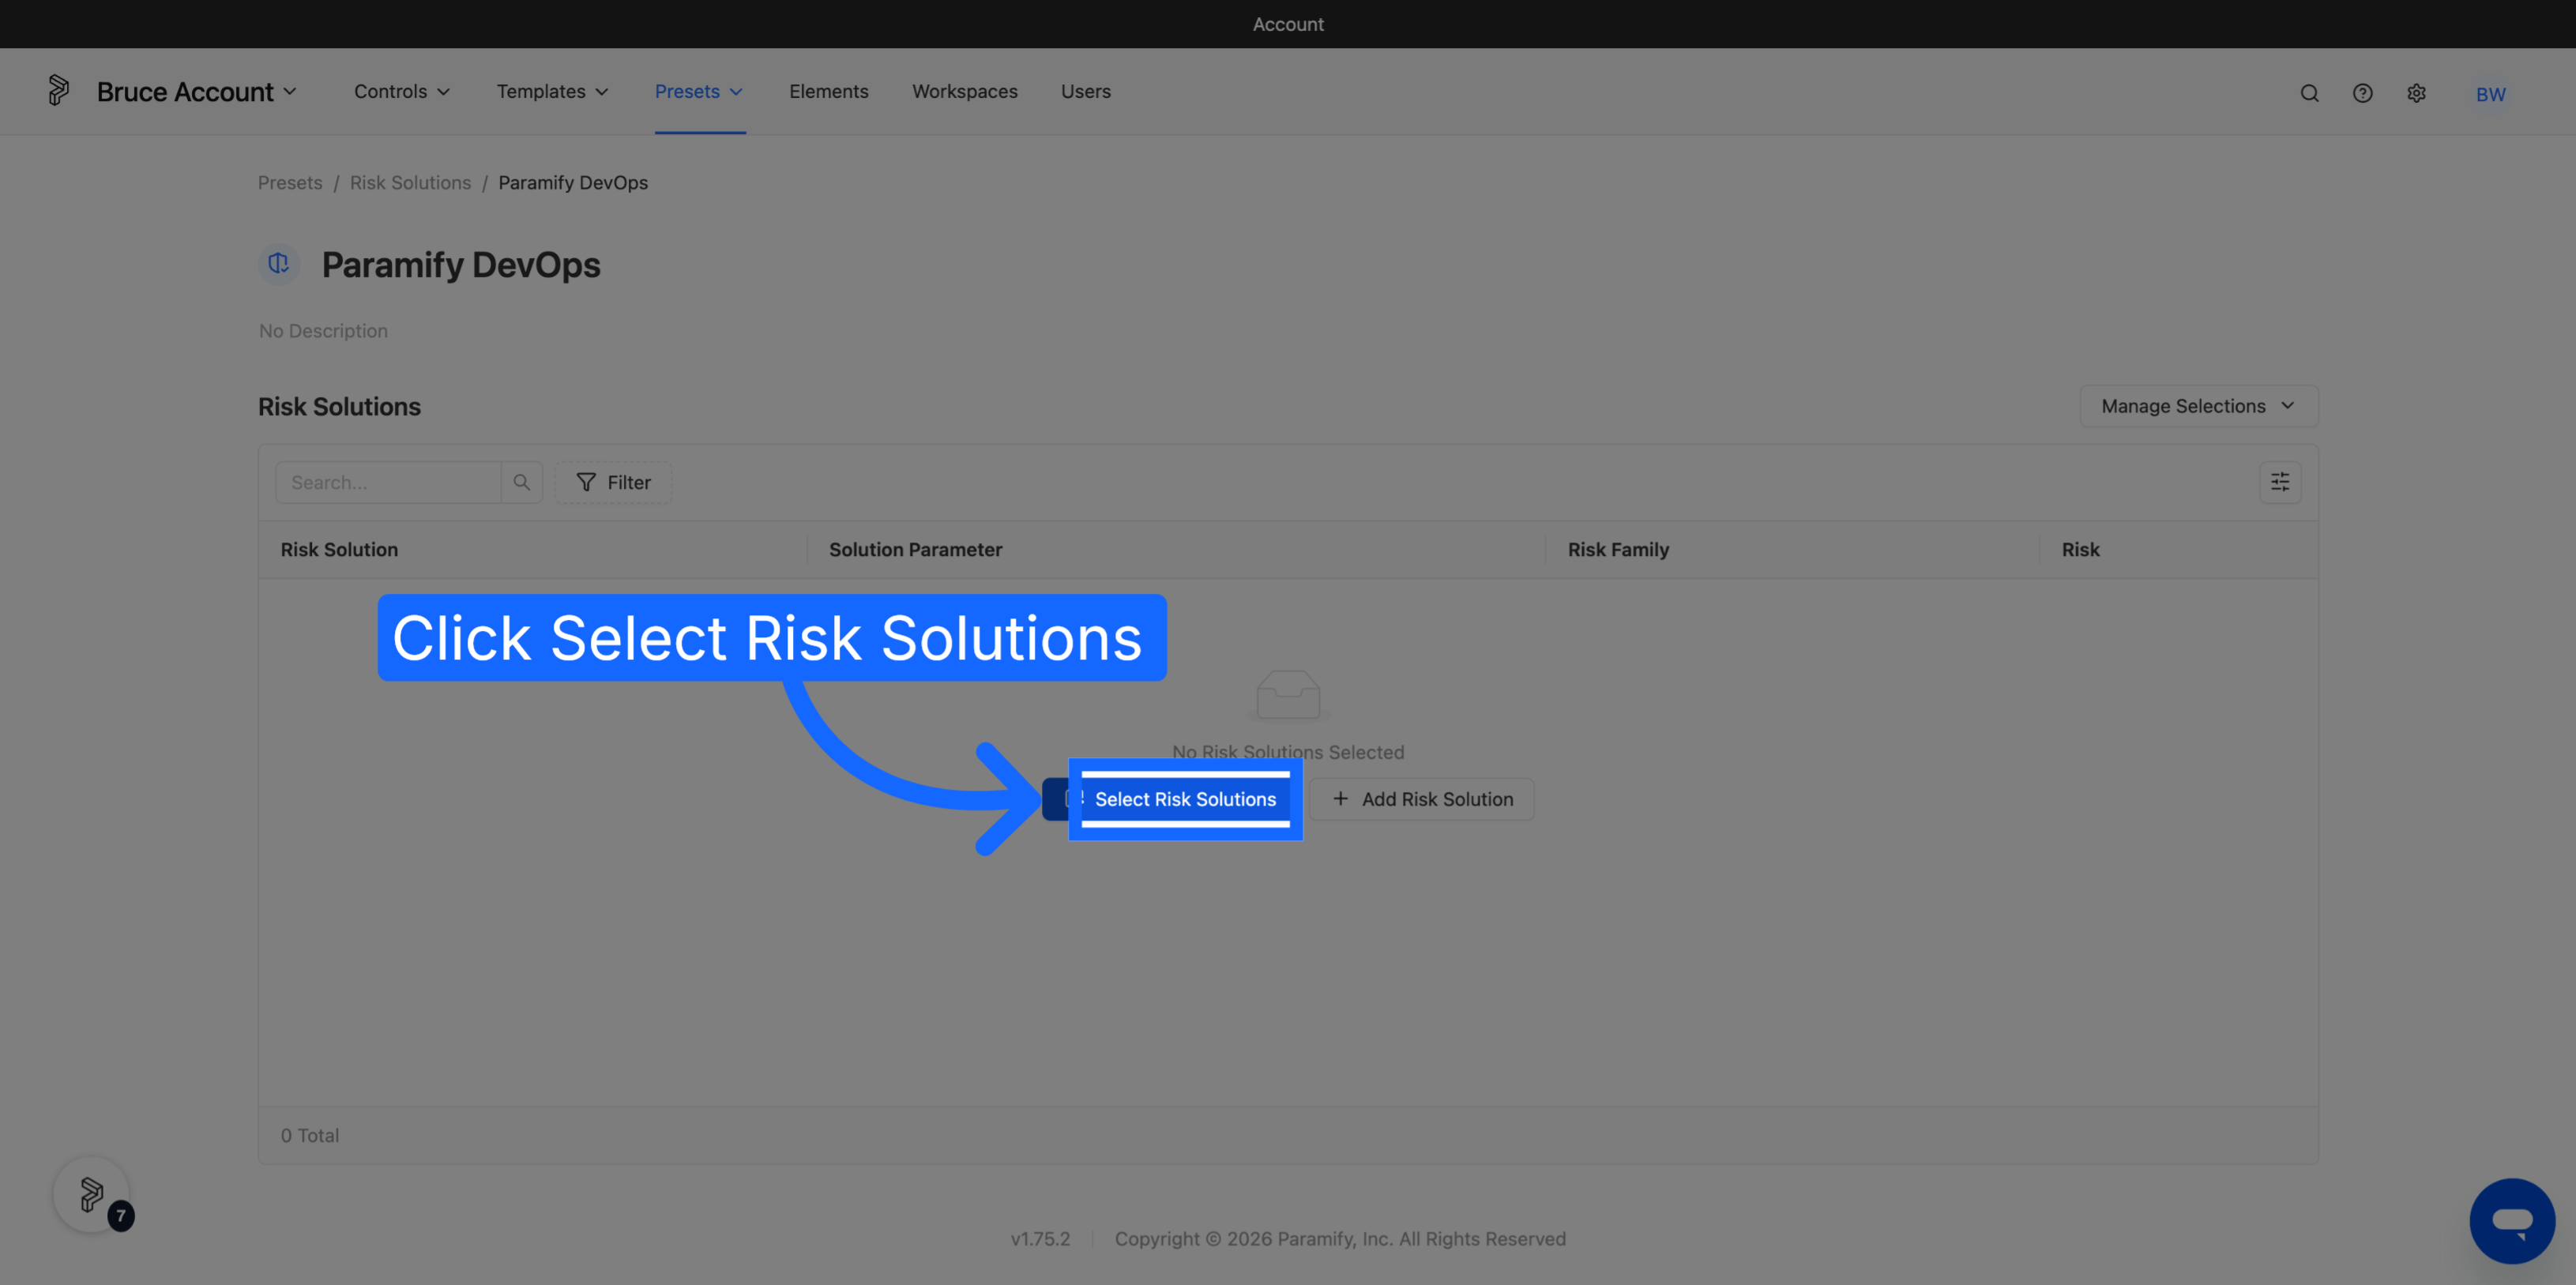
From your account, go to Presets → Risk Solutions, then click New Risk Solution Preset.
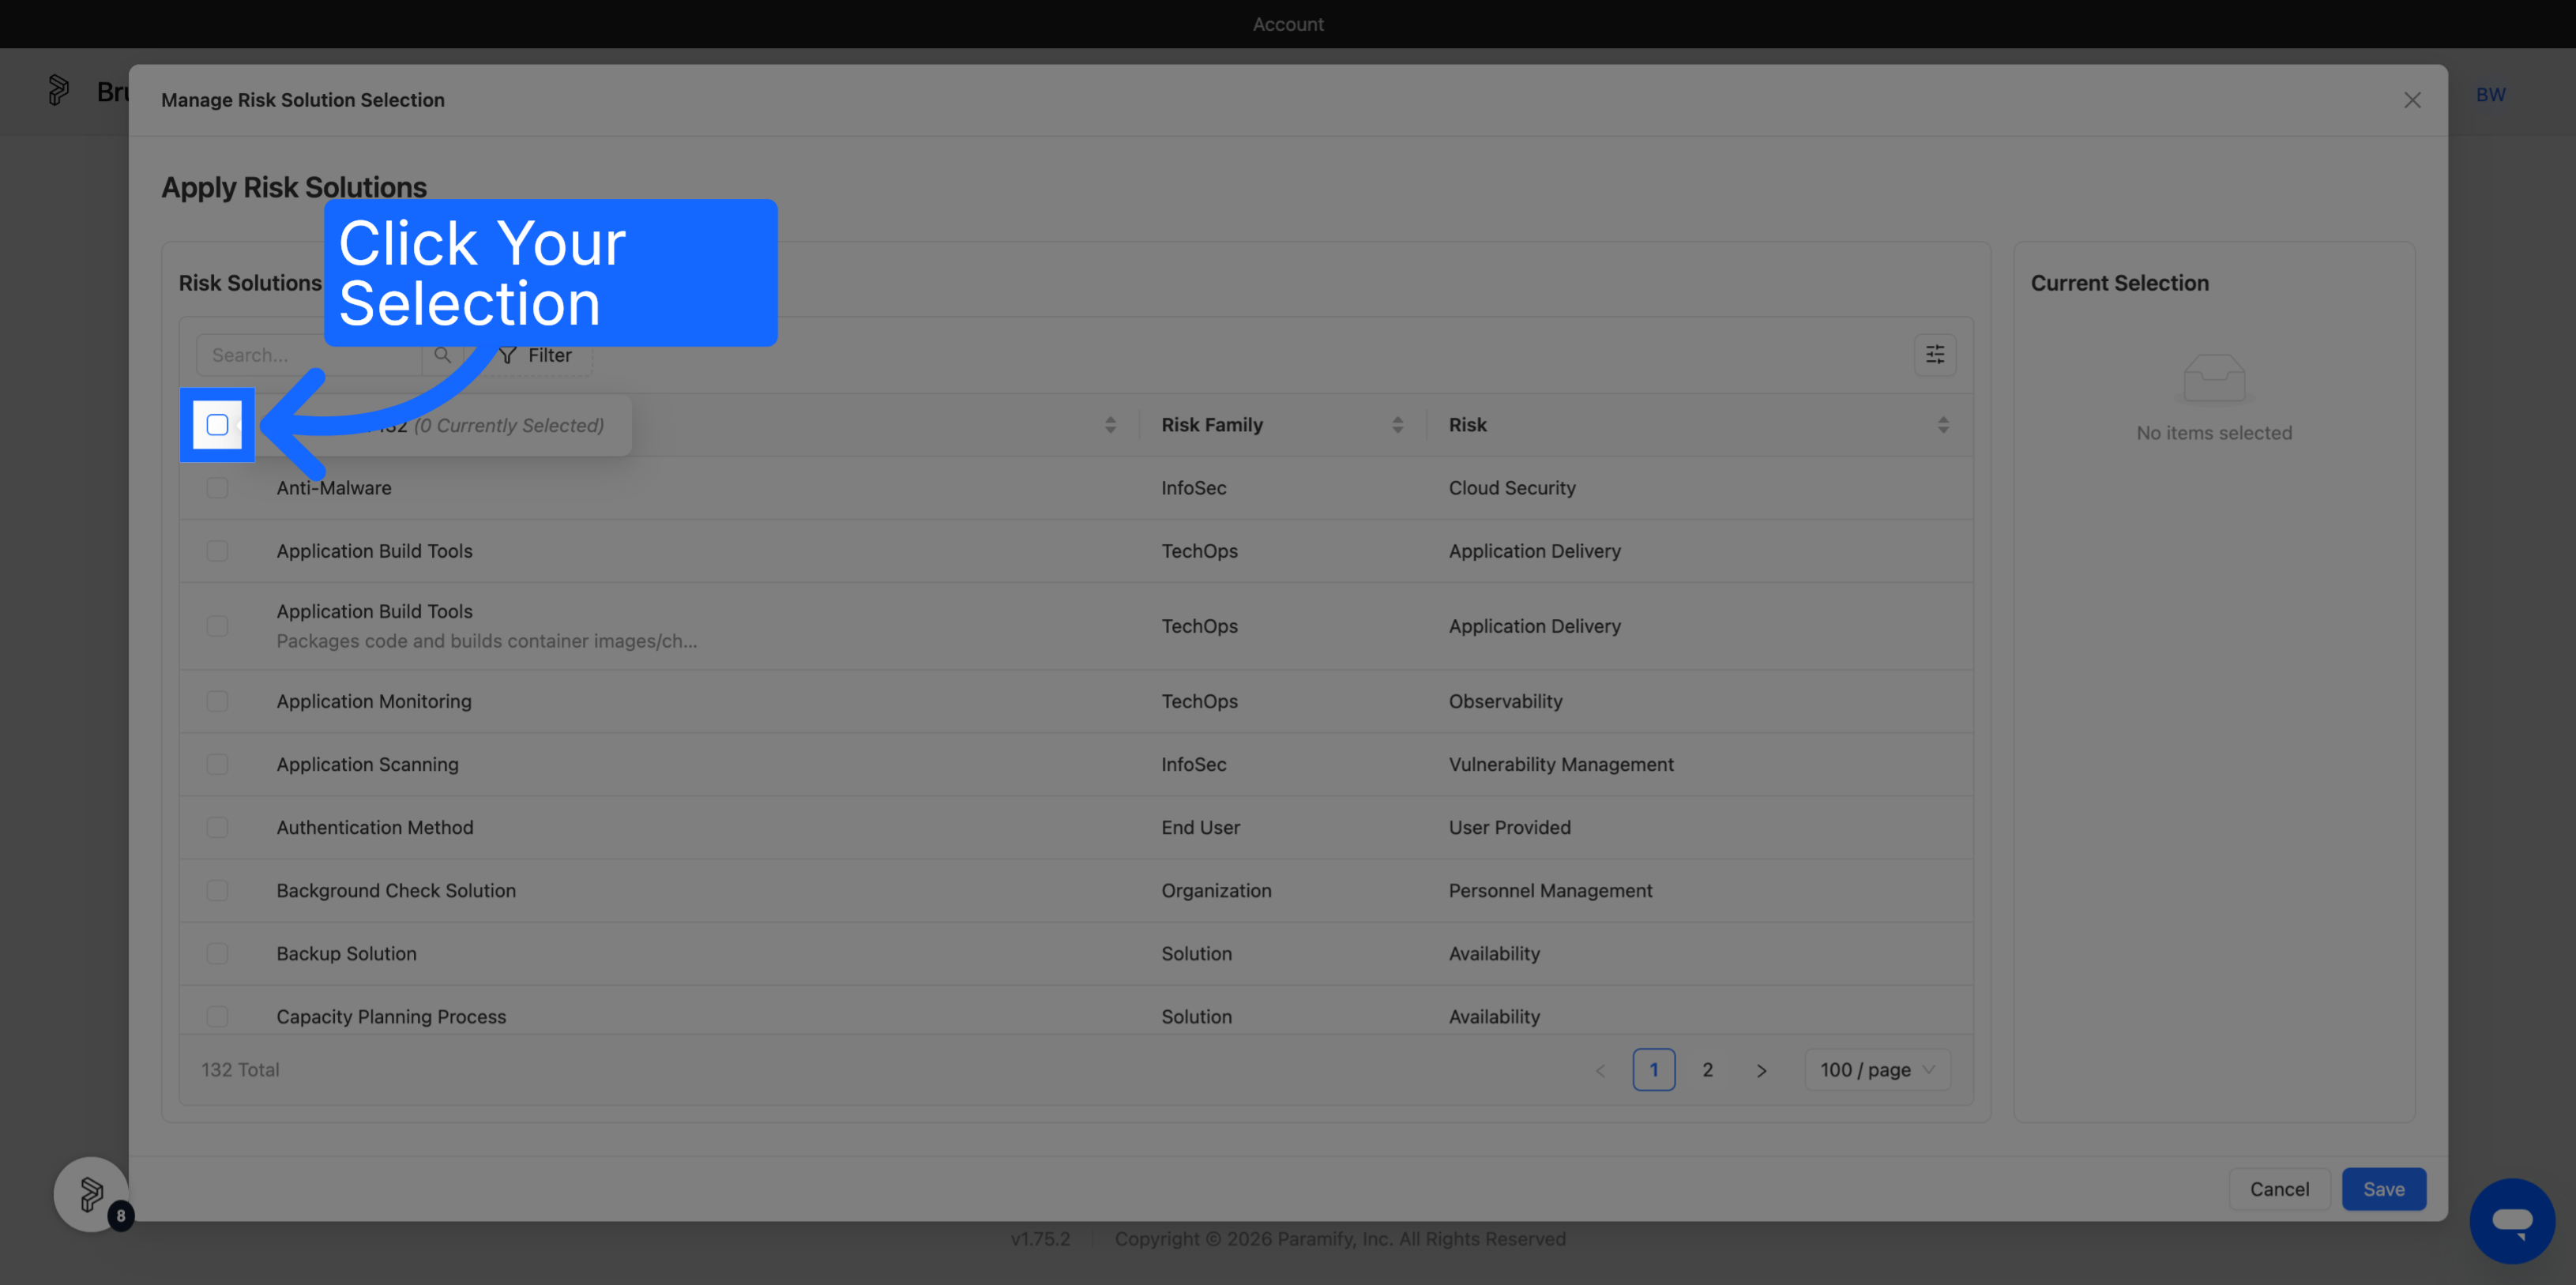
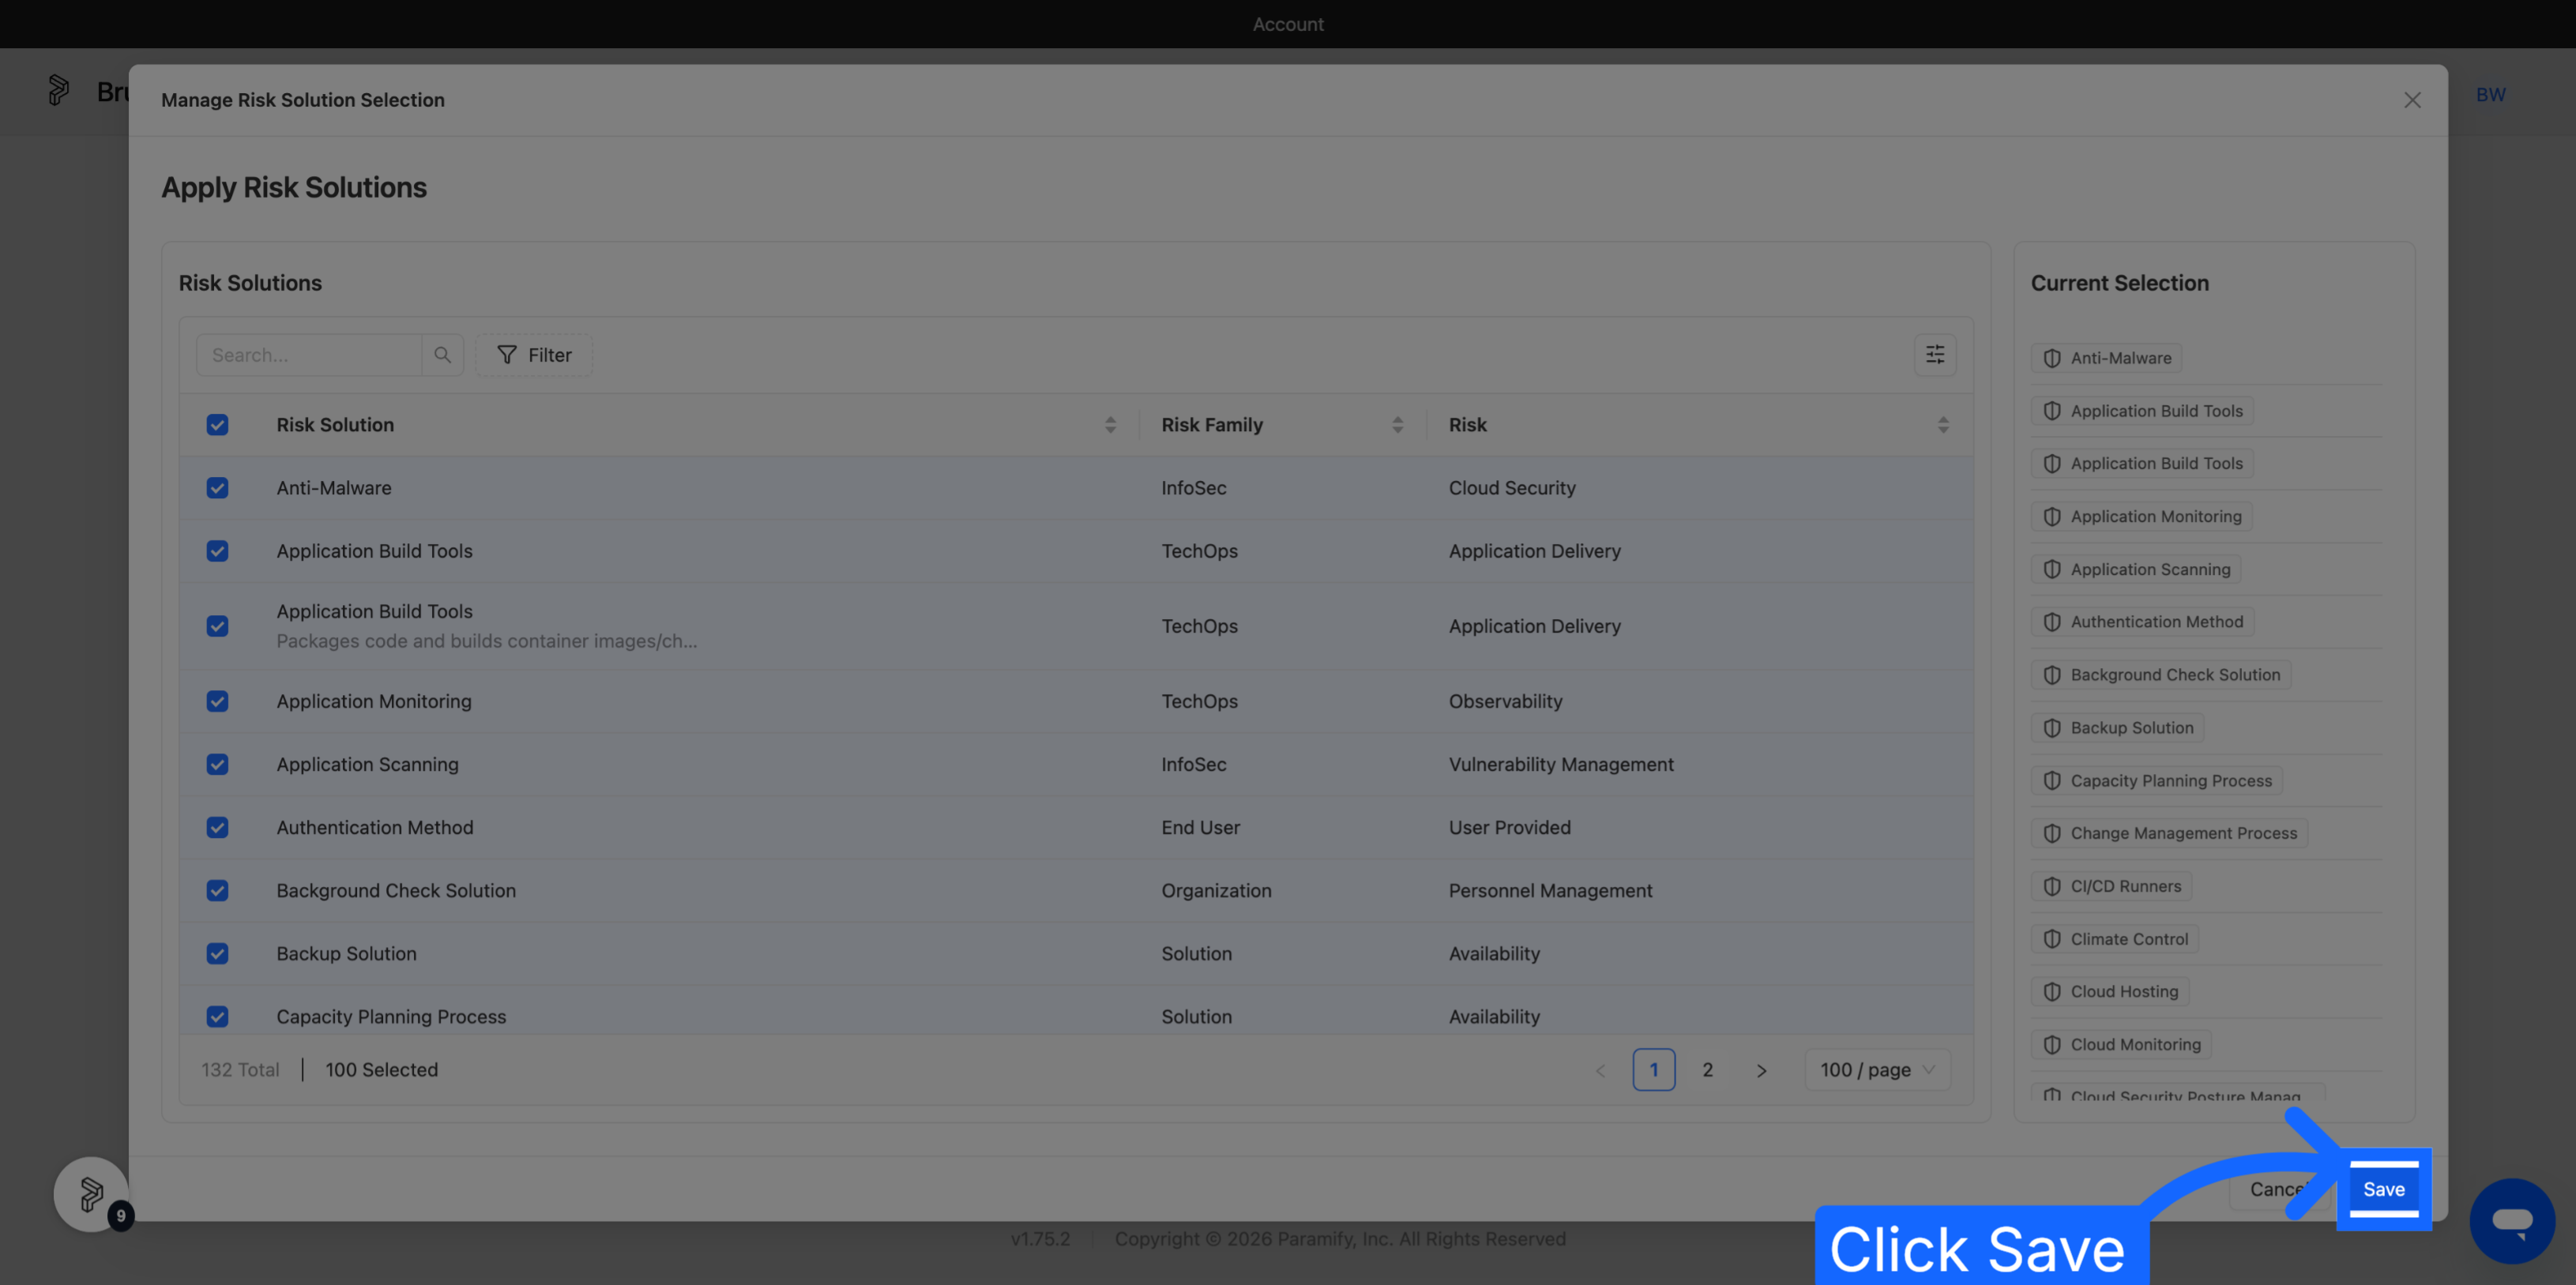
2. Name the Preset and Select Risk Solutions
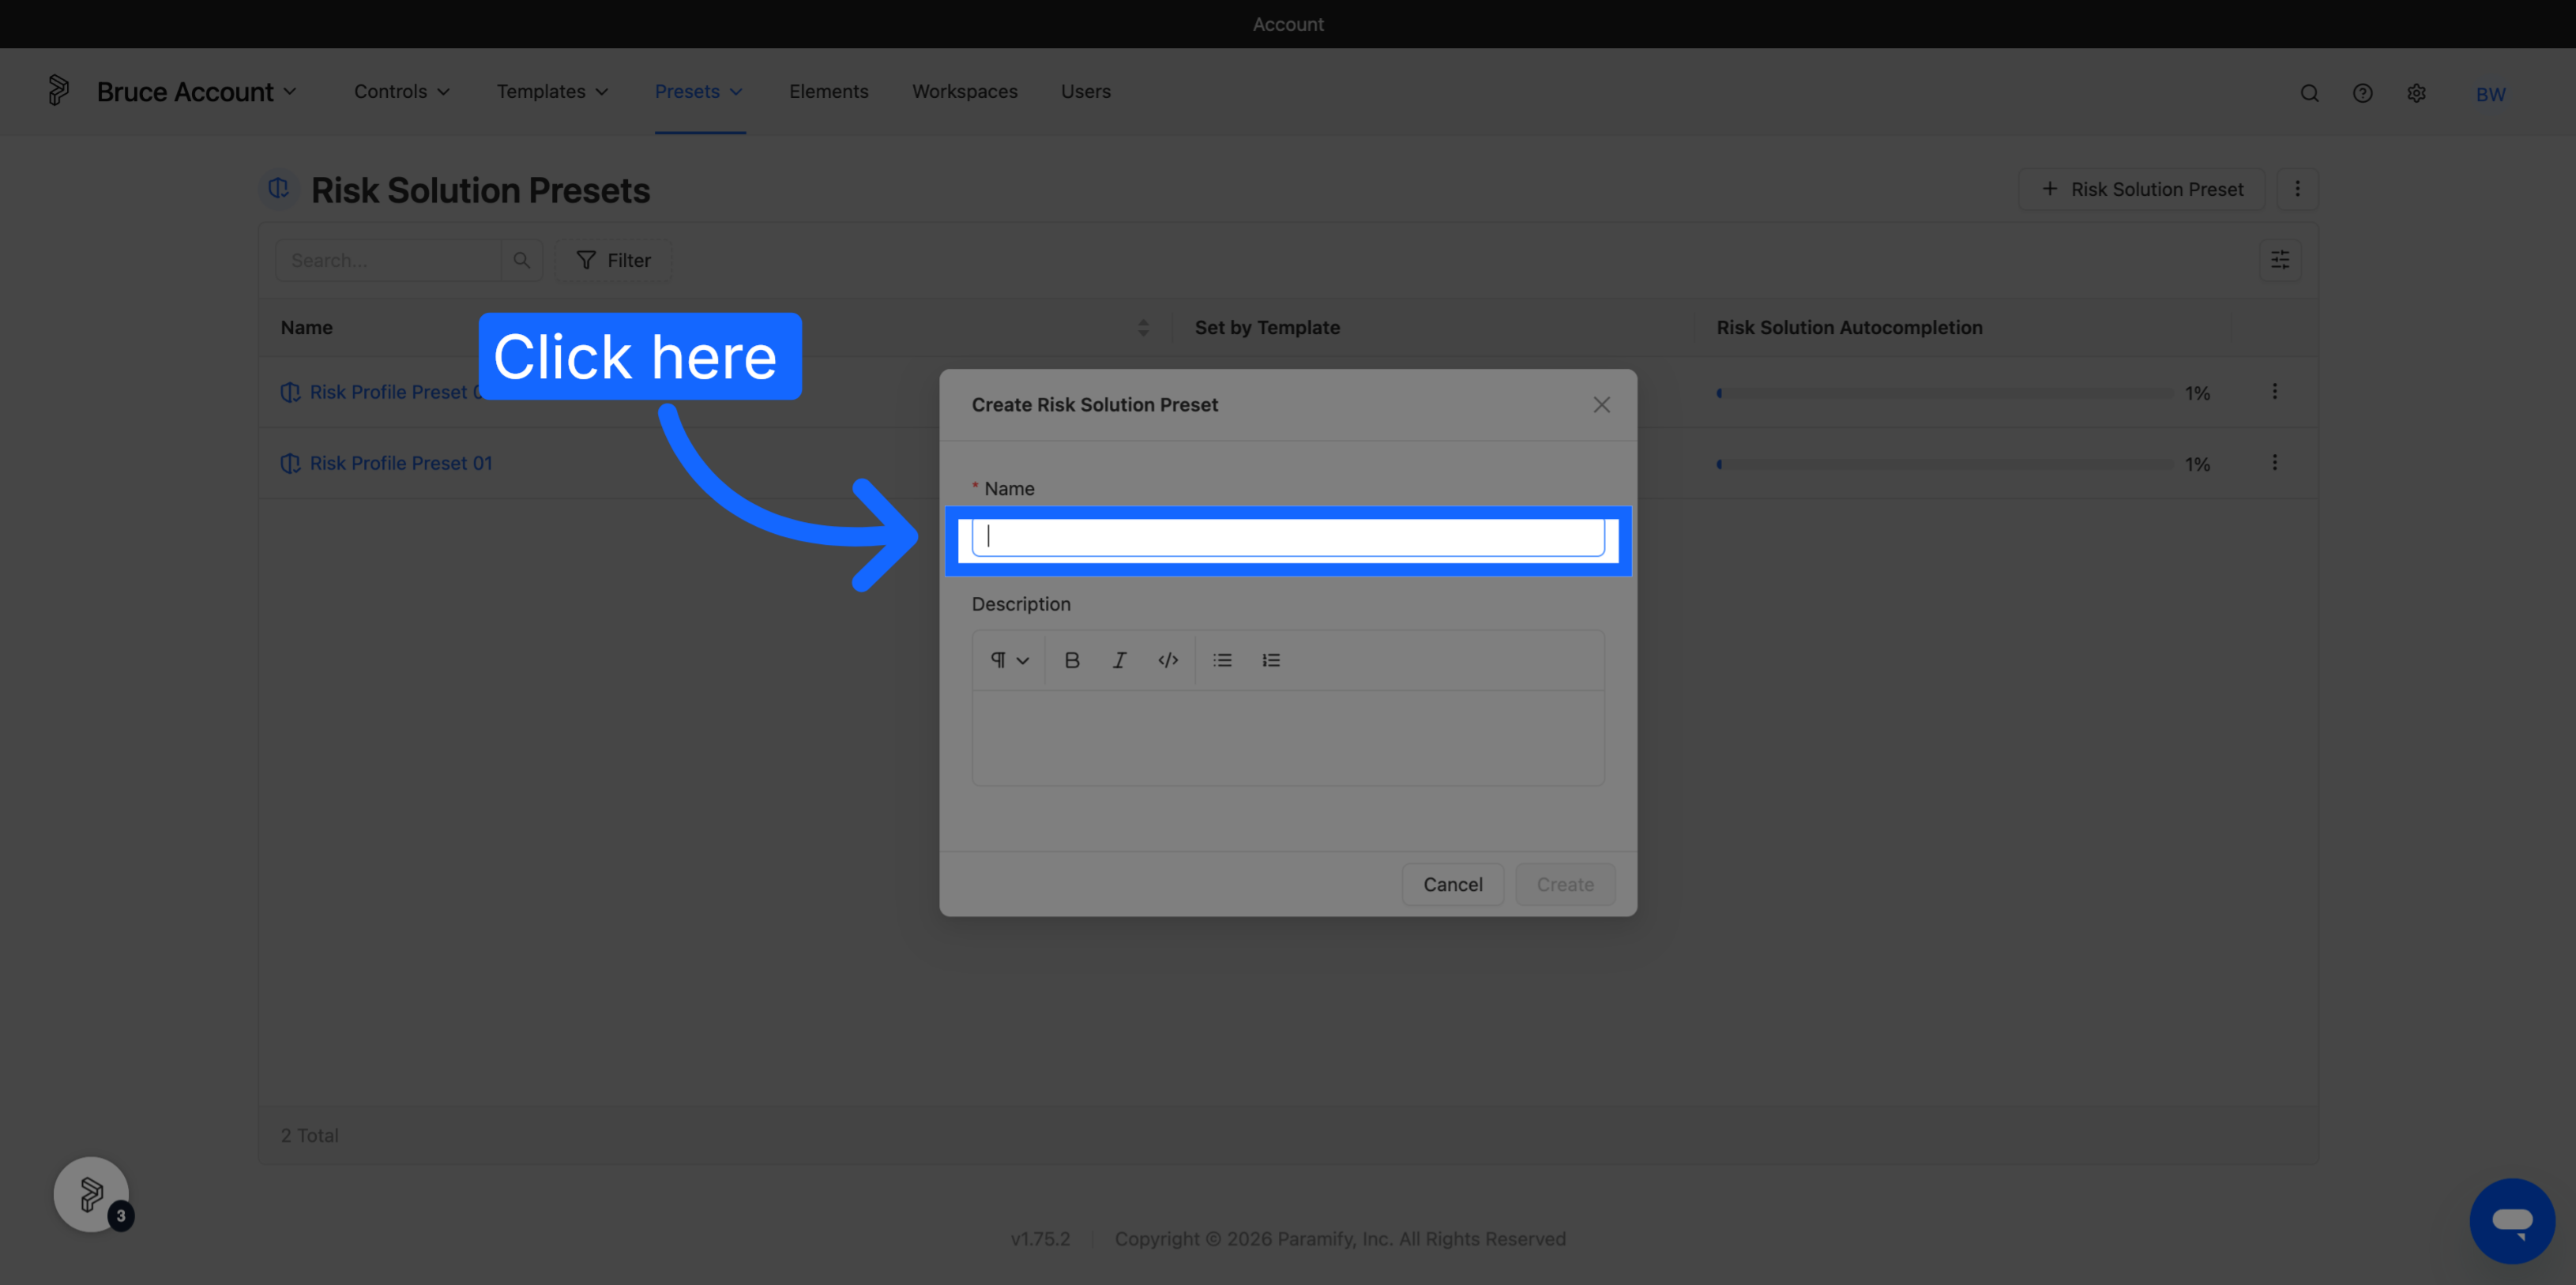
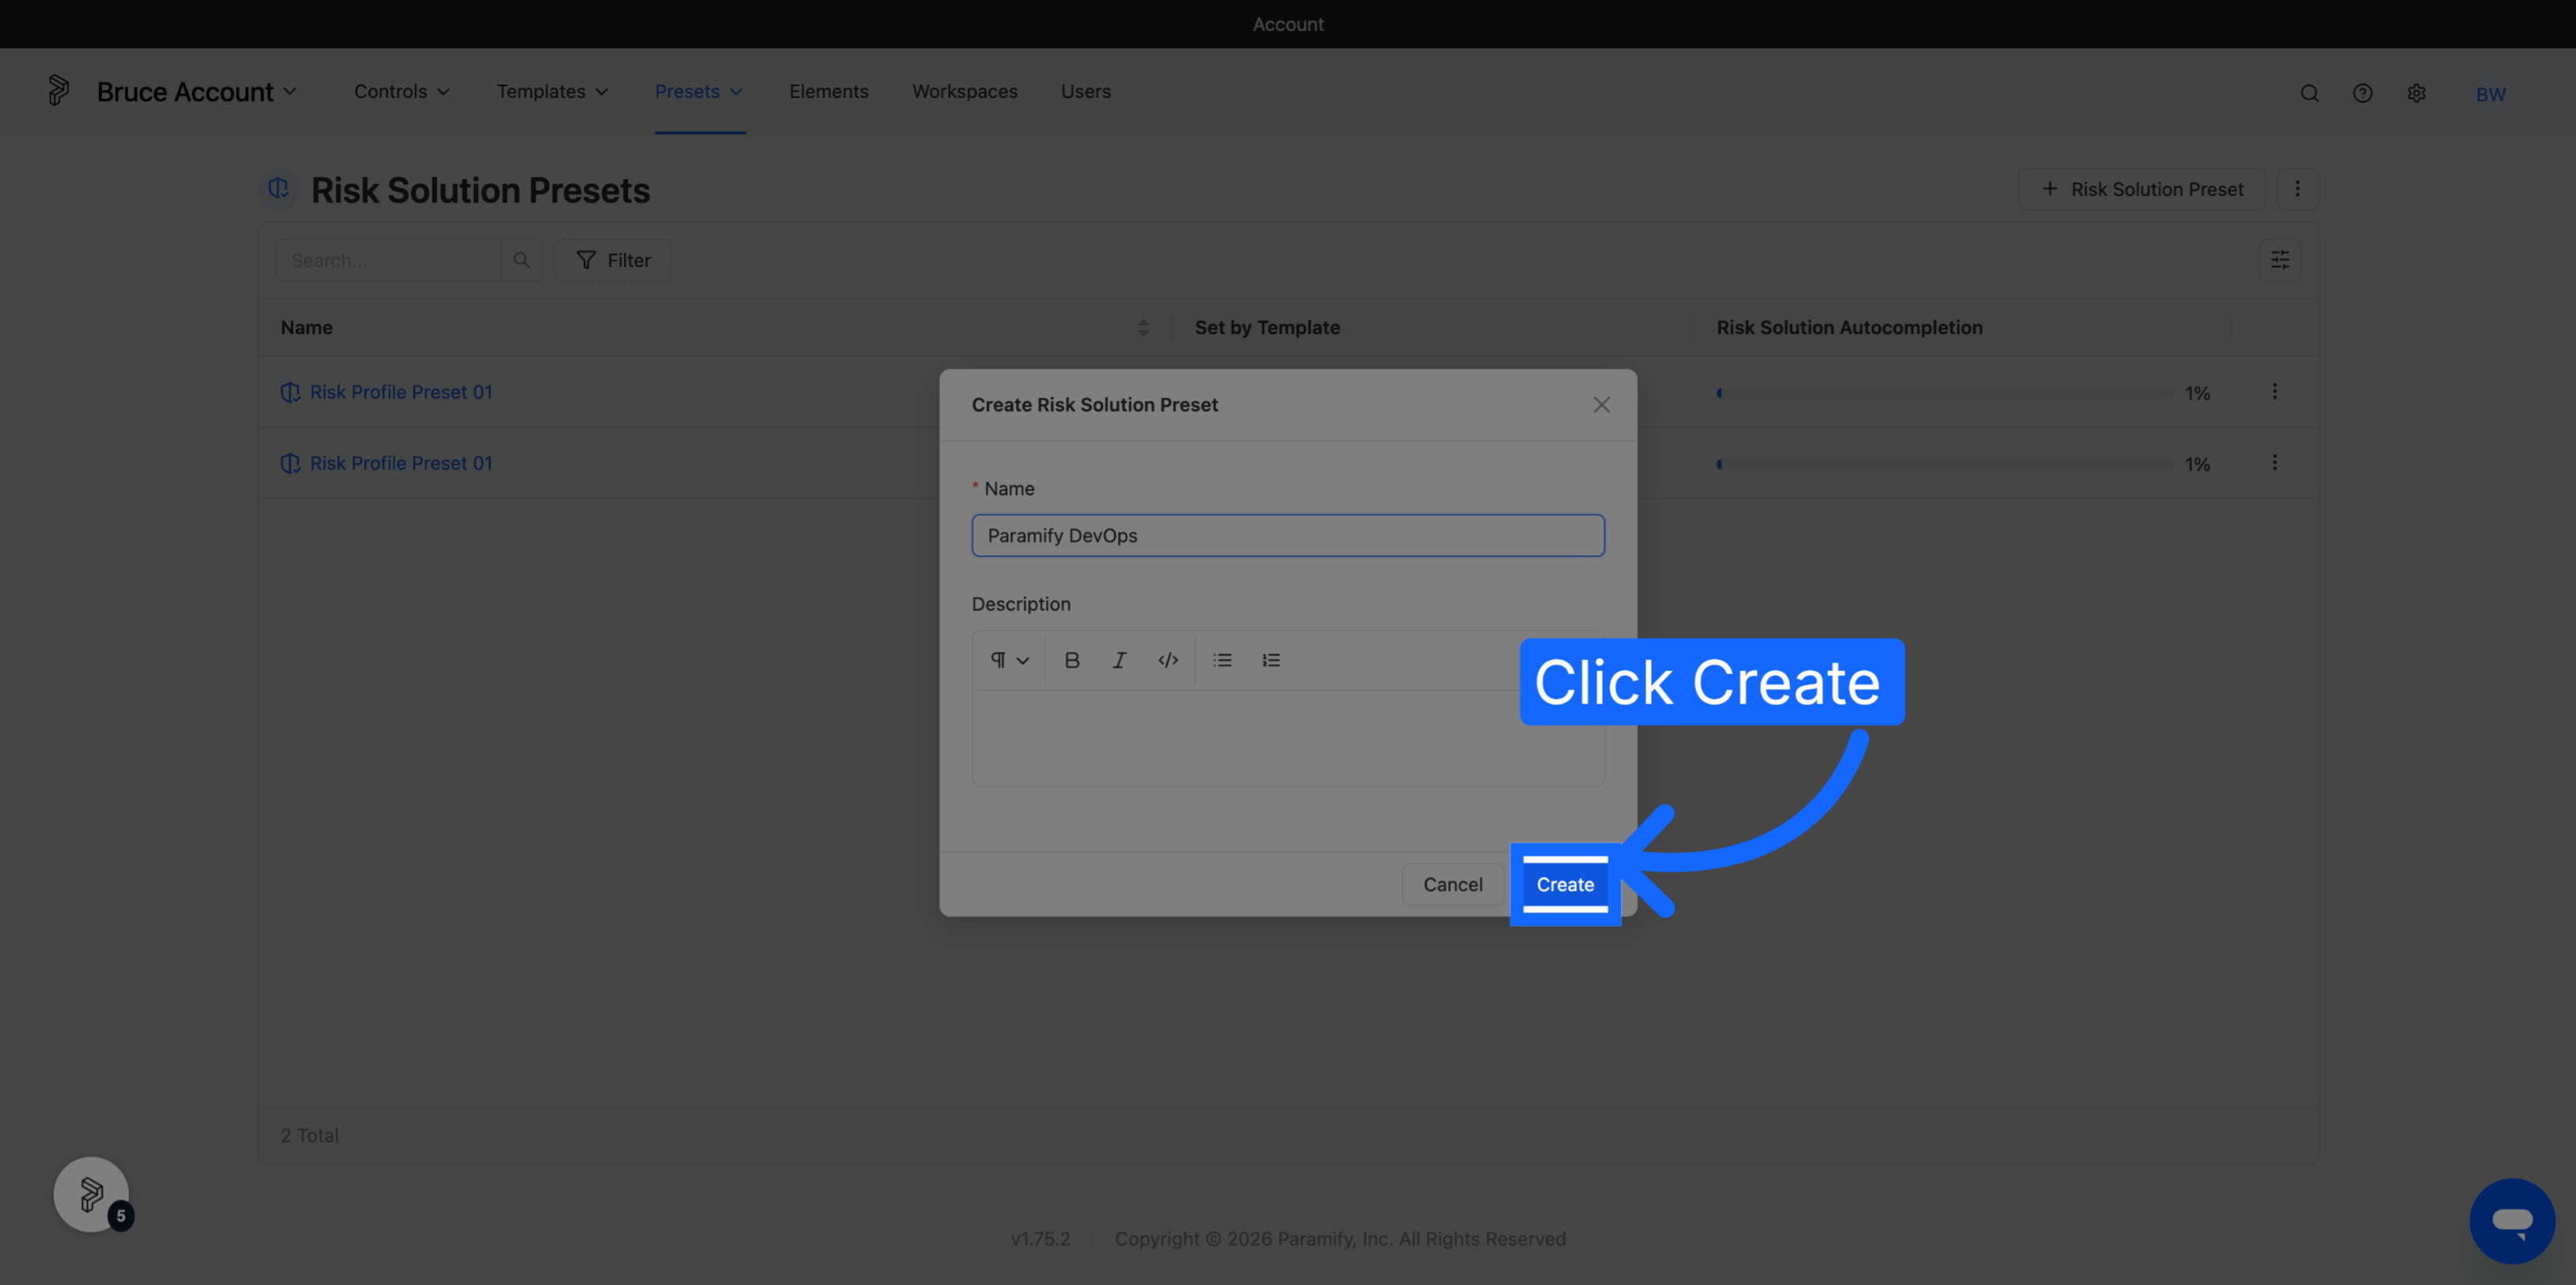
Give the preset a name, then select only the Risk Solutions this preset should configure. Targeted presets work best — for example, one preset for everything AWS-related and another for Azure.
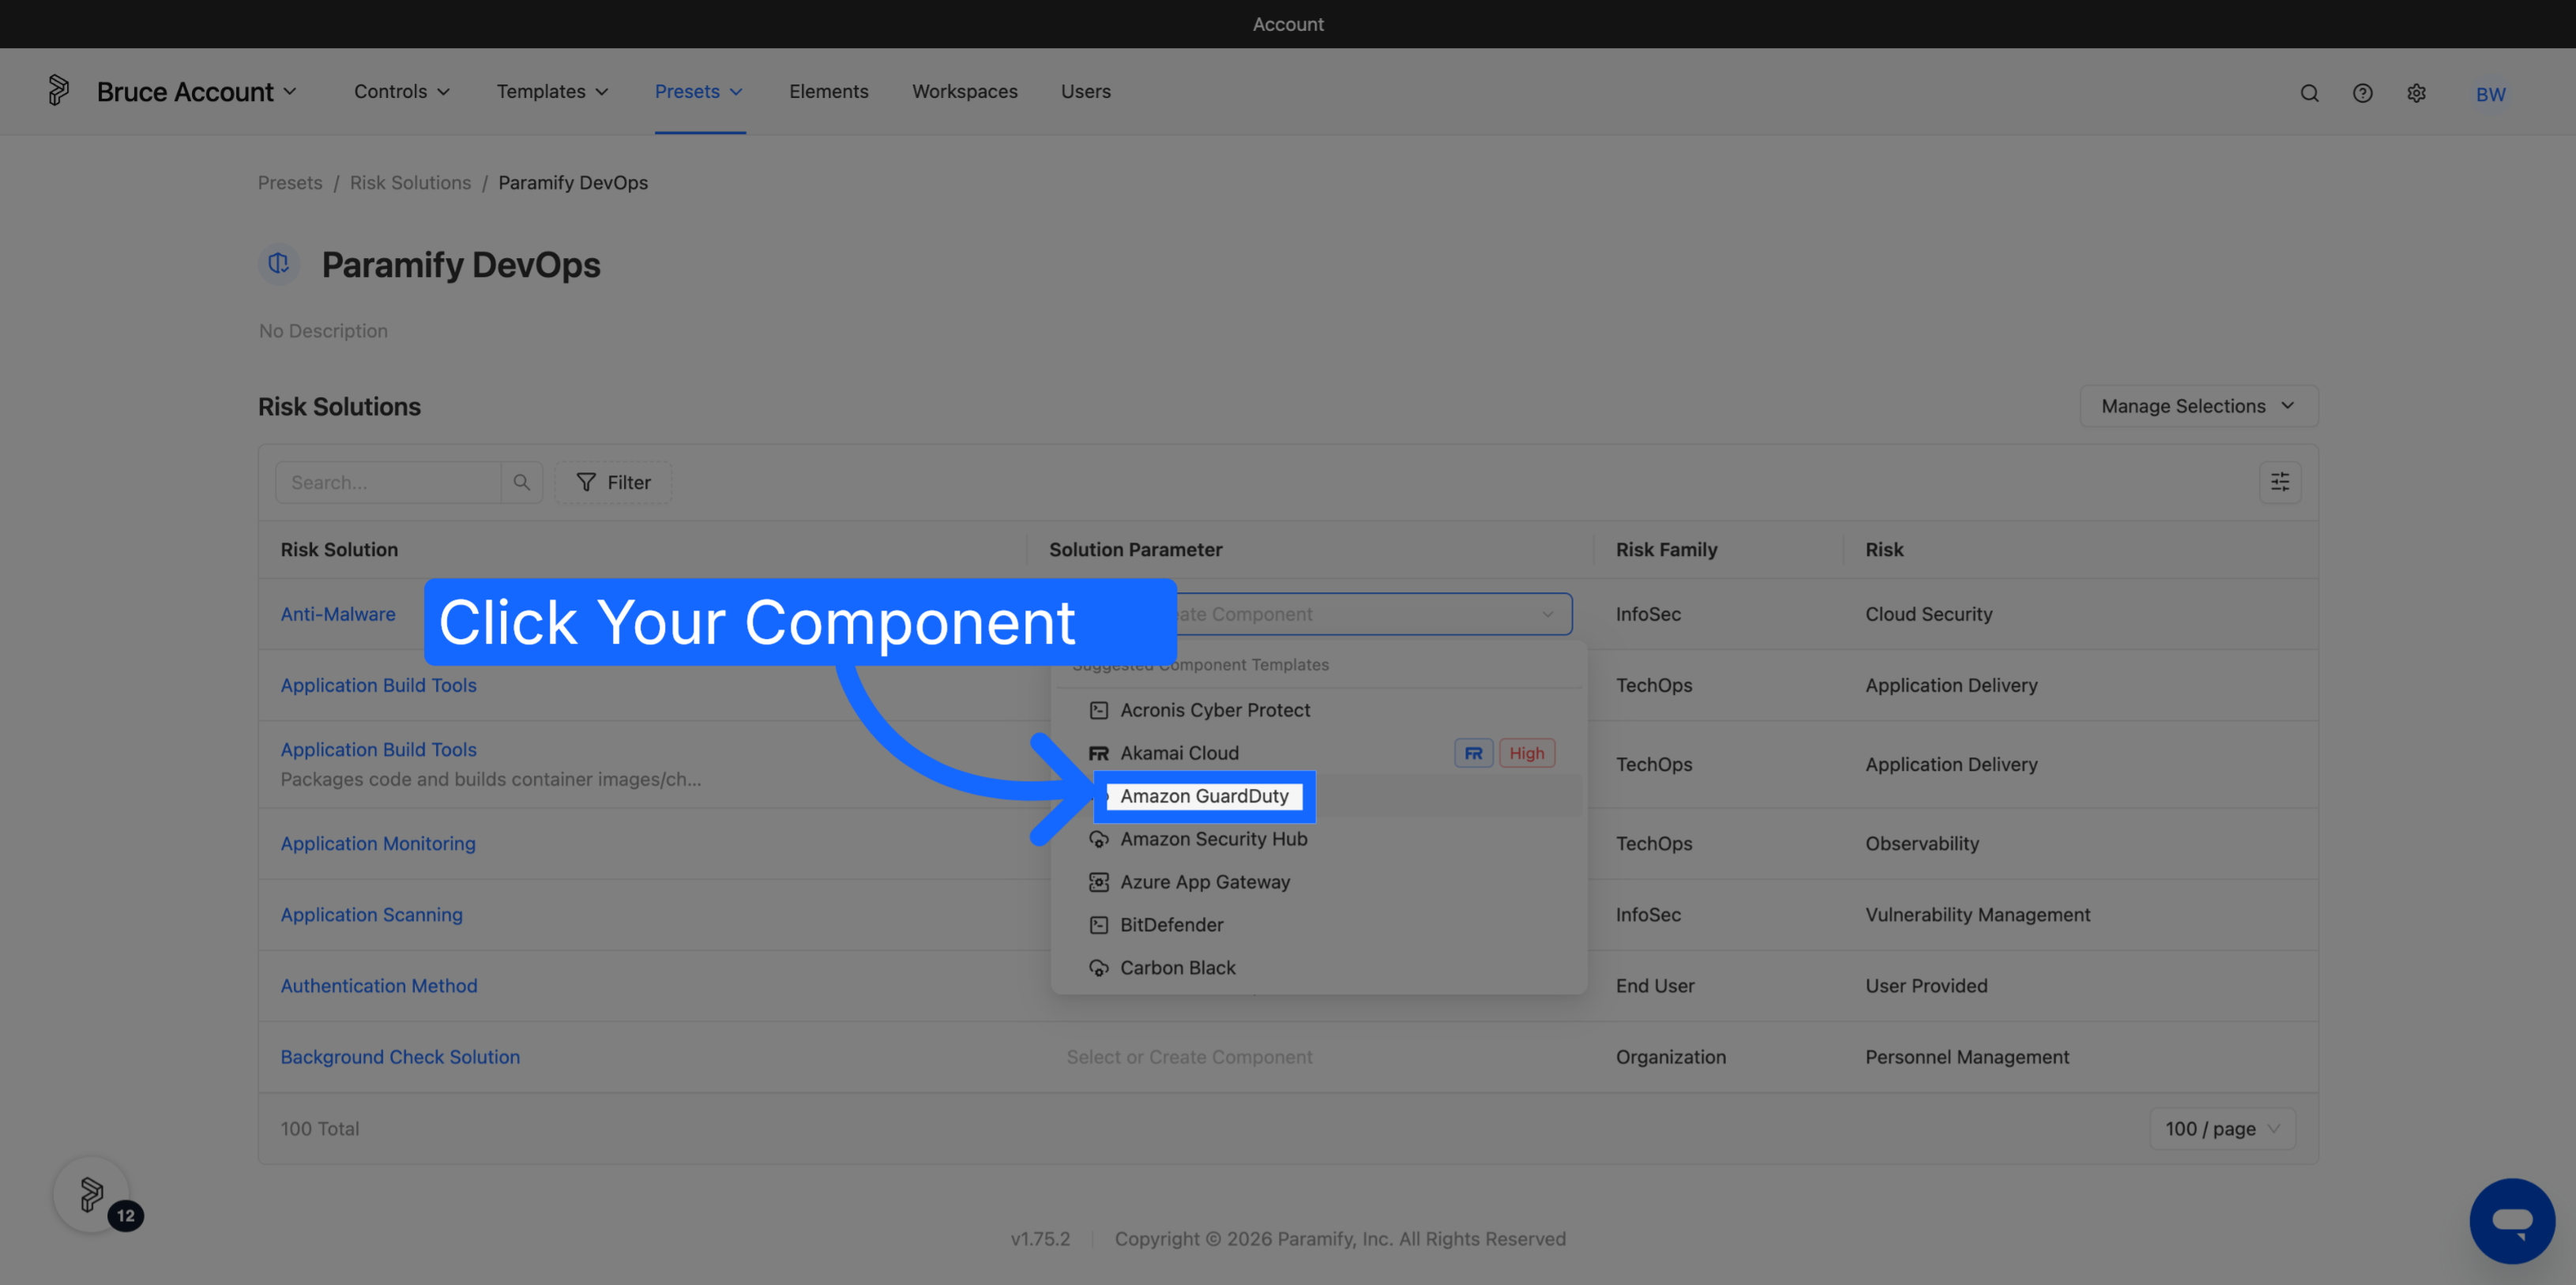
3. Set the Solution Parameter for each Risk Solution
For each selected Risk Solution, choose the solution parameter (the implementing component) that should be filled in when this preset is applied.
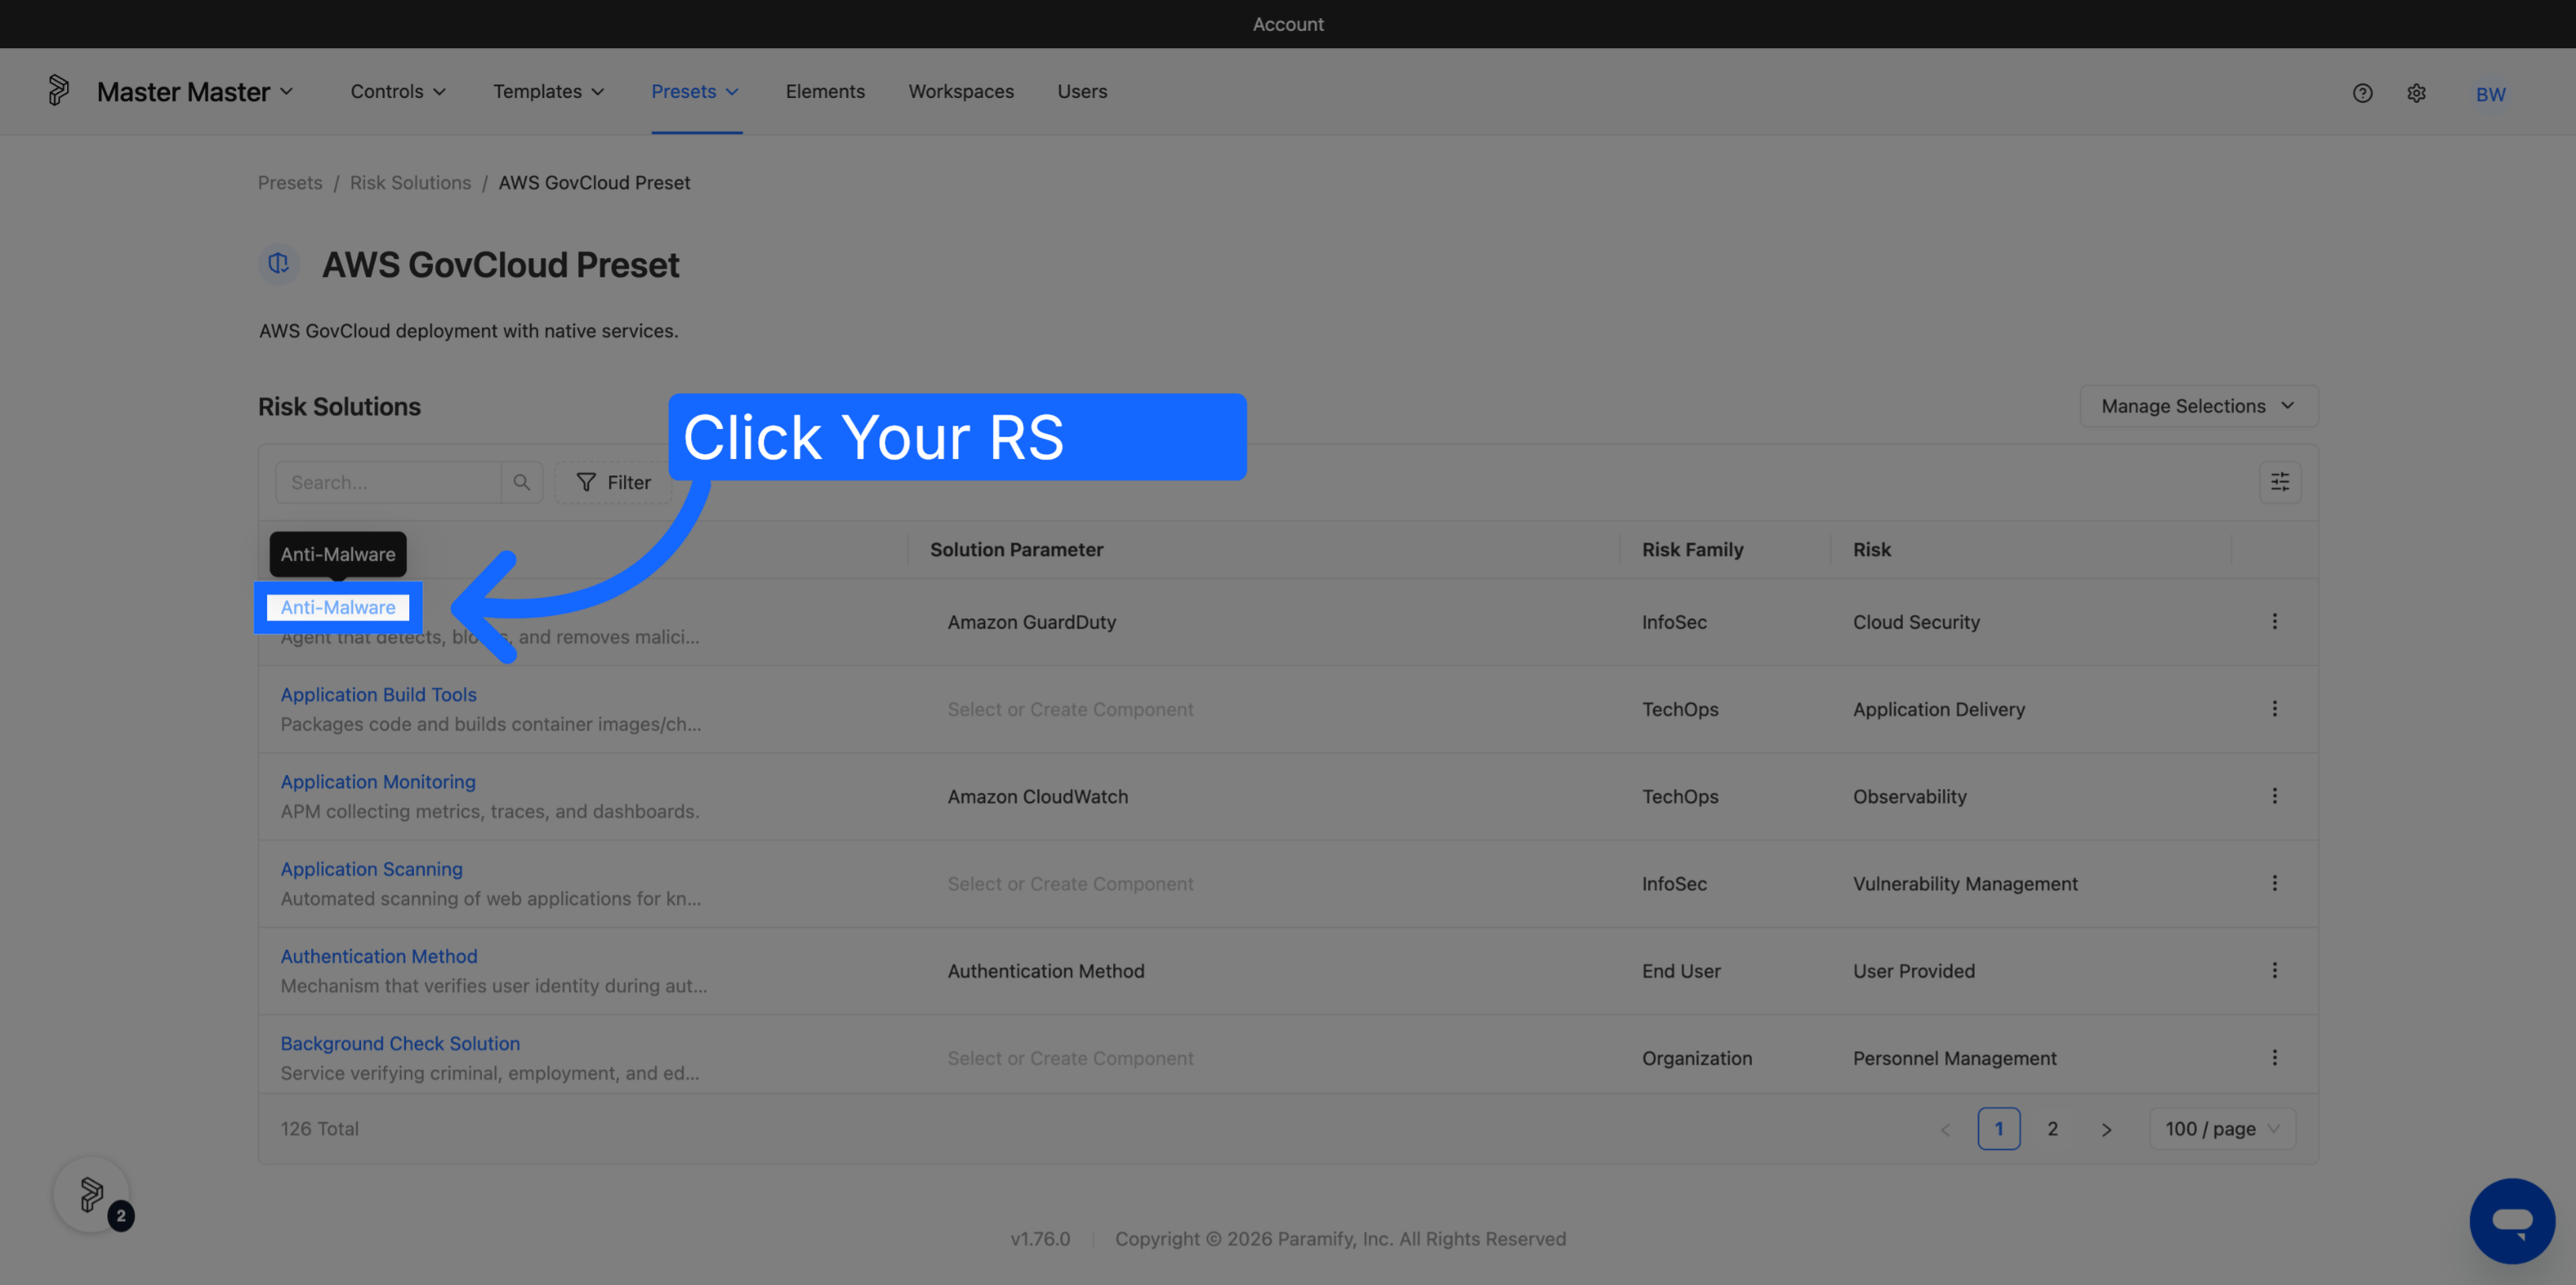
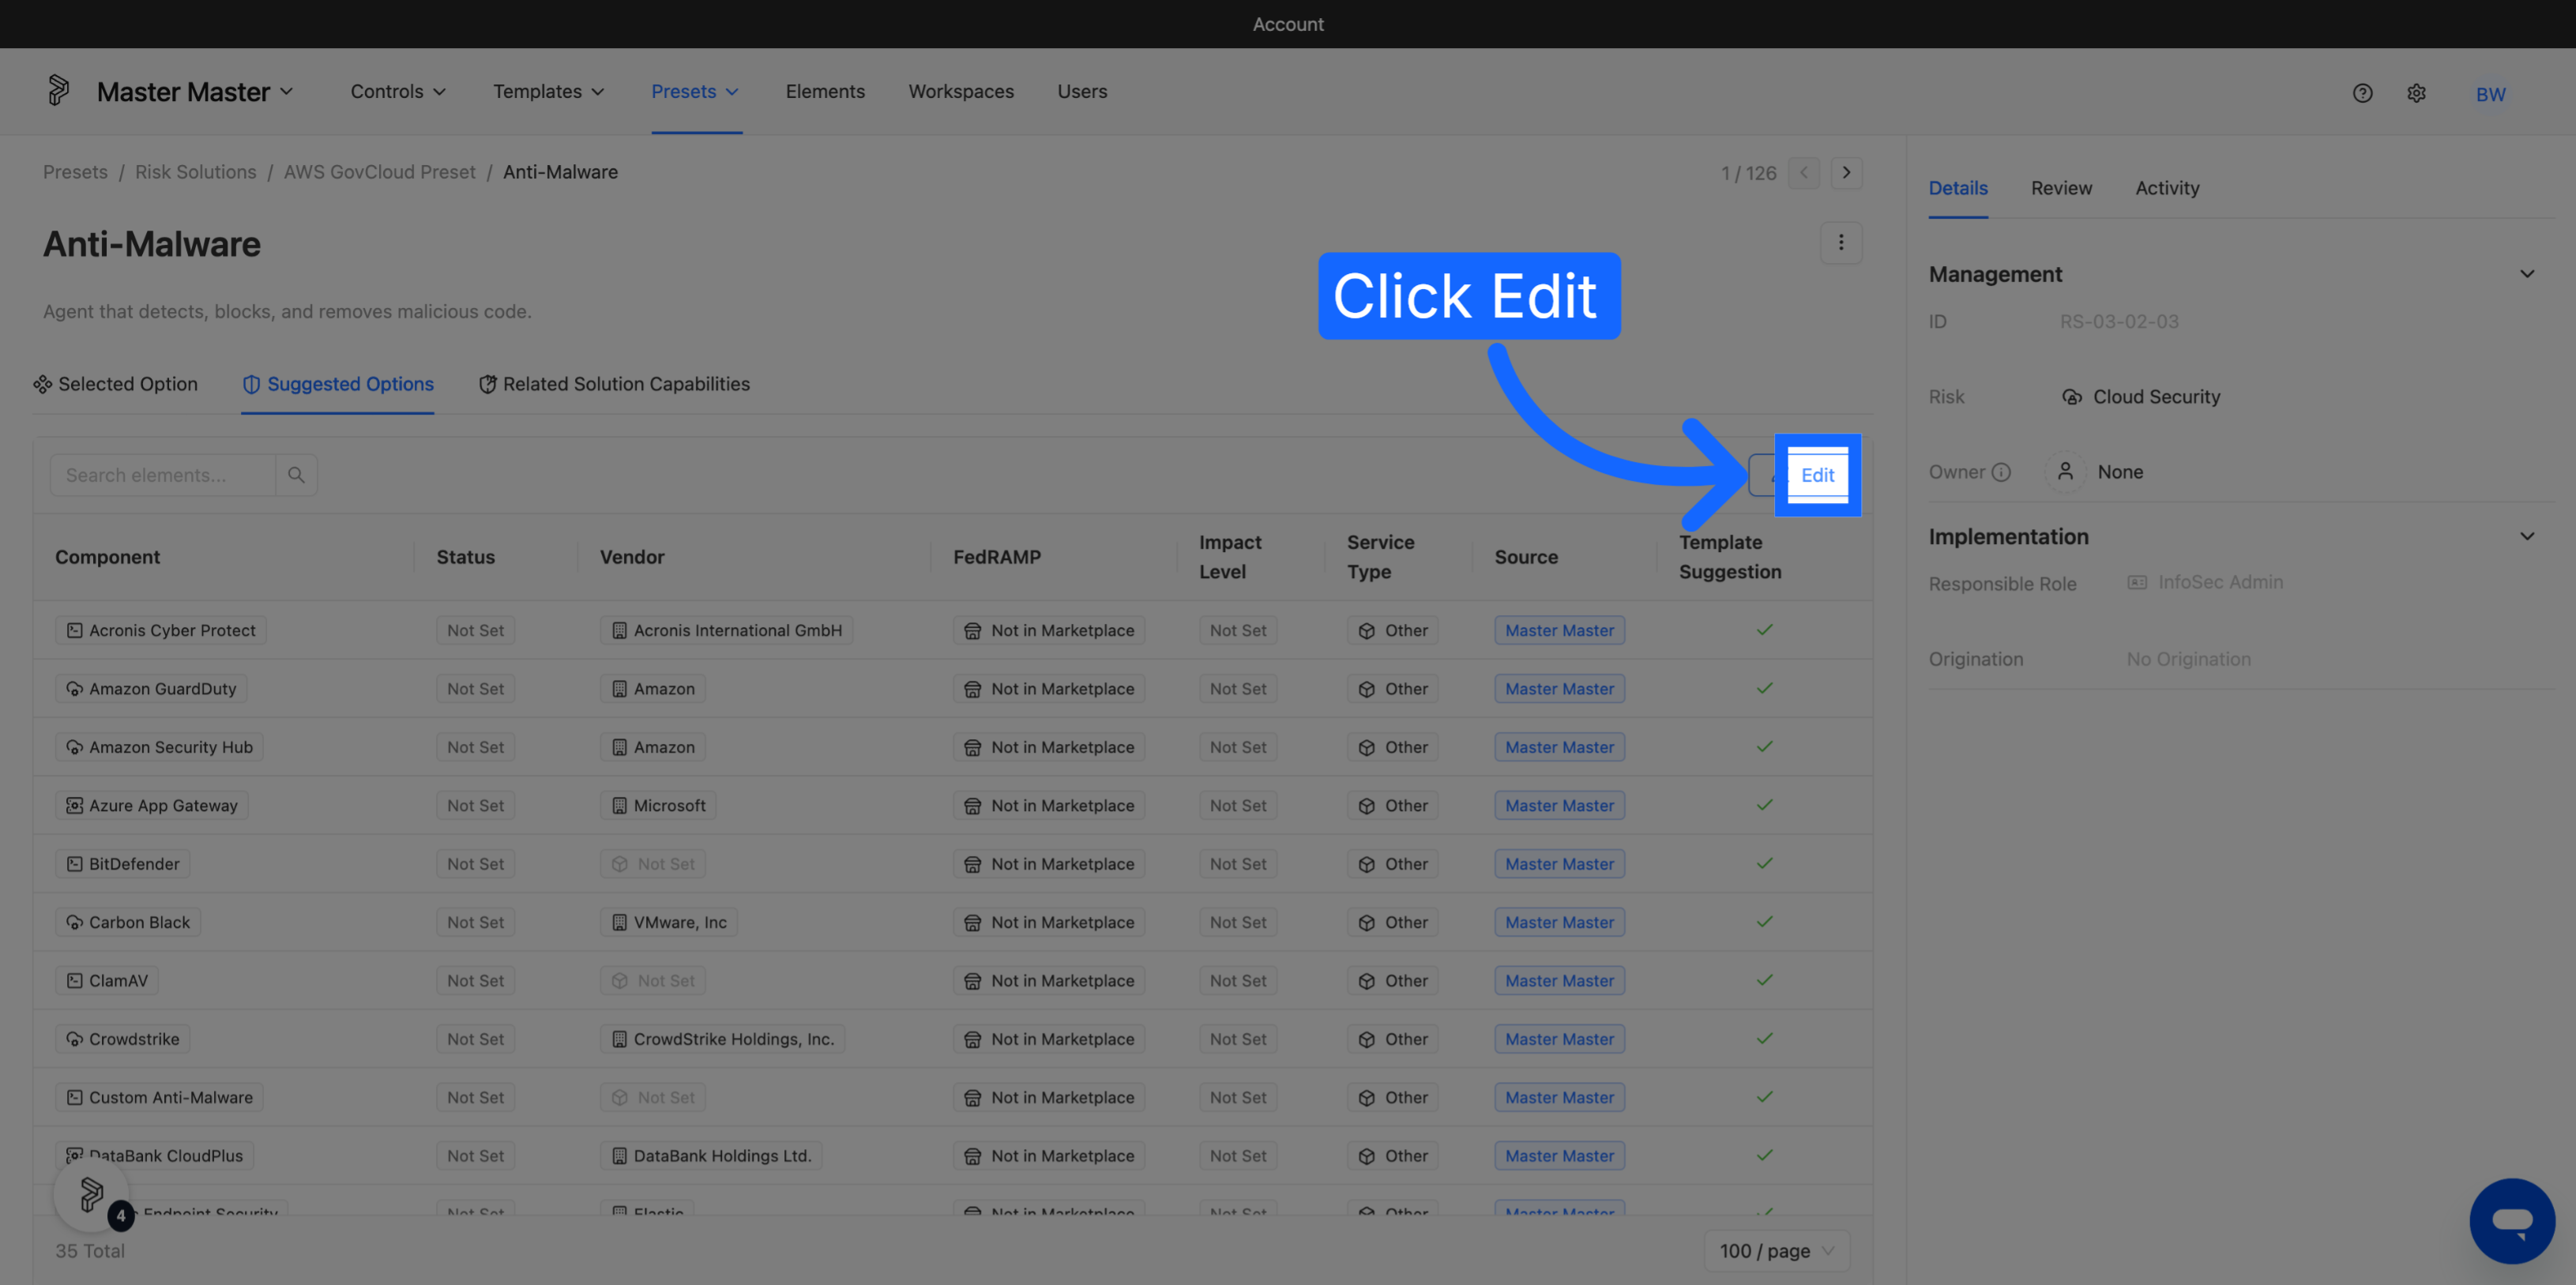
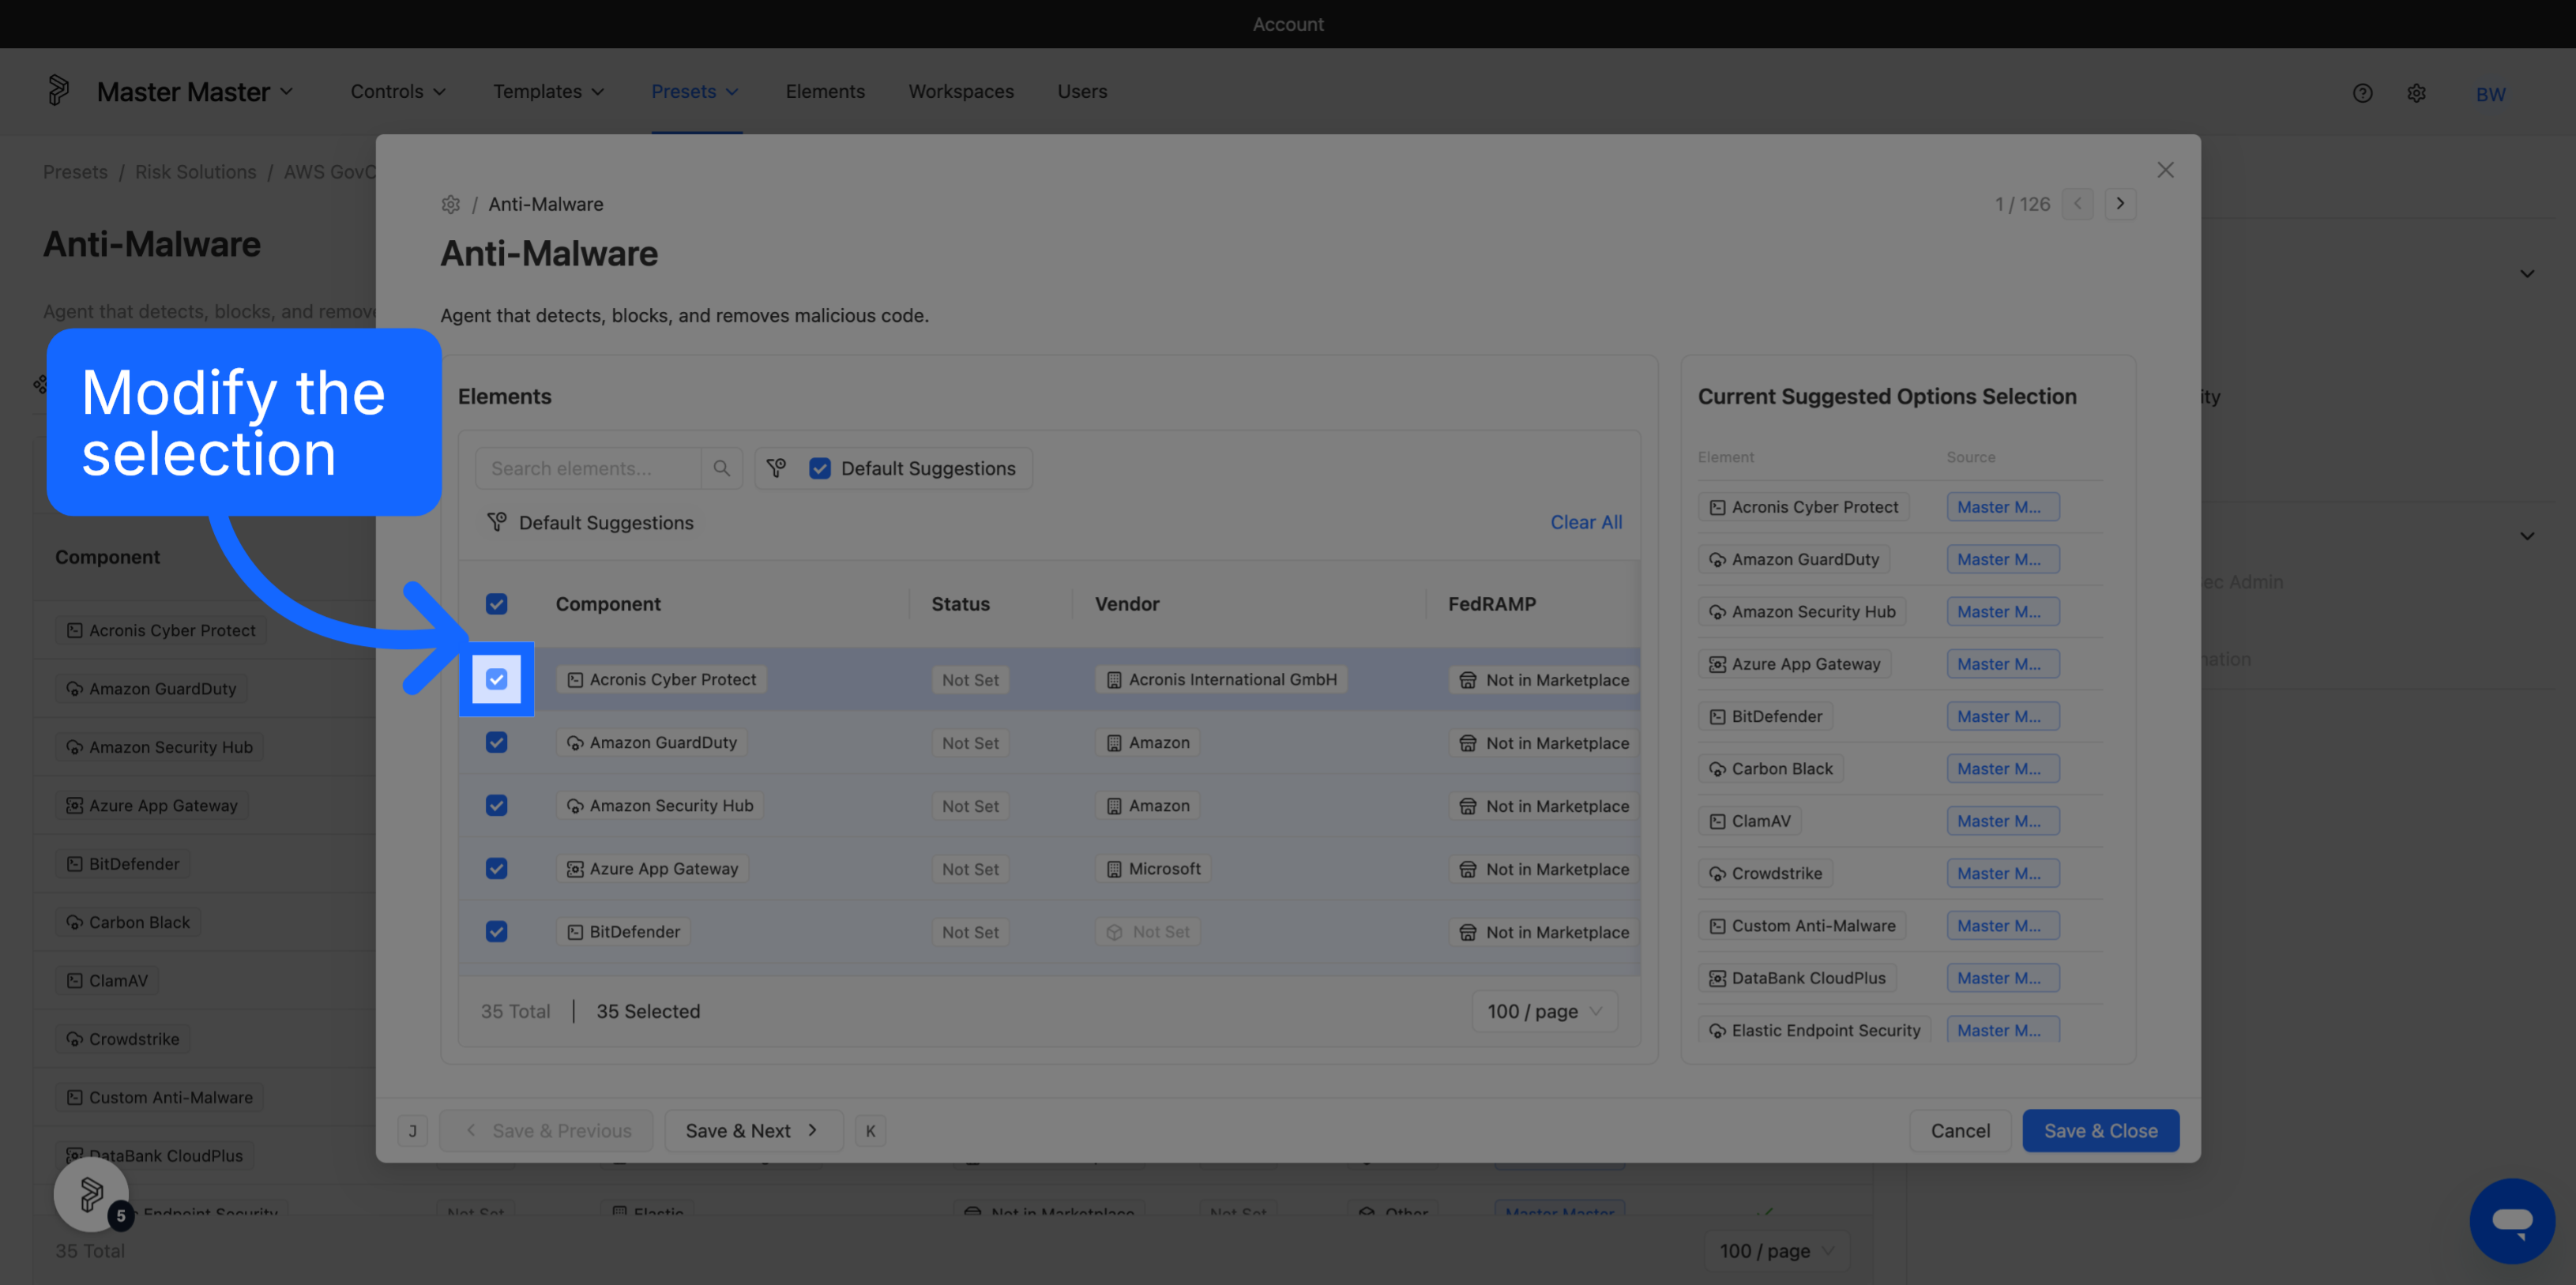
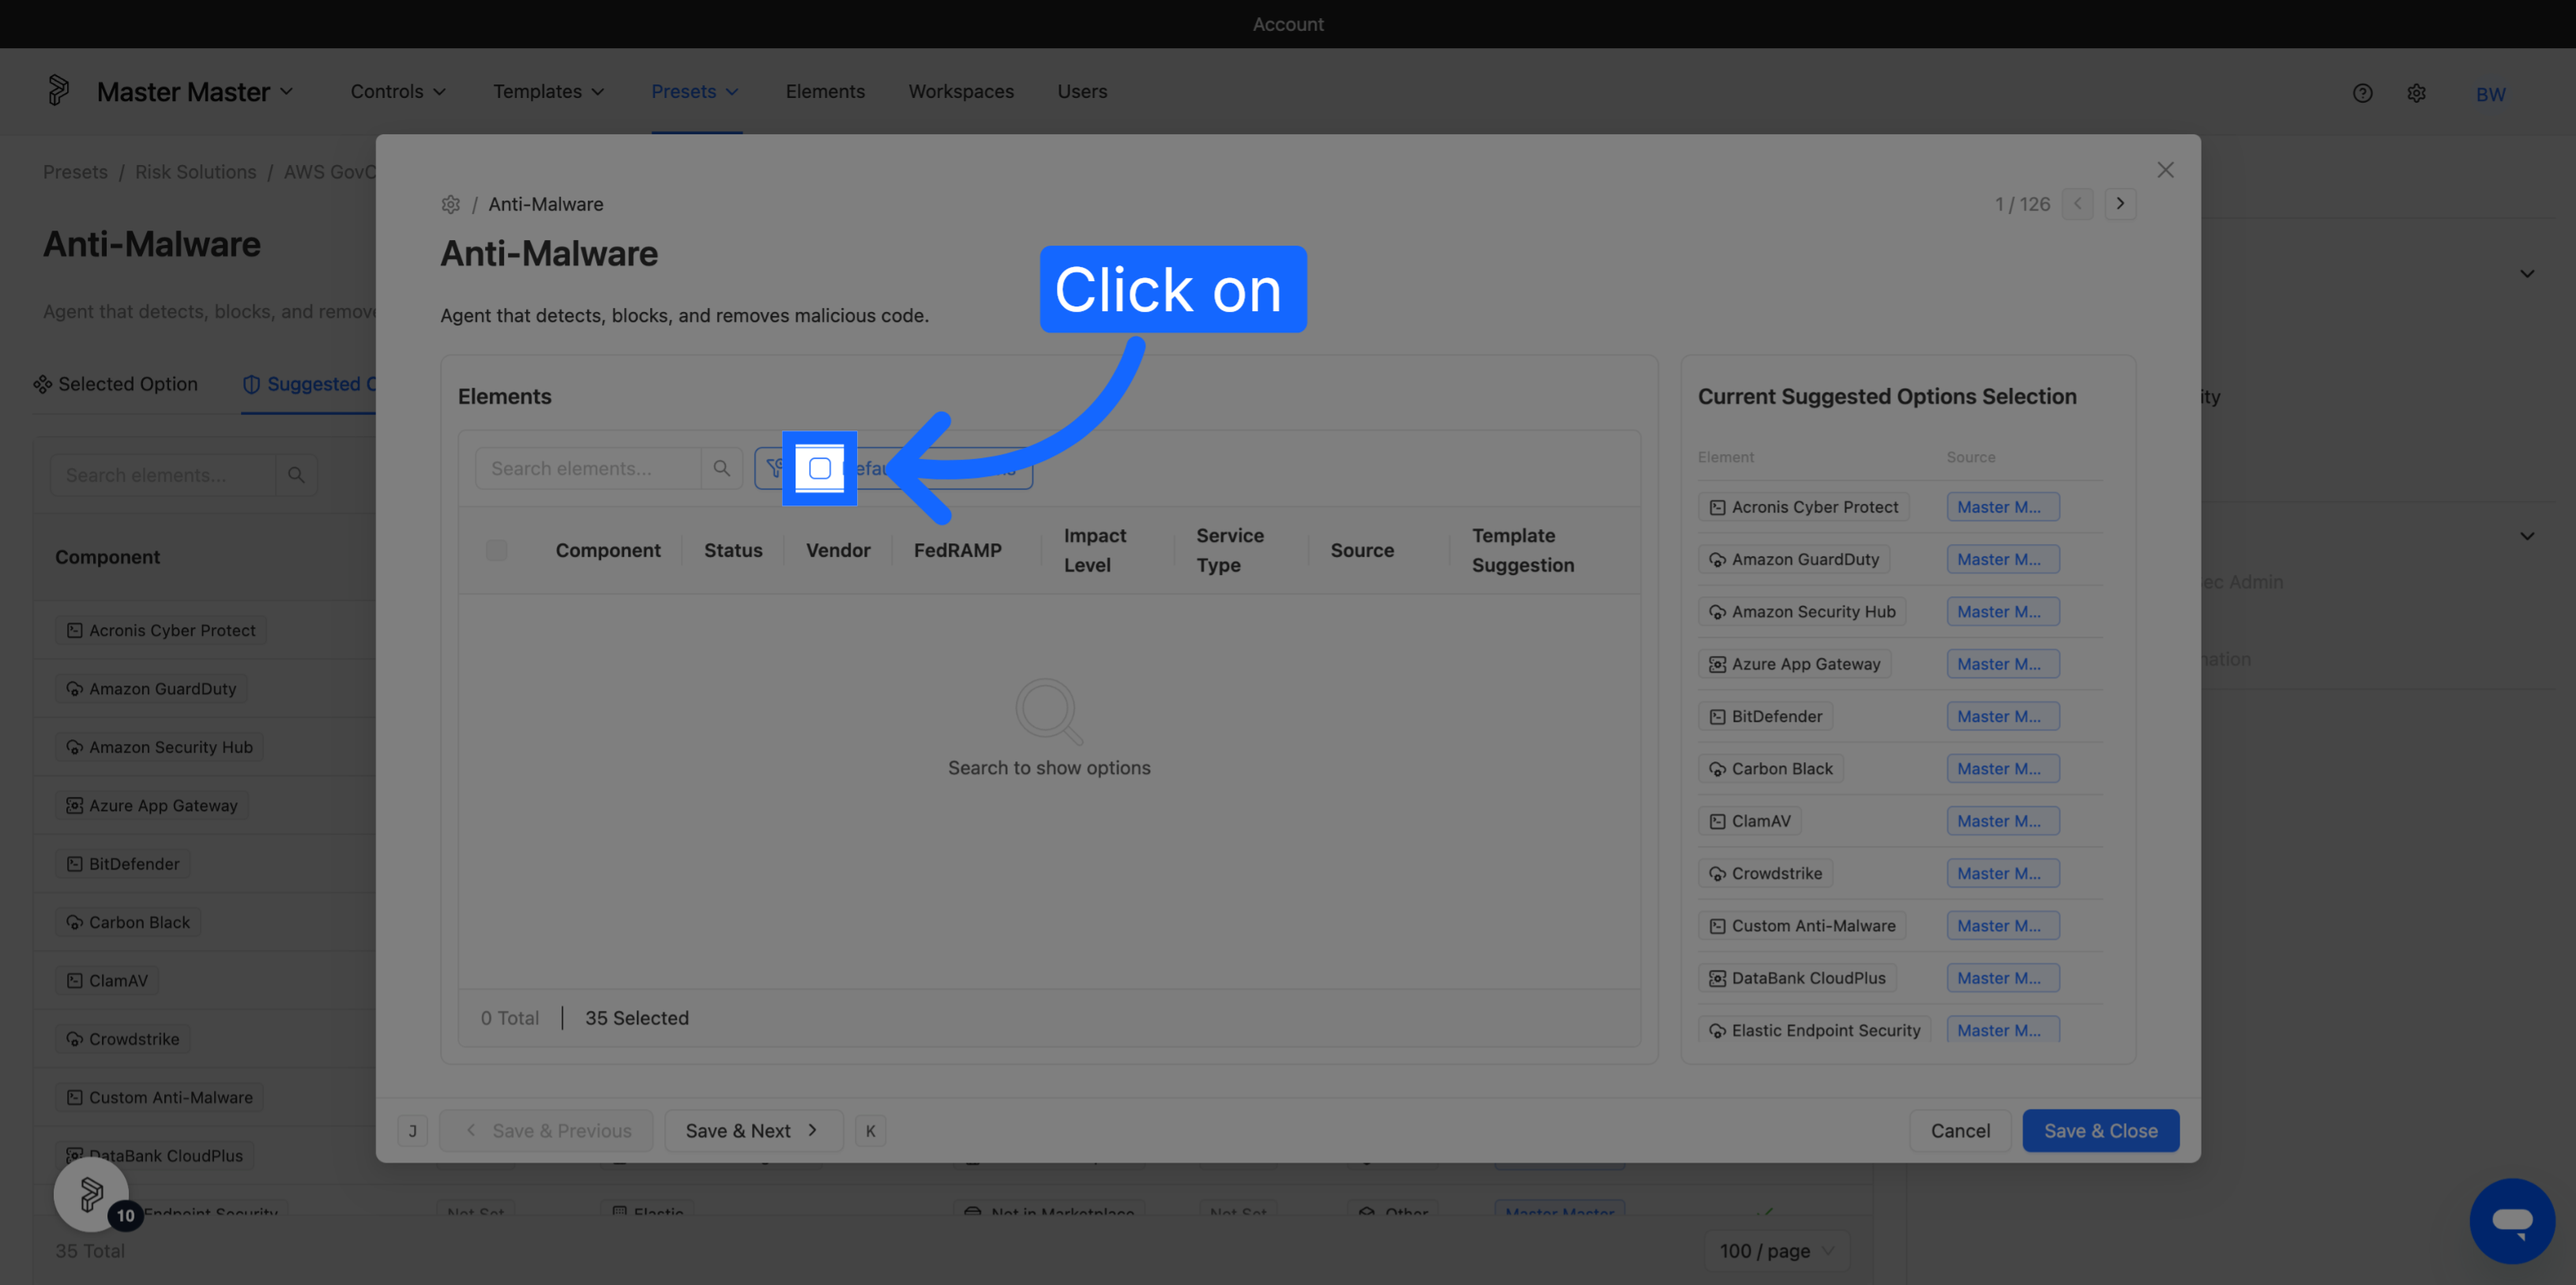
4. Edit Suggested Options for Risk Solution Presets
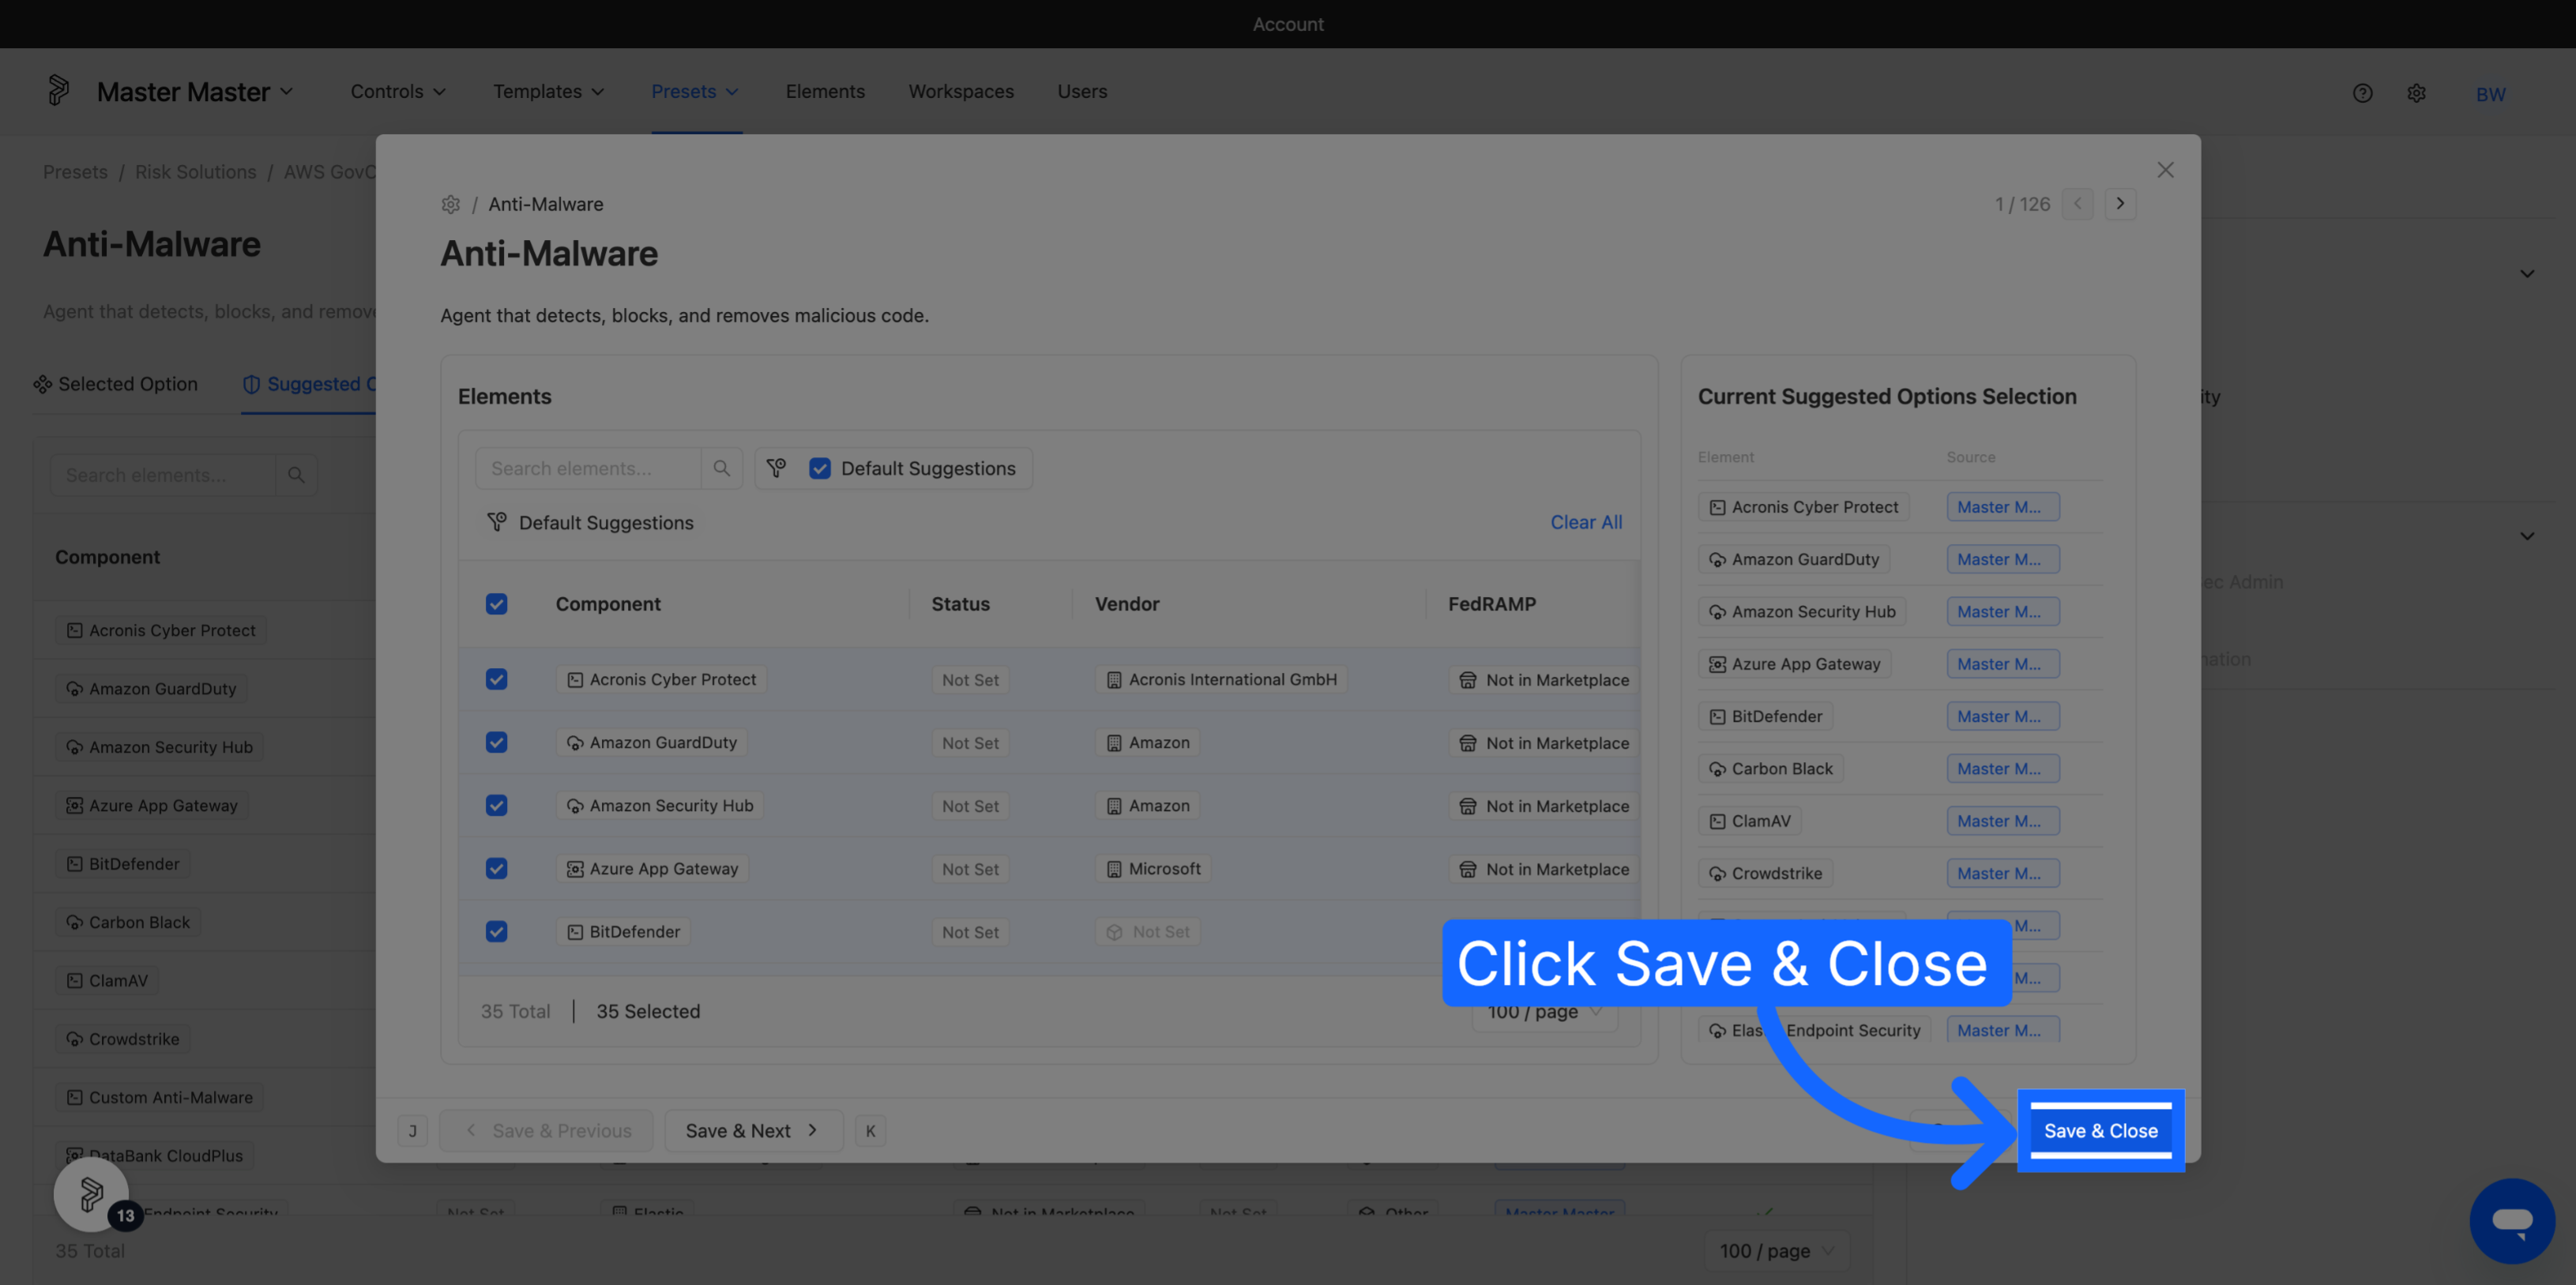
For each Risk Solution Preset, you can modify the suggested options to any technology component you want to. Open your Risk Solution Preset → Suggested Options → Edit, to change your selection.
Give a workspace access
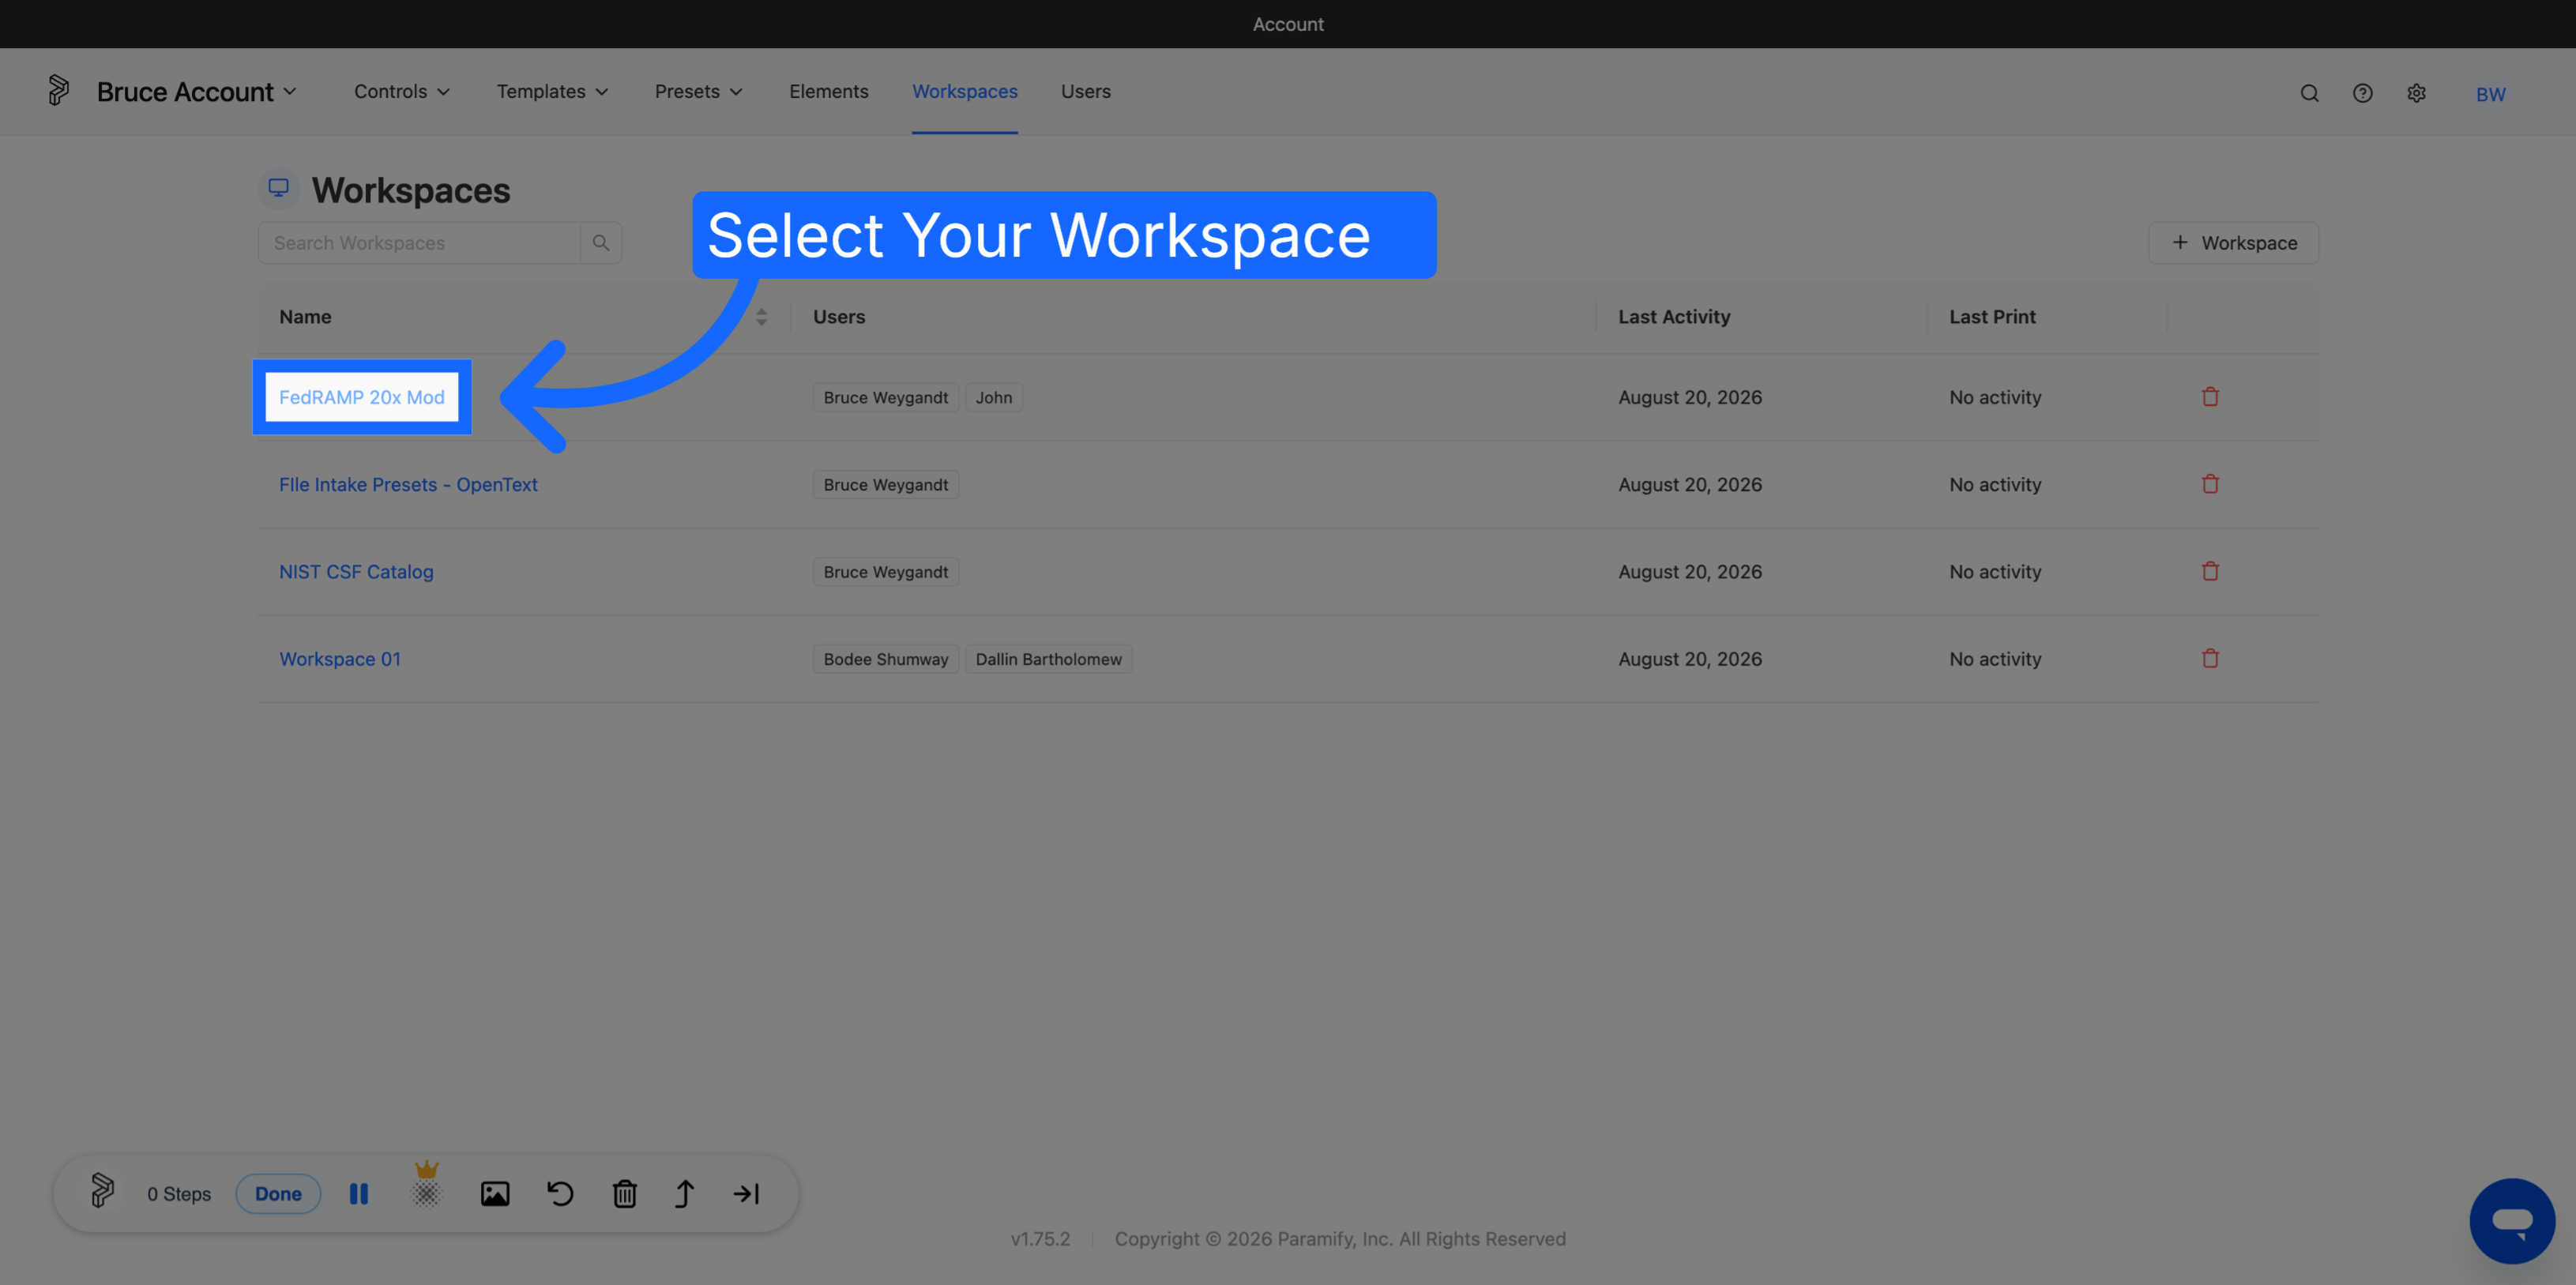
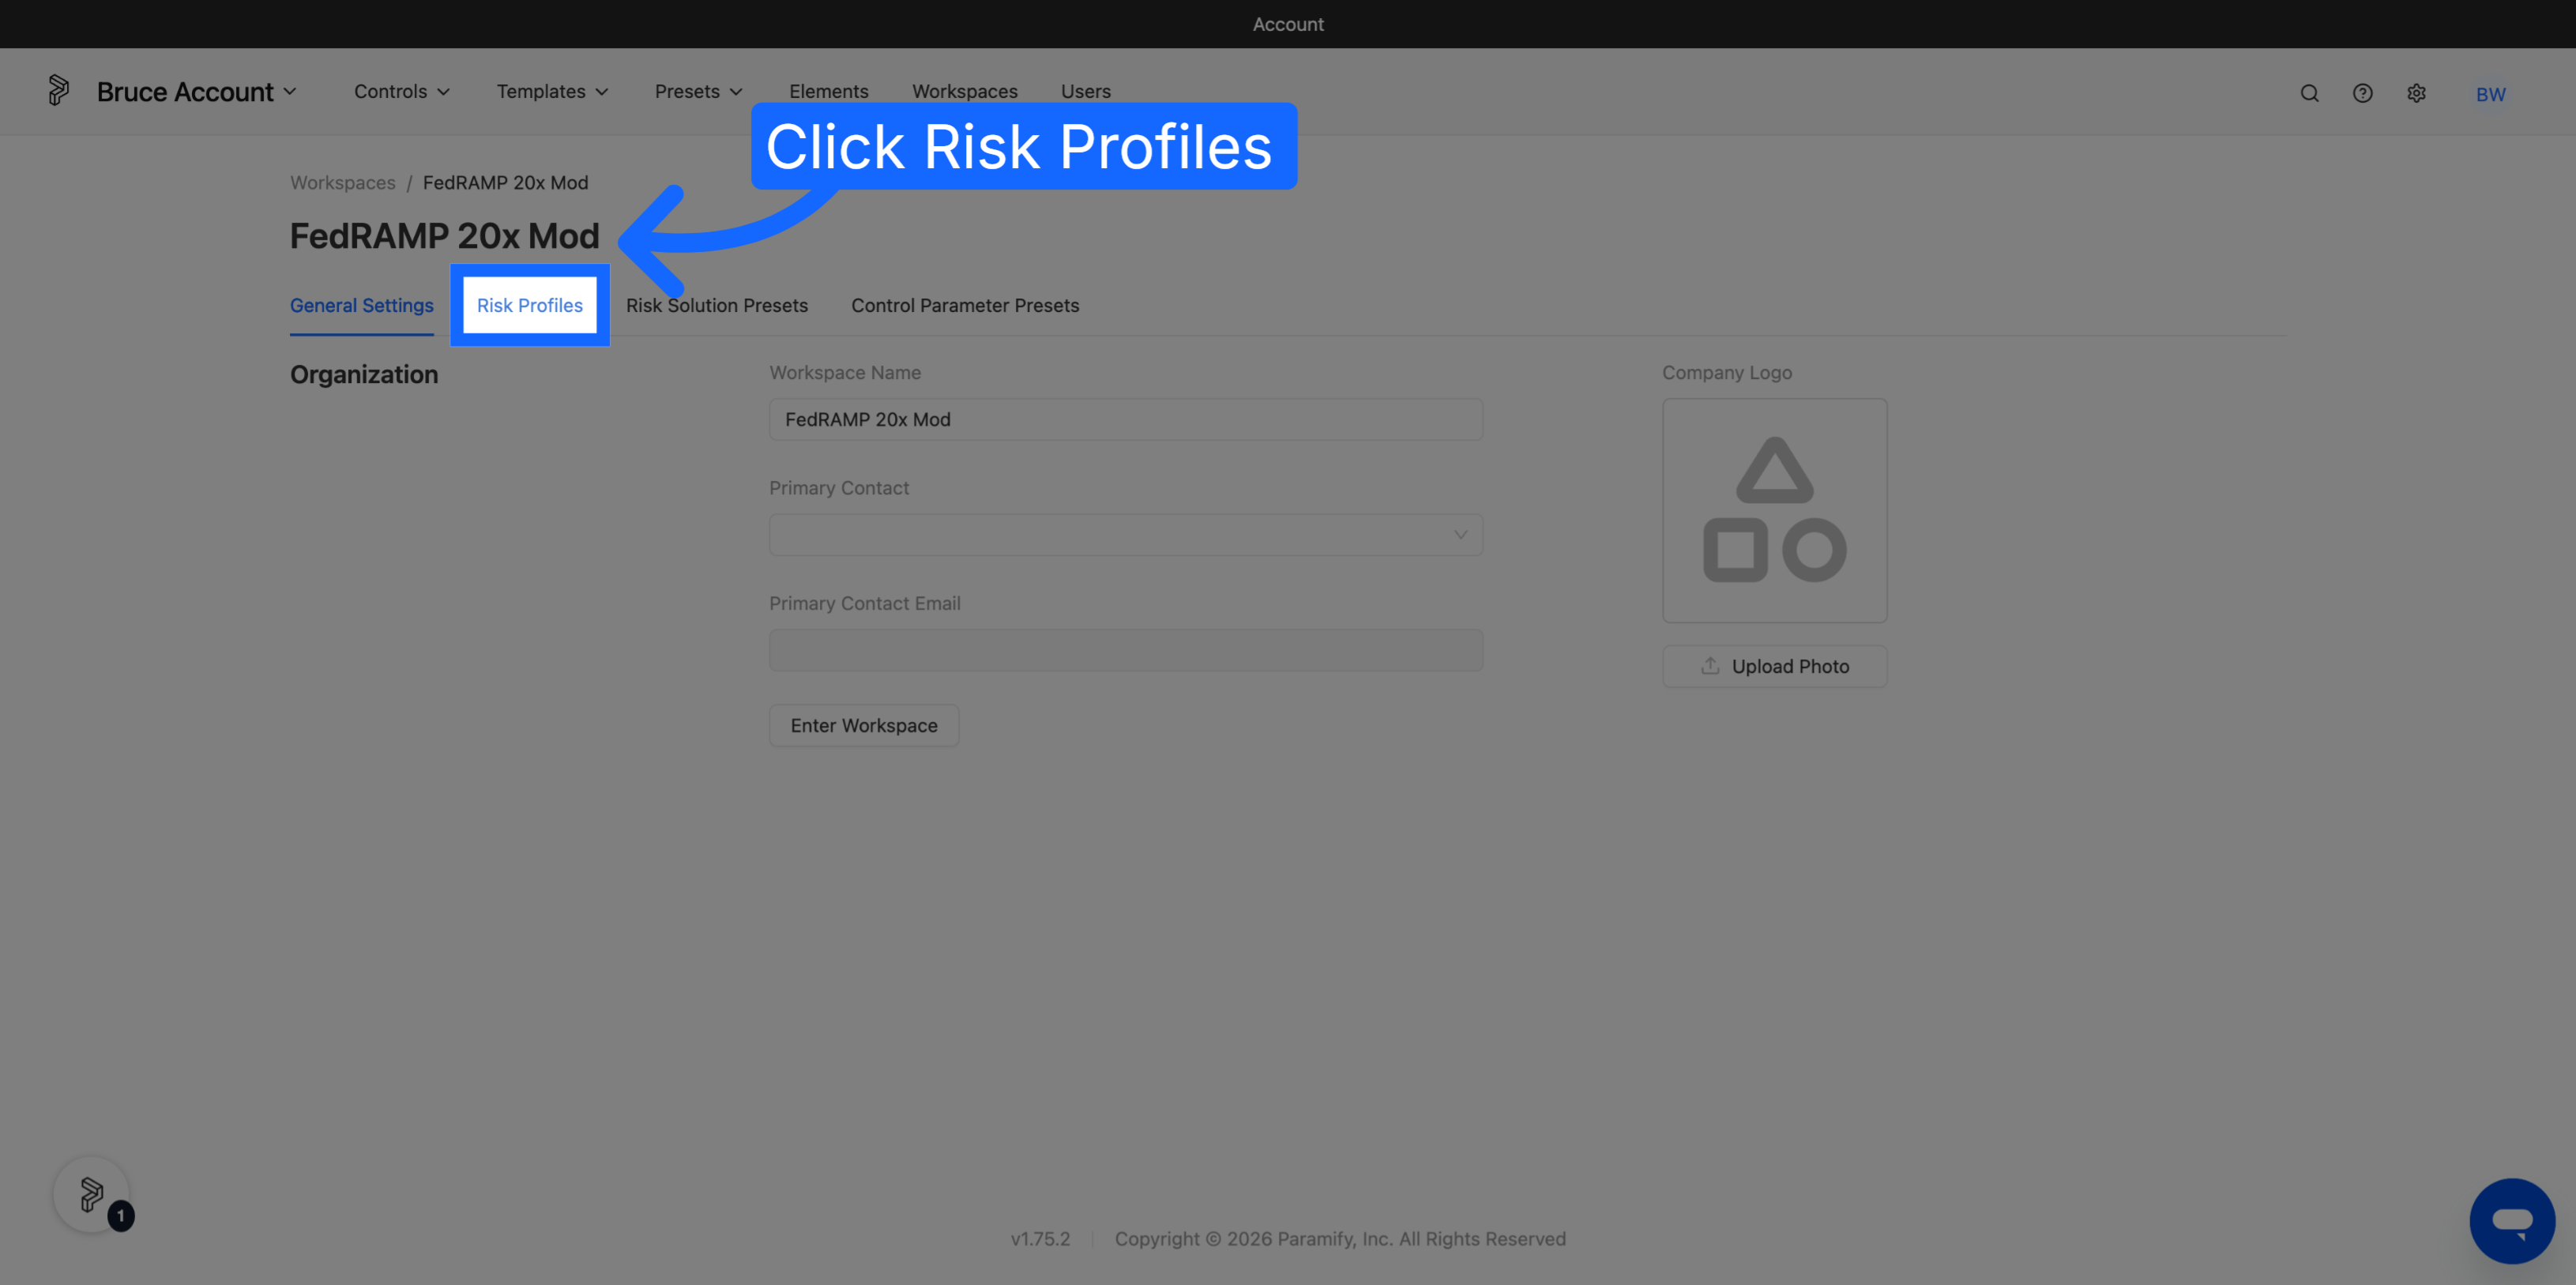
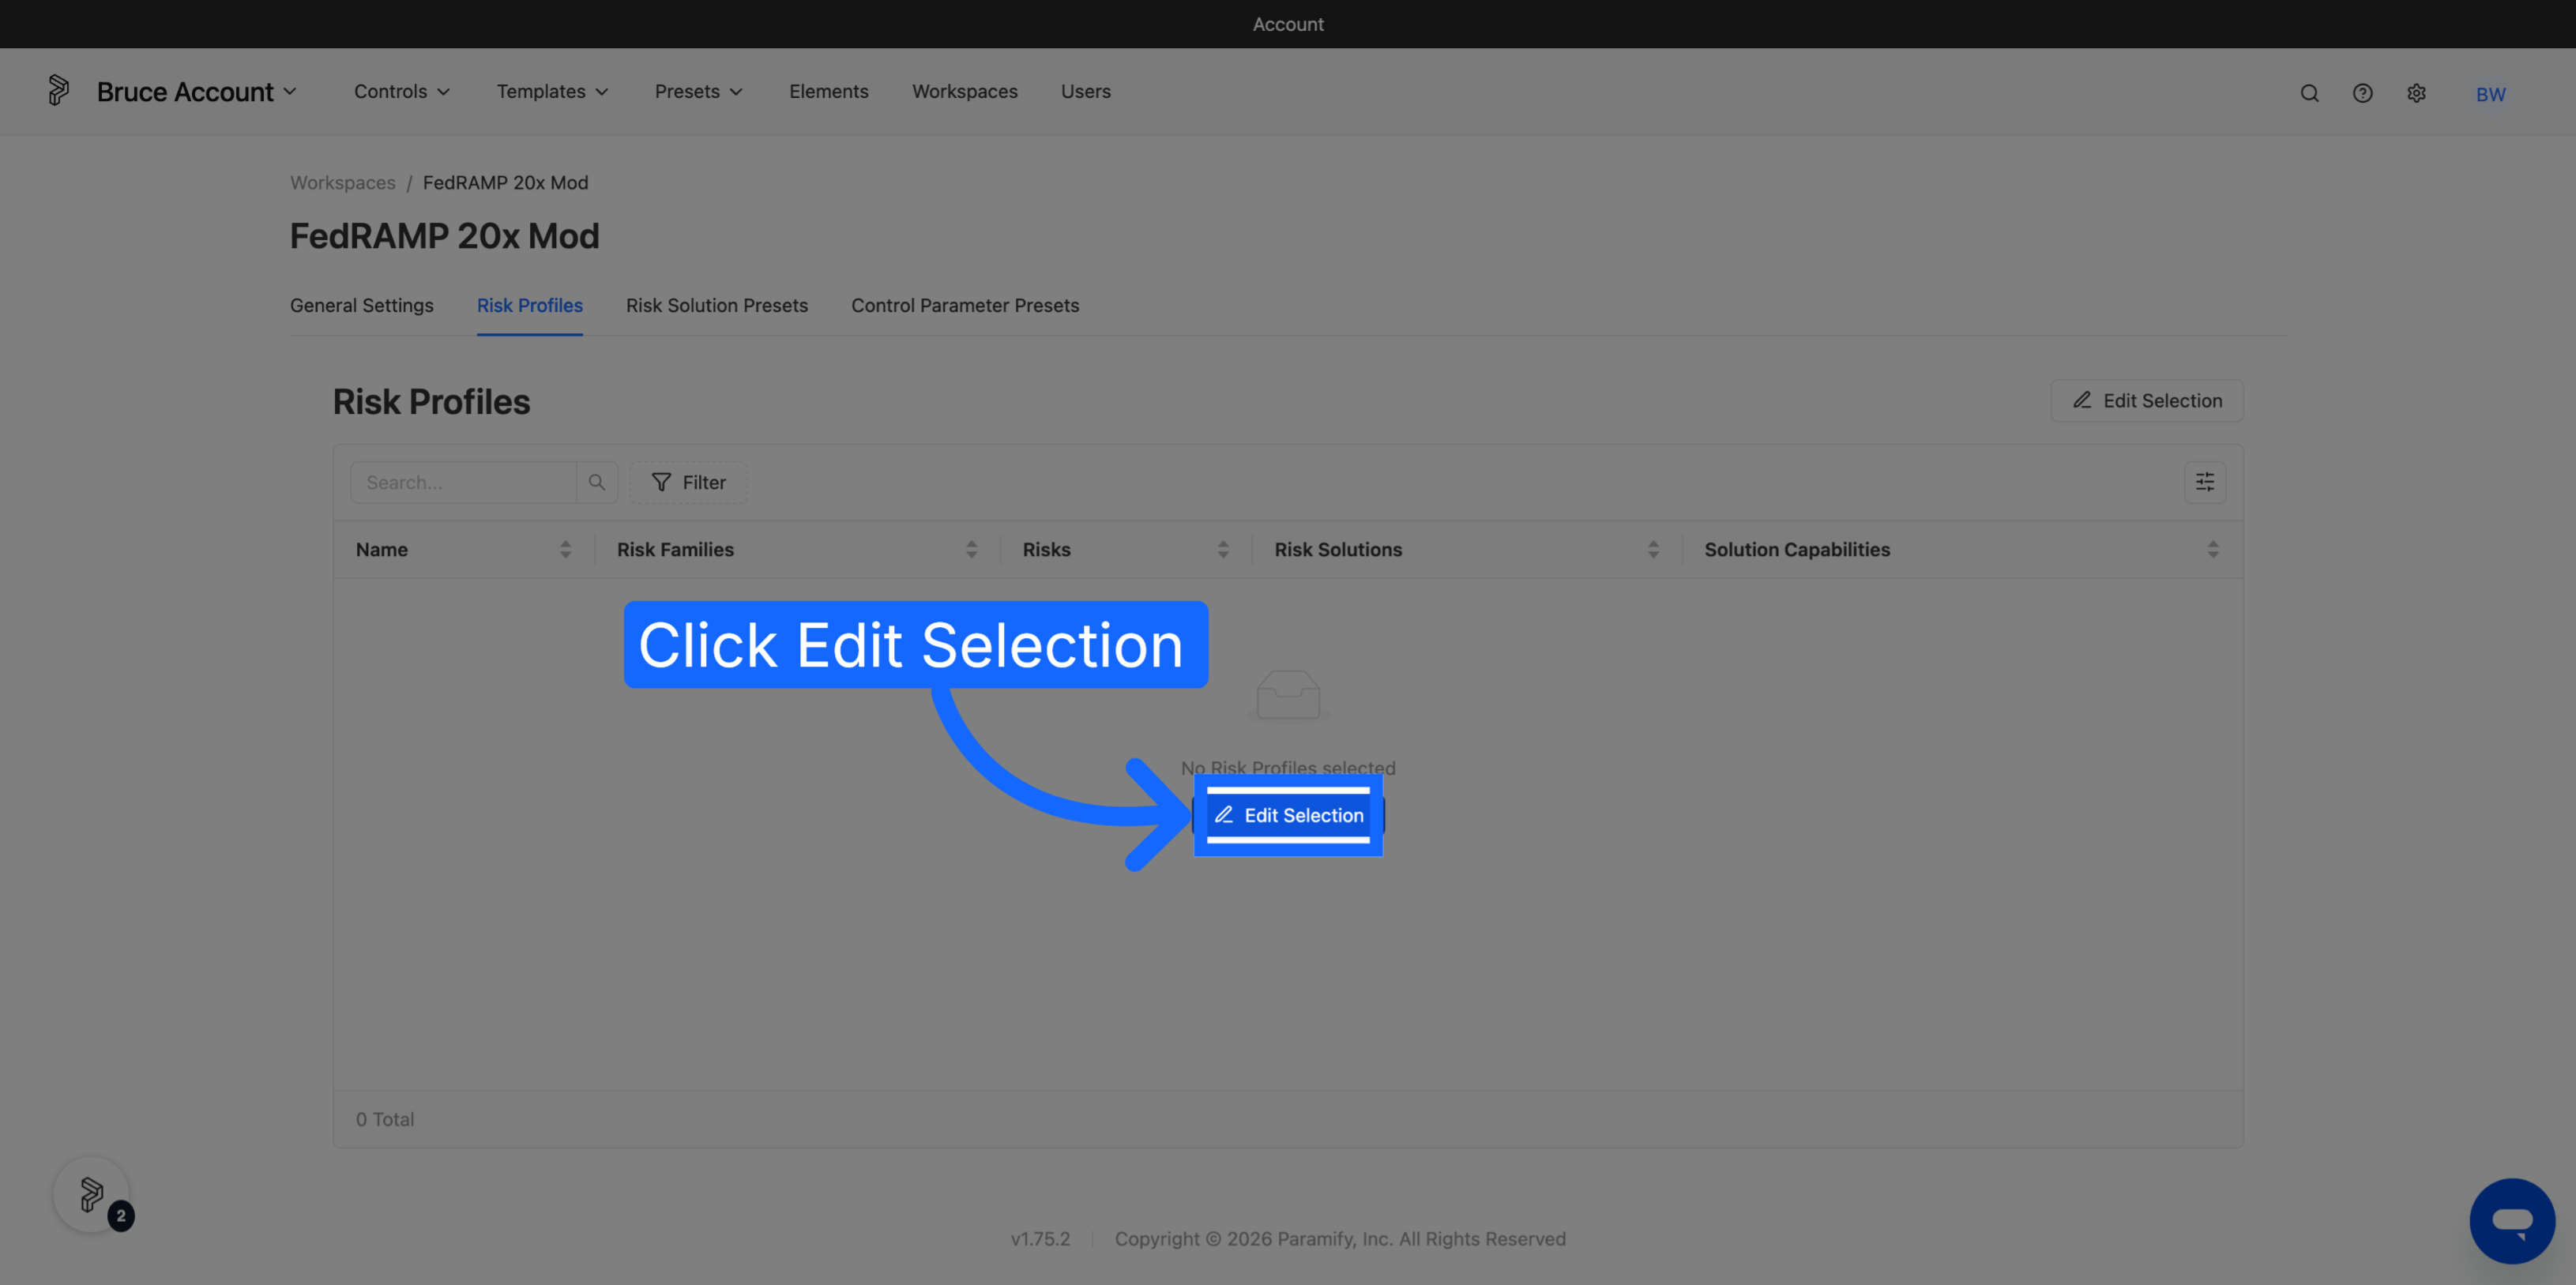
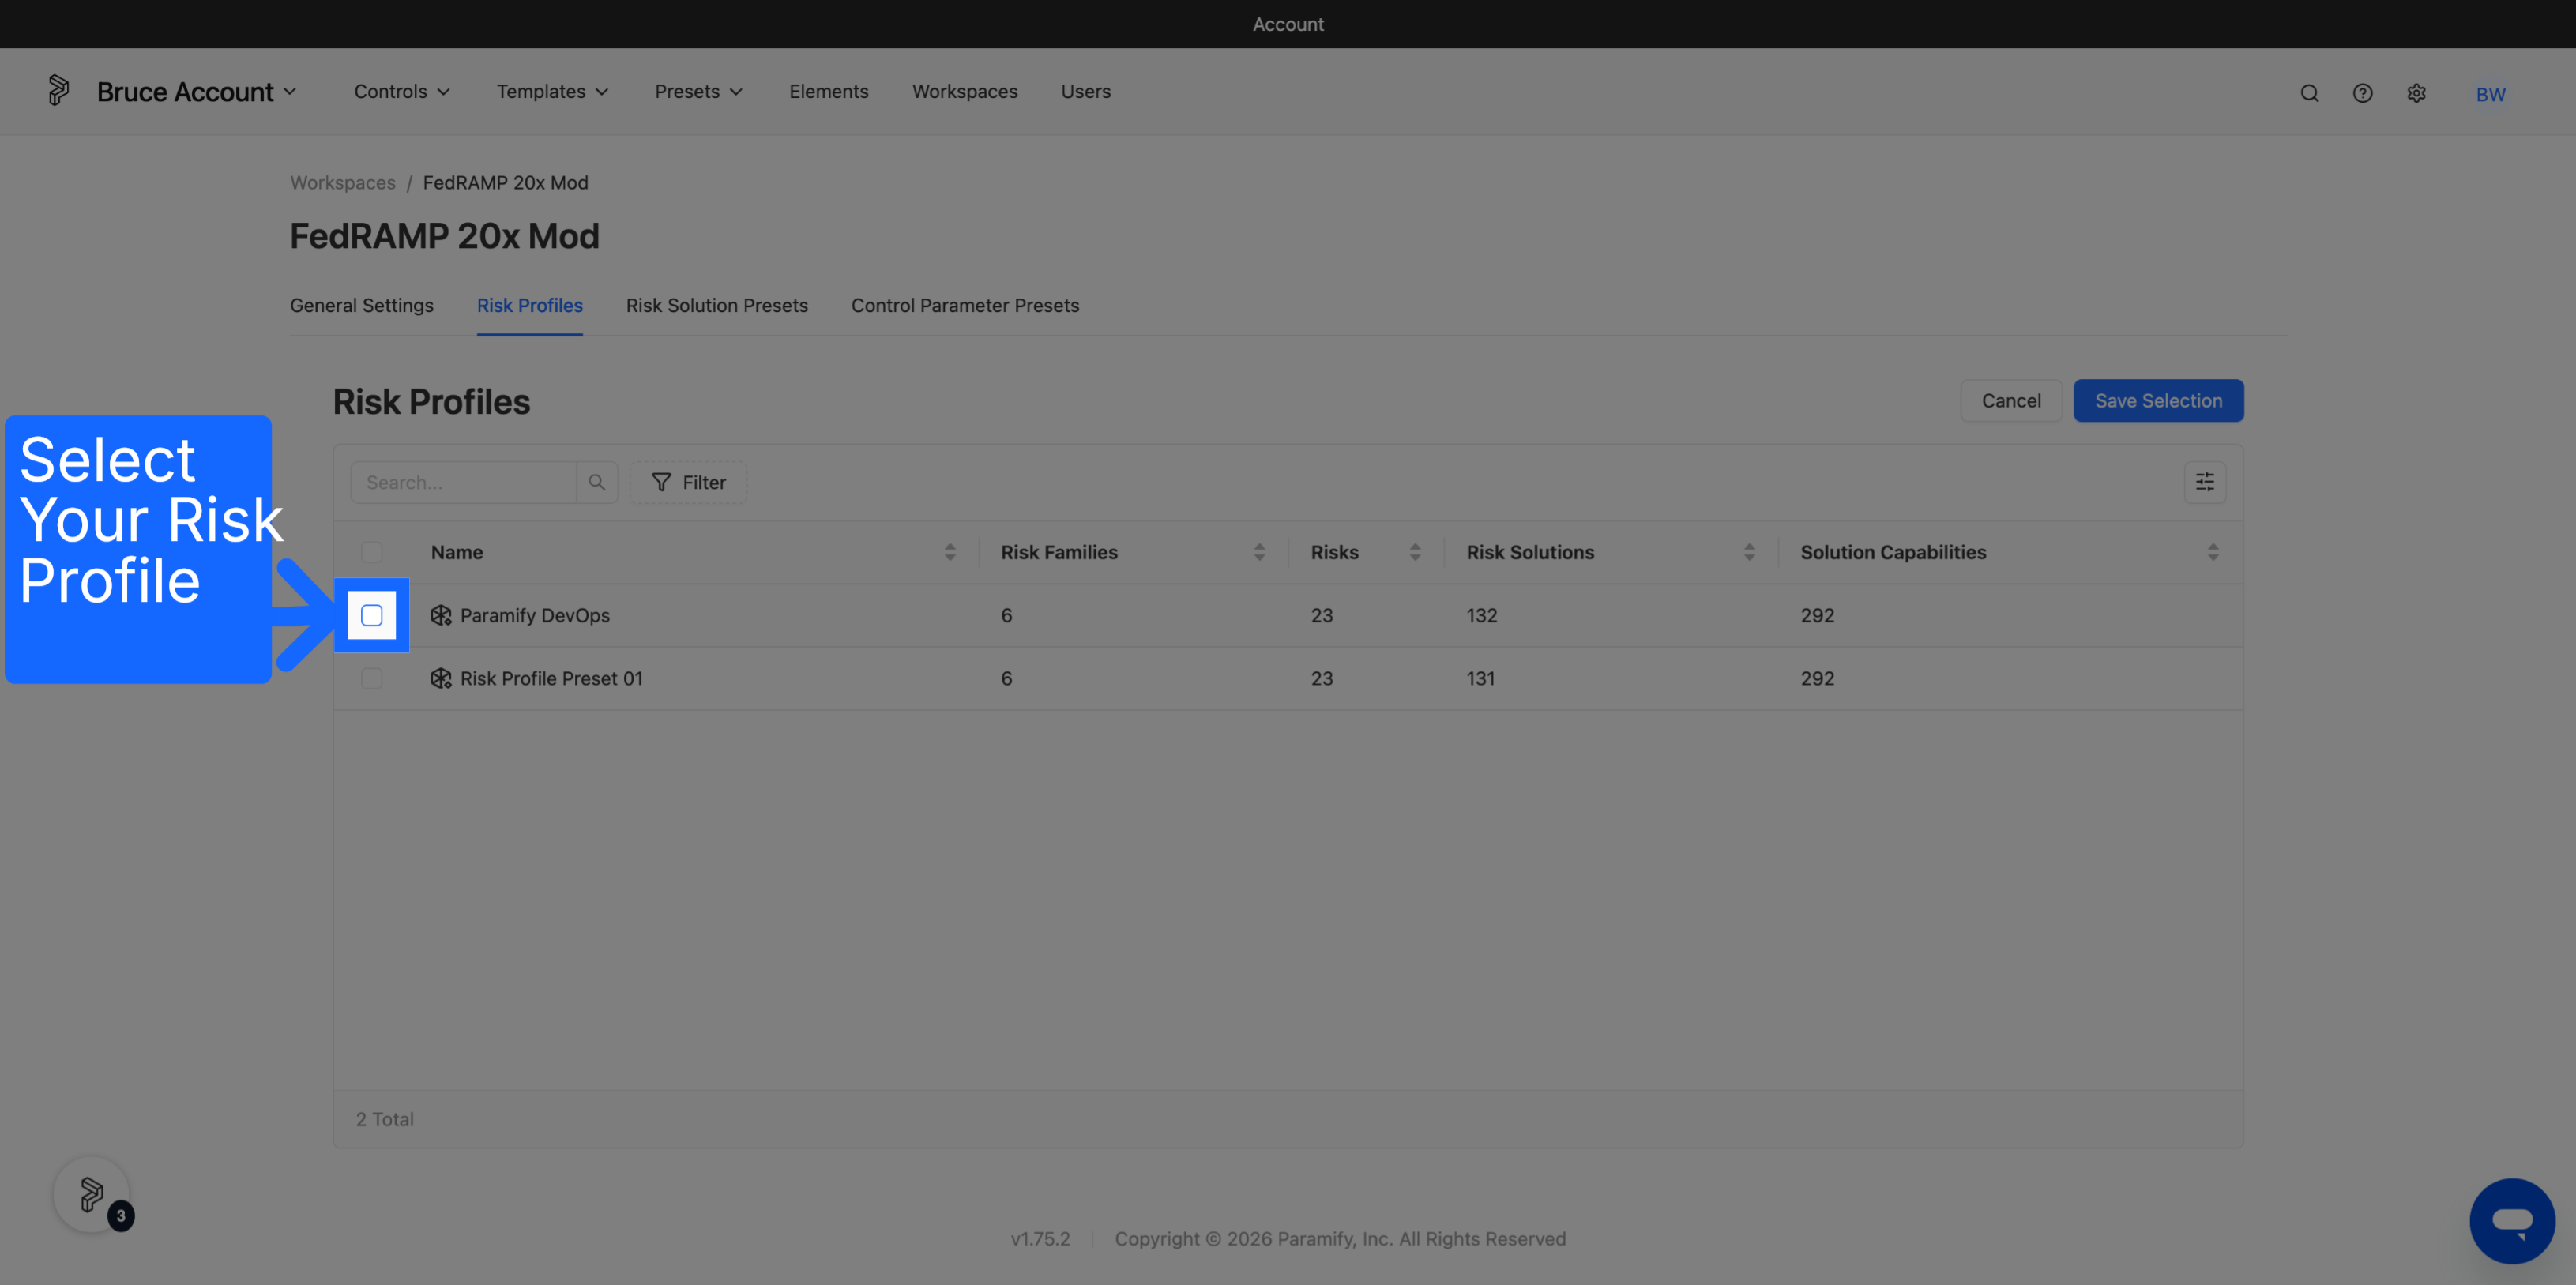
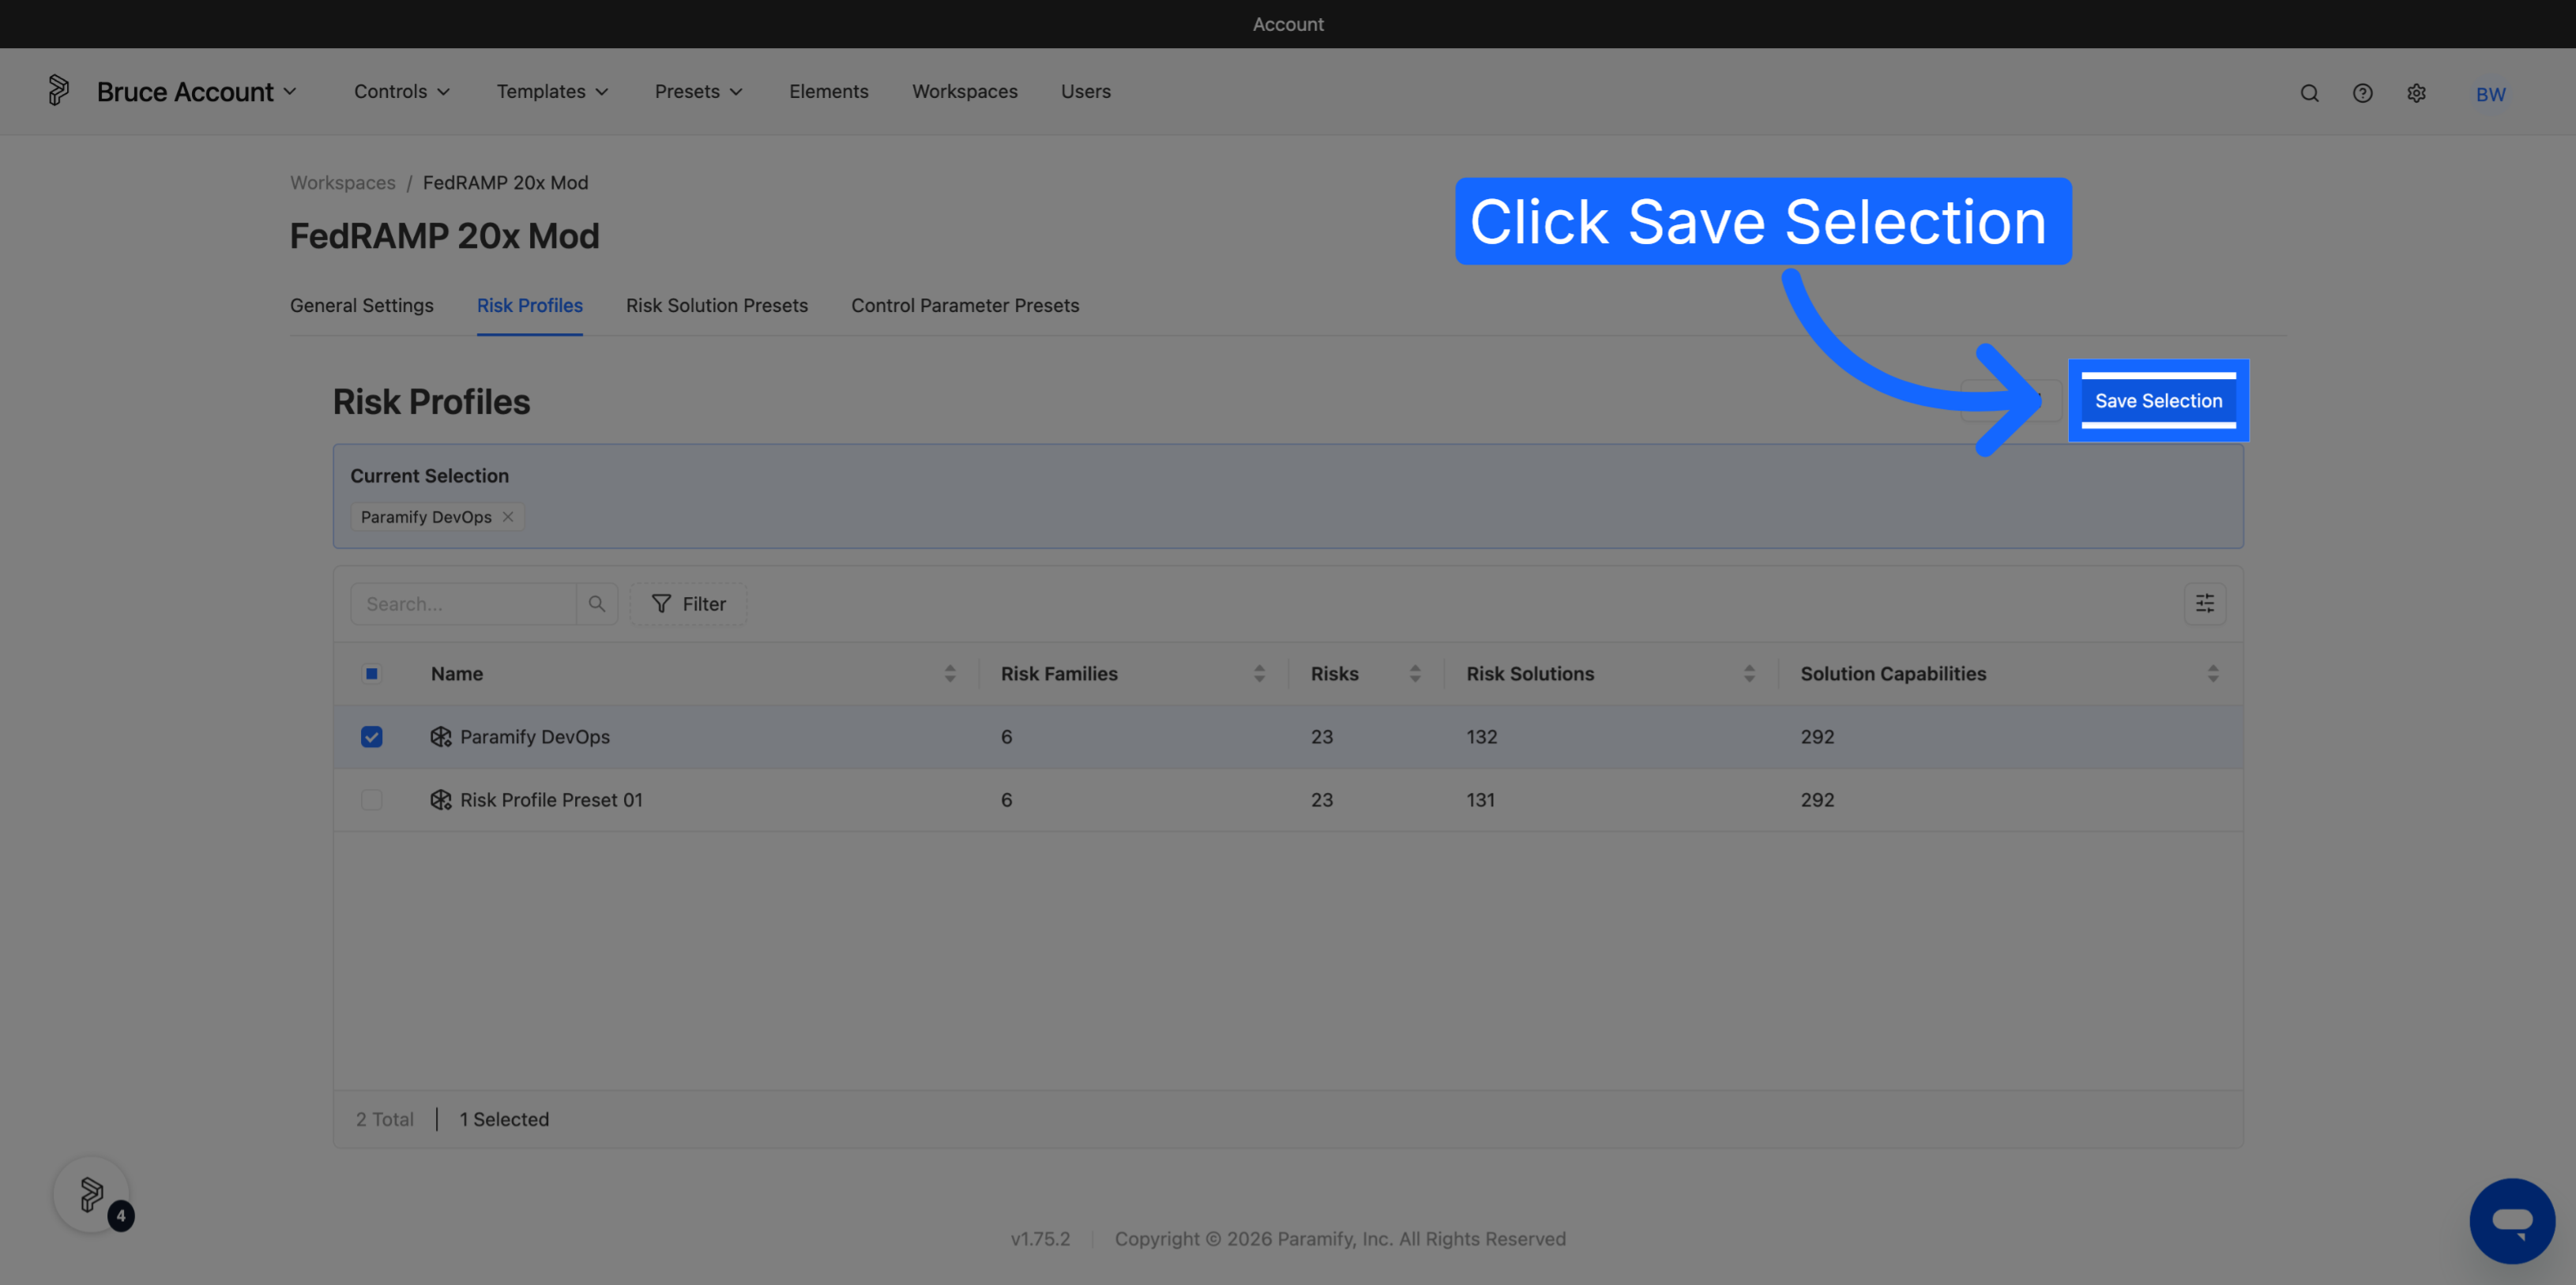
A workspace can only use profiles and presets it has been granted access to. In the account admin, open Workspace Settings → Risk Profiles and grant the workspace access to the profile, then do the same for the Risk Solution Preset.
TIP
You can also select Risk Profiles and Risk Solution Presets directly in the Create Workspace modal, so a new workspace has access from the moment it is created.
Apply a profile and presets to a stack
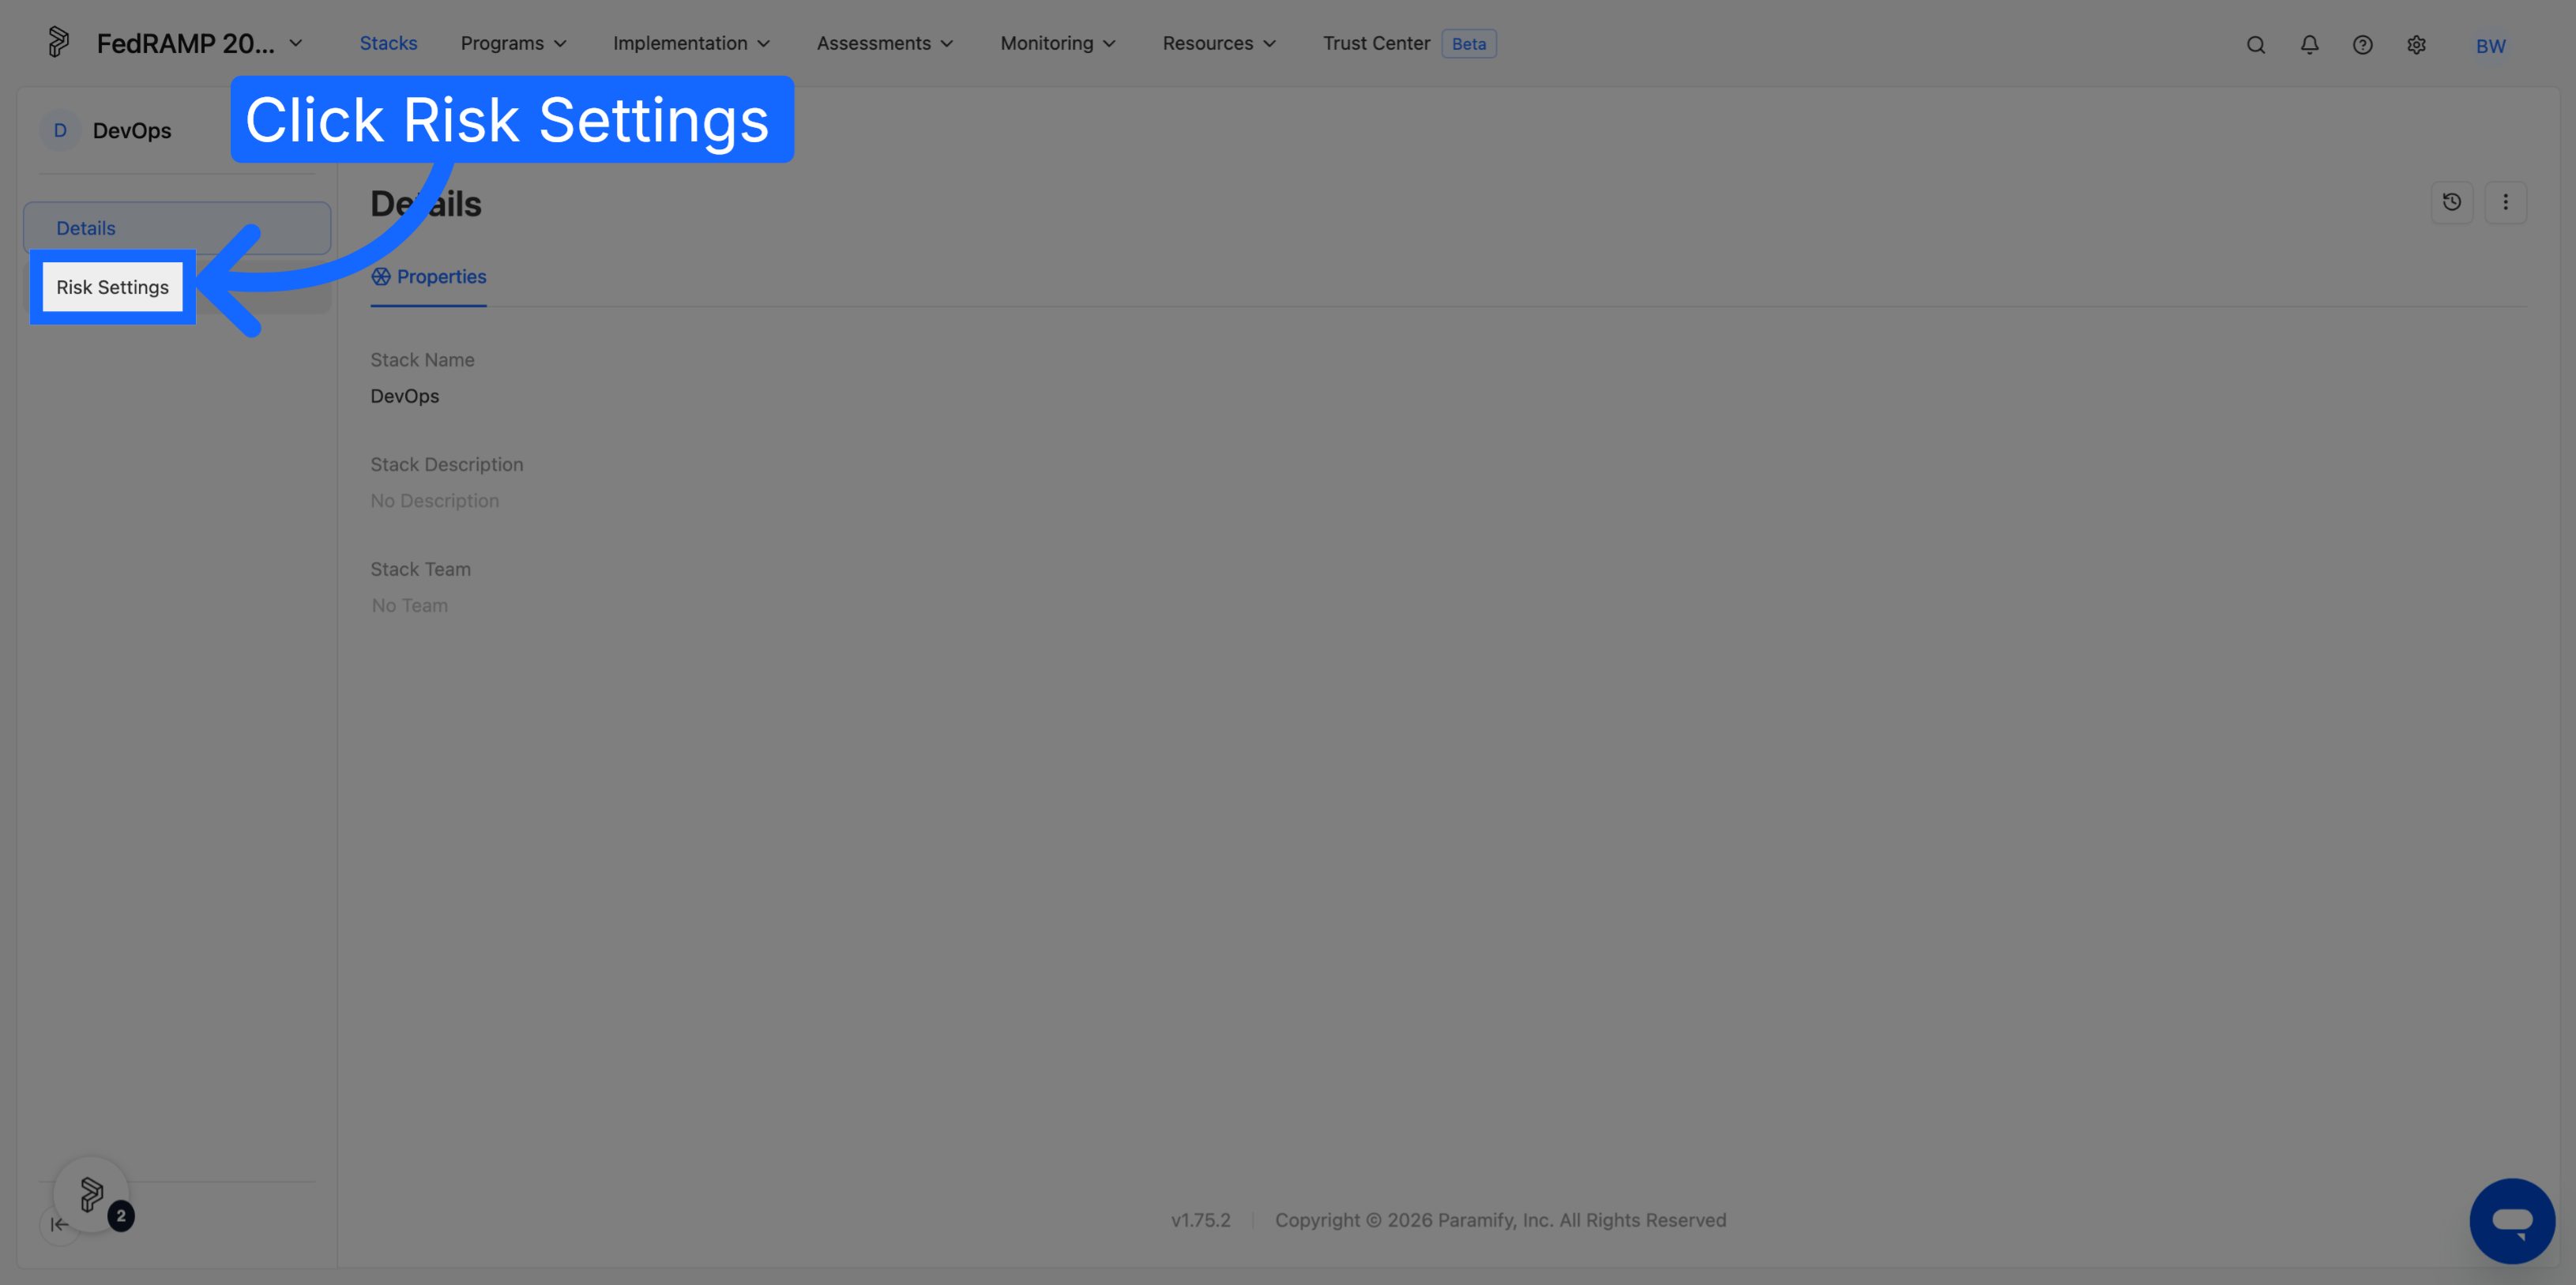
1. Open the stack's Risk Settings
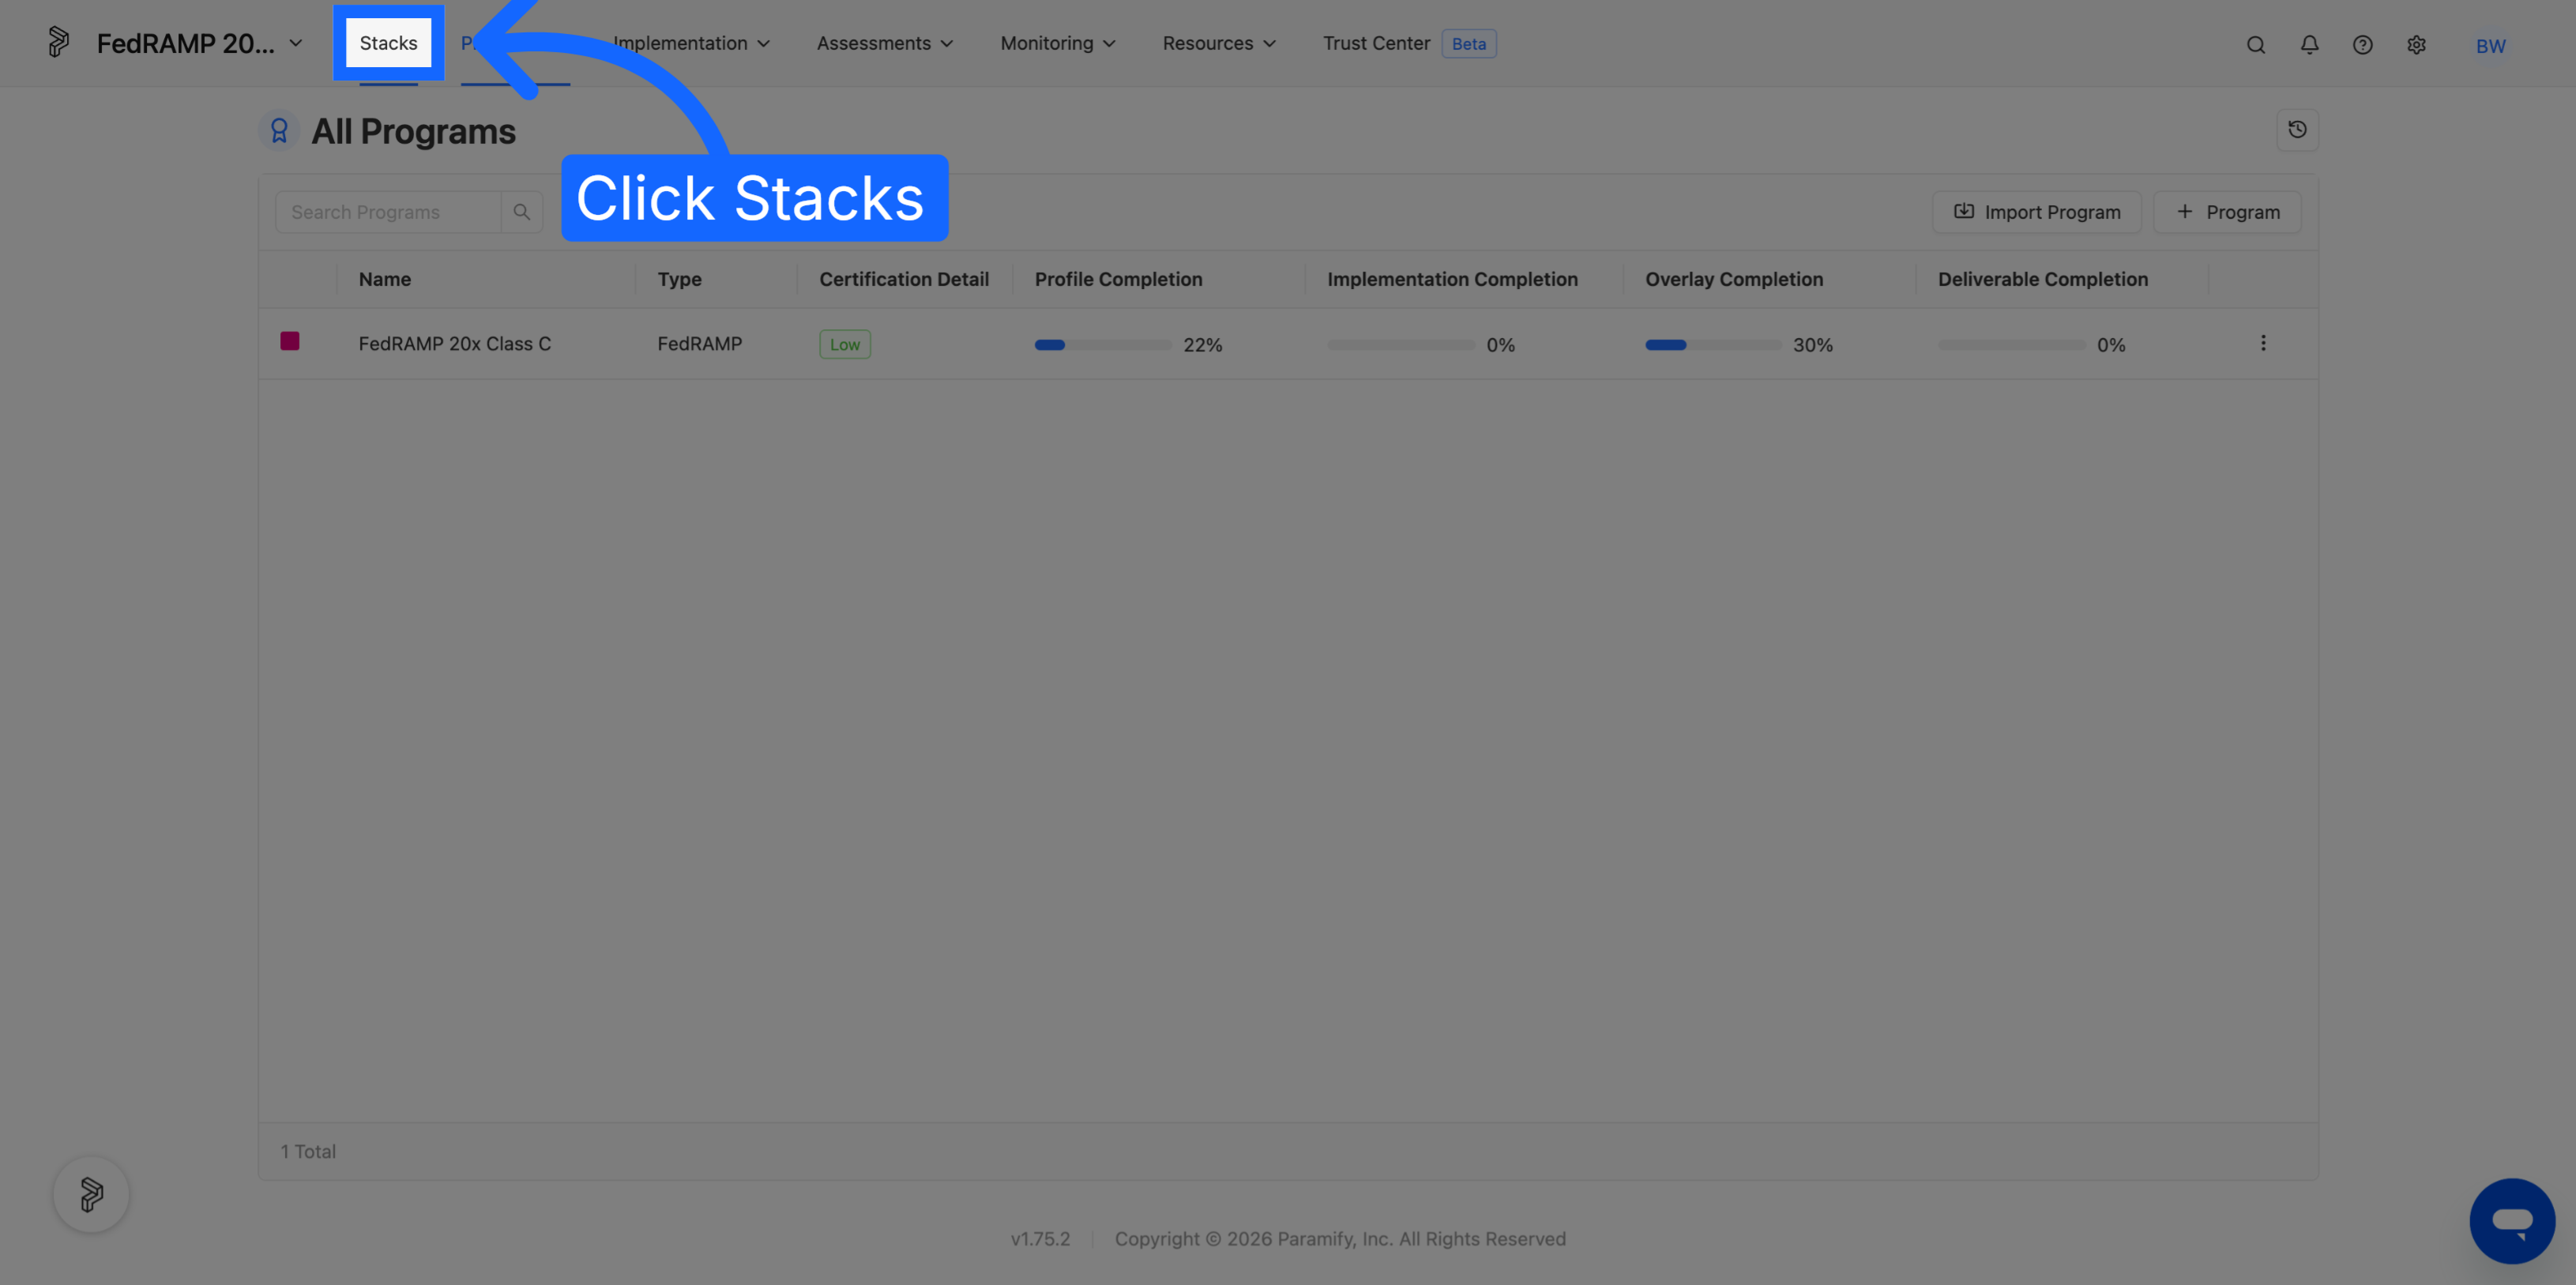
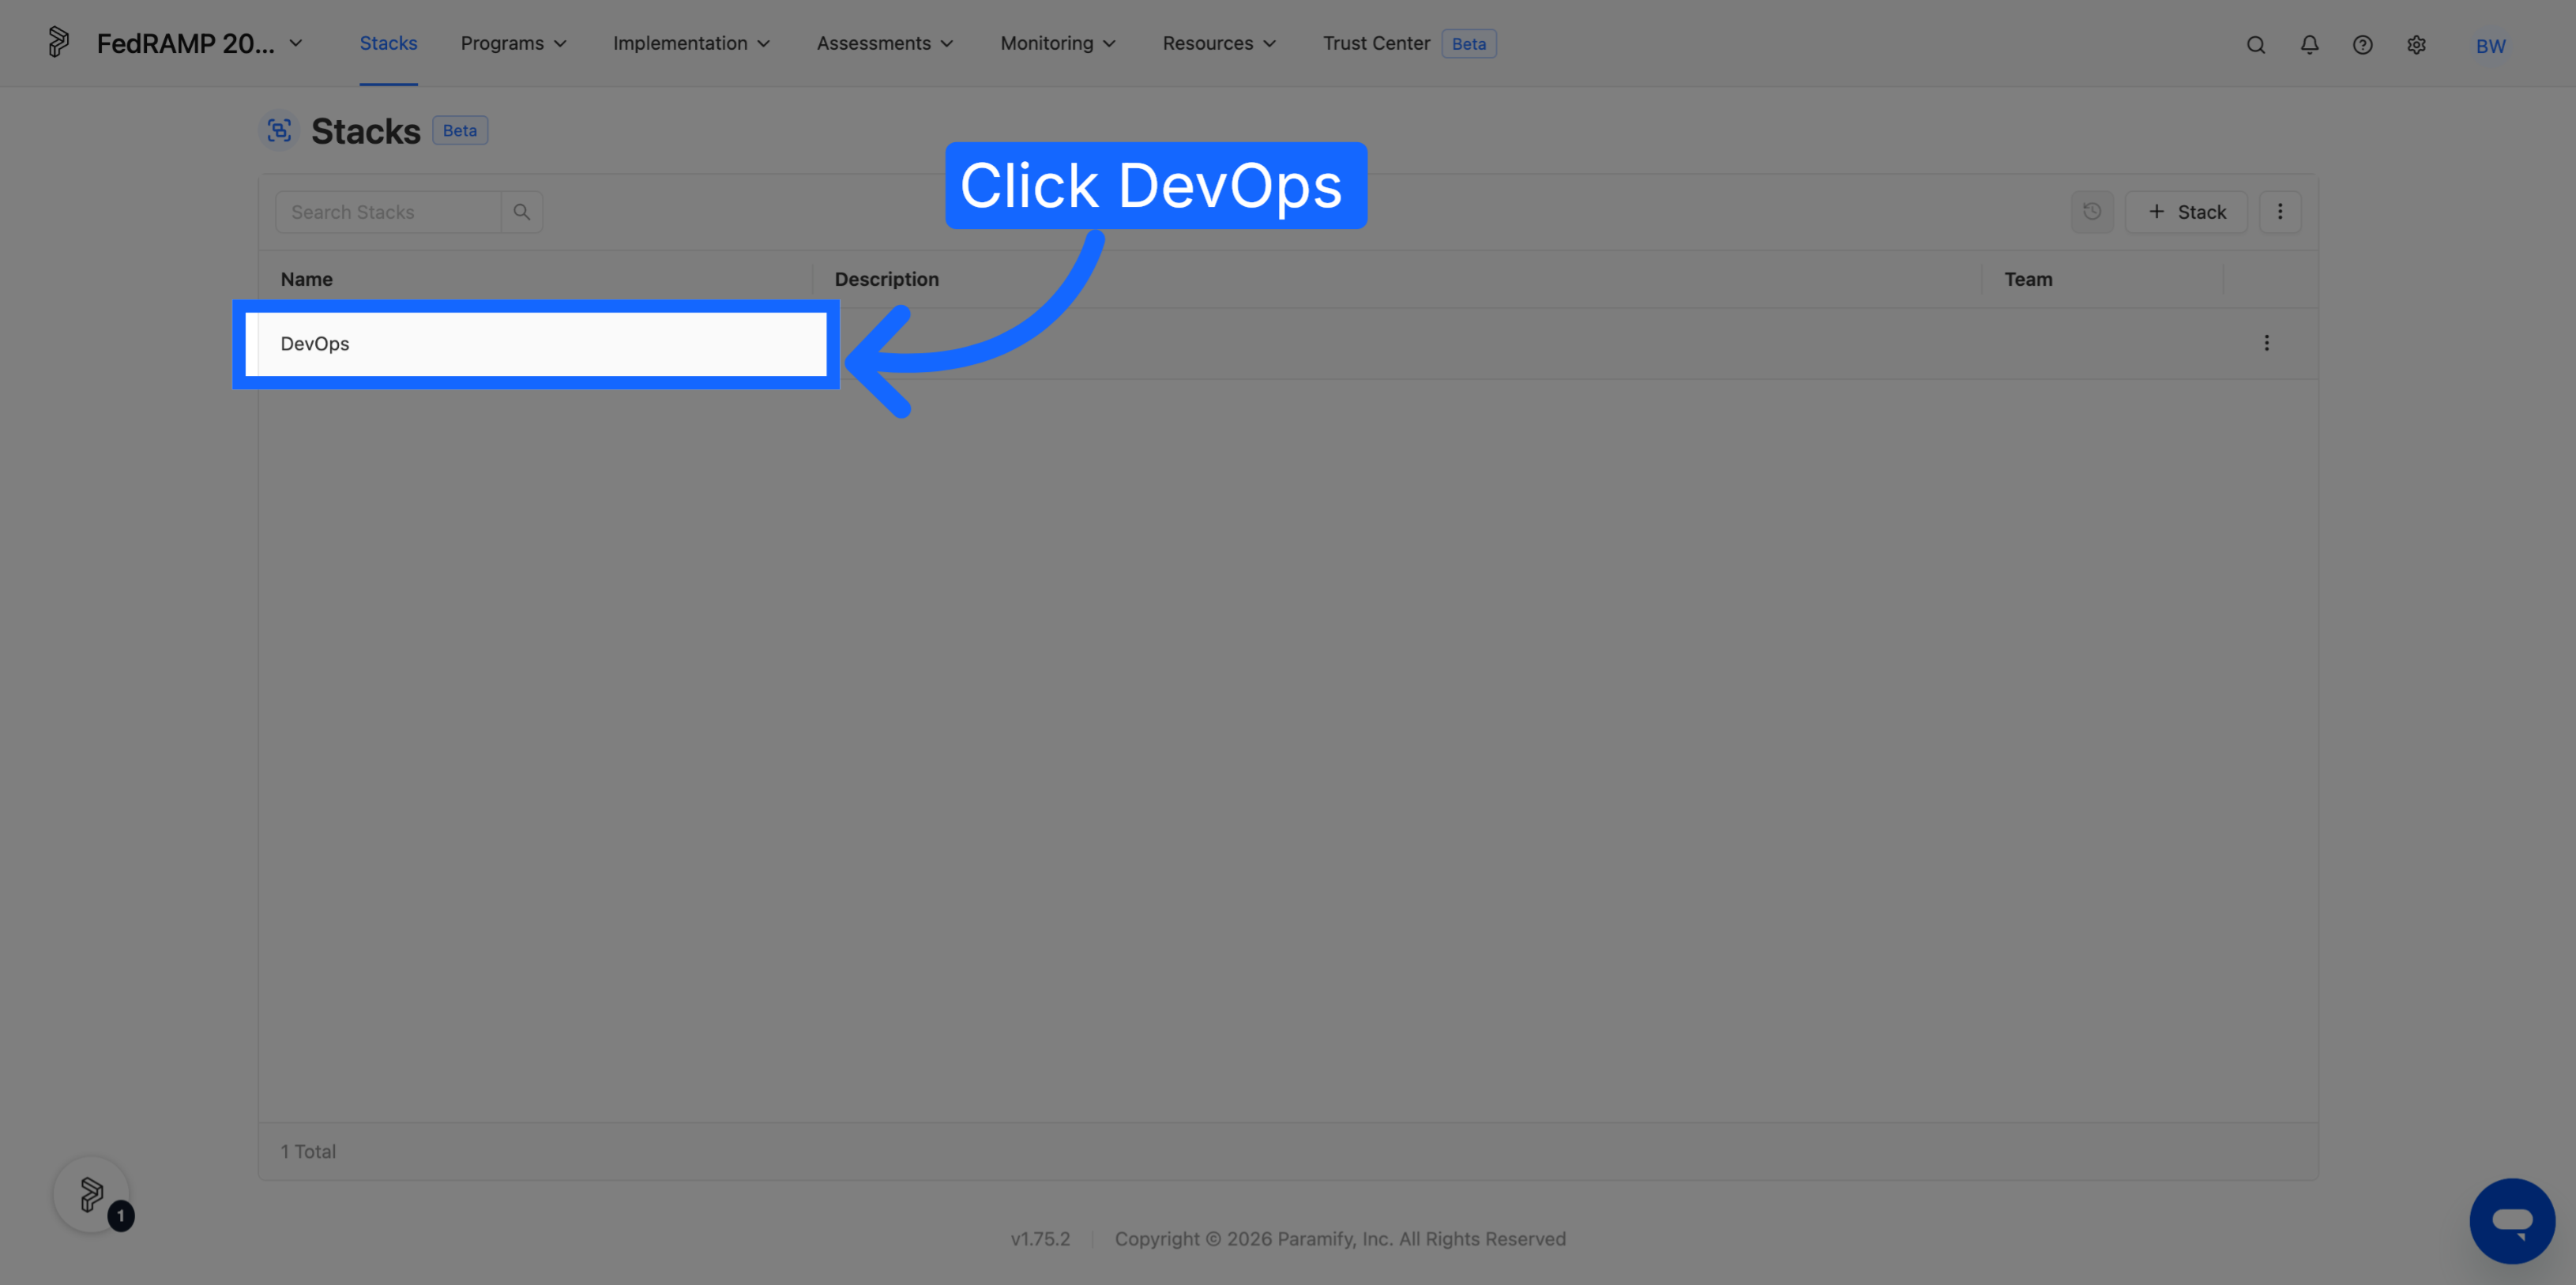
In the workspace, go to Stacks, open or create a stack, and select Risk Settings.
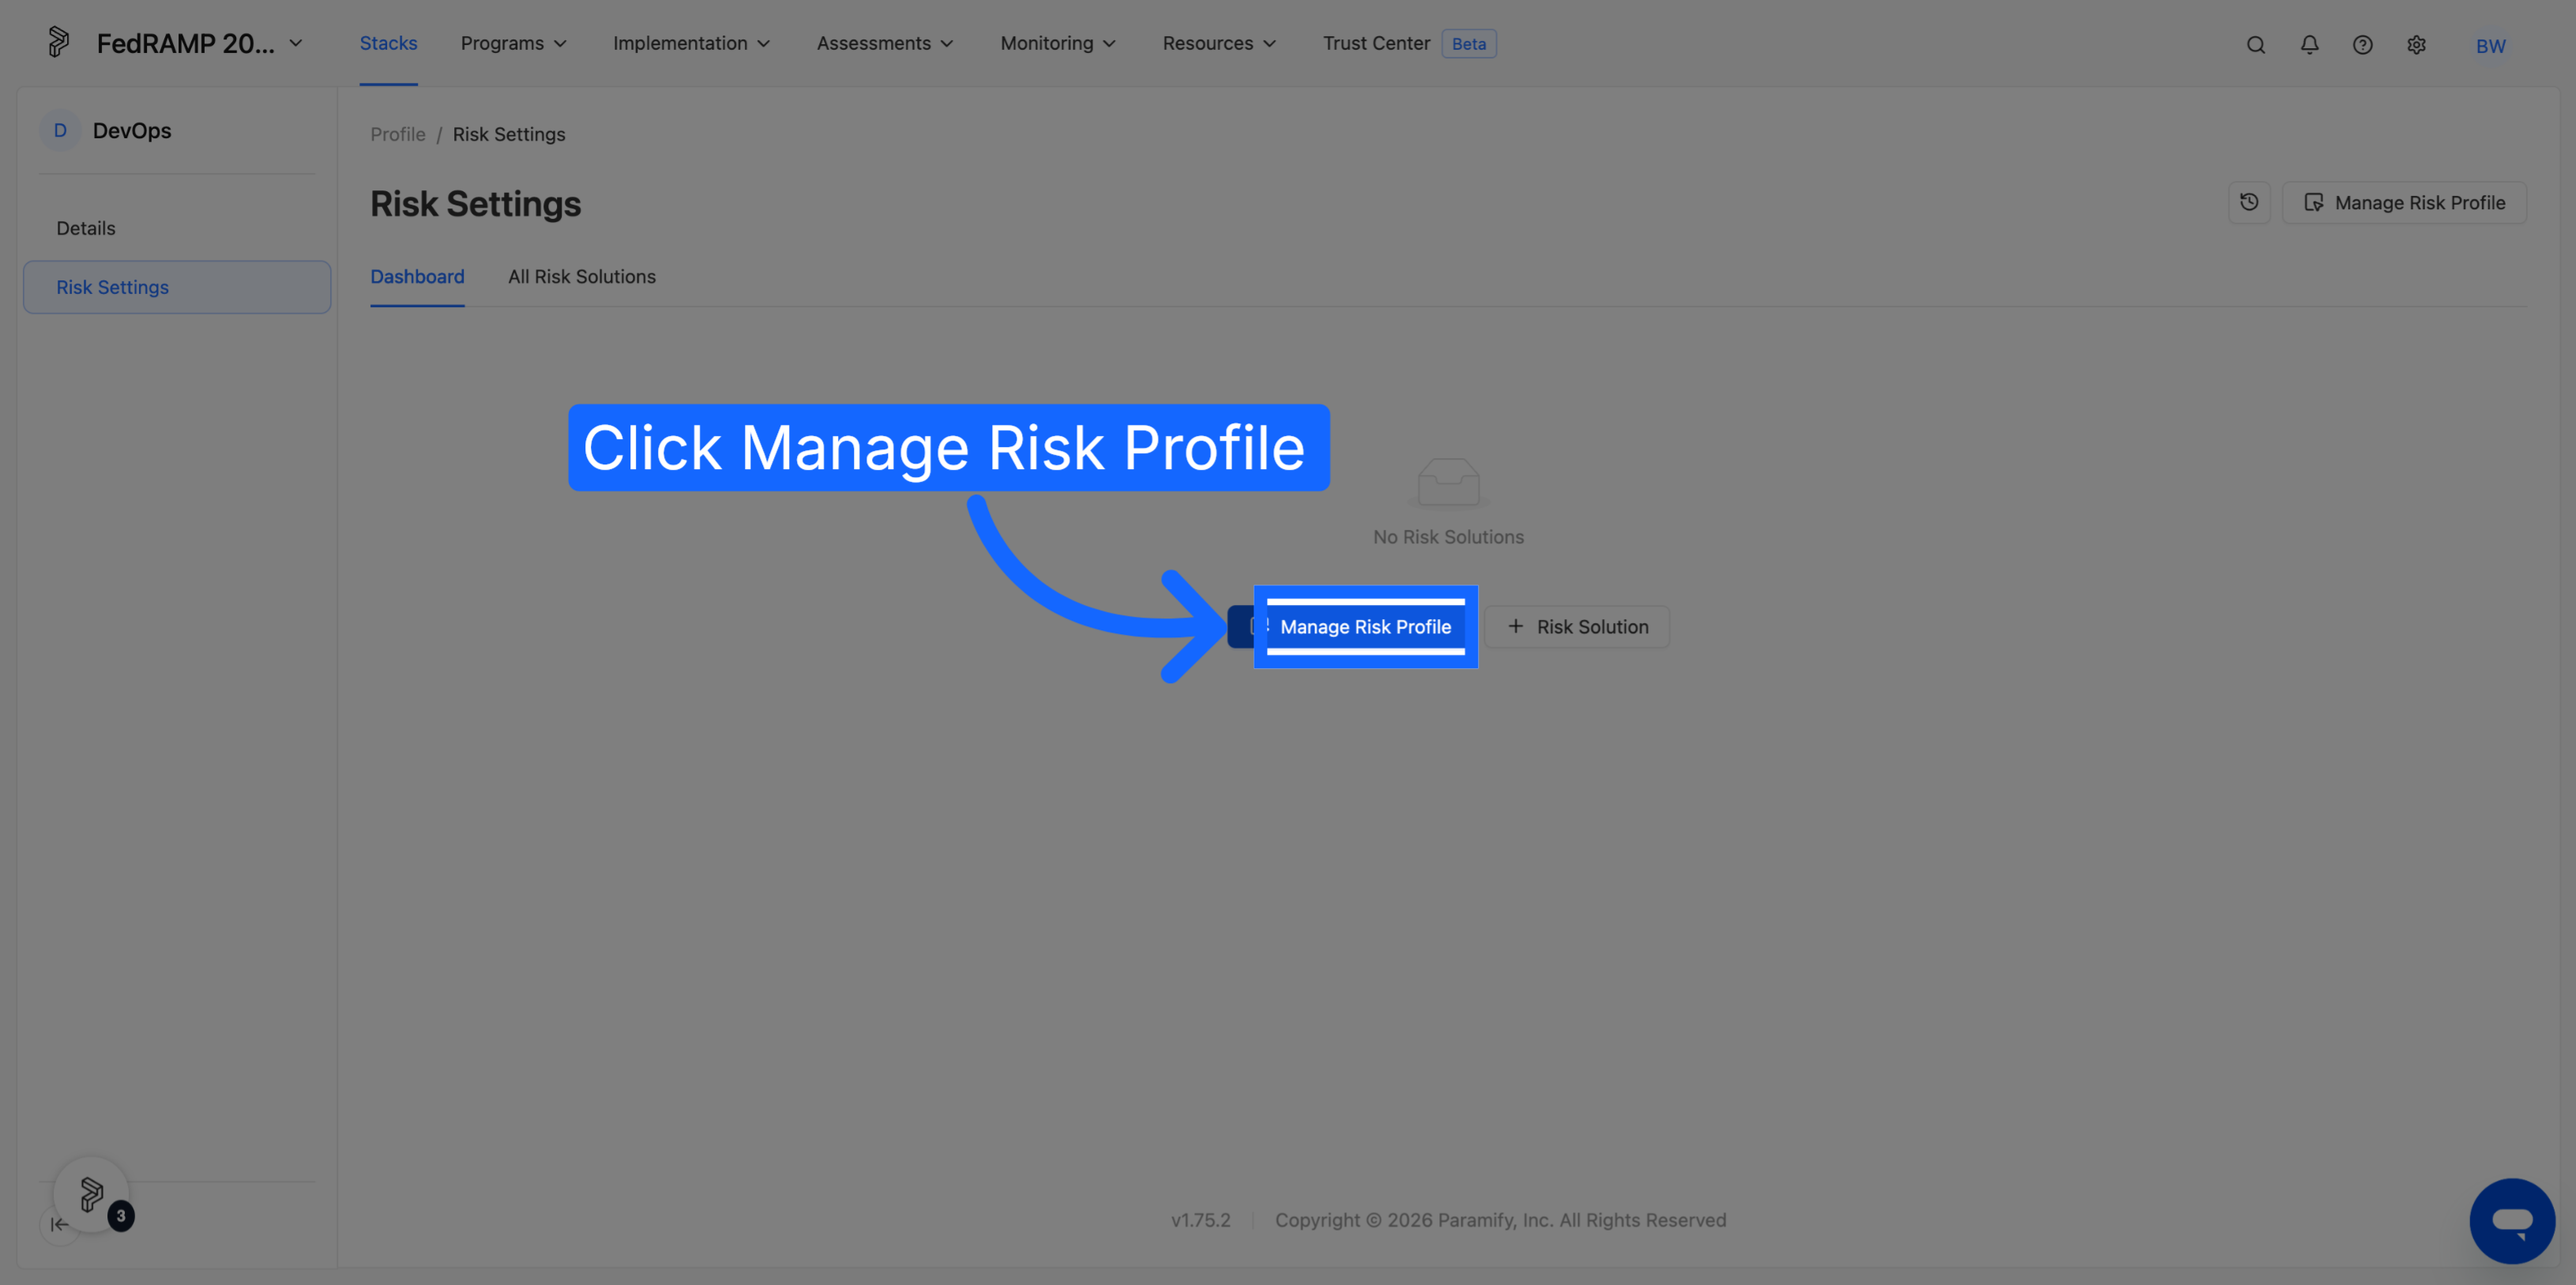
2. Apply the Risk Profile
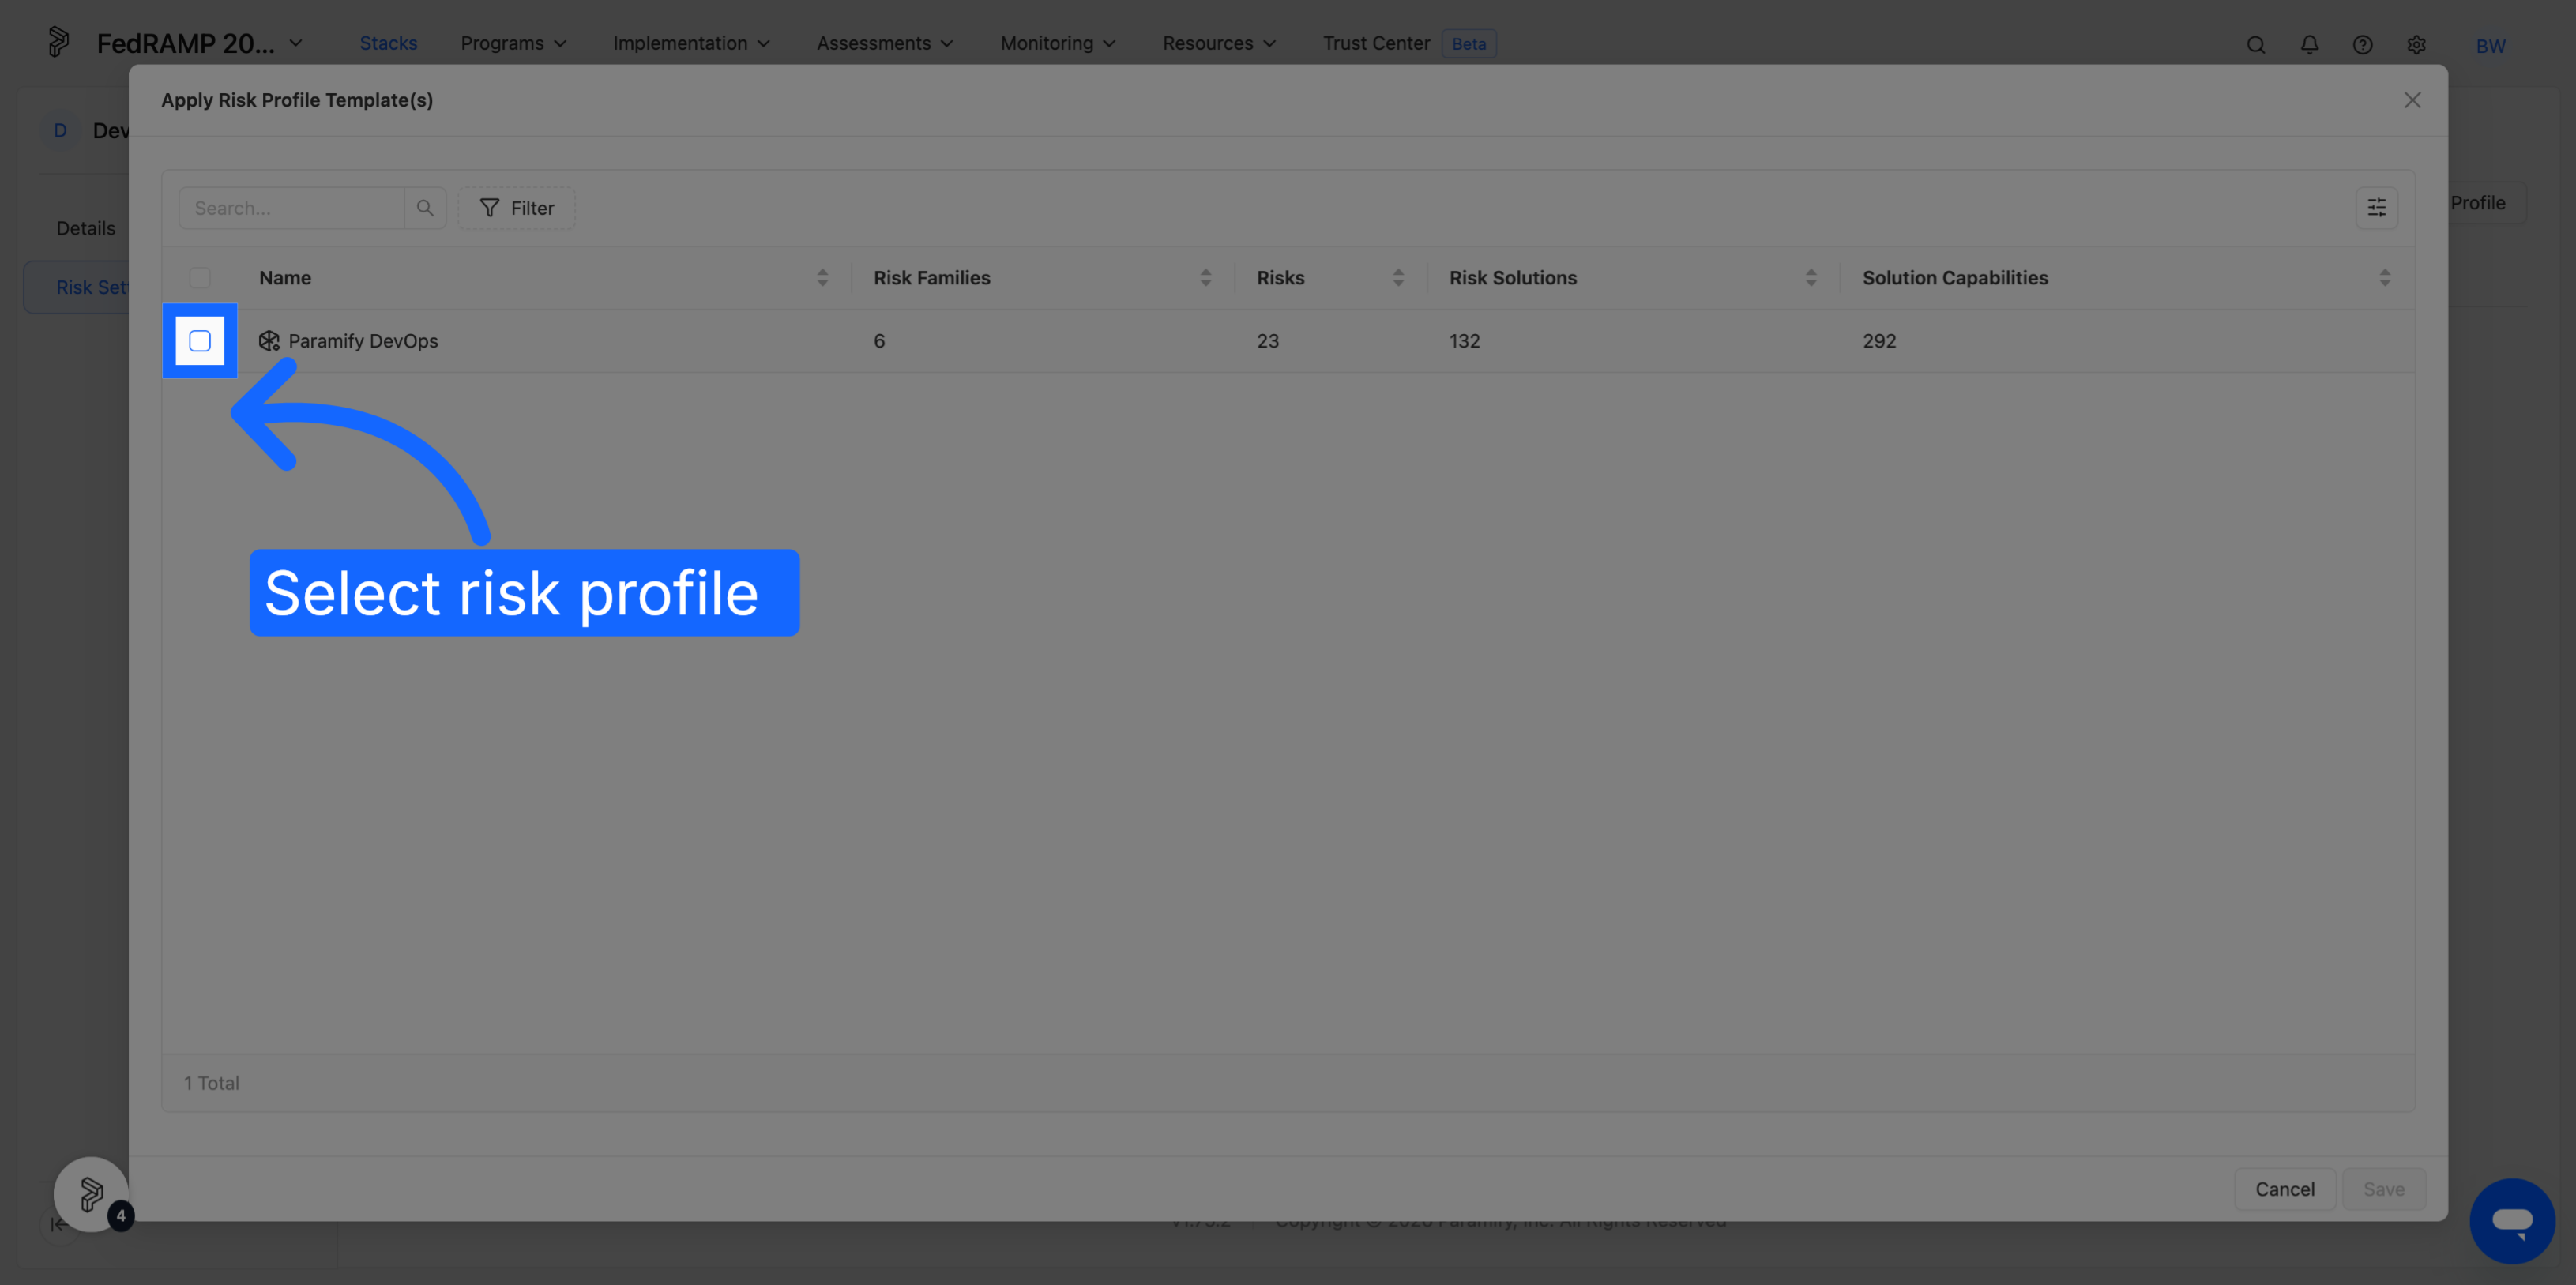
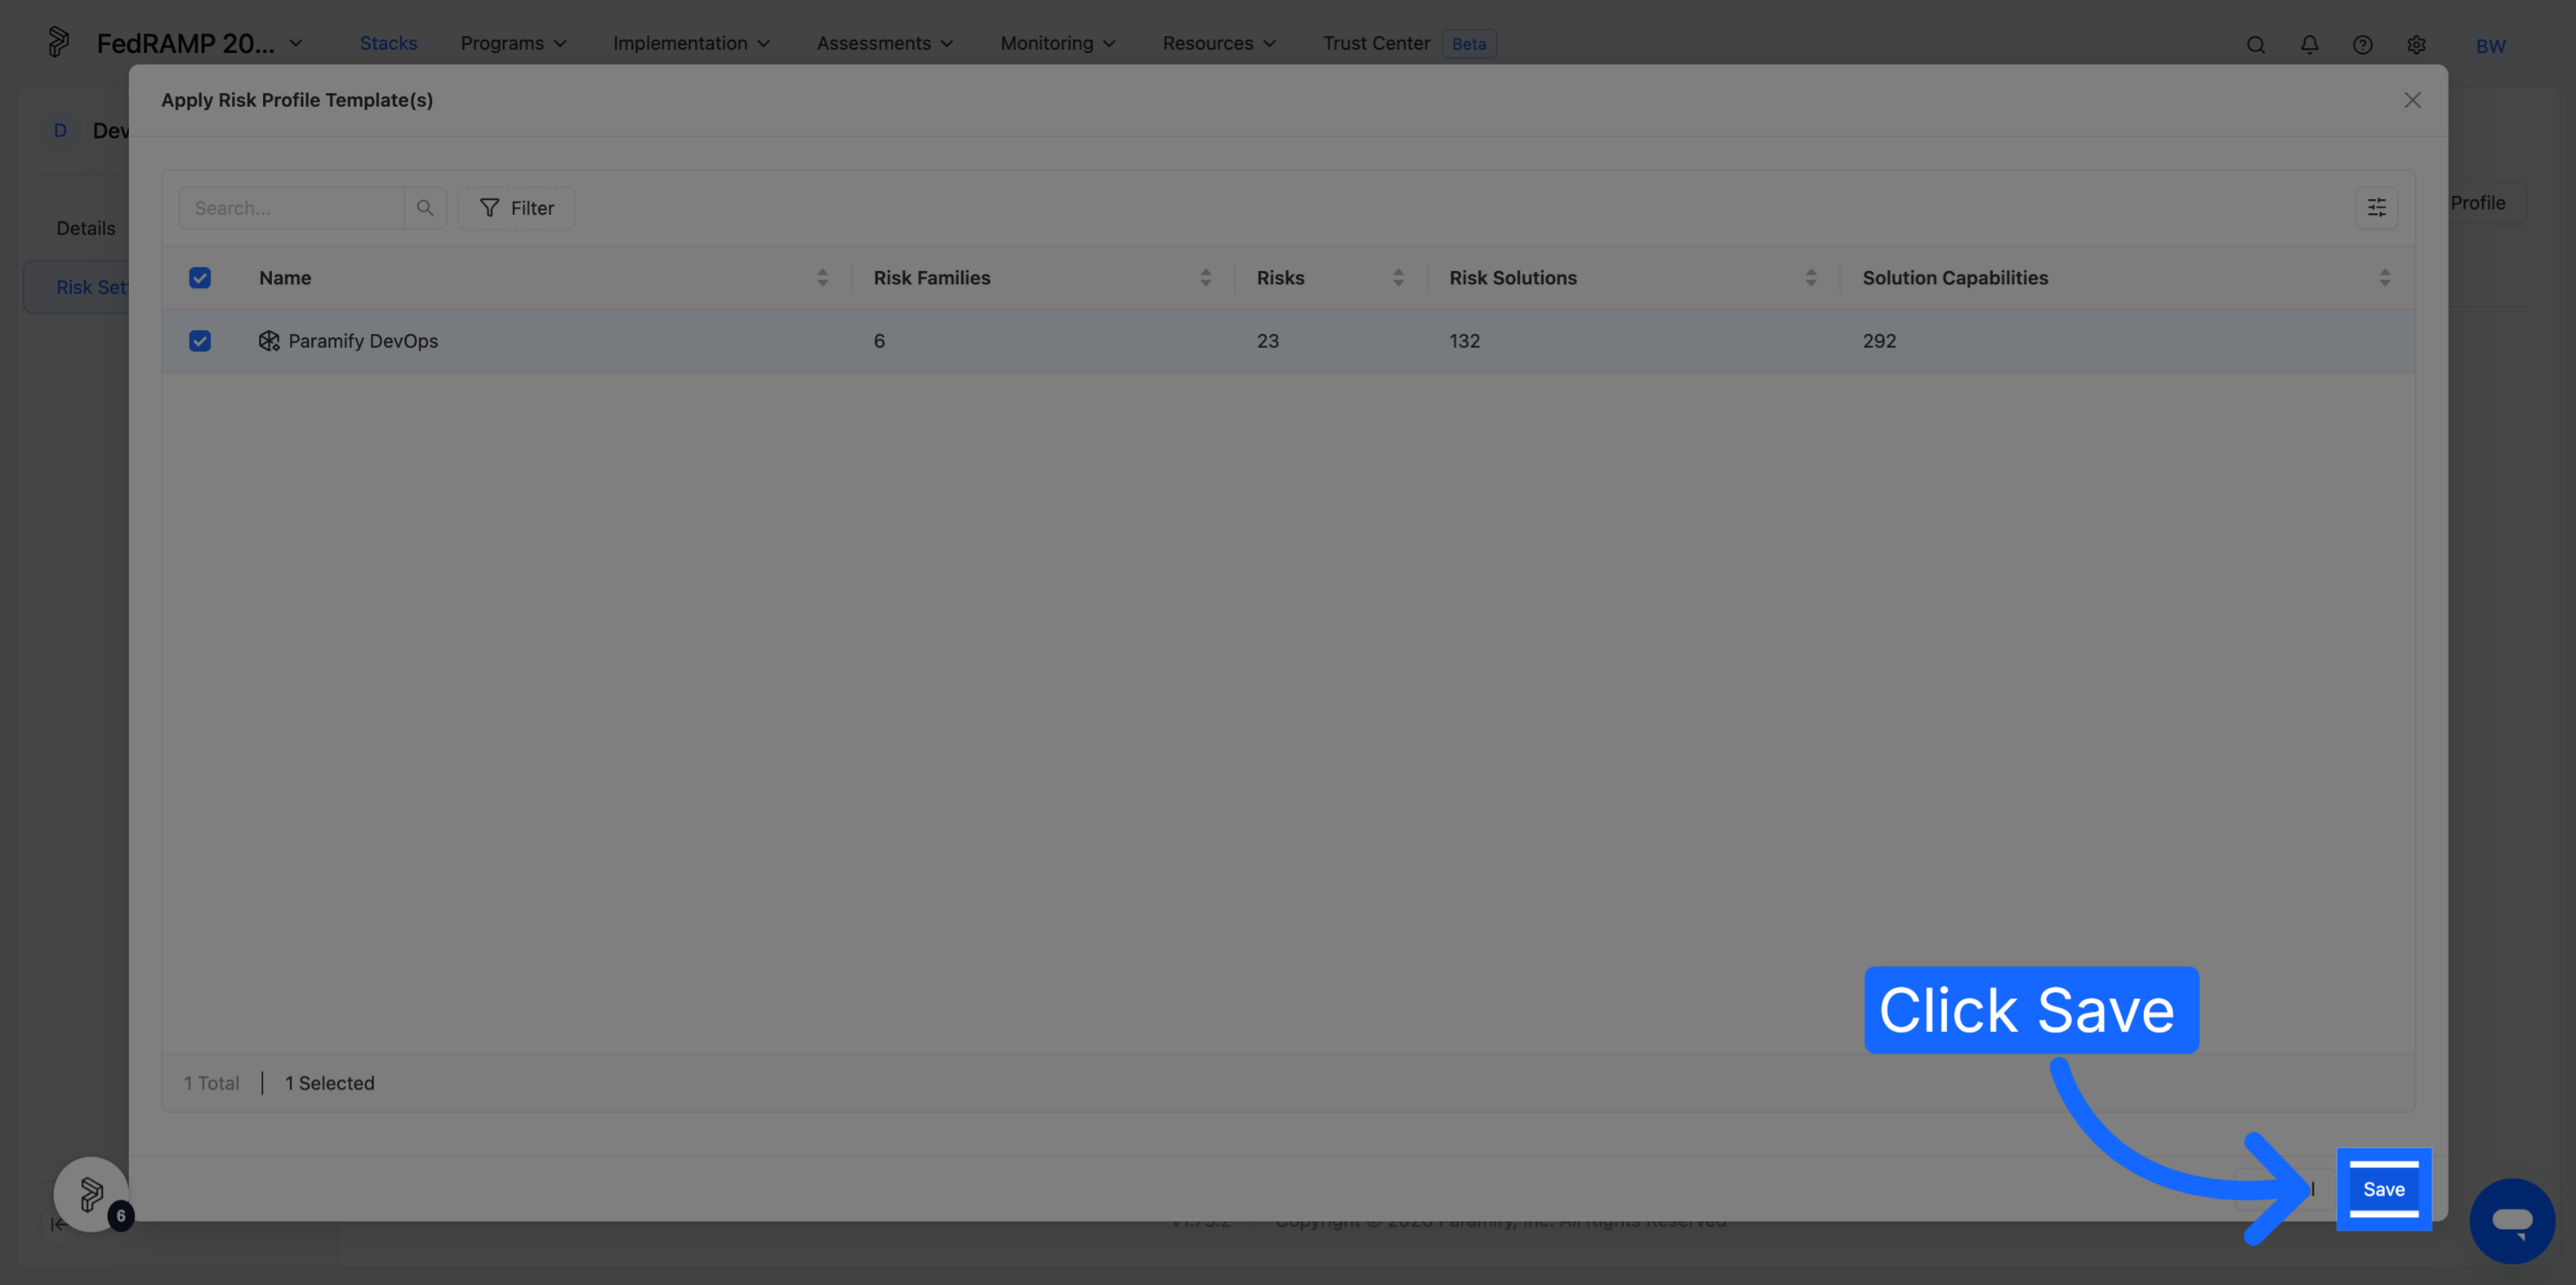
Click Manage Risk Profile, select the profile you want, and apply it. All of the Risk Solutions in that profile are added to the stack.
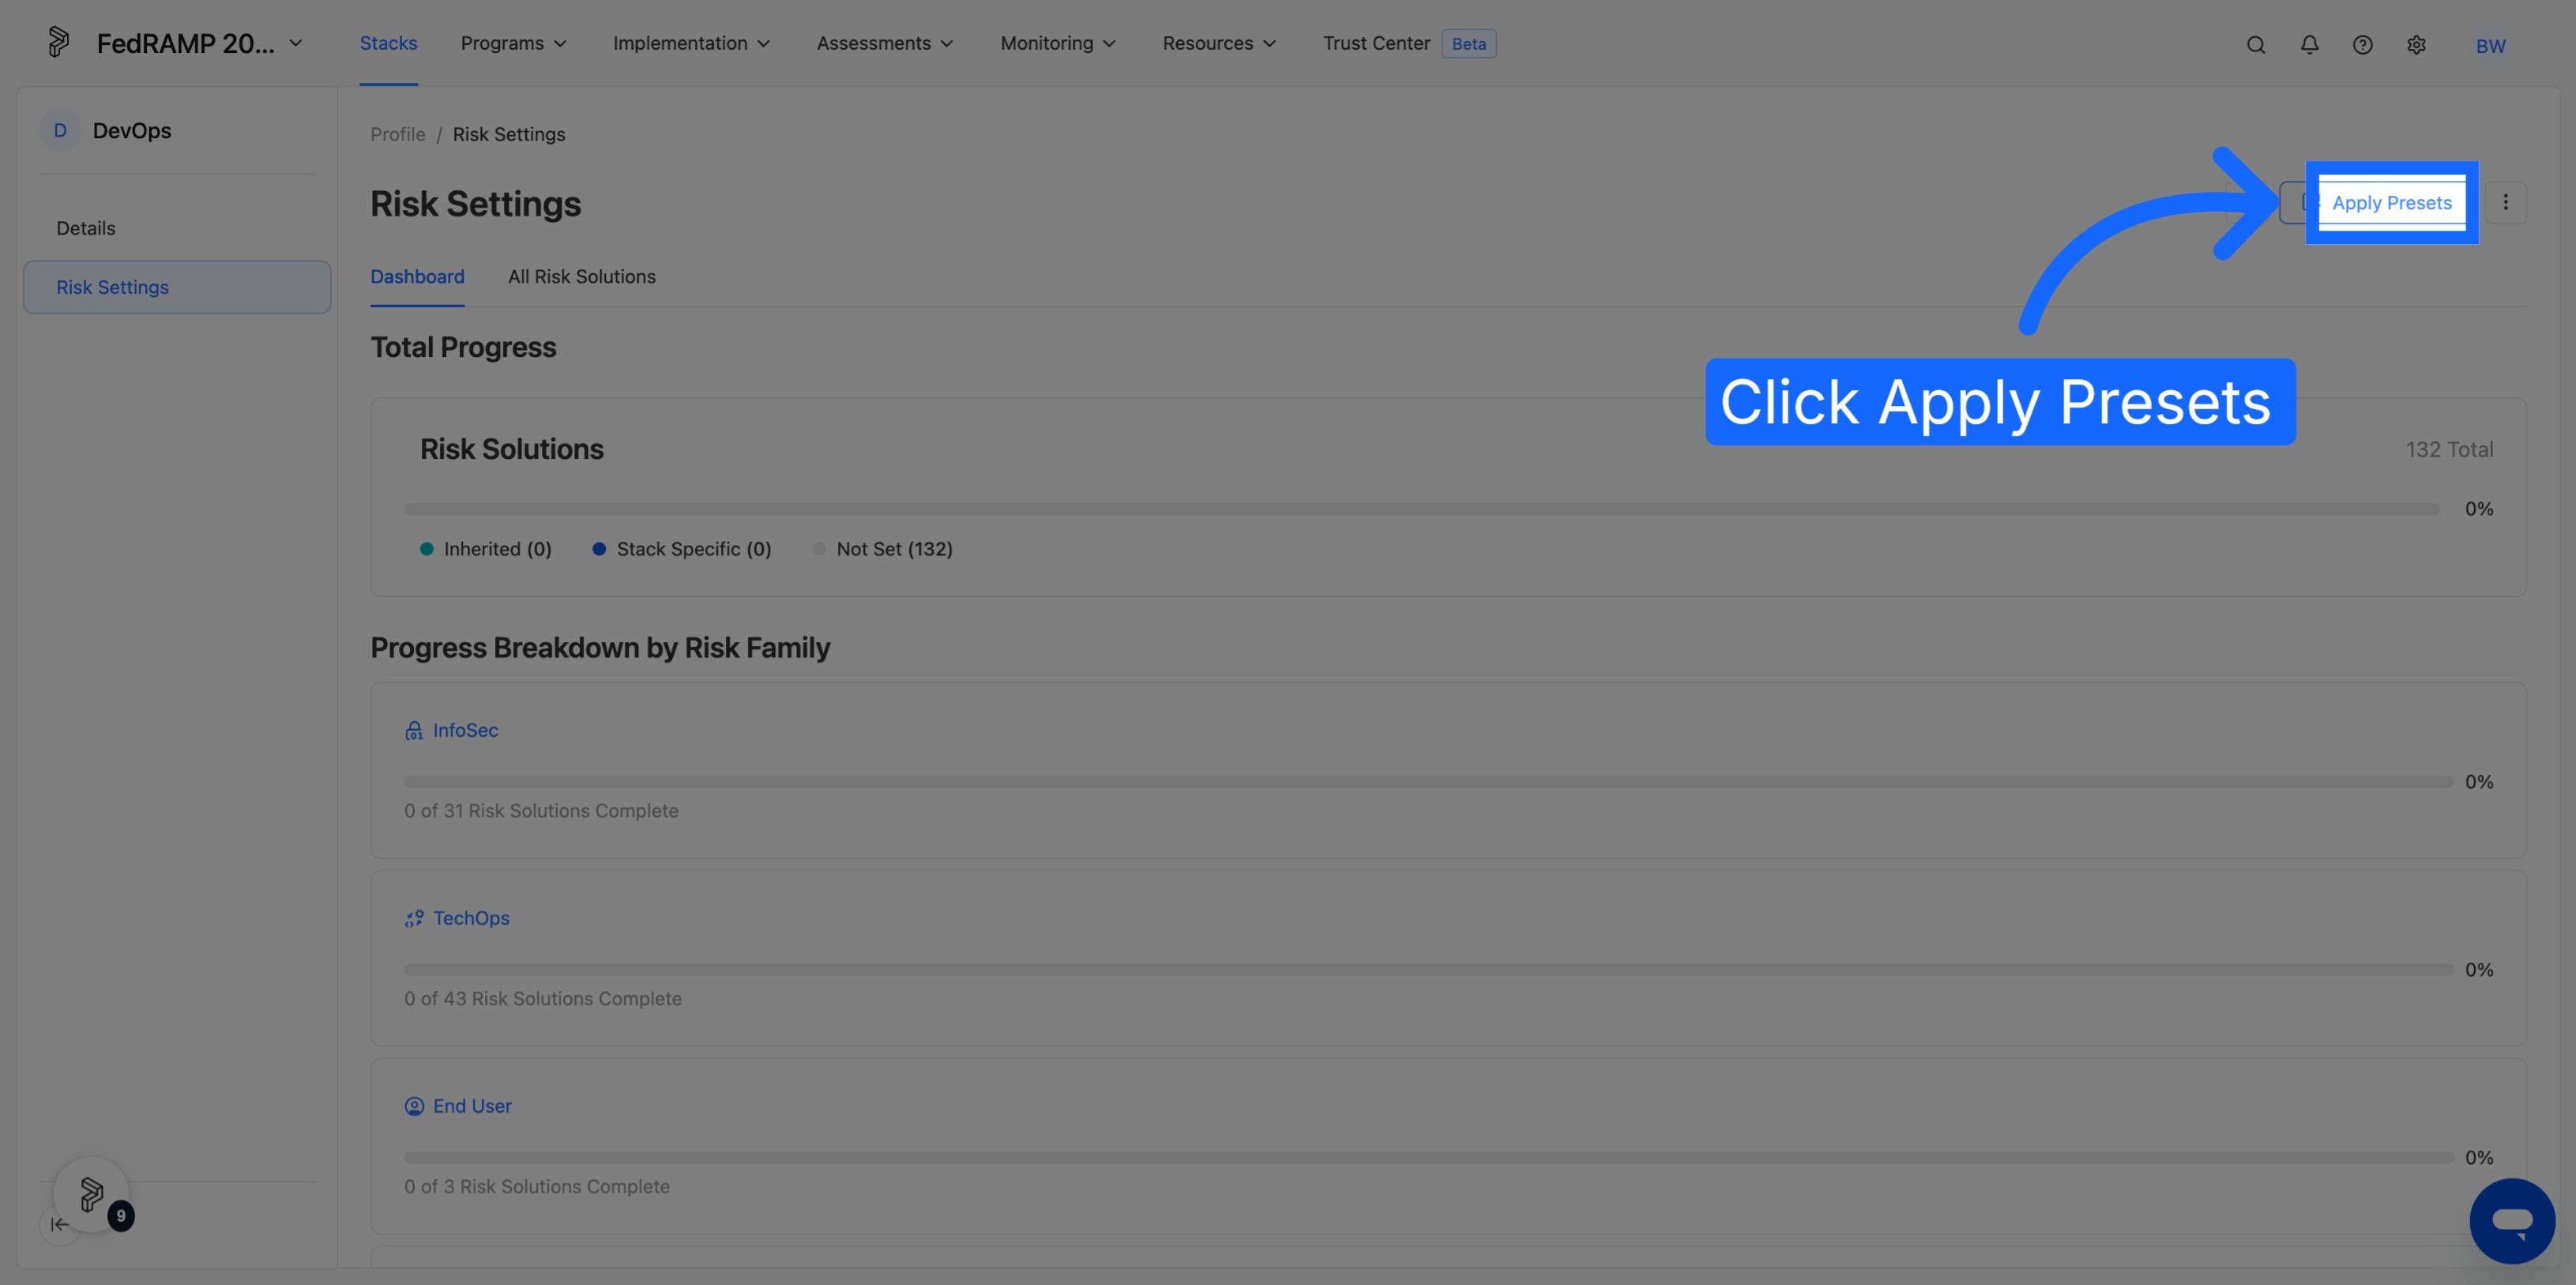
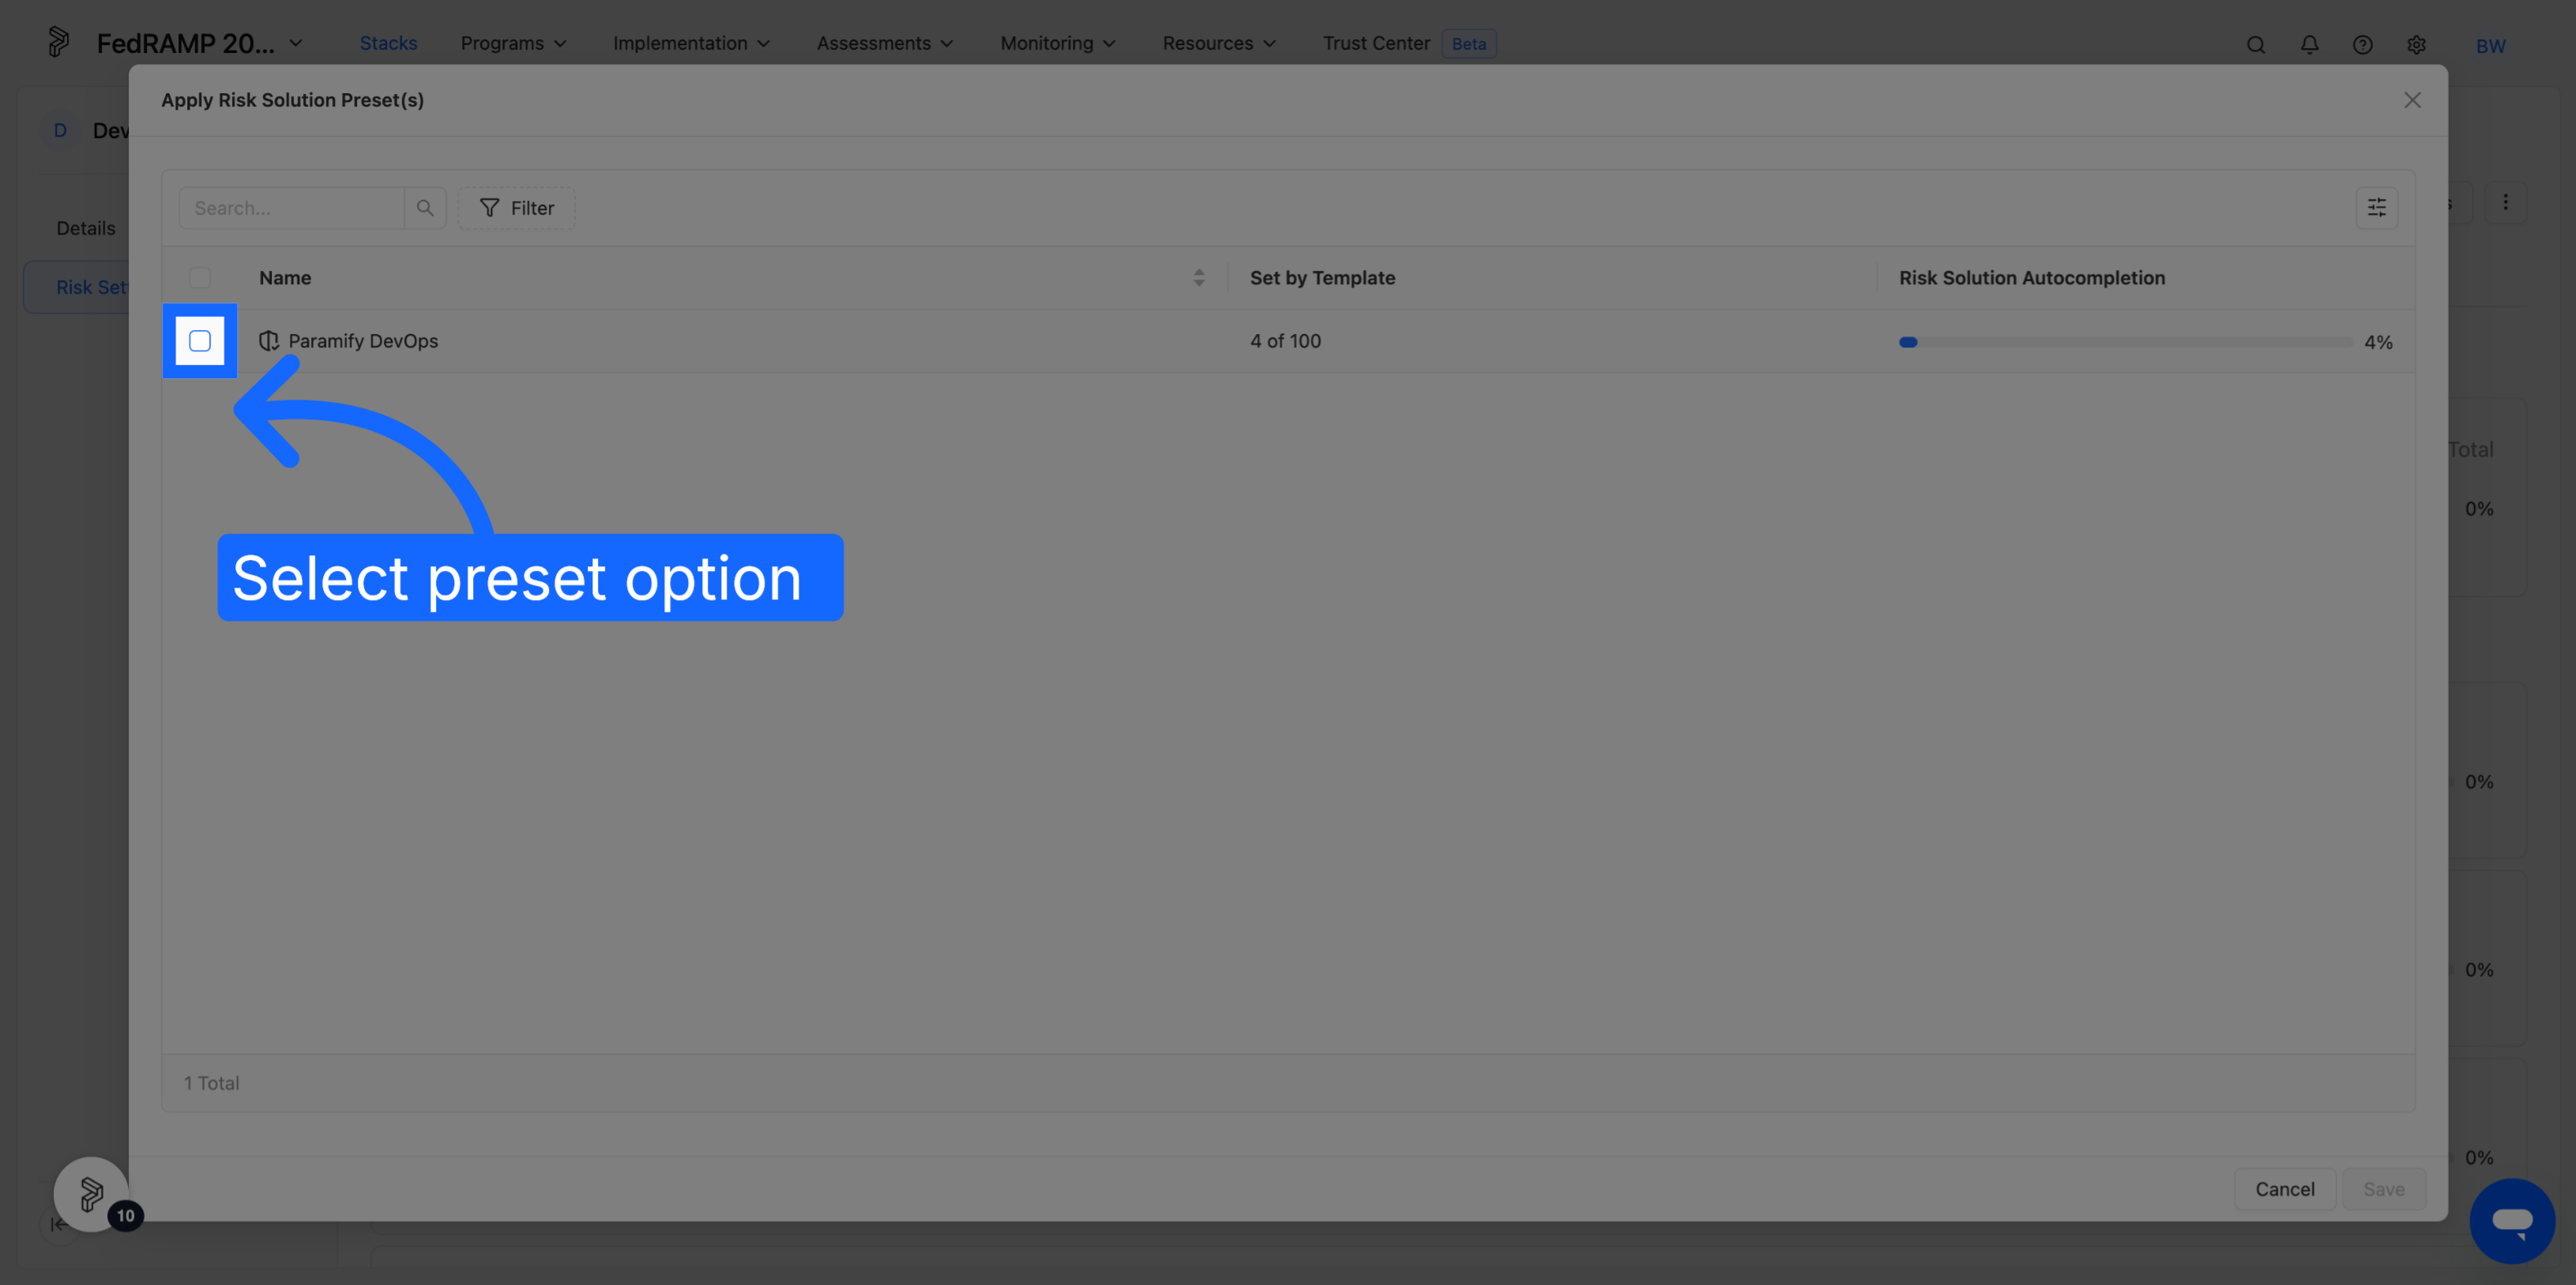
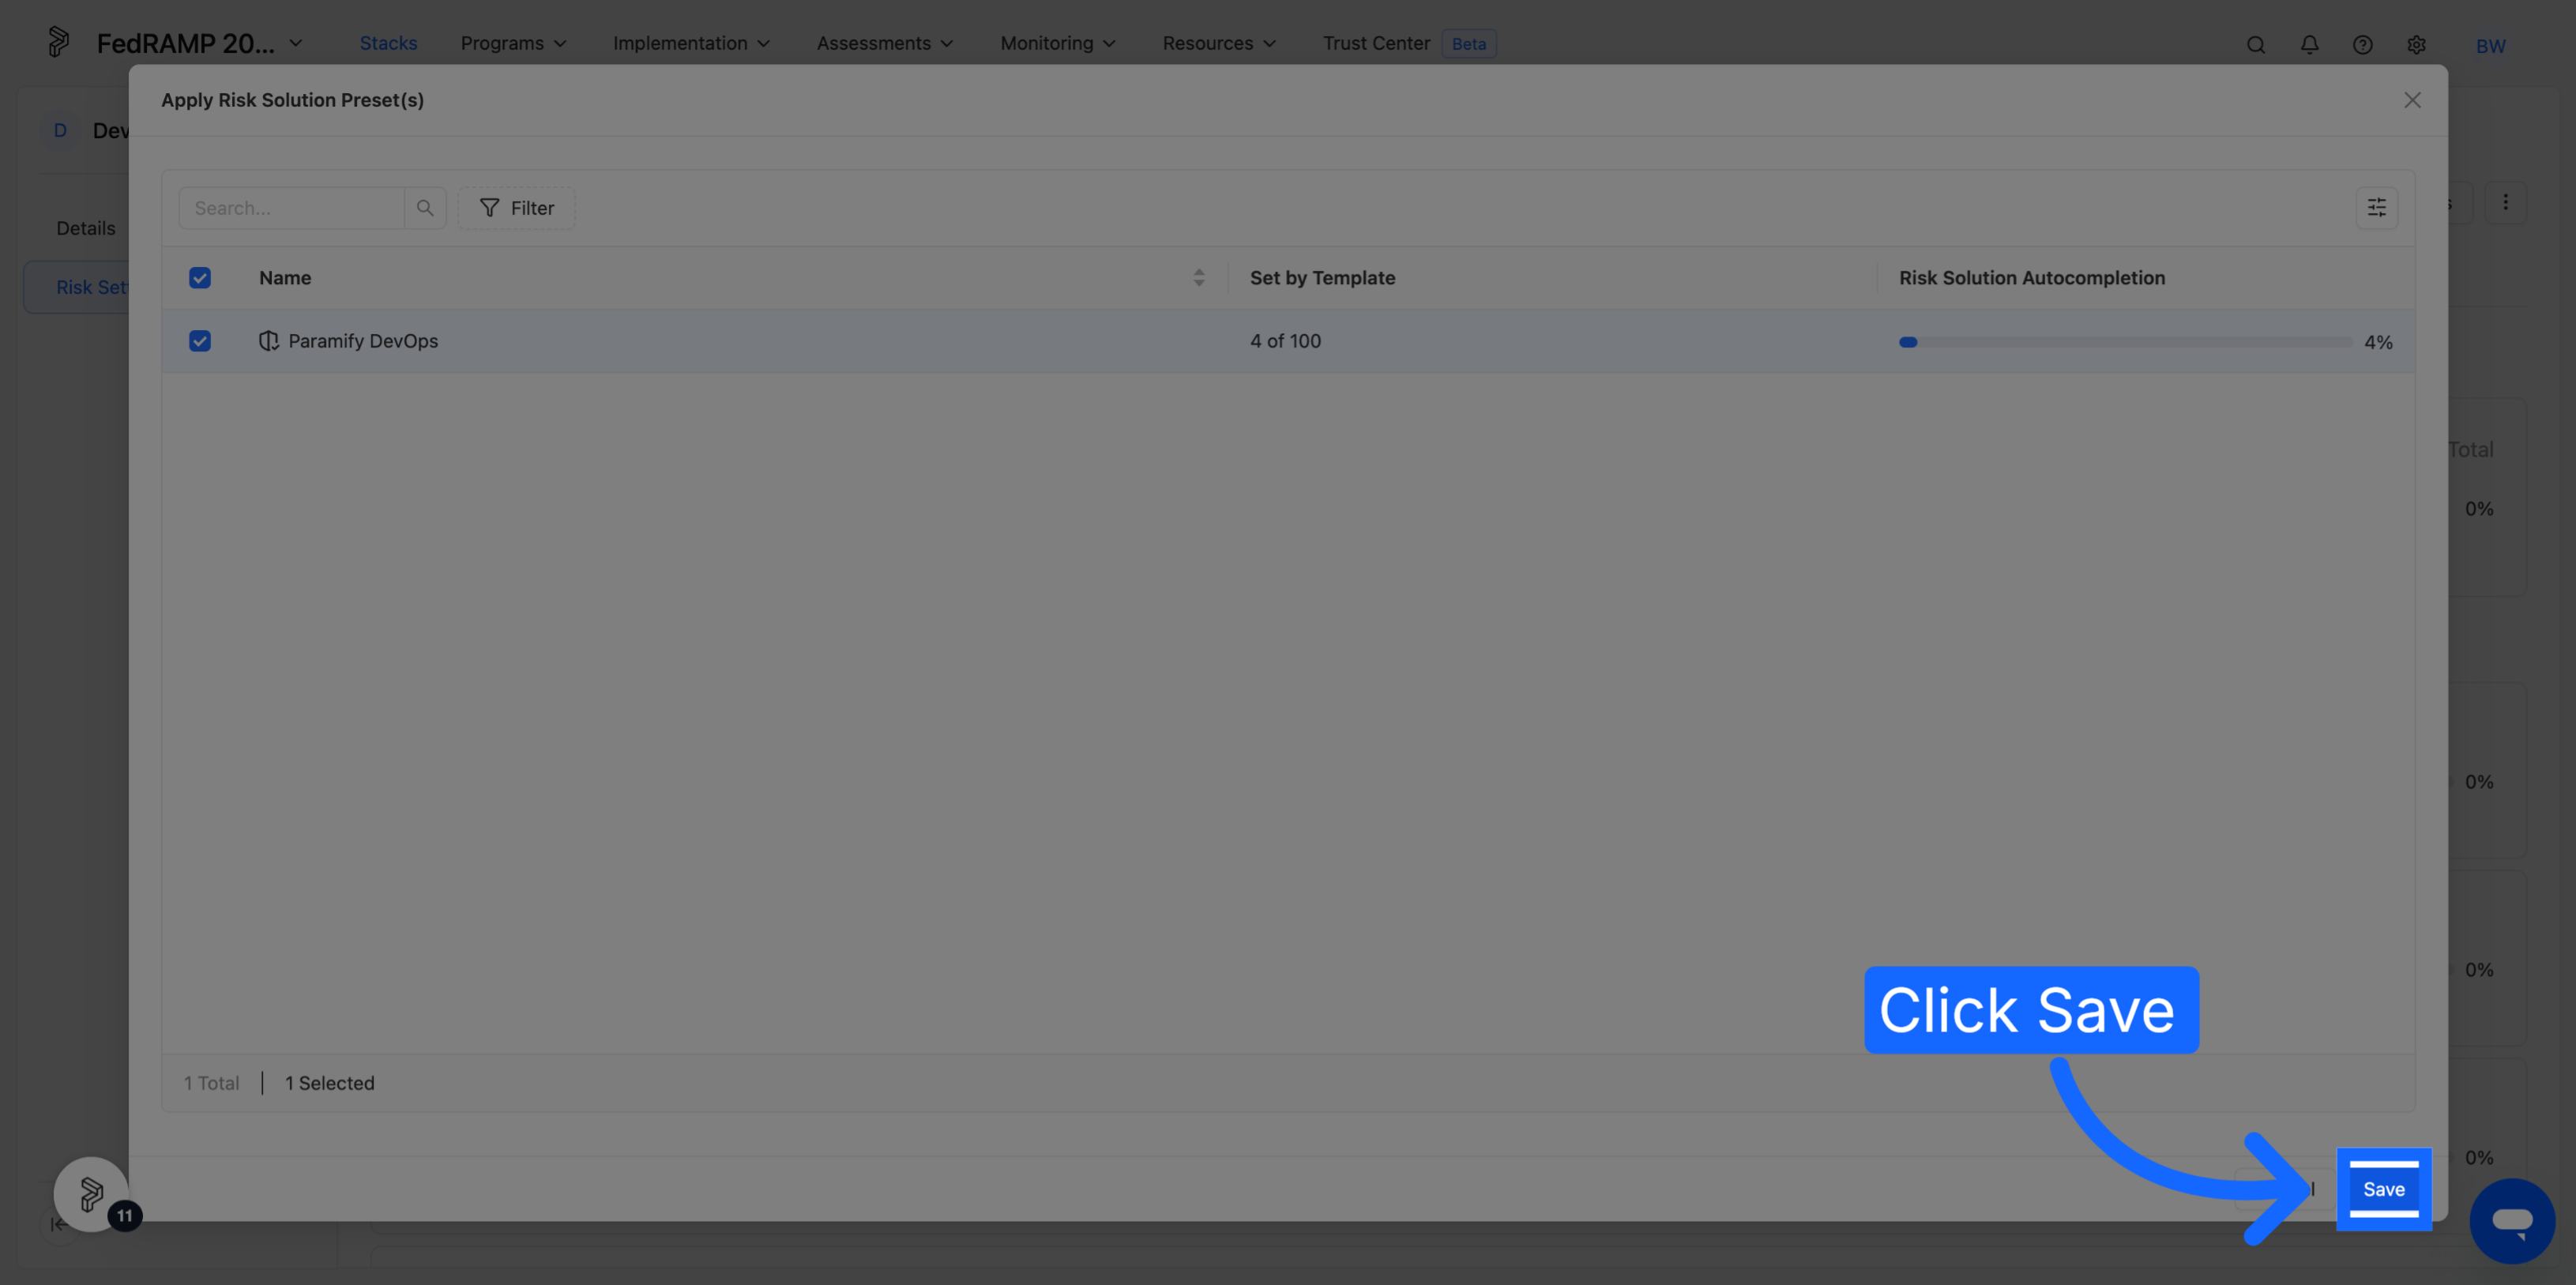
3. Apply one or more Risk Solution Presets
With the profile applied, apply a Risk Solution Preset to fill in the solution parameters on the Risk Solutions it covers. Repeat for each targeted preset you want to use.
4. Fill in Remaining Risk Solutions
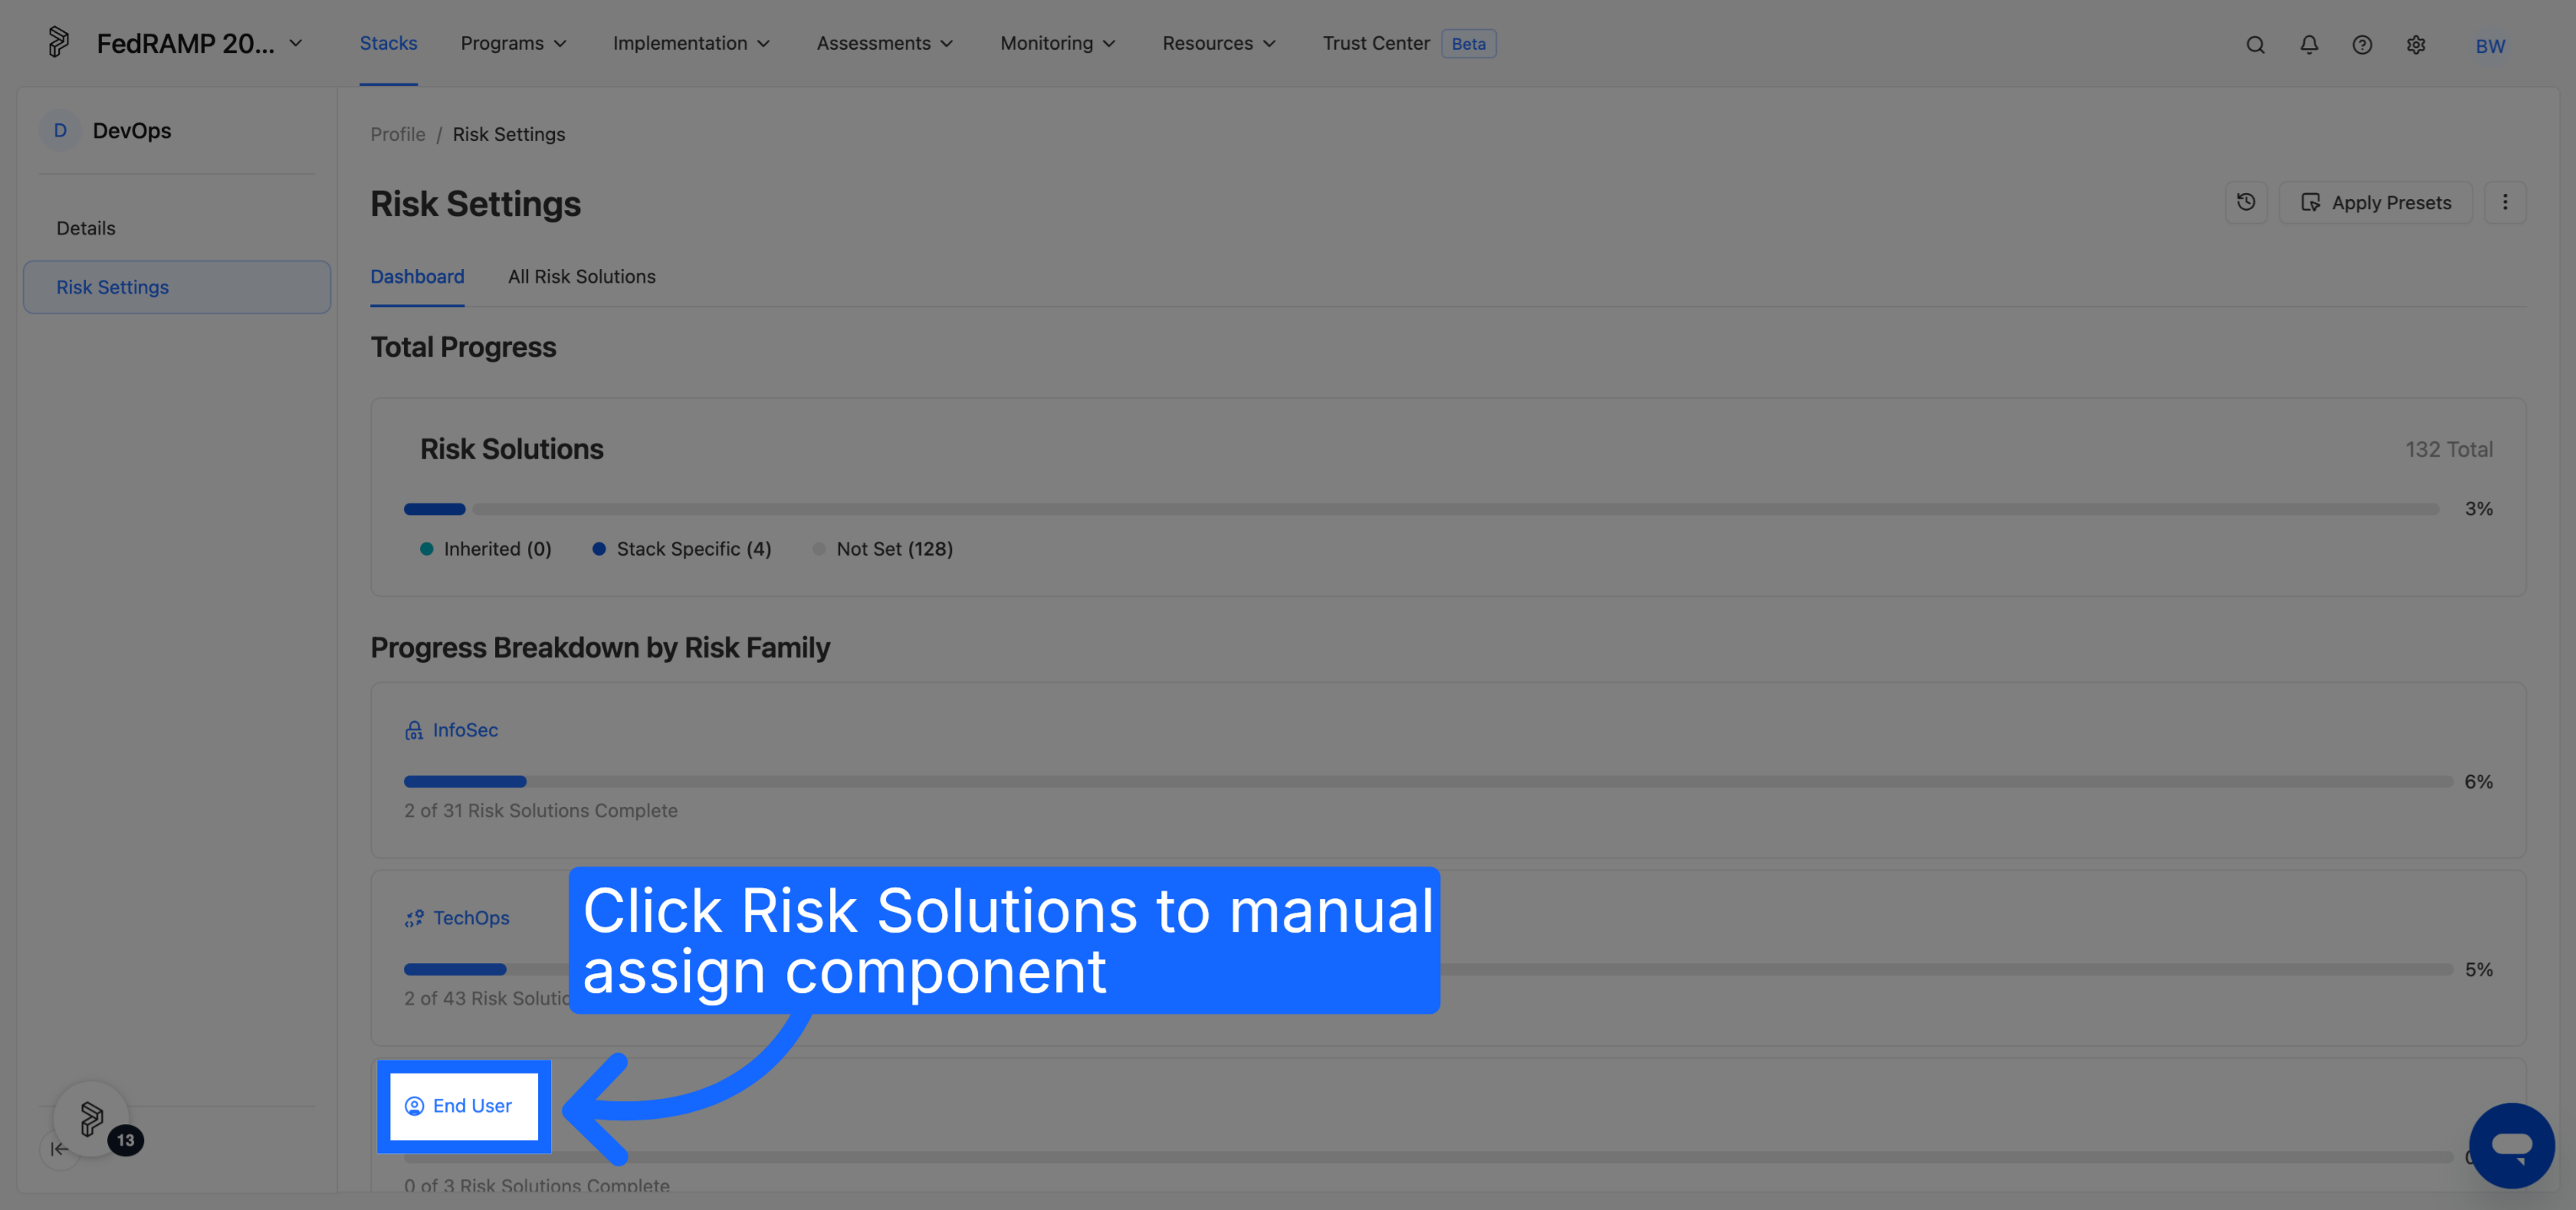
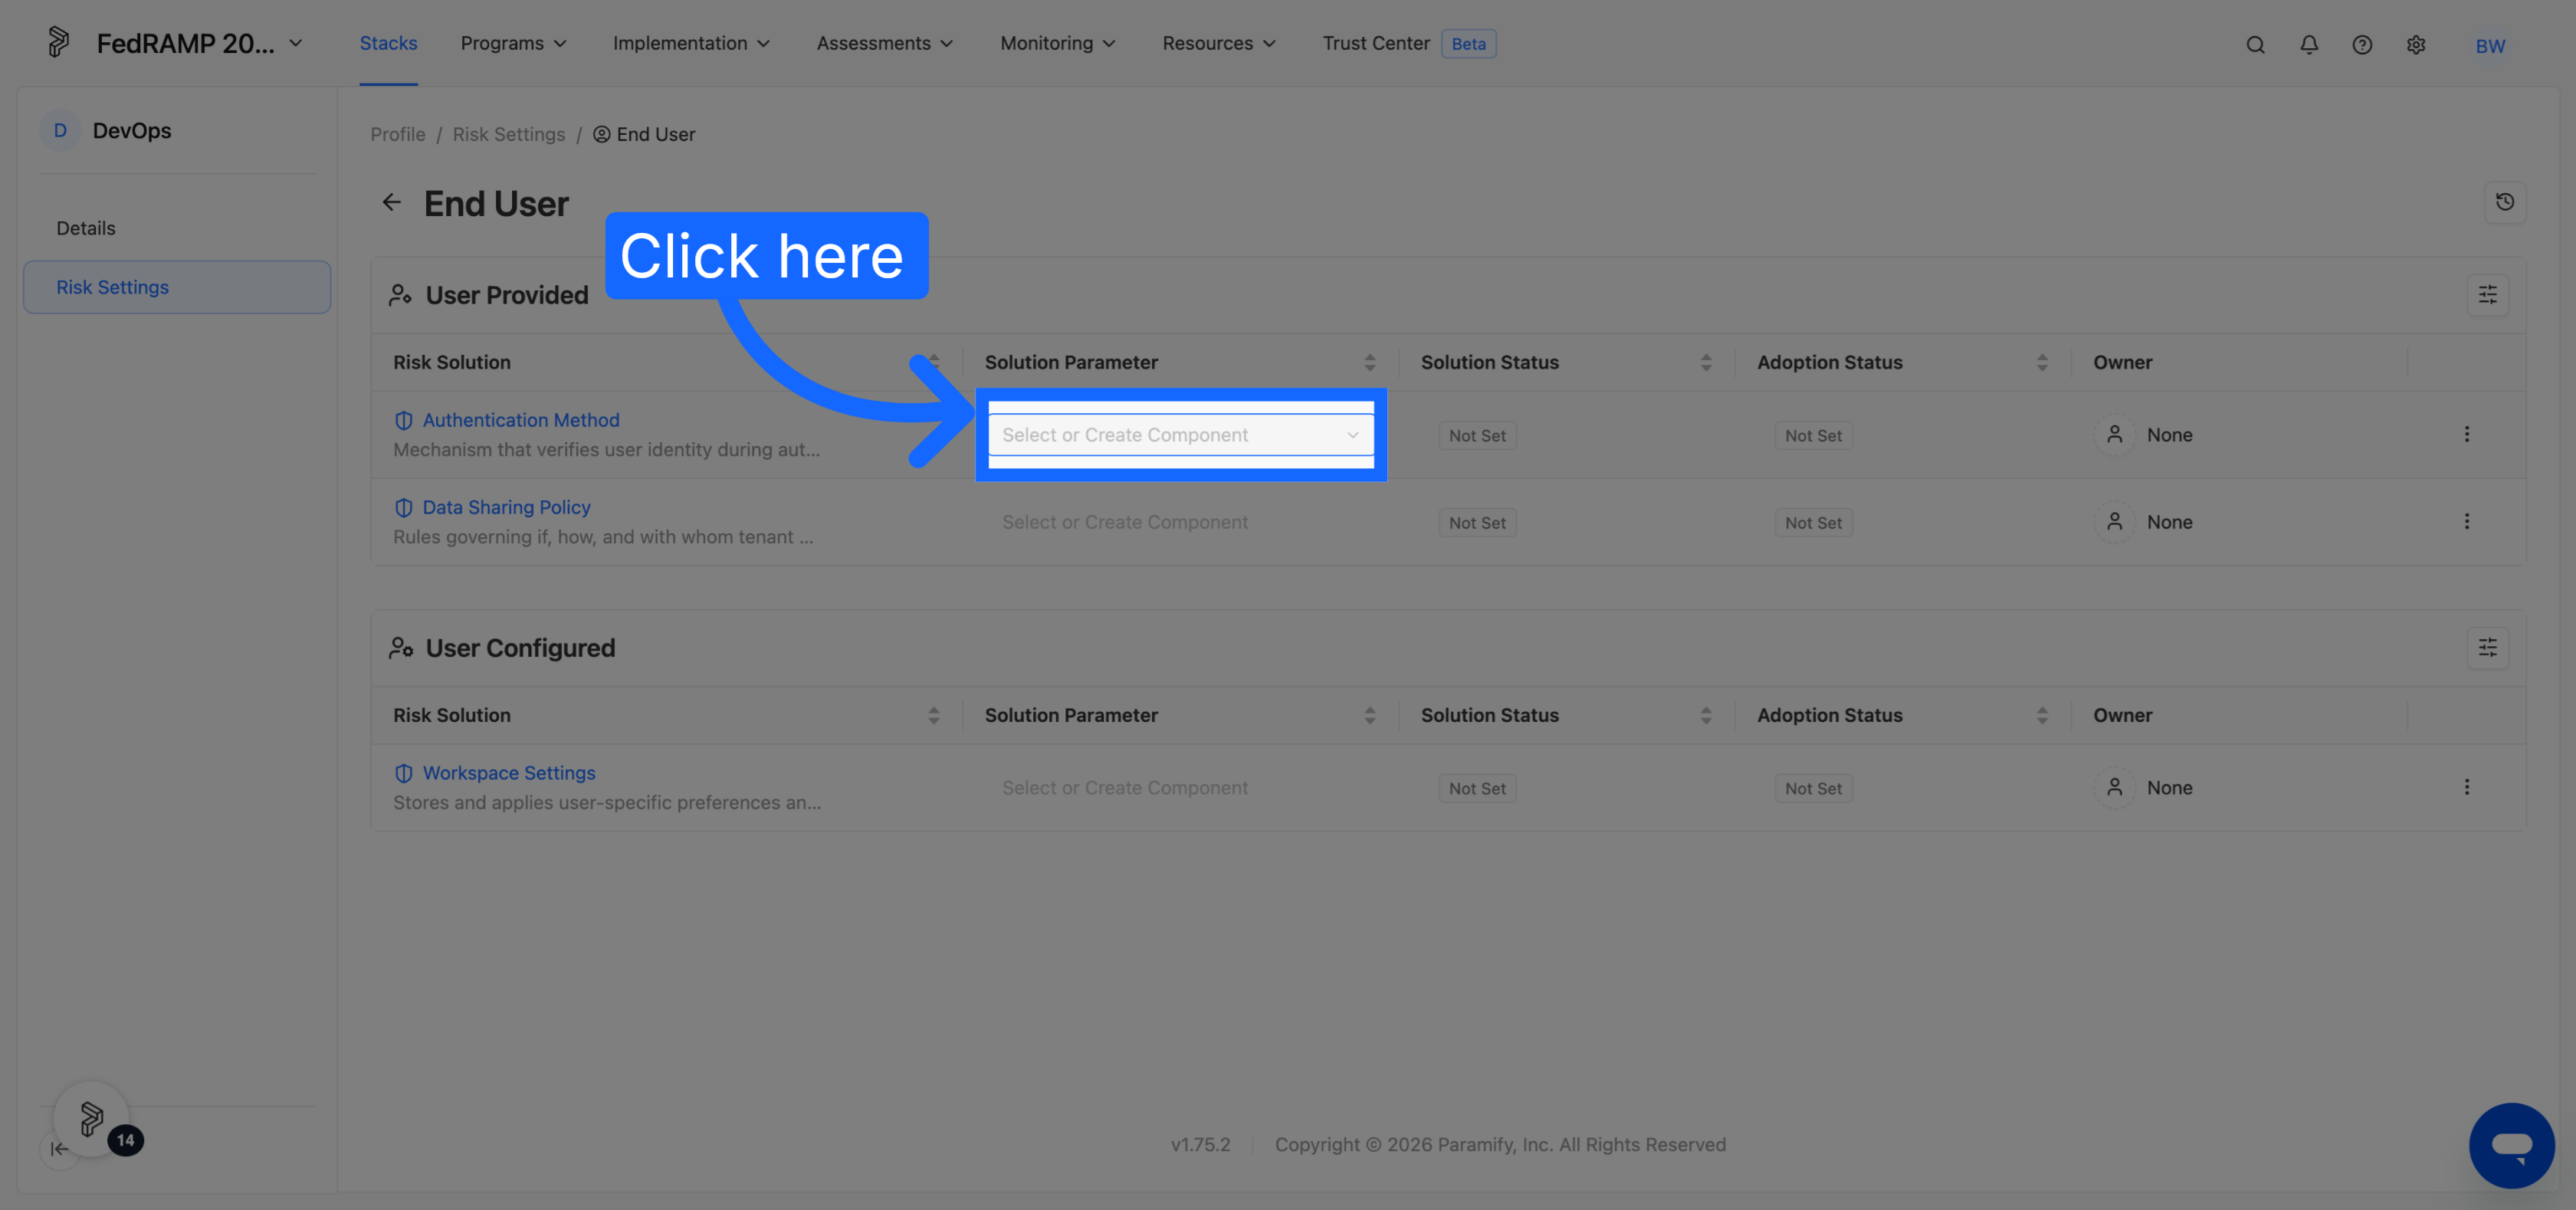
Work through the remaining Risk Solutions and set solution parameters manually for anything your presets did not cover.
What to expect
Applying a Risk Profile adds every Risk Solution you selected in that profile to the Stack. Applying a Risk Solution Preset sets the solution parameter on each Risk Solution the preset covers and creates the corresponding Solution Capabilities.
Comments
0 comments
Please sign in to leave a comment.