
End-to-end guide on how to leverage the Paramify TUI (terminal UI) to set up validators, and push them with an evidence set into the Paramify application.
BEFORE YOU BEGIN
Ensure you have completed the following before setting up Fetchers & Validators:
Setup Validators
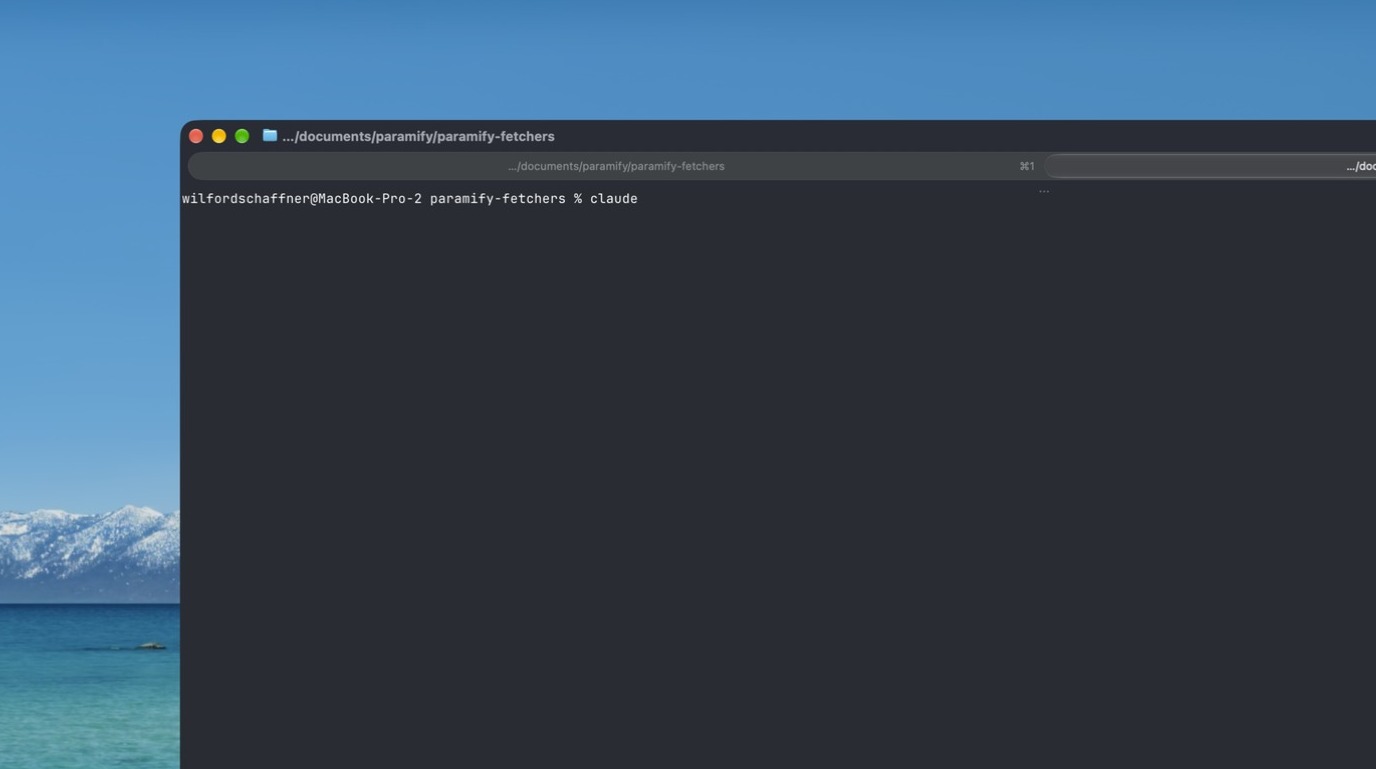
1. Open your AI tool
Open your AI tool in your paramify-fetchers directory.
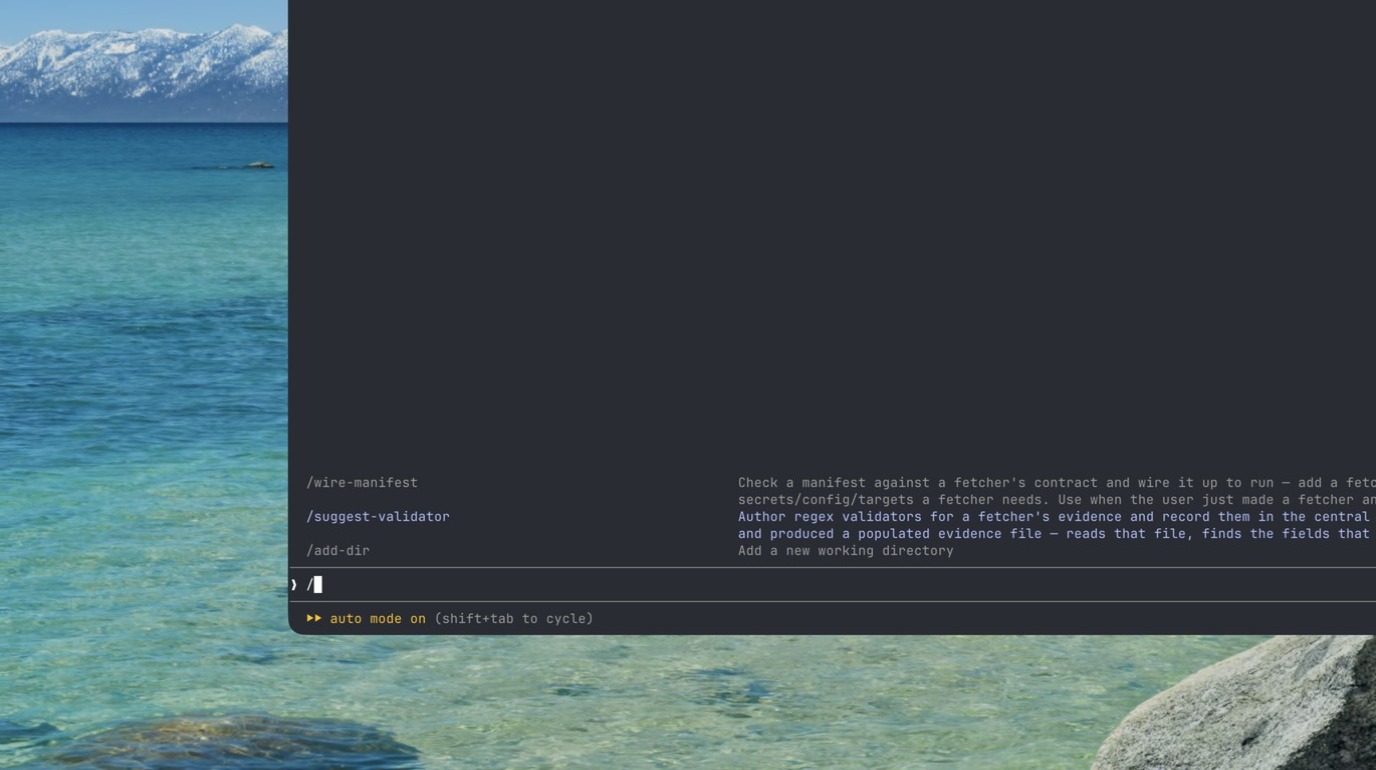
2. Run the suggest-validator skill
Run the /suggest-validator skill.
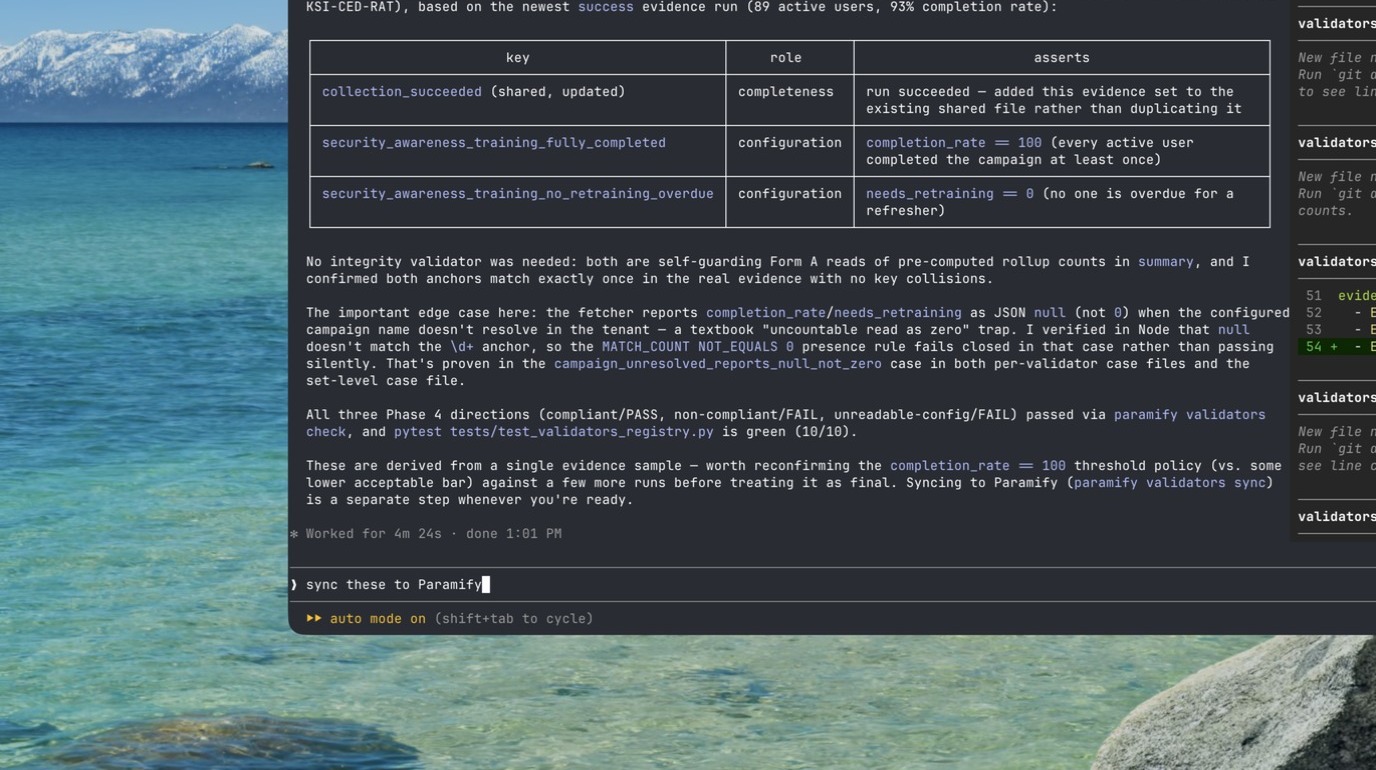
3. Sync to Paramify
Type "sync these to Paramify".
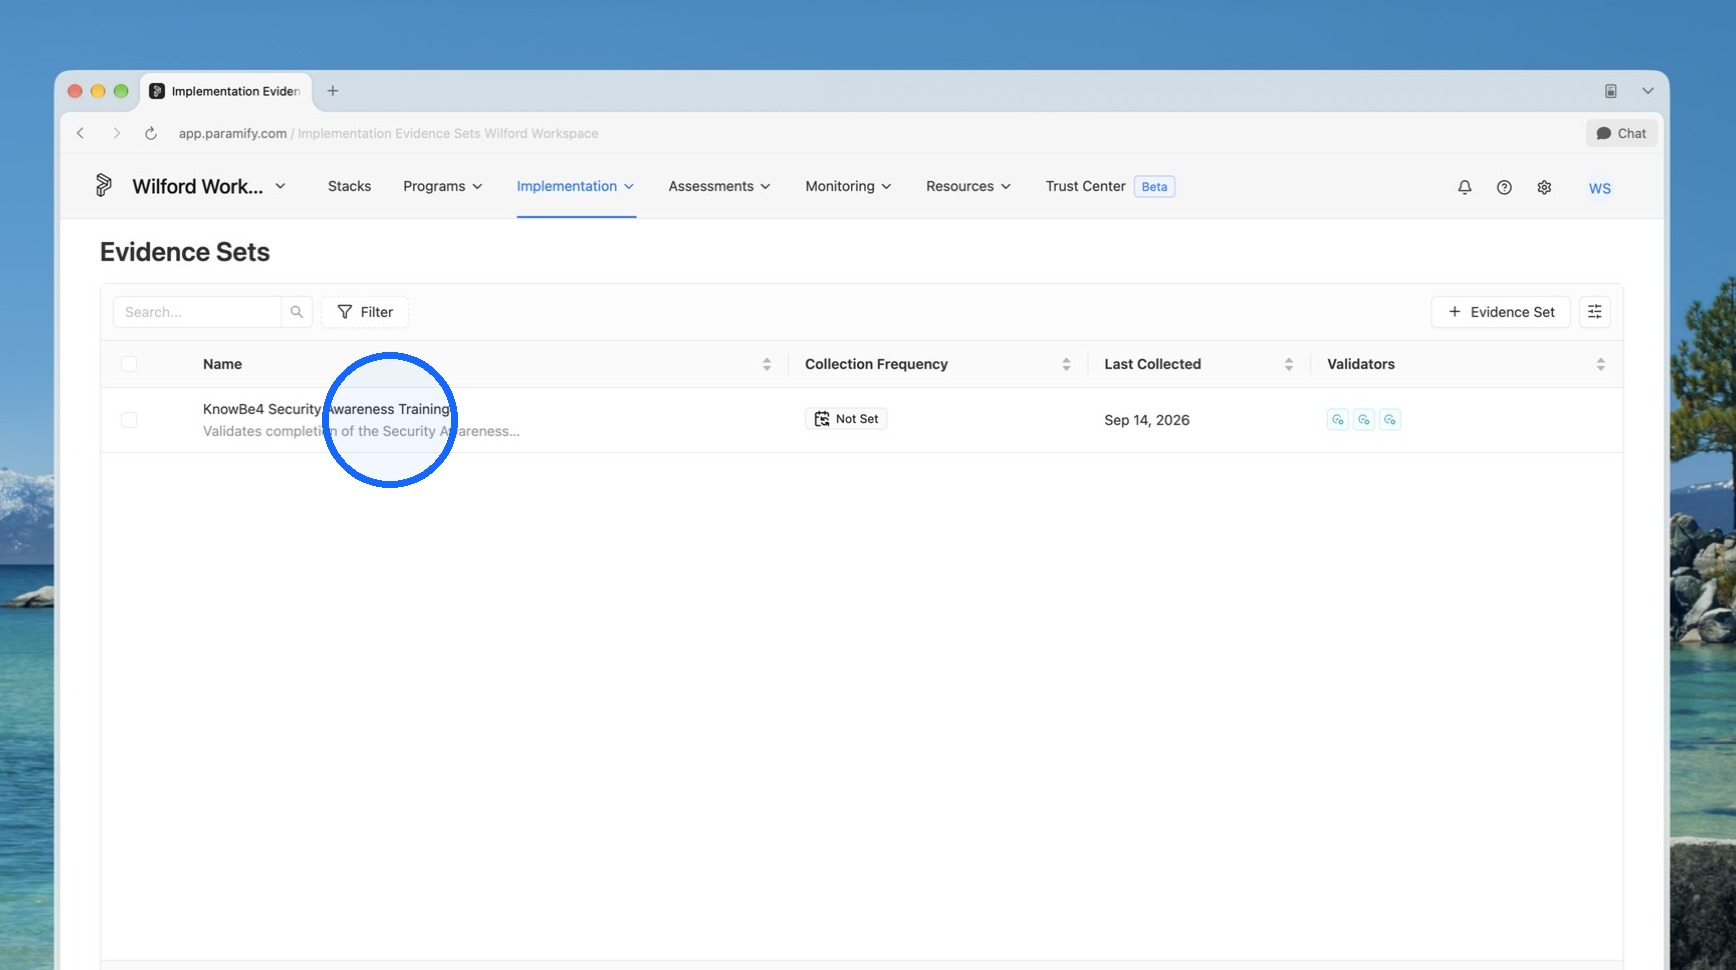
4. Open the evidence set
Return to the Evidence Sets list, and you will see validators that have populated. Open the evidence set.
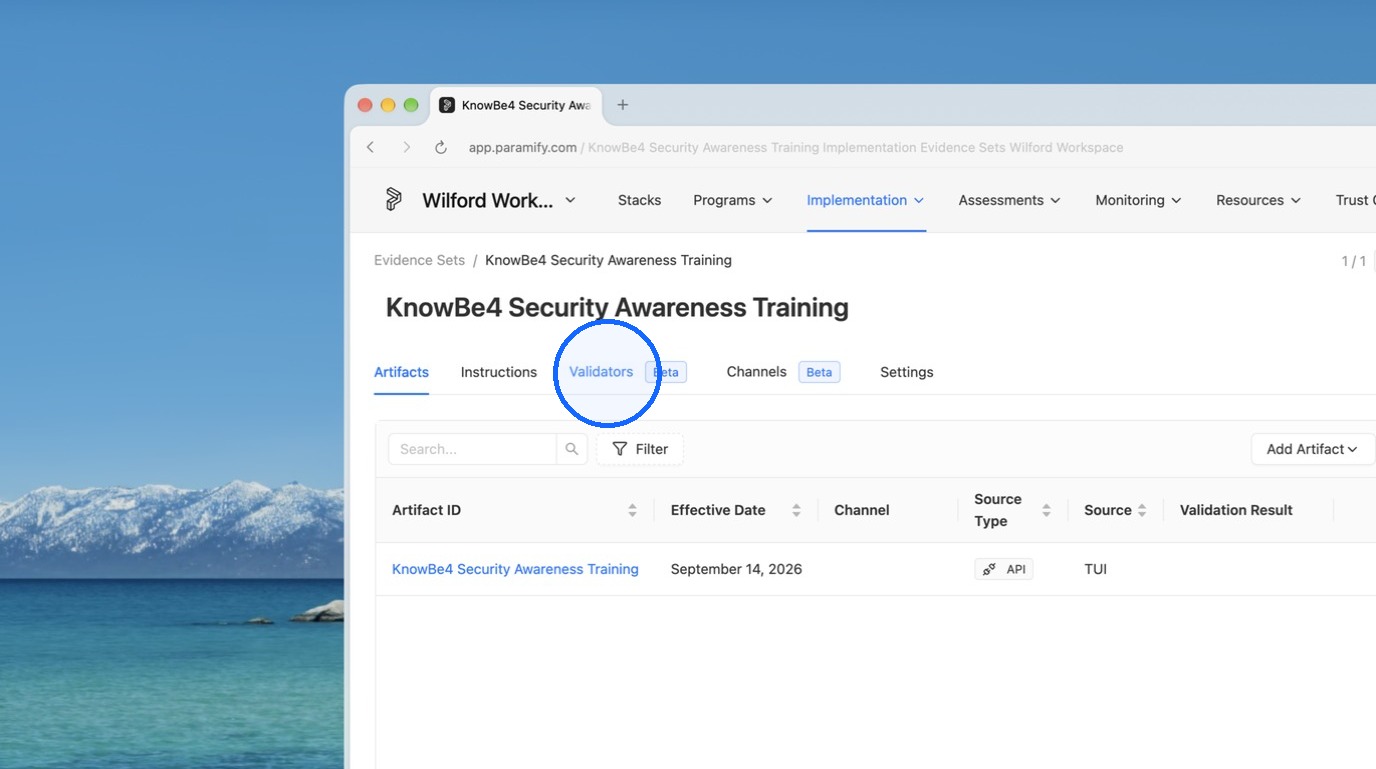
5. Open the Validators tab
Open the Validators tab.
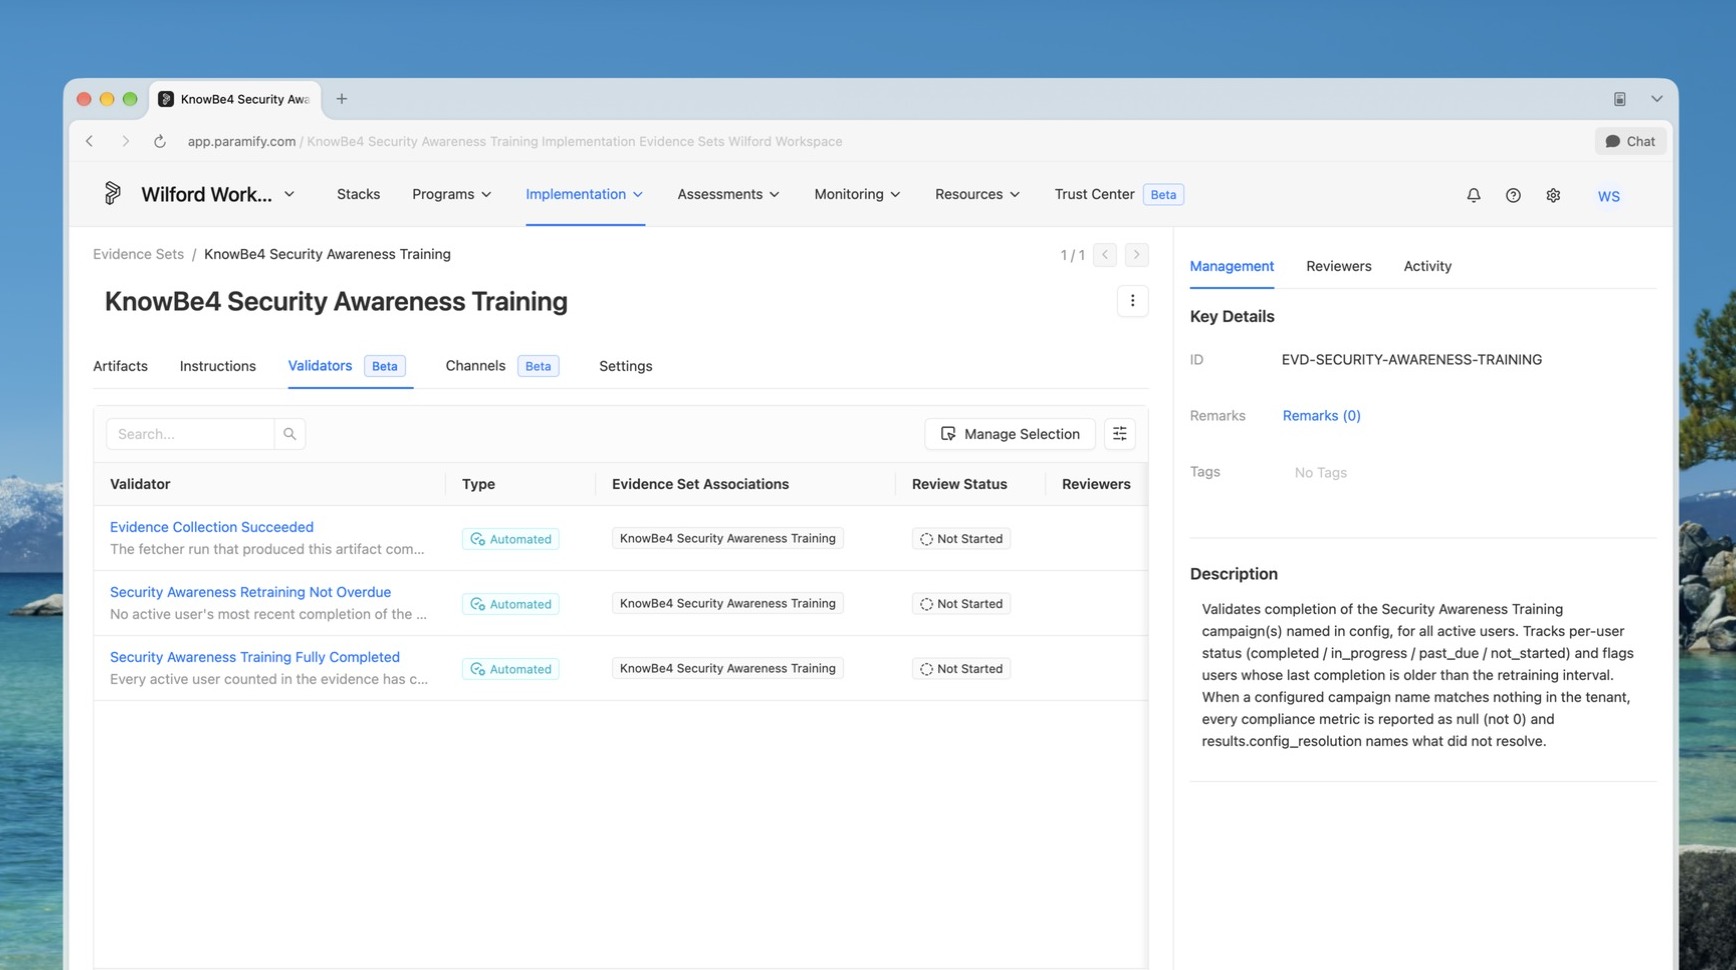
6. Preview and edit validators
Here you can preview and edit any of the validators that were created.
Re-Run Evidence to Test Validators
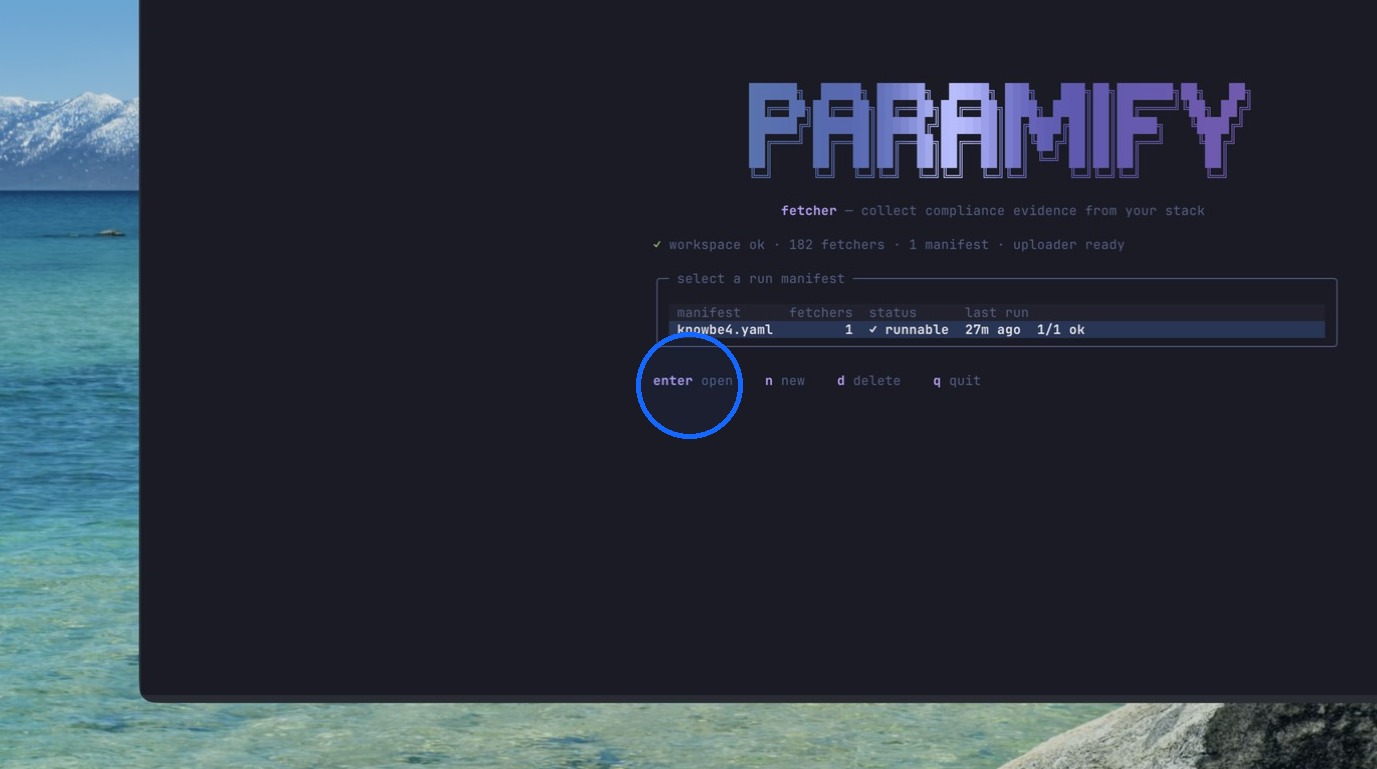
7. Open your manifest
Launch Paramify TUI, and open up your manifest.
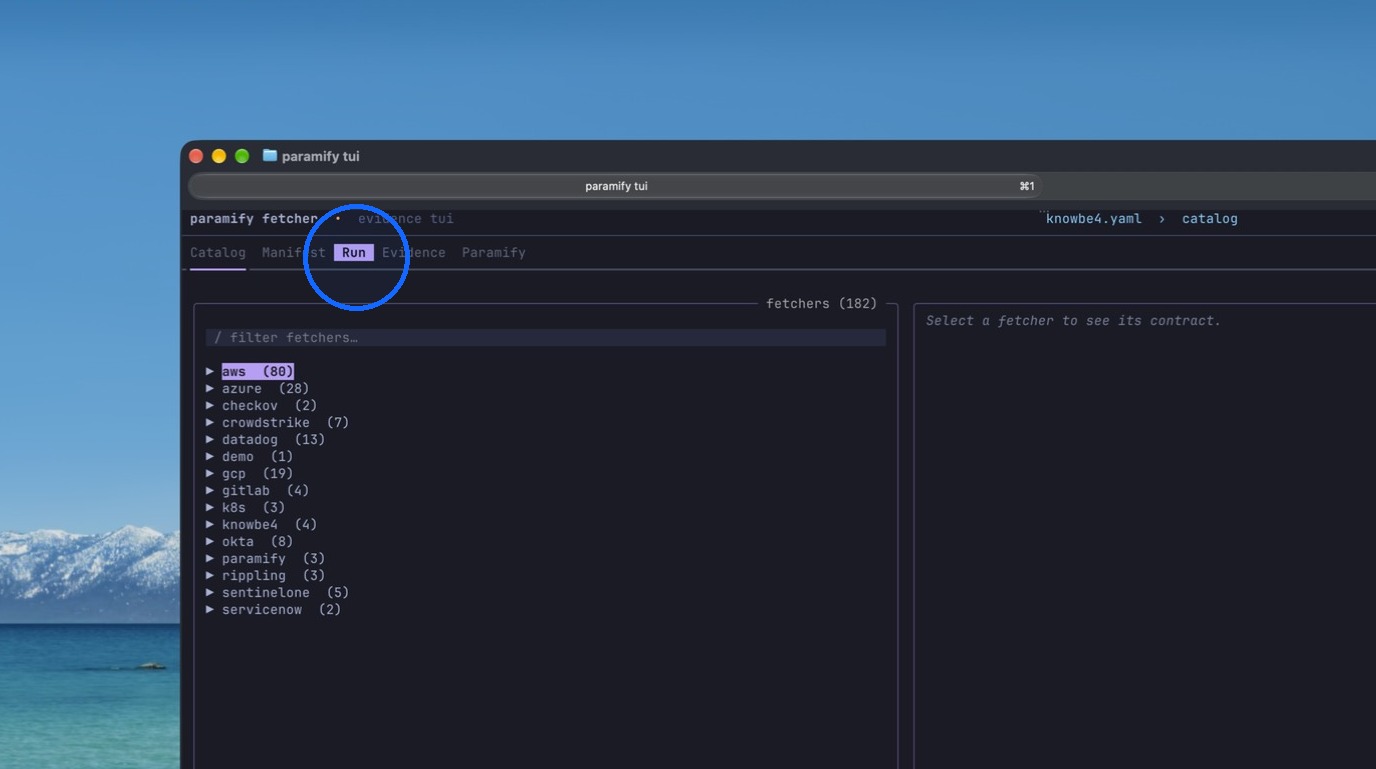
8. Open the Run tab
Open the Run tab.
9. Run evidence collection
Run the evidence collection again.
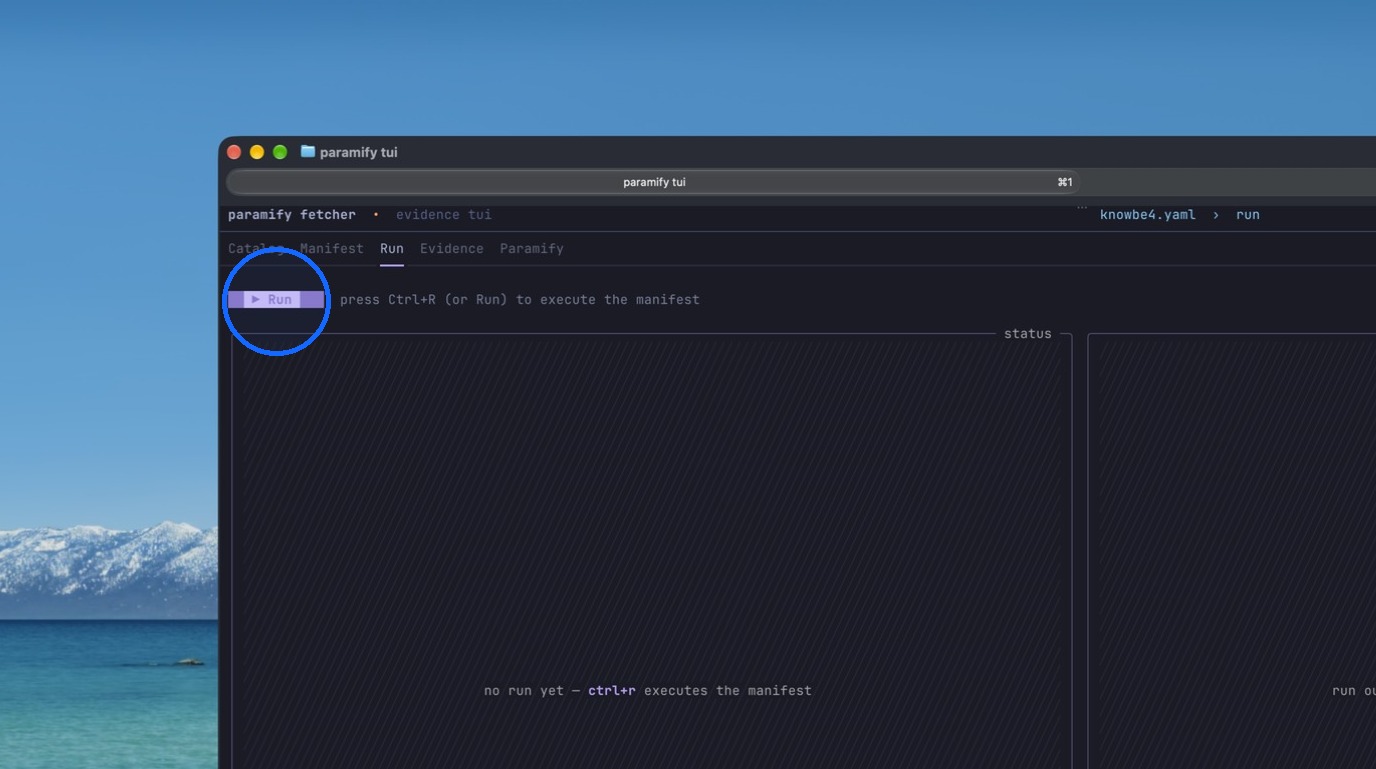
10. Open the Paramify tab
Open the "Paramify" tab.
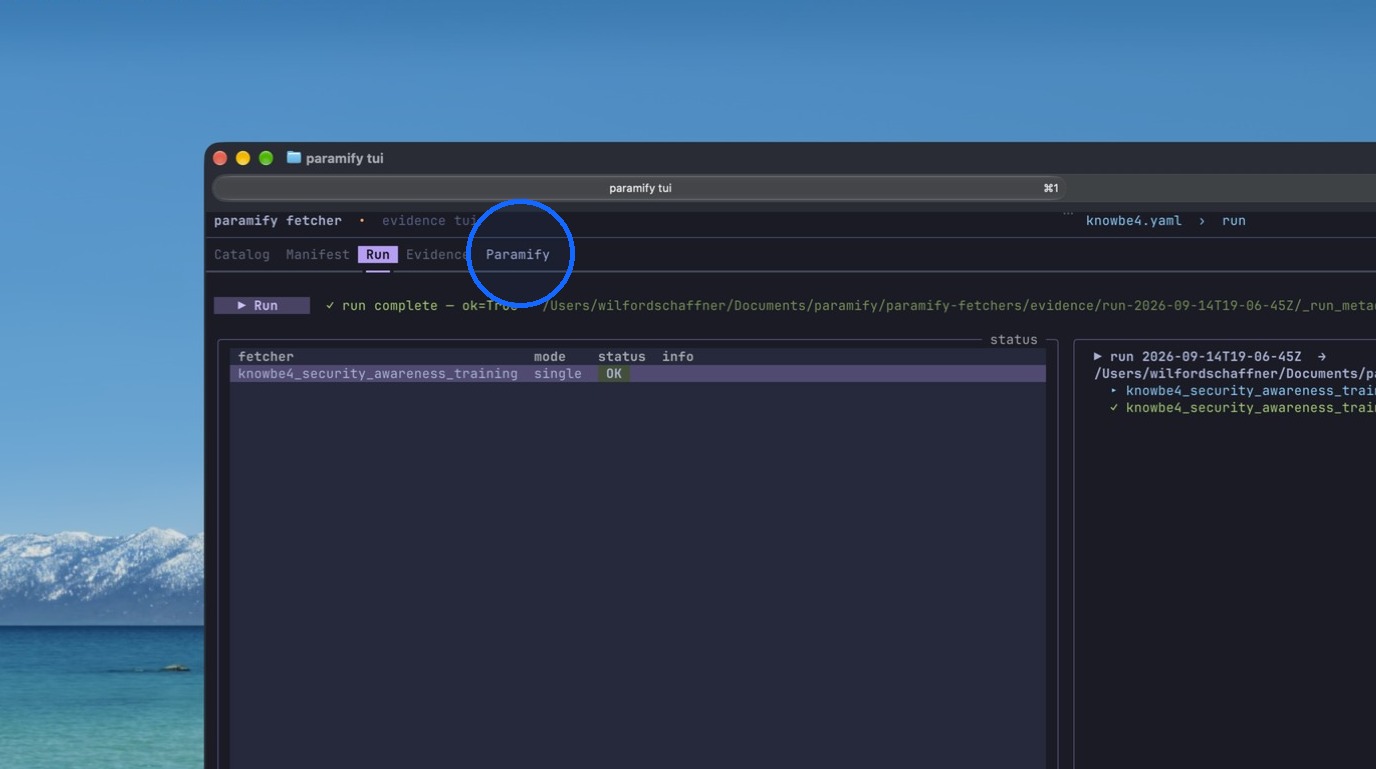
11. Upload to Paramify
Upload to Paramify.
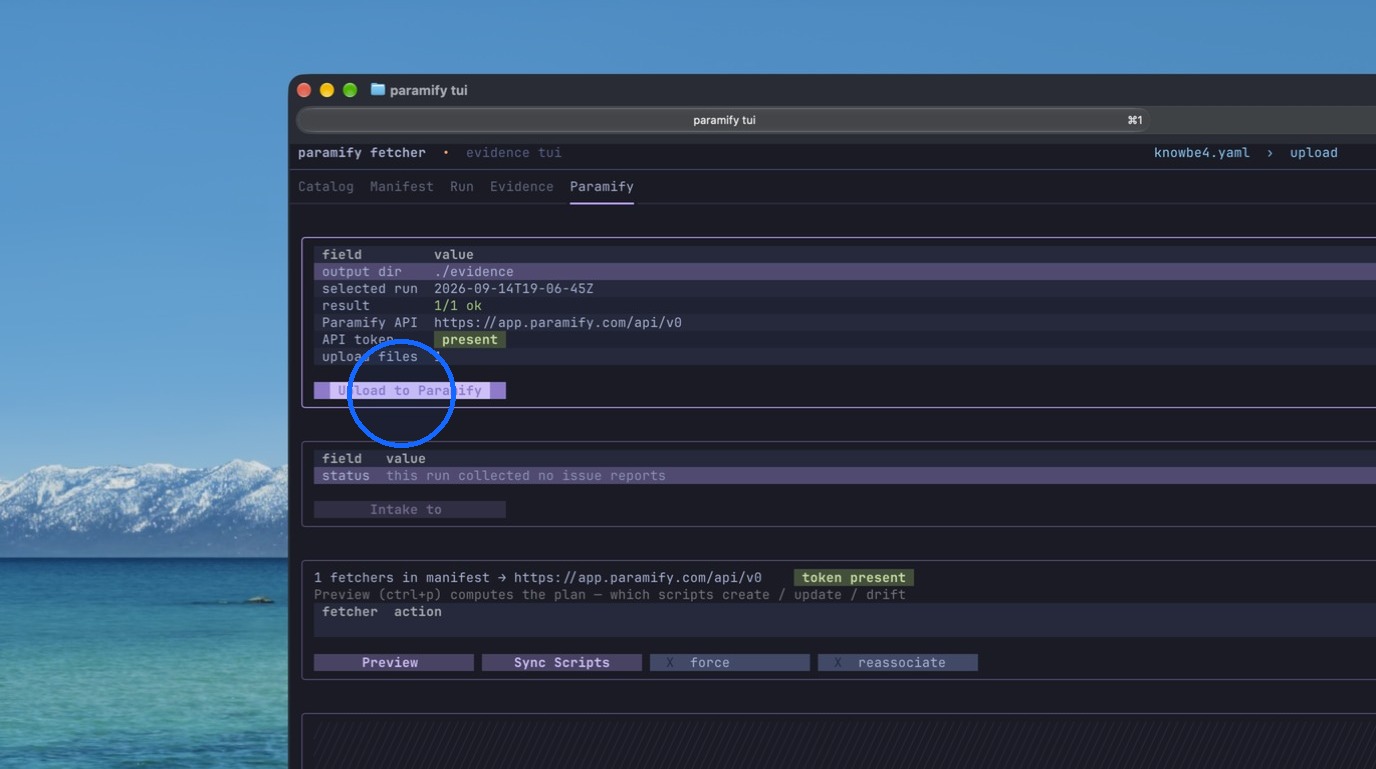
12. Confirm the upload
Confirm the evidence upload.
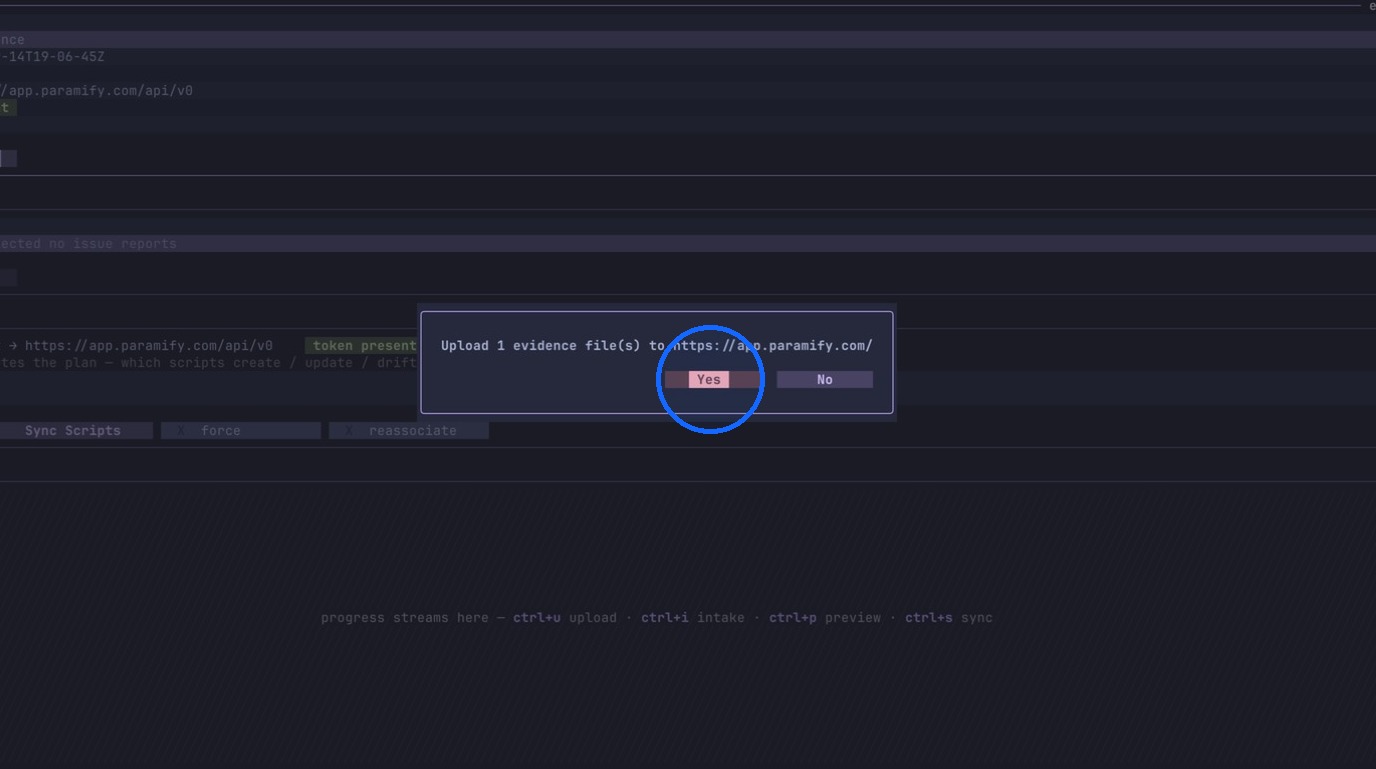
13. Return to the evidence set
Go back into the Evidence Set in the Paramify application.
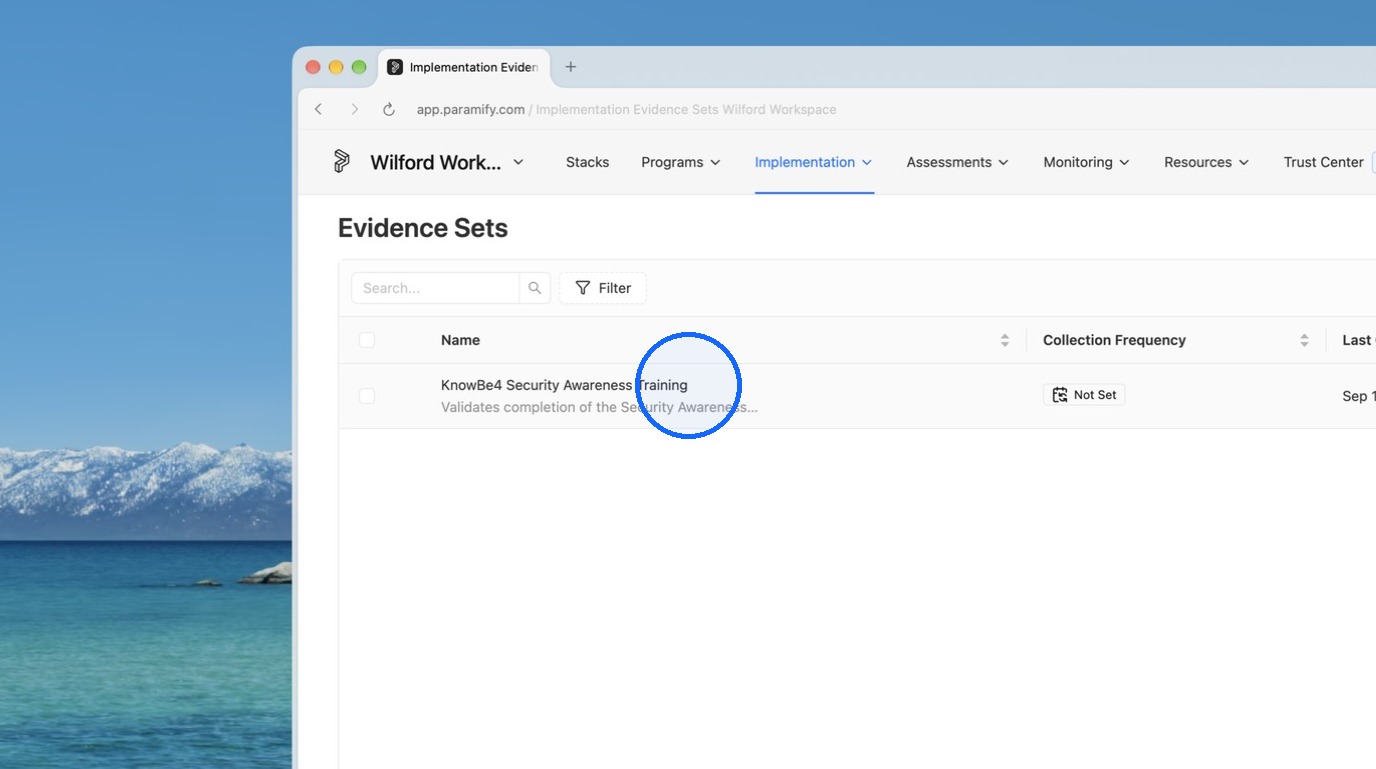
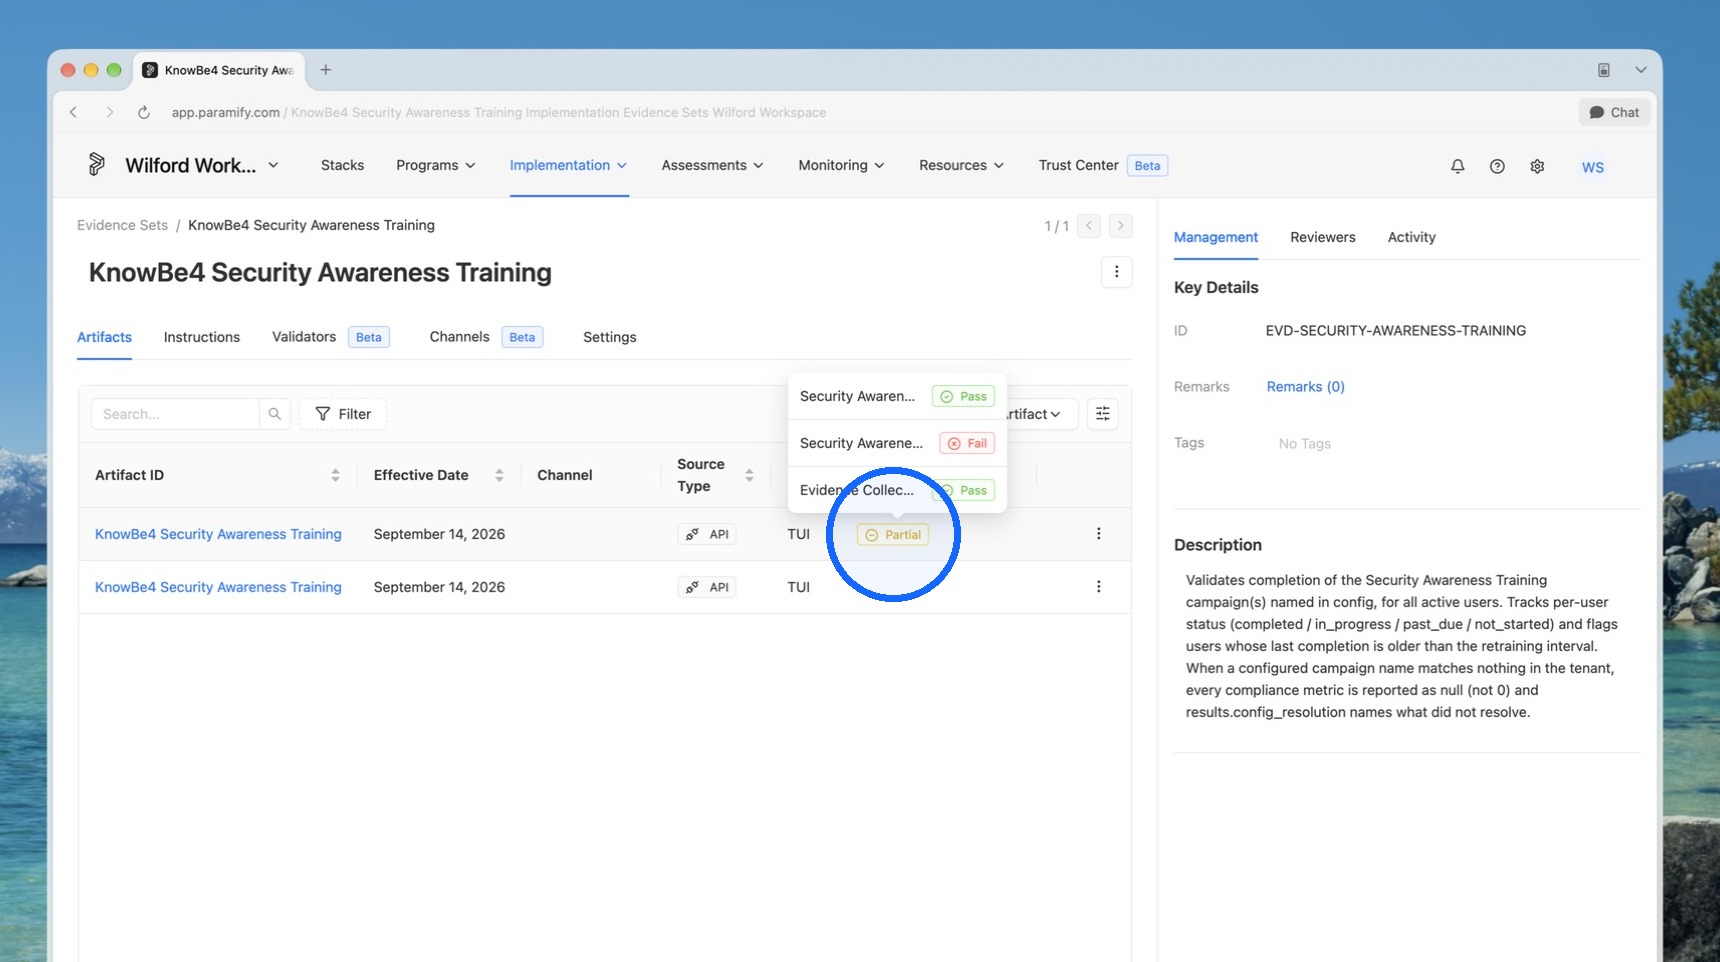
14. Preview validation status
Here you can preview the validation status on the last artifact.
Evidence Association
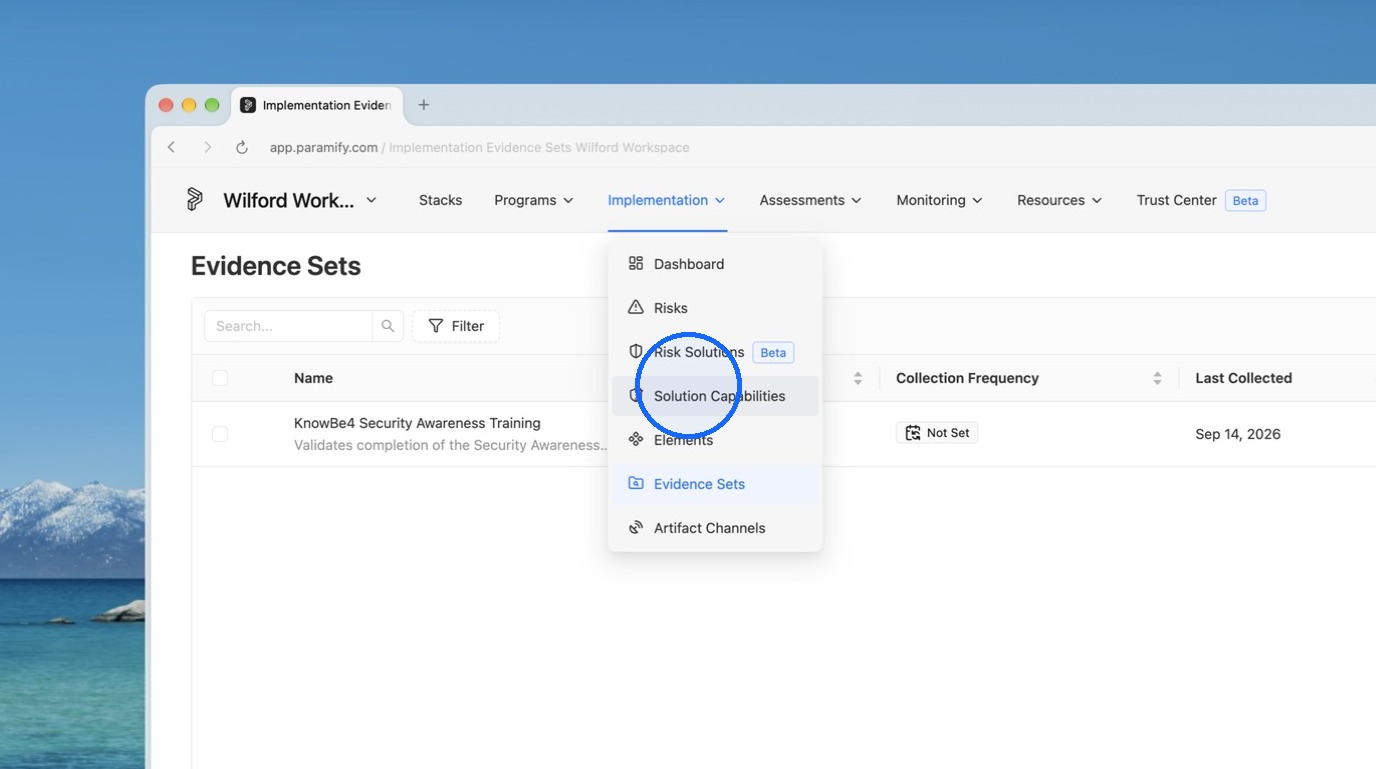
15. Open Solution Capabilities
Open "Solution Capabilities".
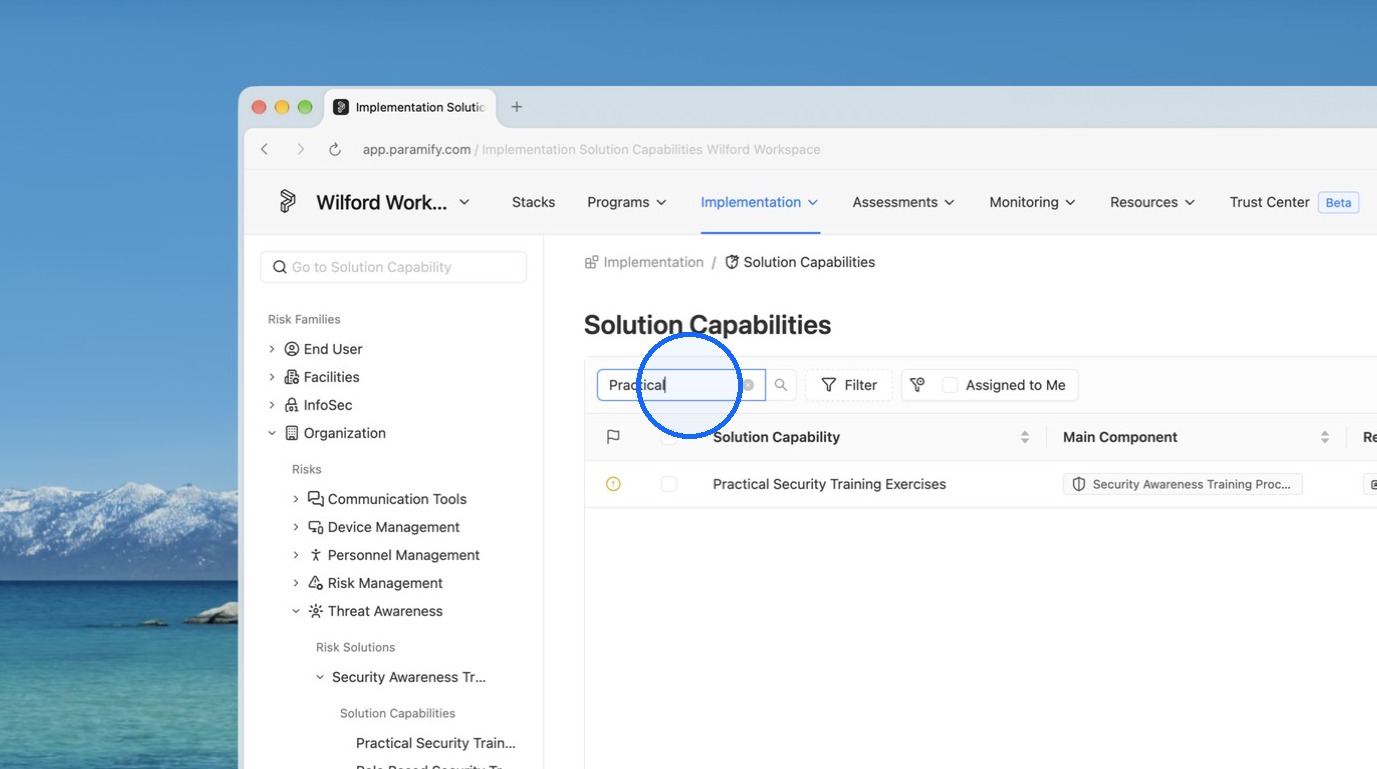
16. Find the associated SolCap
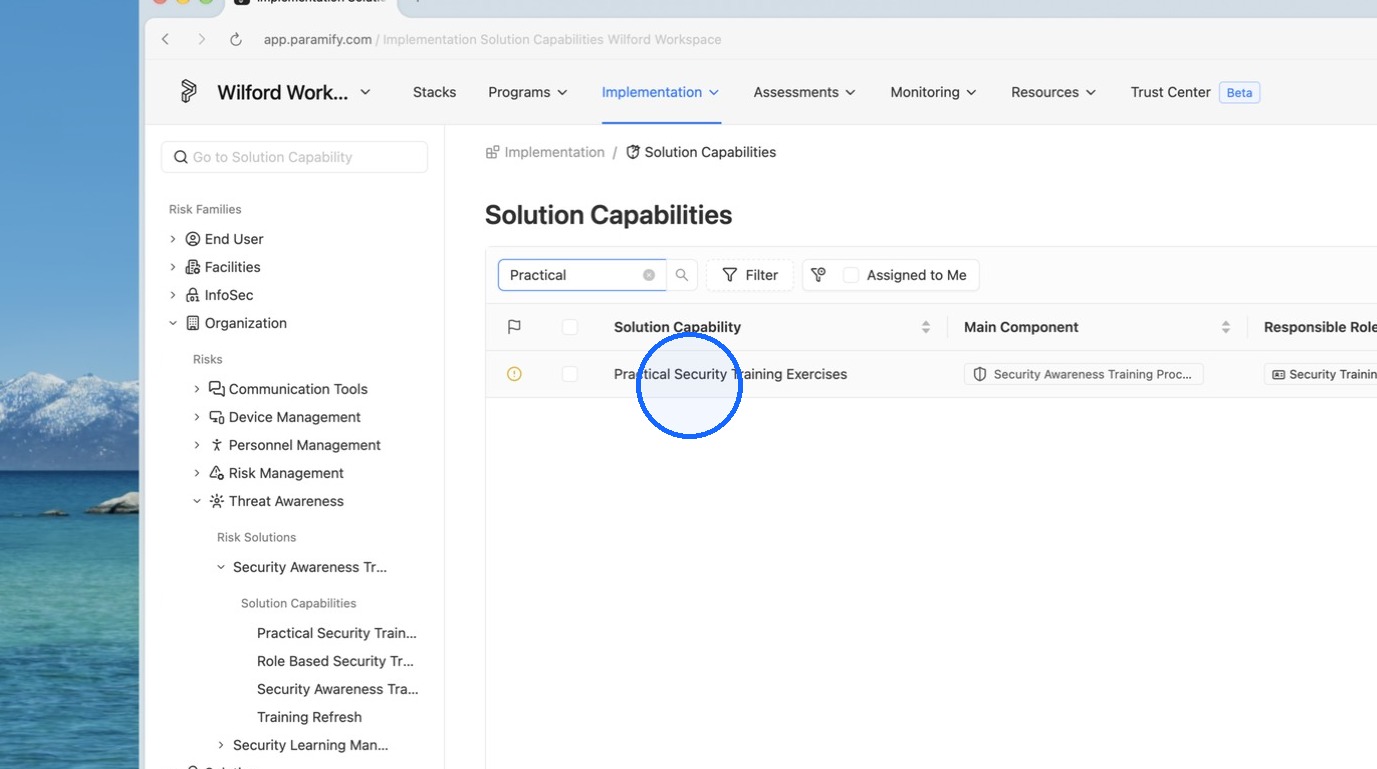
Search for the associated SolCap you set up your evidence collection for.
17. Open the SolCap
Open the SolCap.
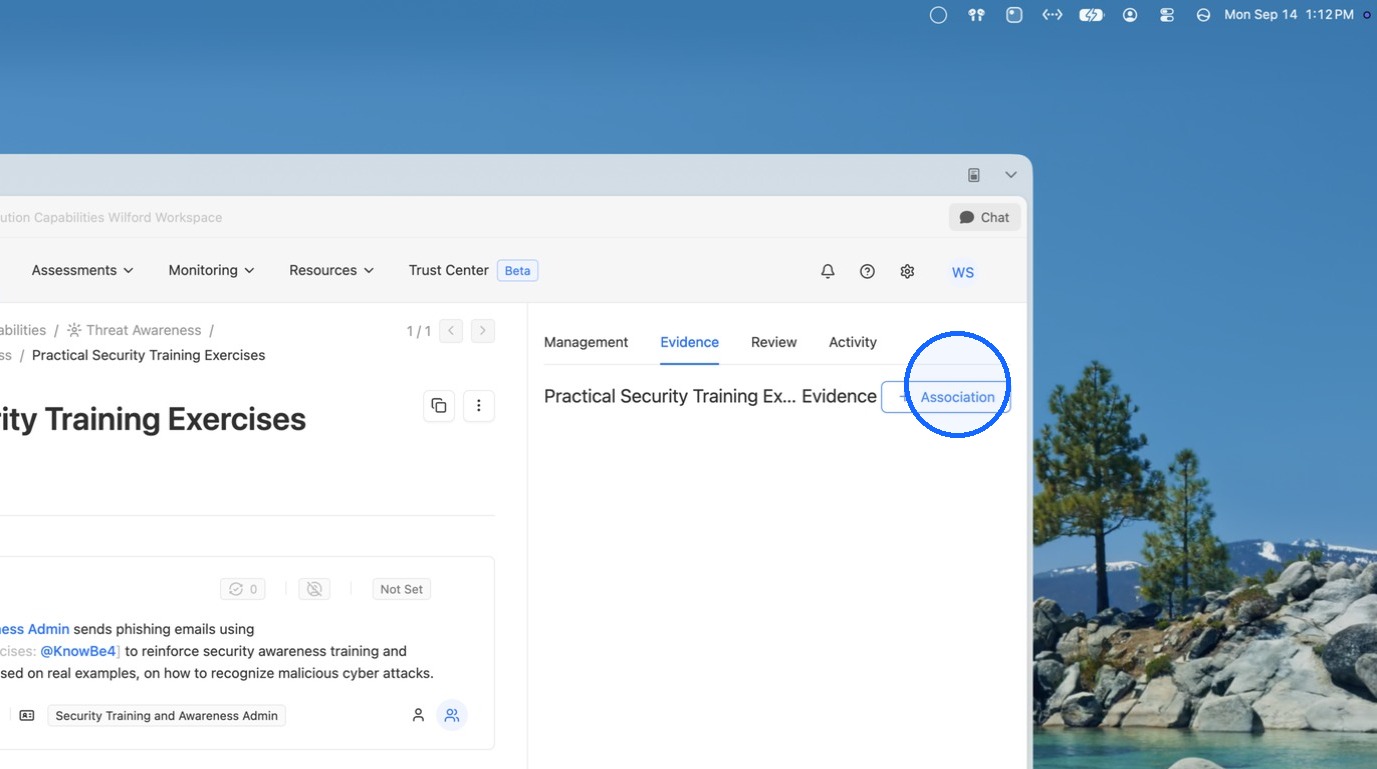
18. Add an evidence association
Open the Evidence tab and click "+ Association".
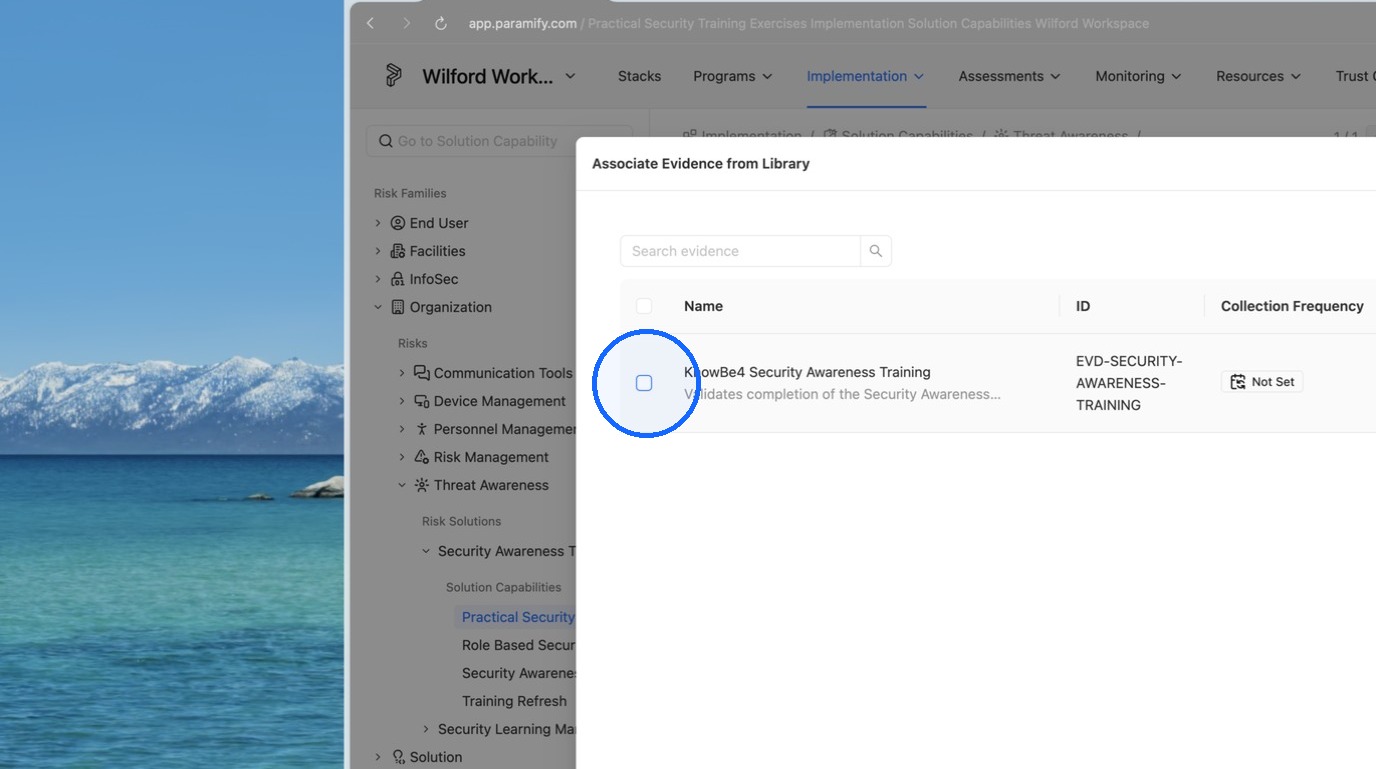
19. Select the evidence set
Select the Evidence Set.
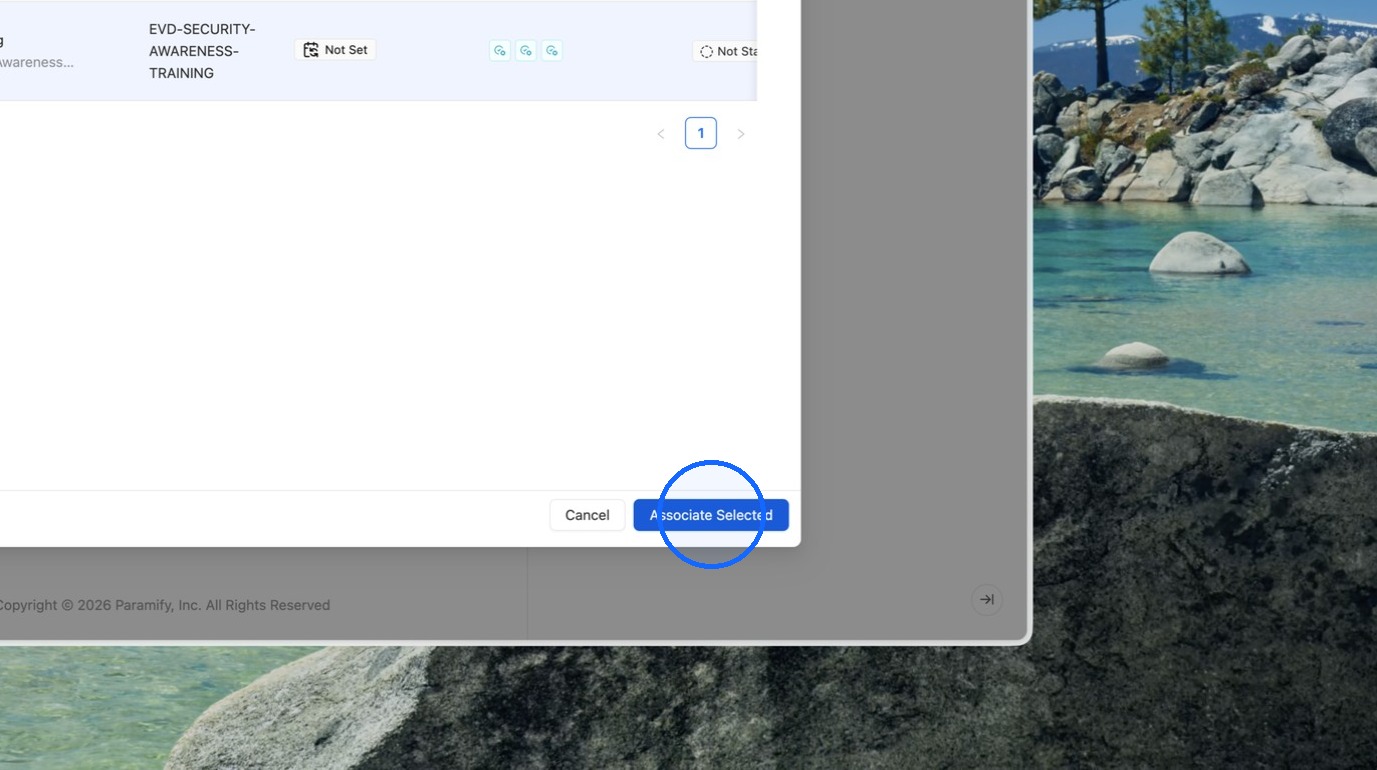
20. Associate the selection
Click the "Associate Selected" button.
21. Confirm the association
Your evidence has been associated with this Solution Capability. Whenever this Solution Capability is attached to a Control or KSI, this evidence will automatically associate with it.
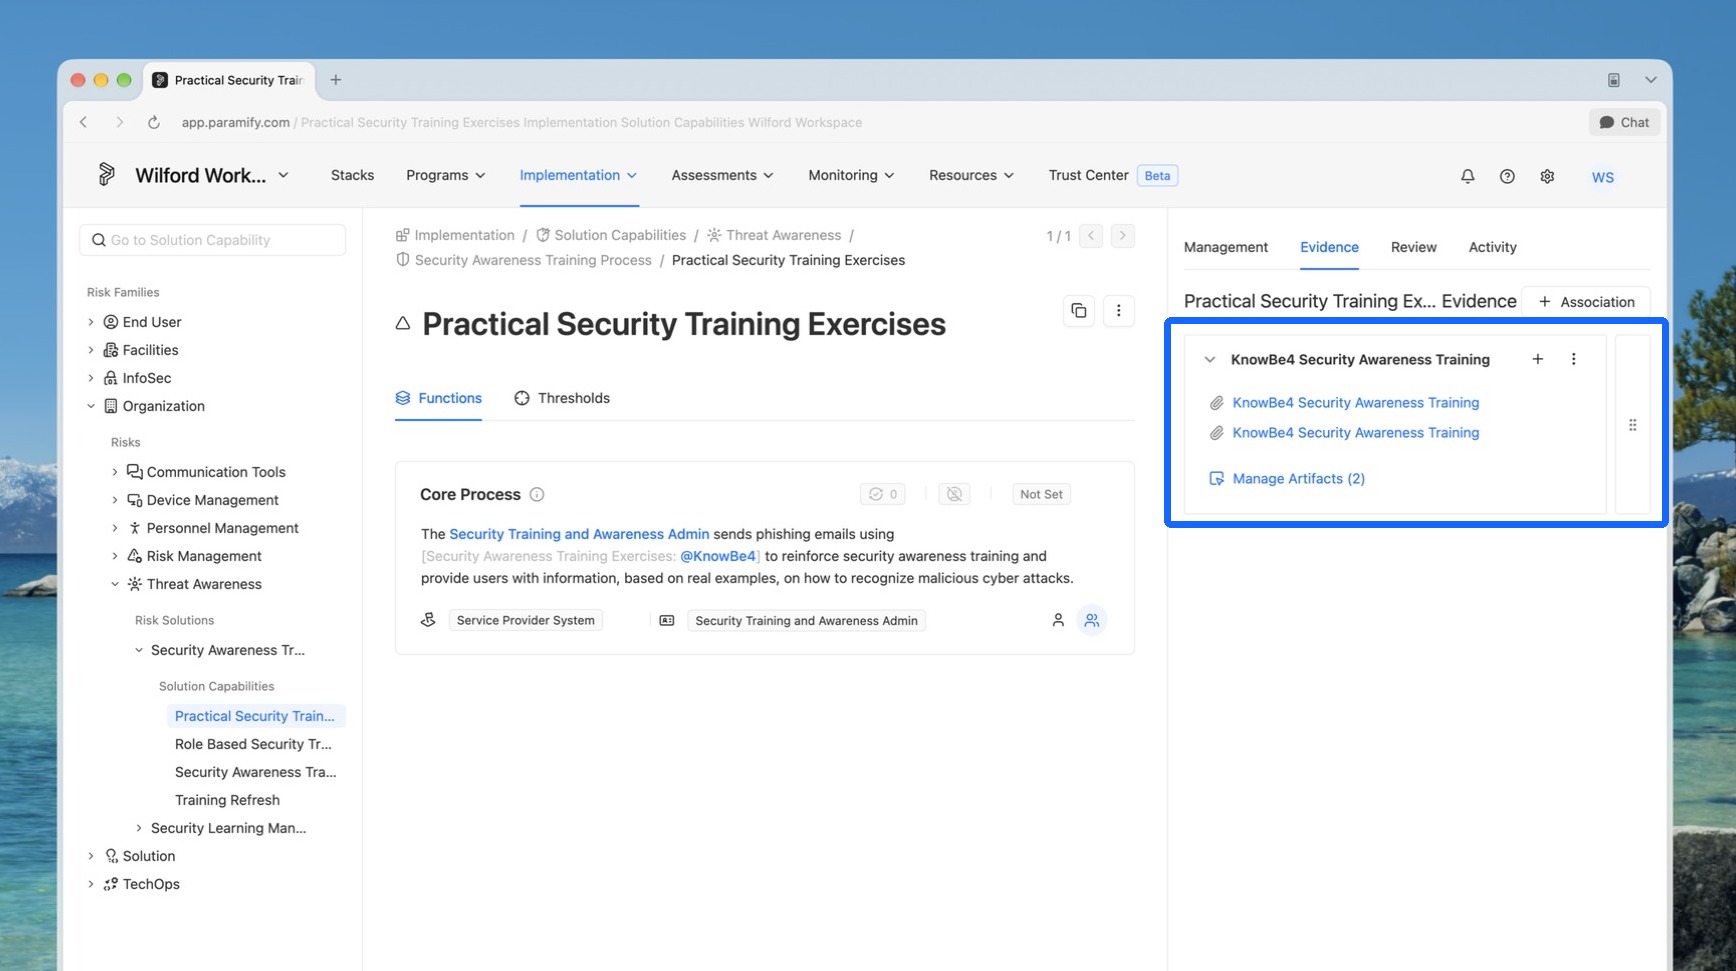
Validator Association
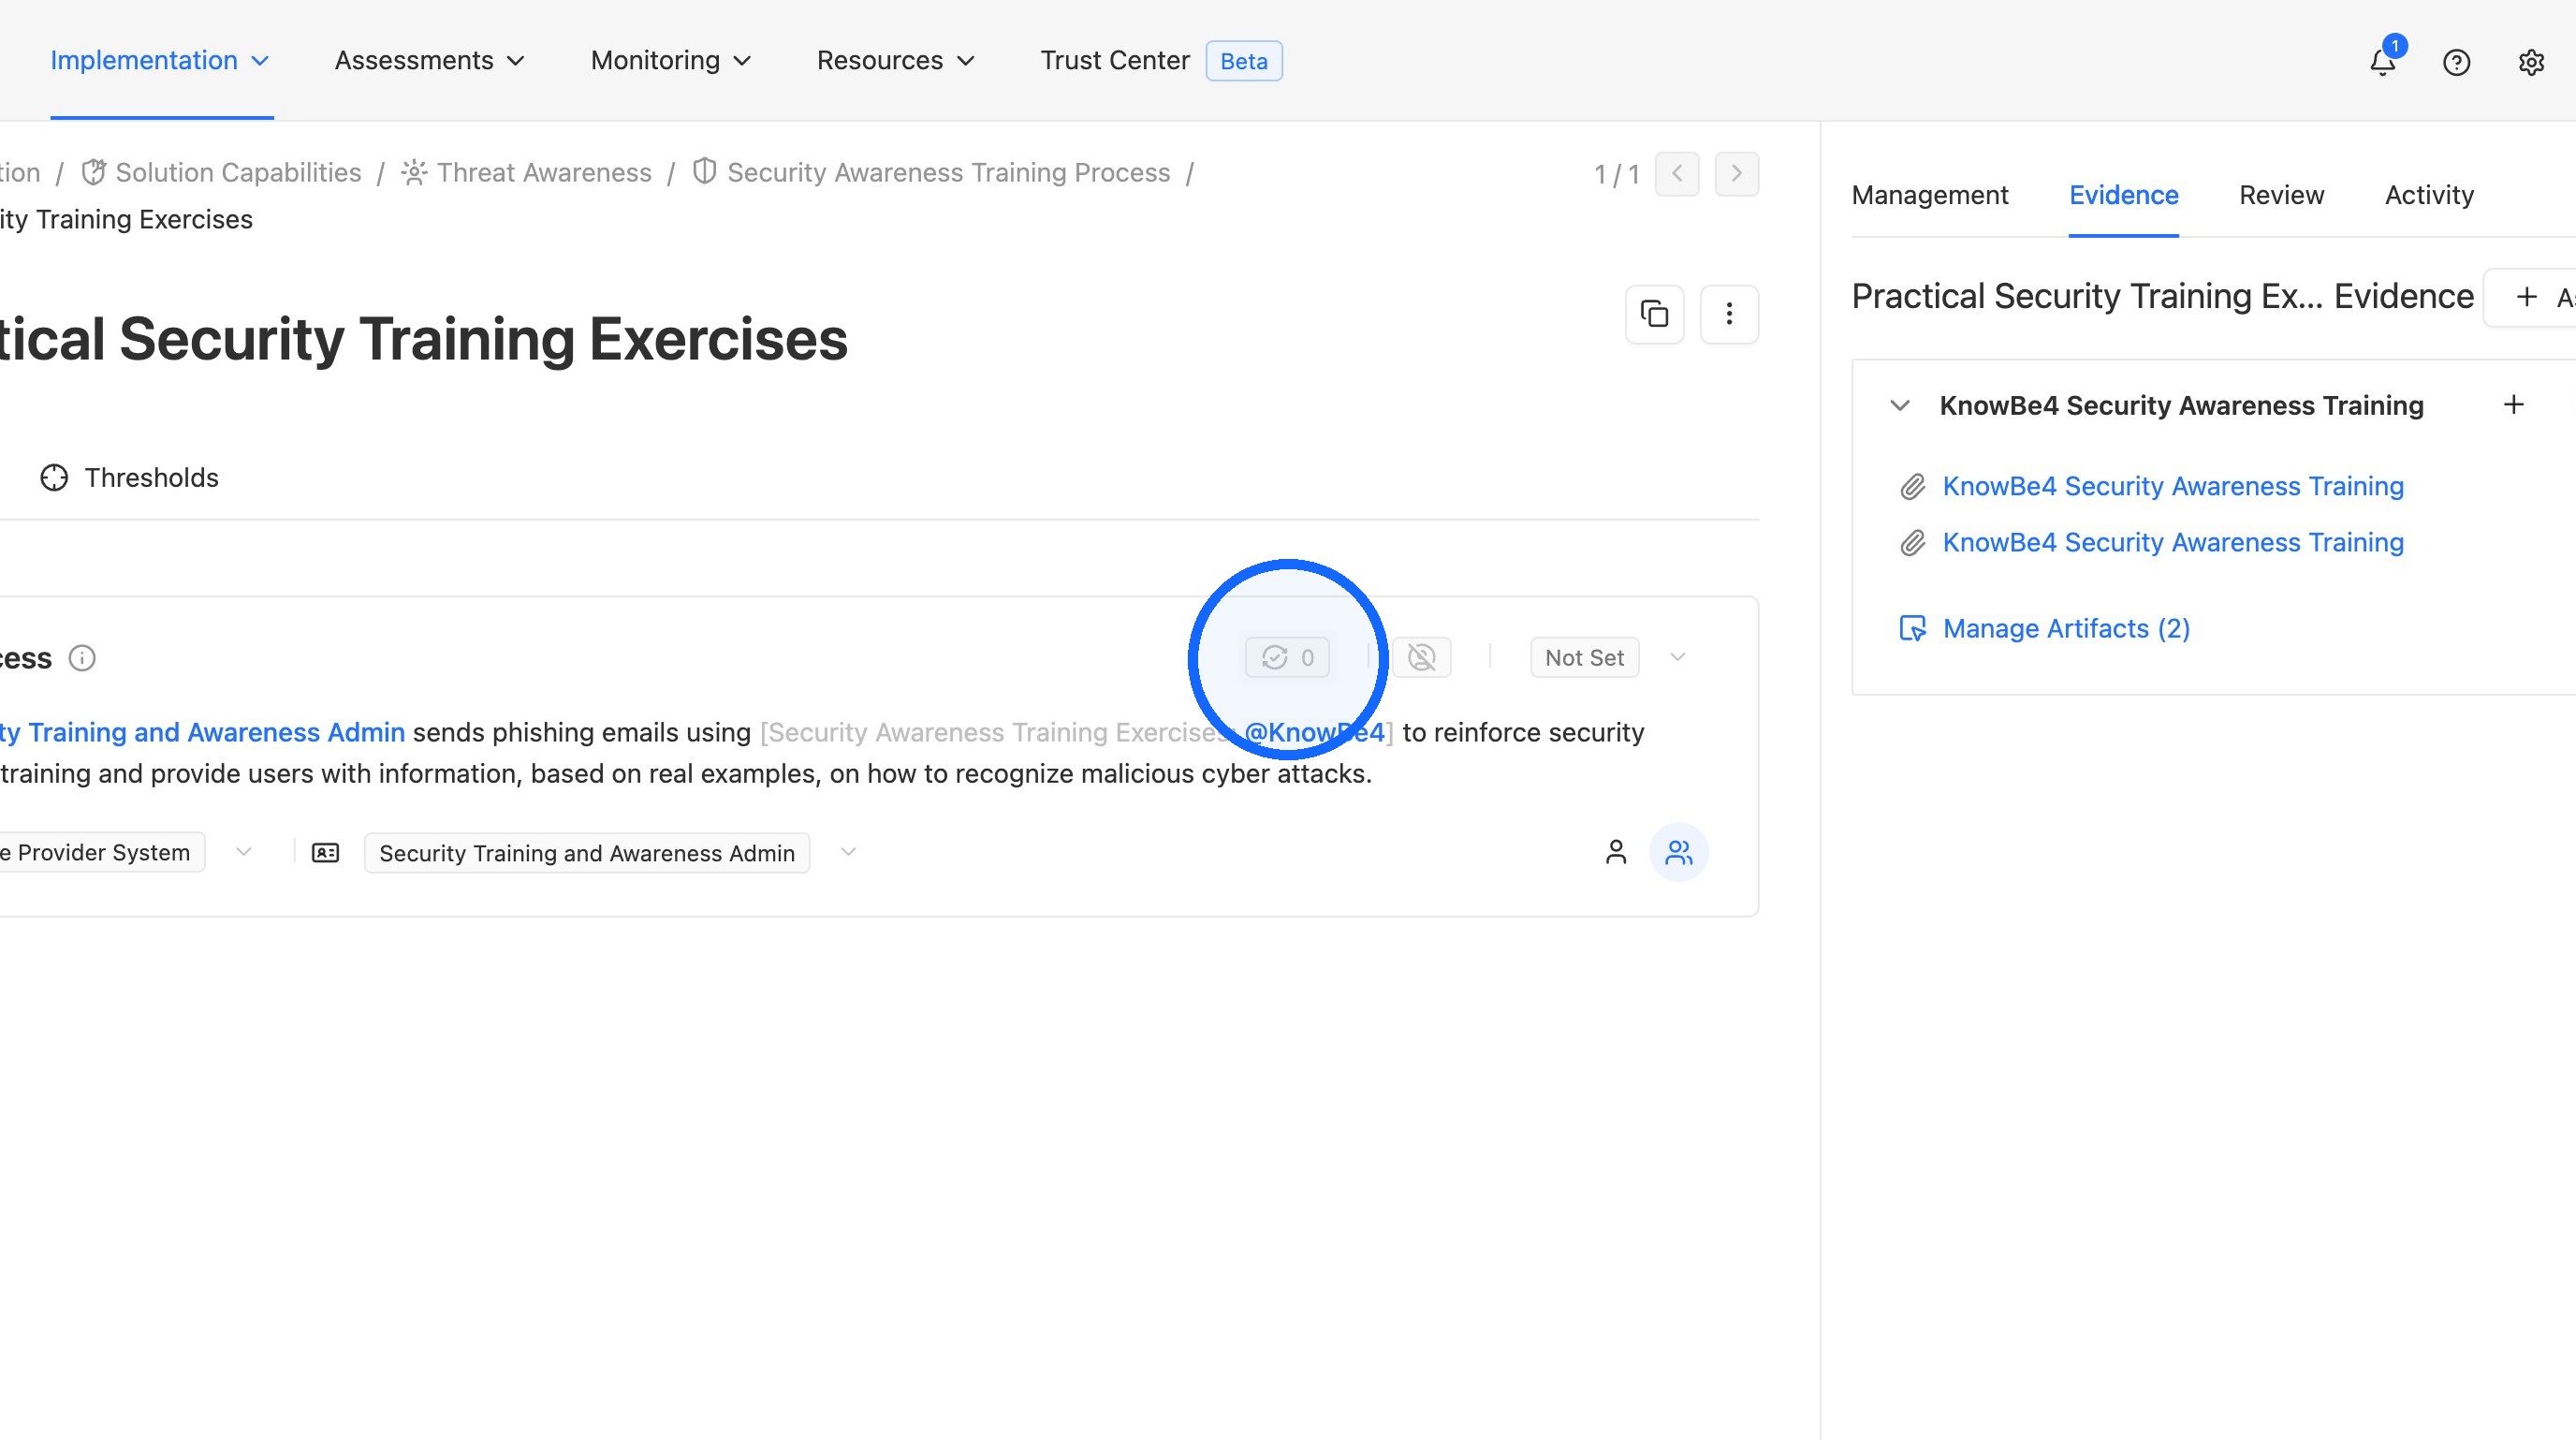
22. Open the validator icon
Click the Validator icon on the related Solution Capability function.
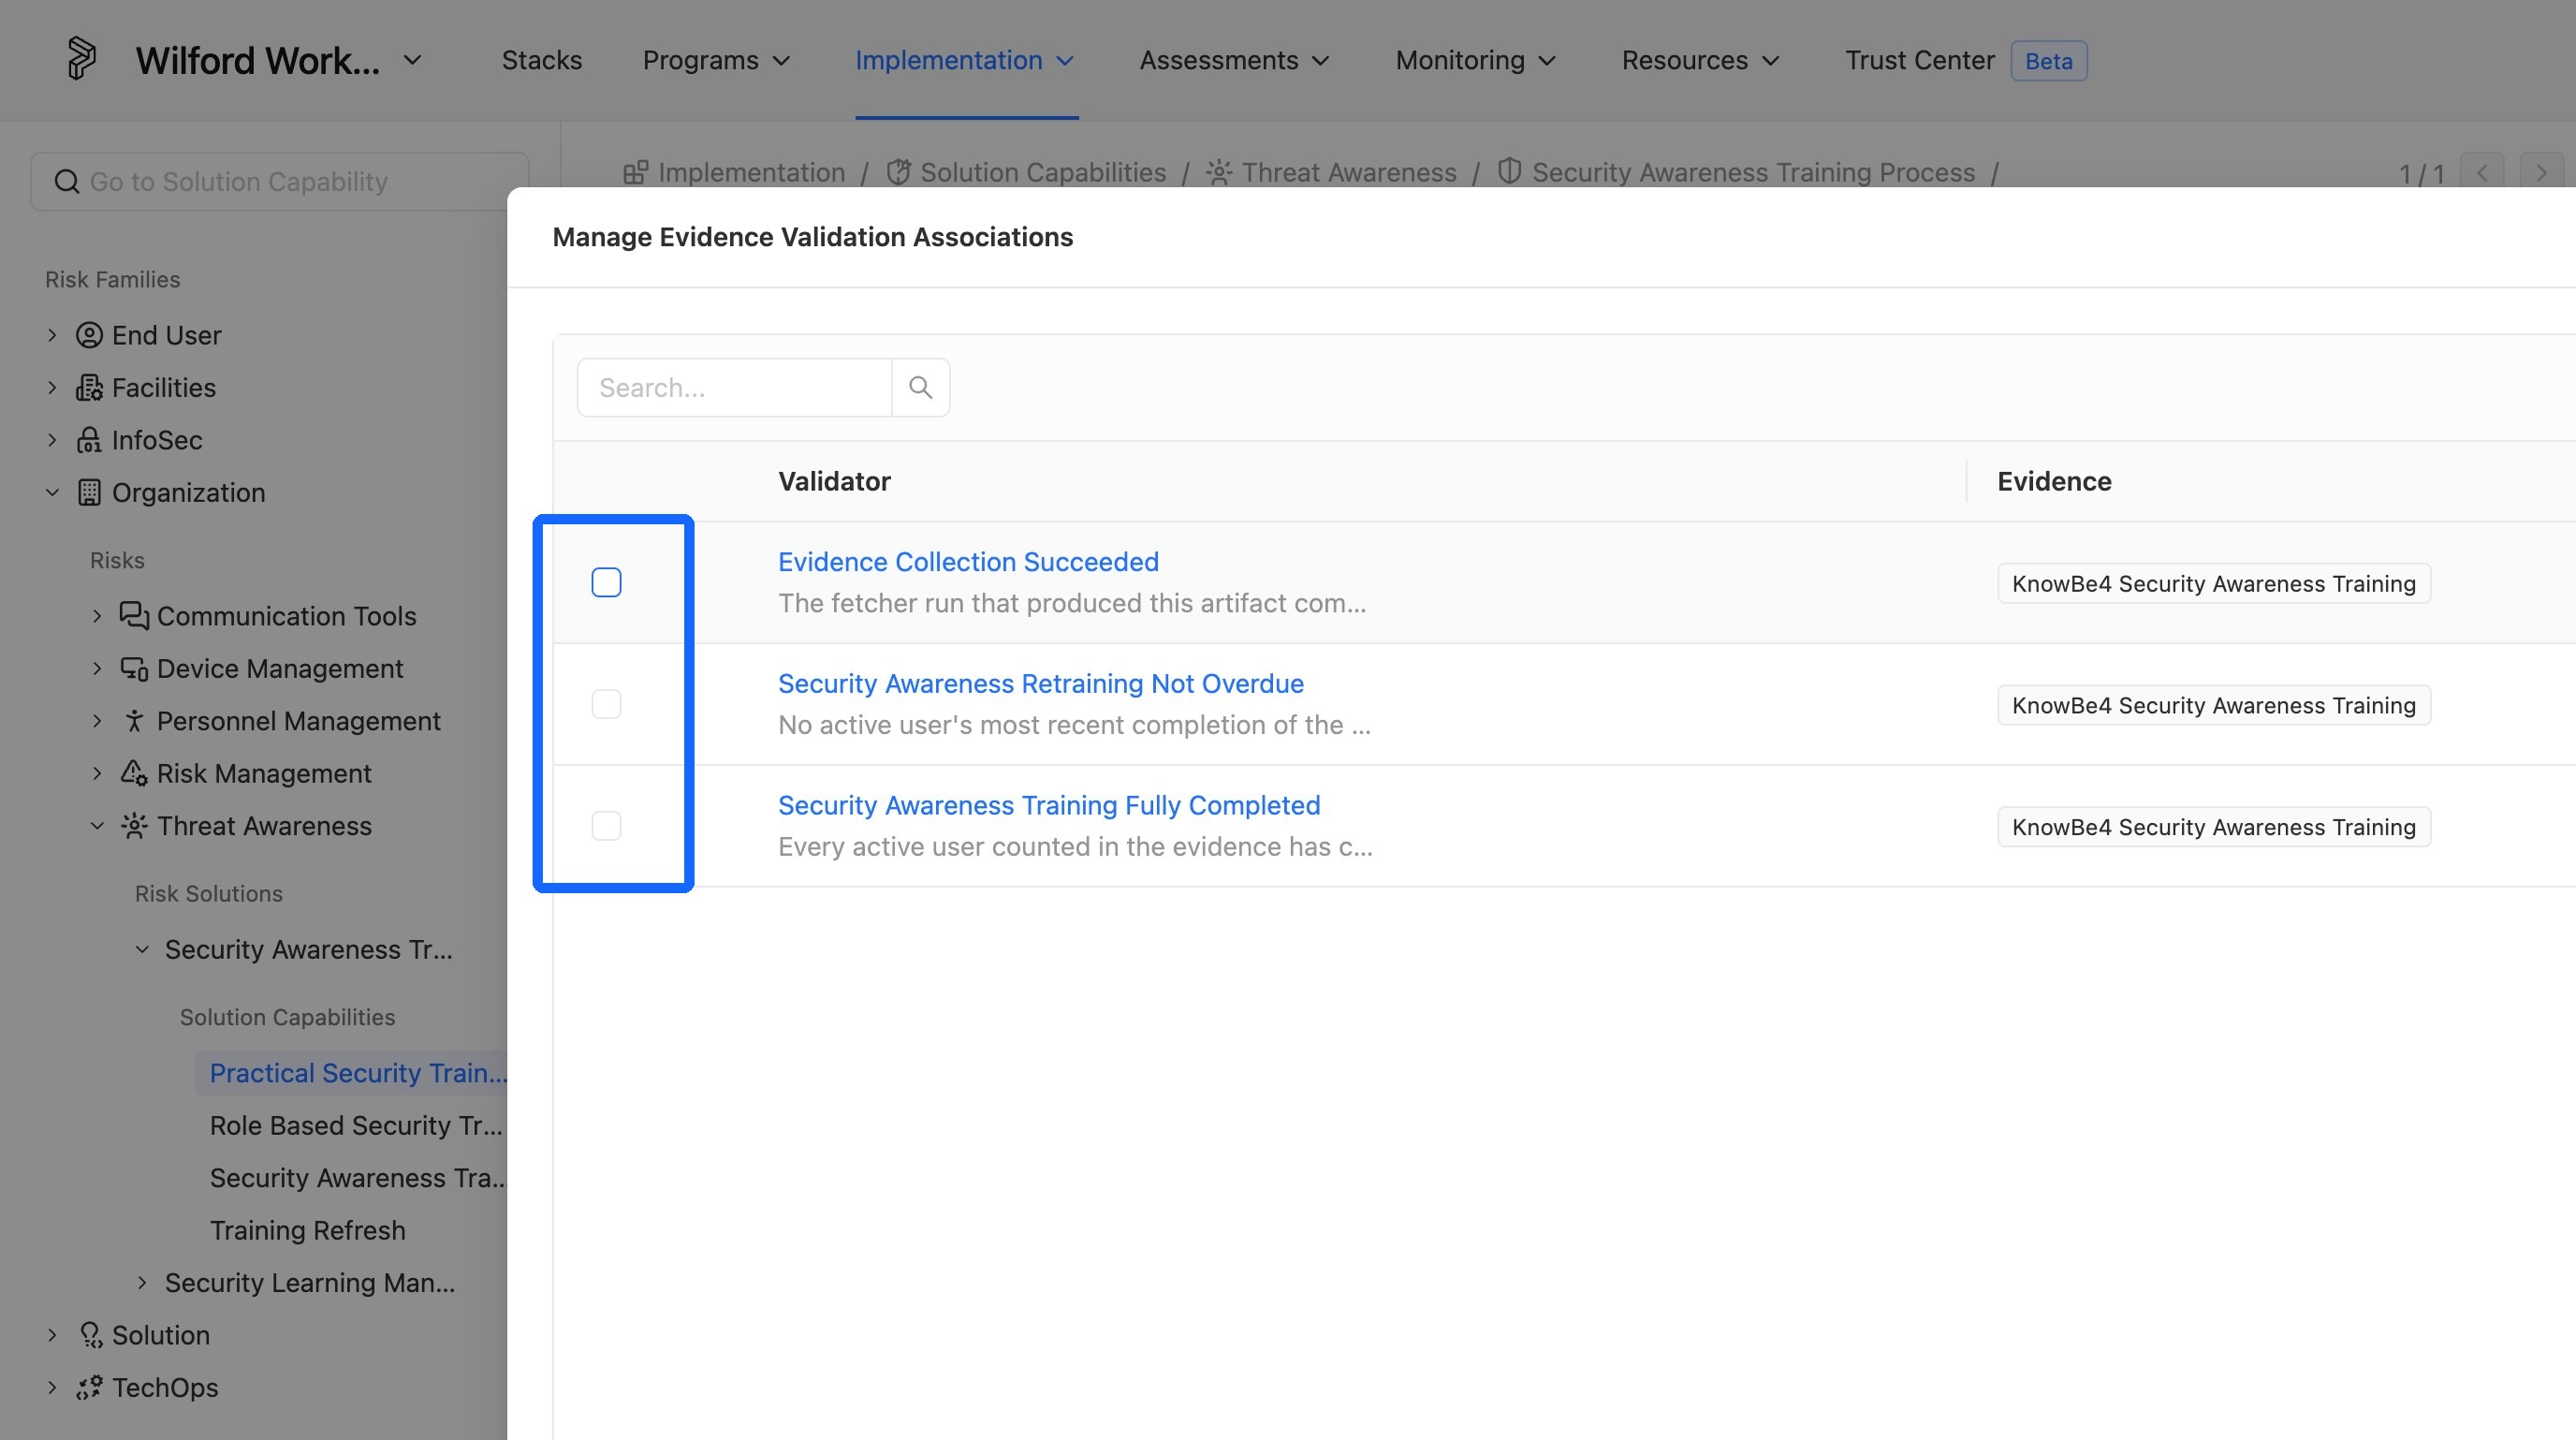
23. Select the corresponding validators
Select the corresponding validators.
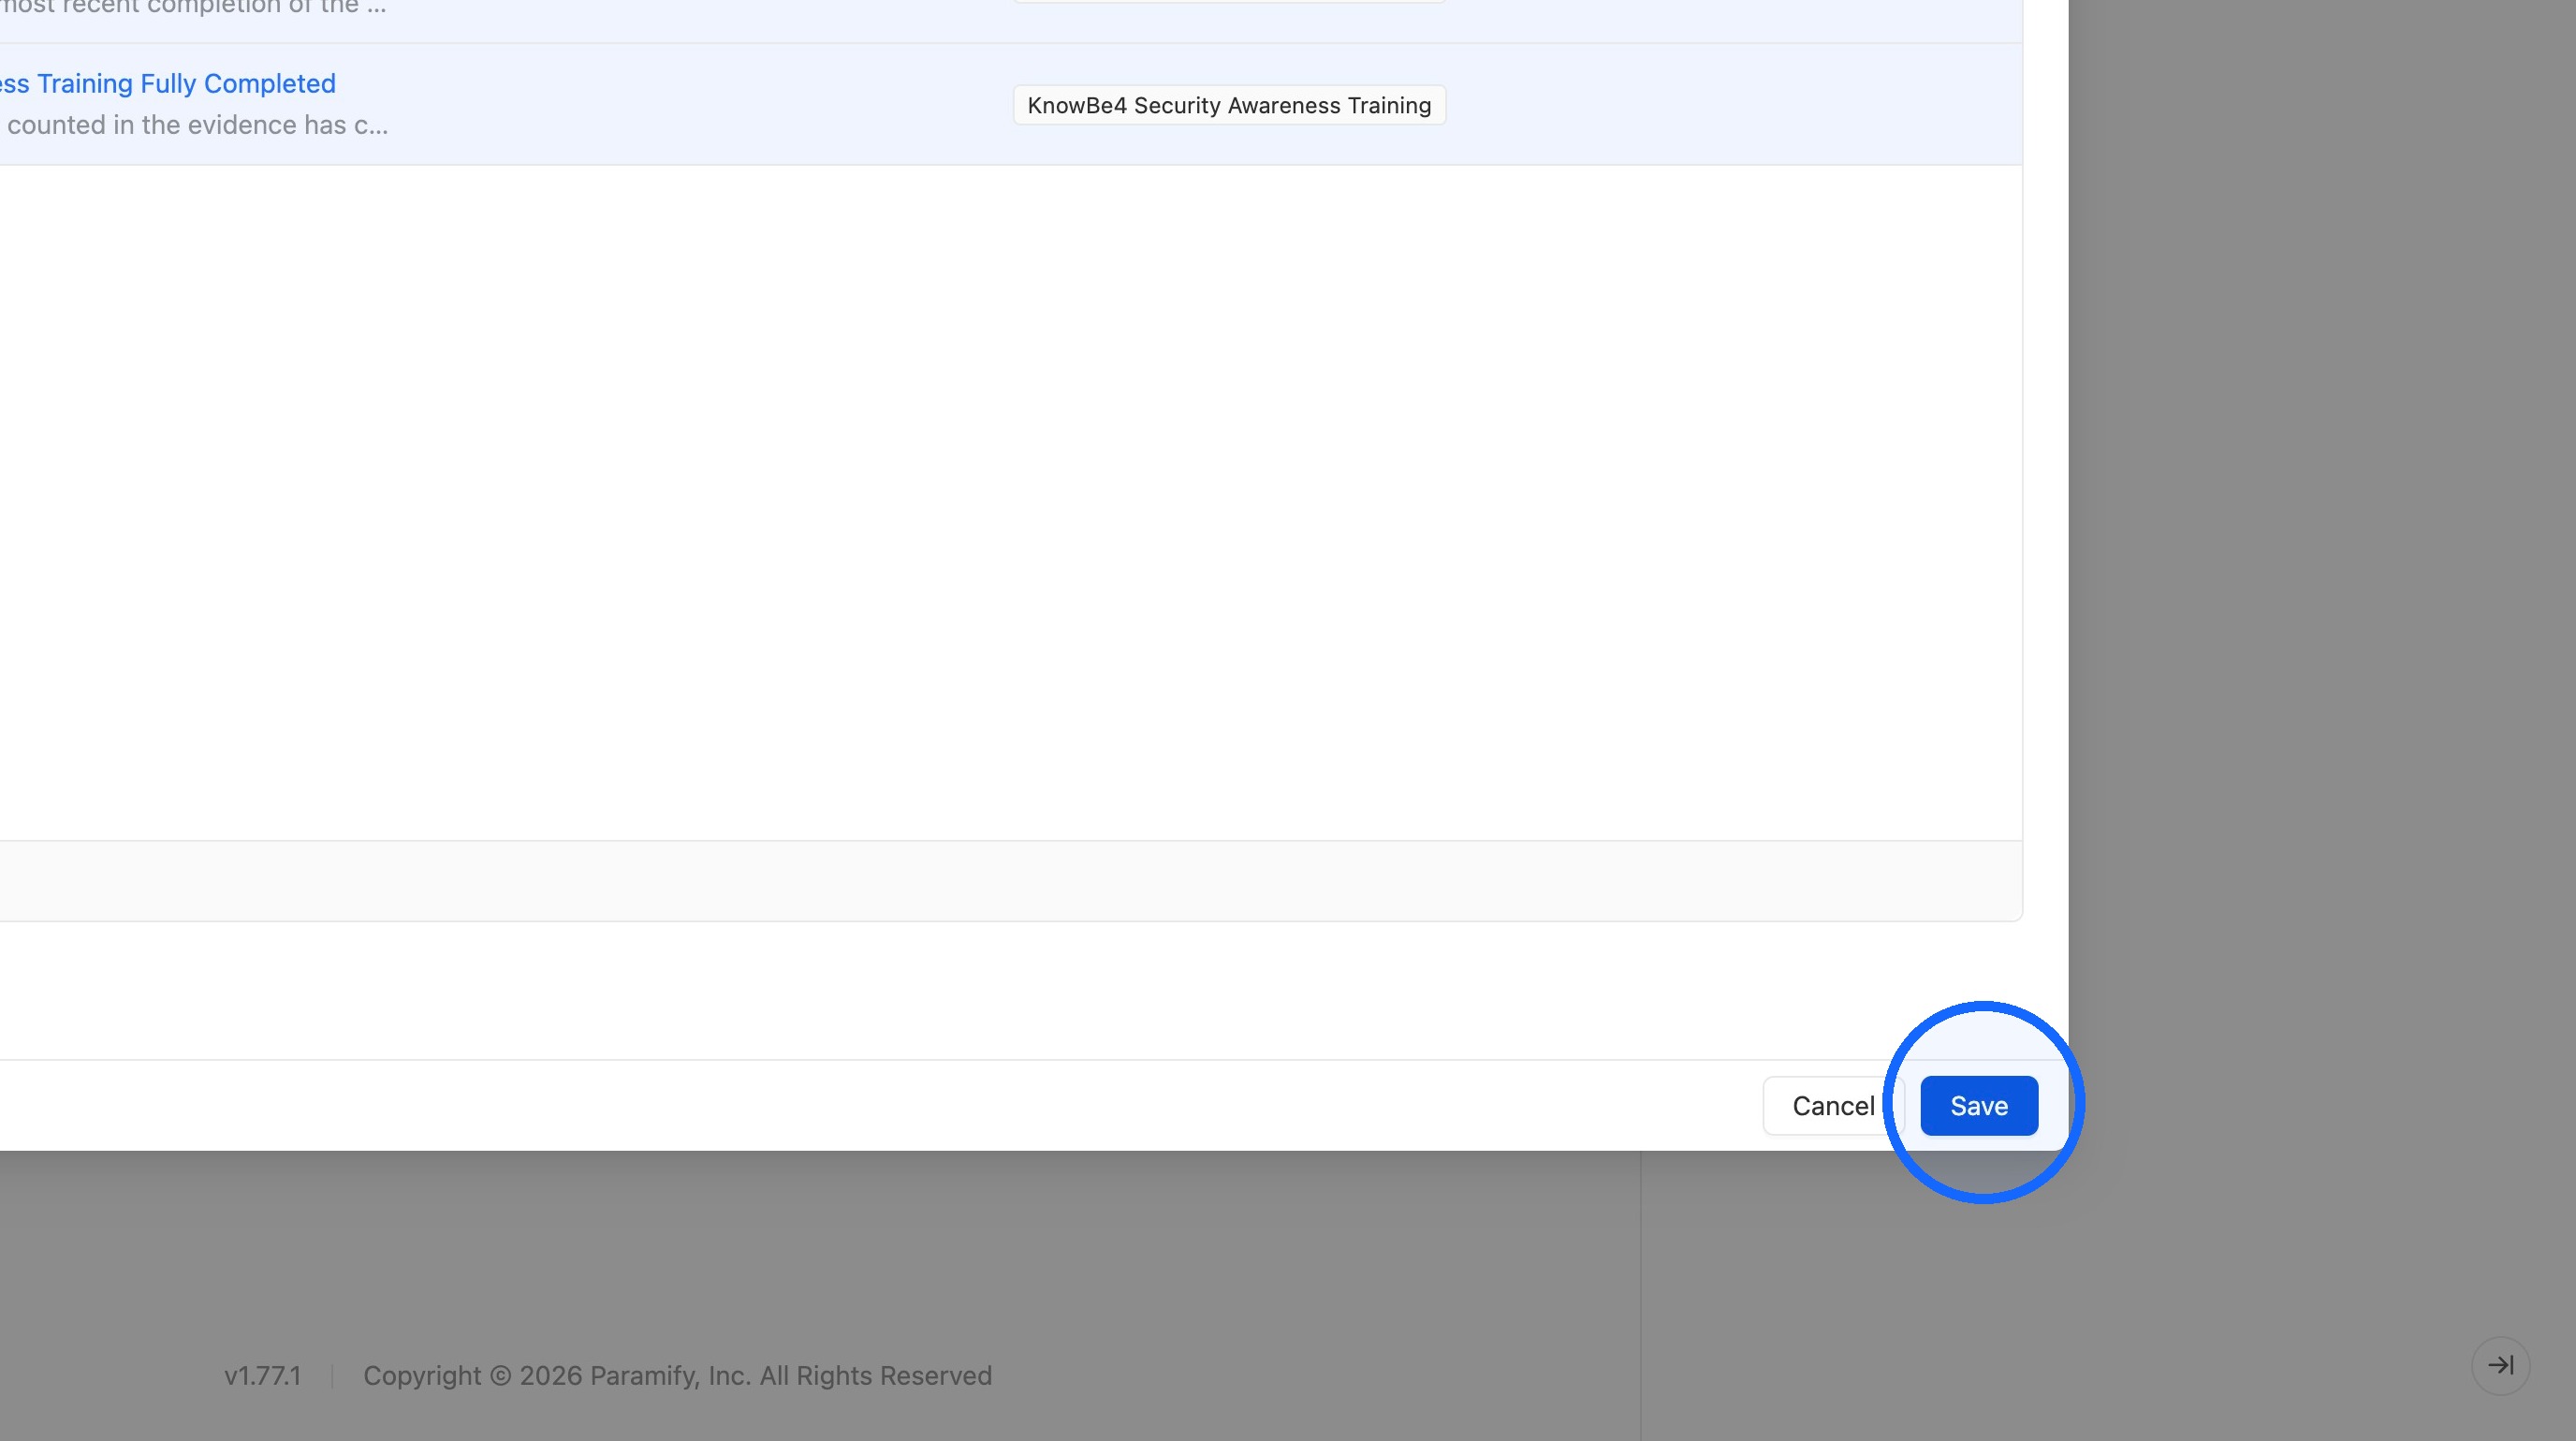
24. Save the association
Click "Save".
25. Confirm the validator association
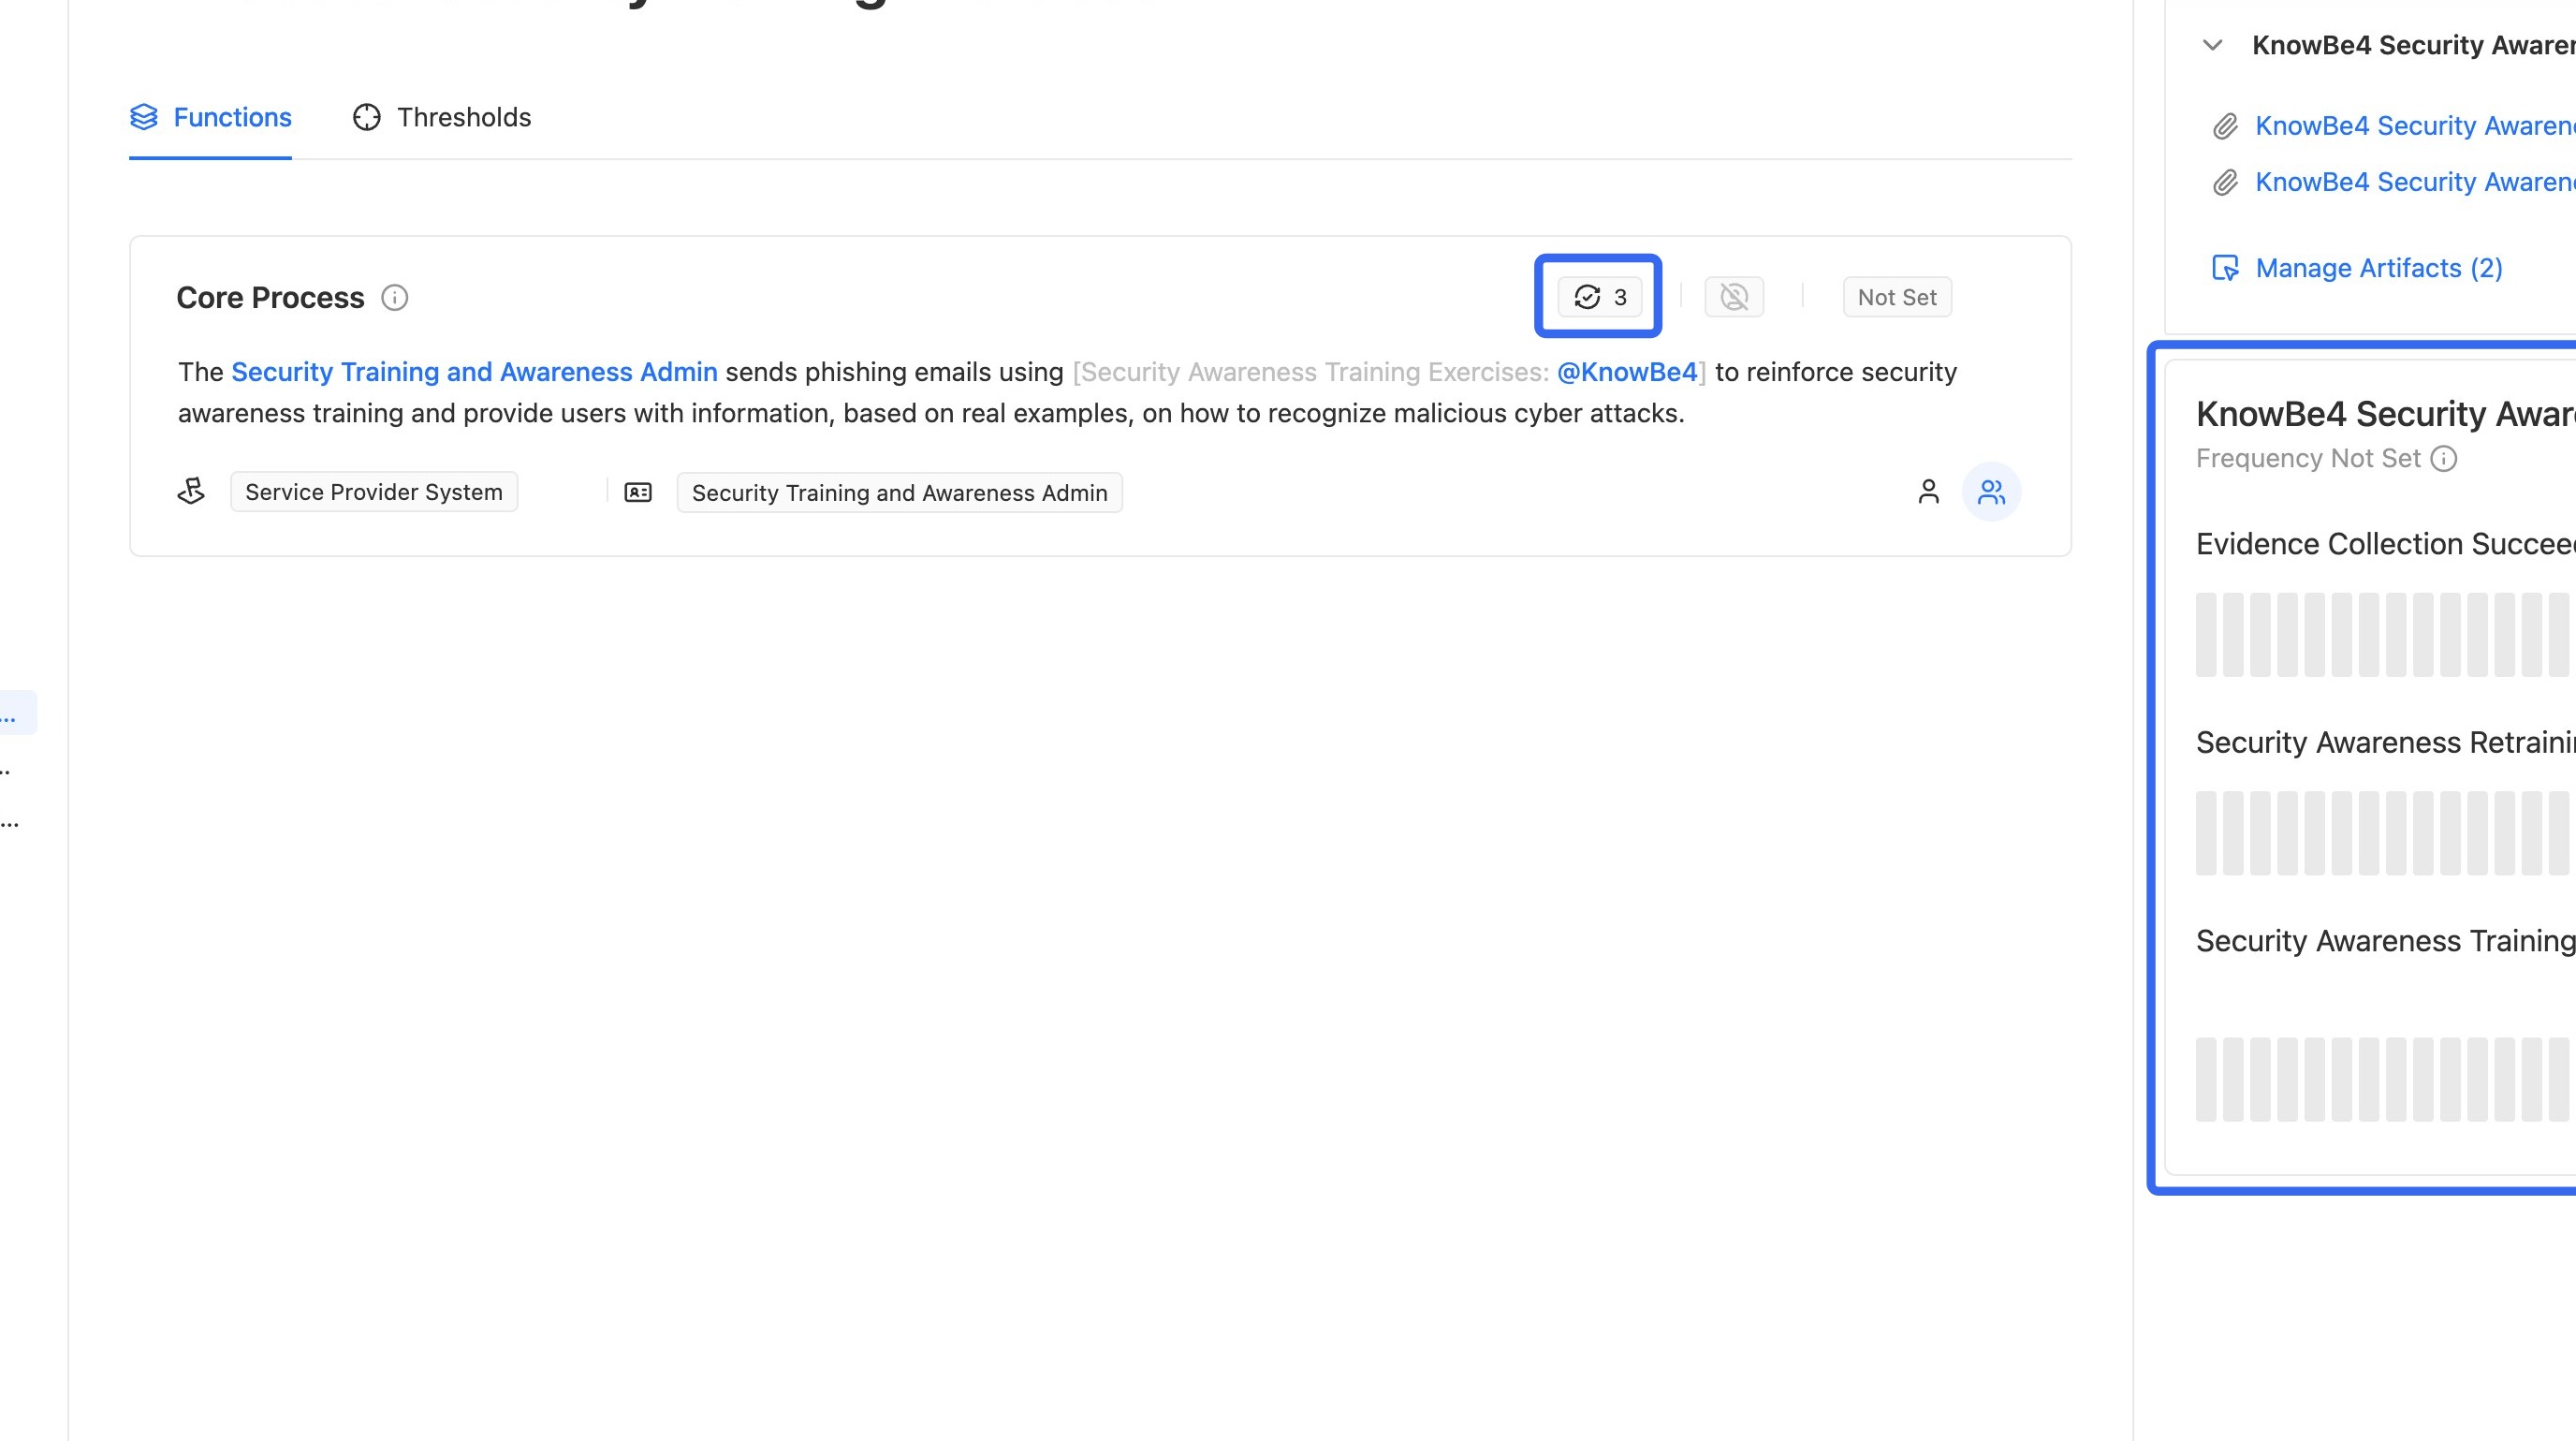
You can now see the validator(s) associated to the Solution Capability function, and the Validation History card appears in the Evidence Panel.
View Channels
TIP
Assuming you completed the prior steps of intake properly, associating the validator(s) to the Solution Capability function completed the final dependency to create a Channel.
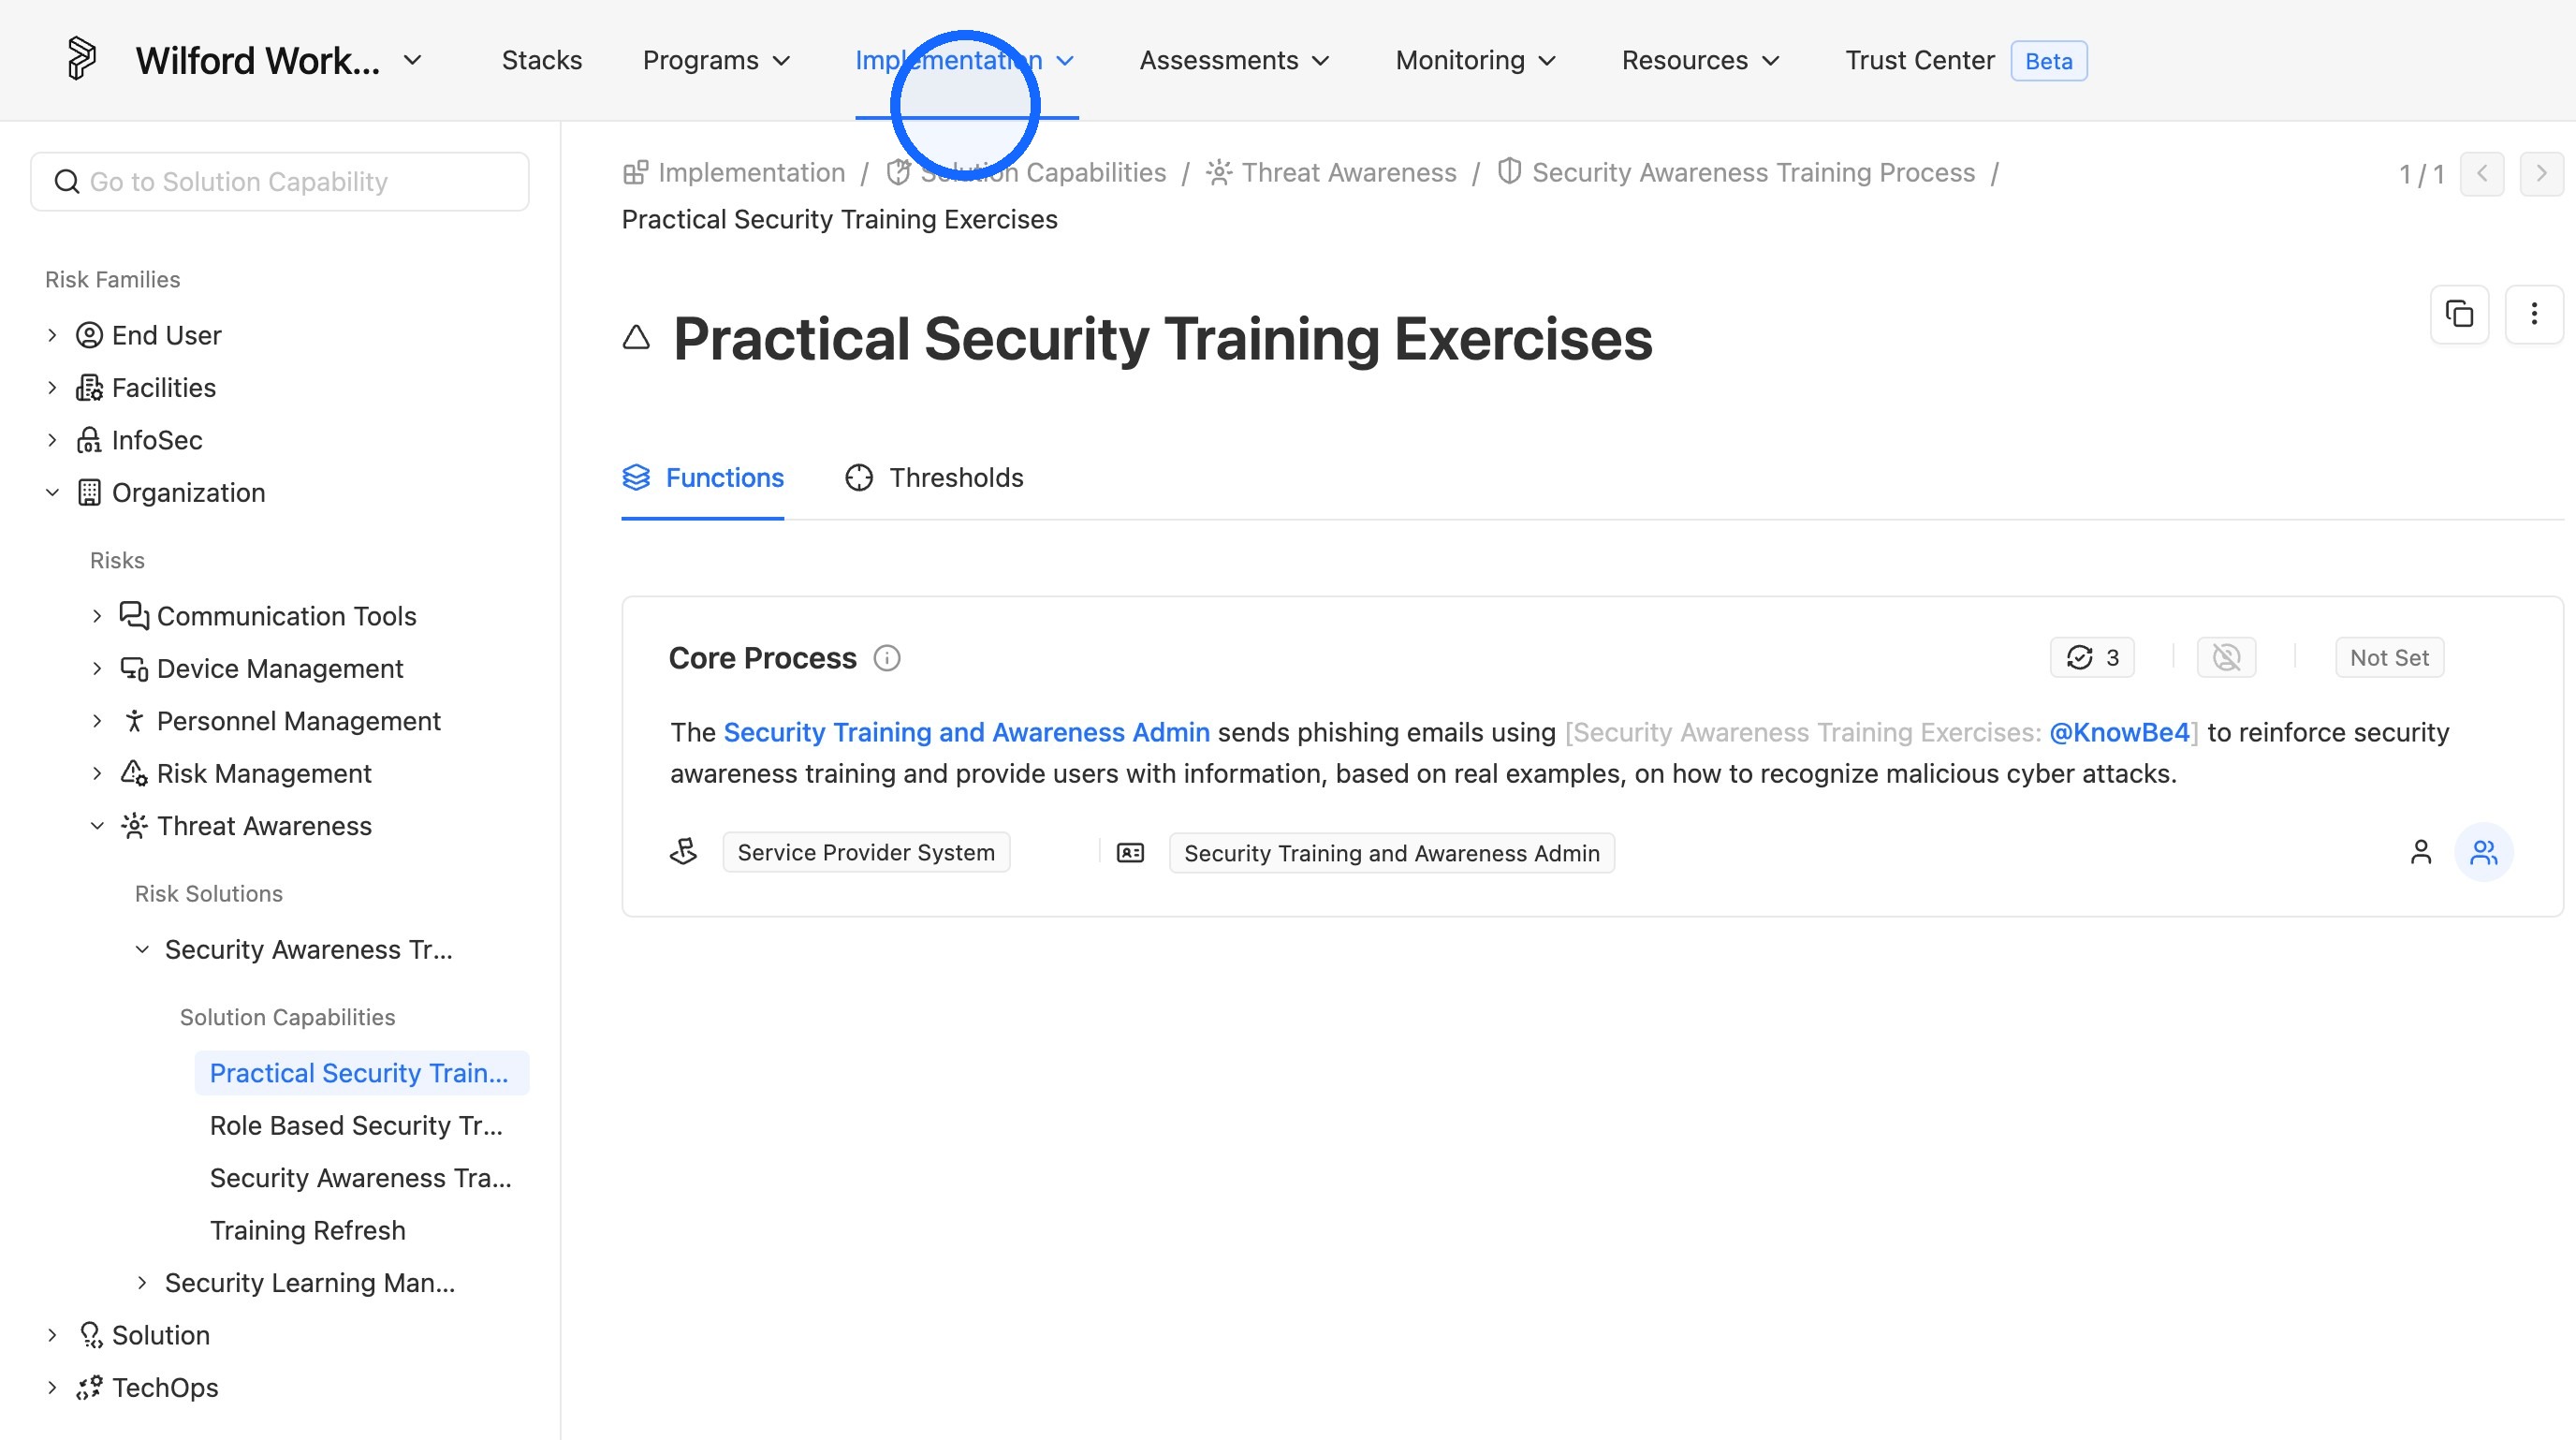
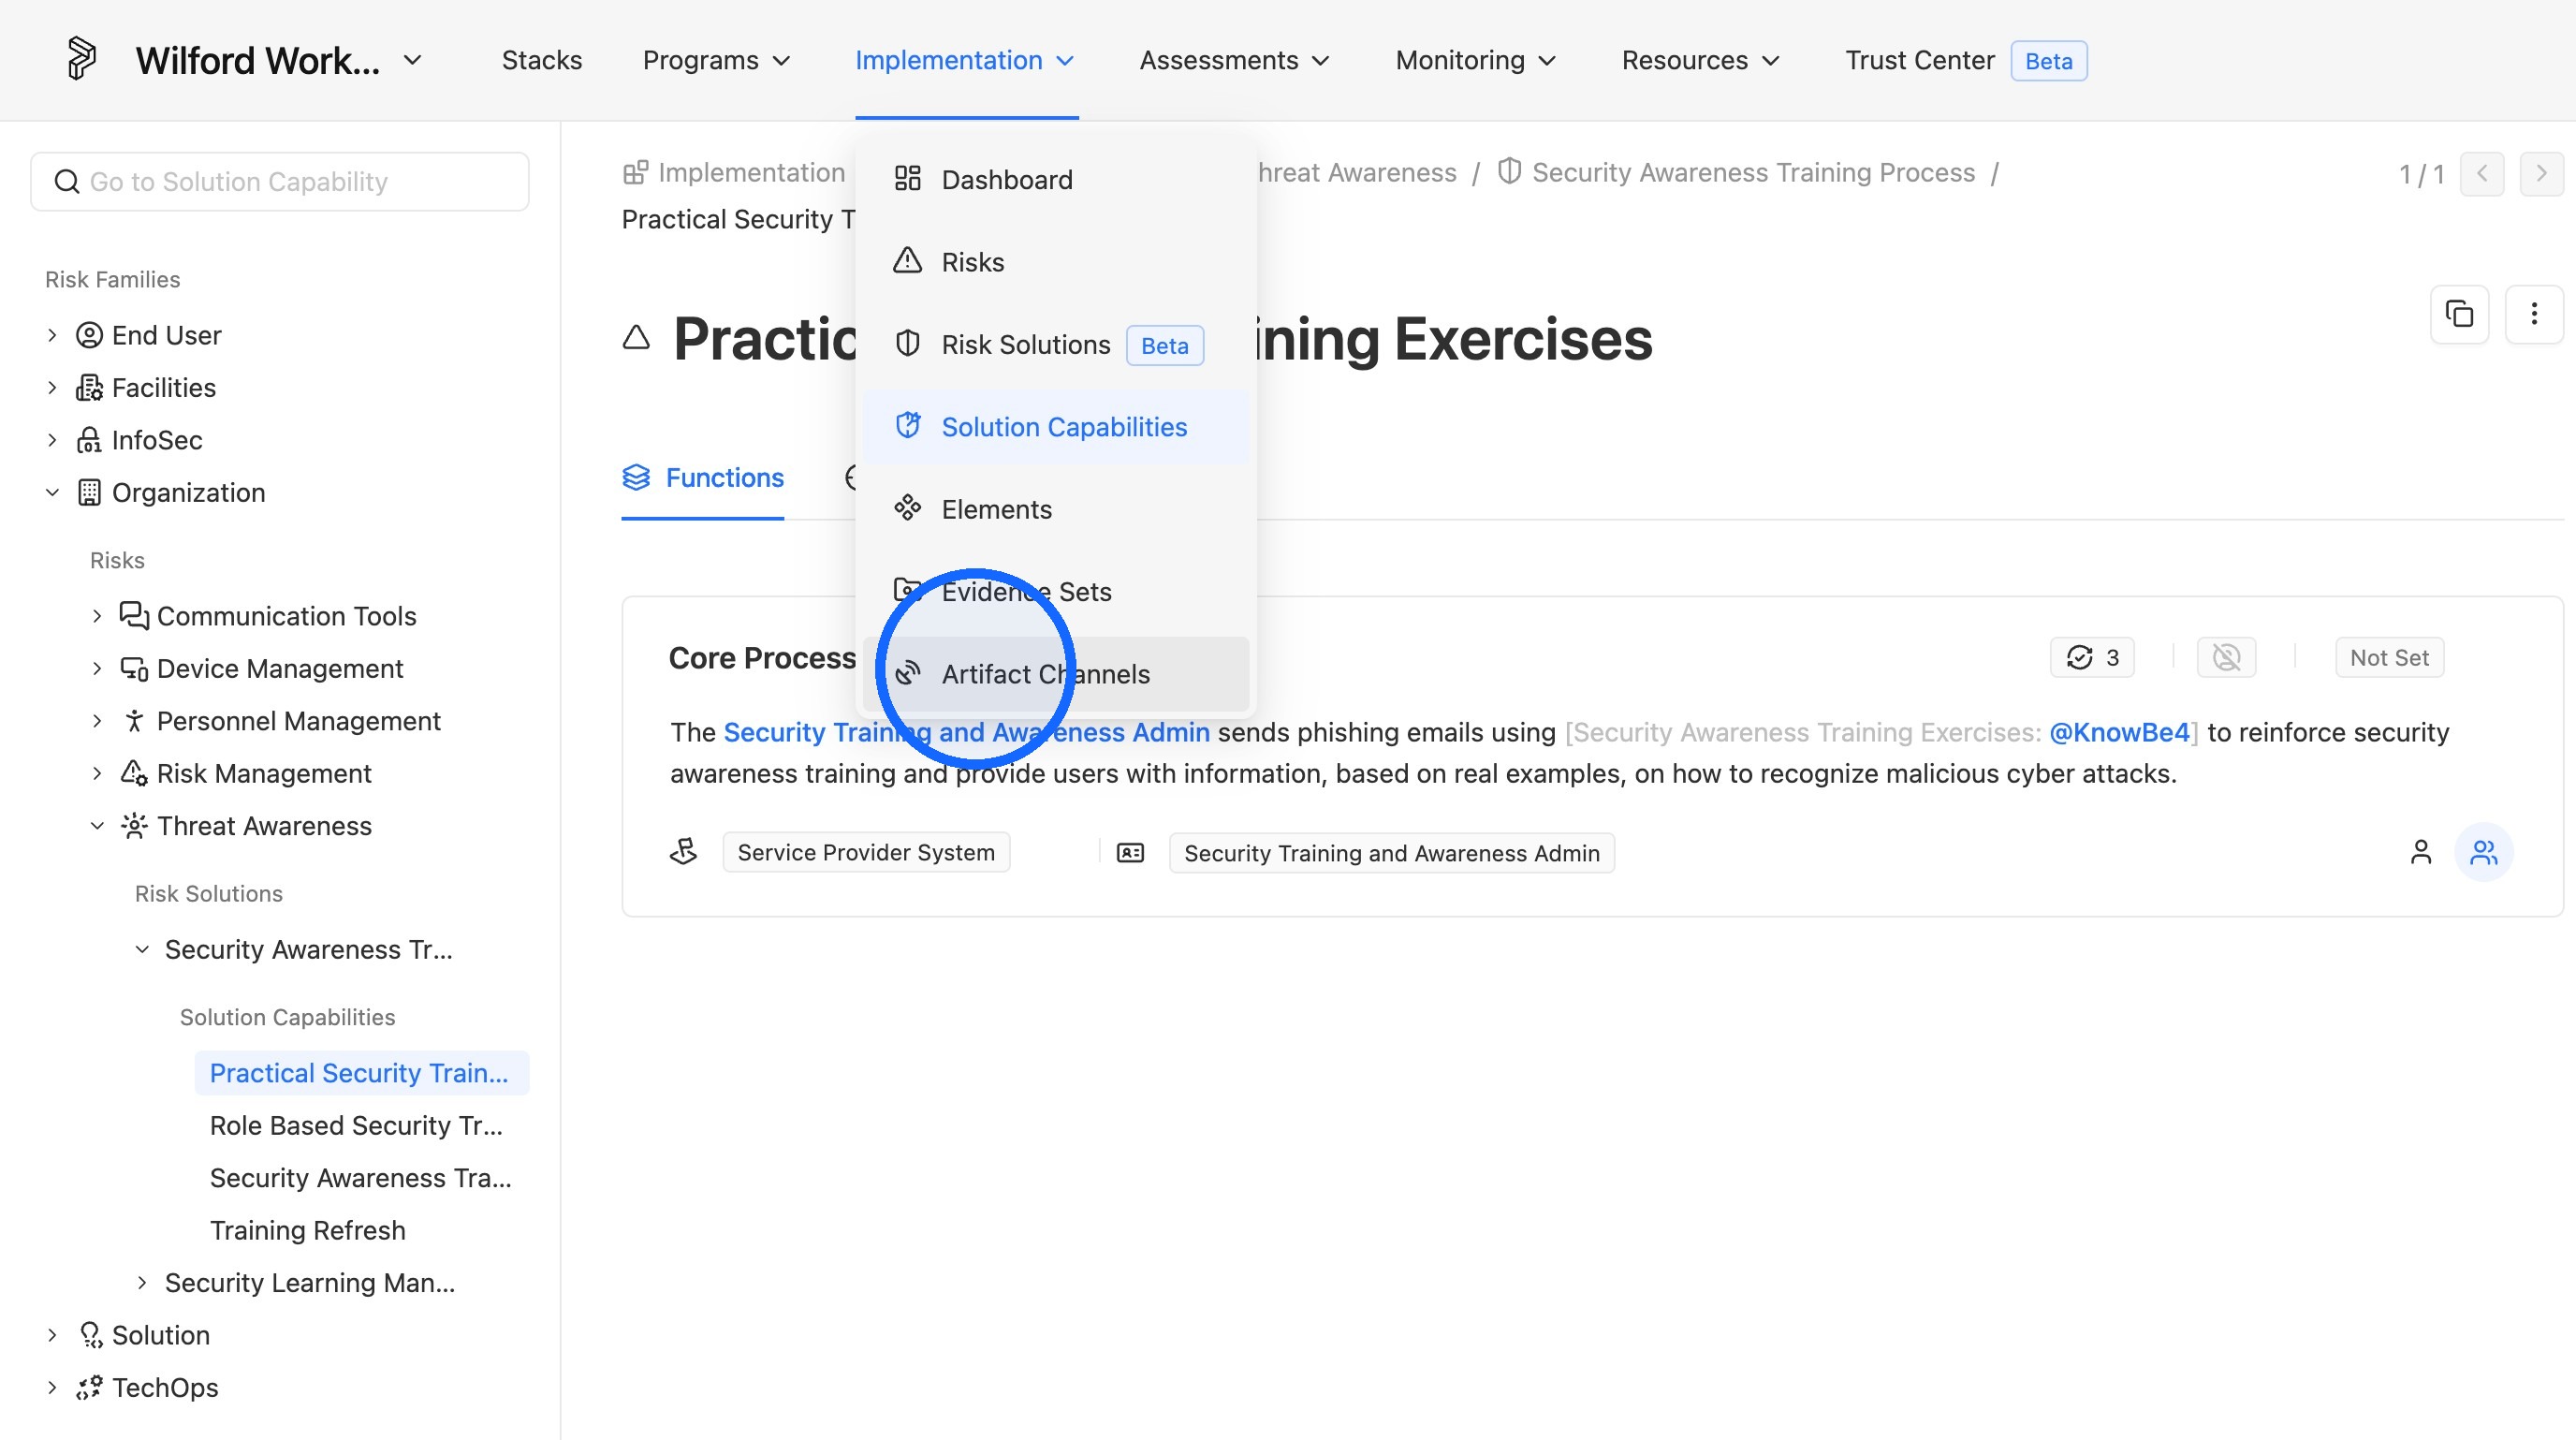
26. Open Artifact Channels
To view the Channel you created, click "Implementation" > "Artifact Channels".
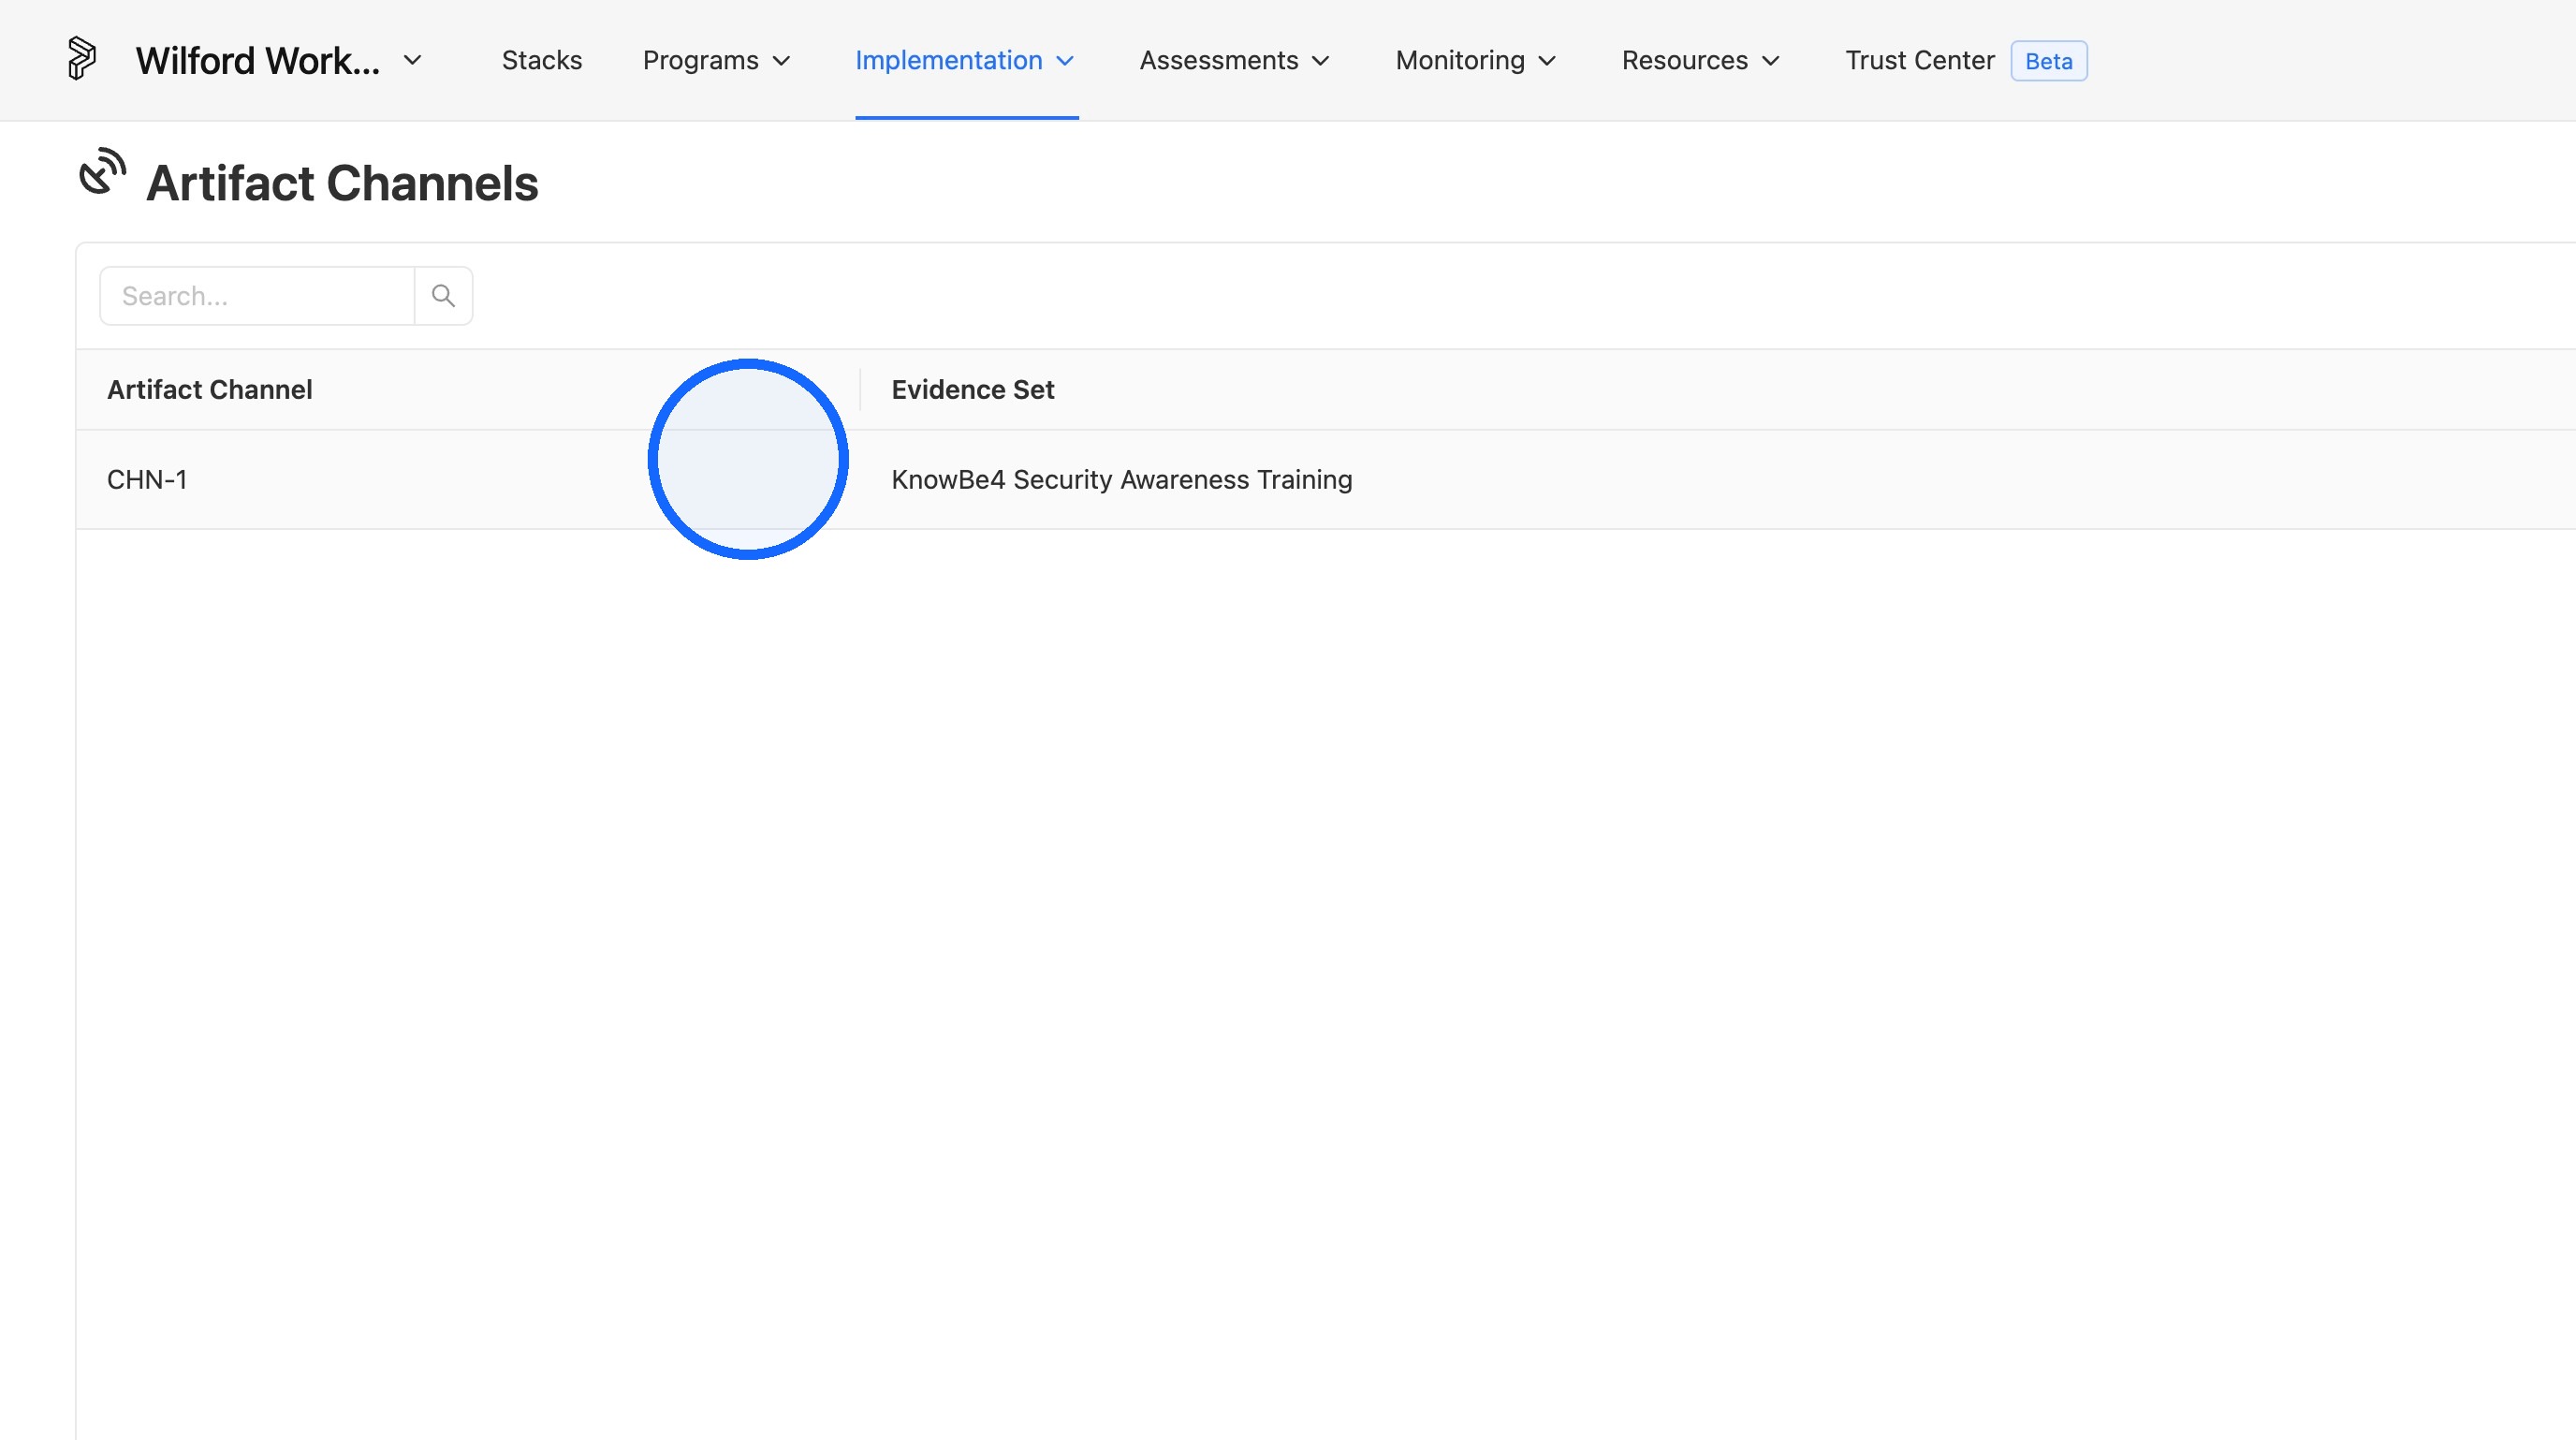
27. View the channel and its evidence set
You'll see the Channel and its associated evidence set.
TIP
To learn more about Channels, view this article: Channels
Comments
0 comments
Please sign in to leave a comment.