
Overview
In Paramify, every Risk an organization faces has its own record that you can view and edit, with its Risk Solutions listed underneath it.
Risk Solutions have Solution Capabilities that can be validated against controls in a framework.
Finding your Risks
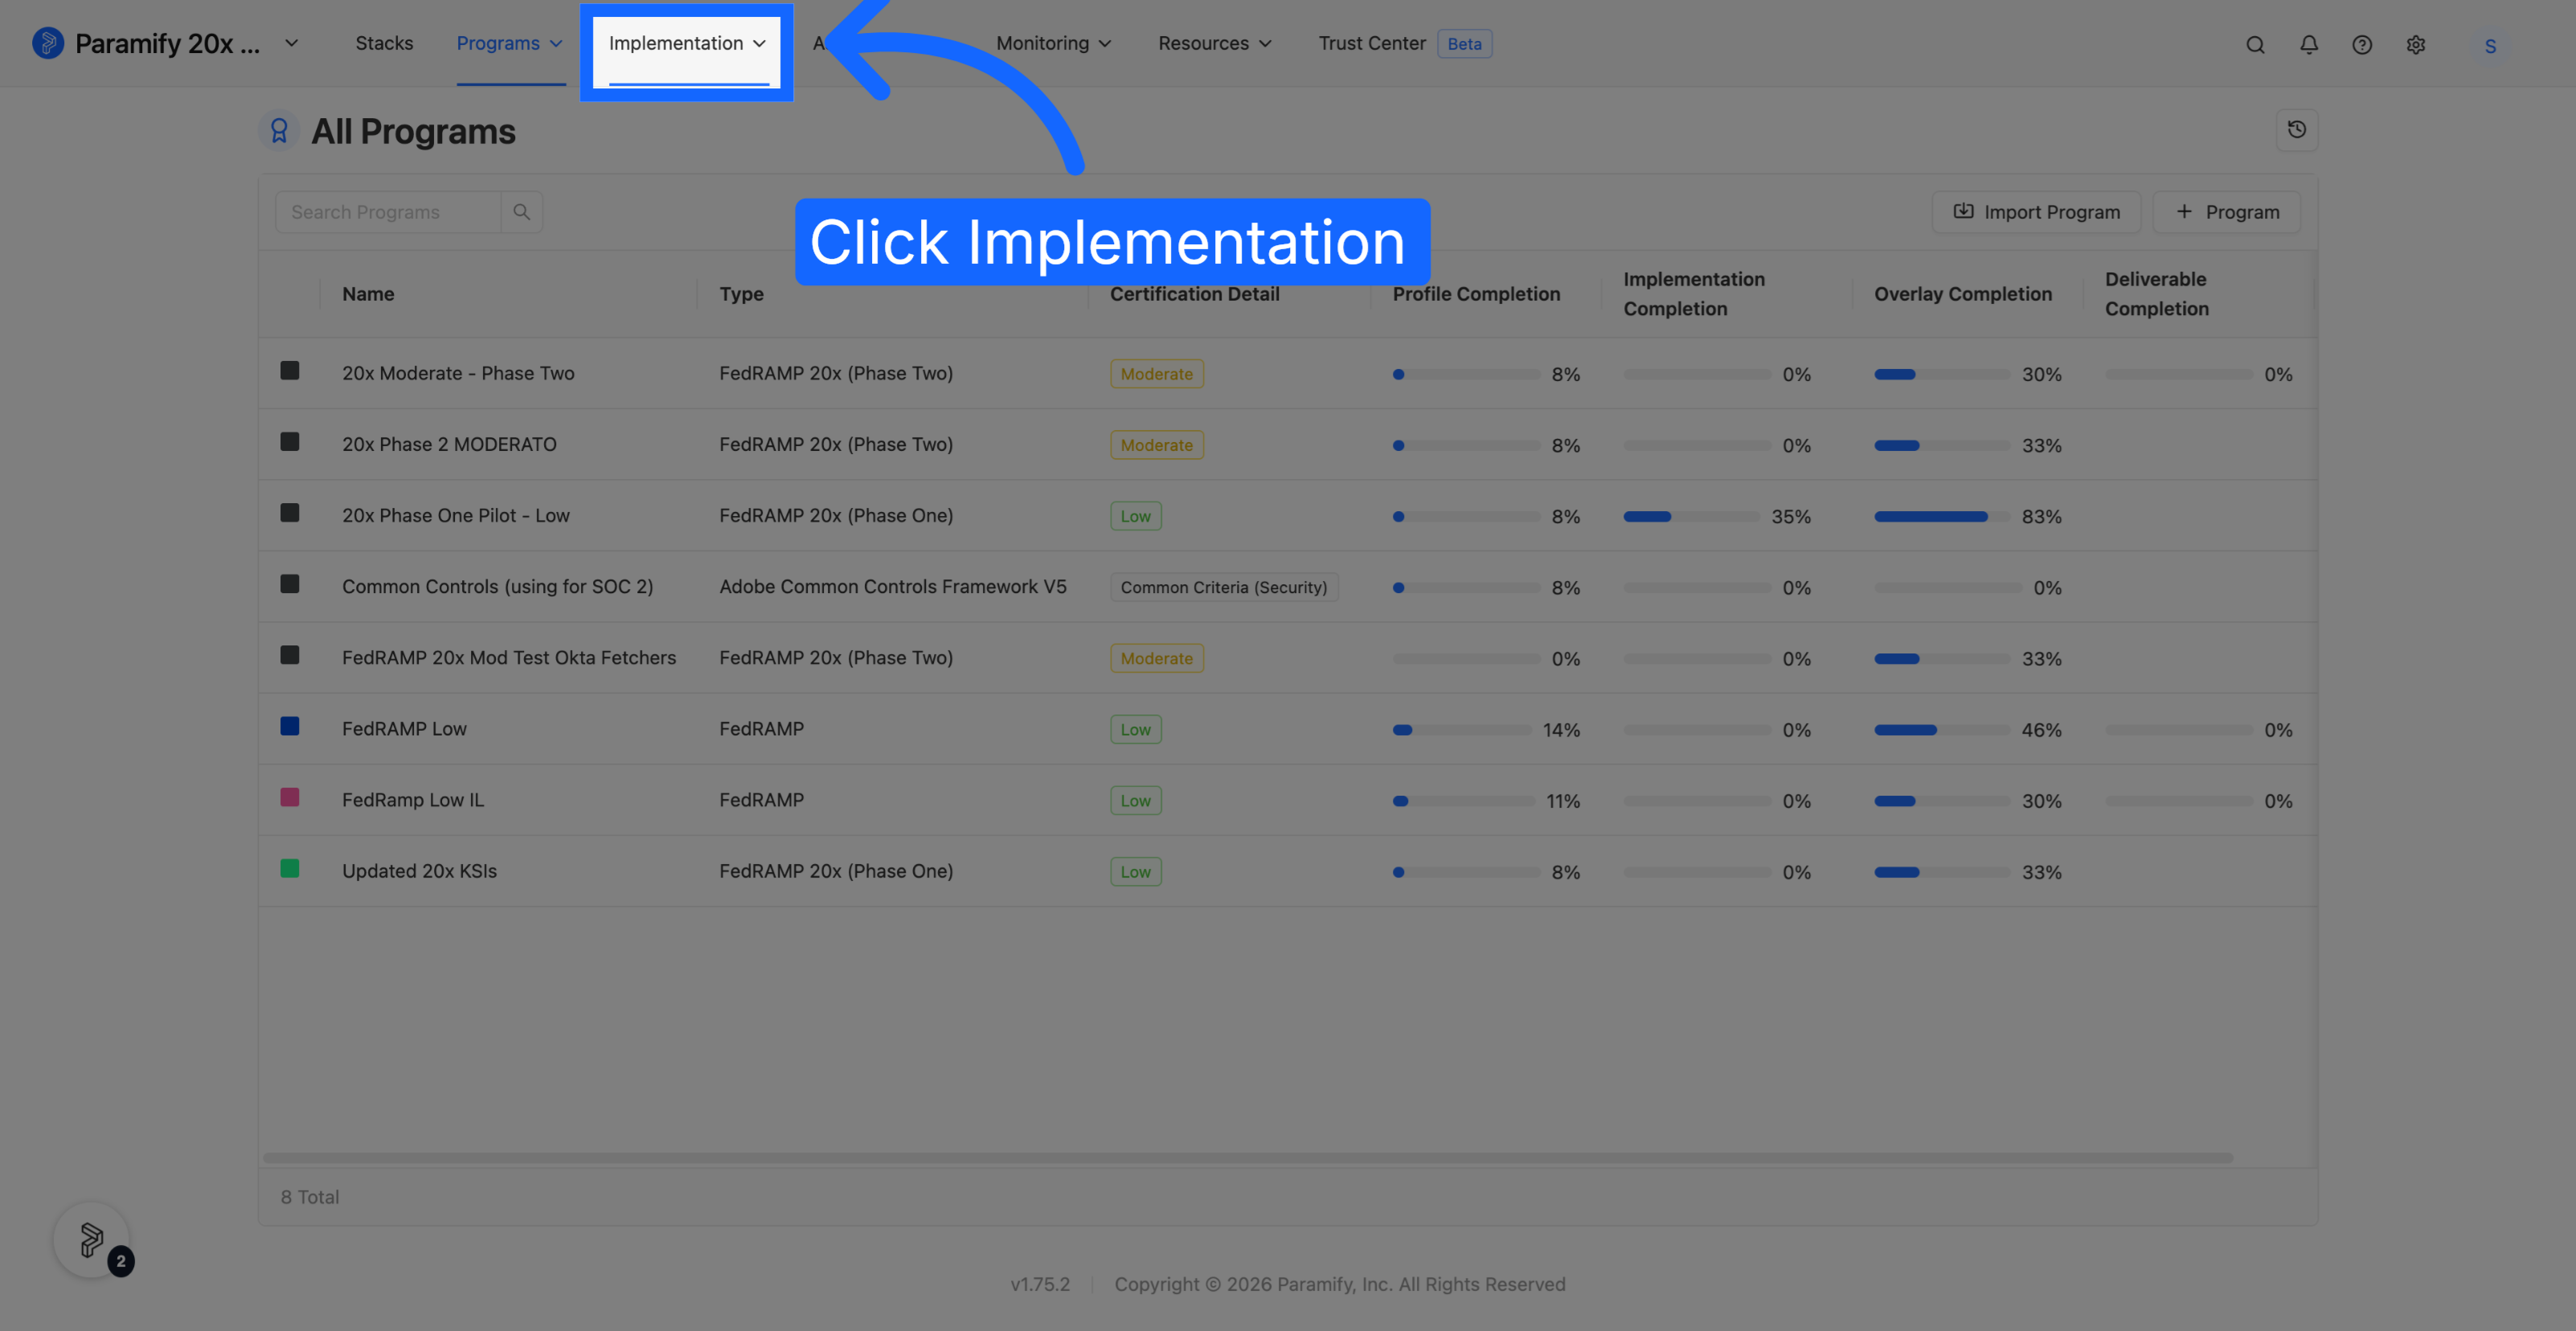
1. Open the Implementation menu
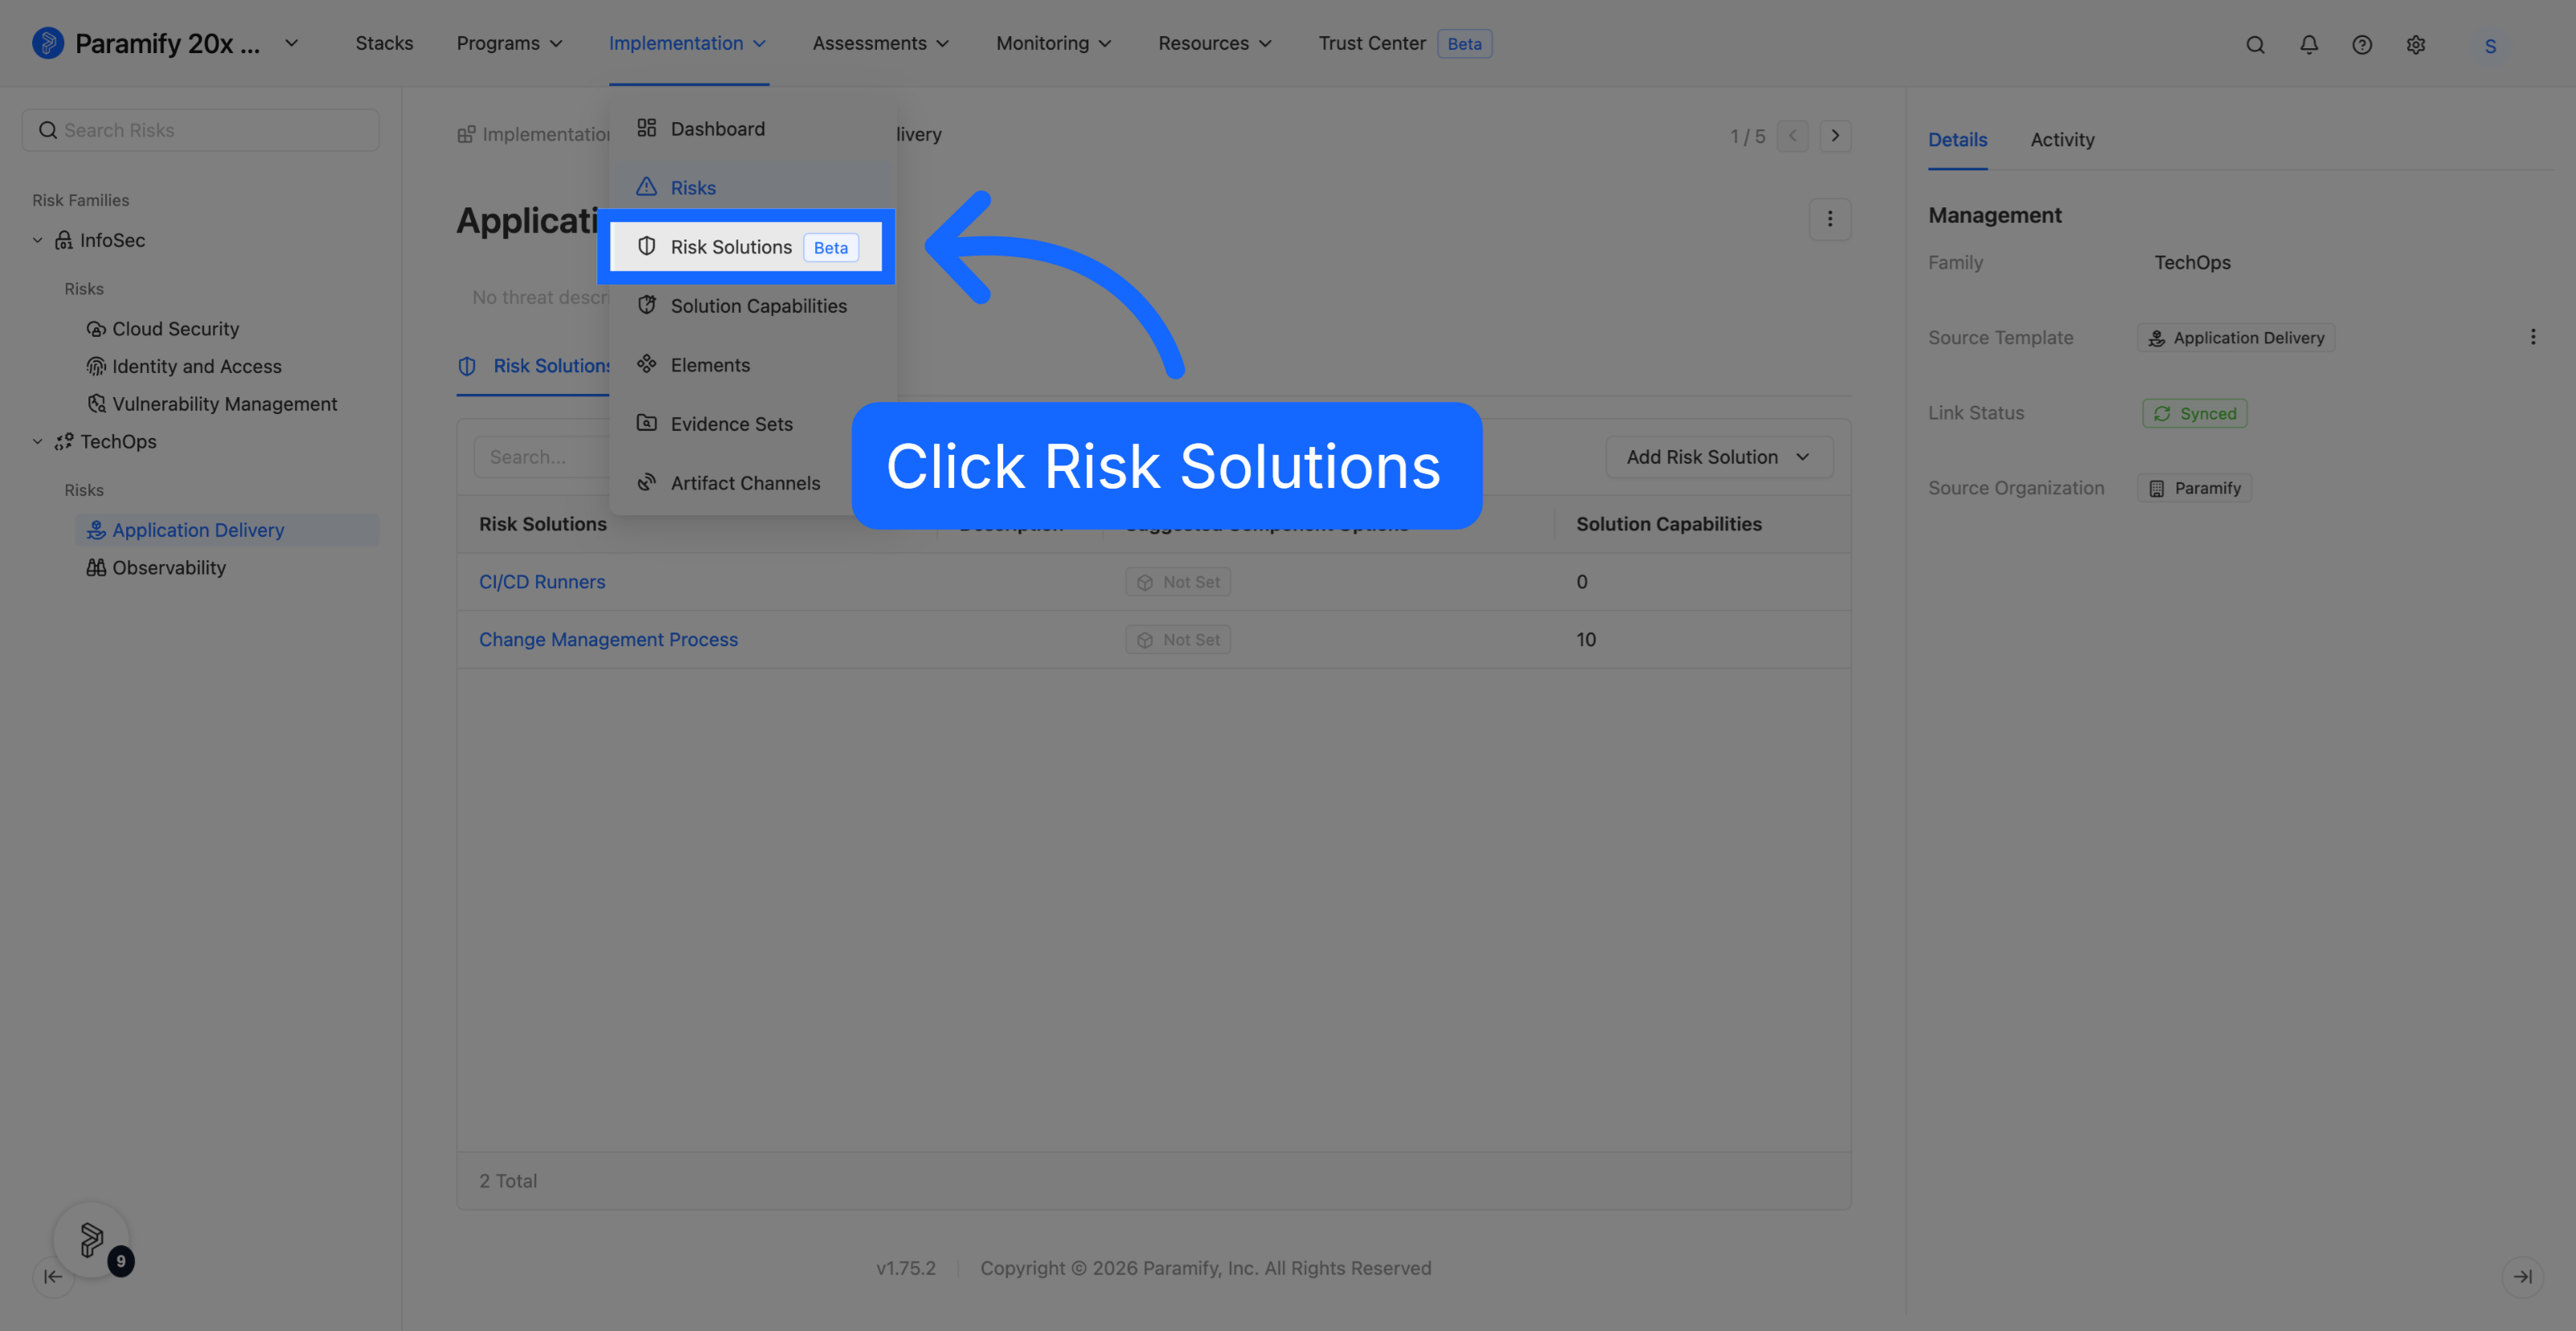
From the top navigation, click Implementation.
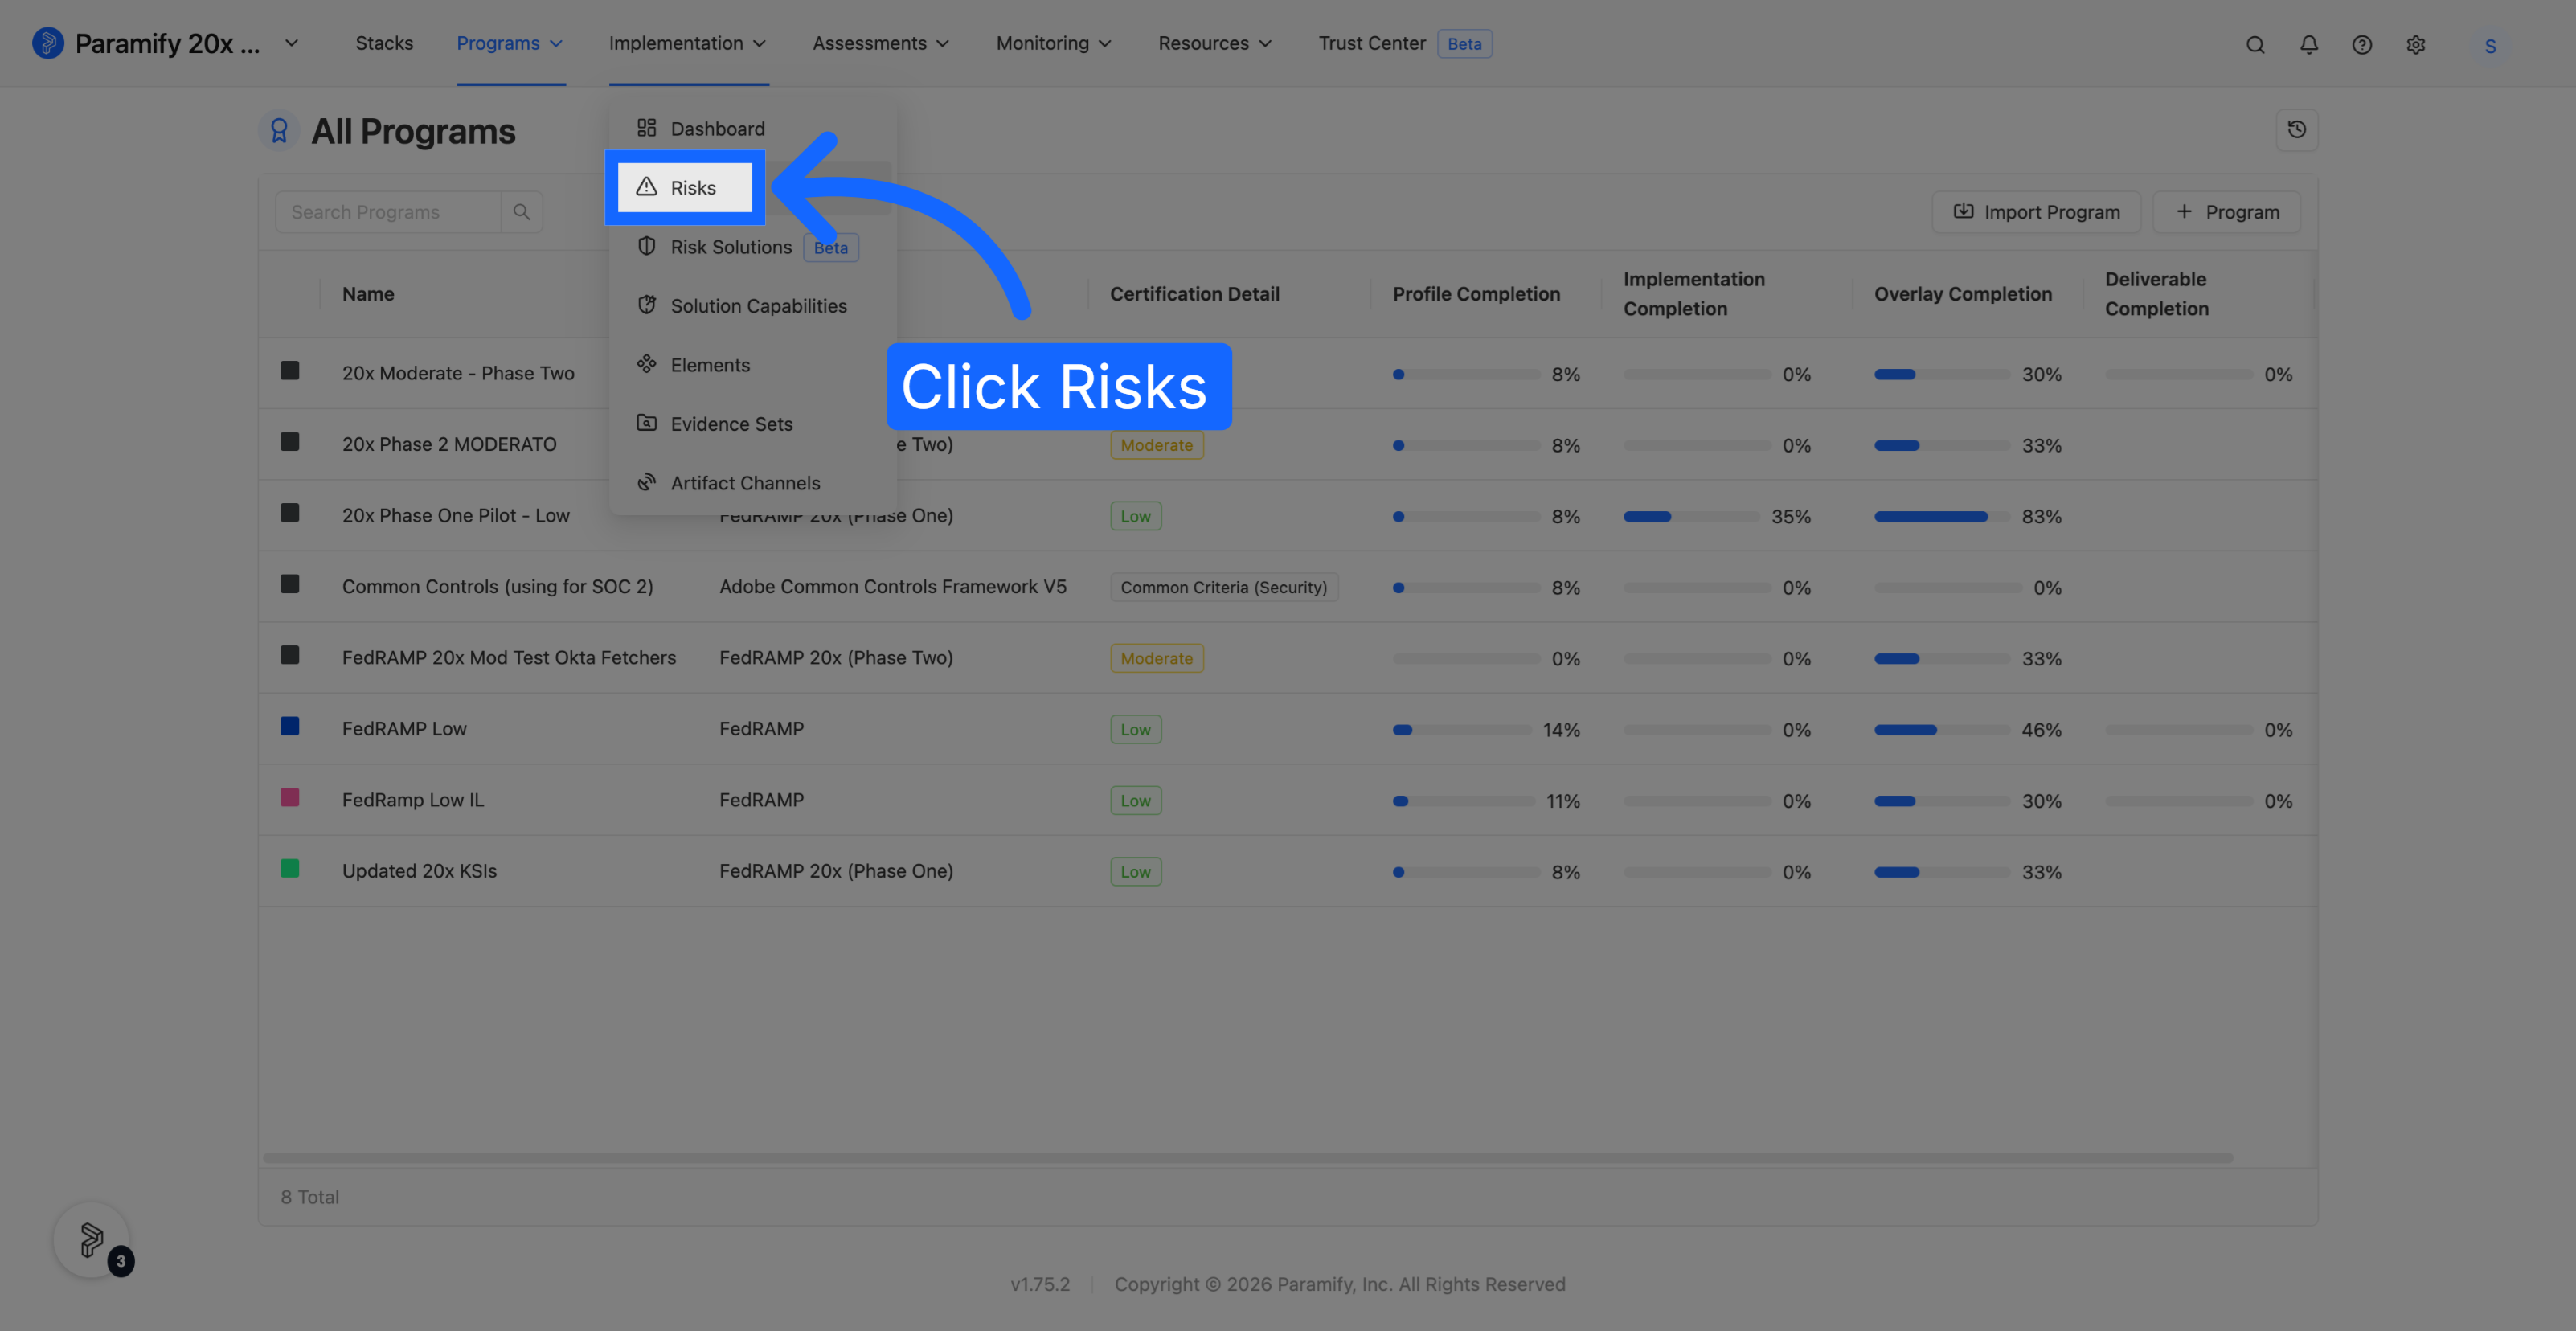
2. Select Risks
Choose Risks from the menu. Risks now sits alongside Dashboard, Risk Solutions, Solution Capabilities, Elements, Evidence Sets, and Artifact Channels.
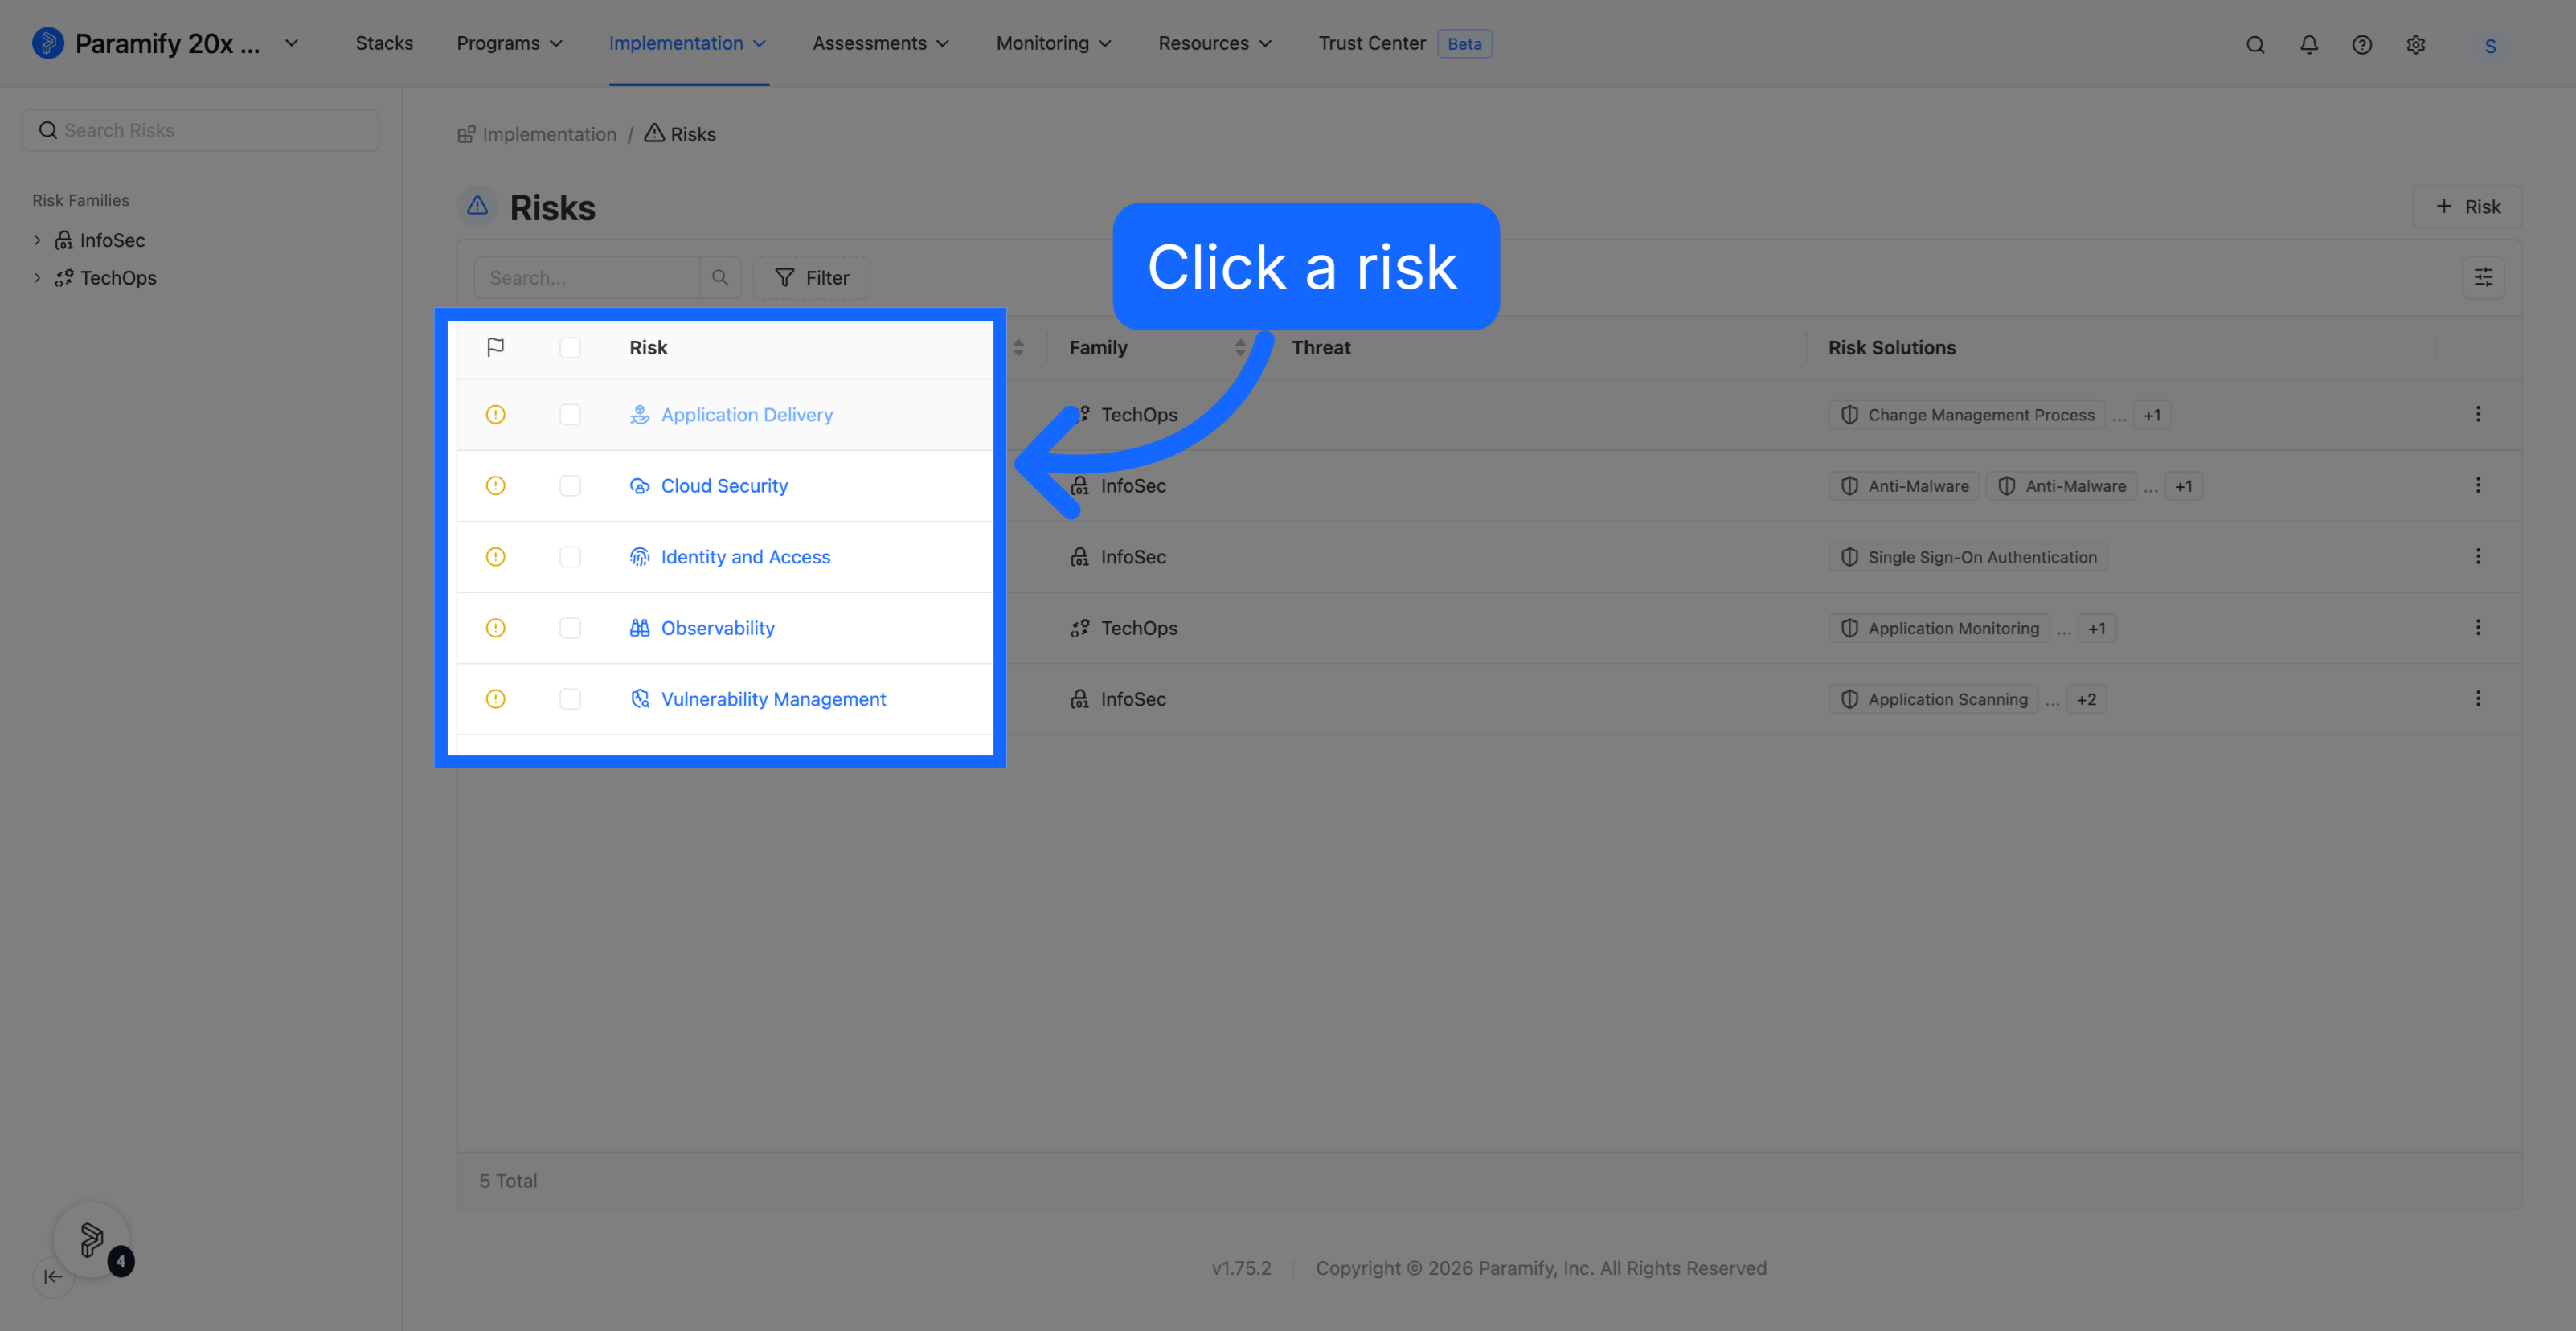
3. Review the Risks list
The Risks page lists every risk in the workspace with its Family, Threat, and the Risk Solutions attached to it. Use the Risk Families in the left sidebar to narrow the list, or + Risk to add a risk directly.
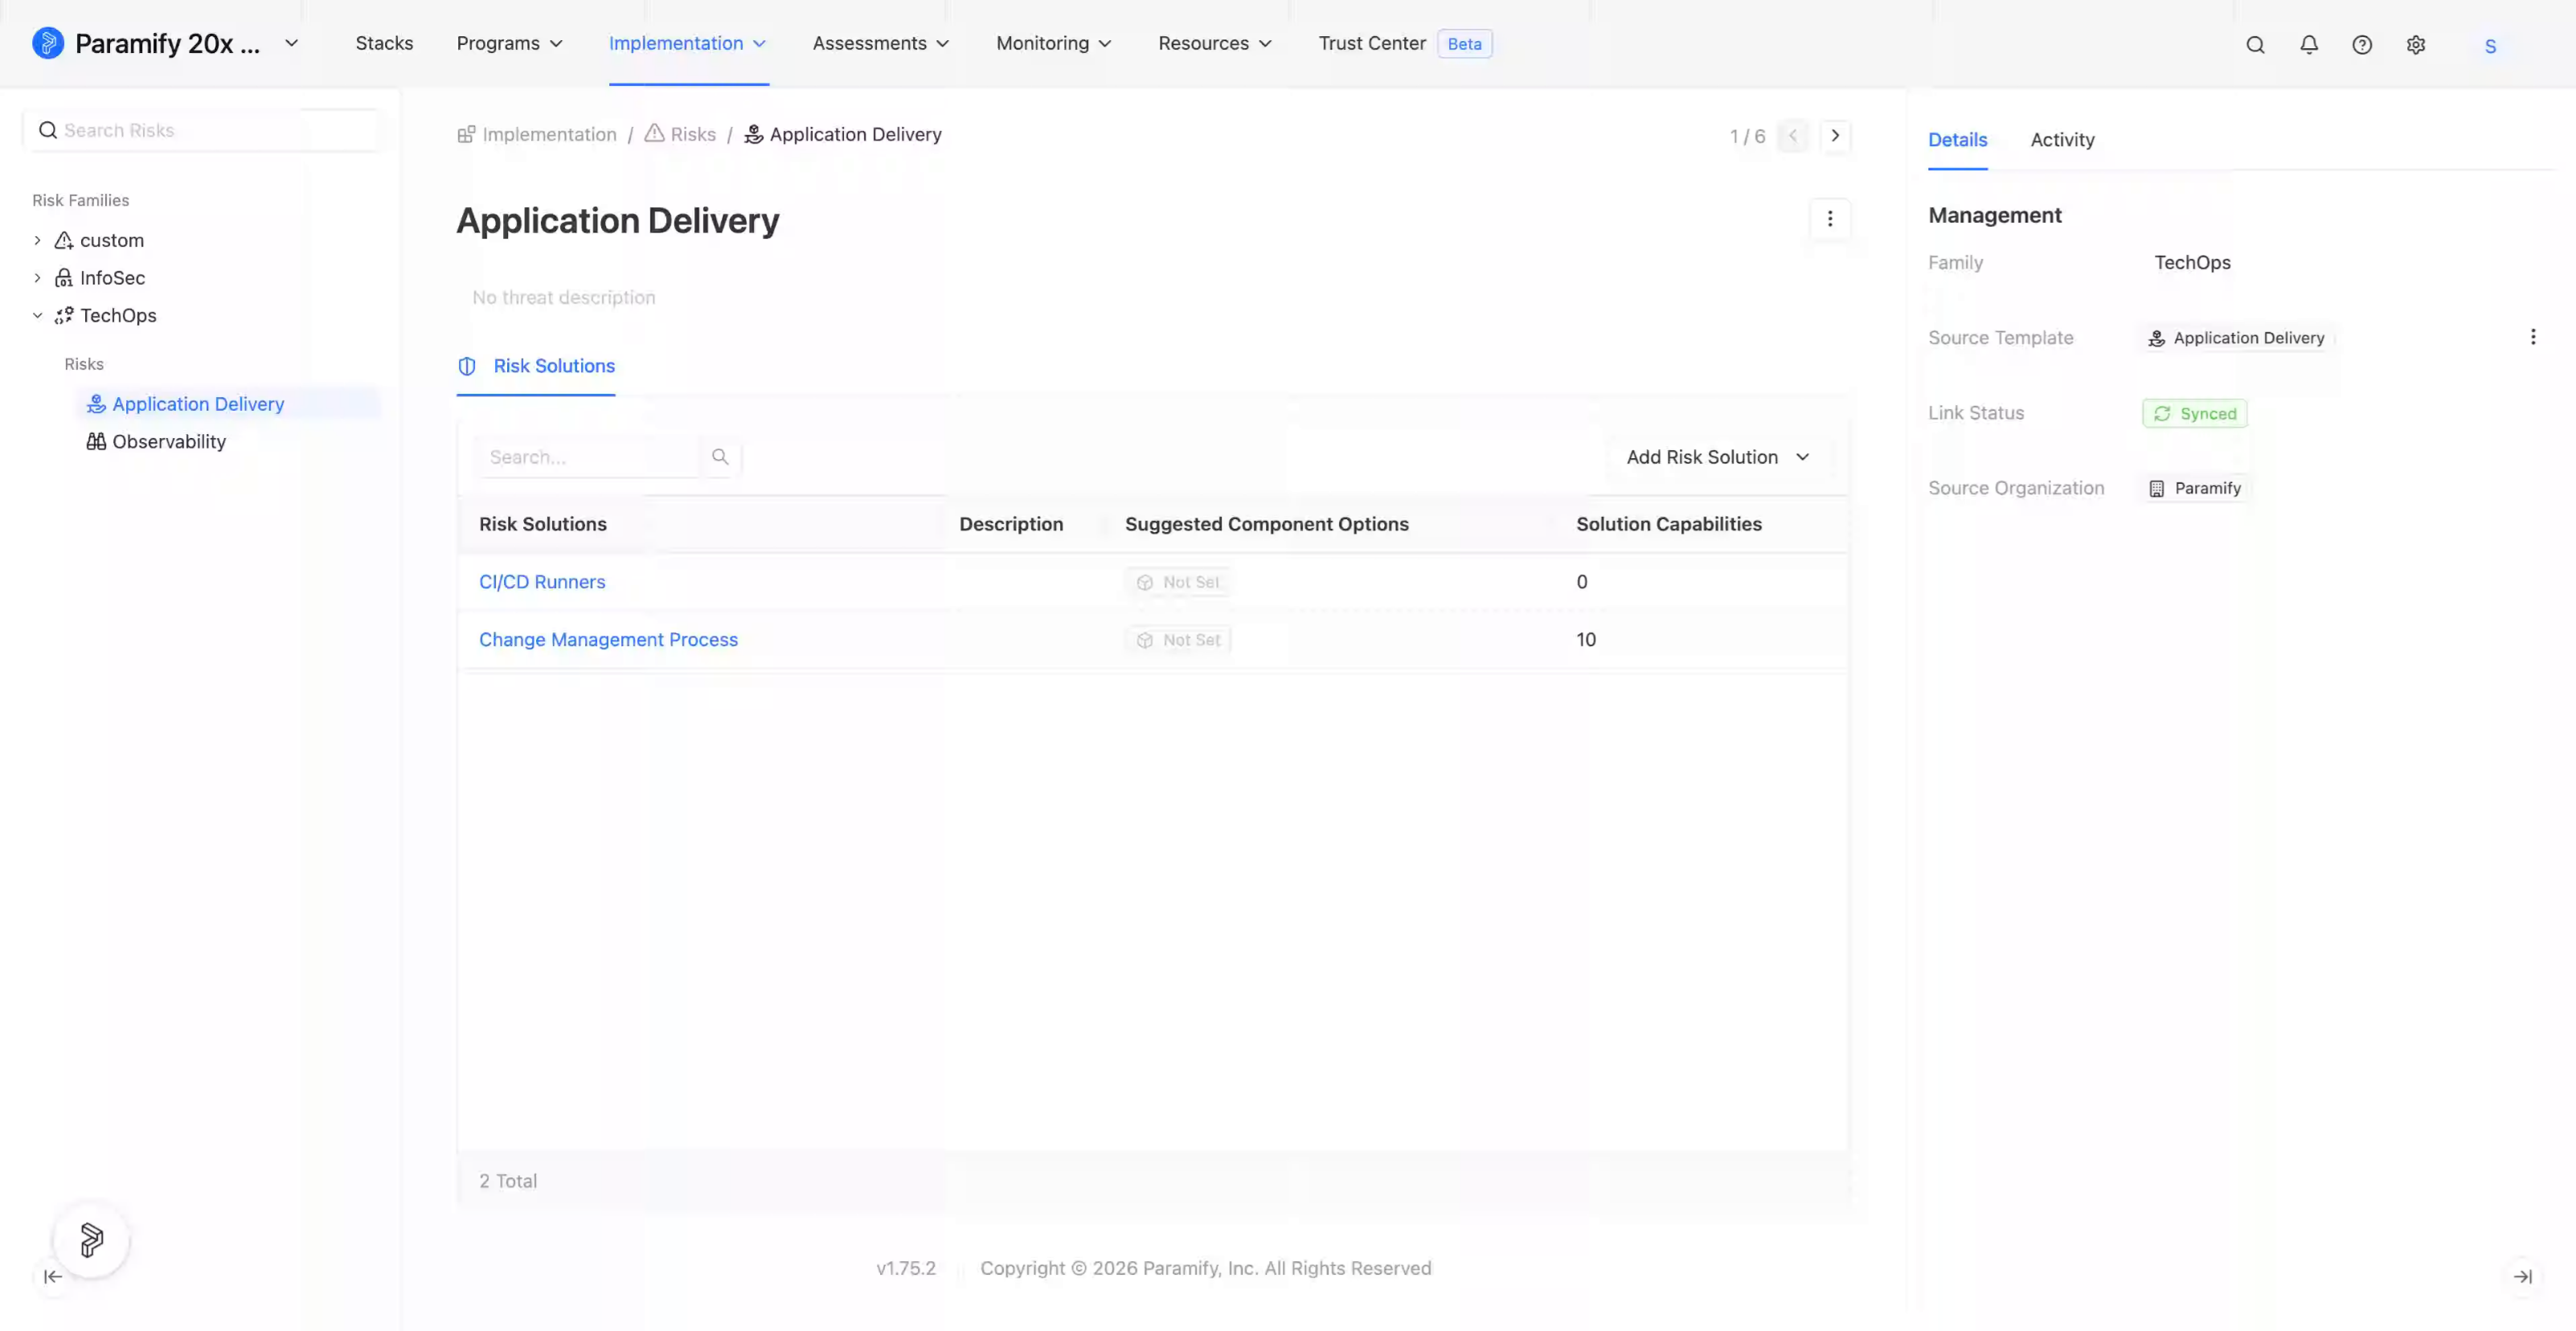
4. Open a Risk
Click any Risk to open its detail page. The Risk Solutions that fall under it appear in the Risk Solutions tab, and the breadcrumb shows where the Risk sits.
Editing a risk
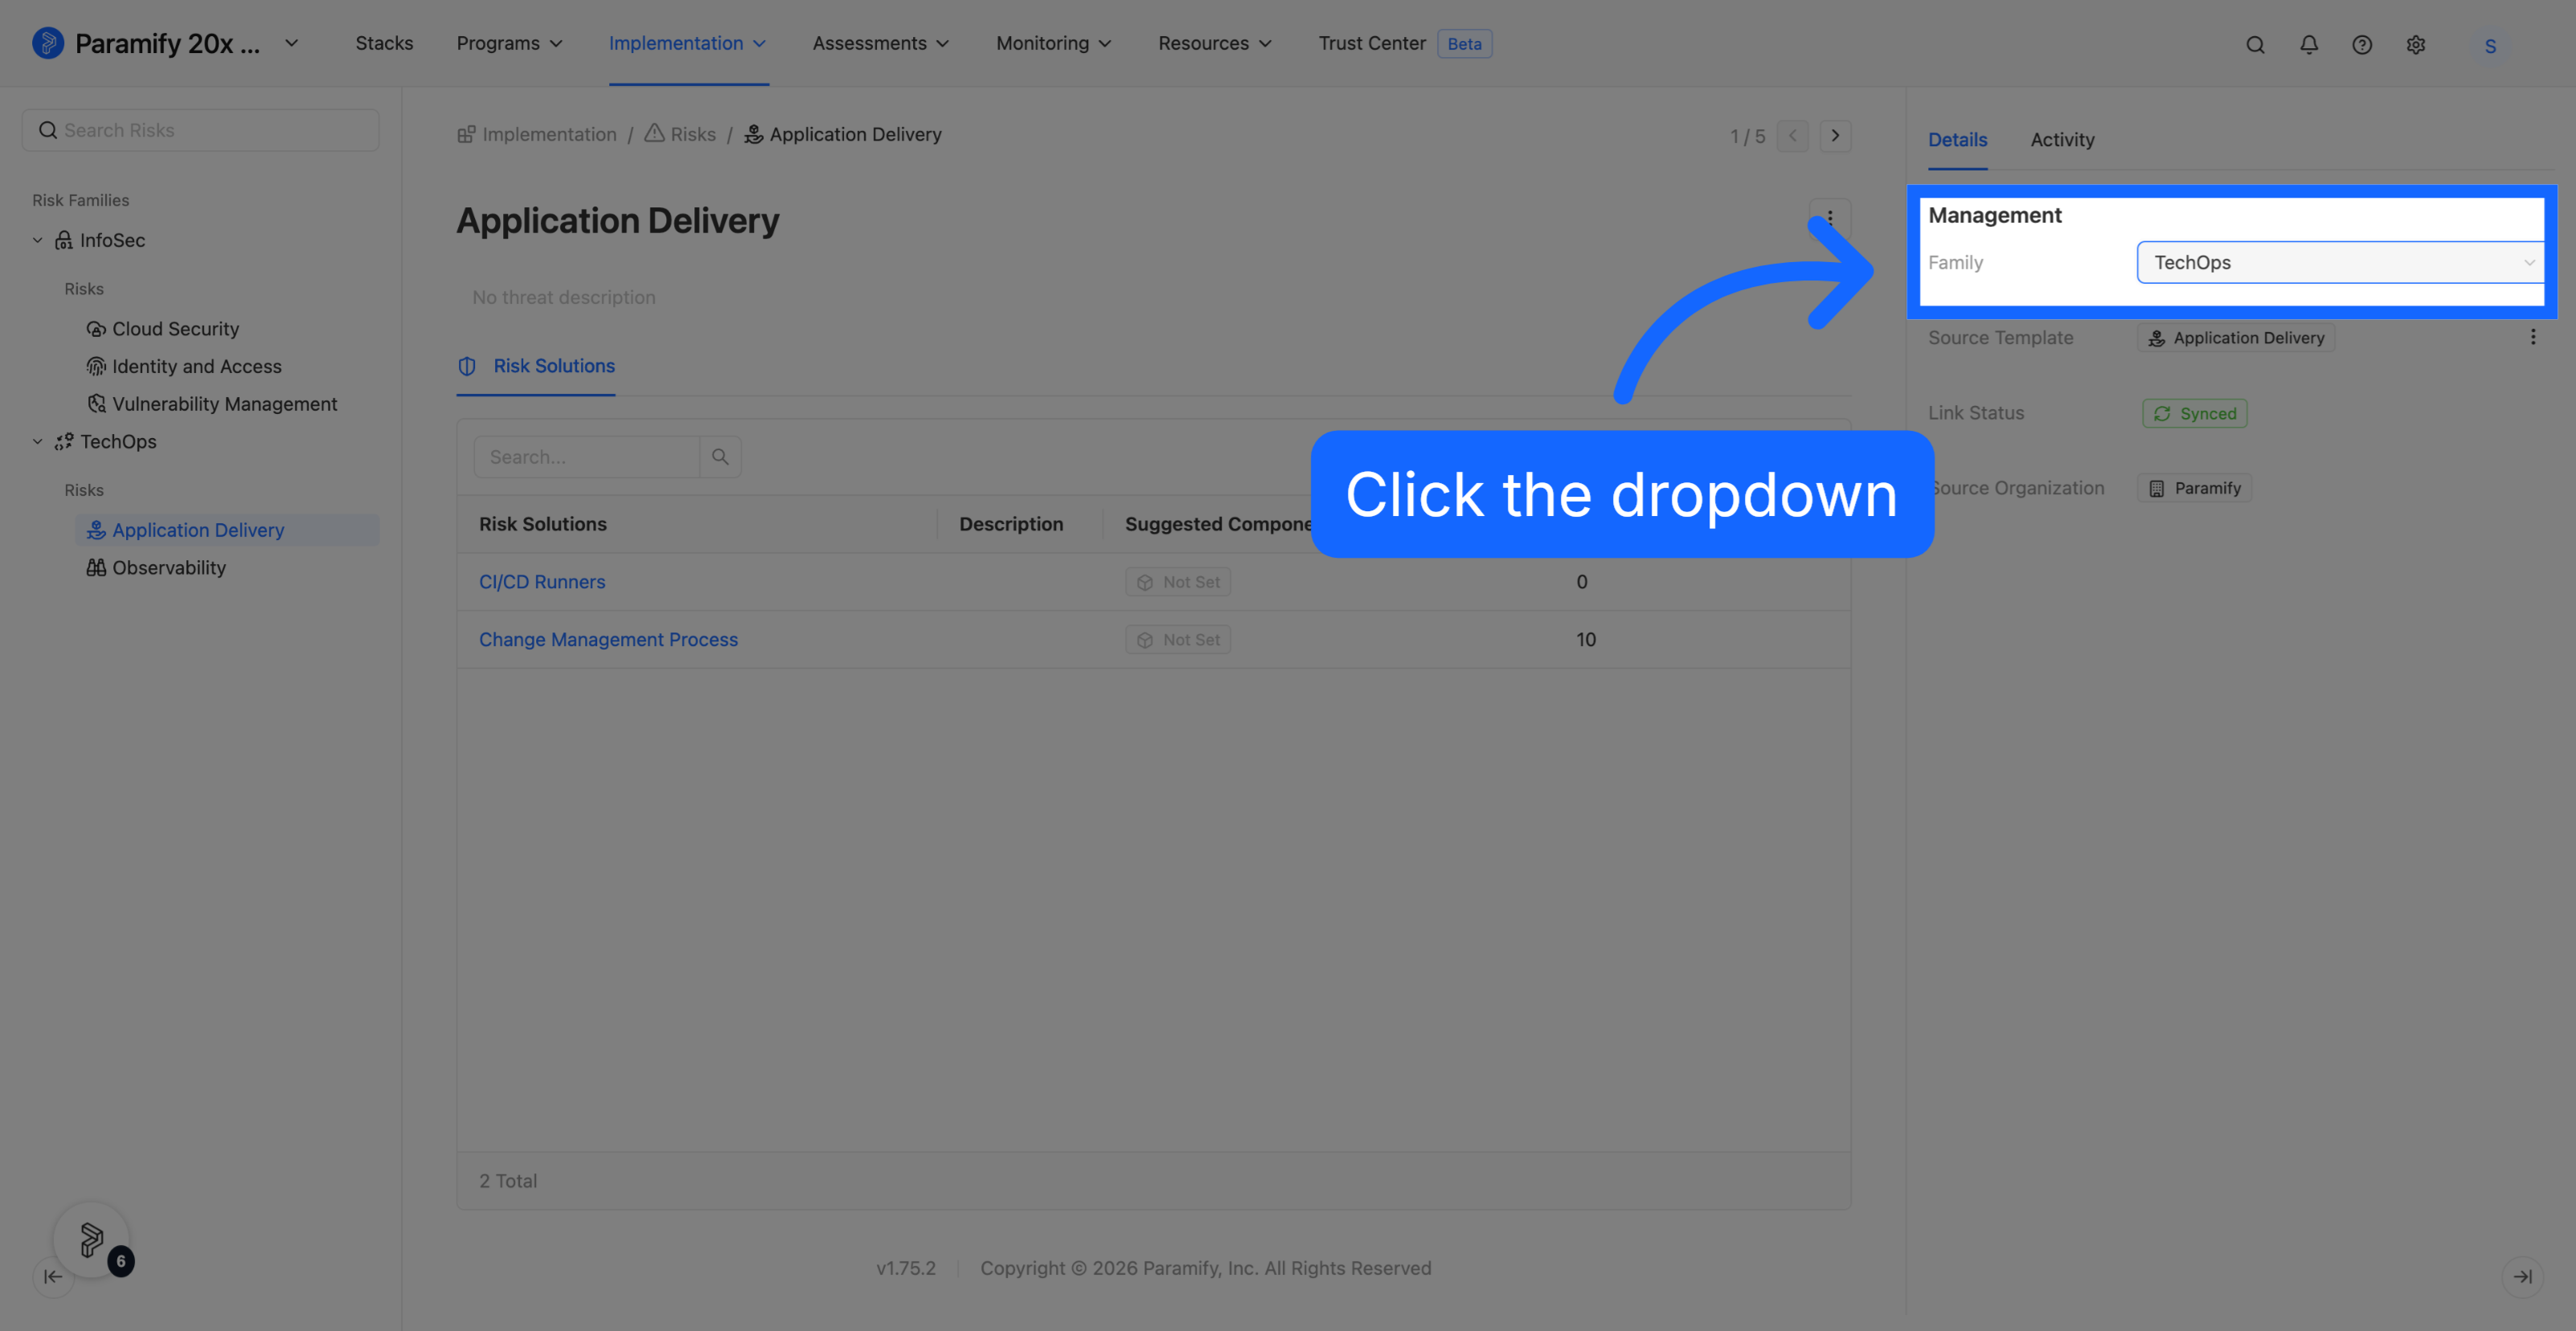
The Details panel on the right side of a Risk holds its editable fields, including which Risk Family it belongs to.
1. Change the Risk Family
In the Management section of the Details panel, you can click the Family dropdown and pick a different Risk Family, if desired.
NOTE
The Details panel also shows the risk's Source Template, Link Status, and Source Organization. A link status of Synced means the risk is still tied to its source template.
Creating a Risk Solution and its Risk
Normally, you don't create a Risk on its own. Risks are instantiated when you create a Risk Solution — if the matching Risk doesn't exist yet, Paramify creates it for you.
1. Open Risk Solutions
From the top navigation, click Implementation, then Risk Solutions.
2. Click + Risk Solution
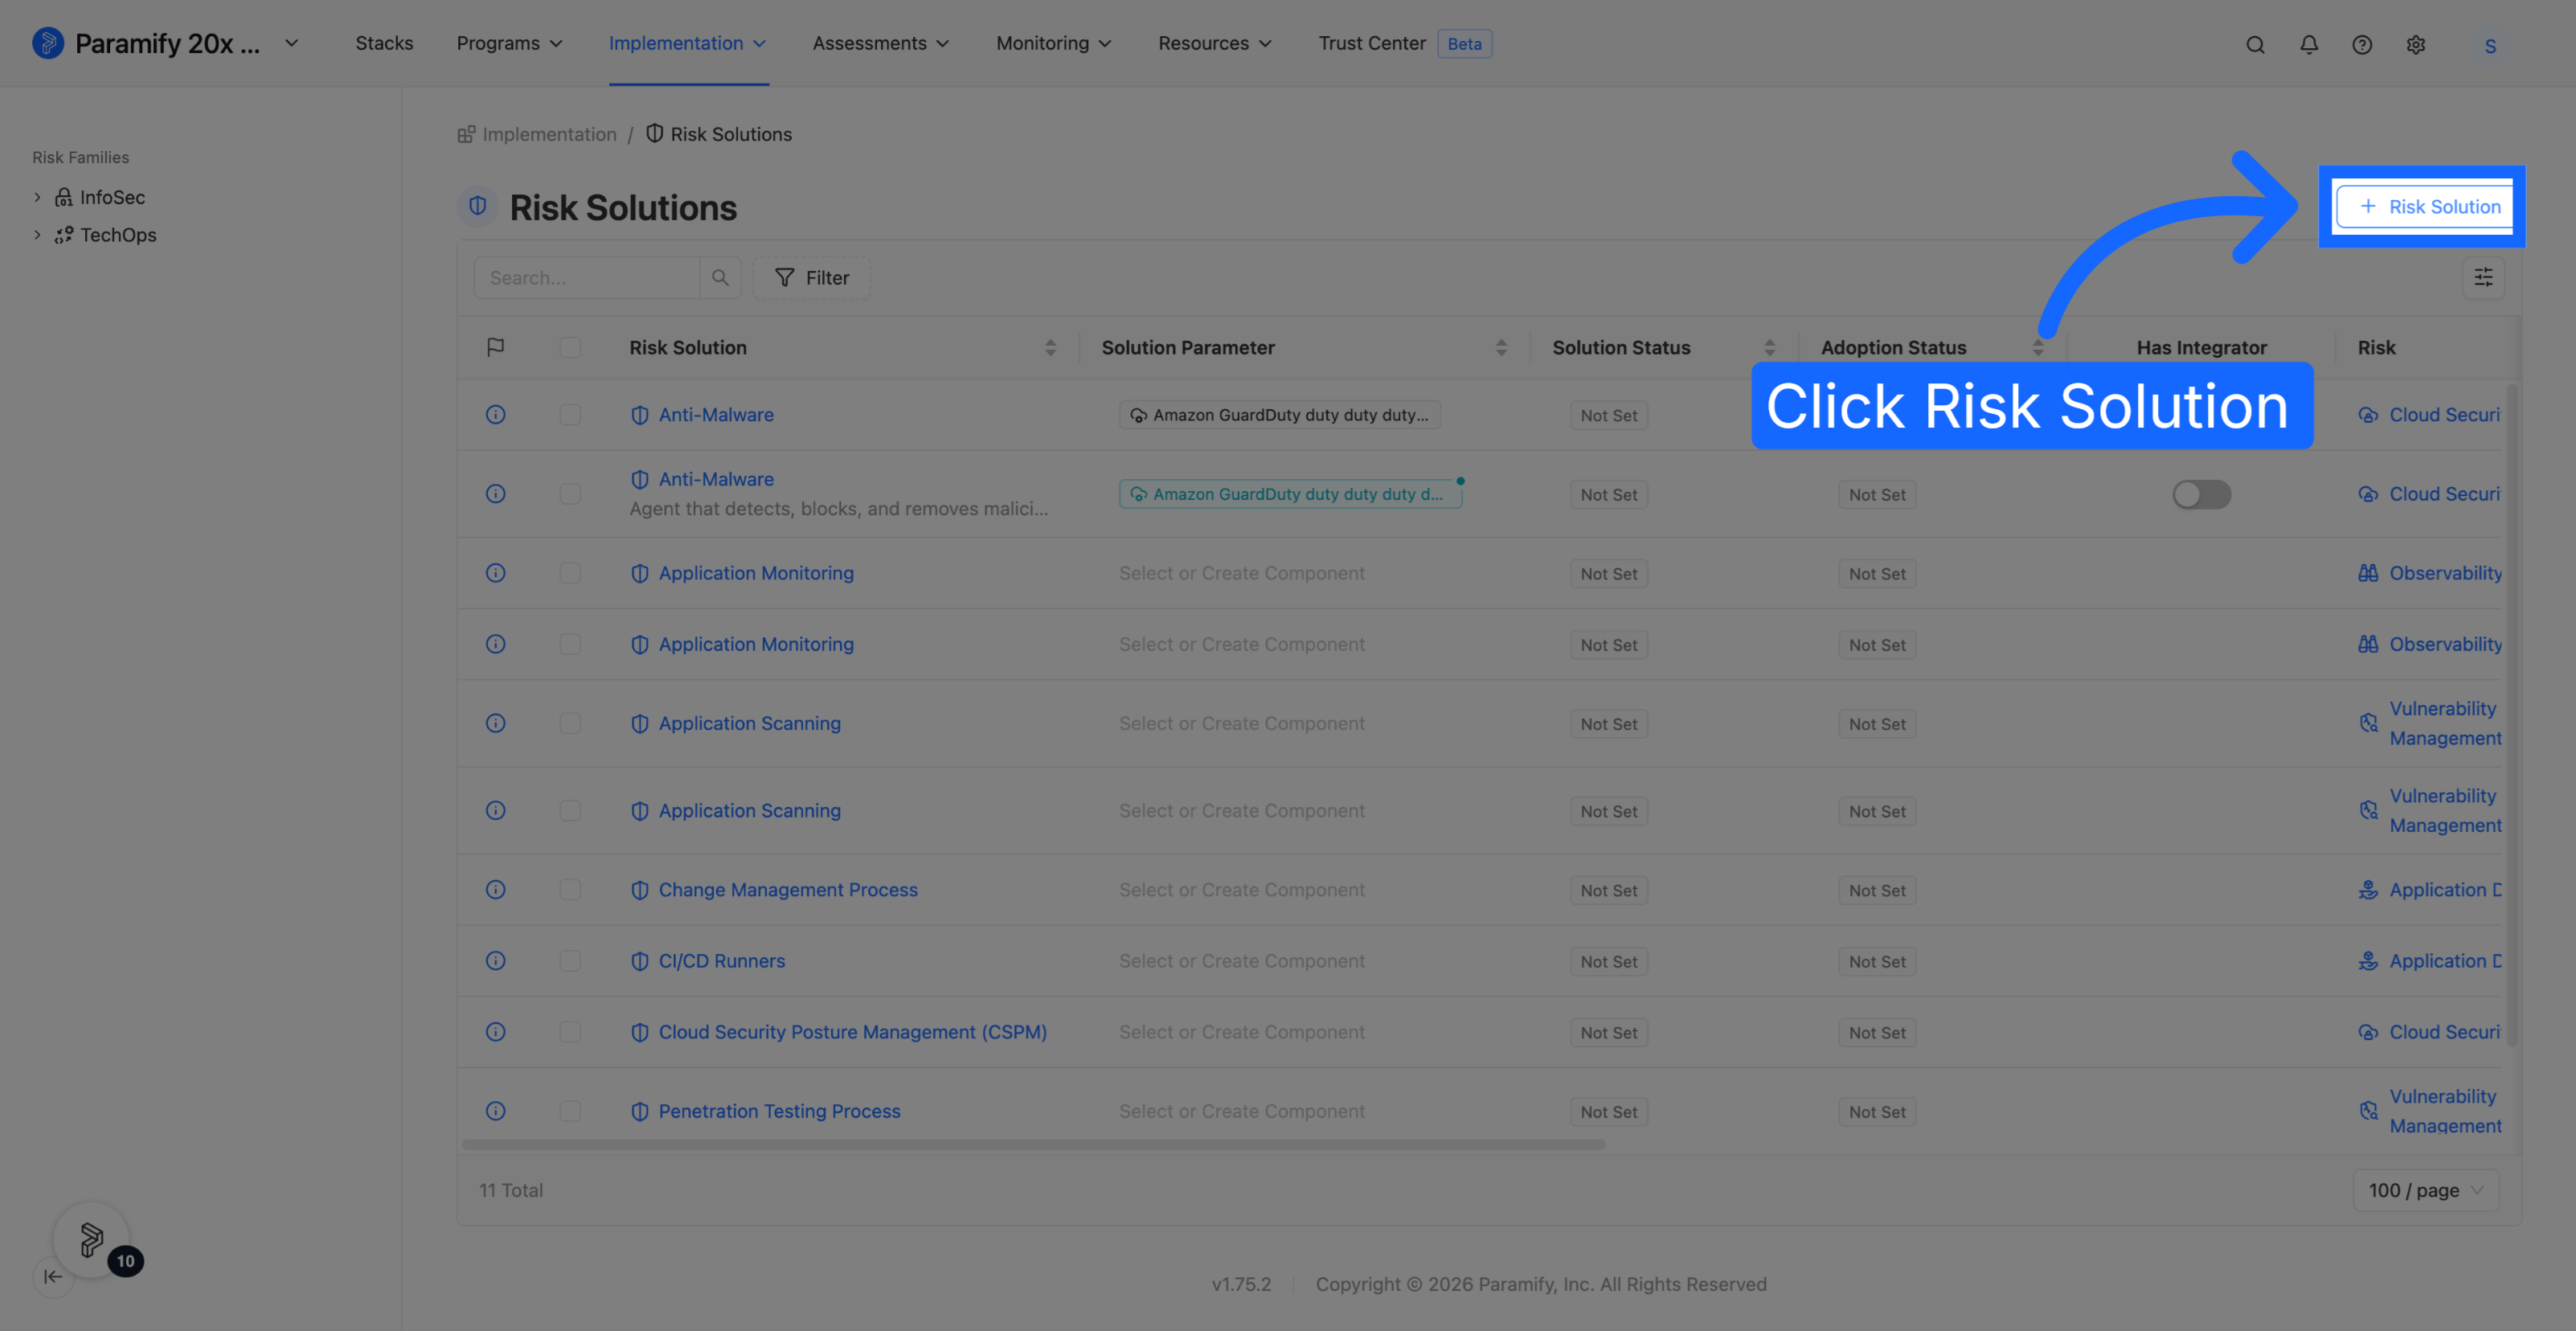
On the Risk Solutions page, click + Risk Solution in the top right. Note that the list now includes a Risk column showing which risk each solution belongs to.
3. Name the Risk Solution
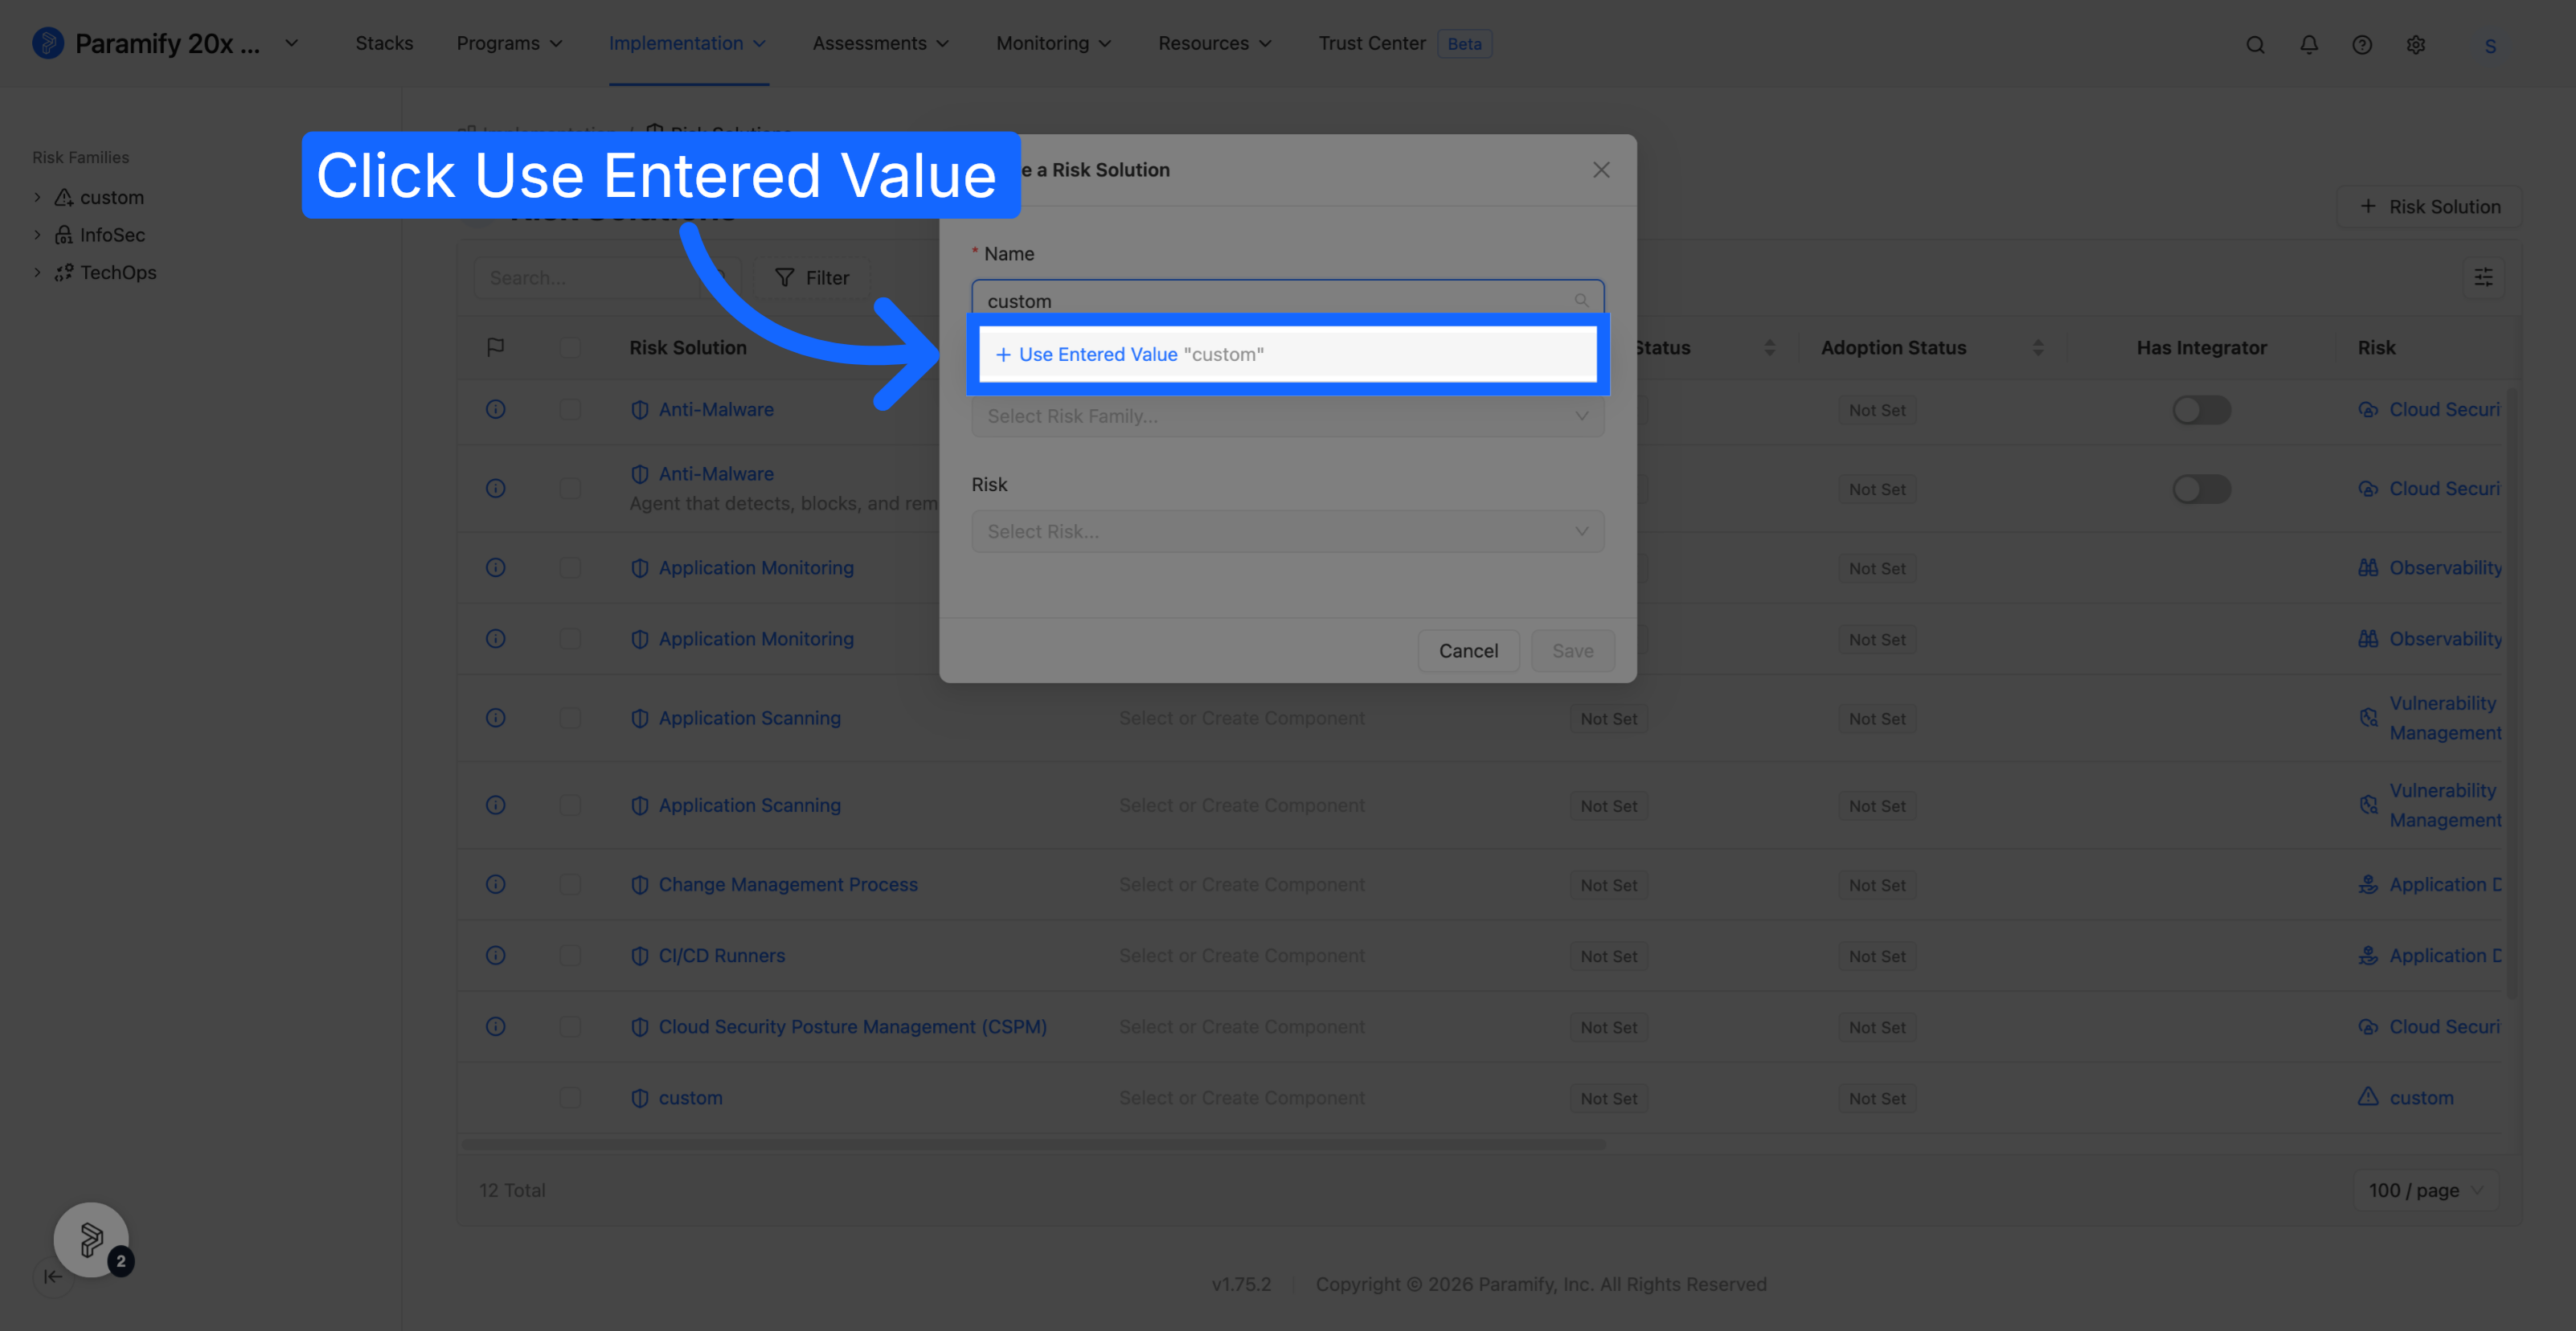
In the Create a Risk Solution dialog, start typing in the Name field. Pick an existing Risk solution from the suggestions, or click + Use Entered Value to create a custom one under the name you typed.
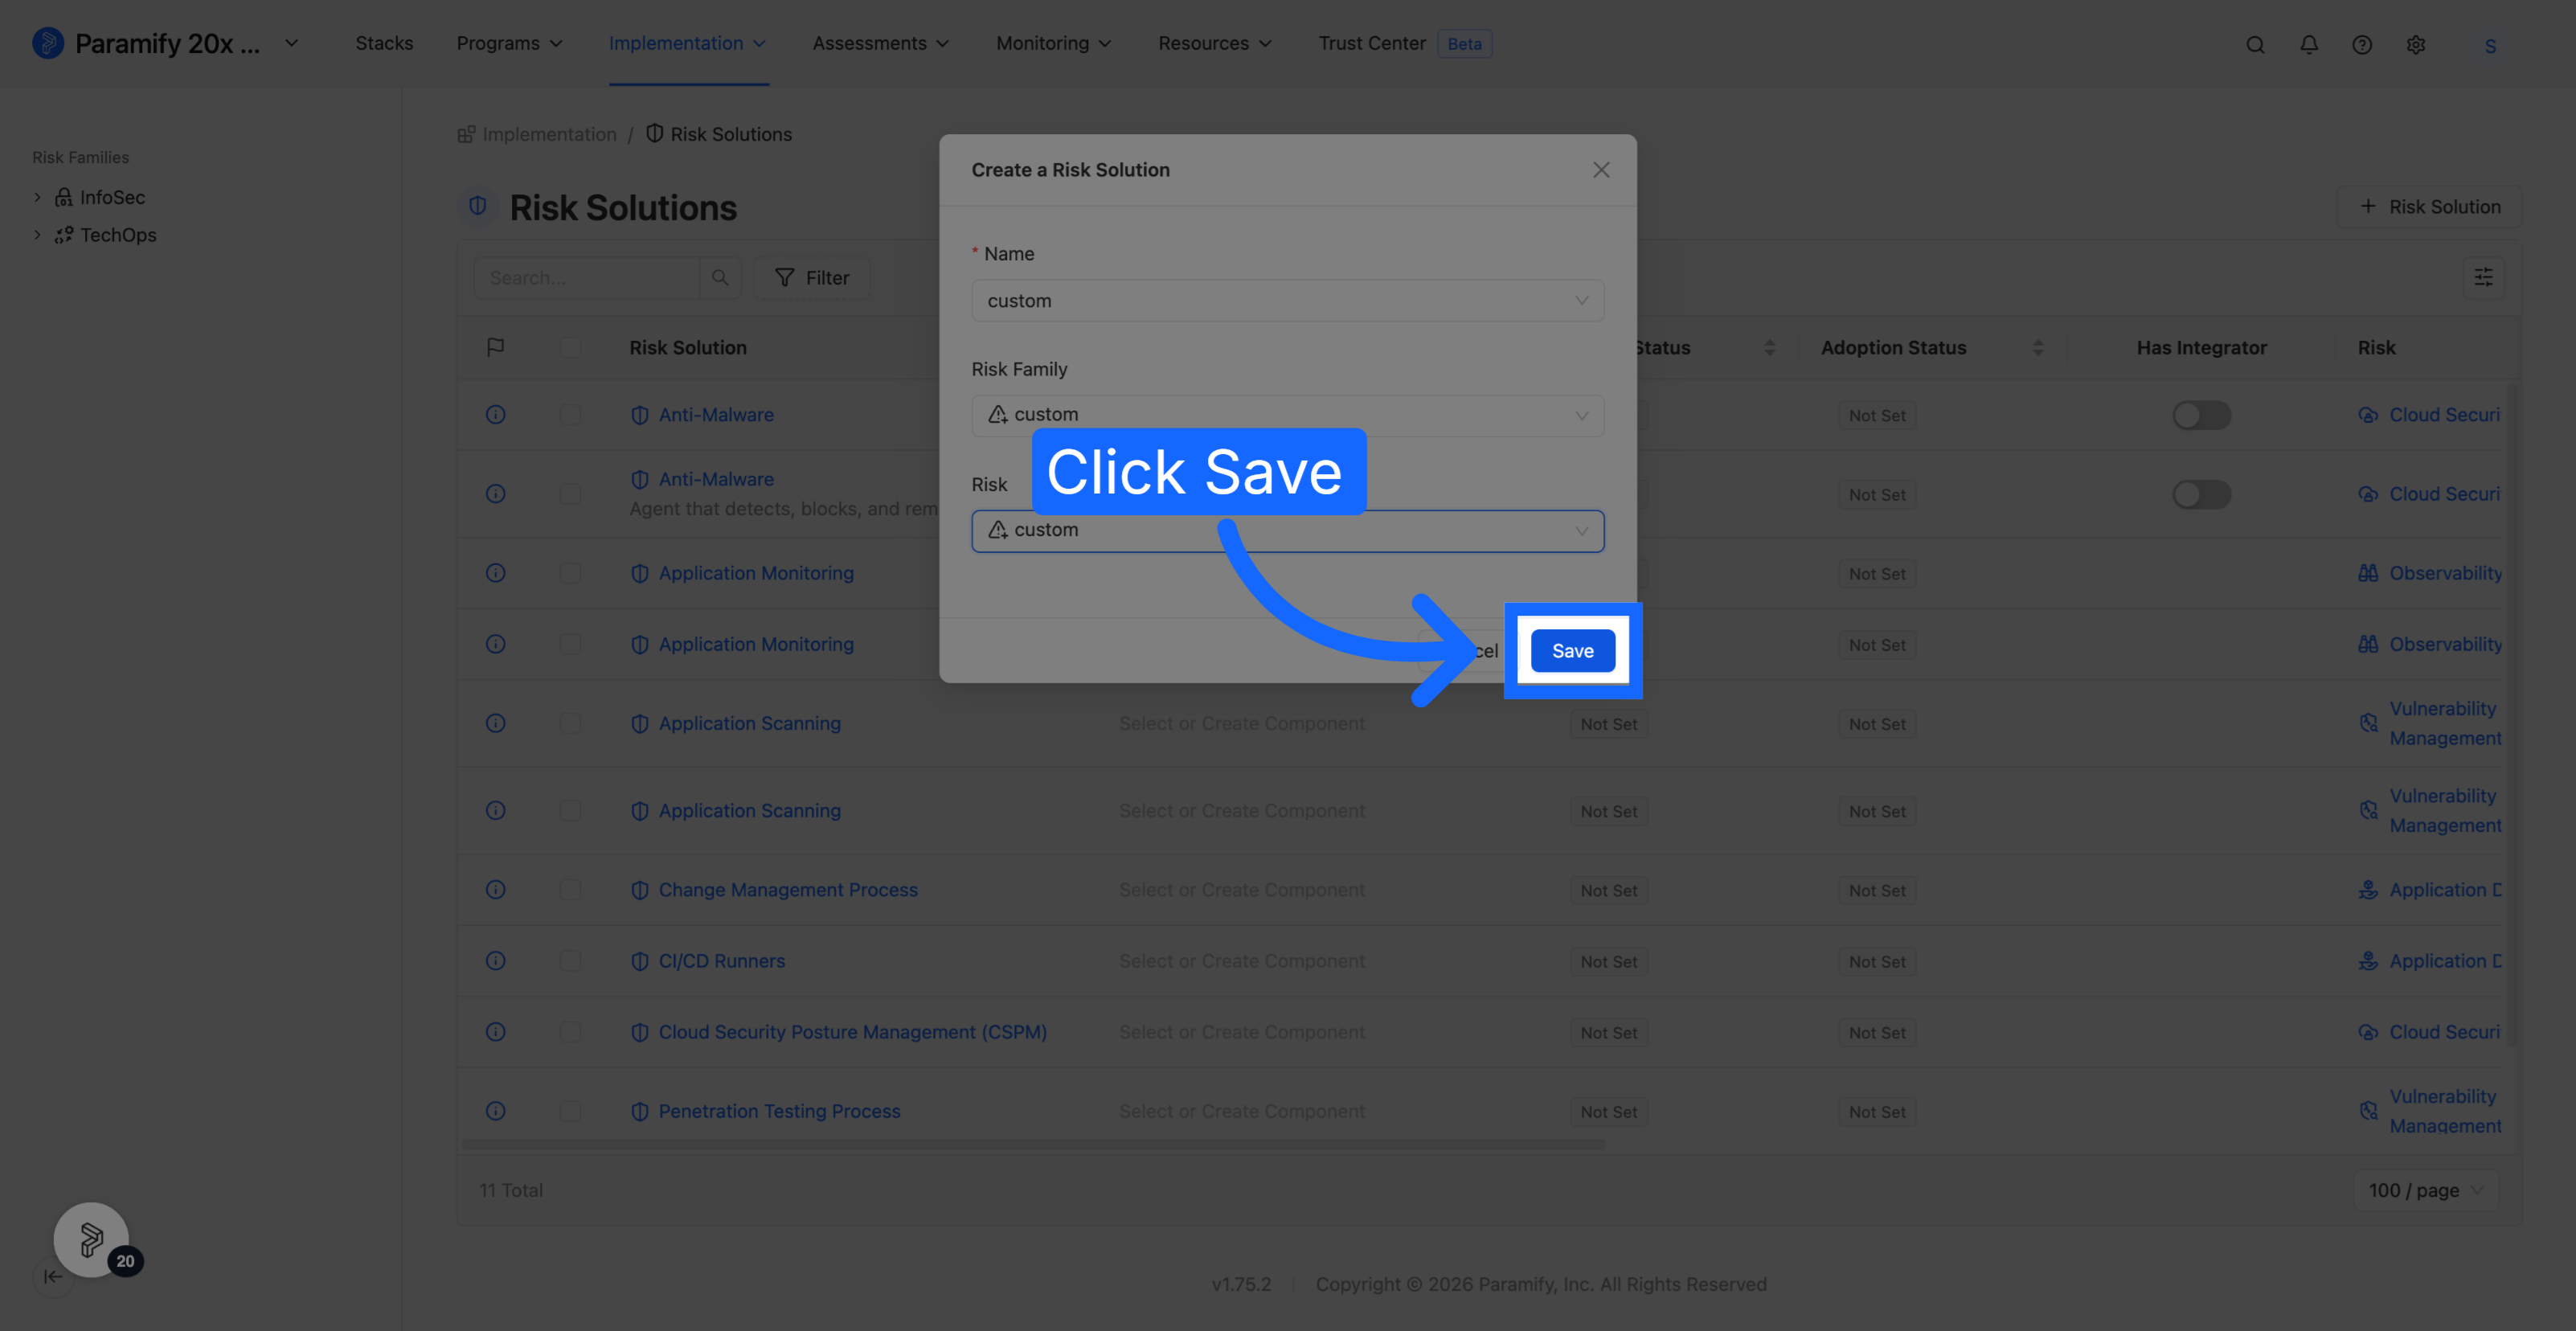
4. Choose the Risk Family and Risk
Set Risk Family and Risk. Each field lets you pick an existing entry or enter your own, so you can create a new Risk Family and Risk in the same step. Click Save when you're done.
Solution capabilities Hierarchy
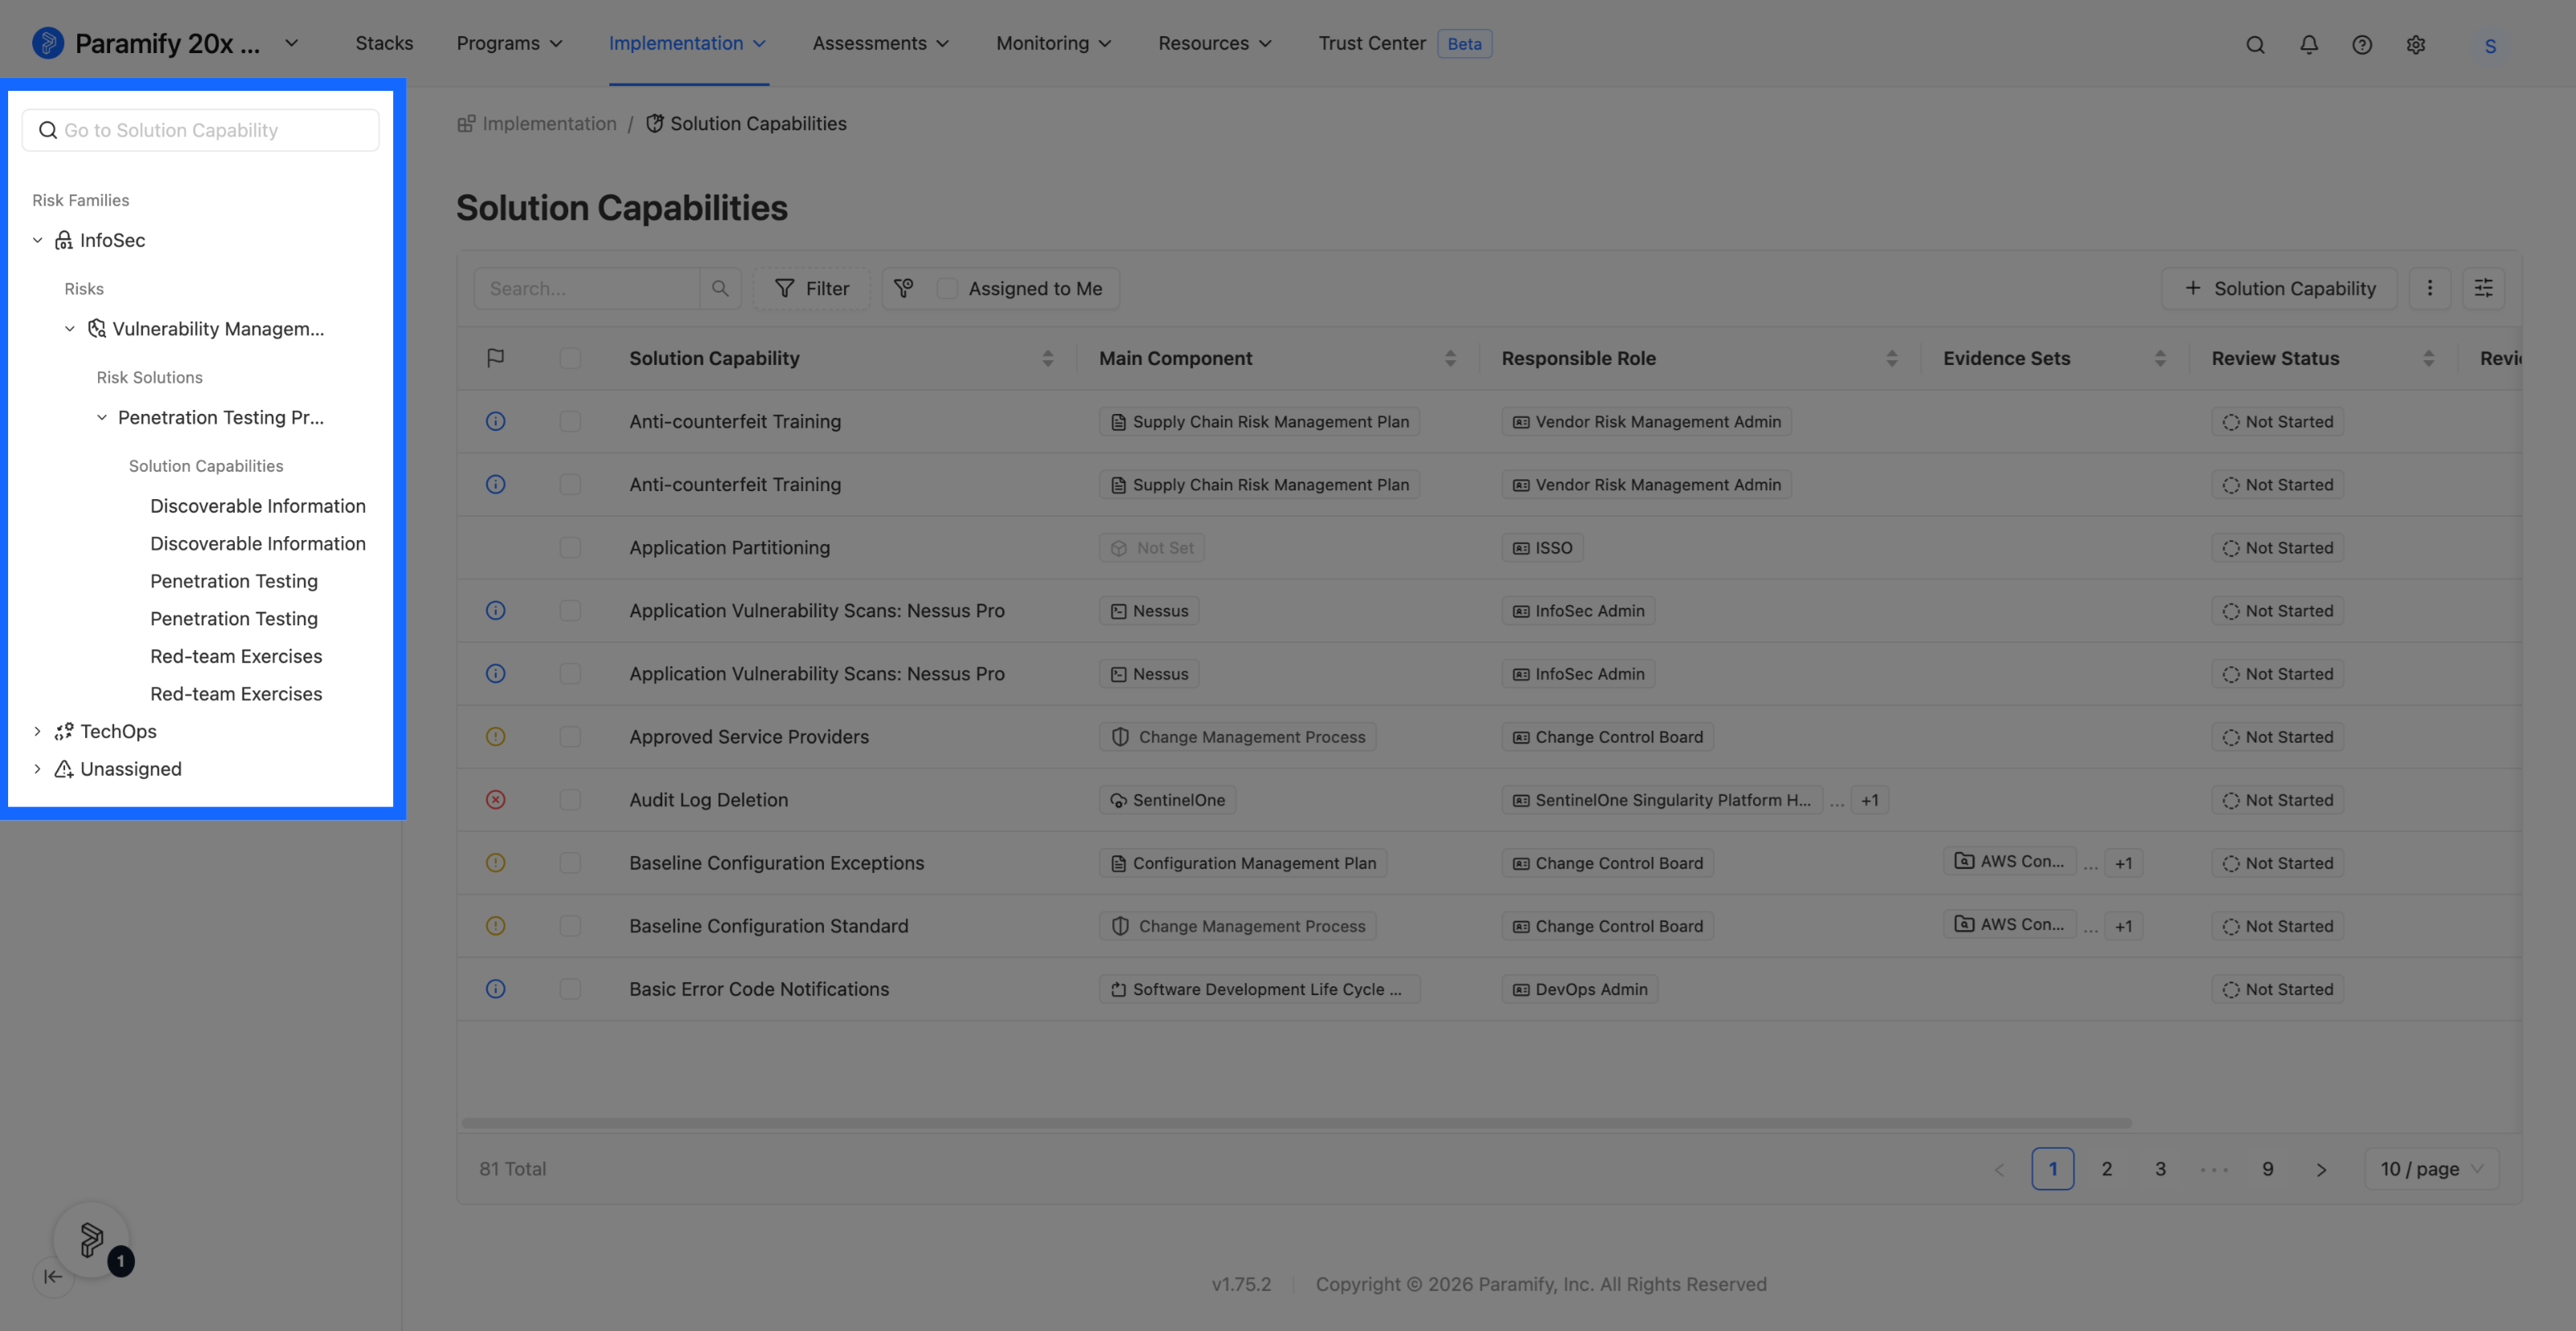
Solution Capabilities are organized by Risk and Risk Solution. The left sidebar is a three-level tree you can expand to drill down.
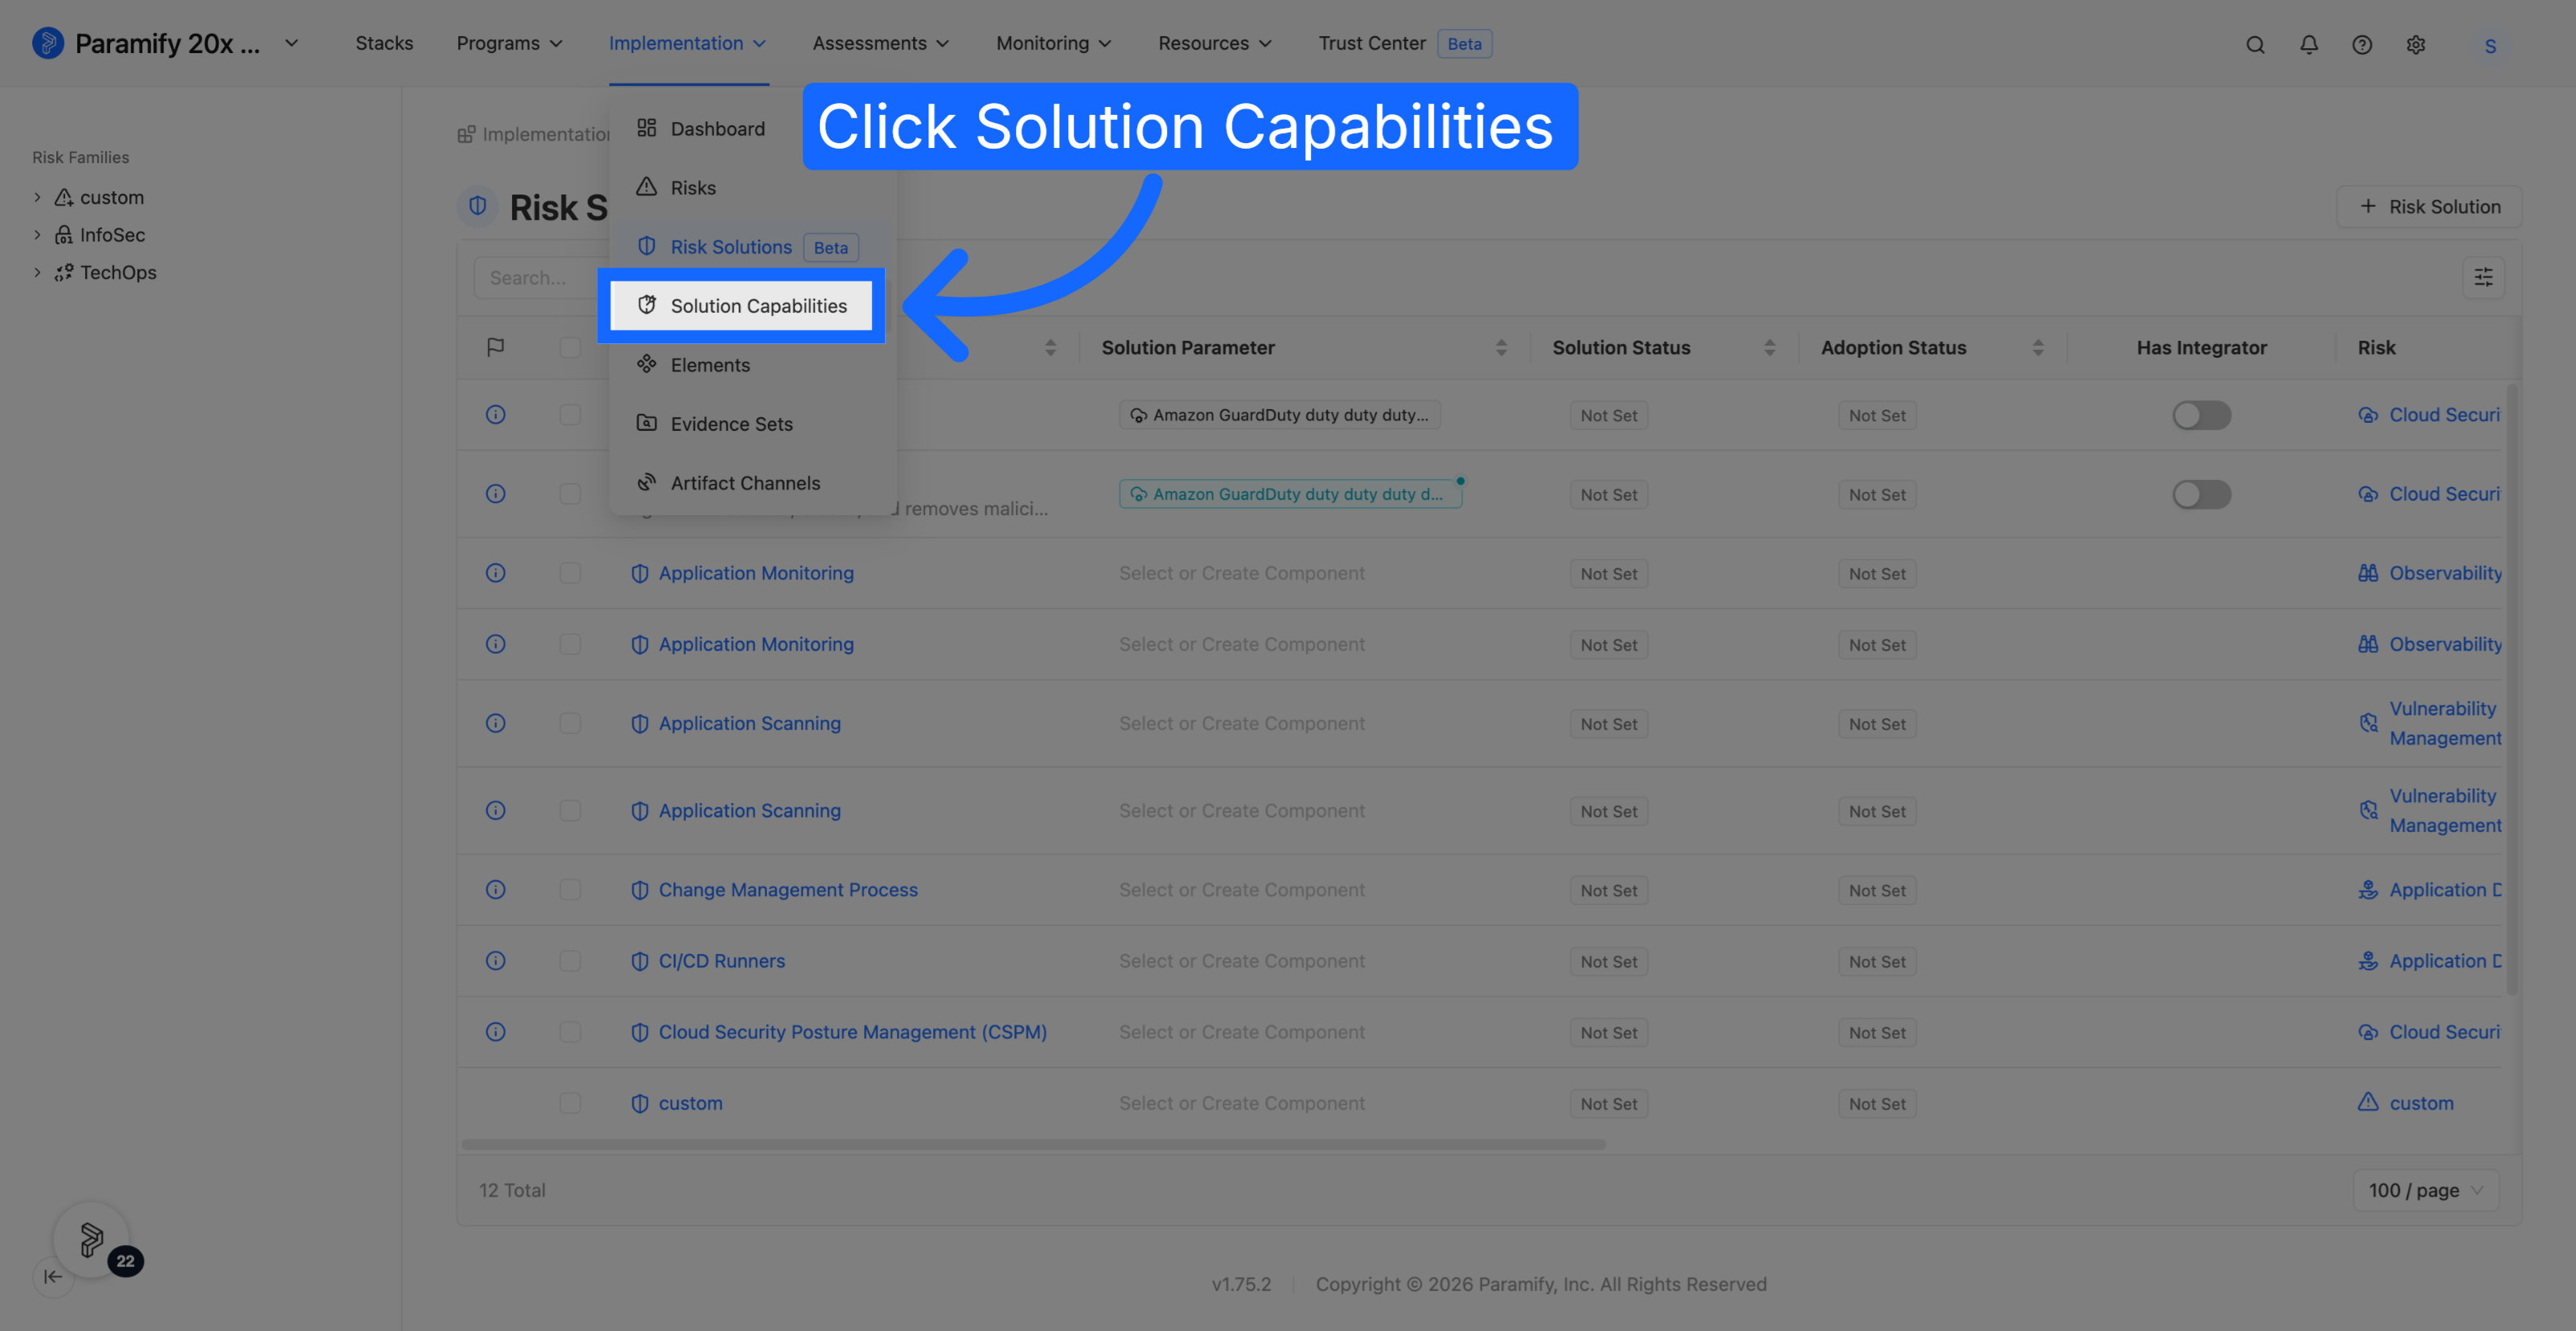
1. Open Solution Capabilities
From the top navigation, click Implementation, then Solution Capabilities.
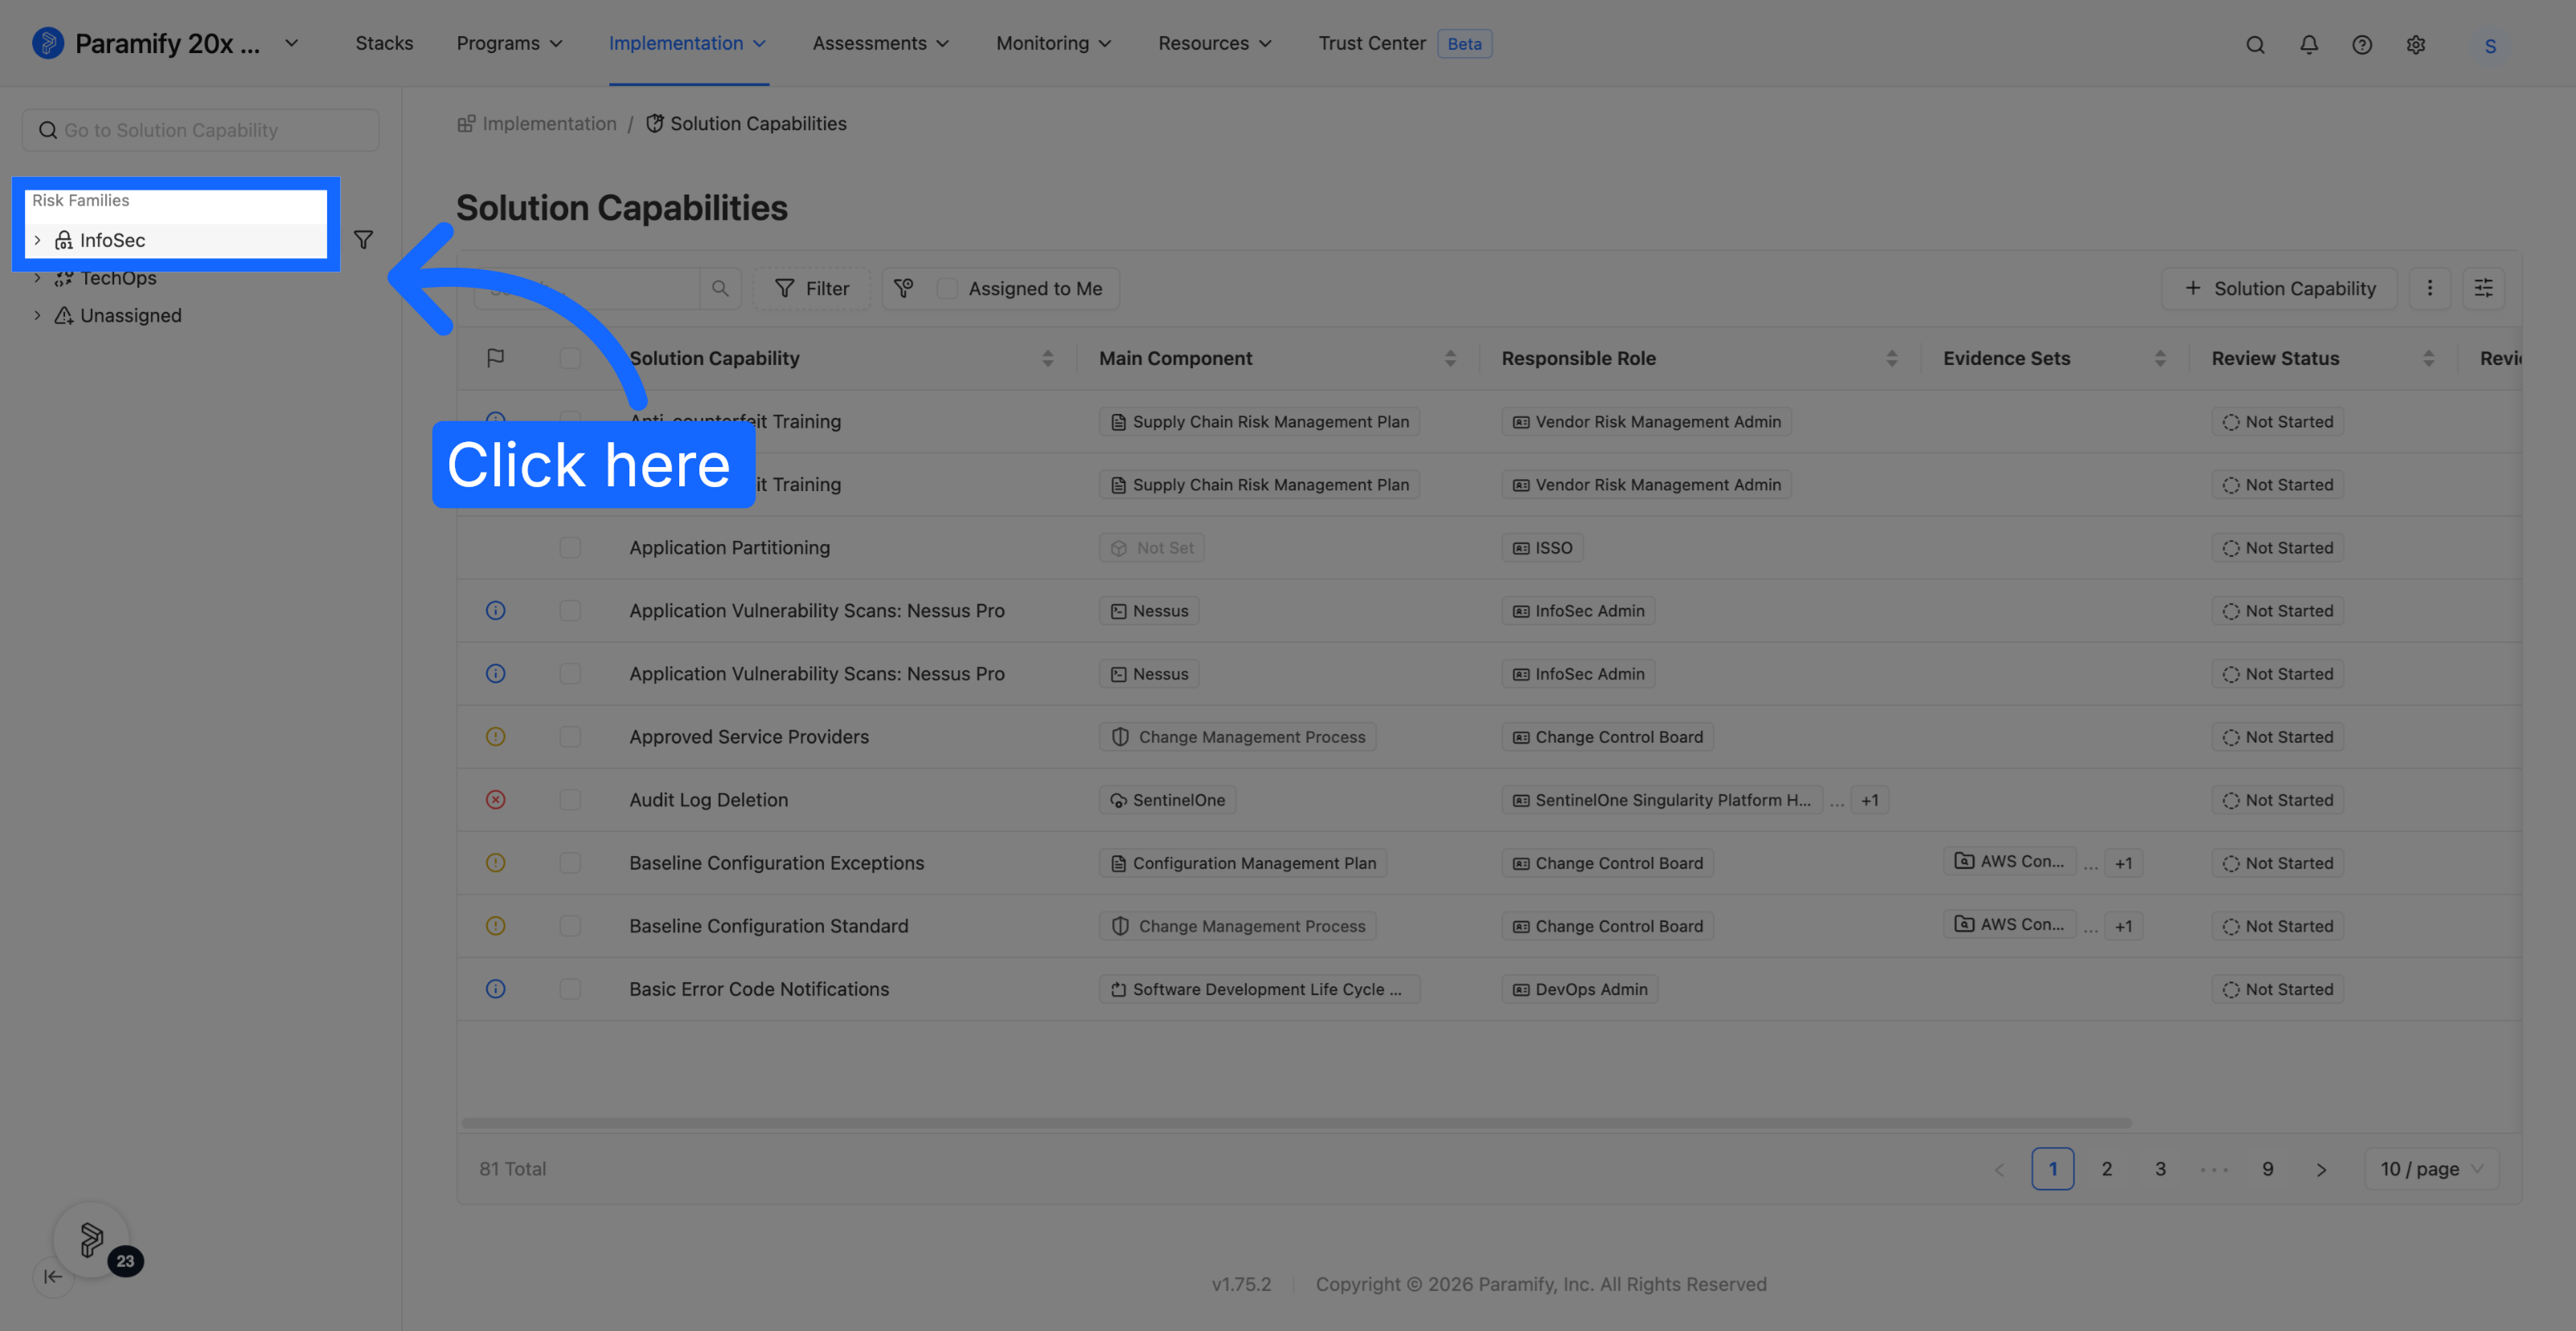
2. Start at the Risk Family level
The sidebar opens on Risk Families. Capabilities that aren't associated with a risk are collected under Unassigned rather than hidden.
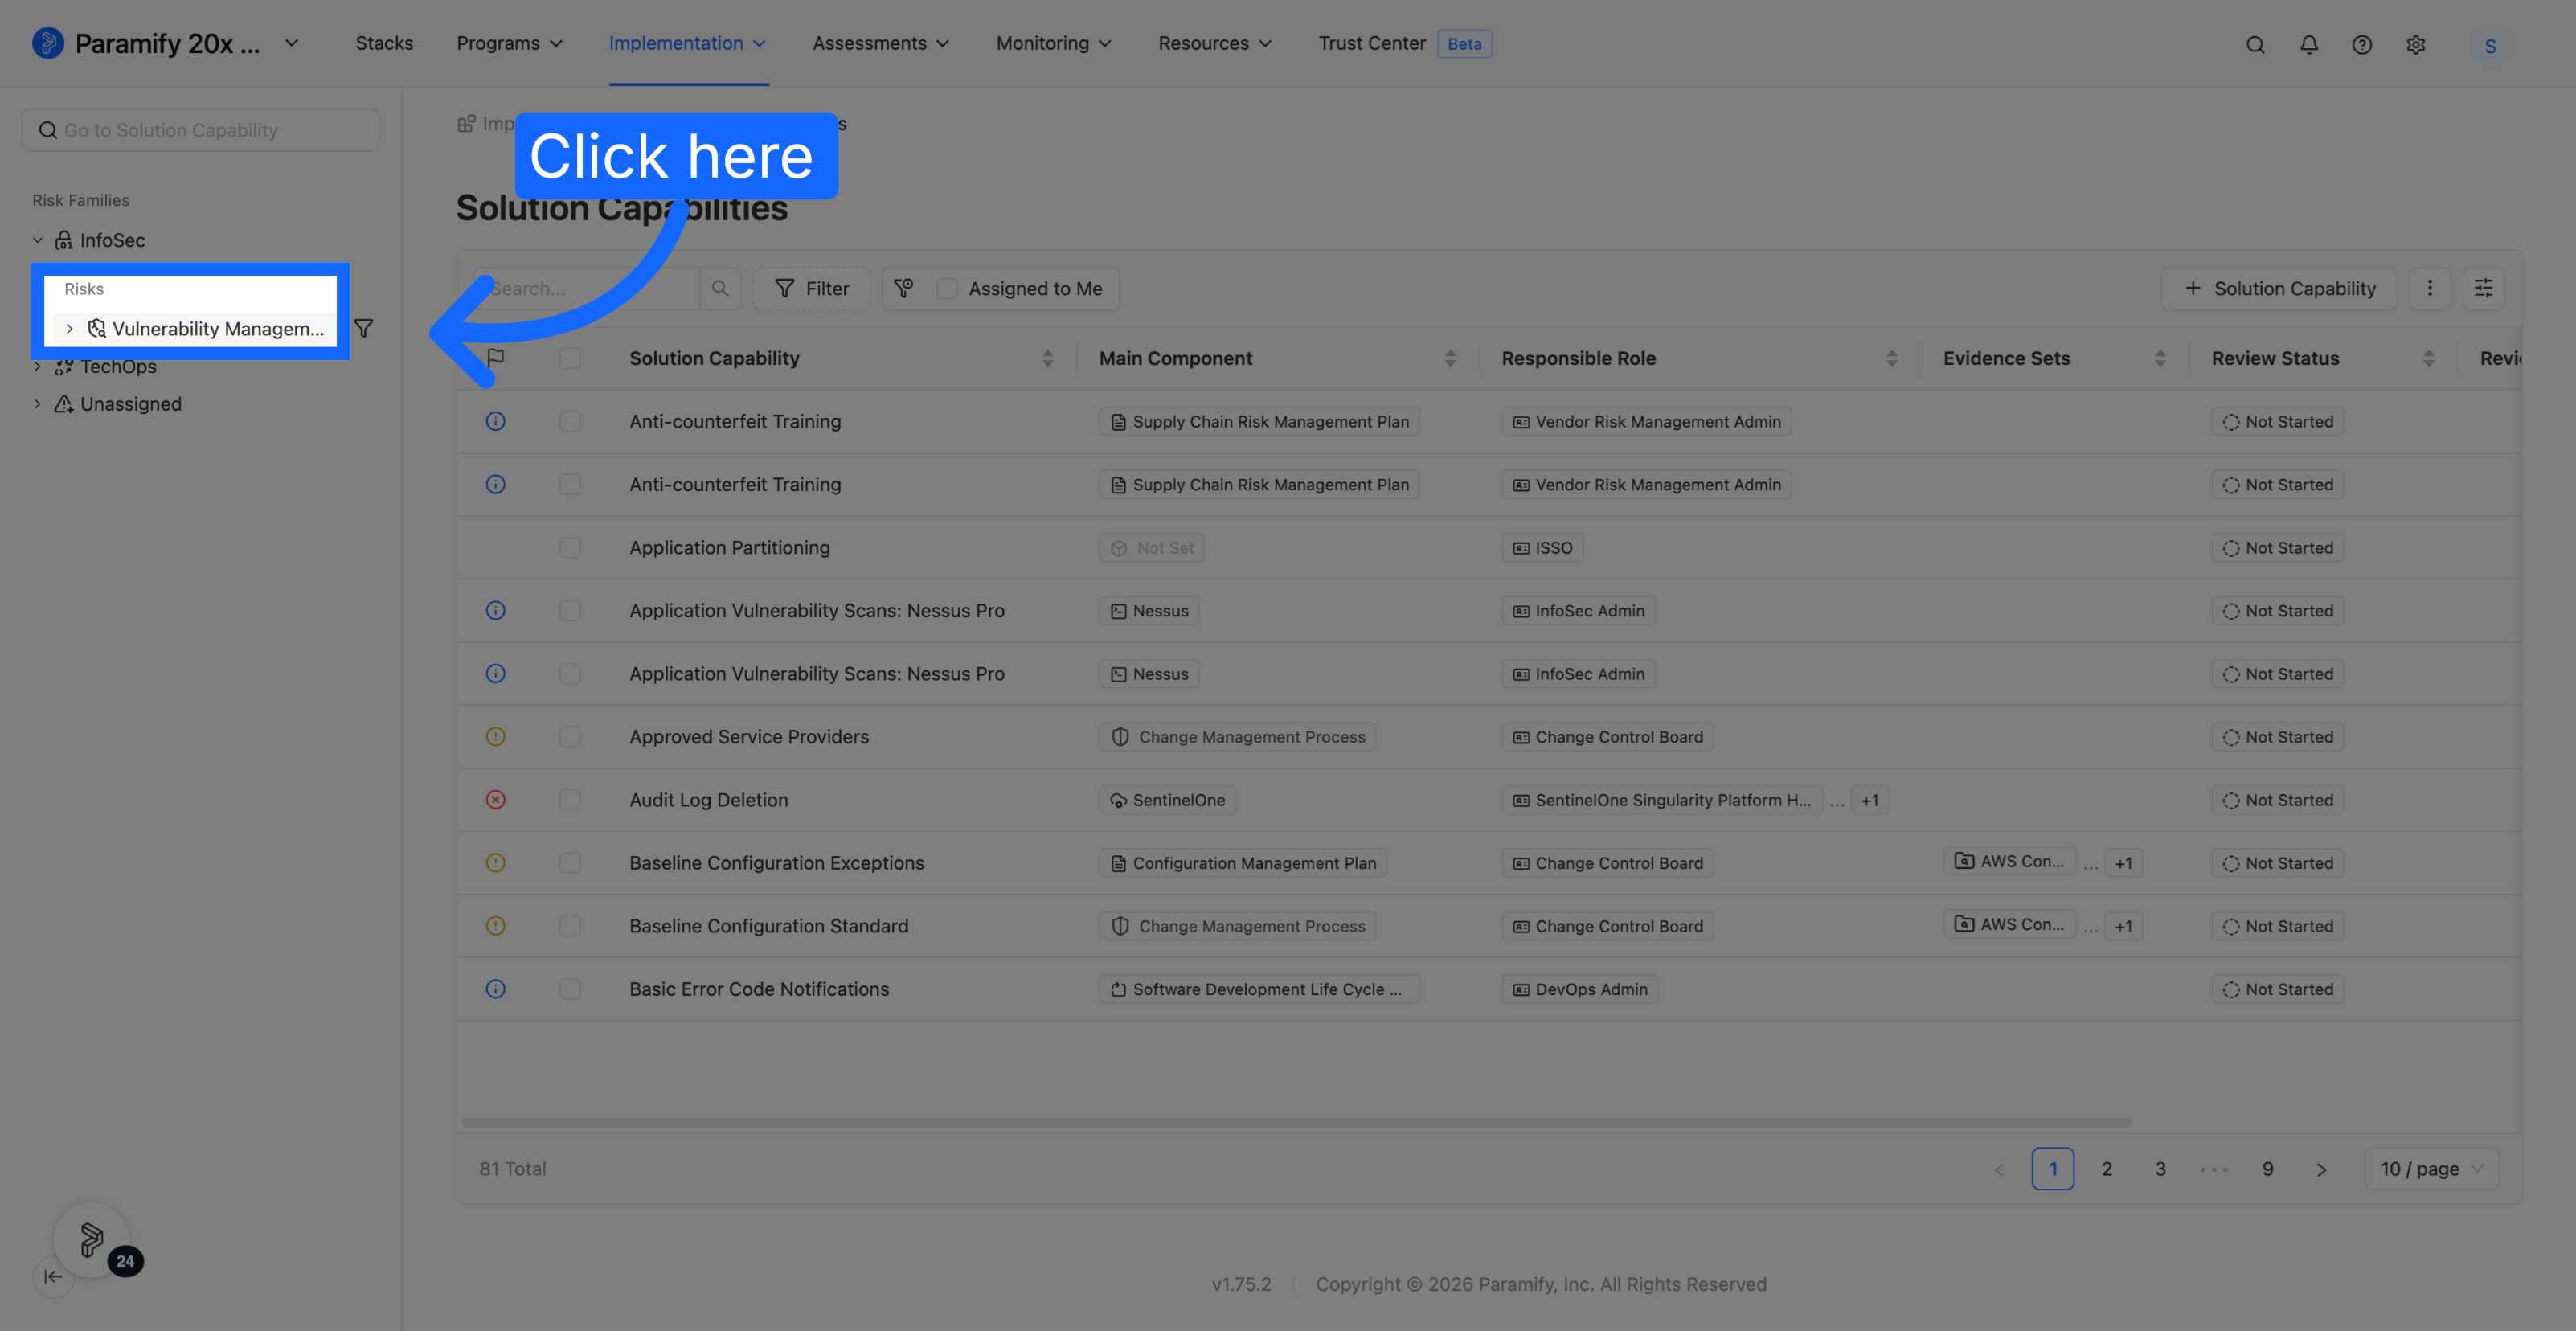
3. Expand a Risk Family to see its Risks
Expand a Risk Family to reveal the Risks that belong to it.
4. Expand a Risk to see its Risk Solutions
Expand a Risk to reveal its Risk Solutions. Select one to filter the capabilities table to that solution.
TIP
The same Risk Family → Risk → Risk Solution structure appears in the breadcrumbs and in the create dialog, so you can always tell where a Solution Capability sits.
What to expect
Creating a Risk Solution works the way it always has. What's different is that the Risk it belongs to is now a record you can open, edit, and navigate by — and Solution Capabilities follow that same risk-based structure throughout the app.
Comments
0 comments
Please sign in to leave a comment.