
This guide walks through using the Paramify TUI (terminal UI) to set up fetchers and push evidence into the Paramify application, end to end.
BEFORE YOU BEGIN
Complete these articles before setting up fetchers and validators:
API Key Setup
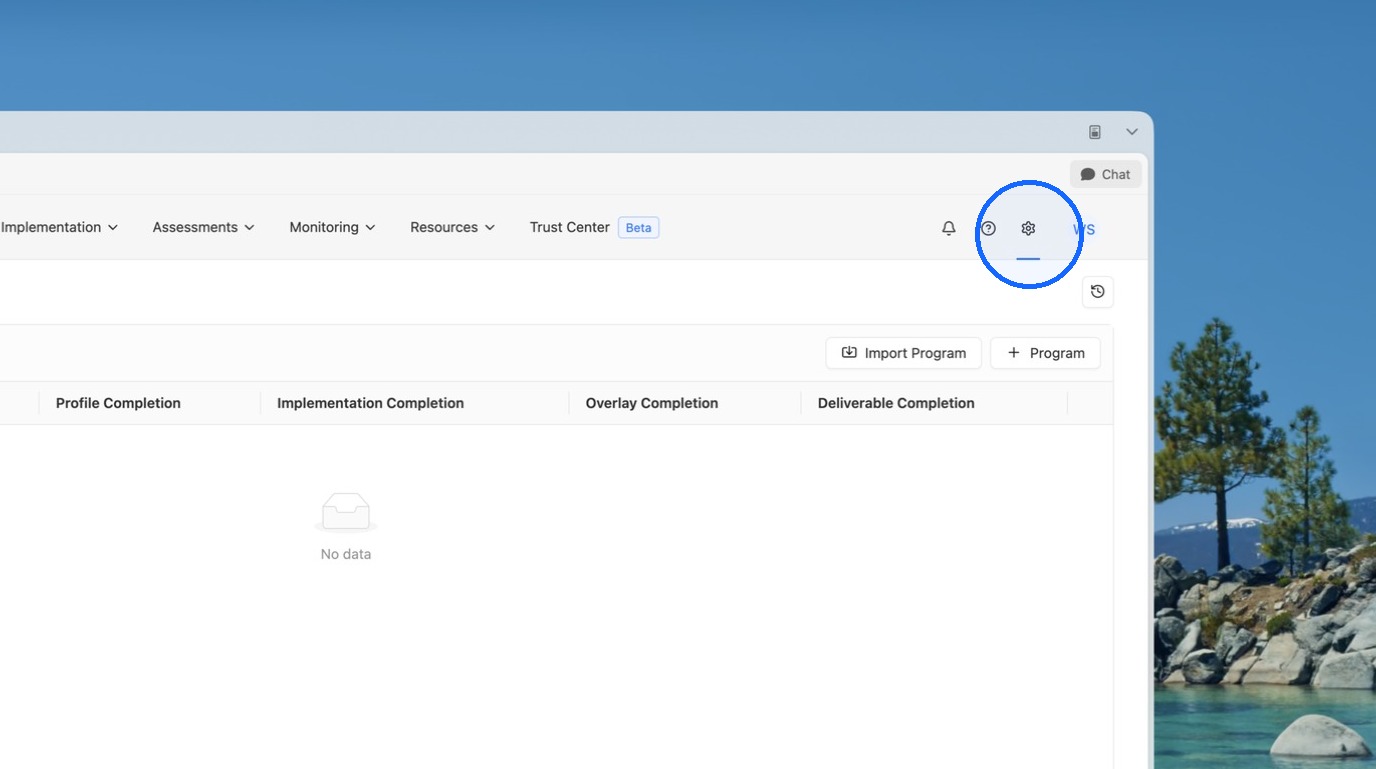
1. Open Workspace Settings
Open Workspace Settings.
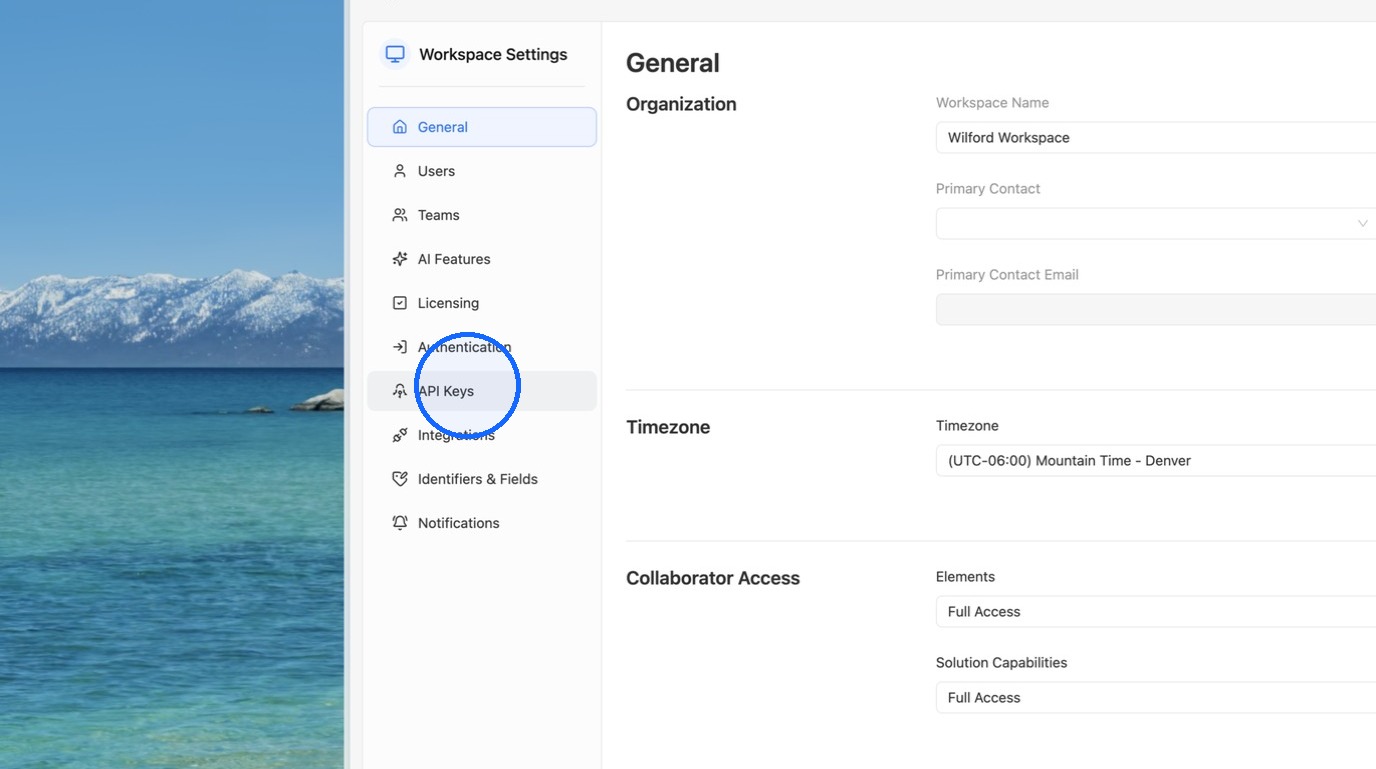
2. Navigate to API Keys
Navigate to "API Keys".
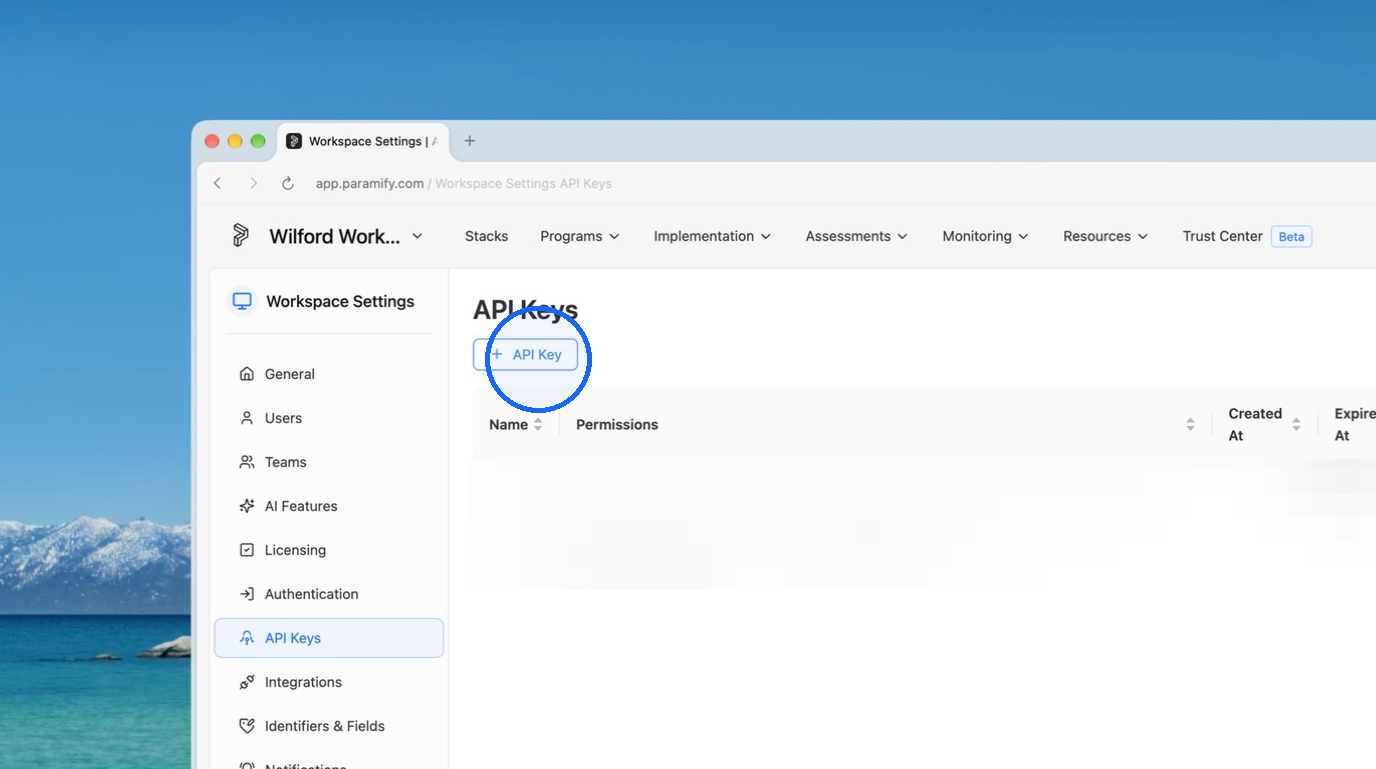
3. Add a new API key
Click "+ API Key".
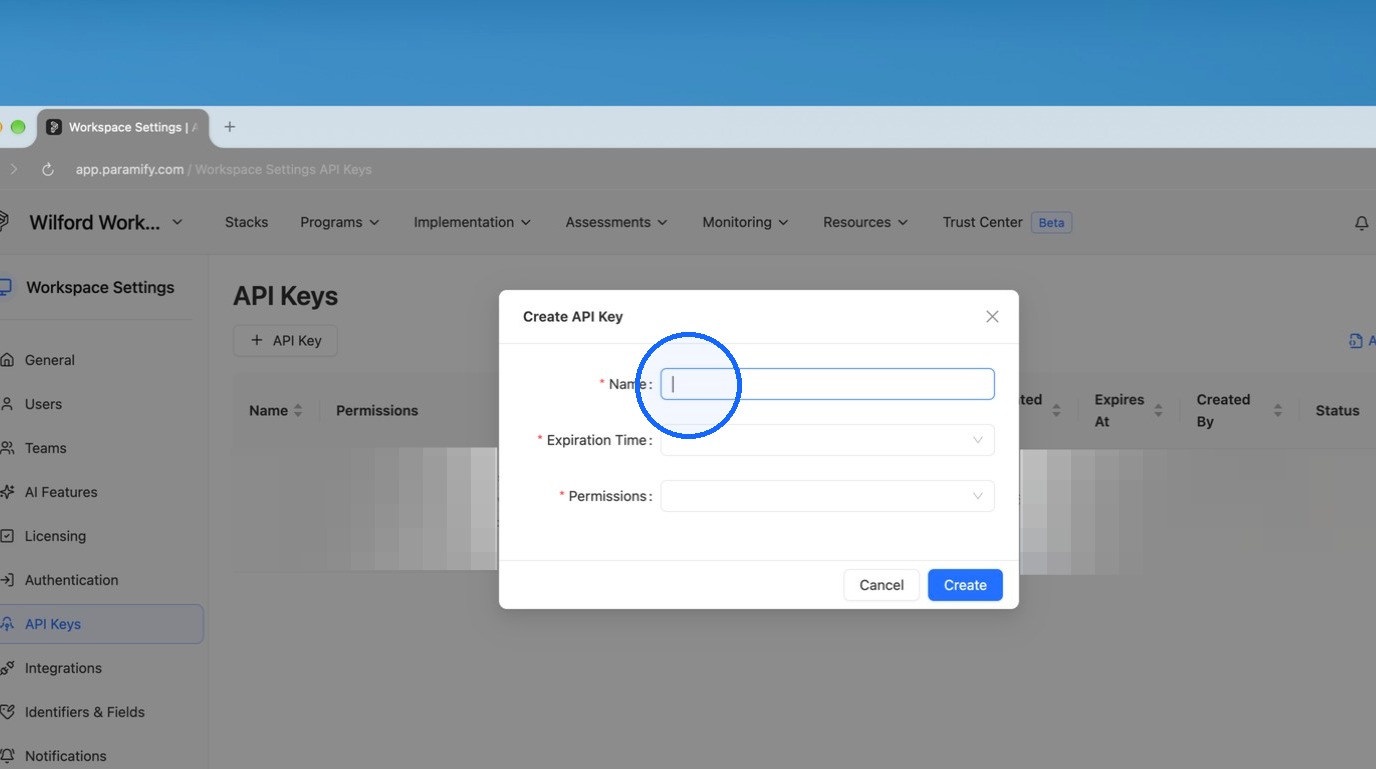
4. Name the API key
Give the API key a name.
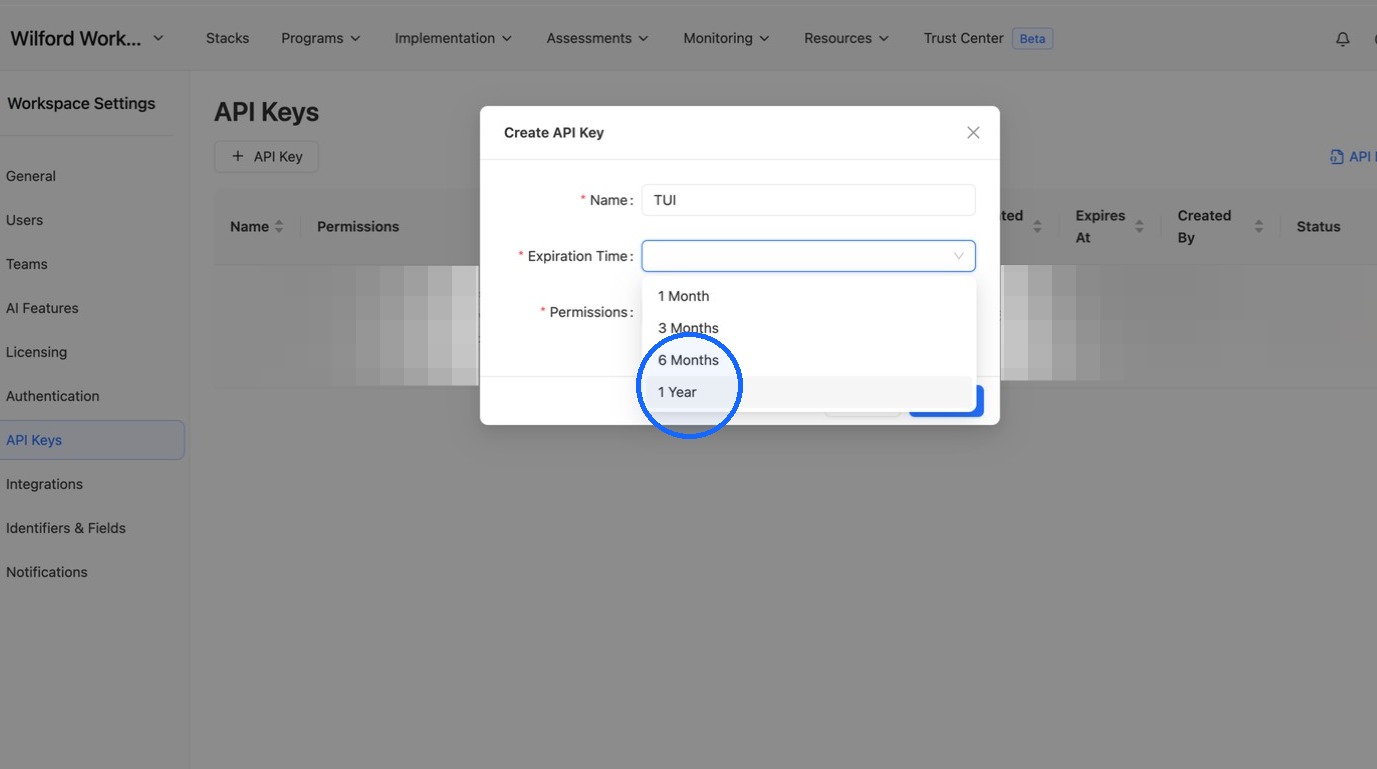
5. Set an expiration time
Select an expiration time.
6. Enable required permissions
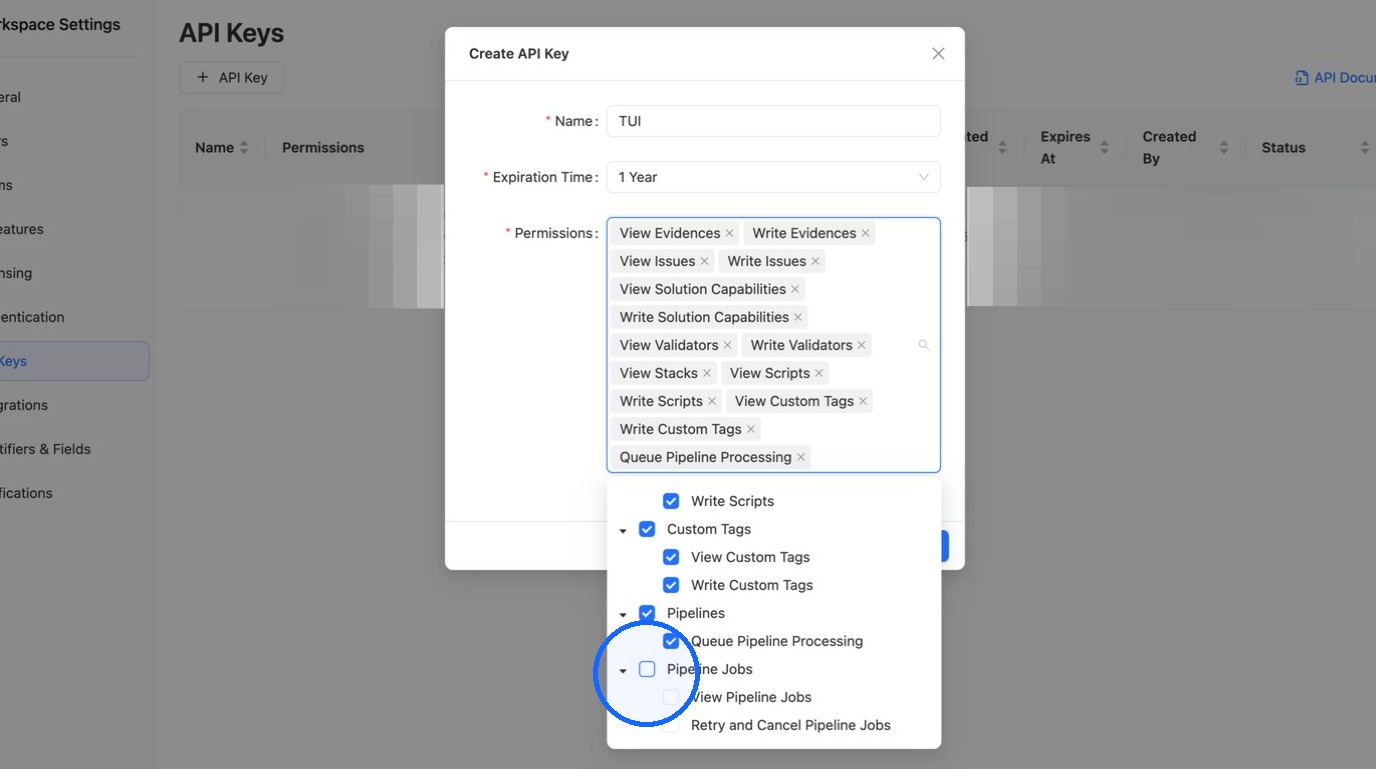
Enable the following permissions — these are required for the Paramify TUI to work properly:
EvidencesIssuesSolution CapabilitiesValidatorsStacksScriptsCustom TagsPipelinesPipeline Jobs
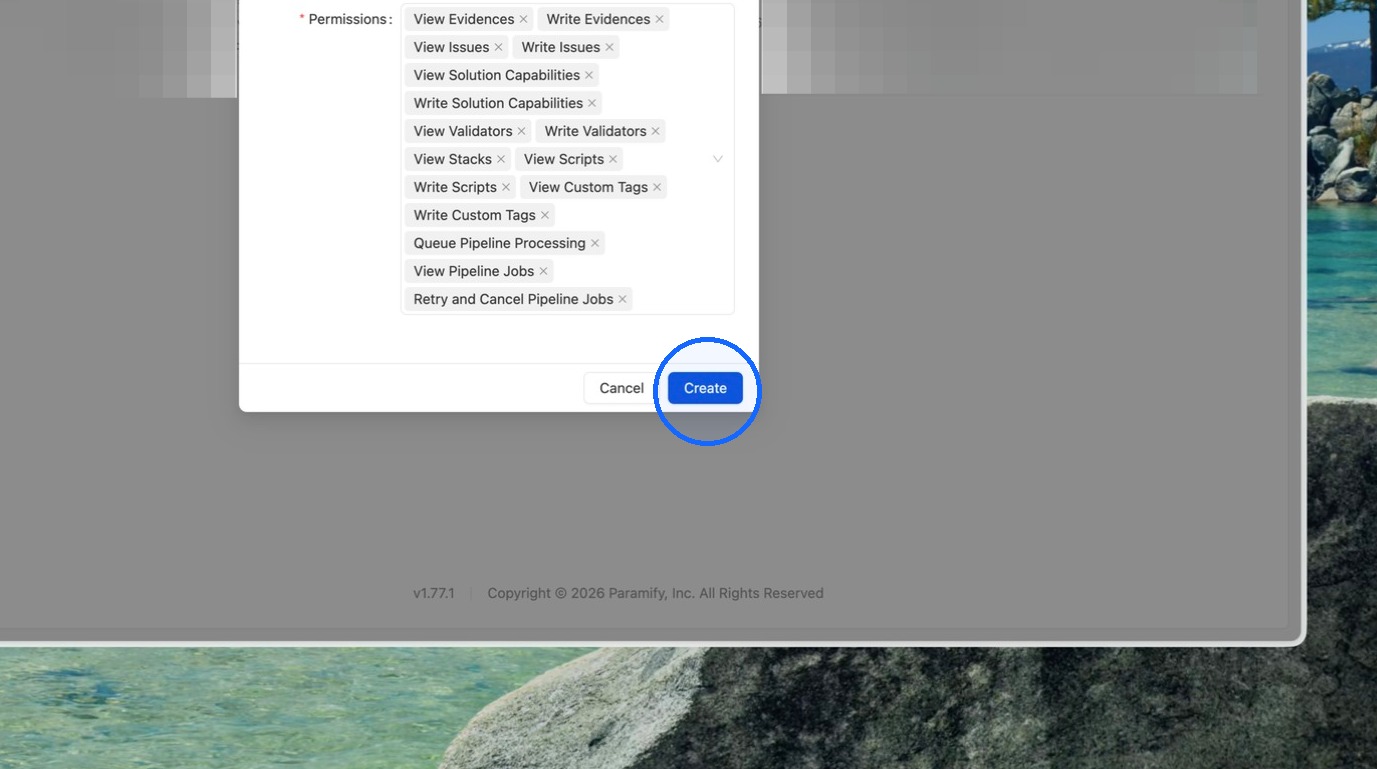
7. Create the API key
Click the "Create" button.
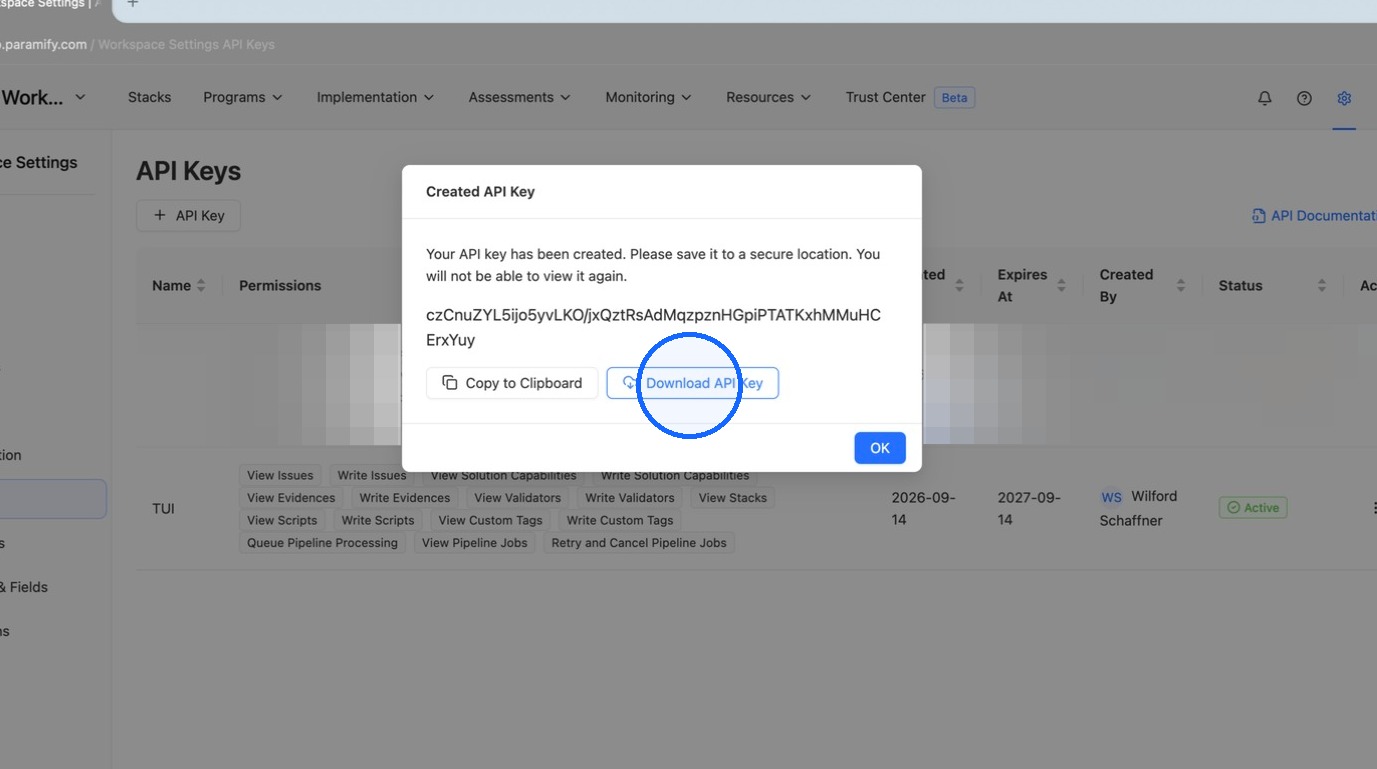
8. Store the API key securely
Store the API key somewhere secure — you'll need it later to set up the Paramify TUI.
Identify Solution Capability Needing Evidence/Validation
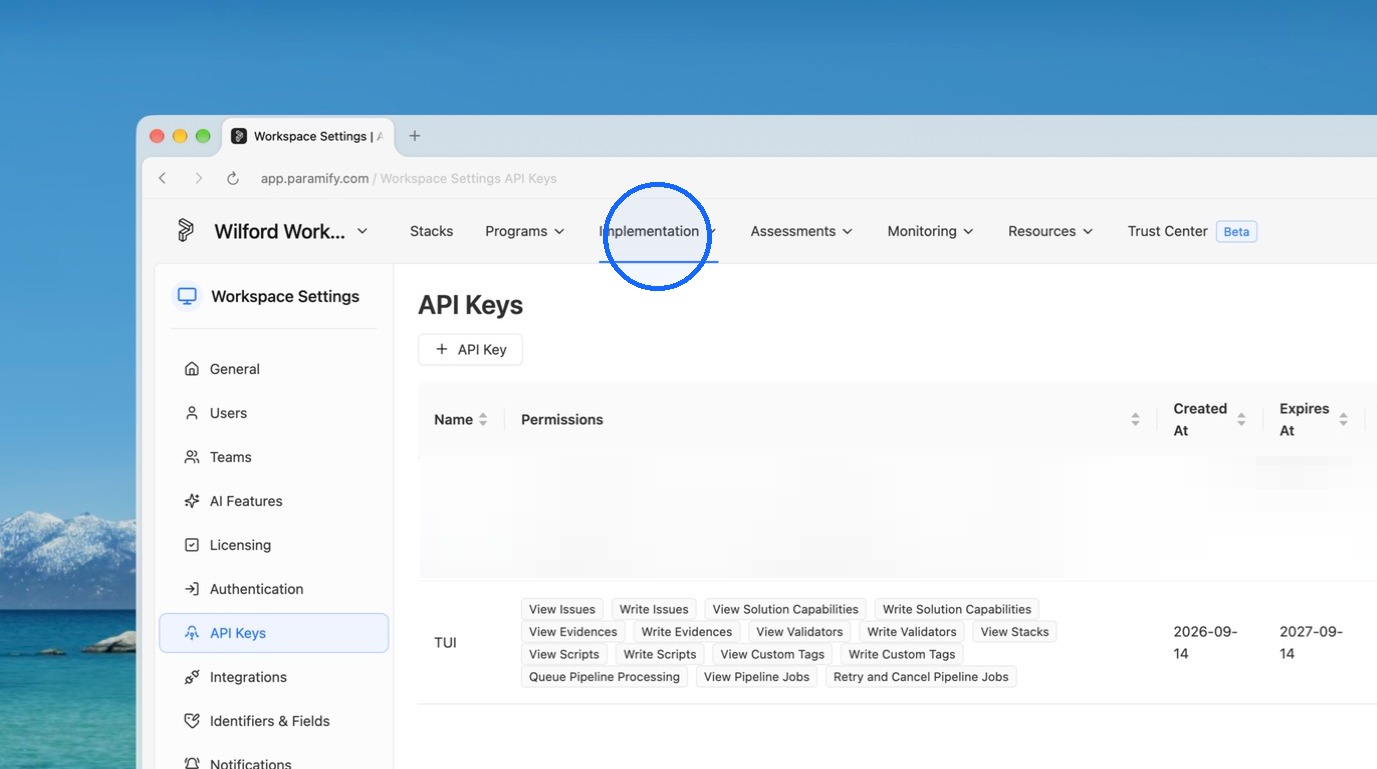
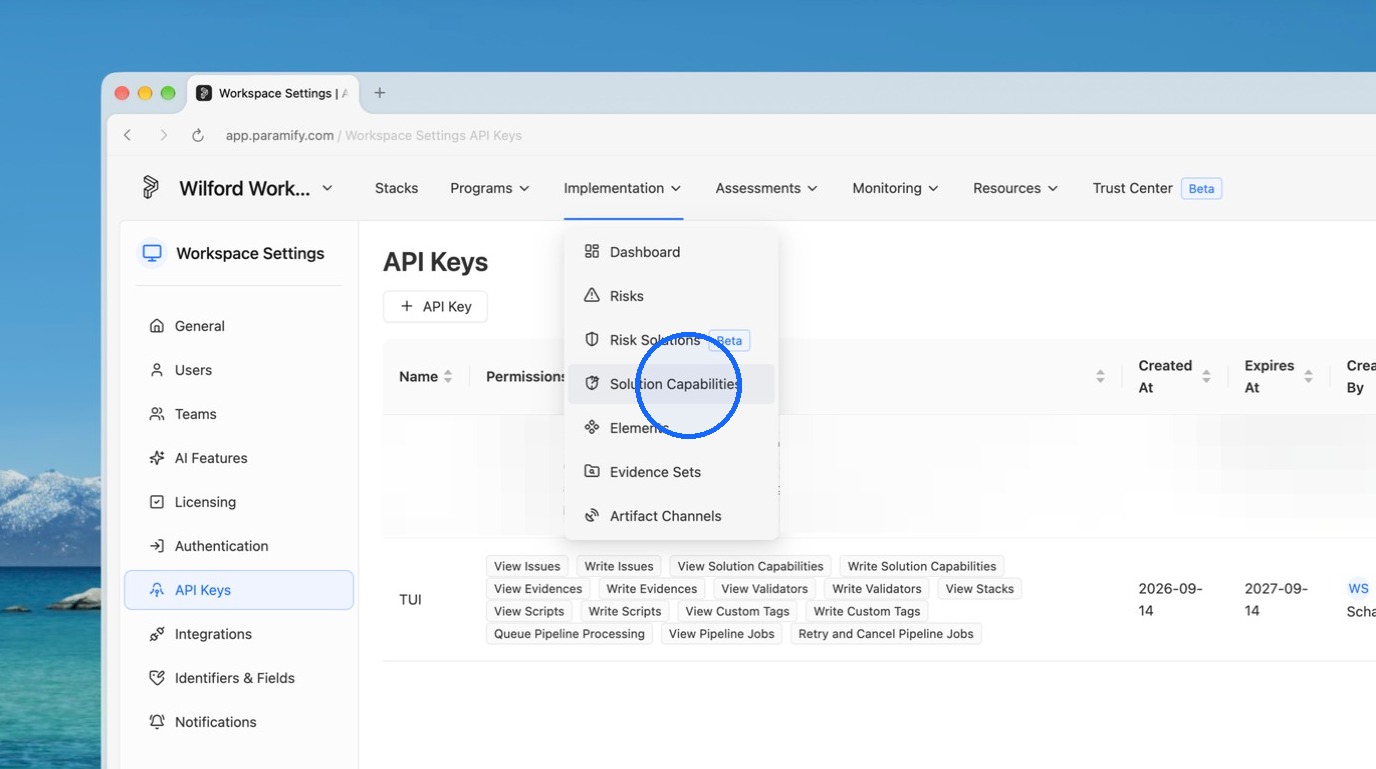
9. Navigate to Solution Capabilities
Navigate to Solution Capabilities.
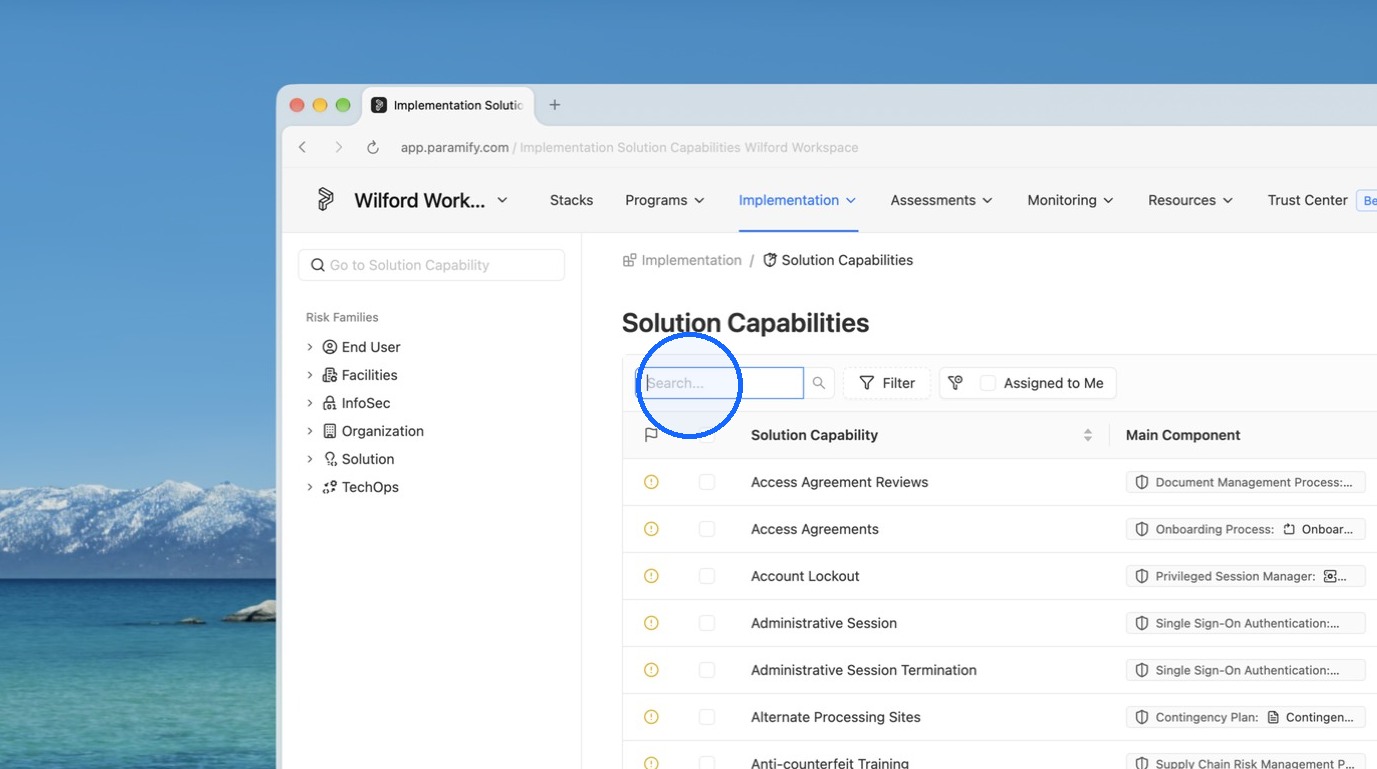
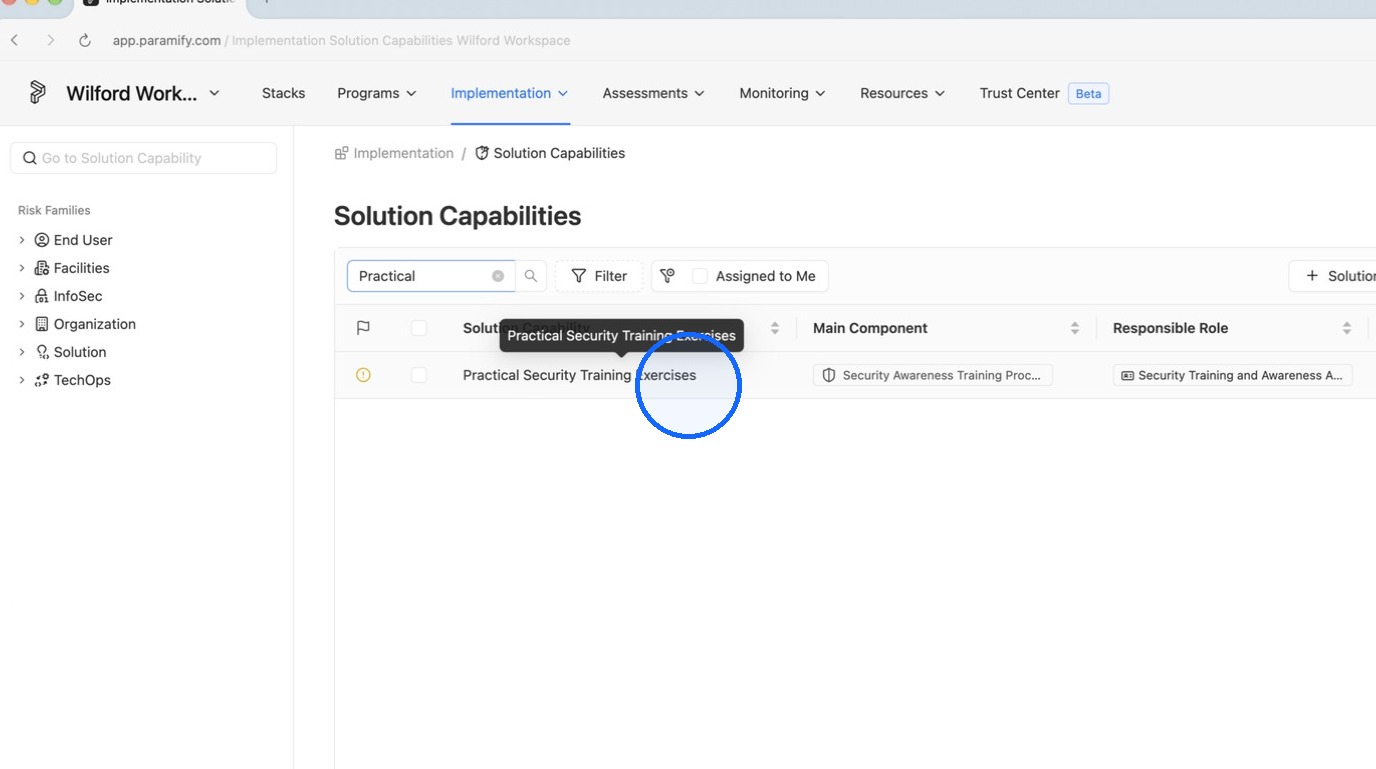
10. Find and open the Solution Capability
Search for the desired Solution Capability and open it.
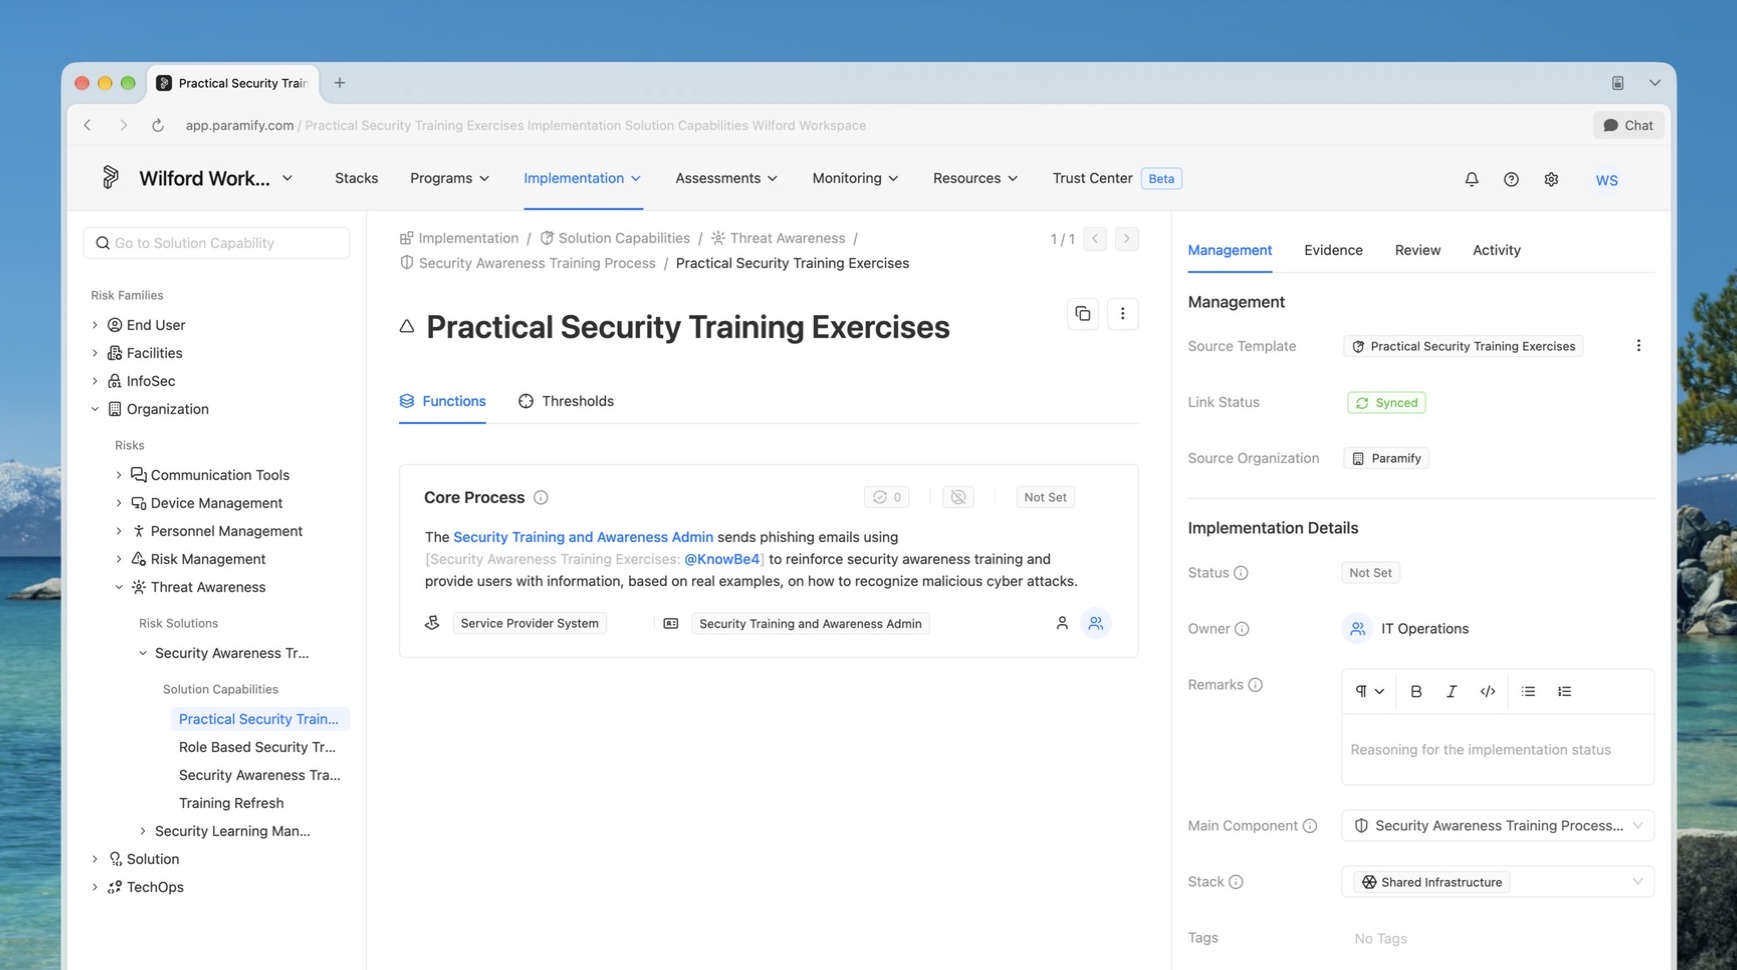
11. Review the Solution Capability
Read through the Solution Capability you need to collect evidence for and validate. Understand what evidence you'll need to pull.
Creating a Manifest
TIP
A manifest is a collection of fetchers and any needed configuration that runs at a specific cadence (daily, weekly, etc.).
If you need evidence collected once every 3 days, and another batch of evidence collected once a week, you'd run 2 different manifests at those respective cadences.
TIP
If you don't have the Paramify Fetchers repository downloaded, or have questions on how to set it up, you can download it here: Paramify Fetchers - GitHub
12. Install the Paramify TUI
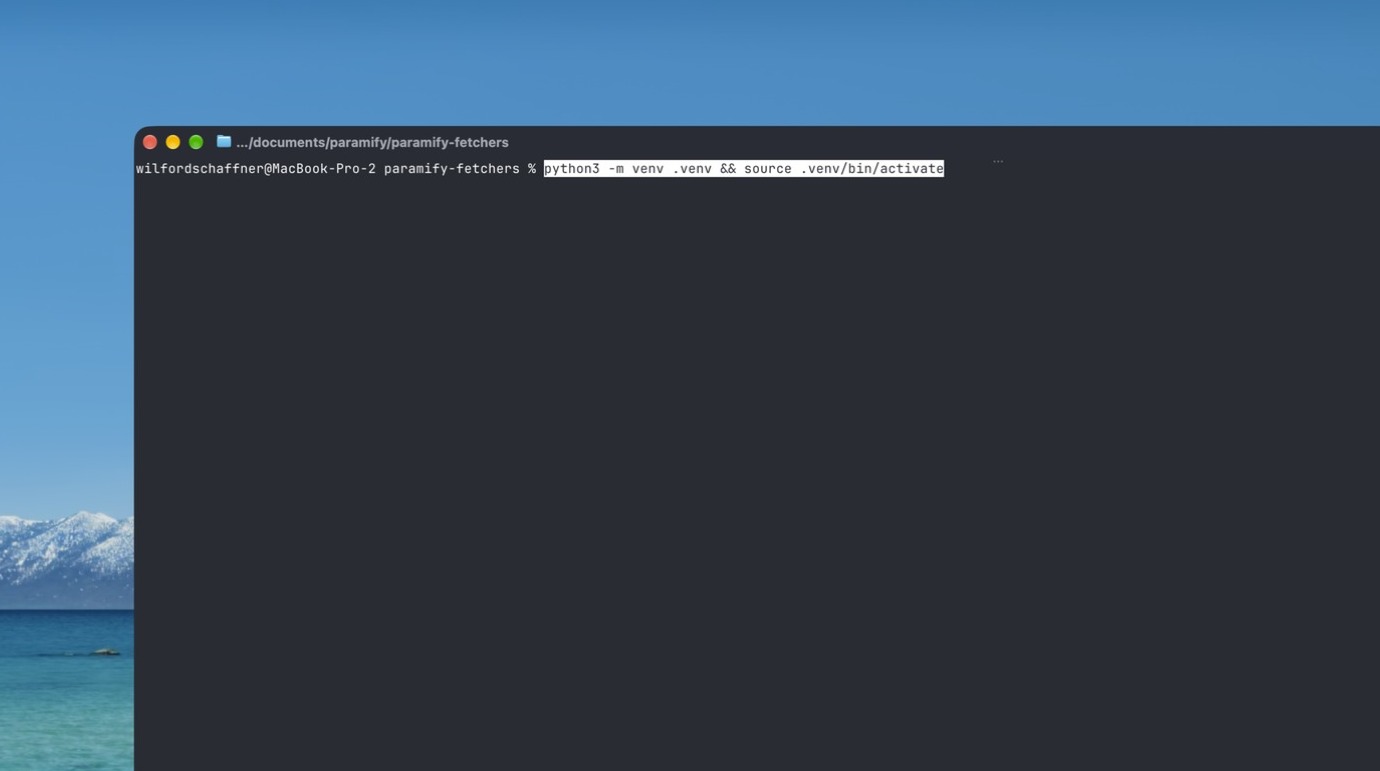
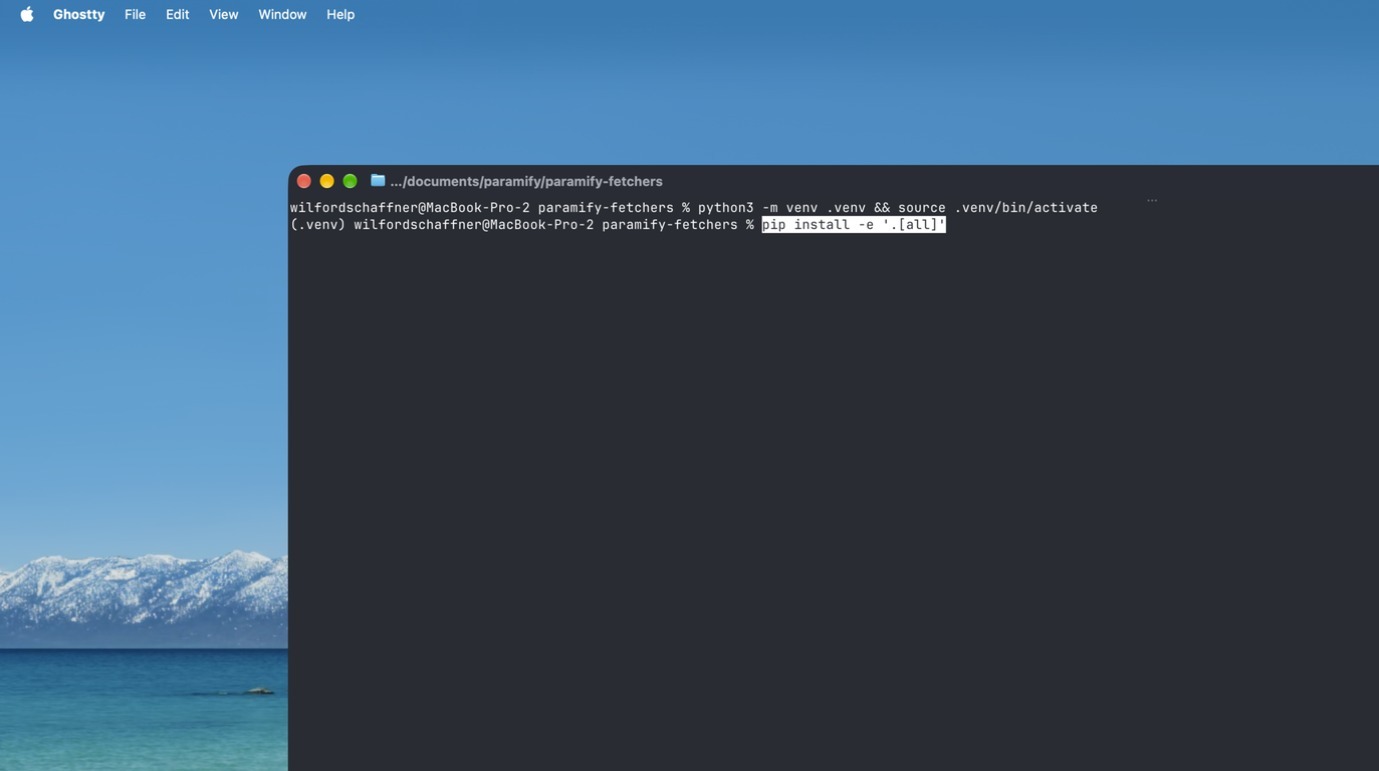
Run these two commands in your paramify-fetchers directory:
python3 -m venv .venv && source .venv/bin/activate
pip install -e '.[all]'
13. Launch the Paramify TUI
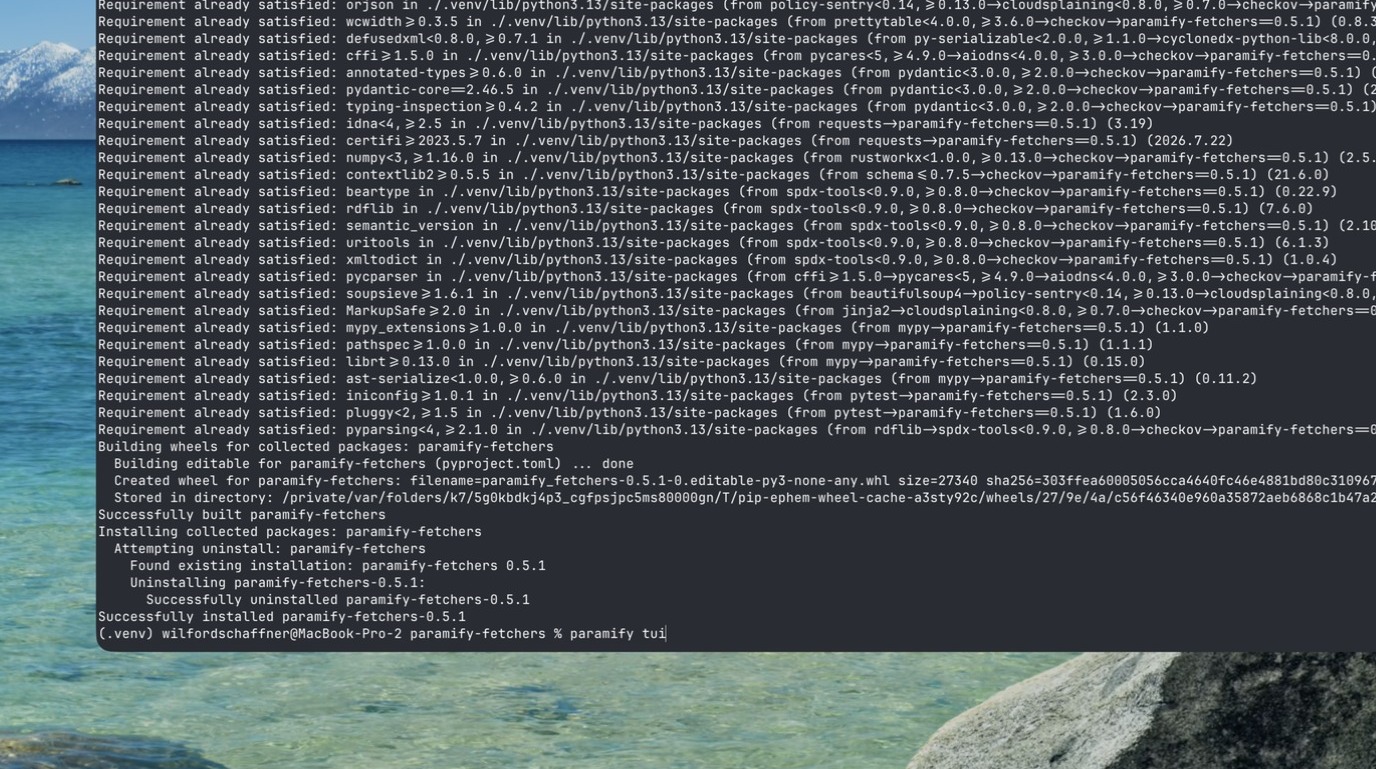
After running the two commands, launch the TUI by running:
paramify tui
14. Create a new manifest
Press n to create a new manifest.
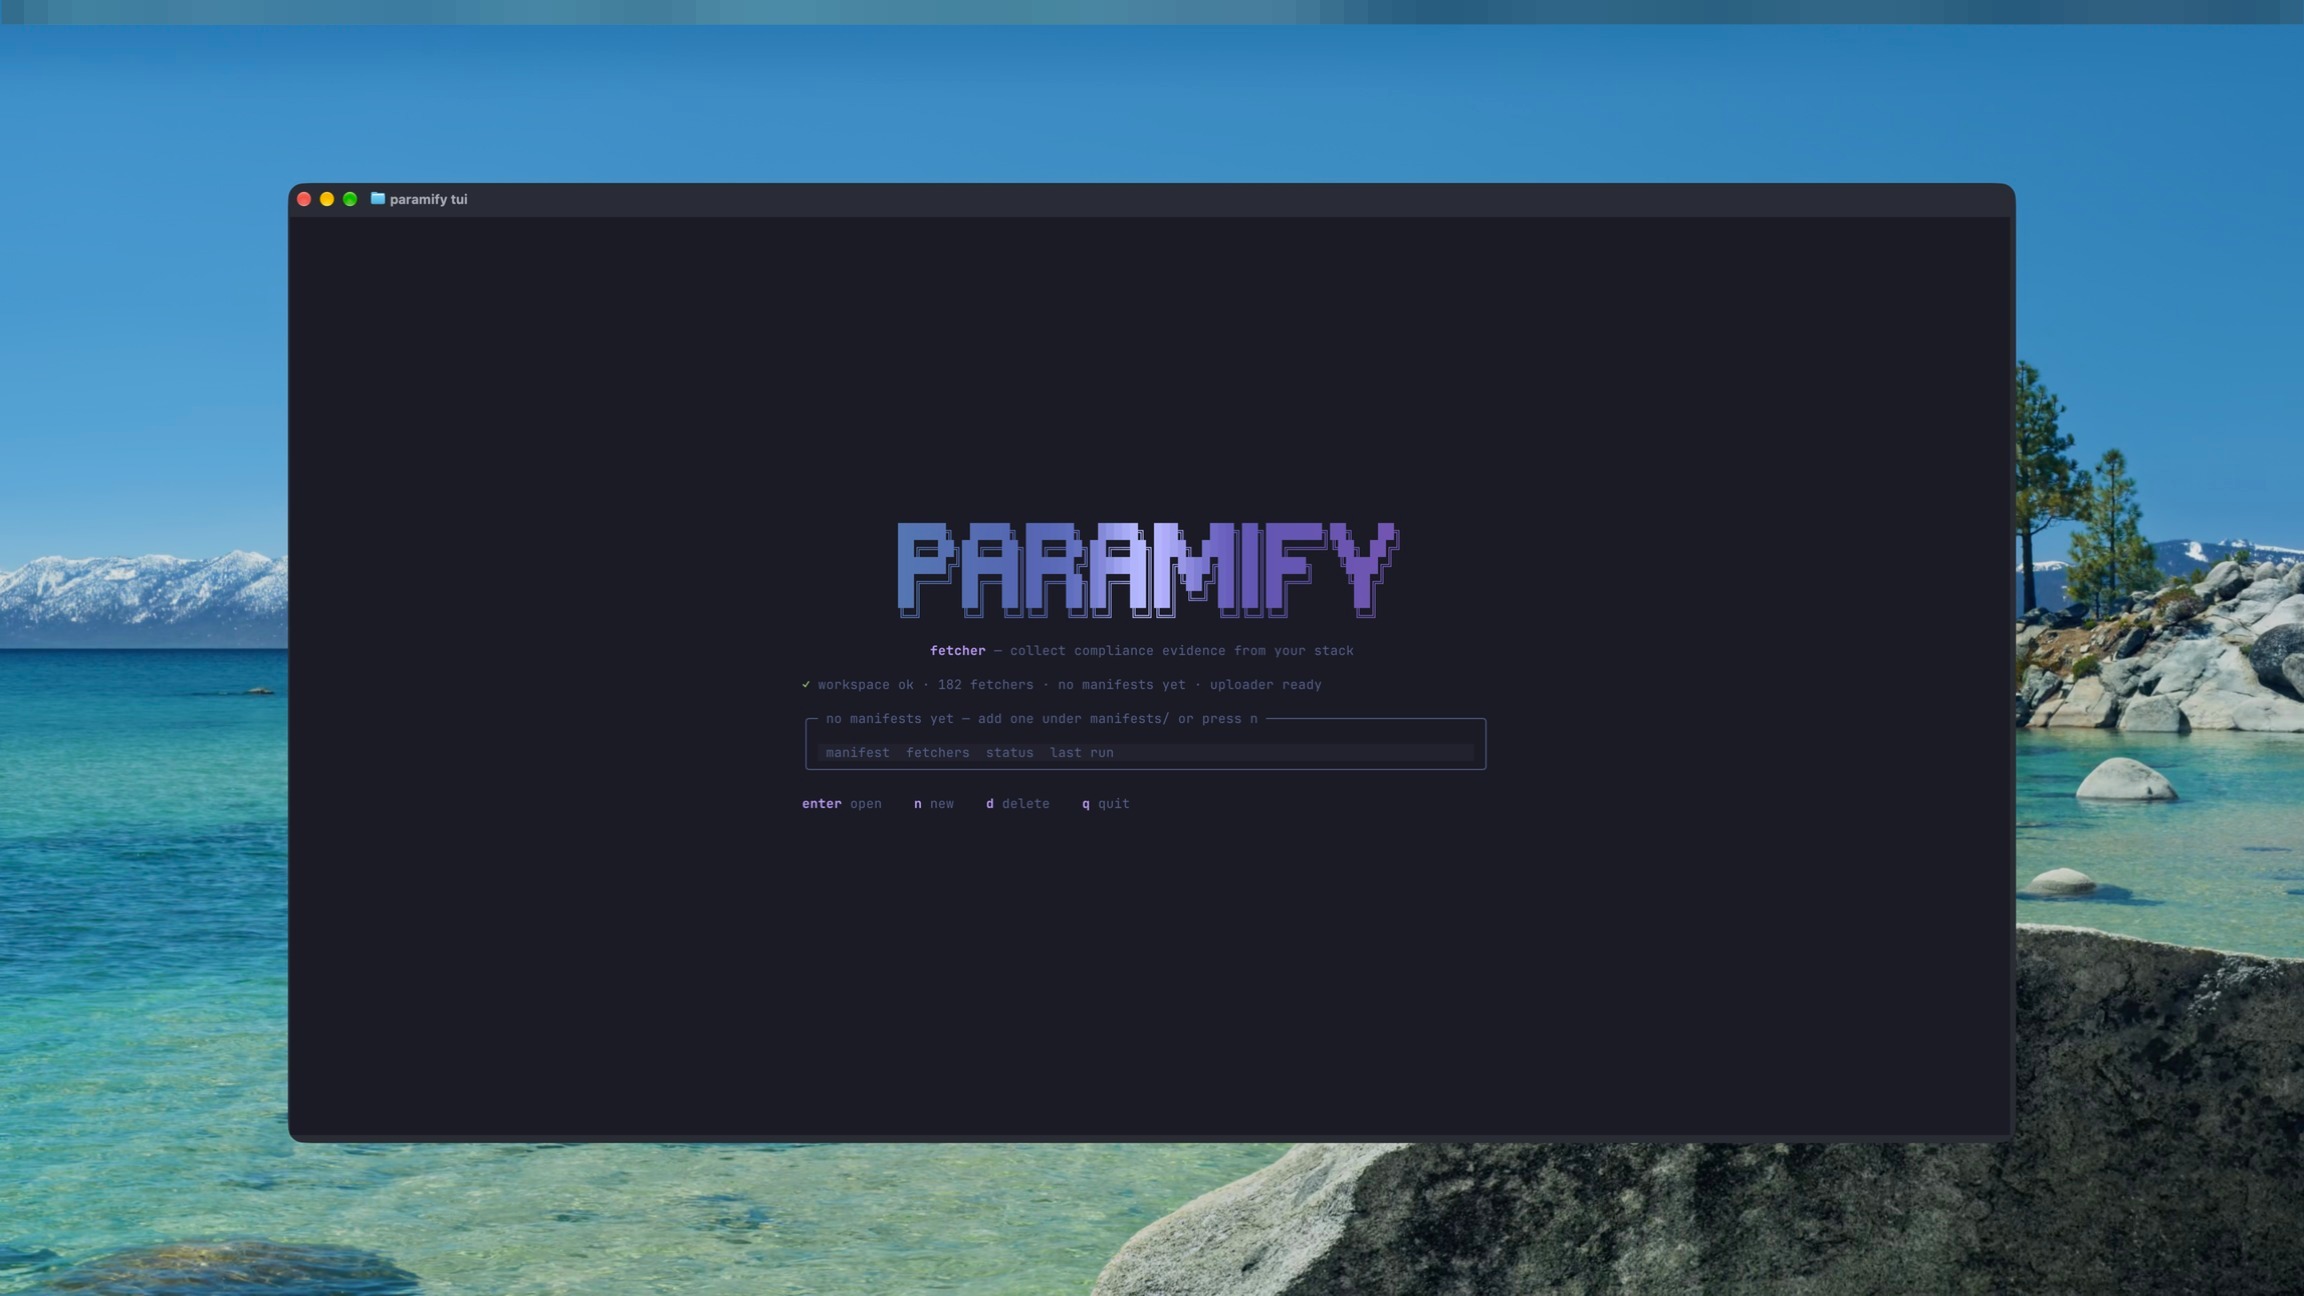
15. Name the manifest
Type in a name for your new manifest.
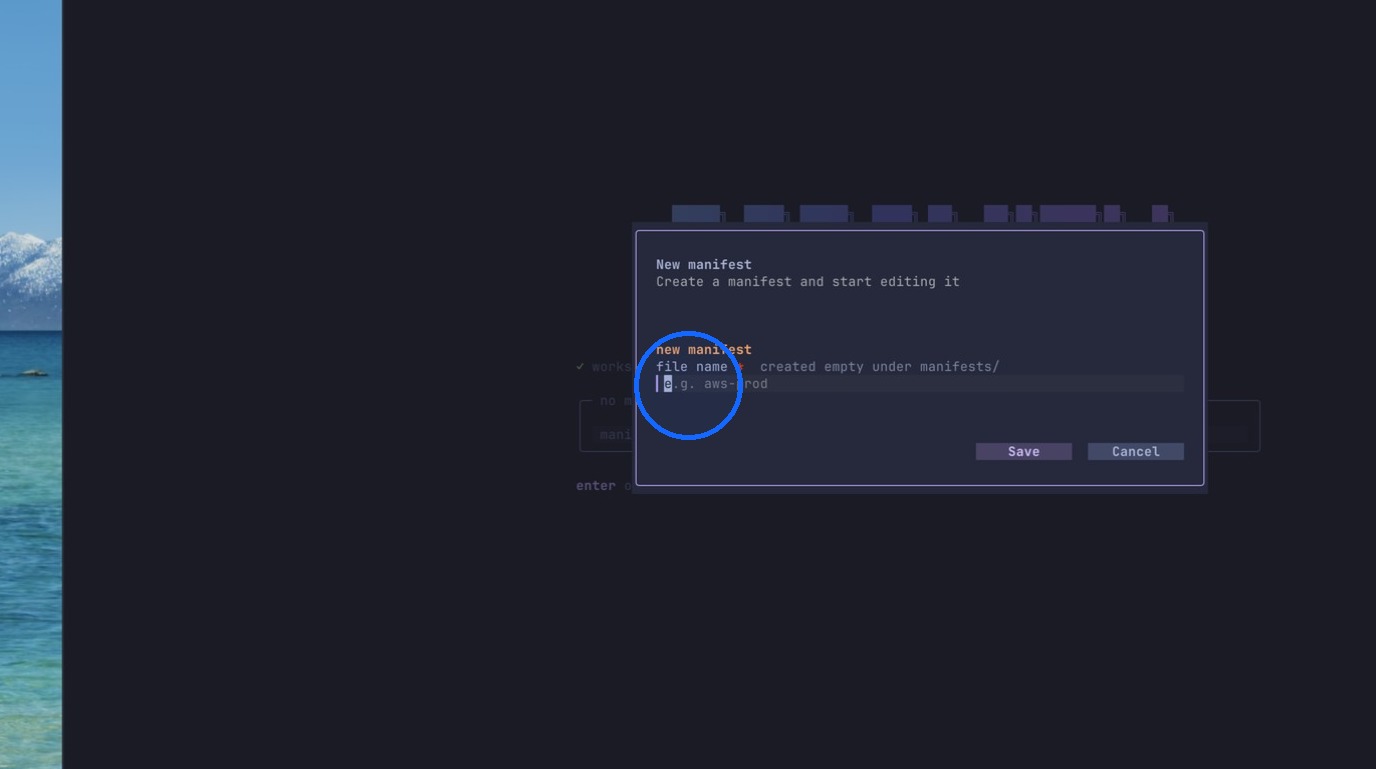
16. Save the manifest
Save the new manifest.
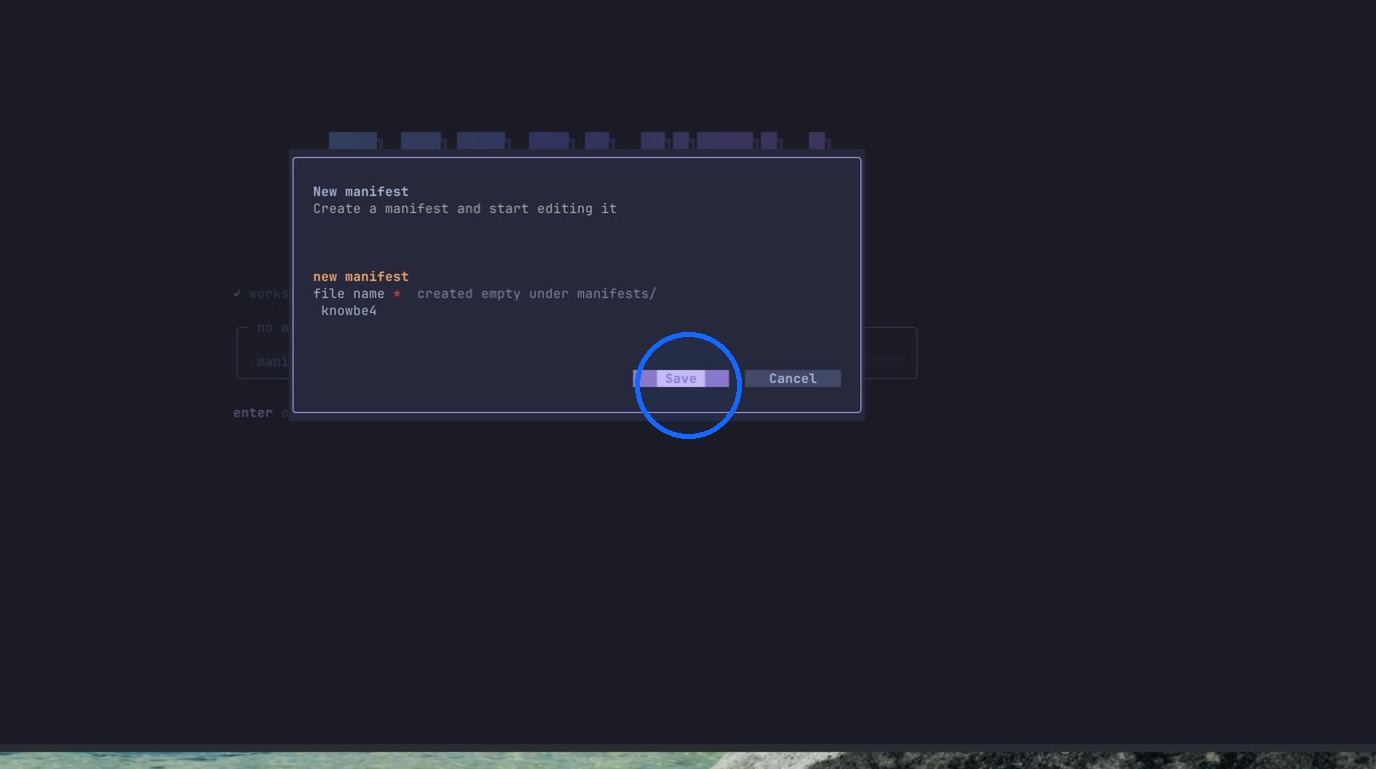
Setting up Fetchers
BEFORE YOU CONTINUE
To navigate this process efficiently, you'll need an AI tool that has access to your paramify-fetchers directory. Any AI tool will work.
17. Open the manifest catalog
Open the manifest catalog.
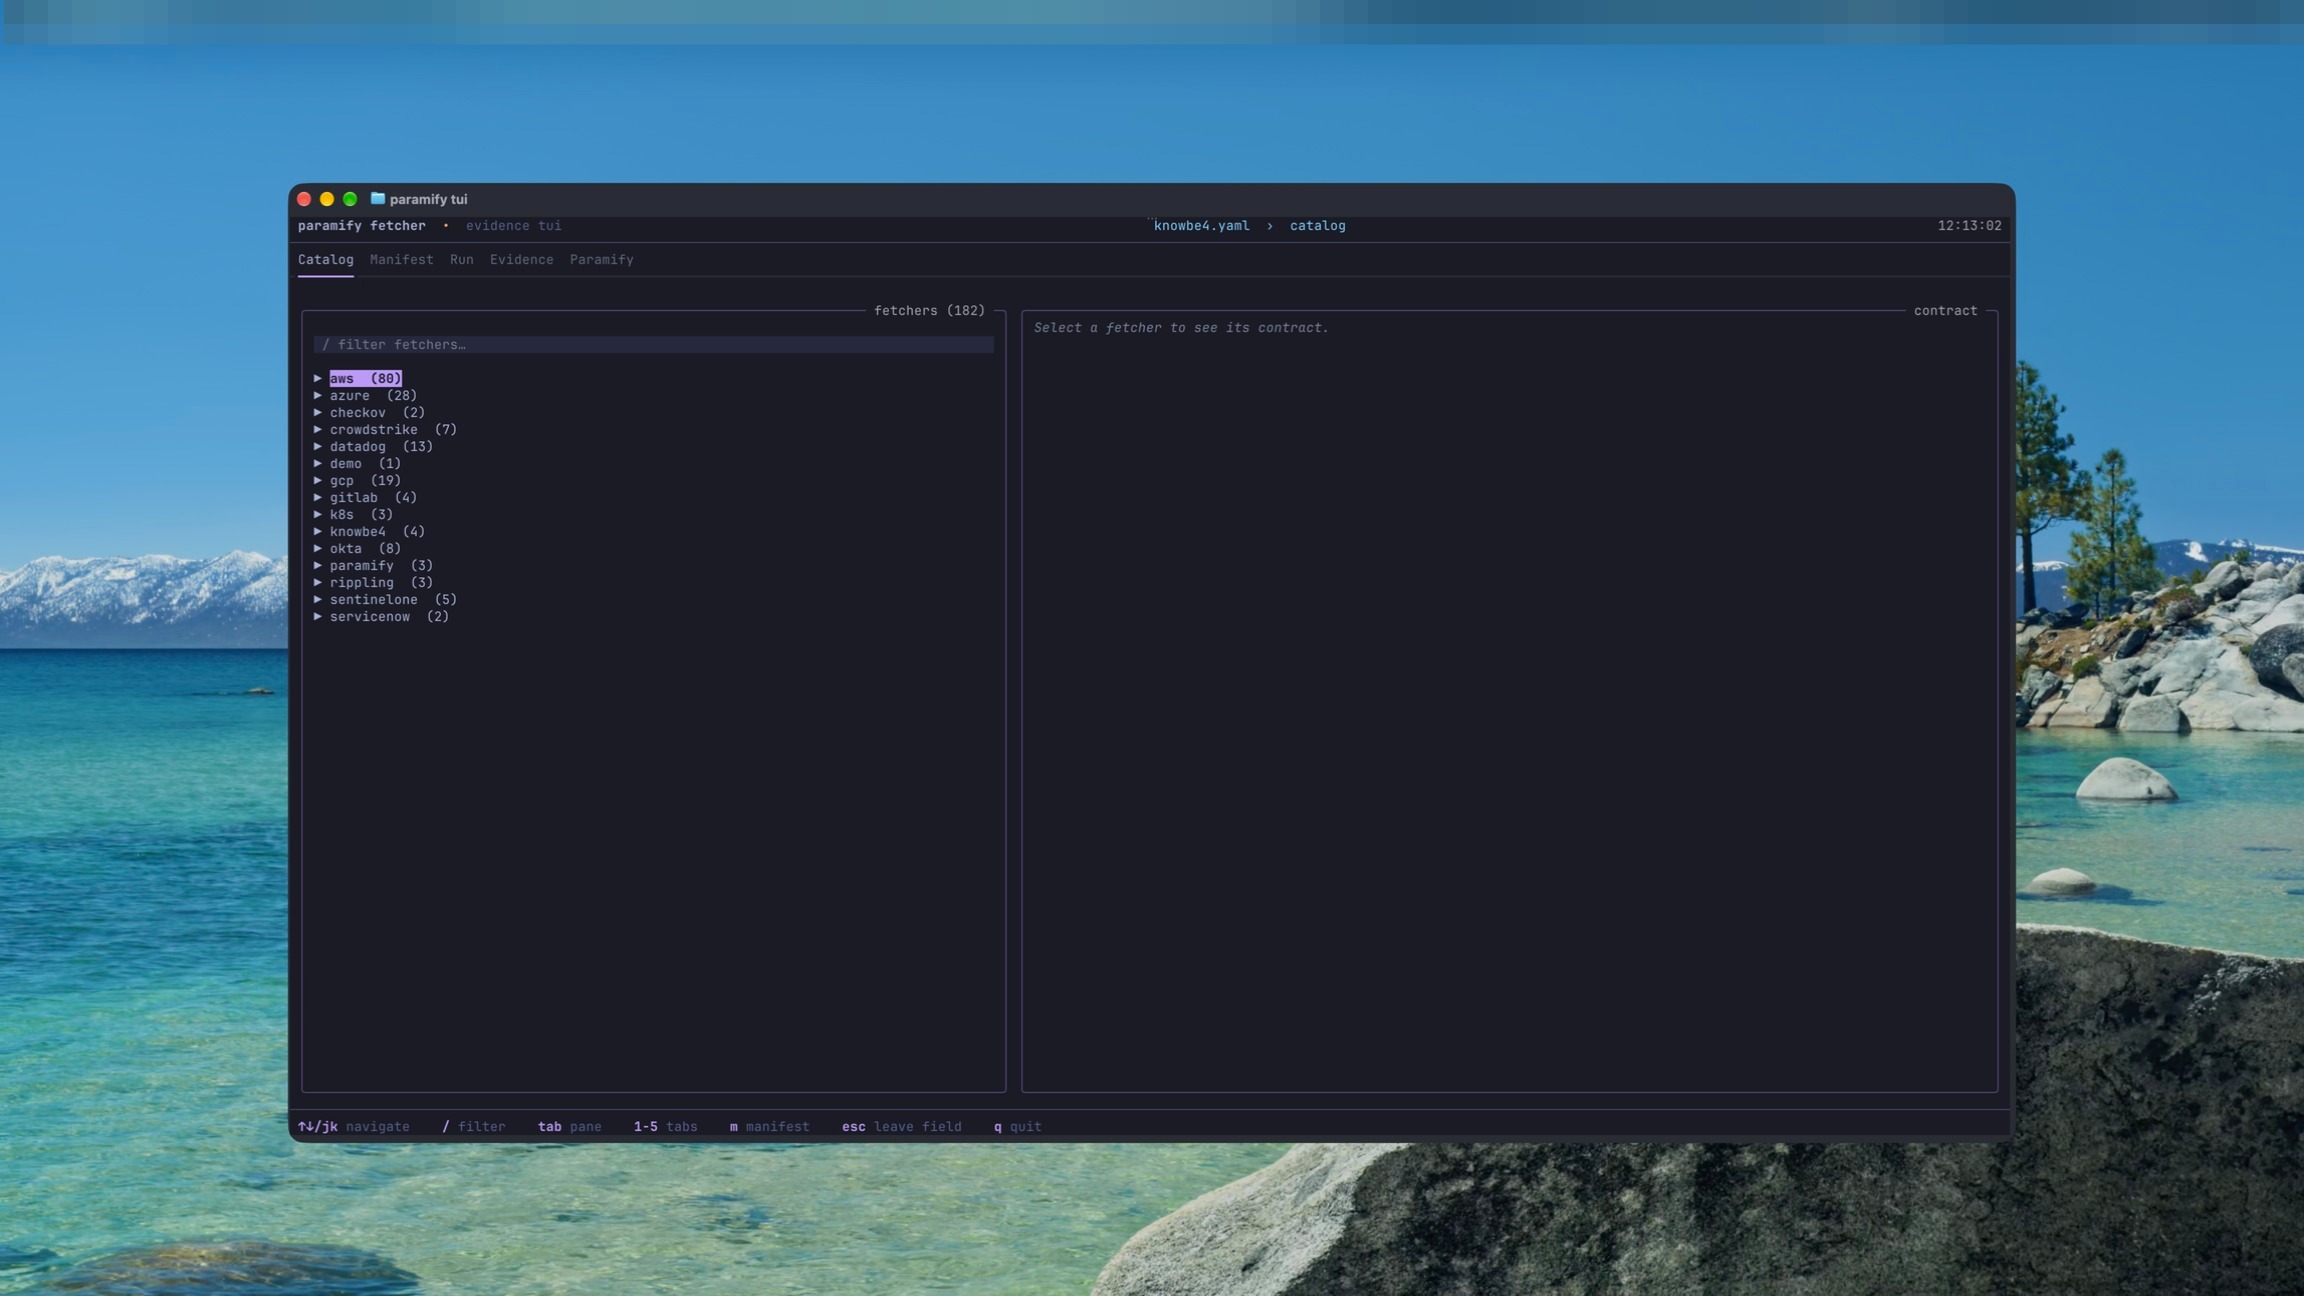
18. Find the fetcher
Browse or search the catalog for the fetcher you want to add to the manifest.
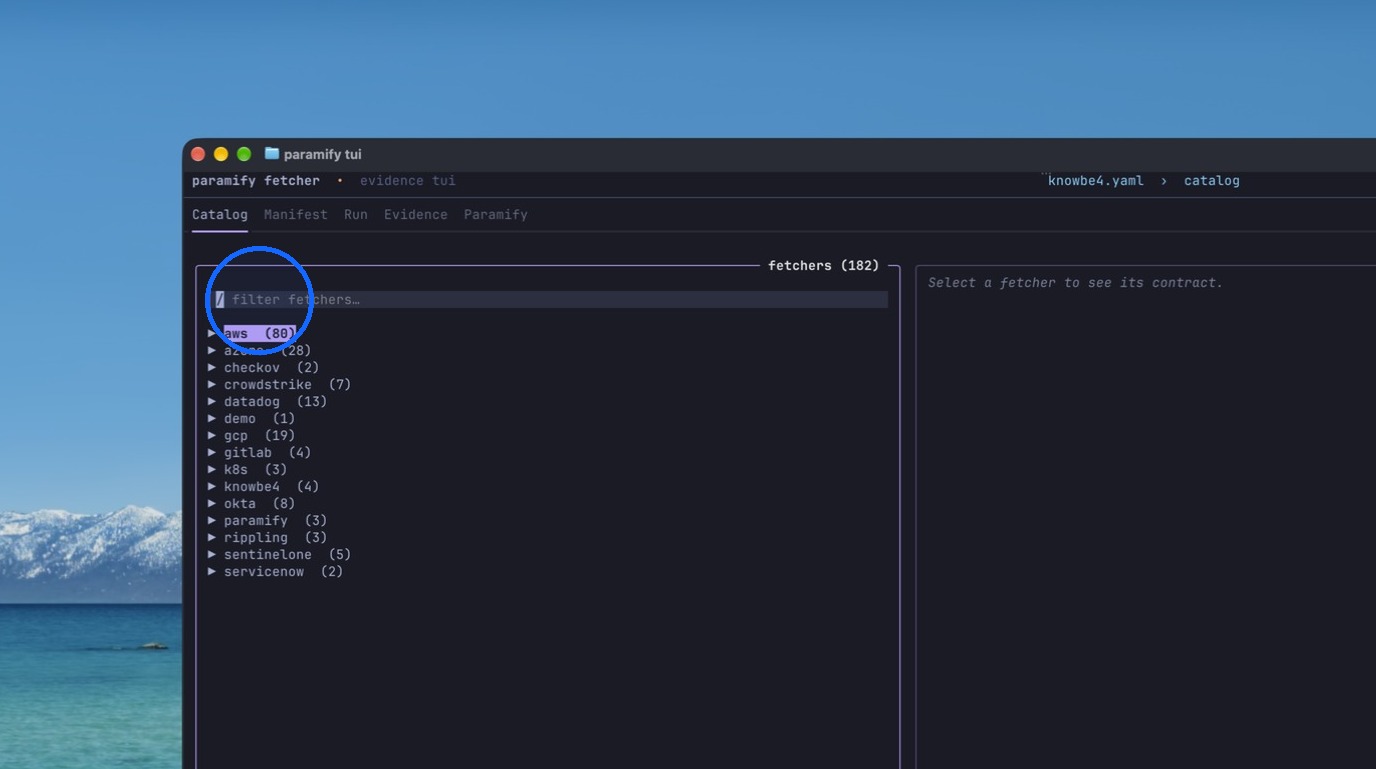
19. View fetcher details
Select the fetcher to view its details and configuration options.
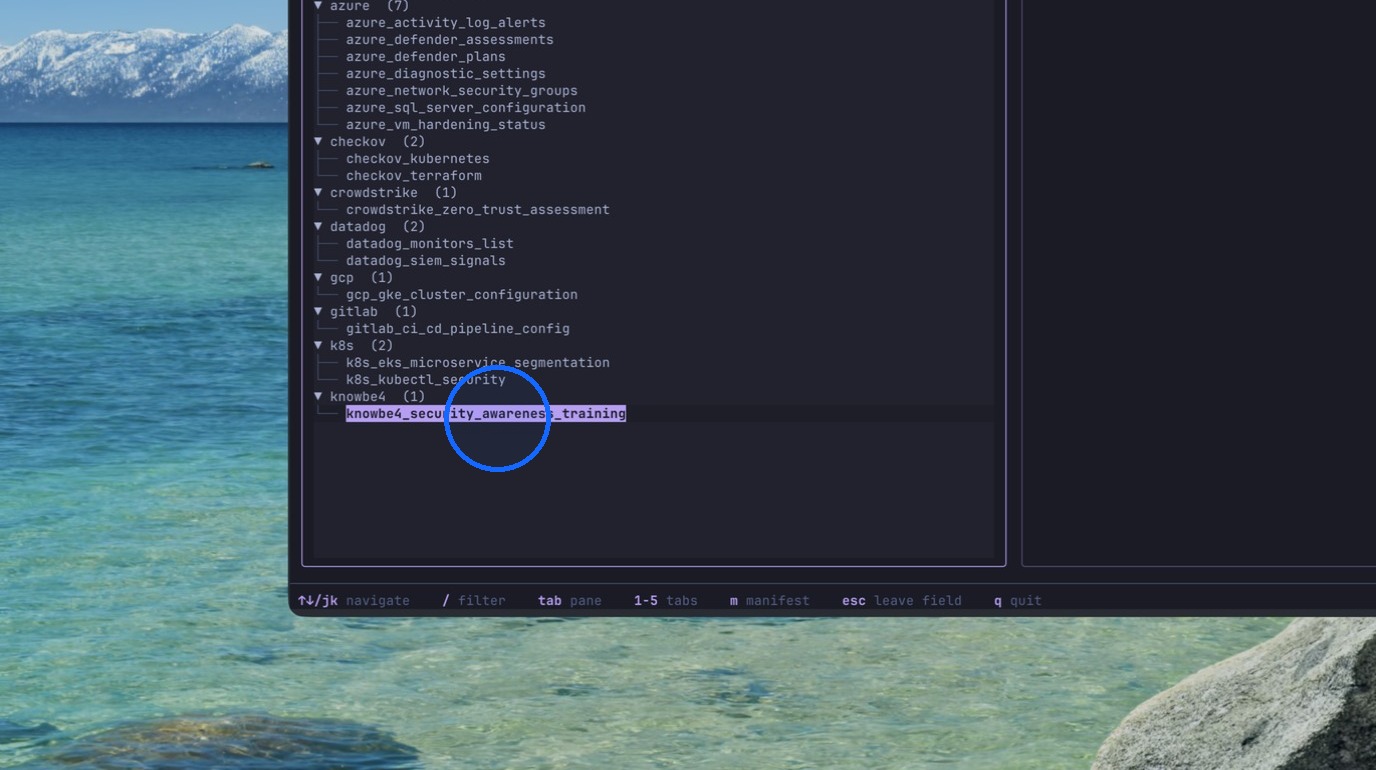
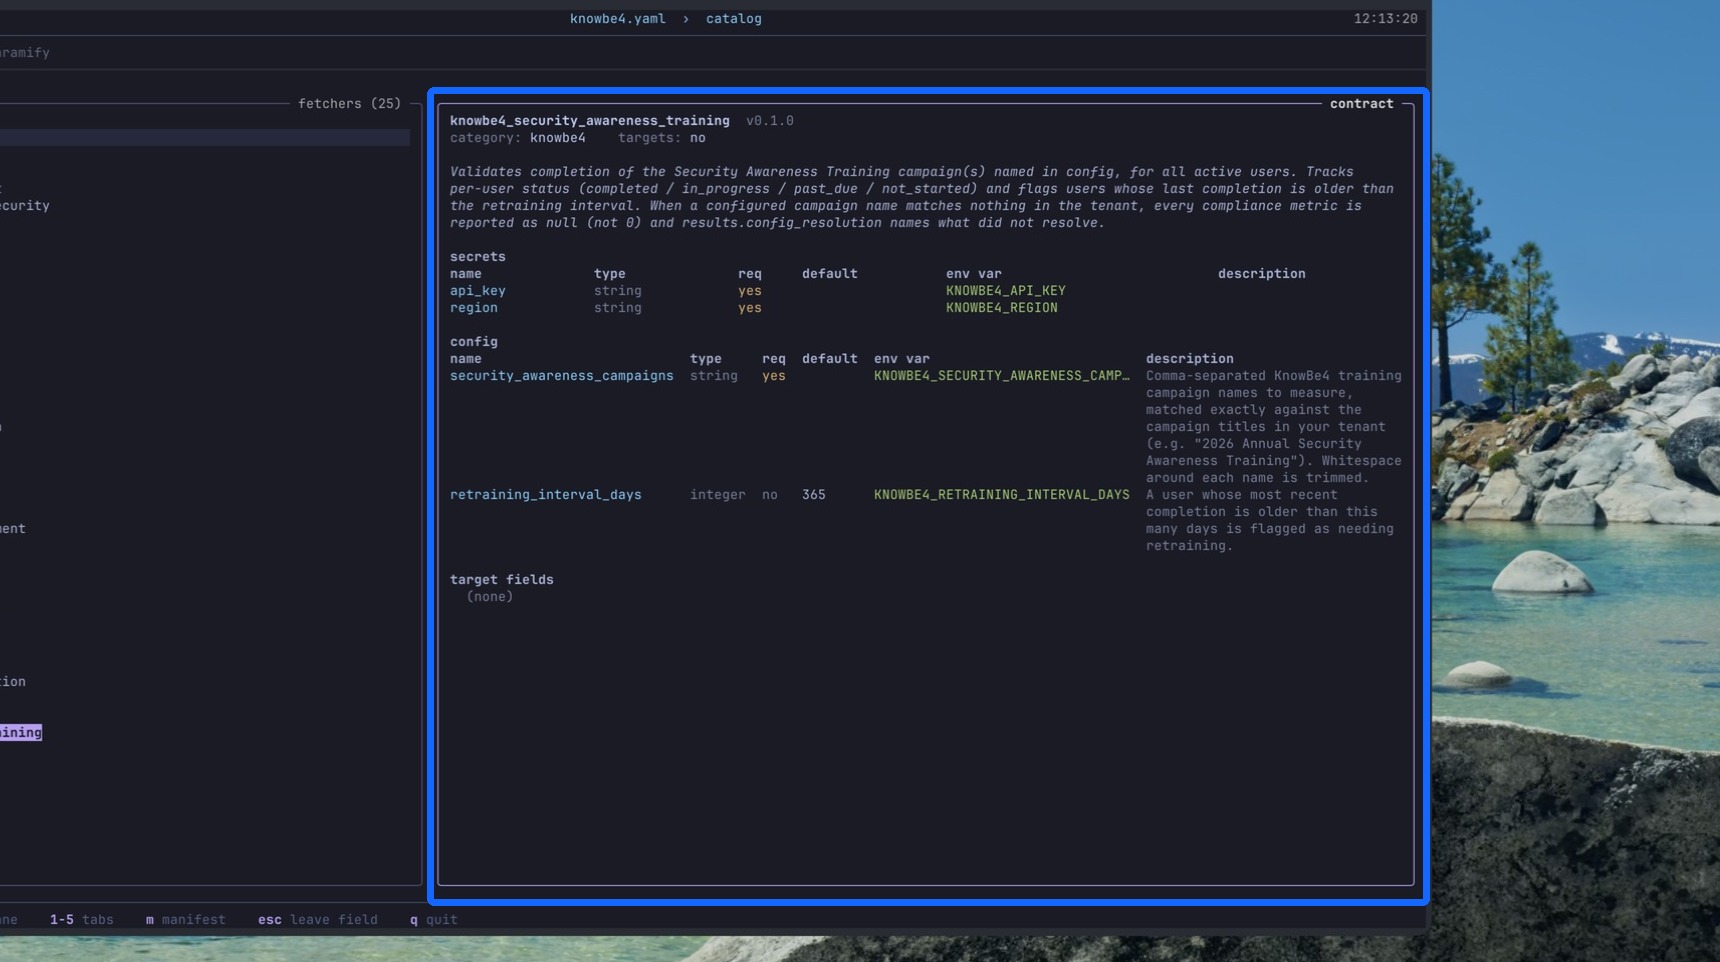
20. Review required secrets and configs
Details and required configs for the selected fetcher populate in the right-hand sidebar. You'll need to obtain the required secrets and know the required configs to wire this fetcher properly.
21. Open the Manifest editor
Open the "Manifest" editor.
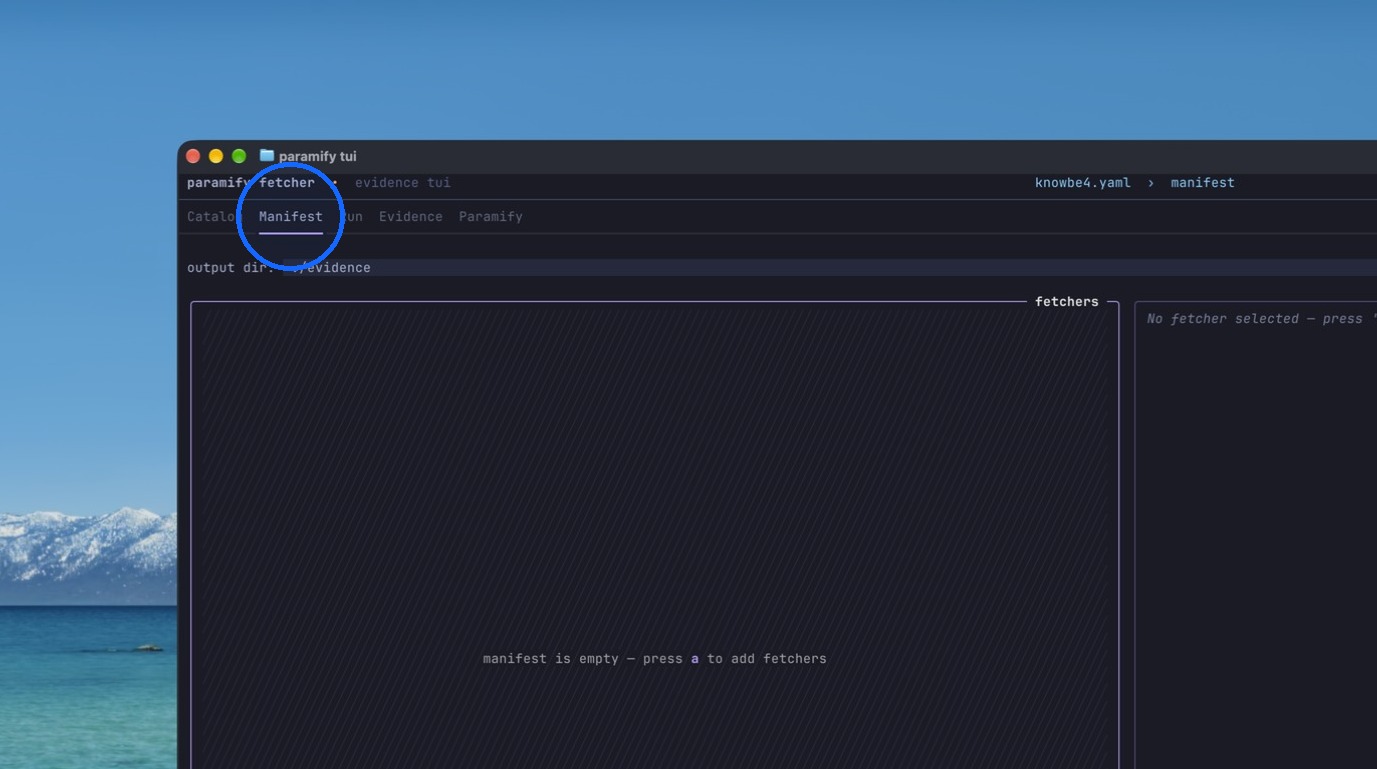
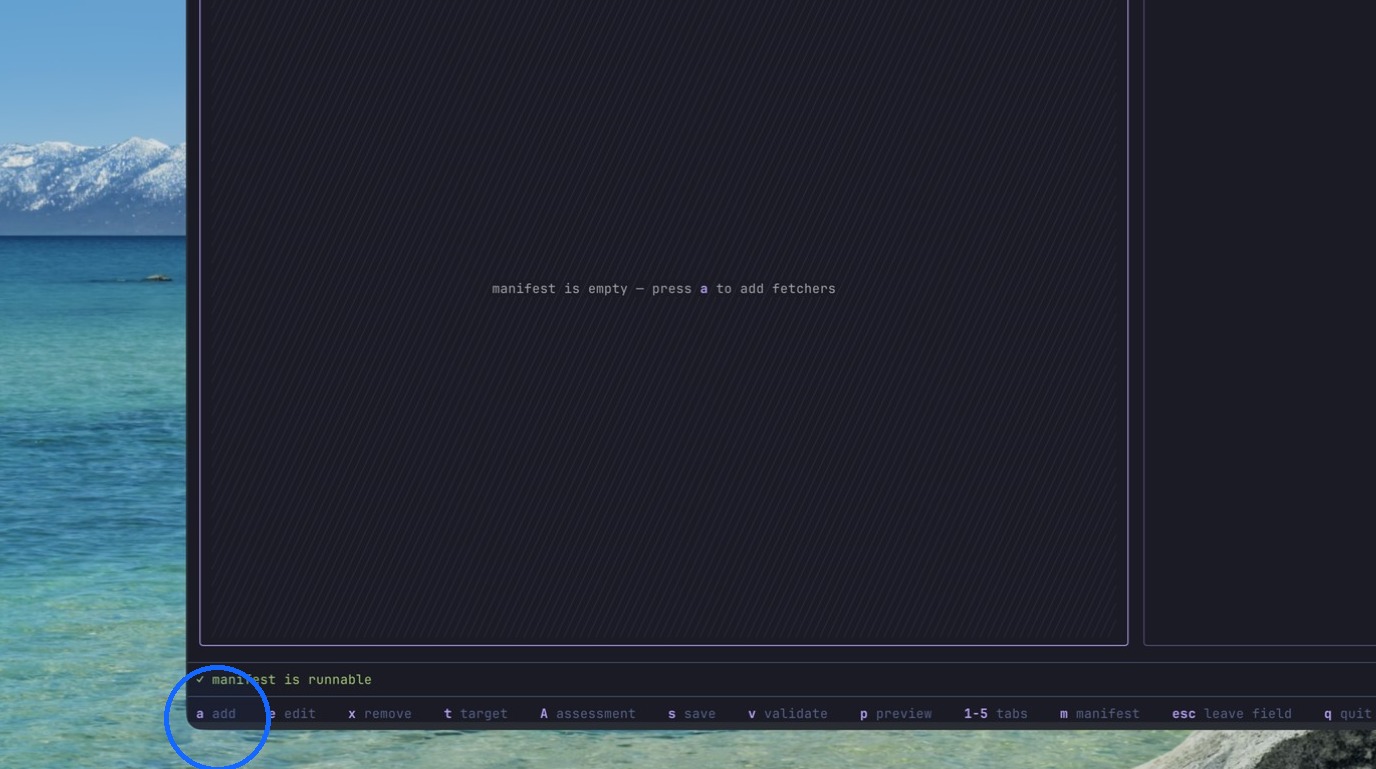
22. Open the Add Fetchers dialog
Press a to open the "Add Fetchers" dialog.
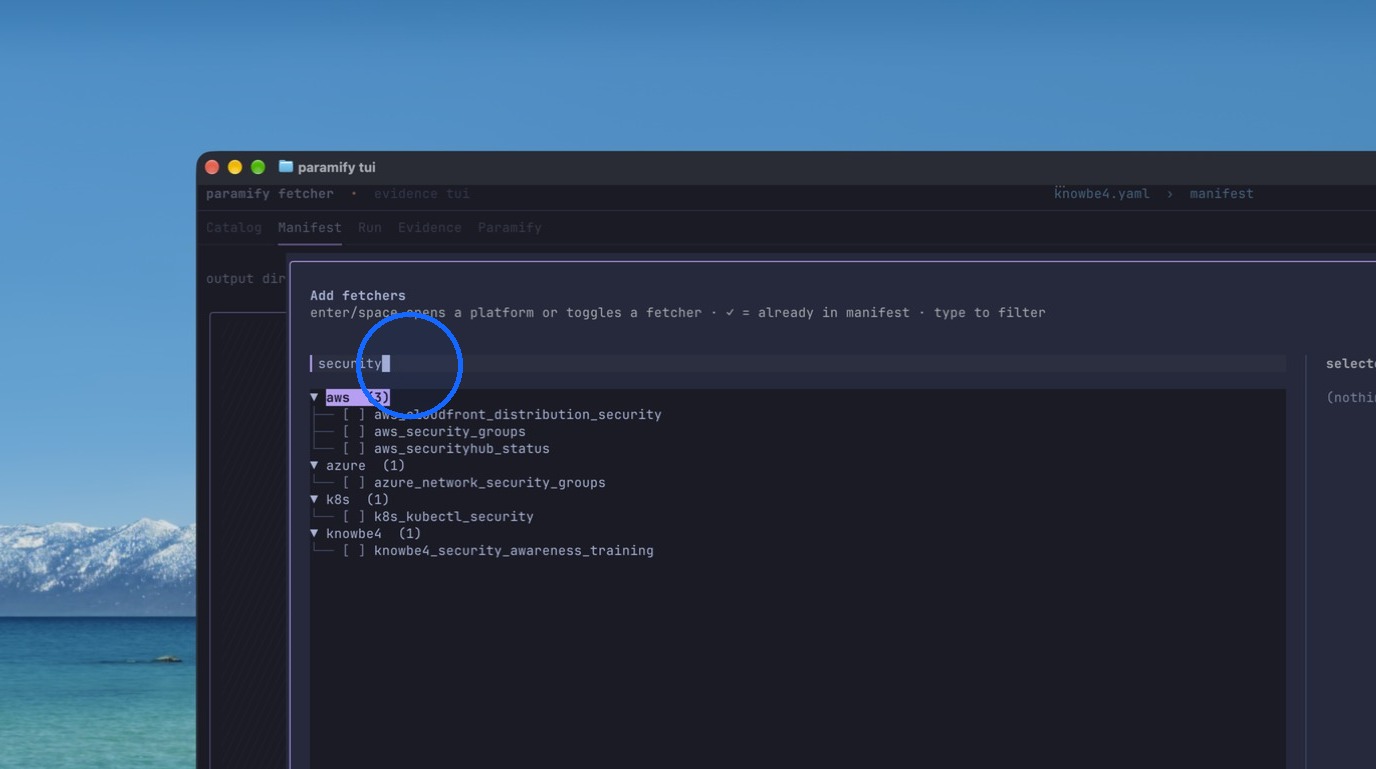
23. Locate the fetcher in the dialog
Find the desired fetcher.
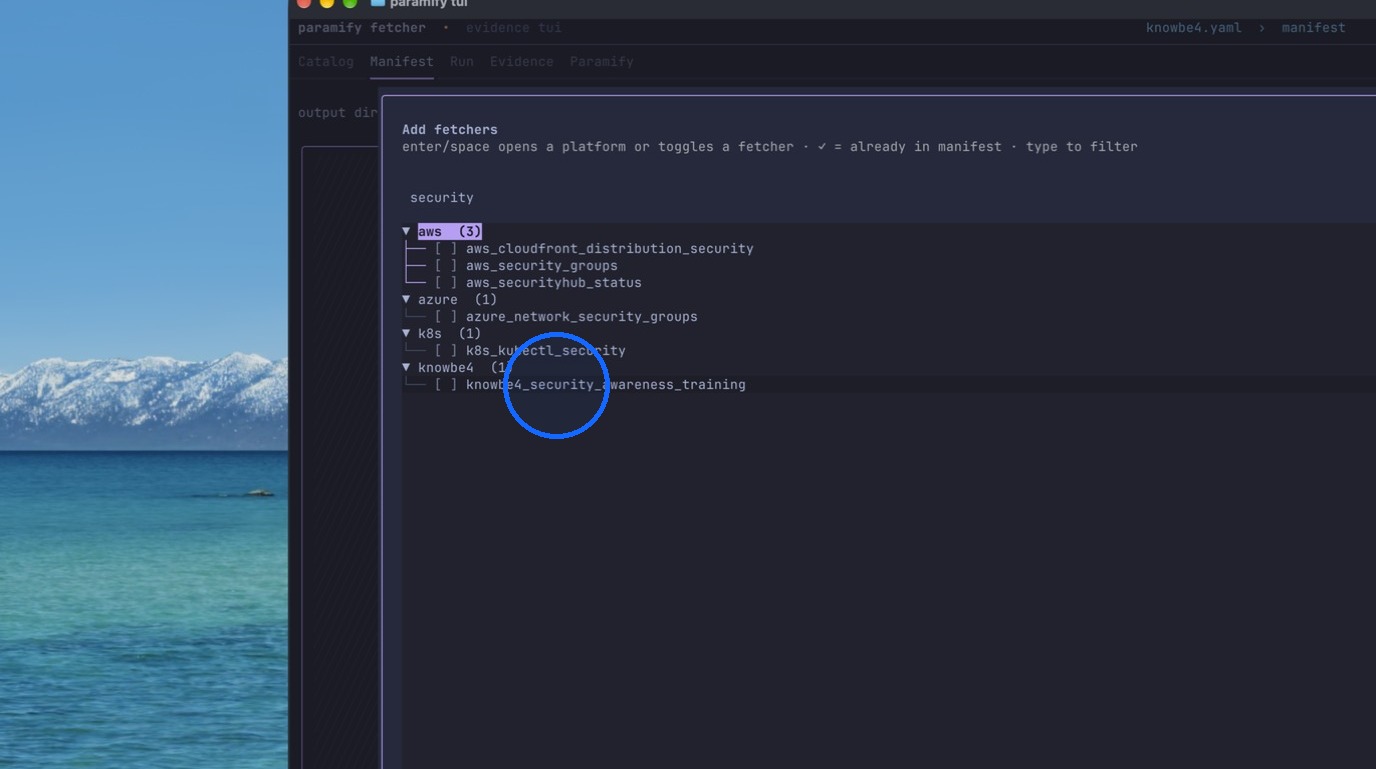
24. Select the fetcher
Select the fetcher.
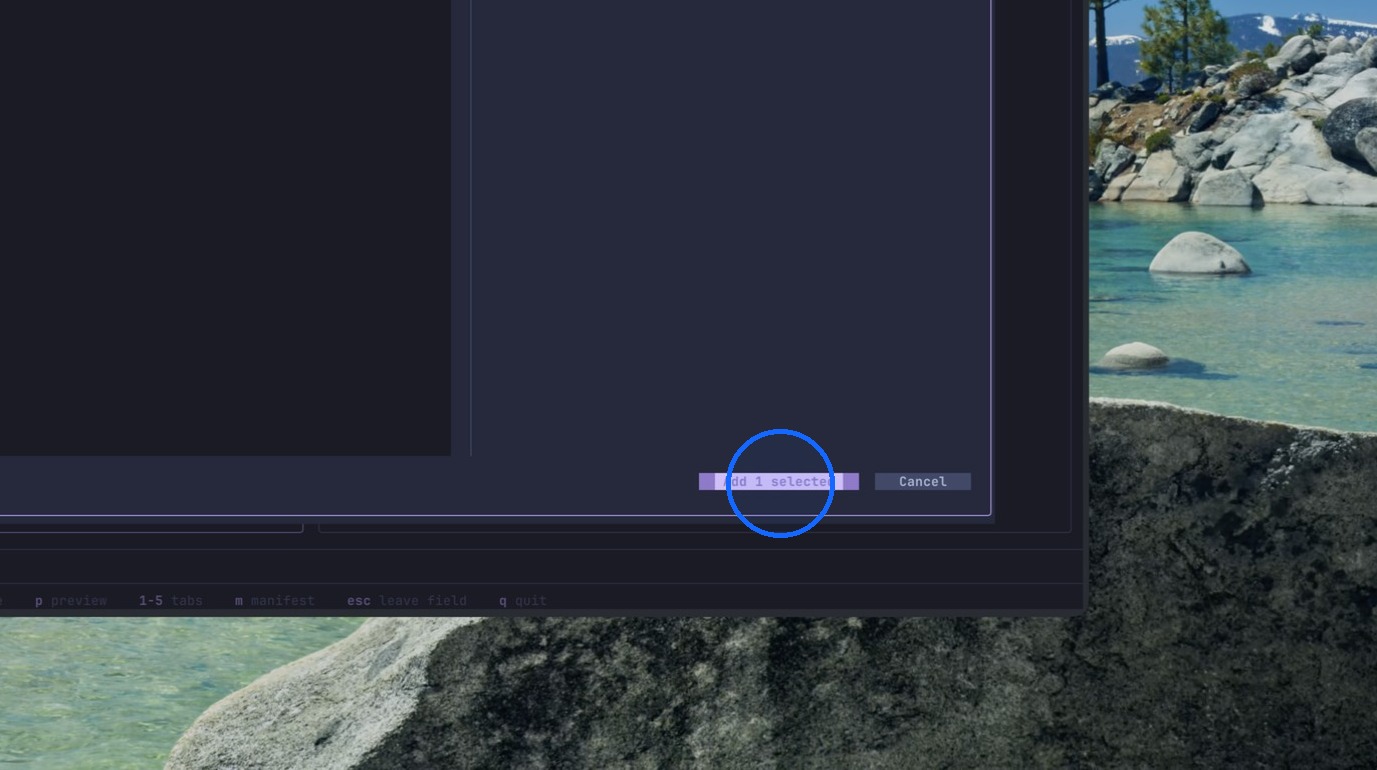
25. Add the fetcher to the manifest
Click the "Add Selected" button.
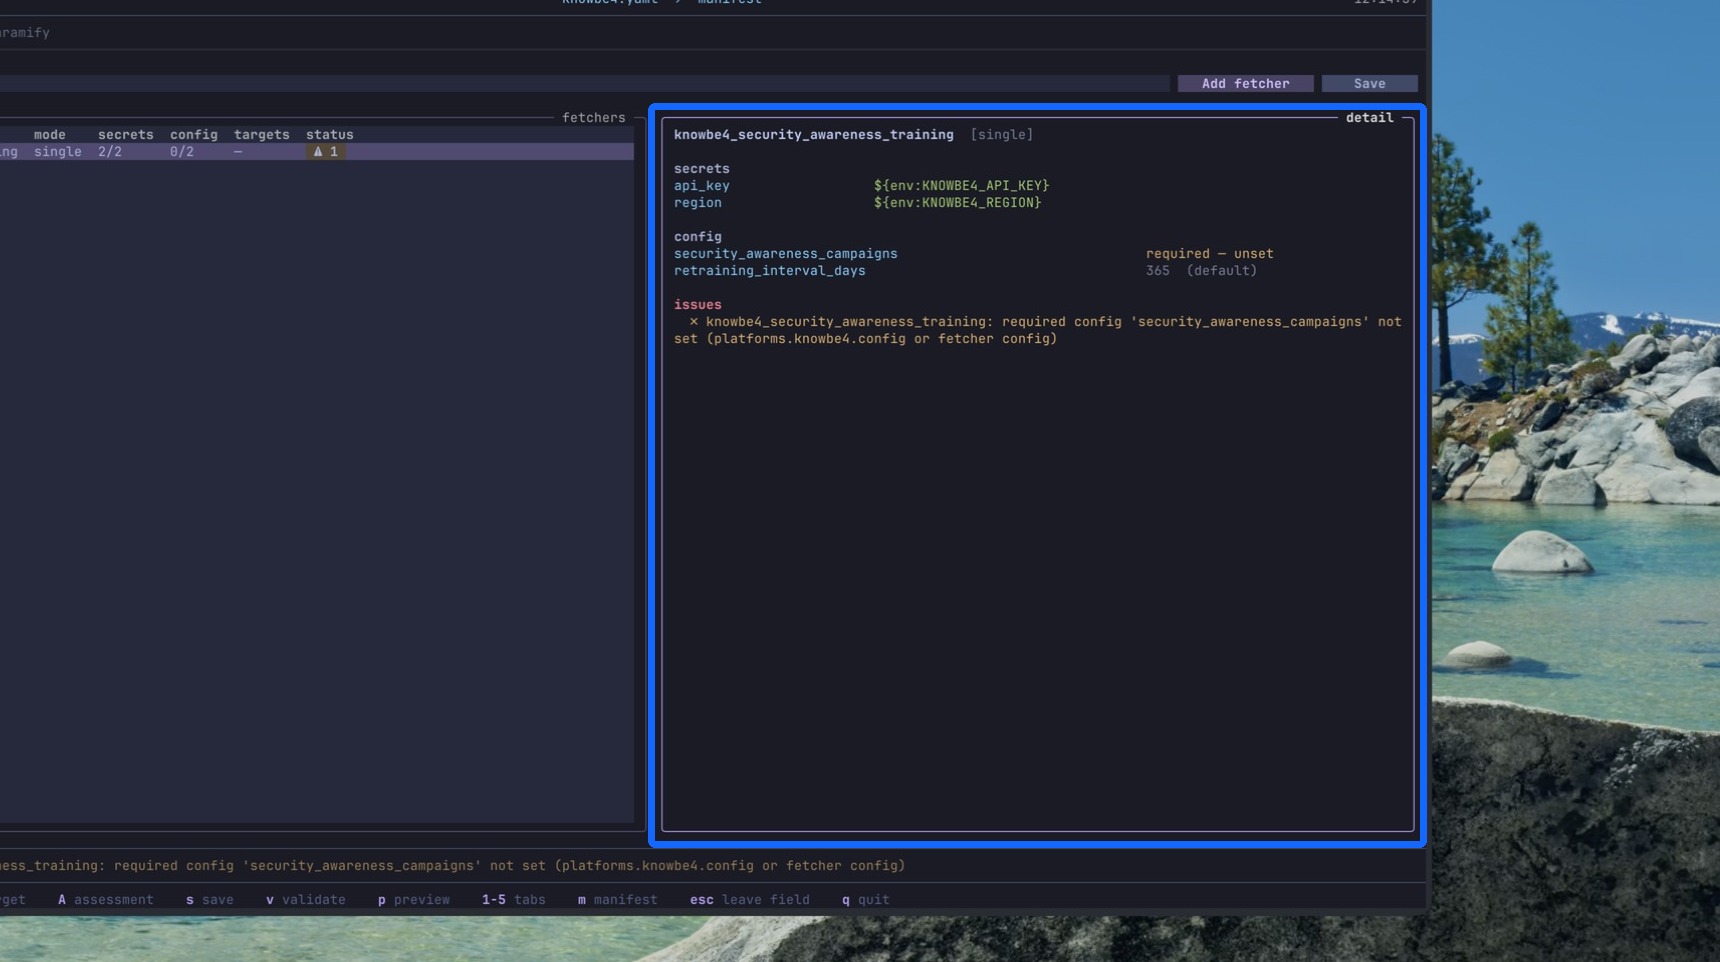
26. Review setup errors
Review any issues or missing configs for the selected fetcher. Since this is the first time setting it up, Paramify will show errors indicating the configs aren't set yet — this fetcher will need to be wired up, typically with the help of an AI tool.
27. Launch your AI tool
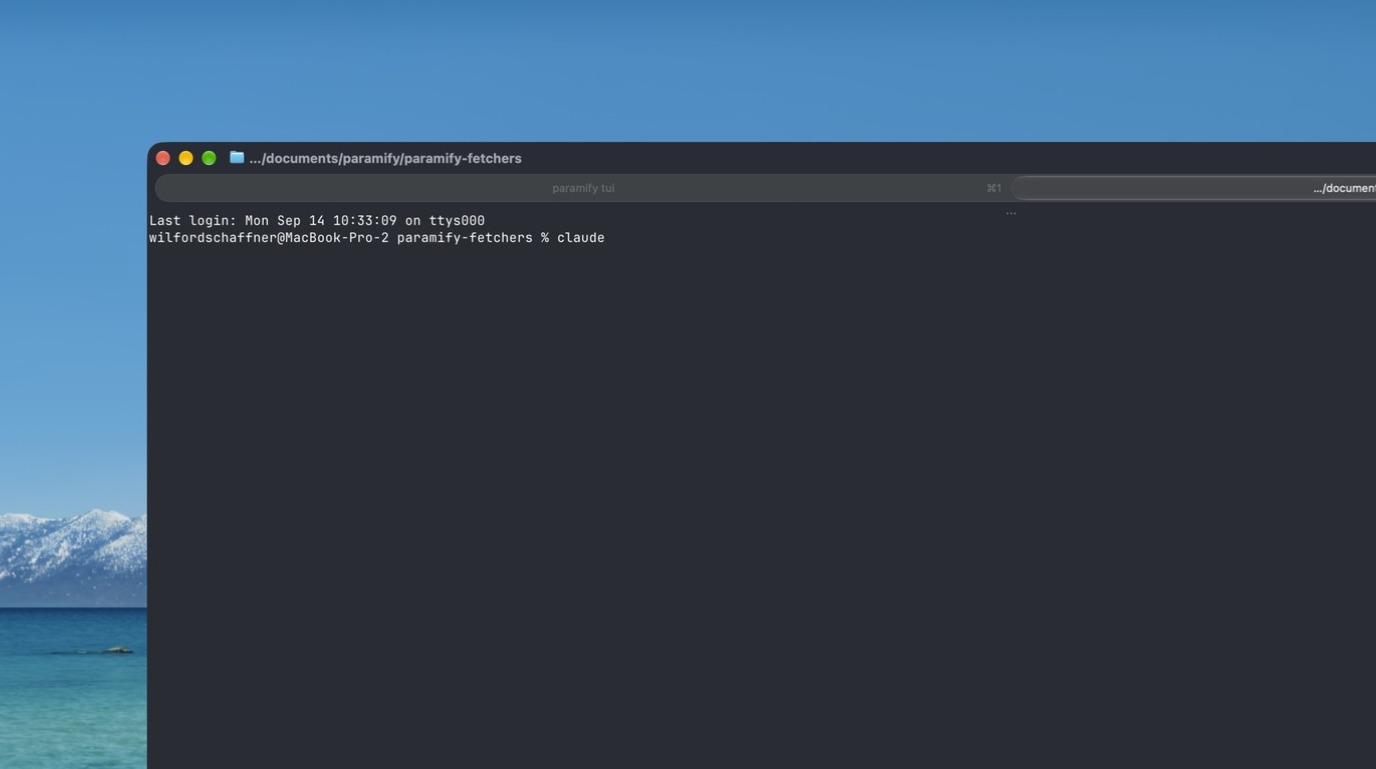
Launch an AI tool that has access to your local paramify-fetchers directory.
28. Run the wire-manifest skill
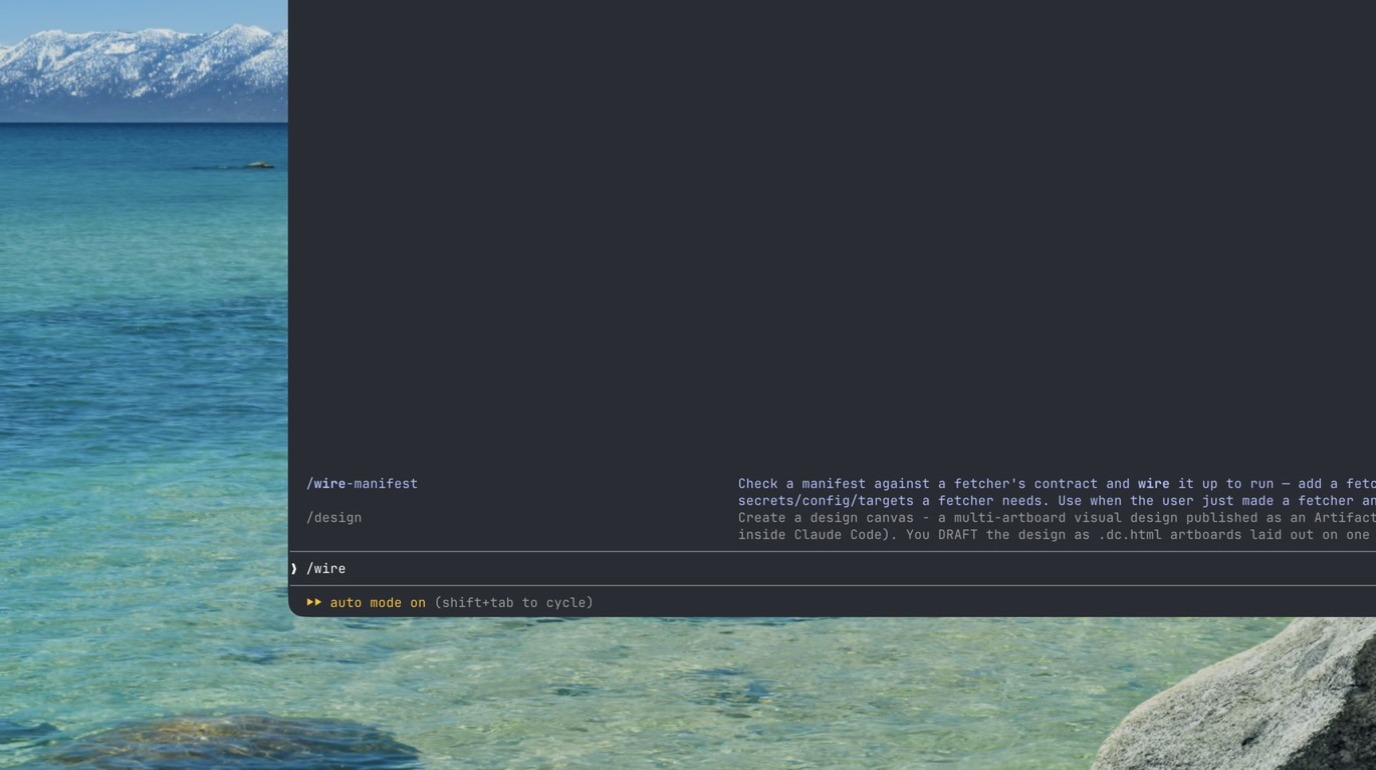
Run the /wire-manifest skill.
29. Answer the AI's questions
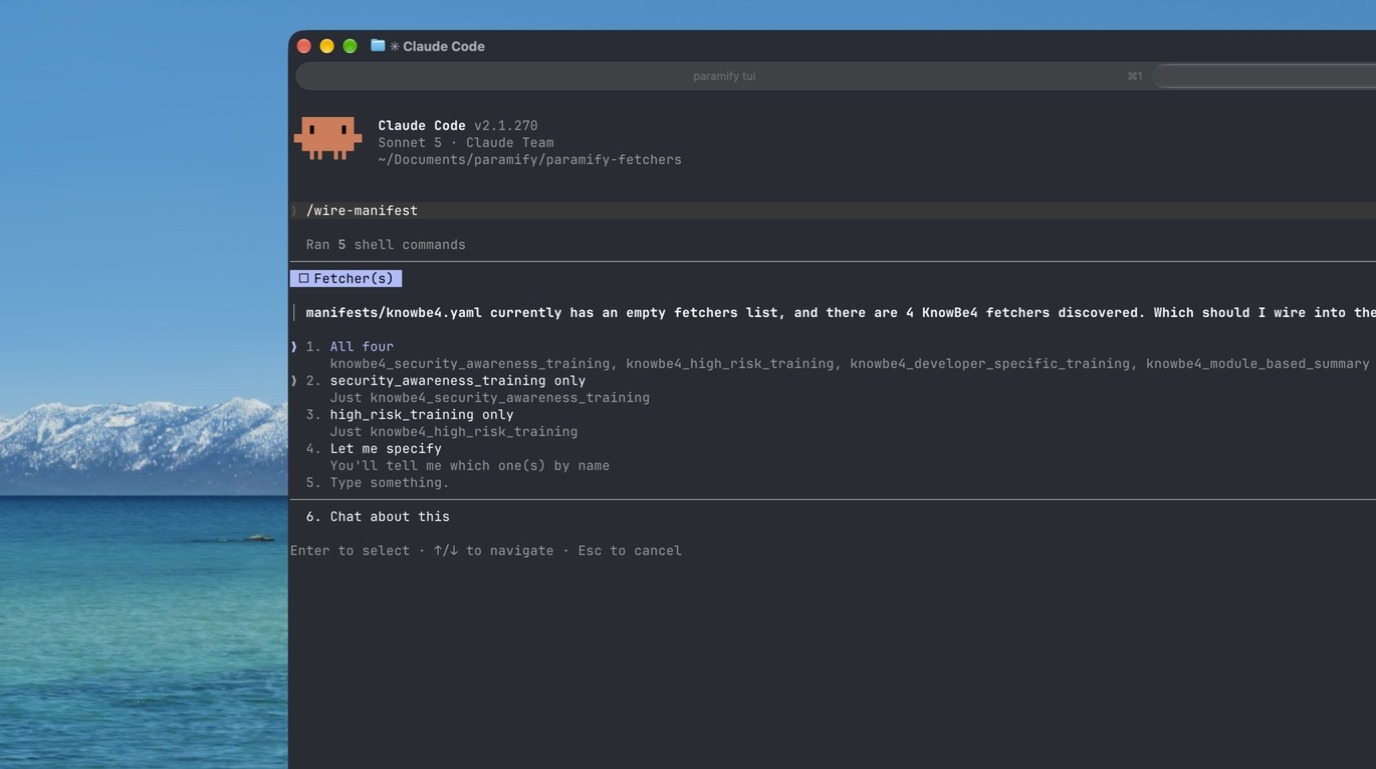
Accurately answer the questions the AI asks.
30. Approve the changes
Approve the manifest changes.
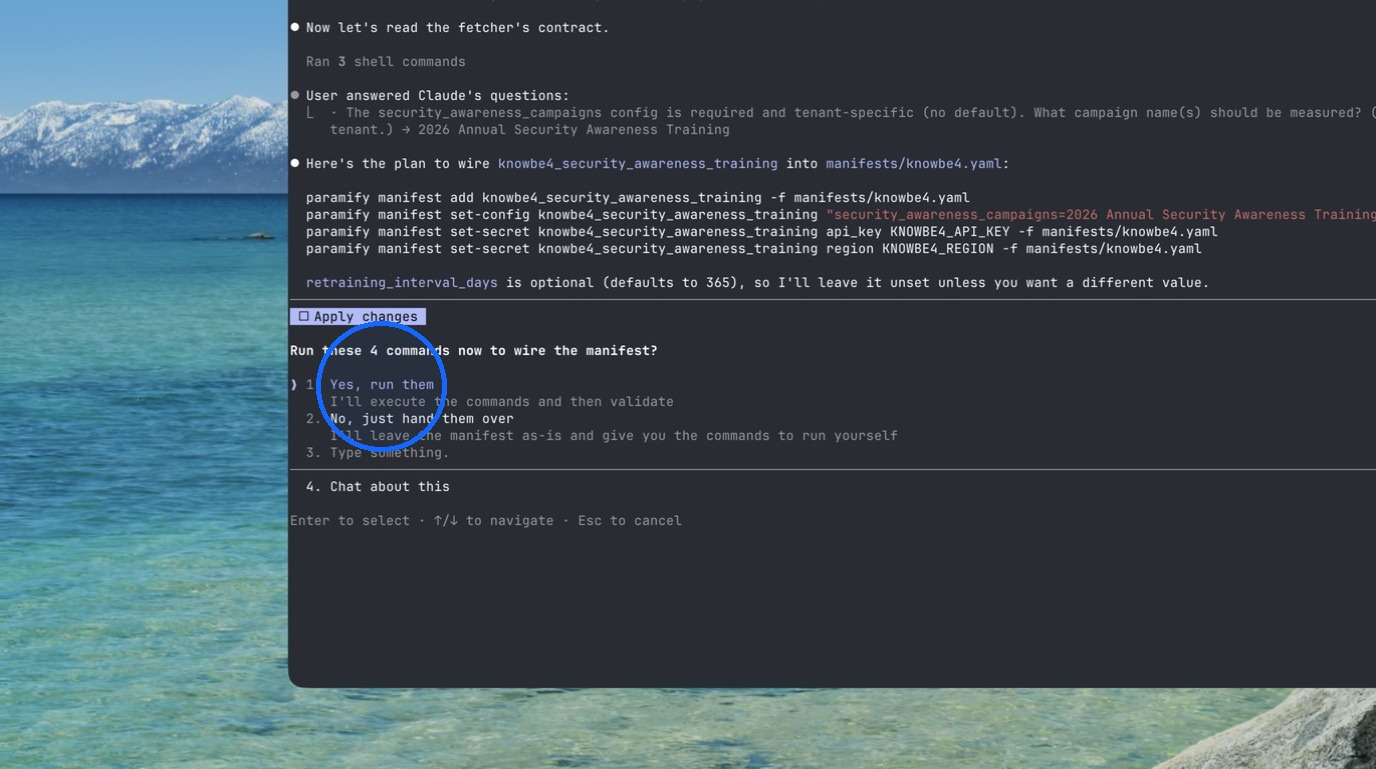
31. Review the summary
Carefully review the completed summary and fix any action items if needed.
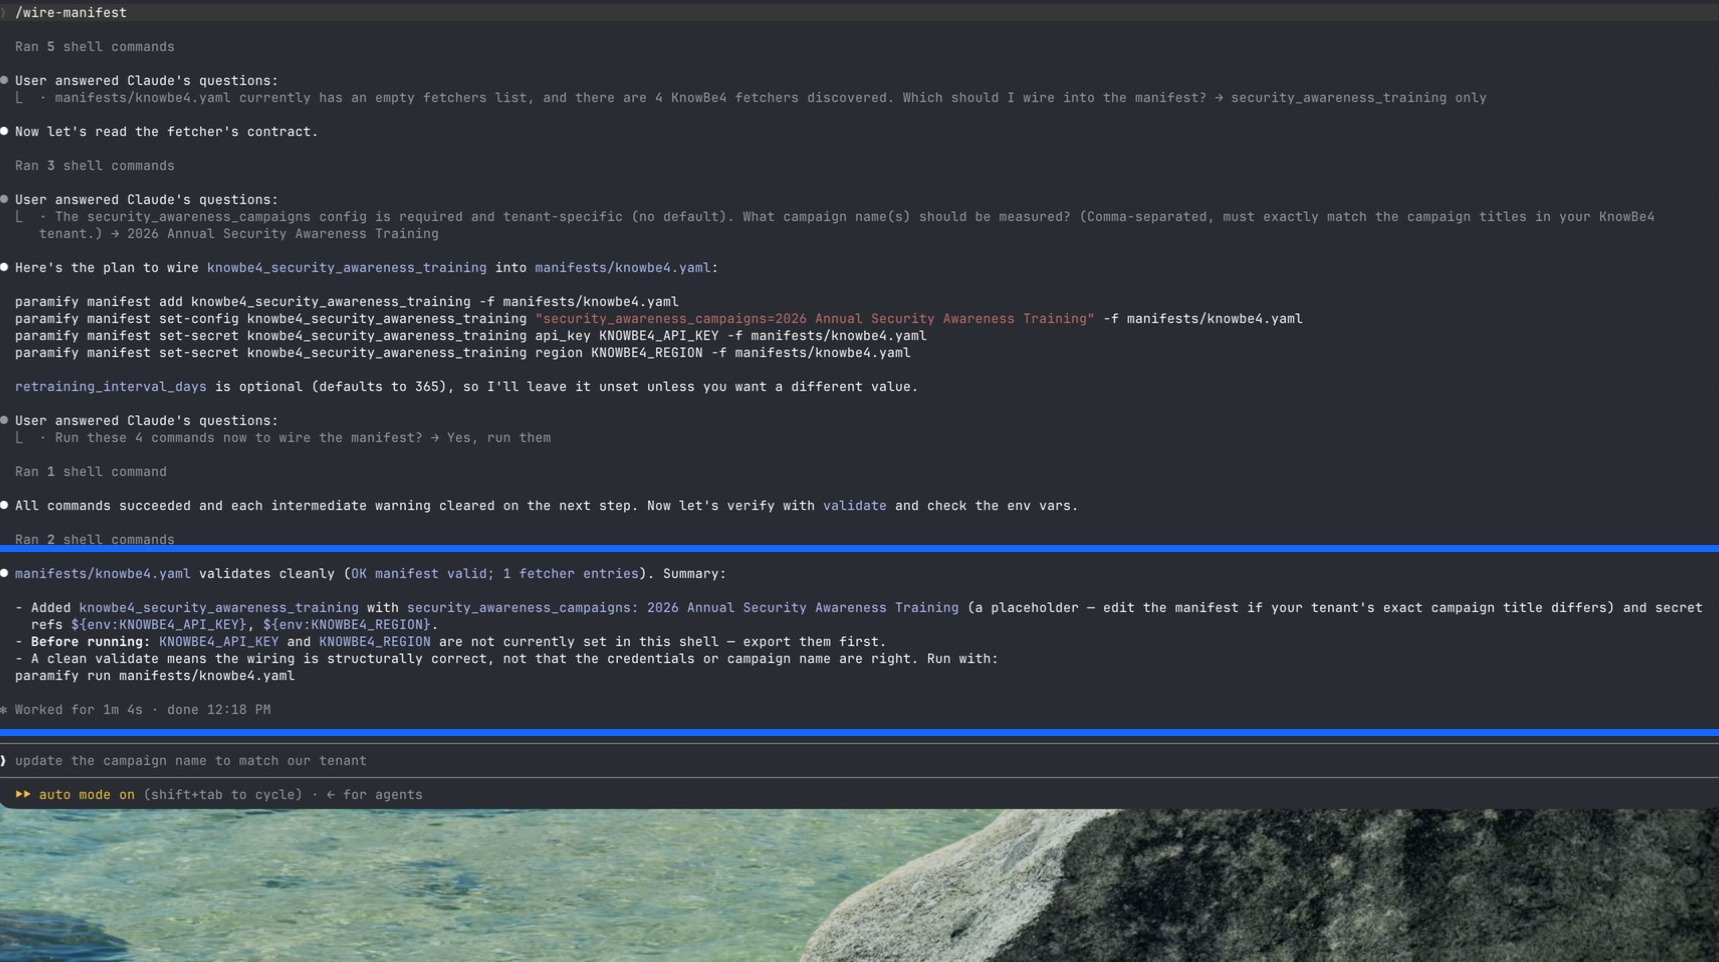
IMPORTANT
At this step, the AI will most likely tell you that you need to inject required secrets and the Paramify API key into your paramify-fetchers environment. This can be done by placing the variables in a .env file or by using a secret manager. The Paramify TUI is compatible with any secret manager — if your organization uses one, contact your IT department about connecting it to the Paramify TUI.
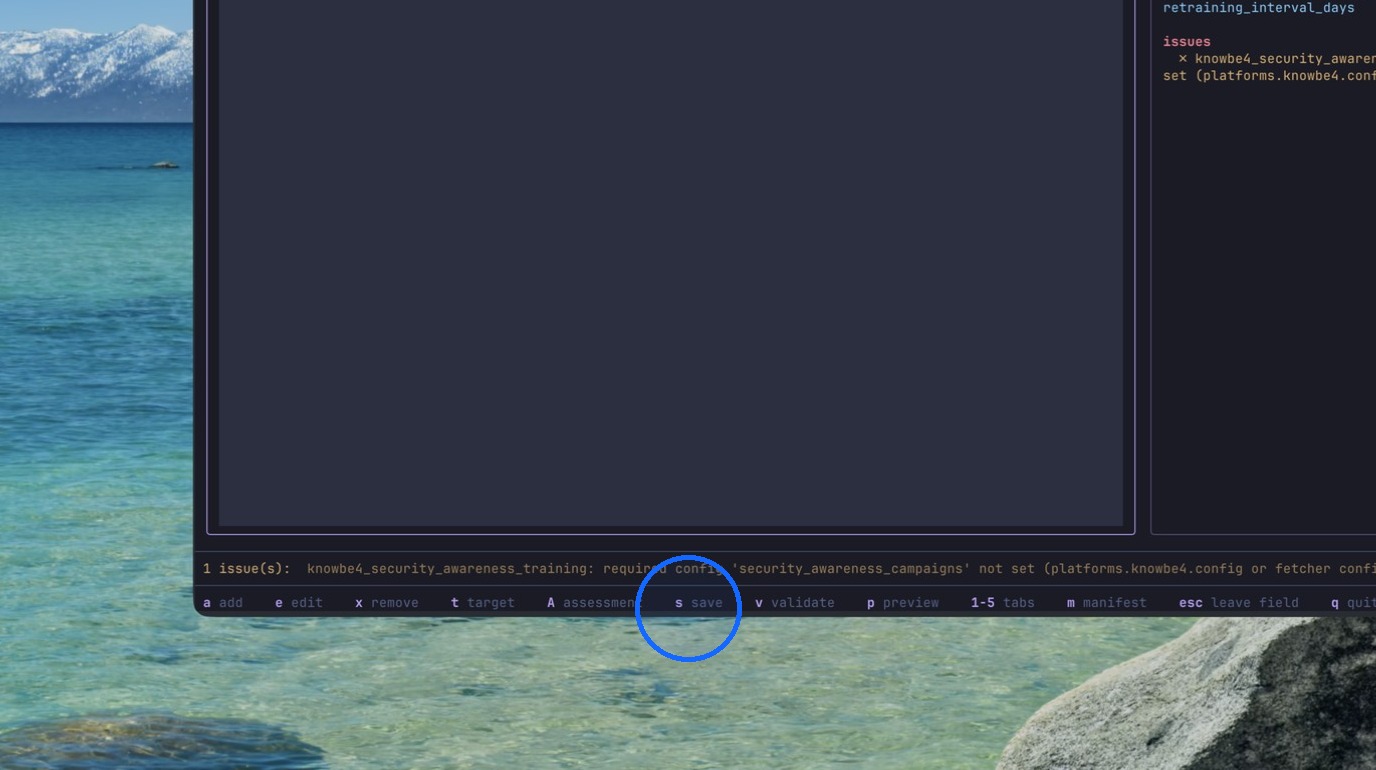
32. Restart the TUI
Return to the Paramify TUI. Make sure your manifest is saved — press q to quit the TUI, then run paramify tui again to restart it so it can refresh.
Evidence Collection
33. Open the configured manifest
Open the configured manifest.
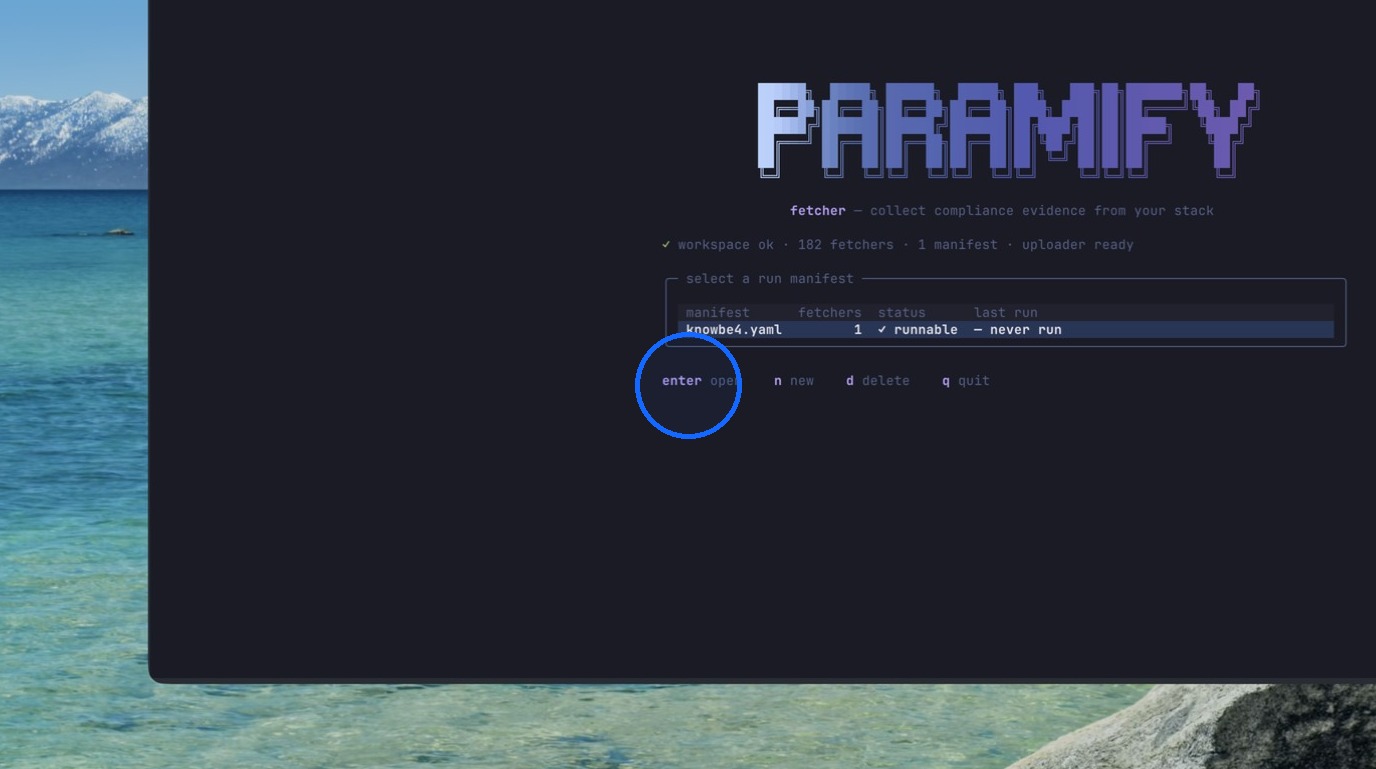
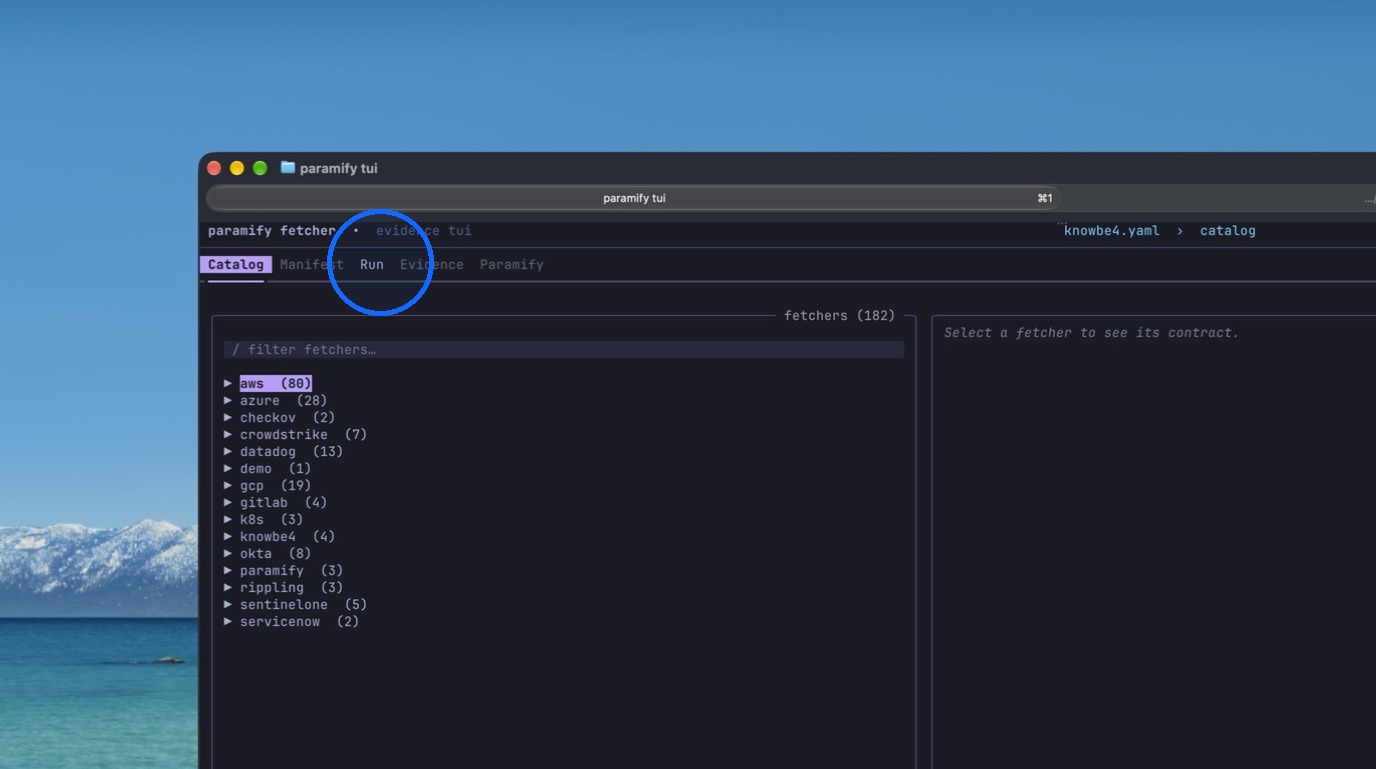
34. Open the Run tab
Open the "Run" tab.
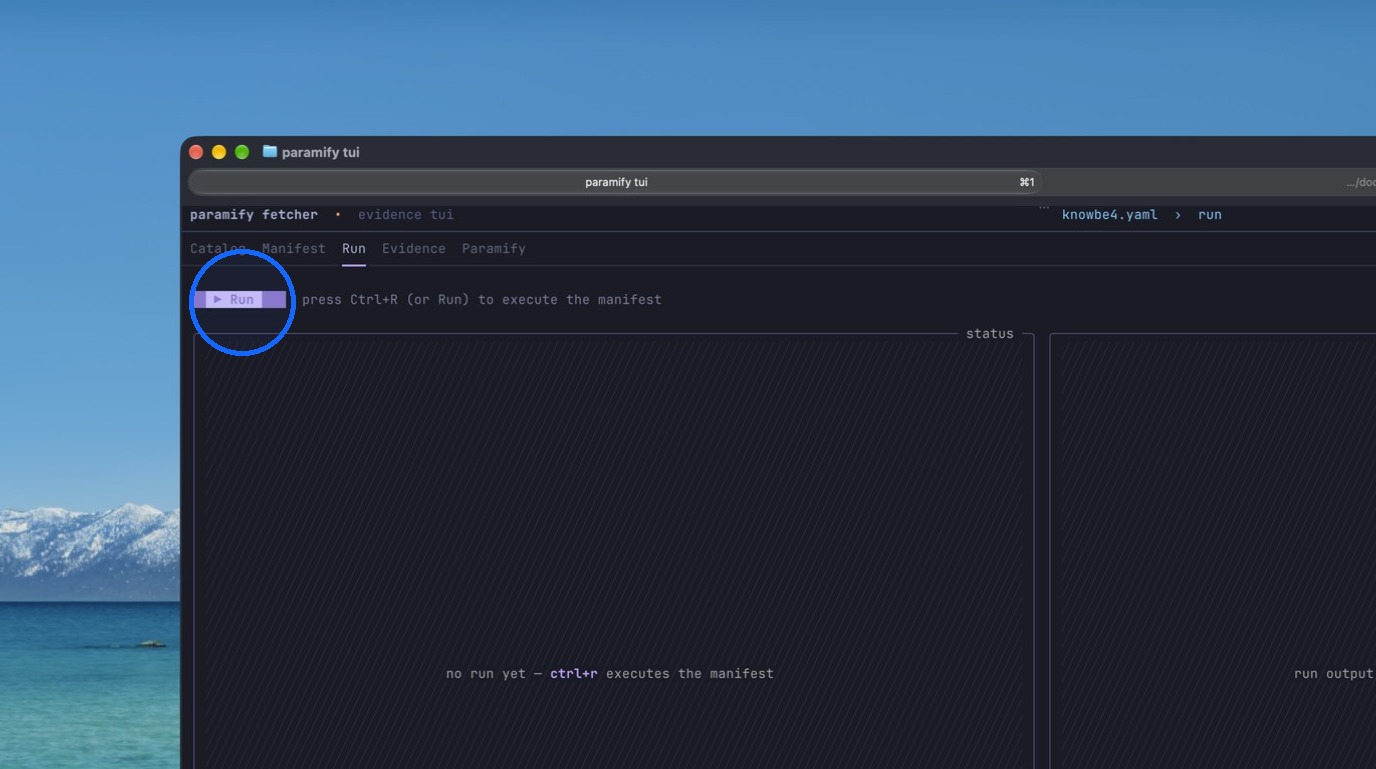
35. Run the manifest
Run the manifest.
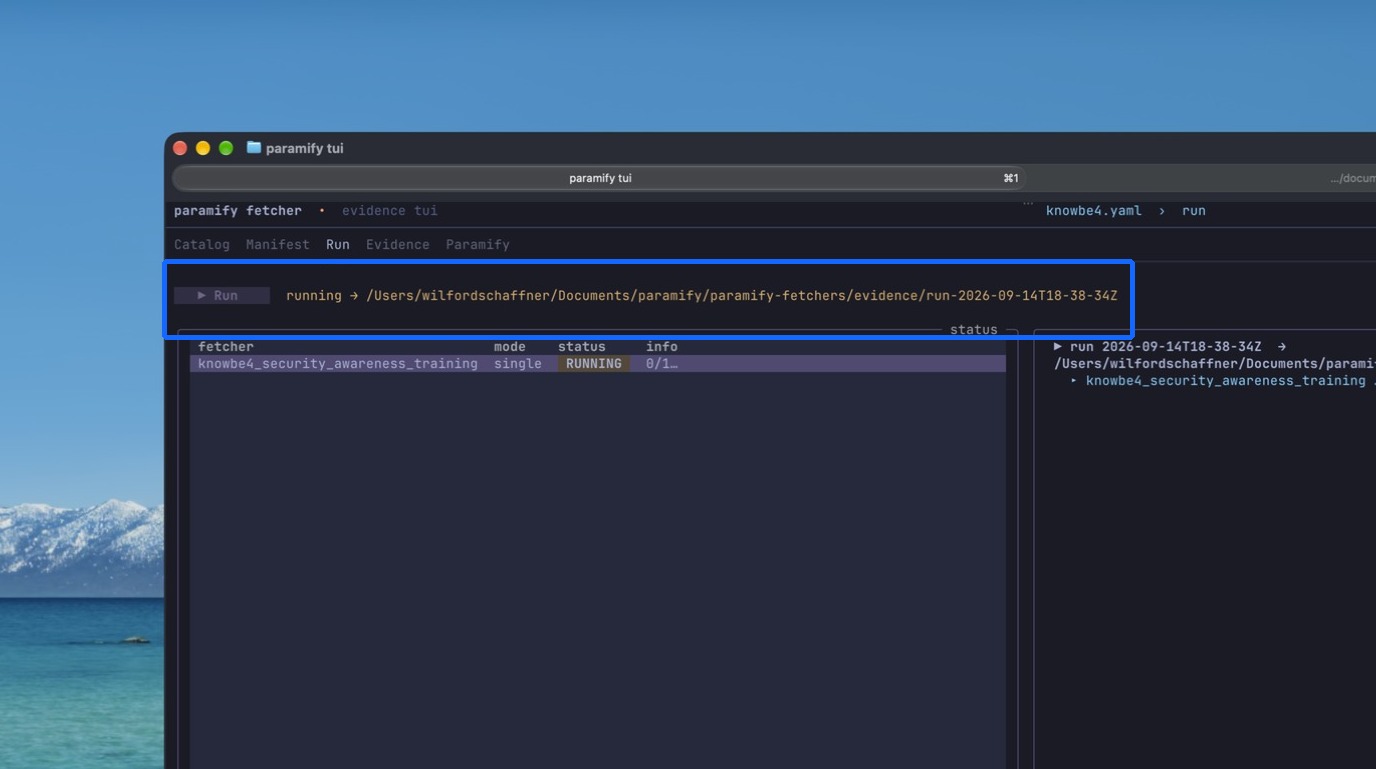
36. Wait for the run to finish
Wait for the fetcher run to complete.
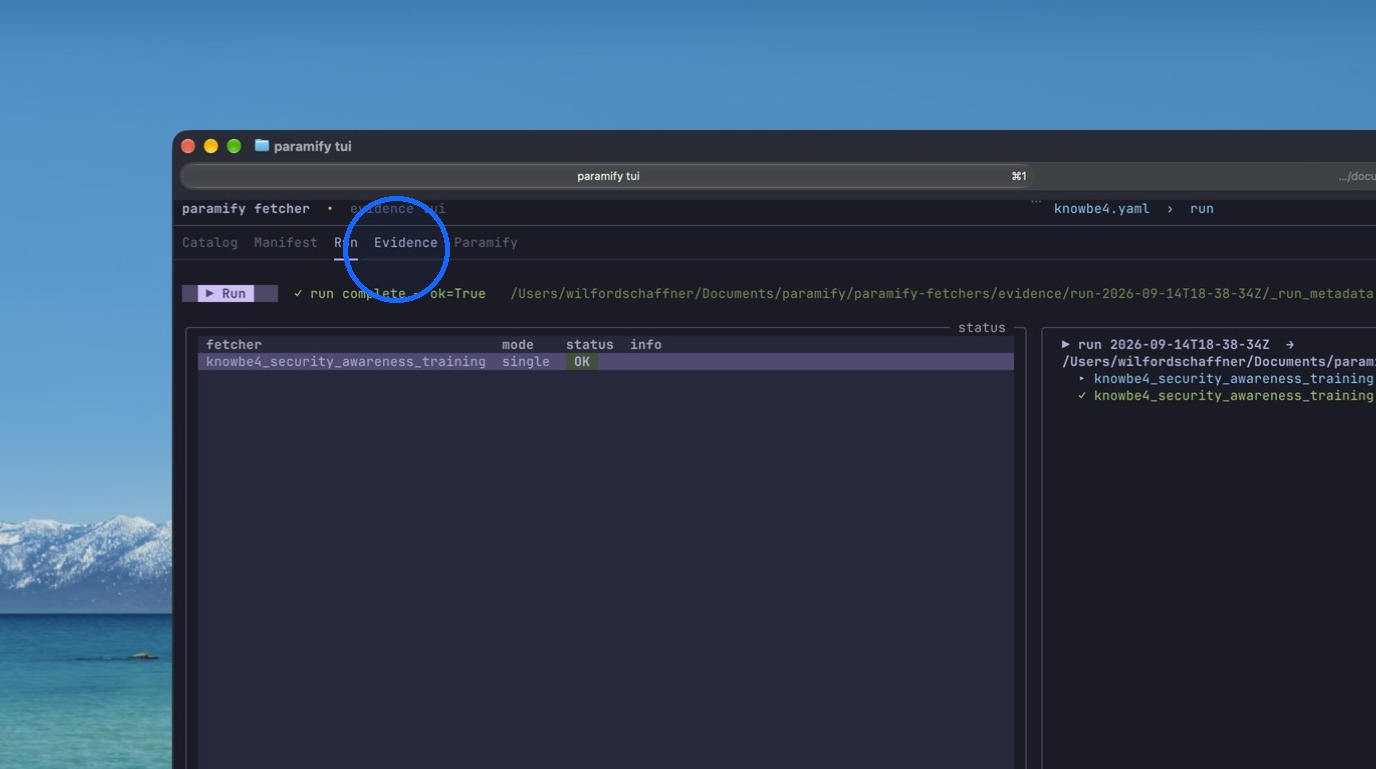
37. Review the evidence
Open the "Evidence" tab once the run completes to review the evidence.
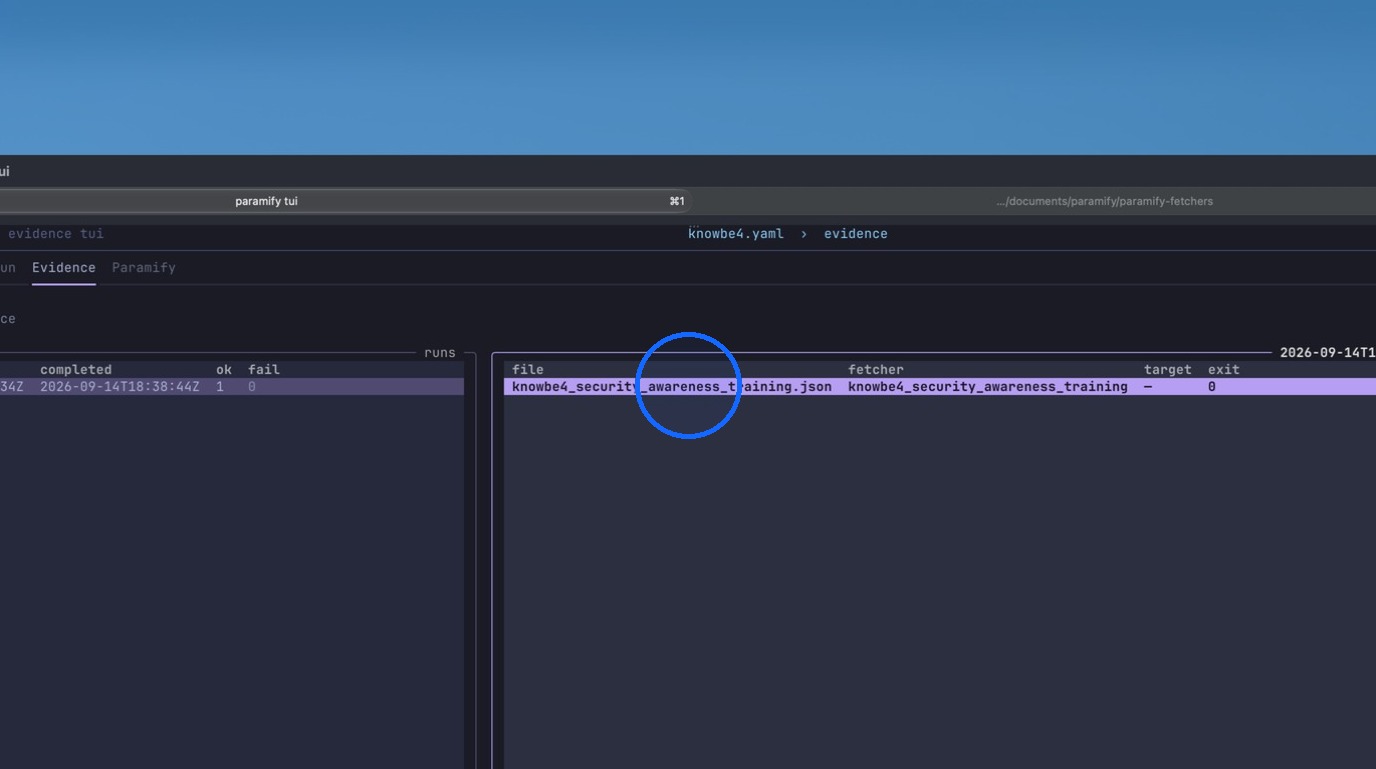
38. Select the JSON artifact
Select the JSON artifact.
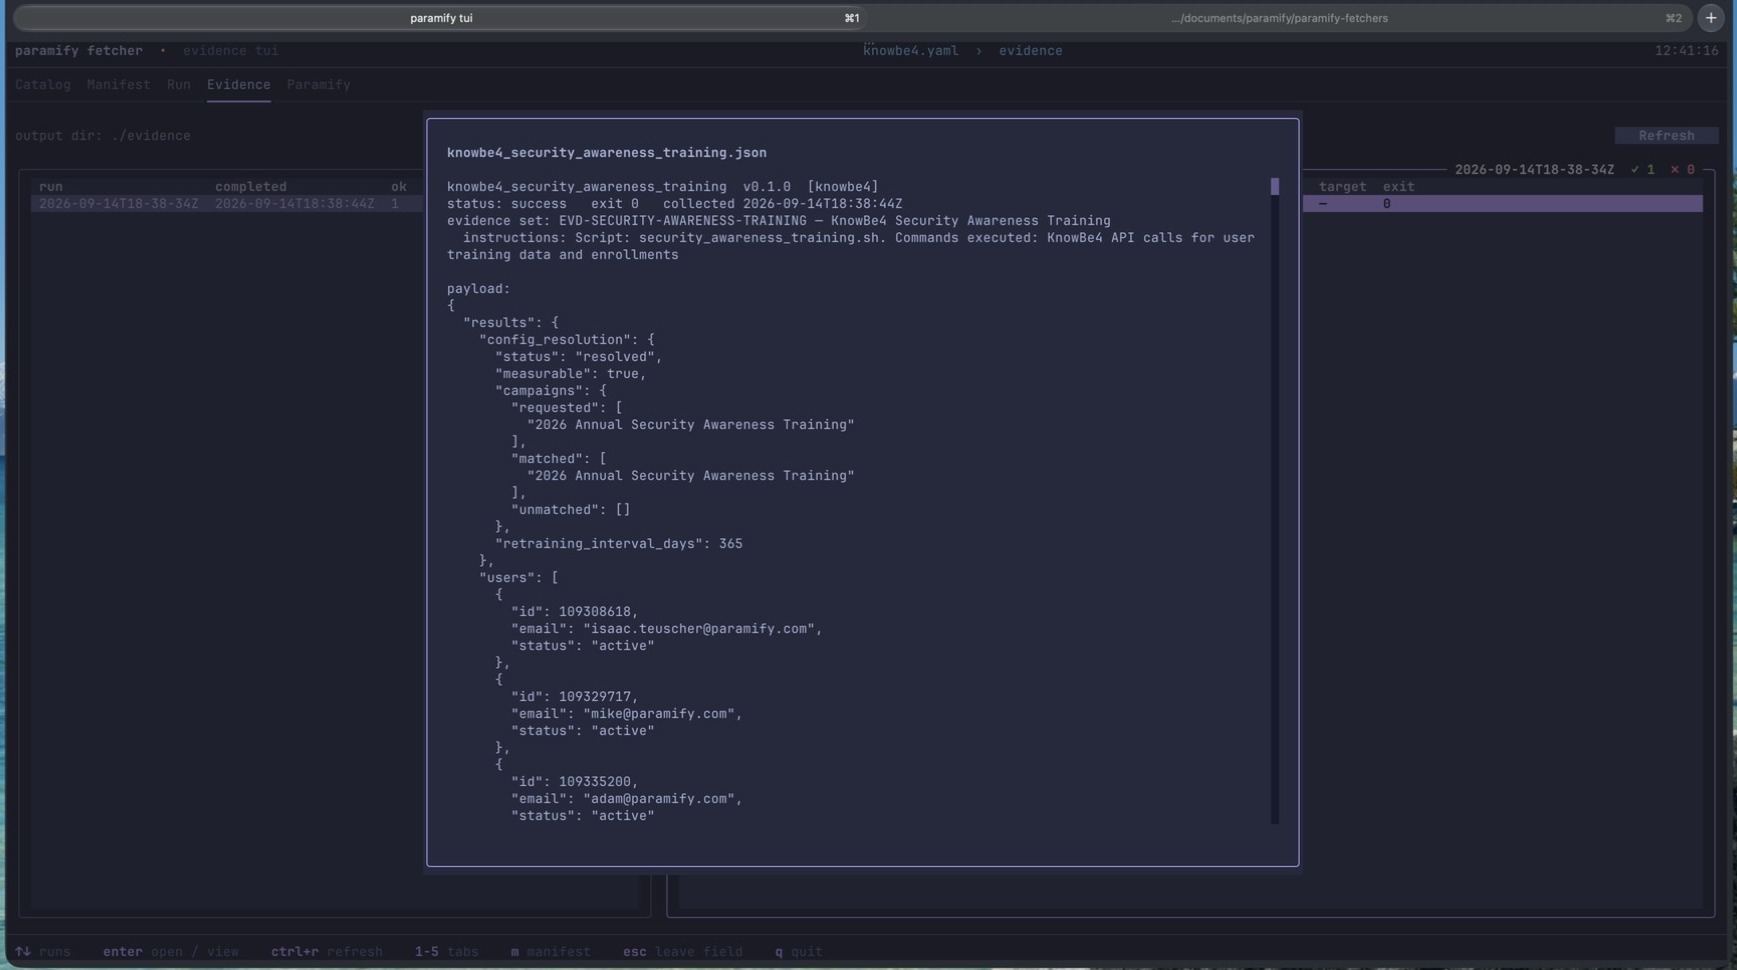
39. Confirm the evidence is correct
Review the generated evidence JSON to confirm the collected evidence is what you expected.
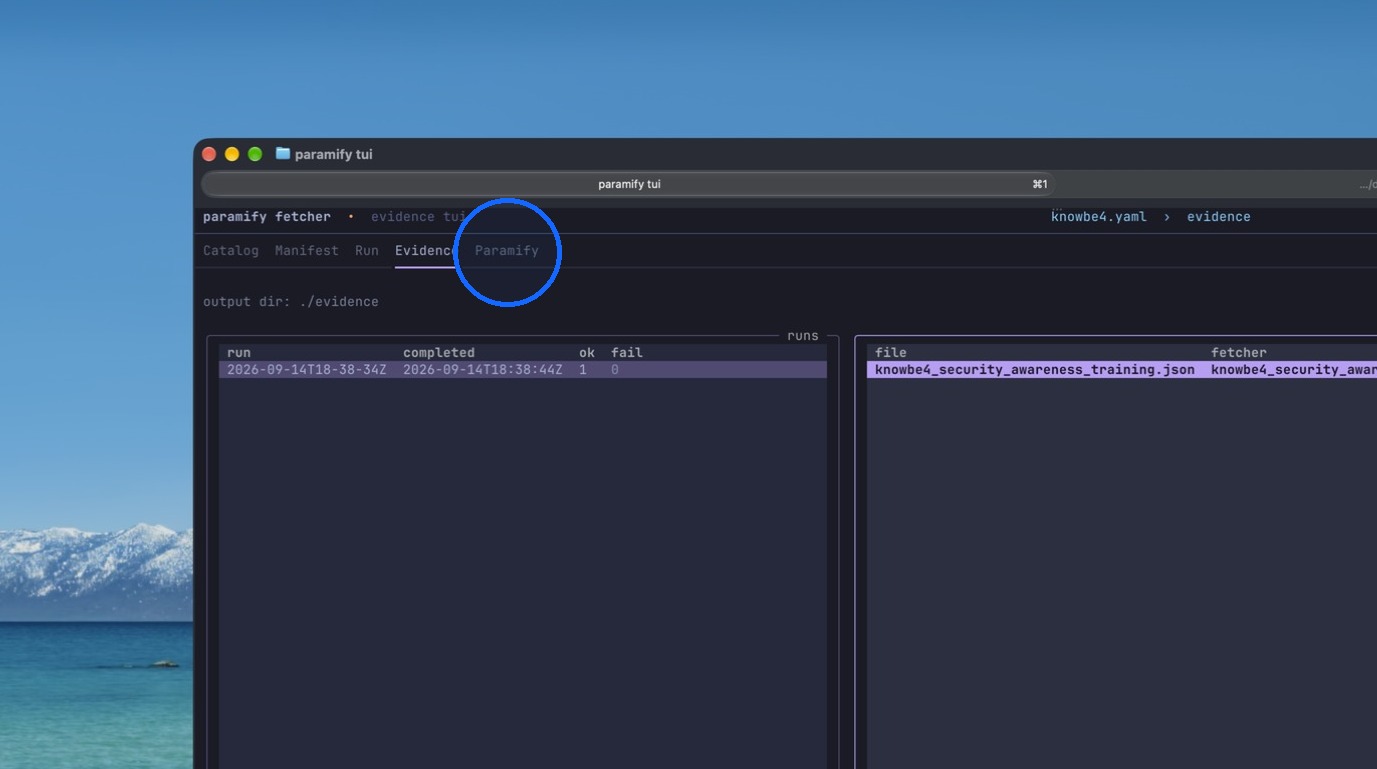
40. Open the Paramify tab
Click on the "Paramify" tab.
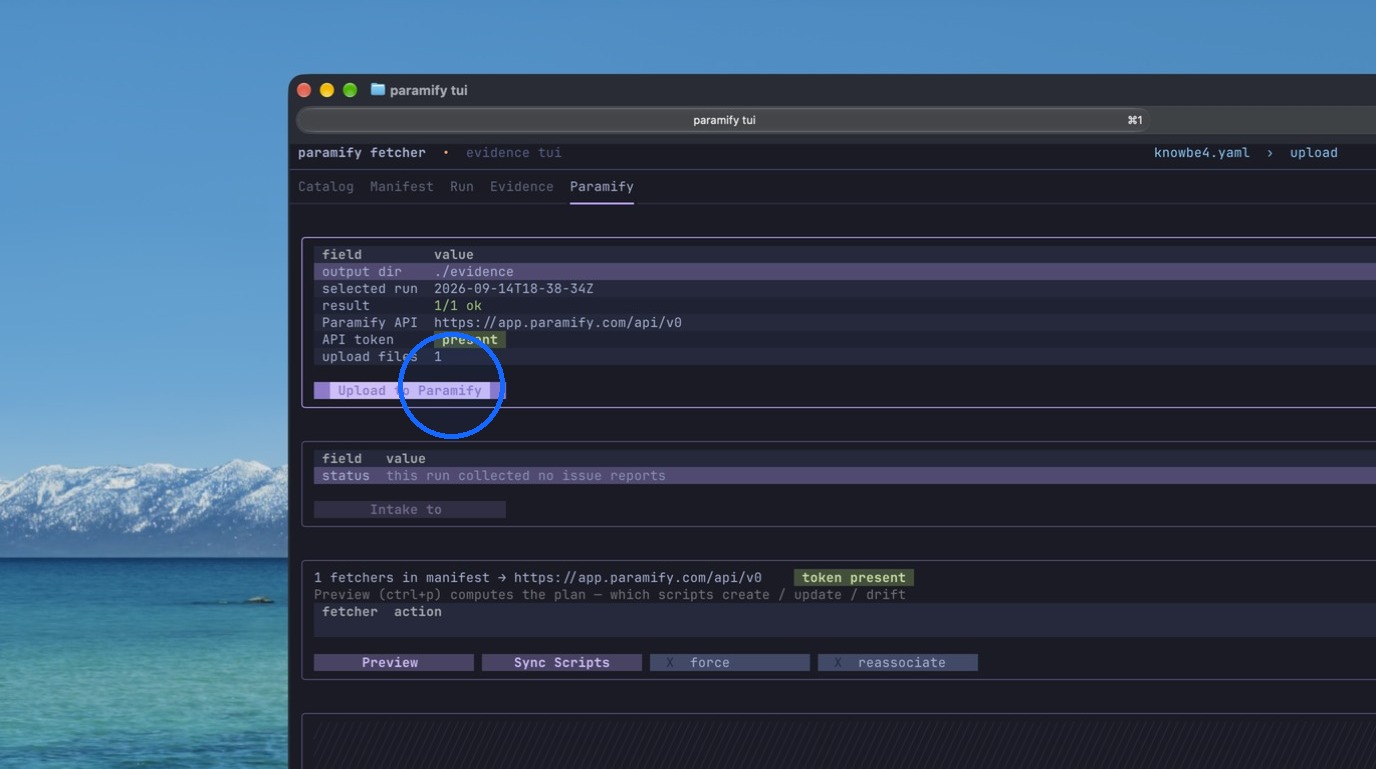
41. Upload the evidence
Click "Upload to Paramify".
42. Confirm the upload
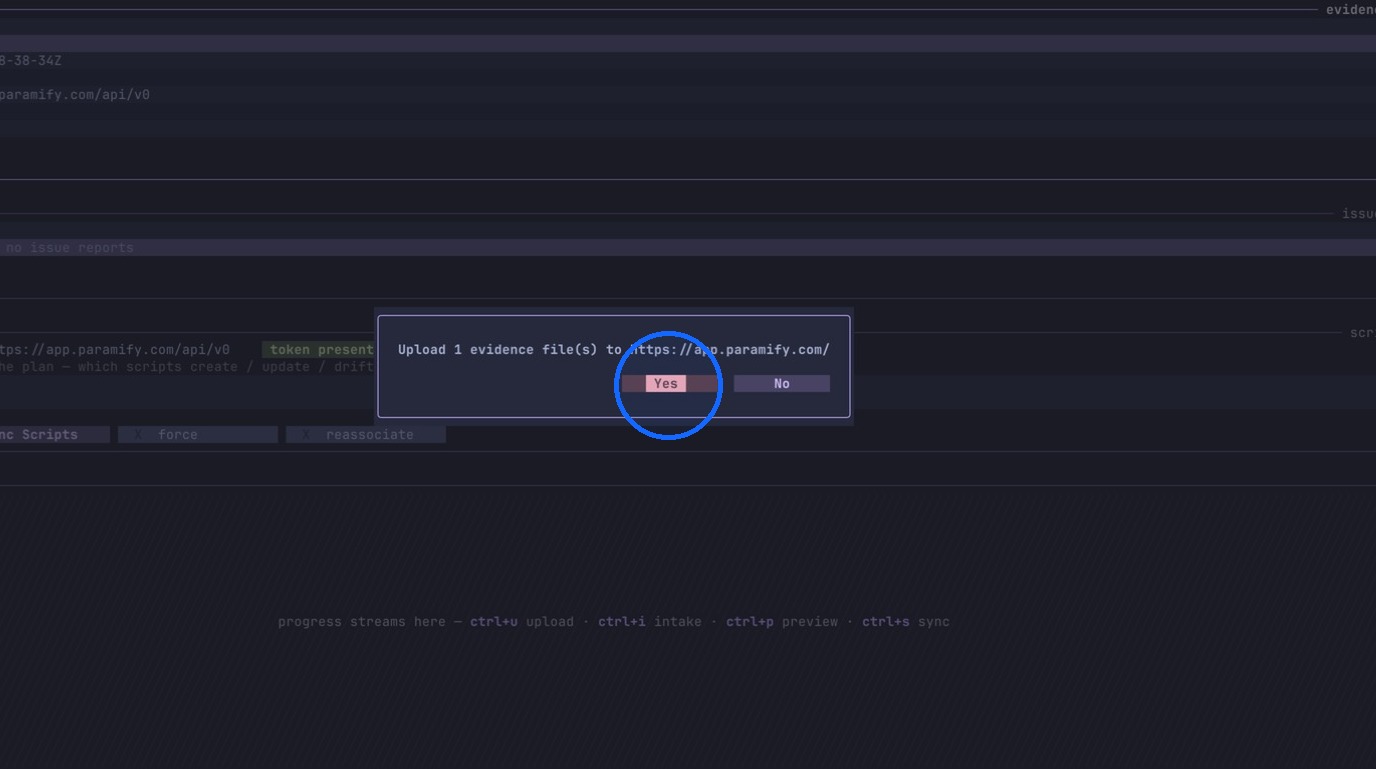
Confirm the evidence upload.
NOTE
If a channel exists for the evidence set, this evidence upload will automatically be pushed through that channel.
43. Sync the fetcher script
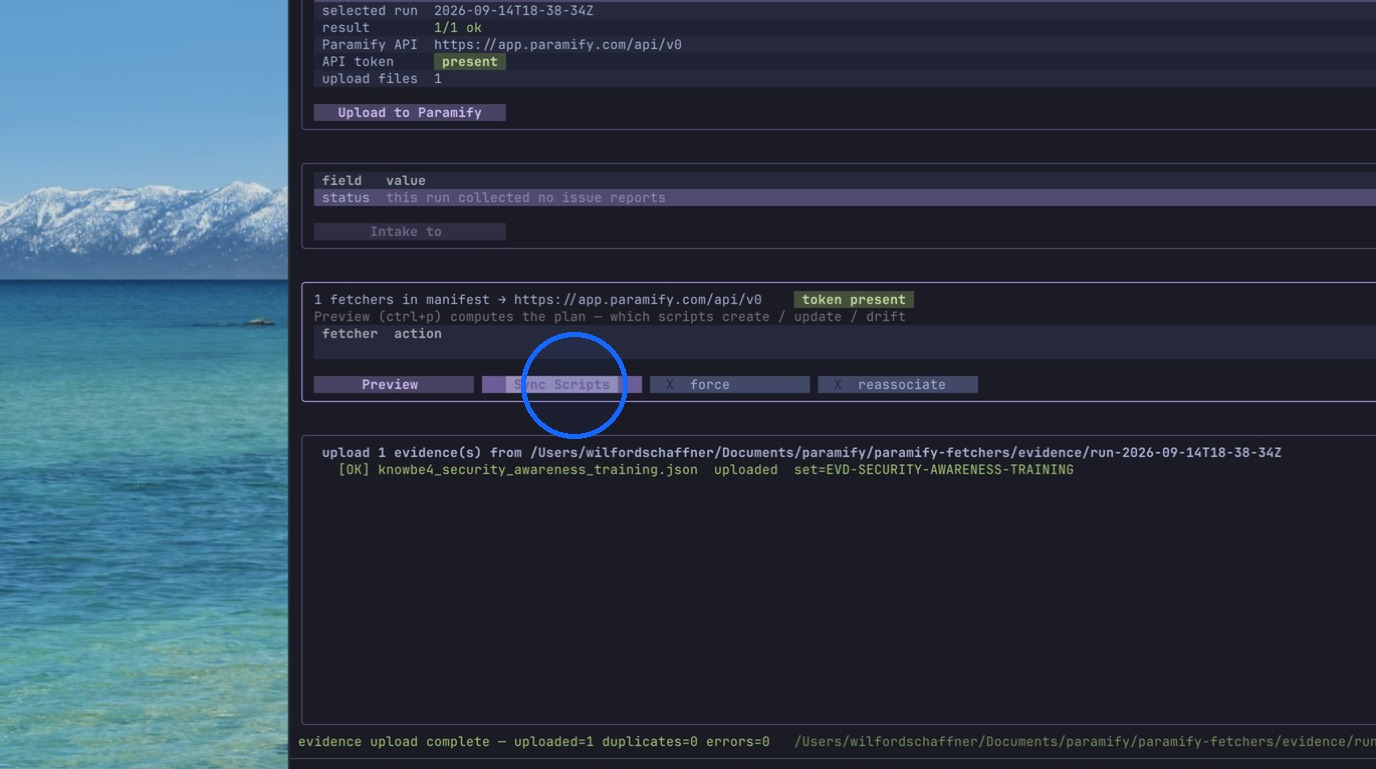
Click "Sync Scripts" to upload the evidence fetcher script into the evidence set in the Paramify application.
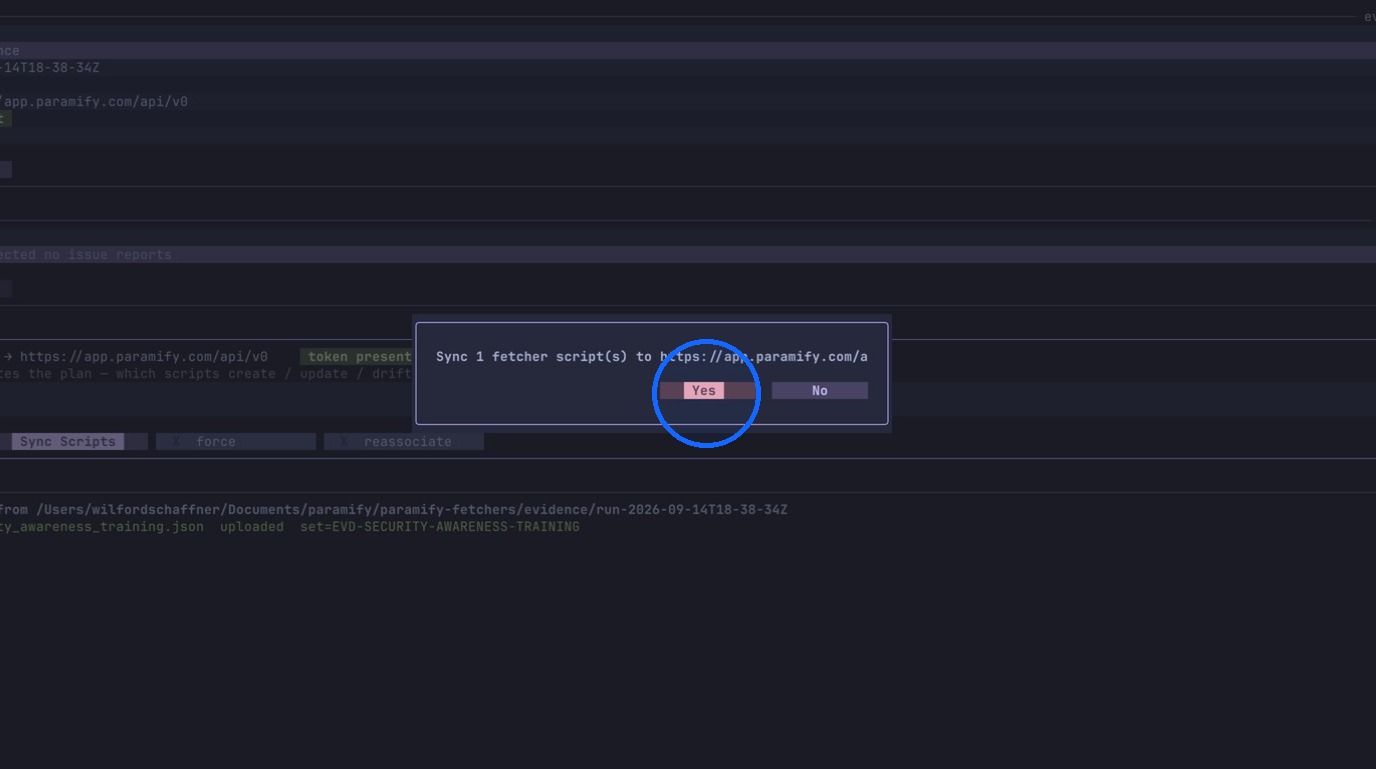
44. Confirm the sync
Confirm script synchronization.
Preview the Evidence Set in the Paramify App
45. Open Evidence Sets
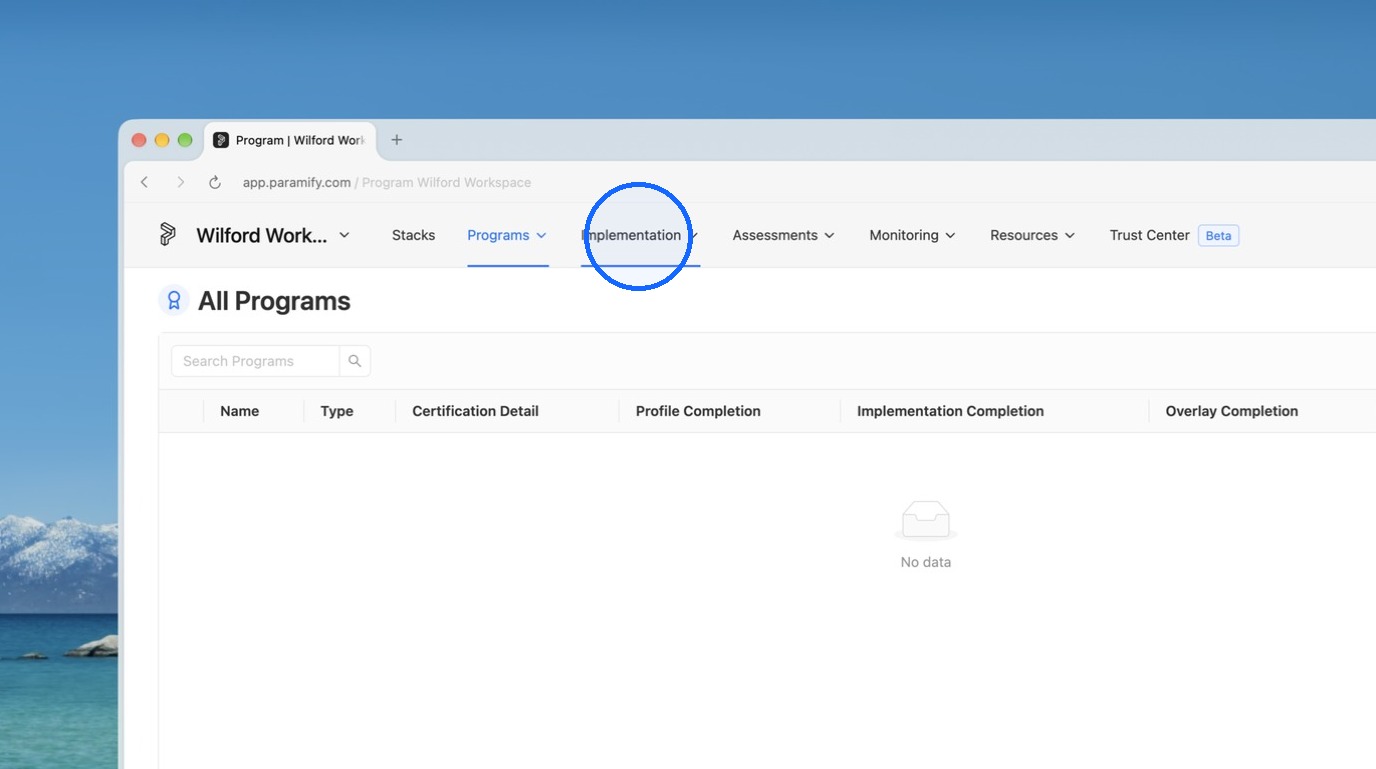
Navigate to Implementation > Evidence Sets.
 Evidence Sets" /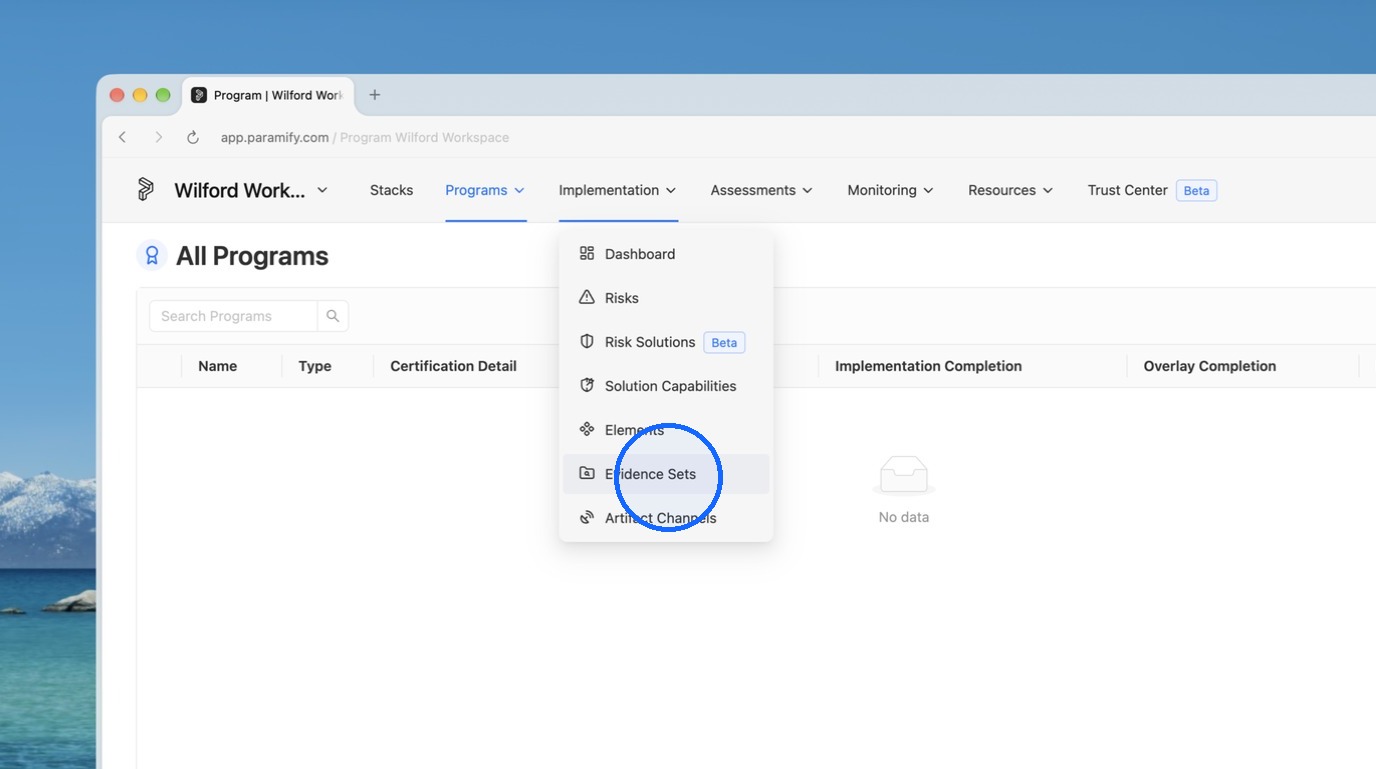
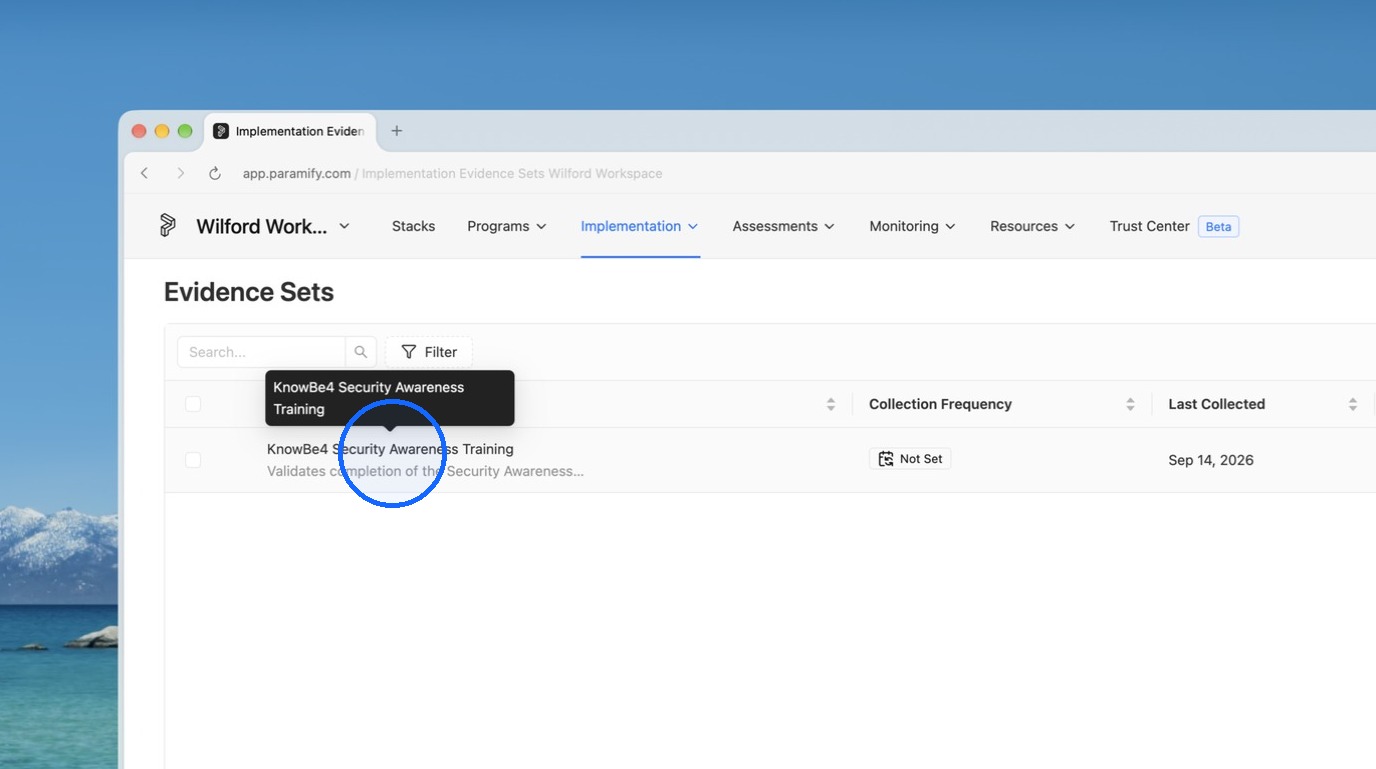
46. Open the evidence set
Find the evidence set you pushed from the TUI and open it.
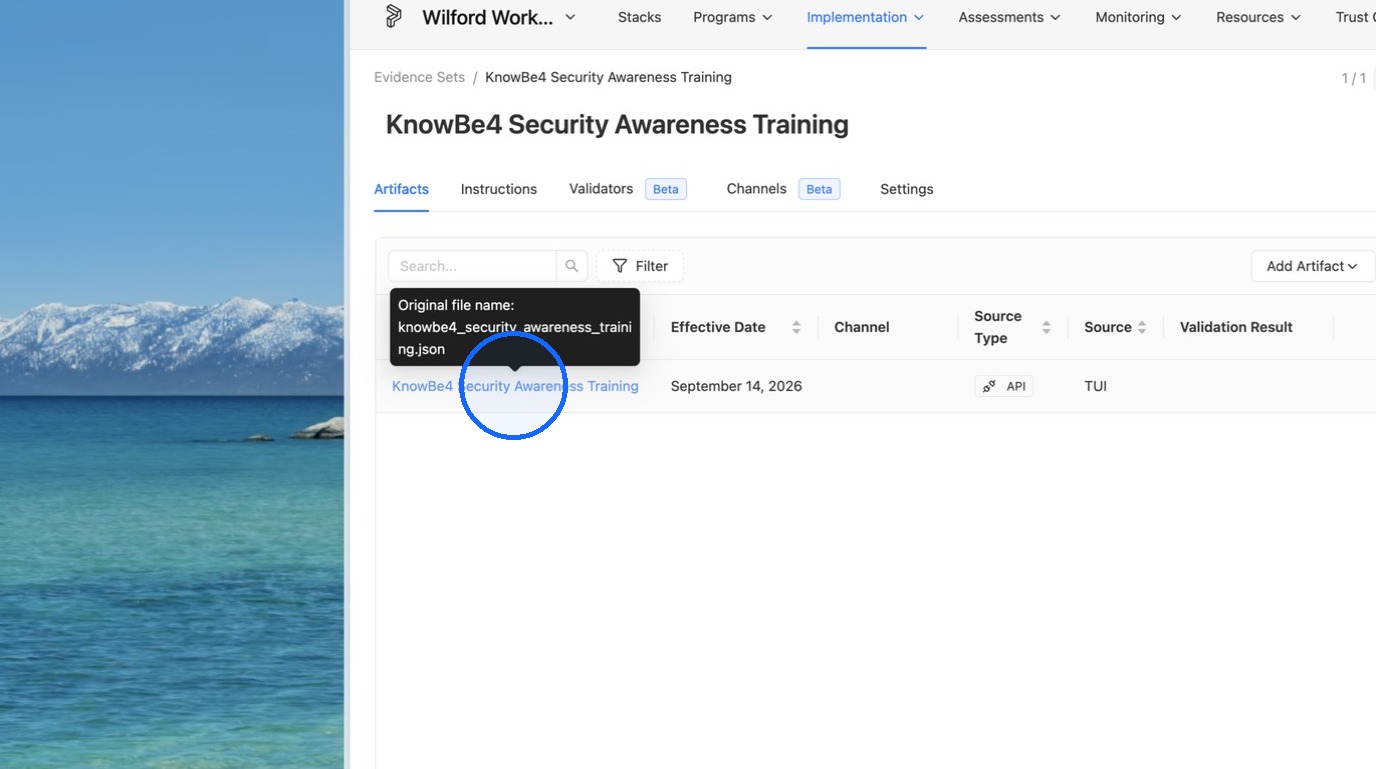
47. Open the evidence artifact
Click on the evidence artifact.
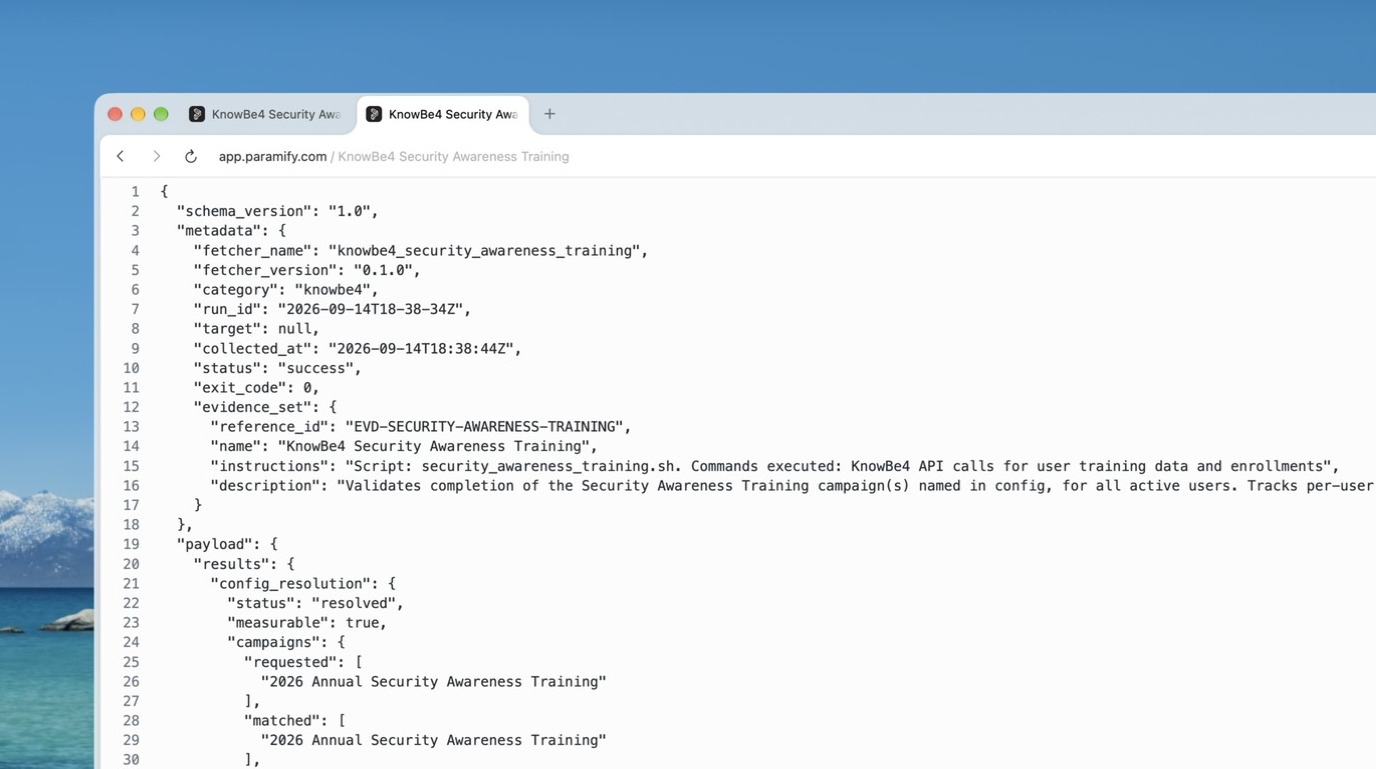
48. Preview the artifact
The artifact opens in a new tab, where you can preview it.
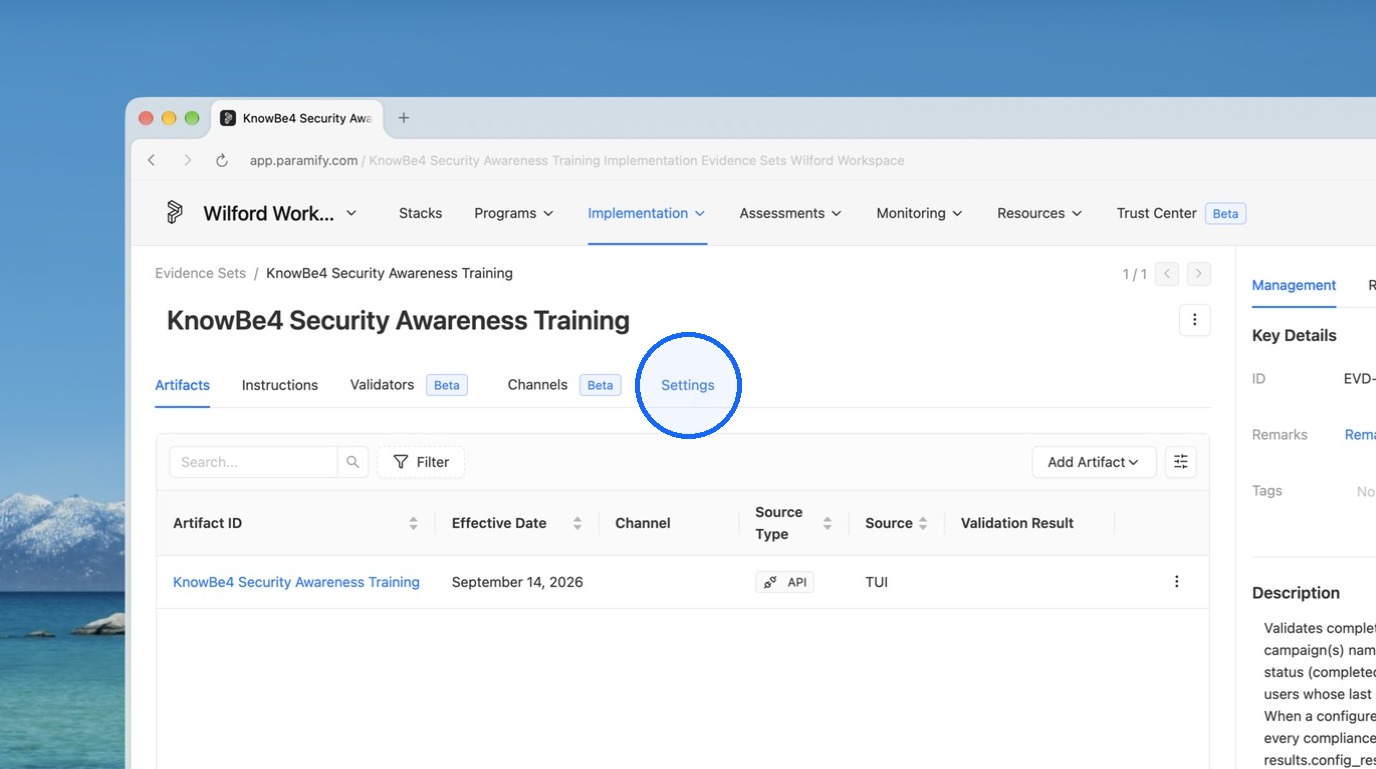
49. Open the Settings tab
Back in your Paramify tab, open the "Settings" tab in the evidence set.
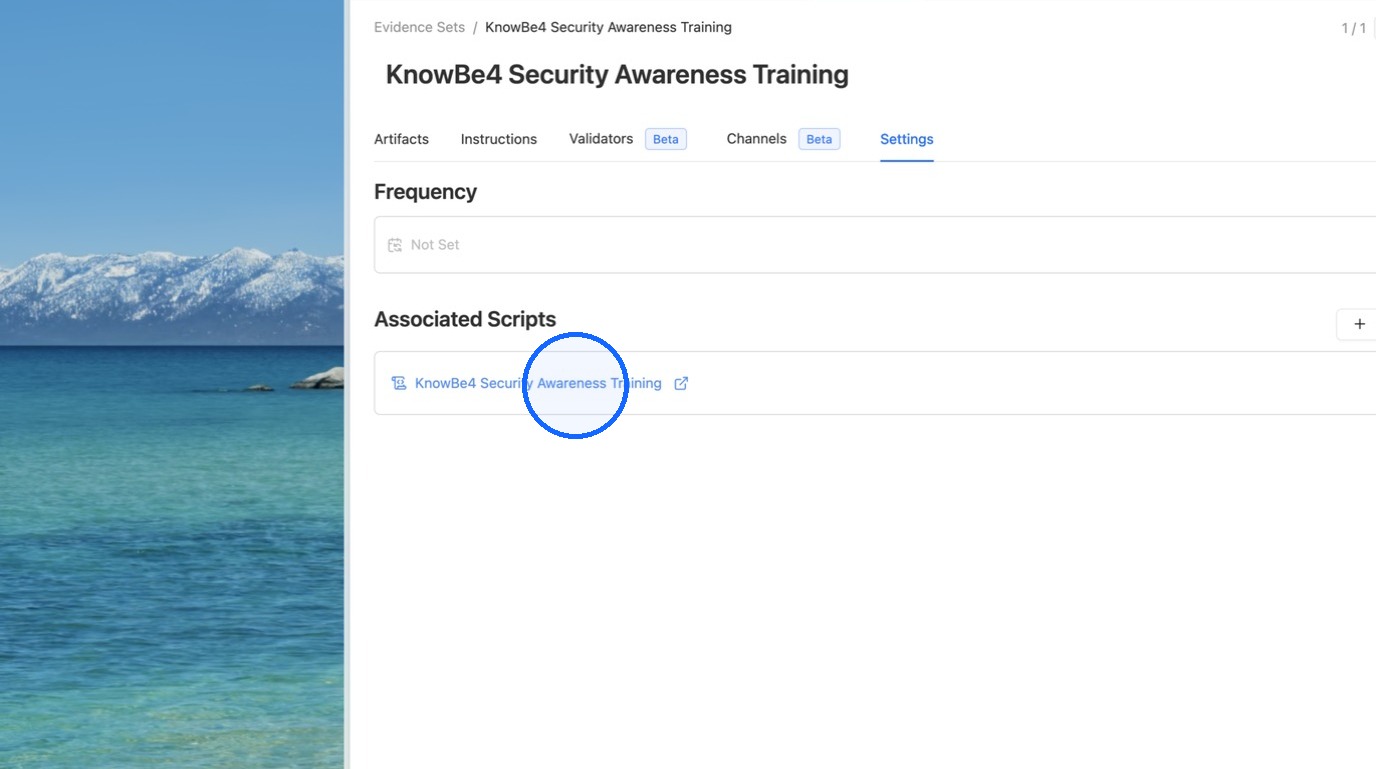
50. Open the associated script
Open the associated script.
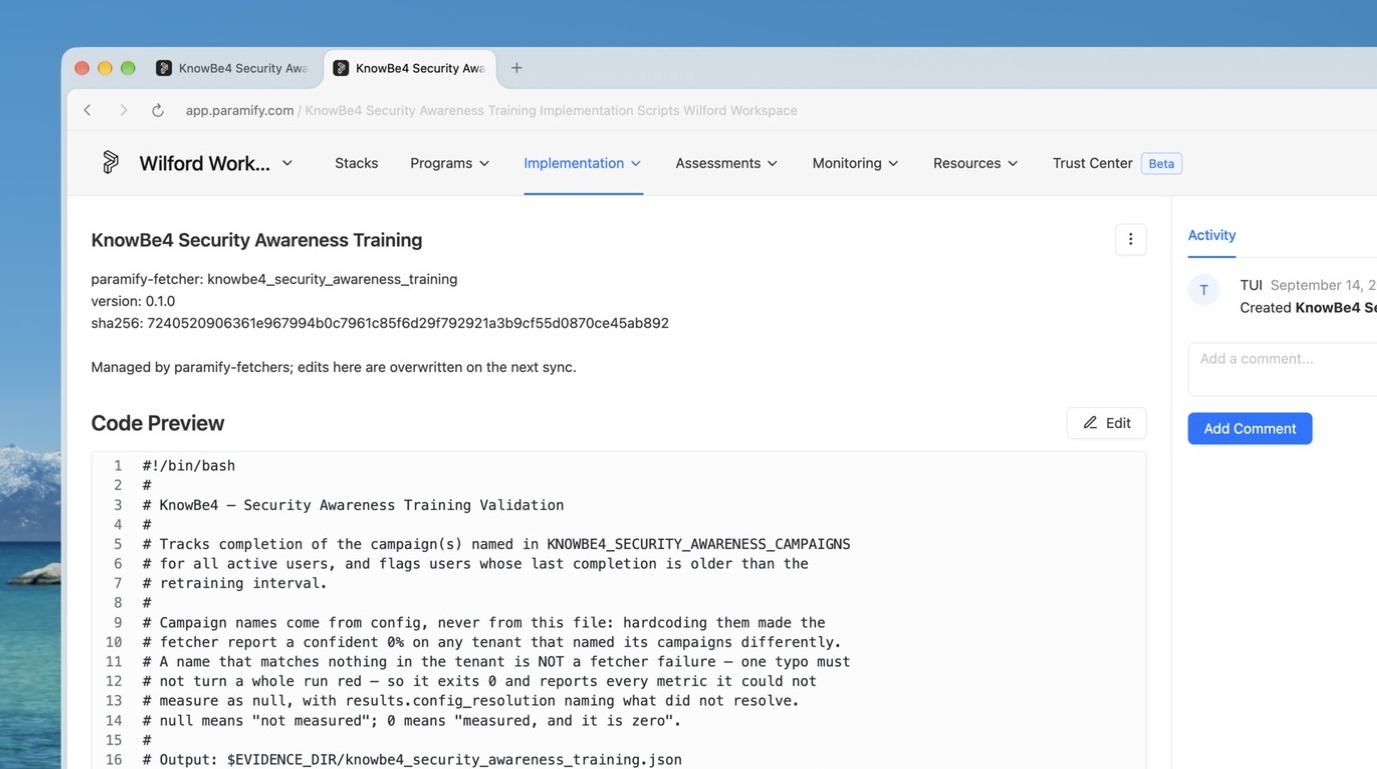
51. Review the fetcher script
Here you can preview the actual fetcher script used to obtain the evidence.
TIP
To set up Validators in Paramify, view the article Setup Validators.
Comments
0 comments
Please sign in to leave a comment.