
This workflow guides you through uploading scan data and processing it into a cycle. When complete, Paramify automatically creates Issues from the findings. These Issues form your POA&M (Plan of Action and Milestones, also referred to as POAMs). You can view them in Monitoring > Issues, or see Step 23 to view them directly within the cycle.
1. Select an assessment
Click on any given assessment within the Assessments page.
2. Add a cycle
Click "+ Cycle" to add a cycle to the assessment.
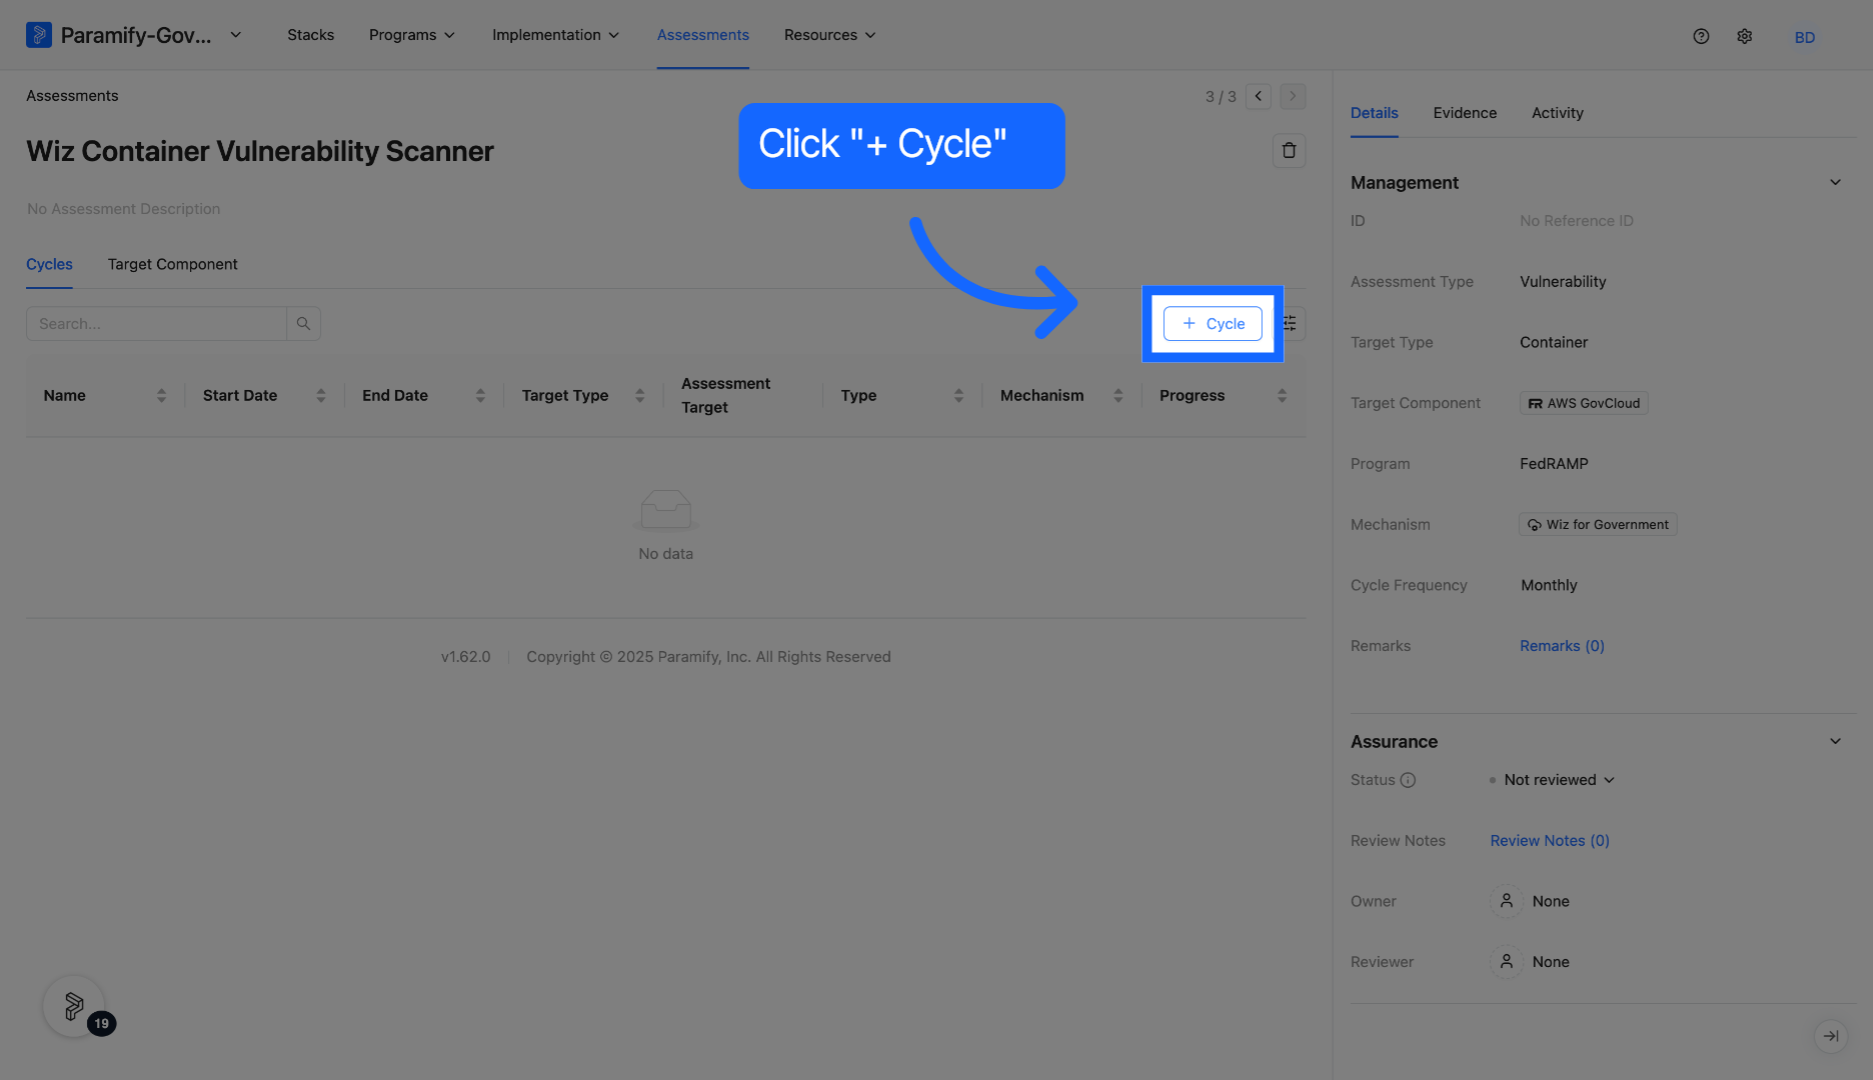
3. Set cycle period
Set the Cycle Period, which enables the system to automatically repeat assessments on that cycle. Set Cycle Name, then click "Add".
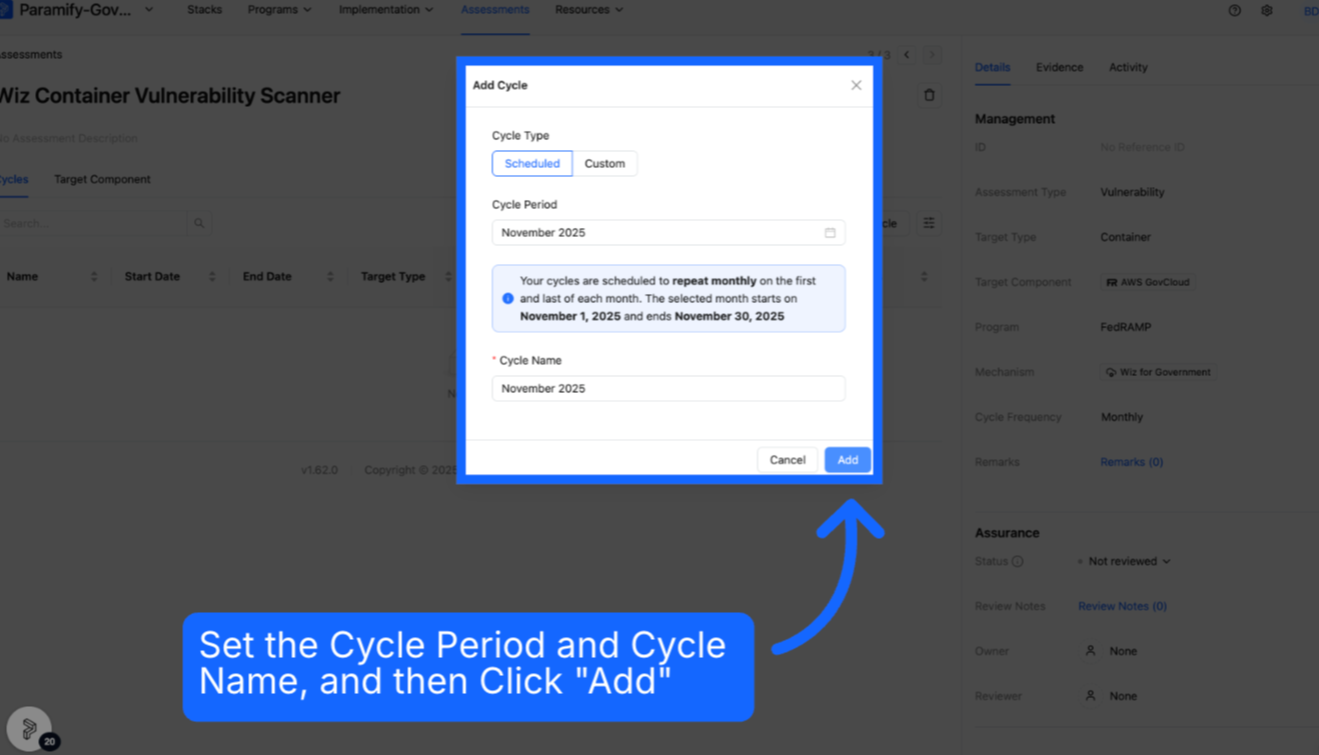
4. Select cycle
Click on the newly created cycle.
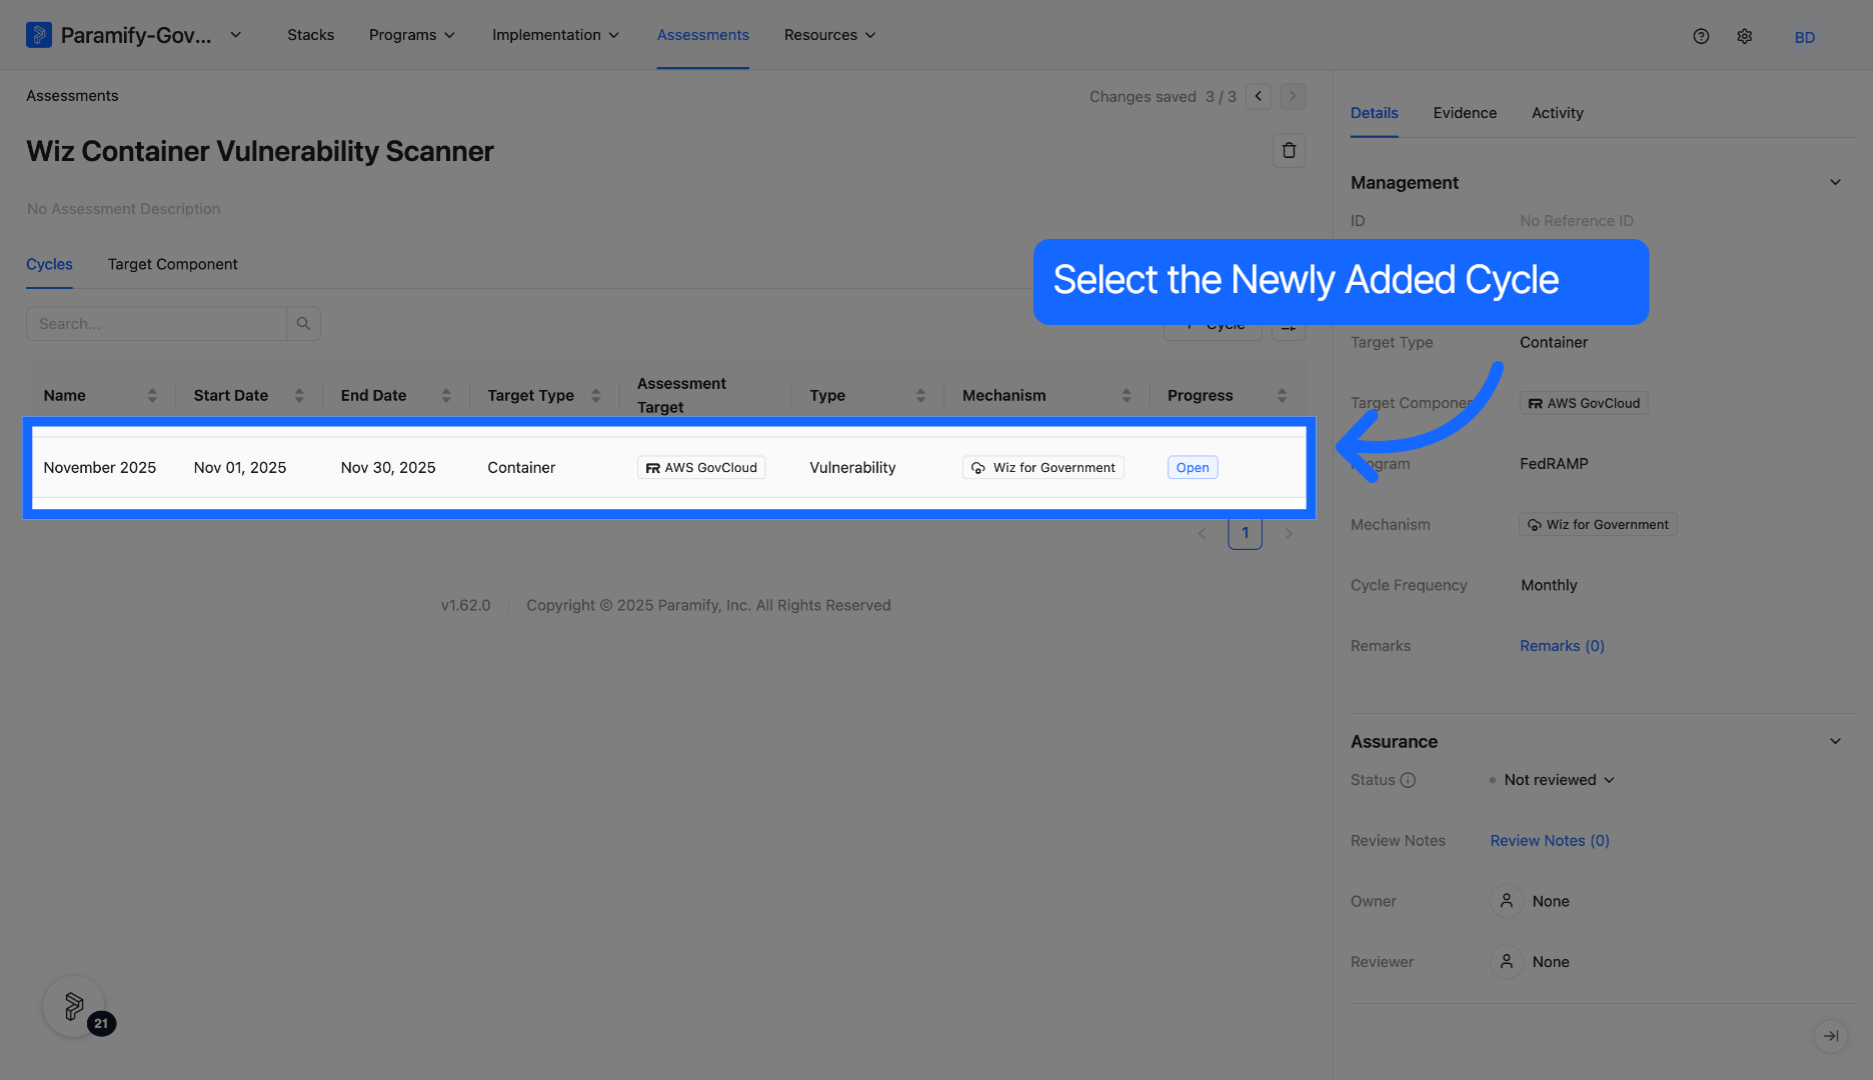
5. Open intake workflow
Click Intake Workflow to begin intake.
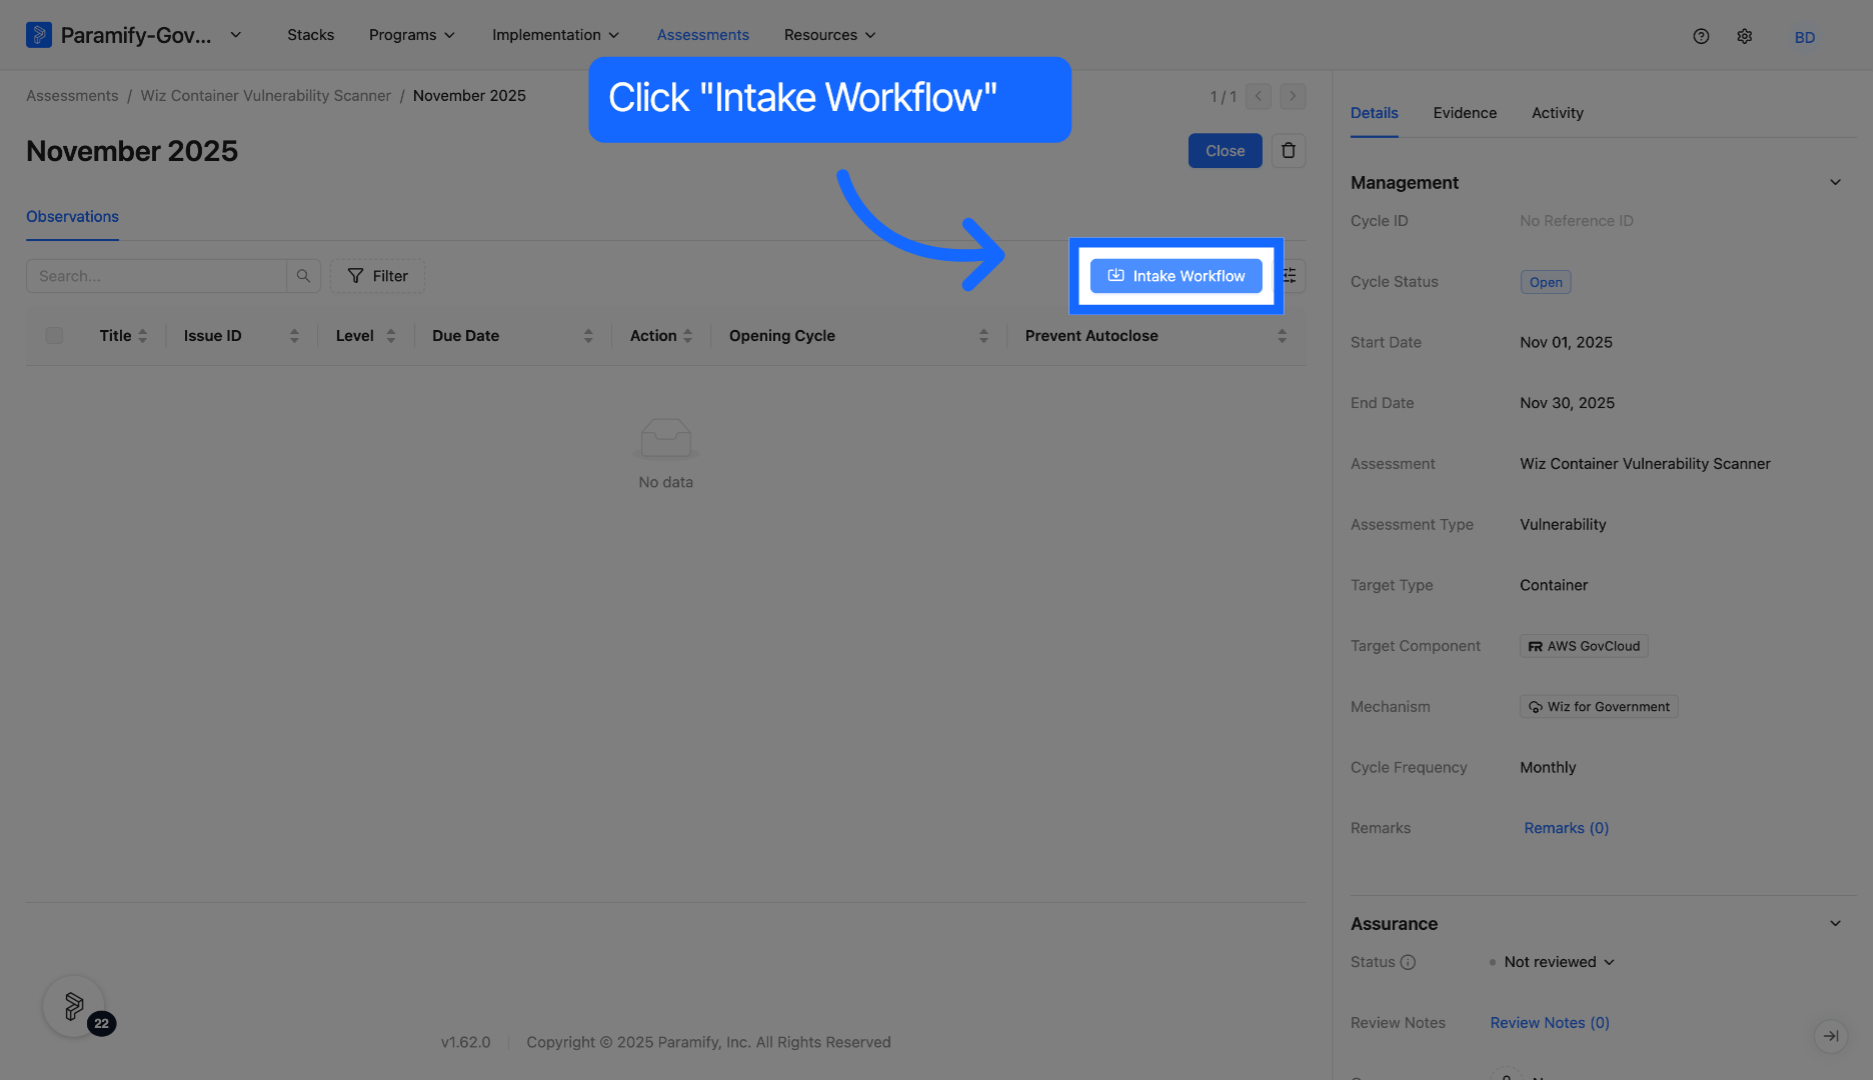
6. Access evidence section
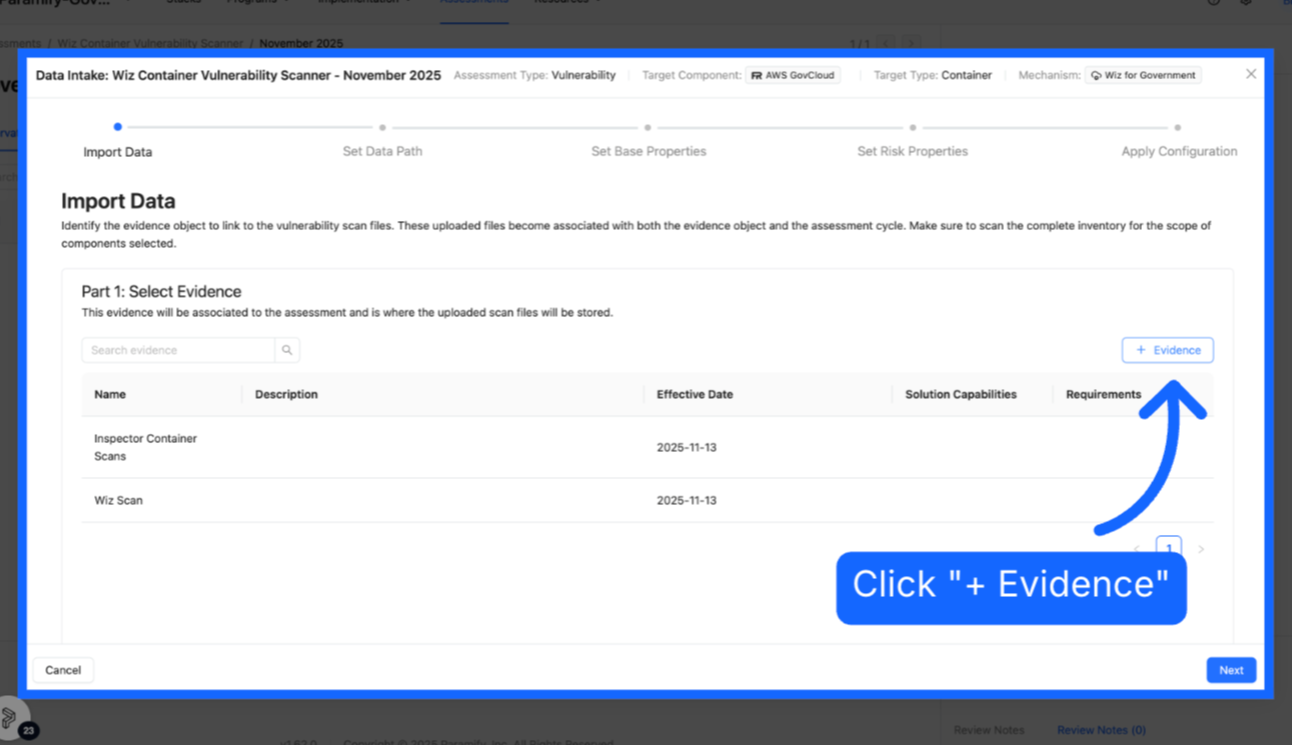
Click "+ Evidence" to begin adding files. Evidence sets can be conceptualized as the folders in which individual evidence artifacts reside.
7. Enter evidence name
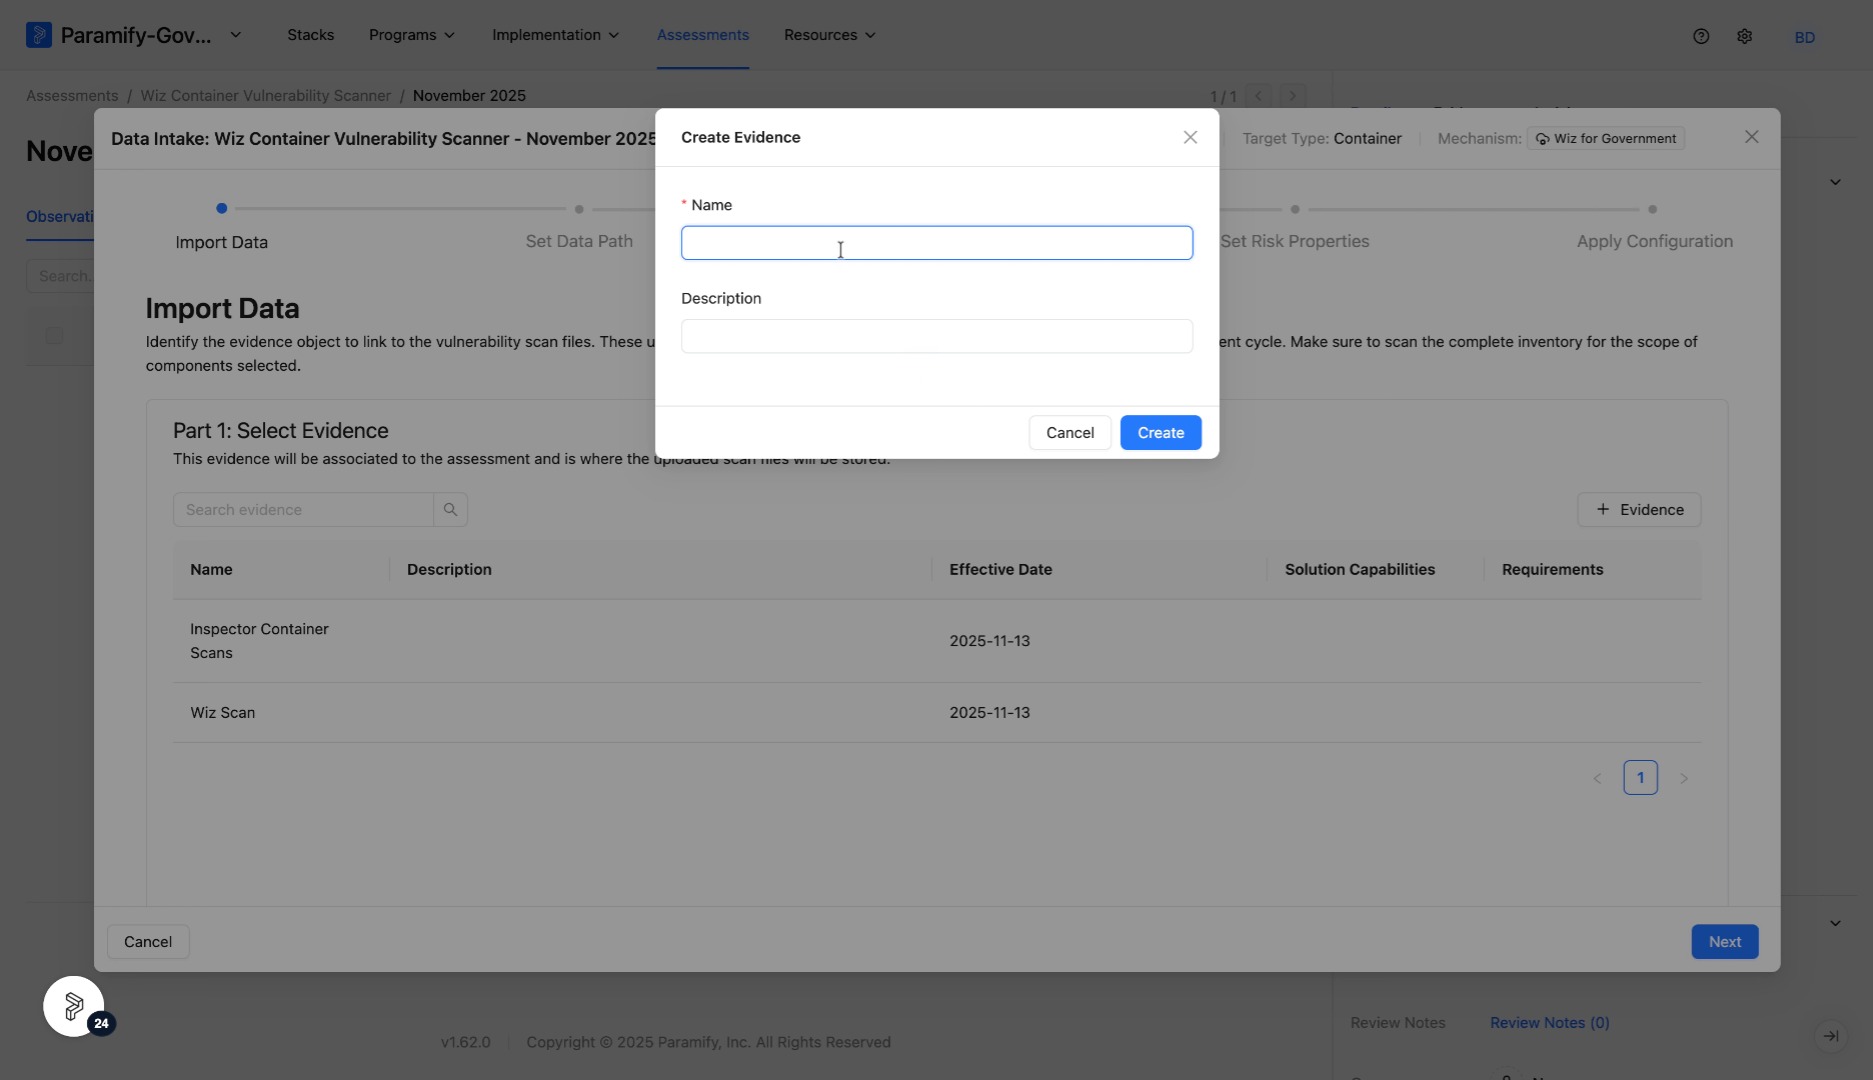
Fill in a descriptive name to identify the evidence set.
8. Create evidence set
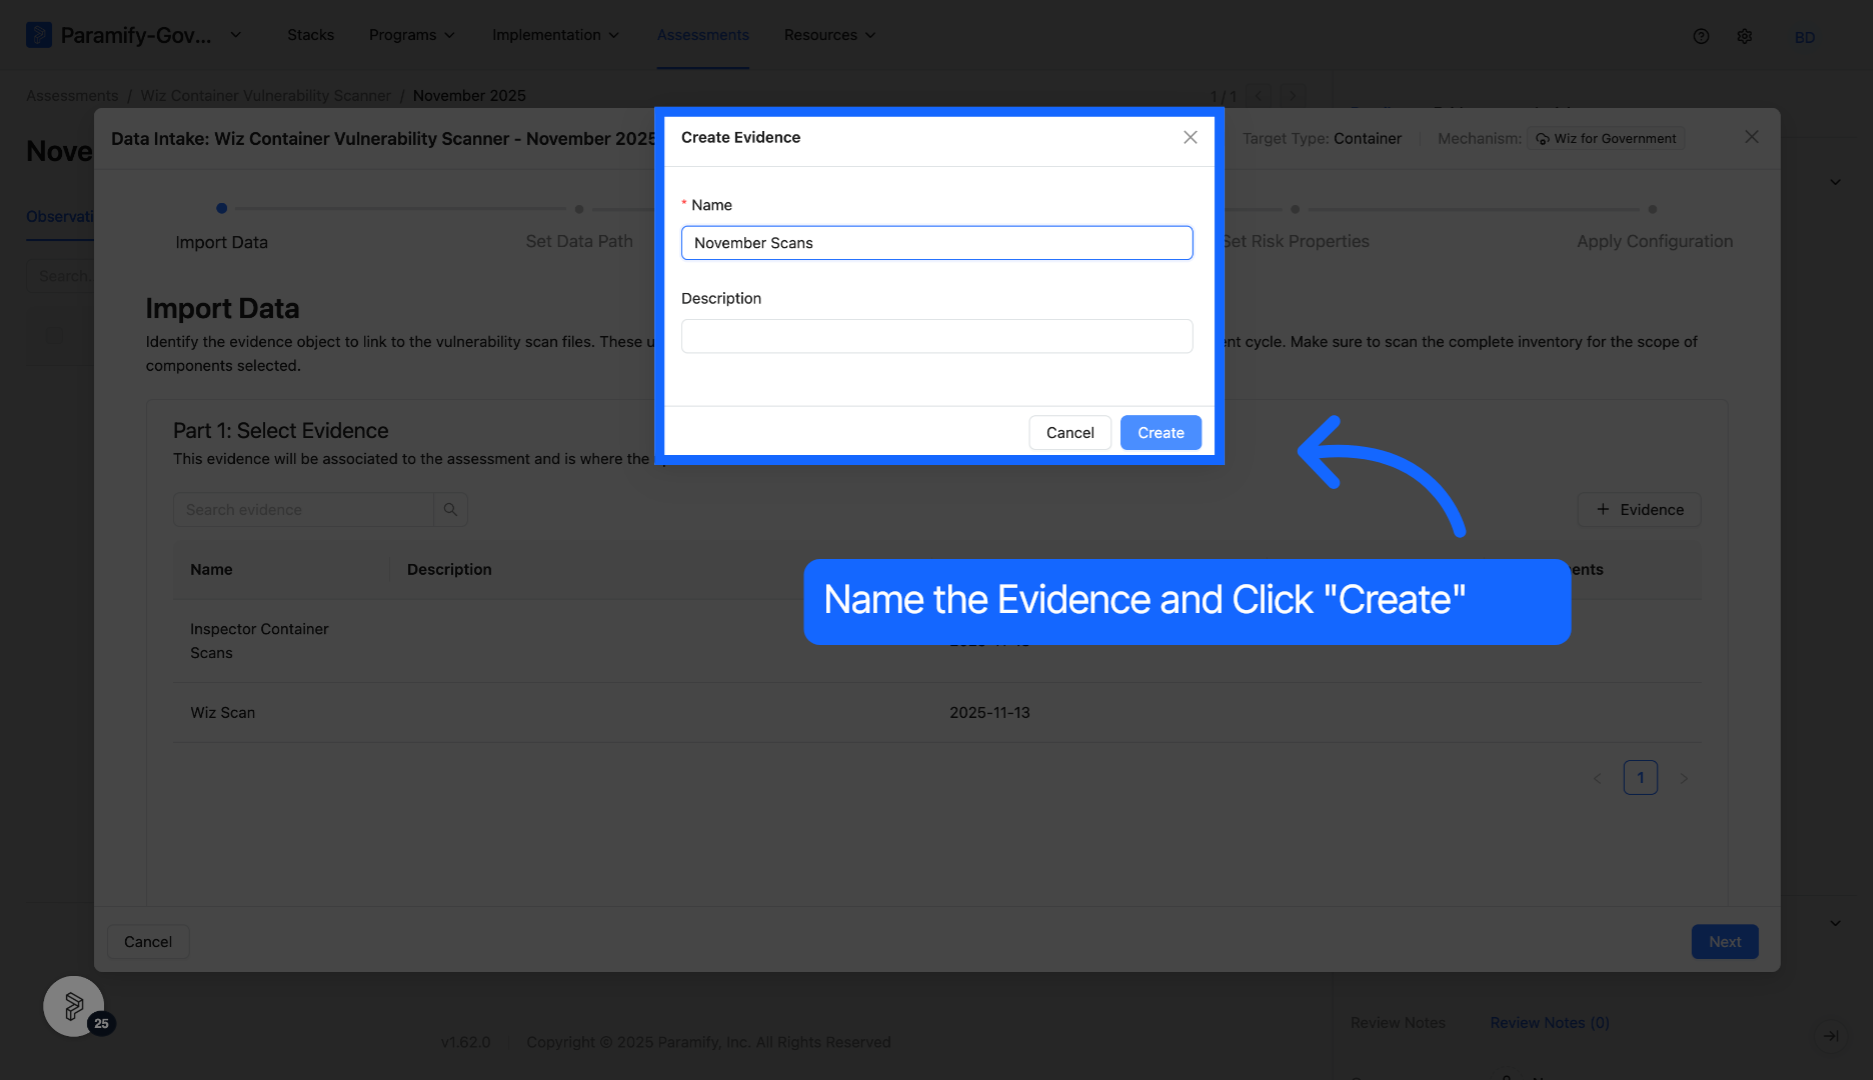
Click Create to save the evidence name.
9. Upload files
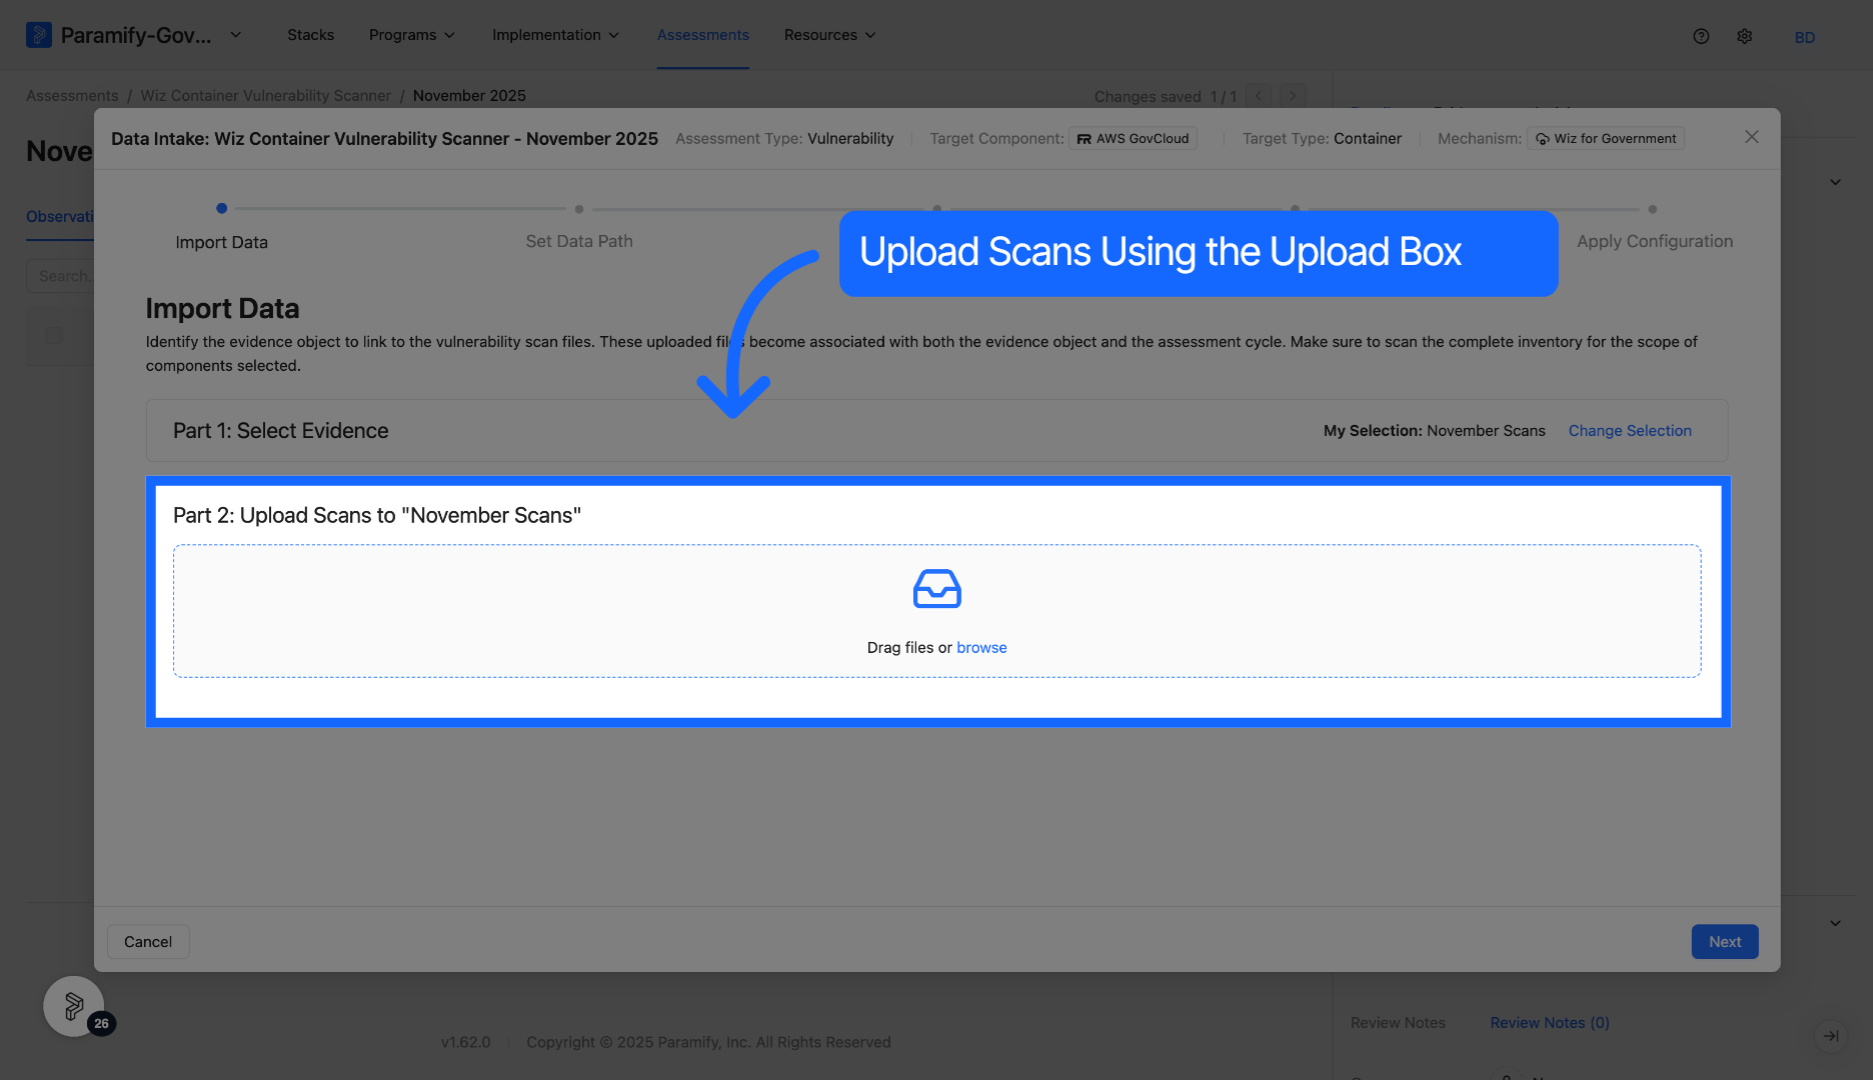
Drag files or browse to upload scans as evidence artifacts.
10. Proceed to next intake step
Click Next to continue.
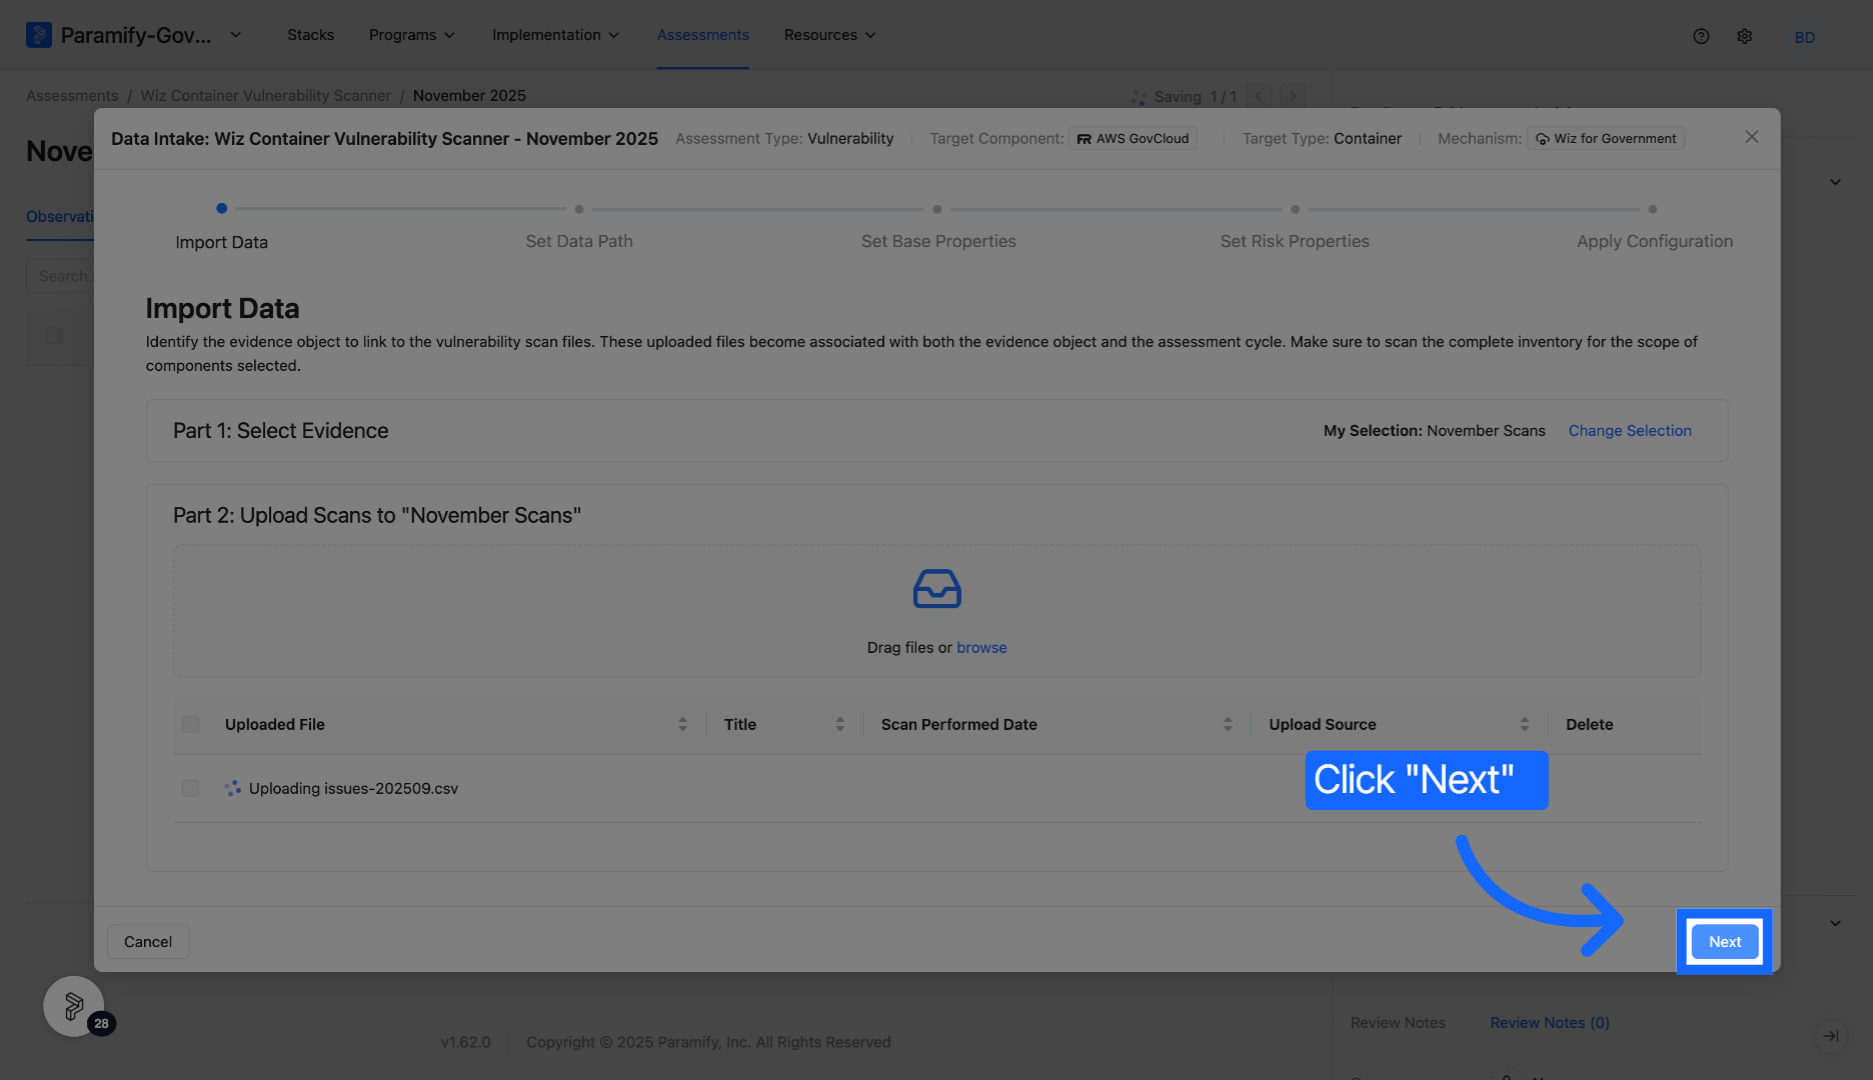
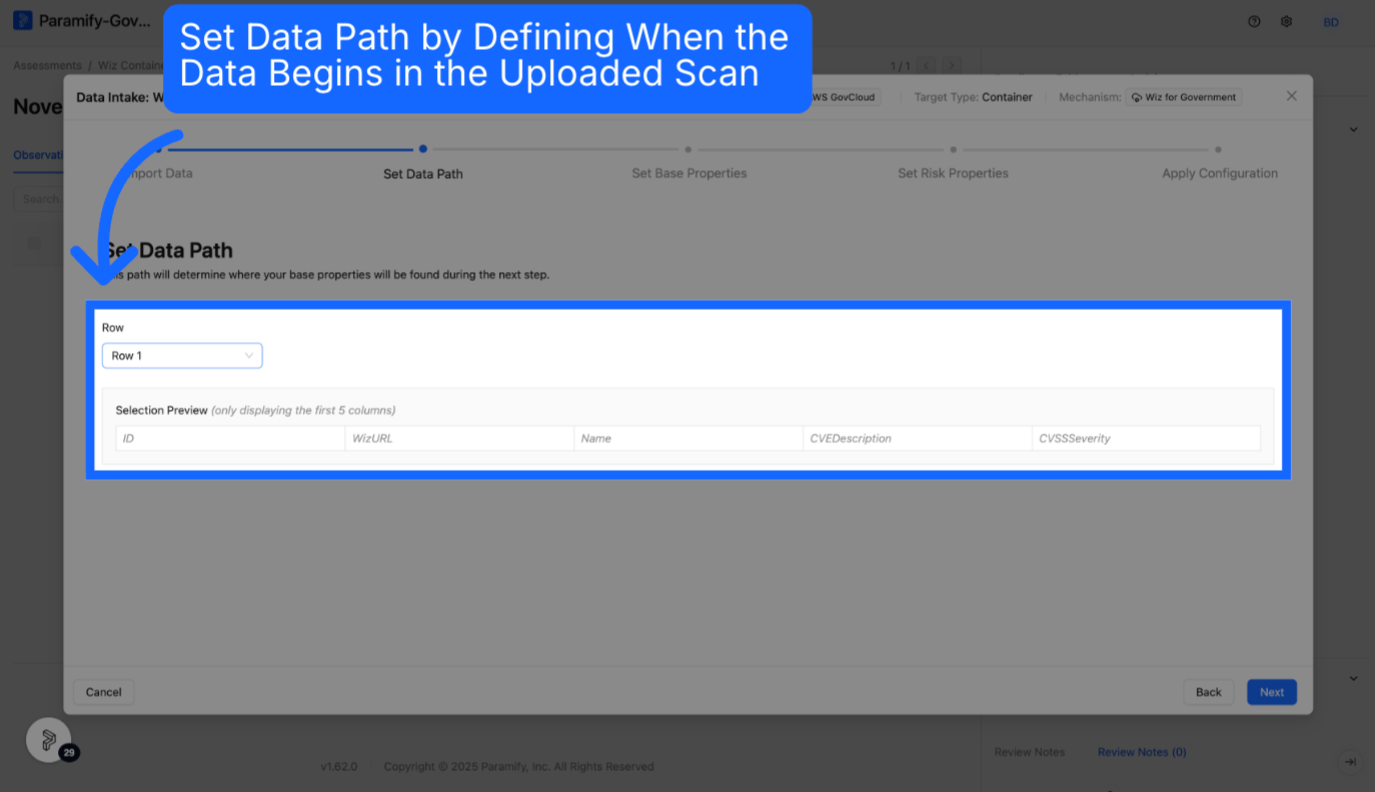
11. Set data path
Set the Data Path by defining where data begins in the file.
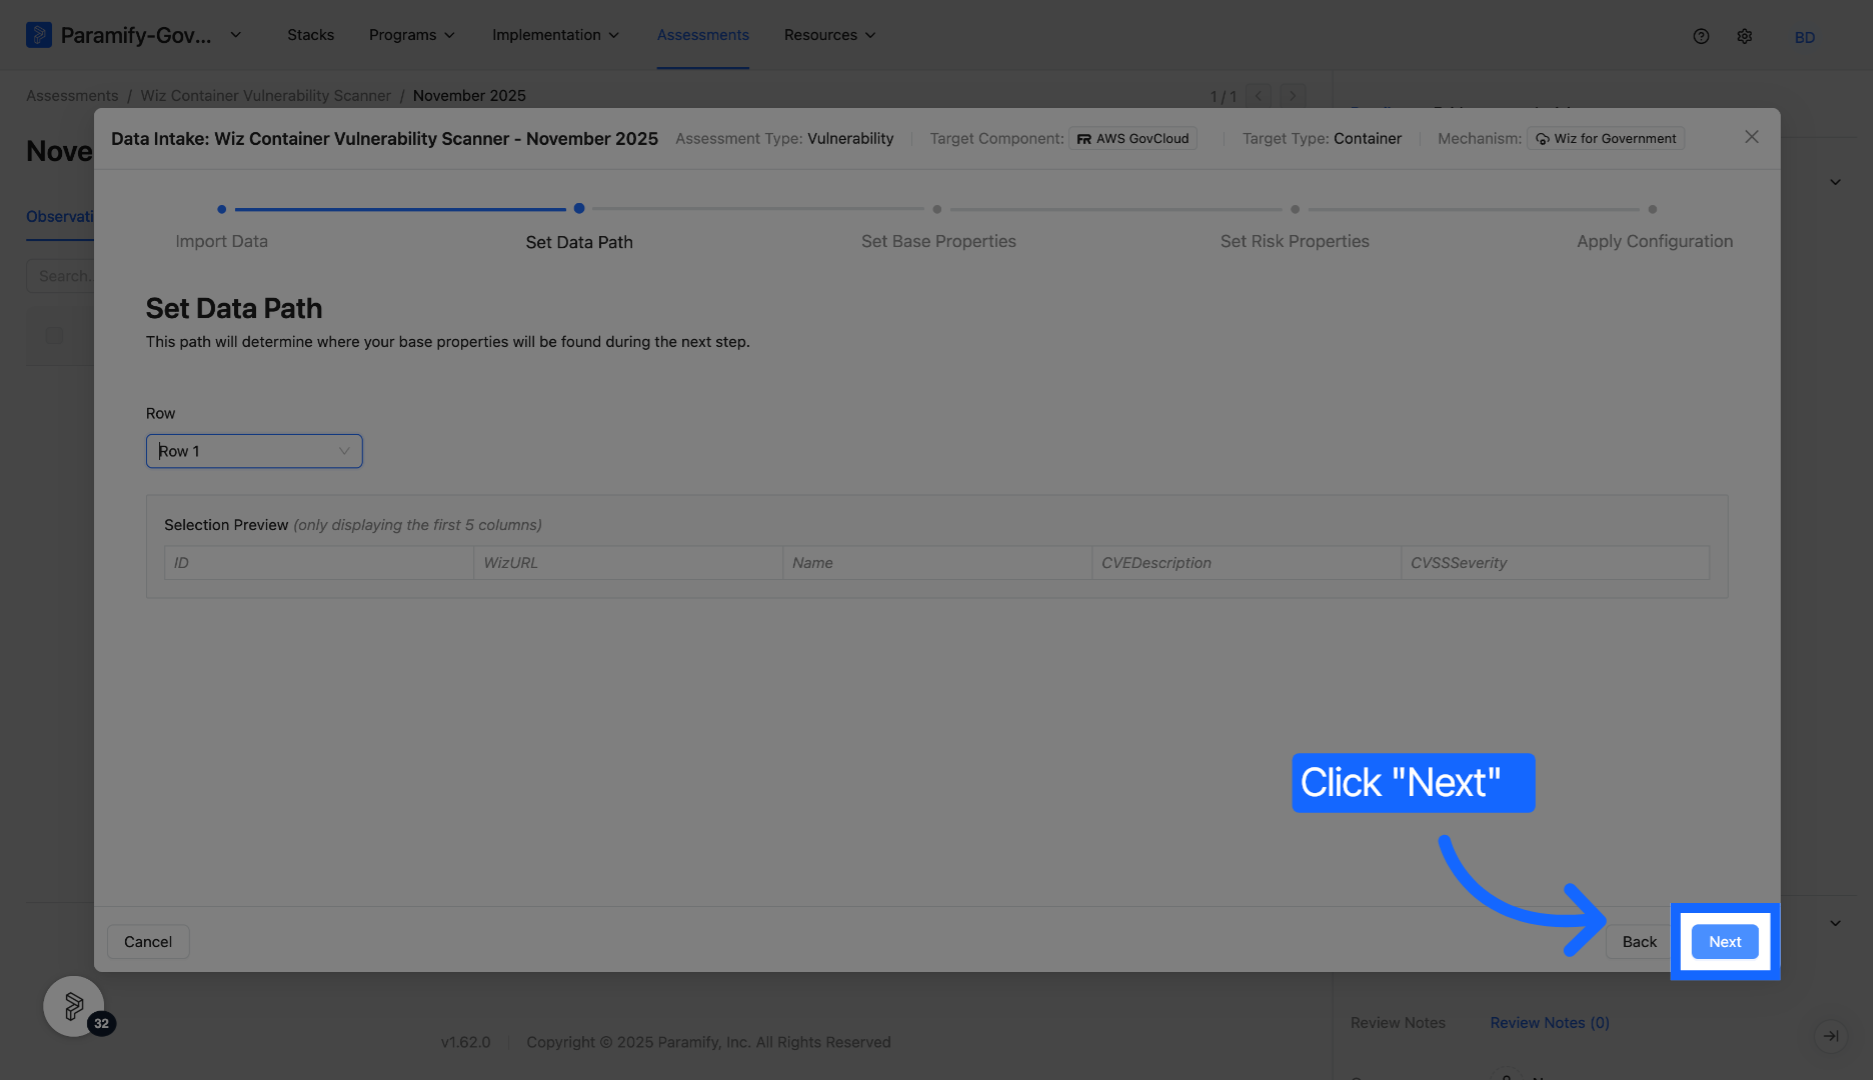
12. Continue to next step
Click Next to proceed to the next section.
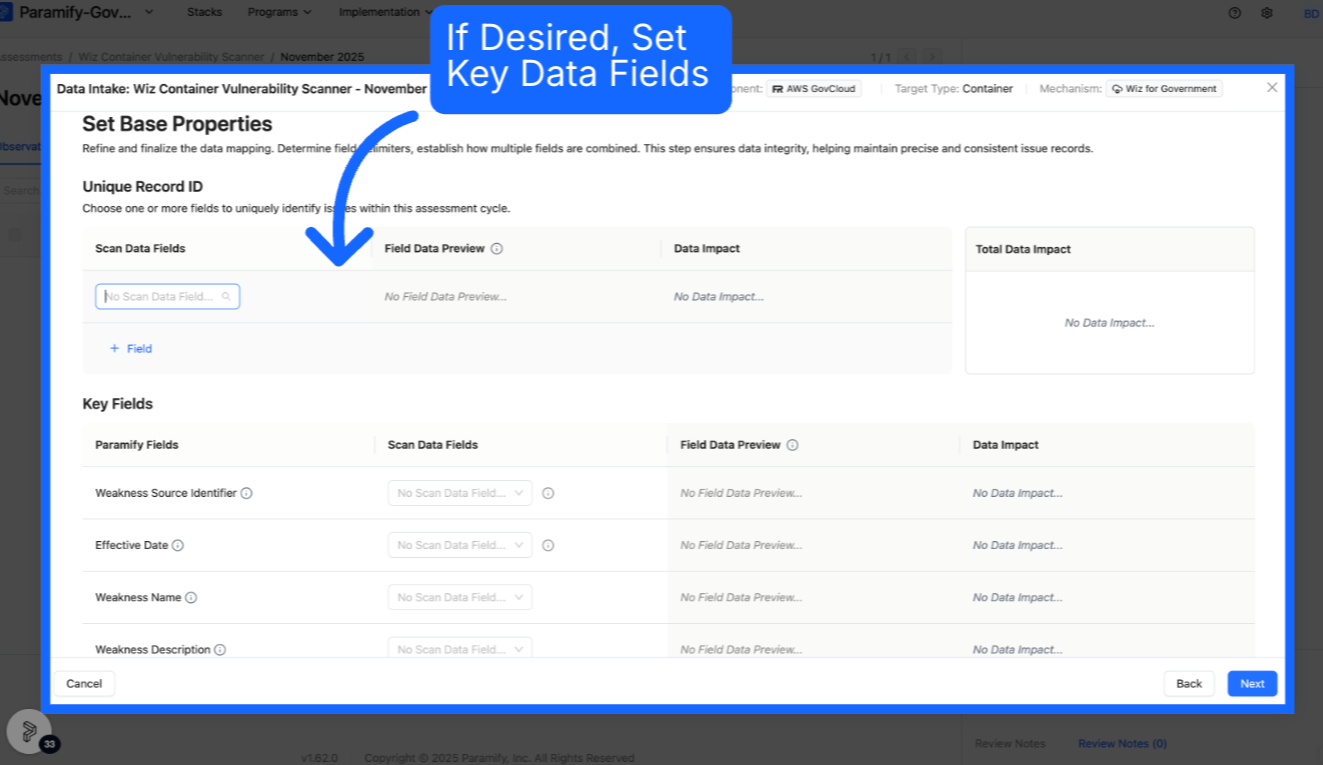
13. Set key fields
Assign one or more Unique Record IDs and key fields. Unique Record ID is especially important to map as Paramify uses the Unique Record ID field to track issue status across multiple cycles in an assessment.
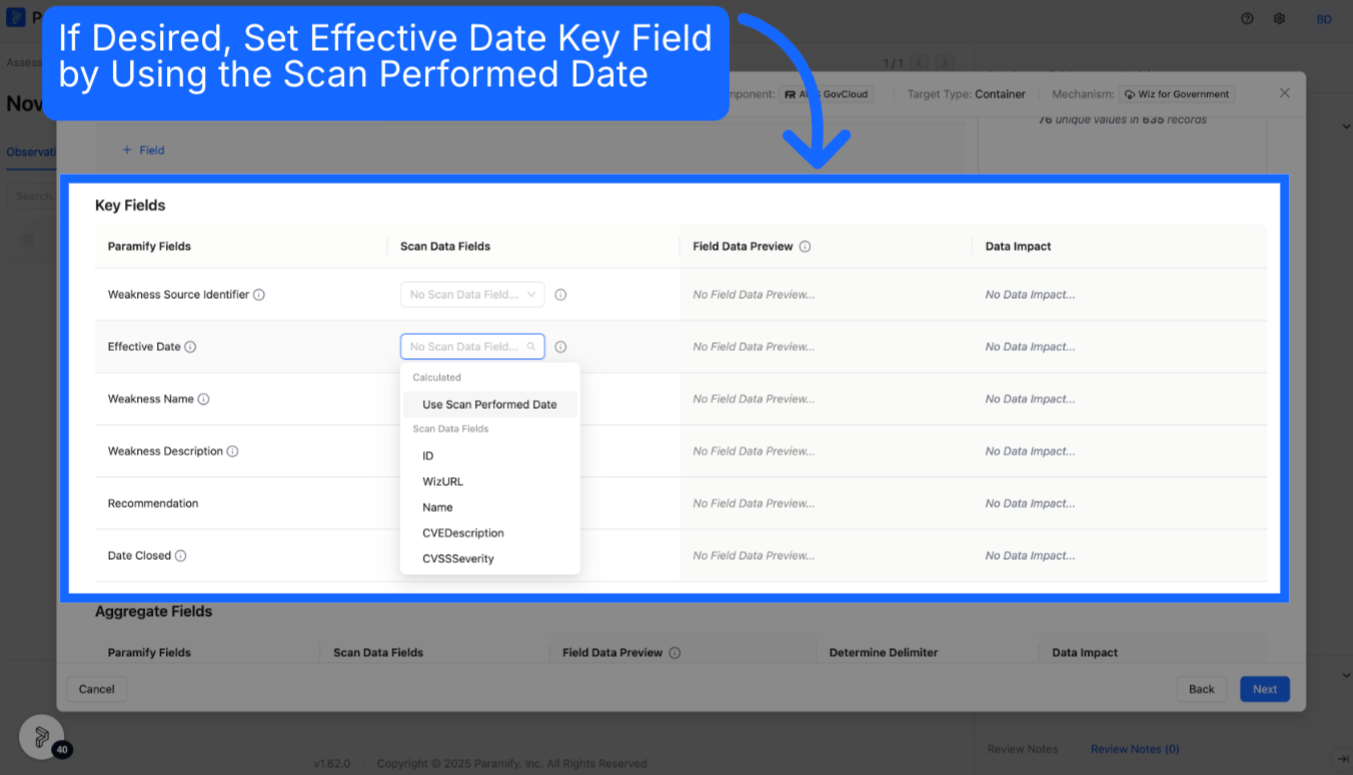
14. Set effective date
Set the Effective Date, which can be calculated from the date the scan was performed.
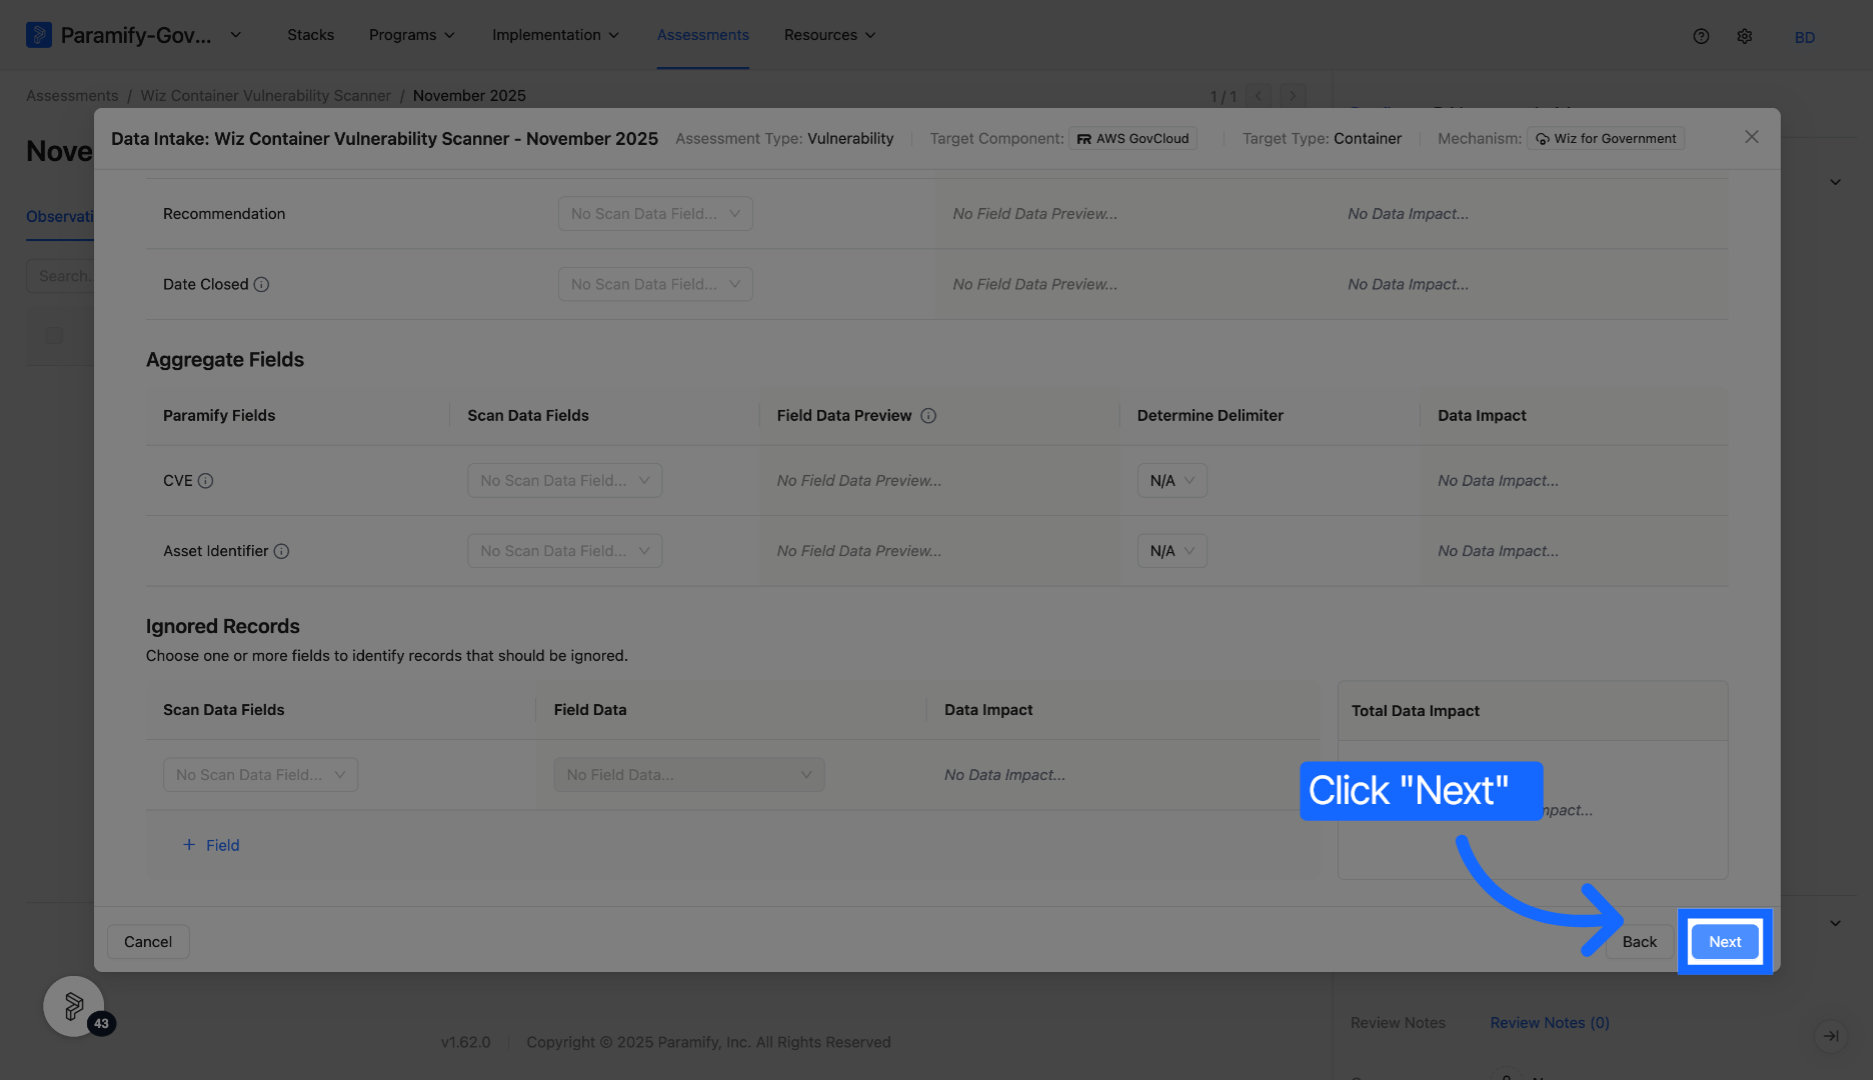
15. Proceed to next step
Click Next to move to the next step.
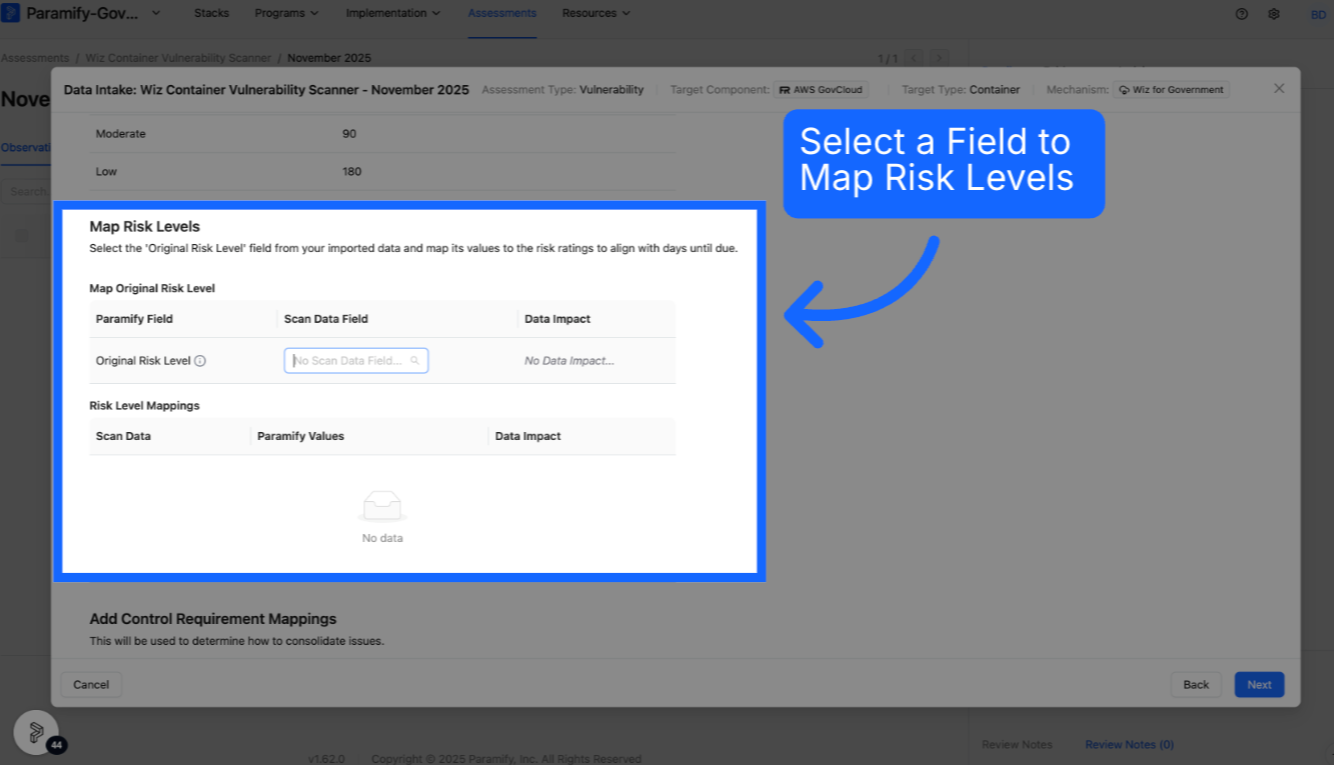
16. Map risk levels
Select the field from the uploaded file that contains the risk level.
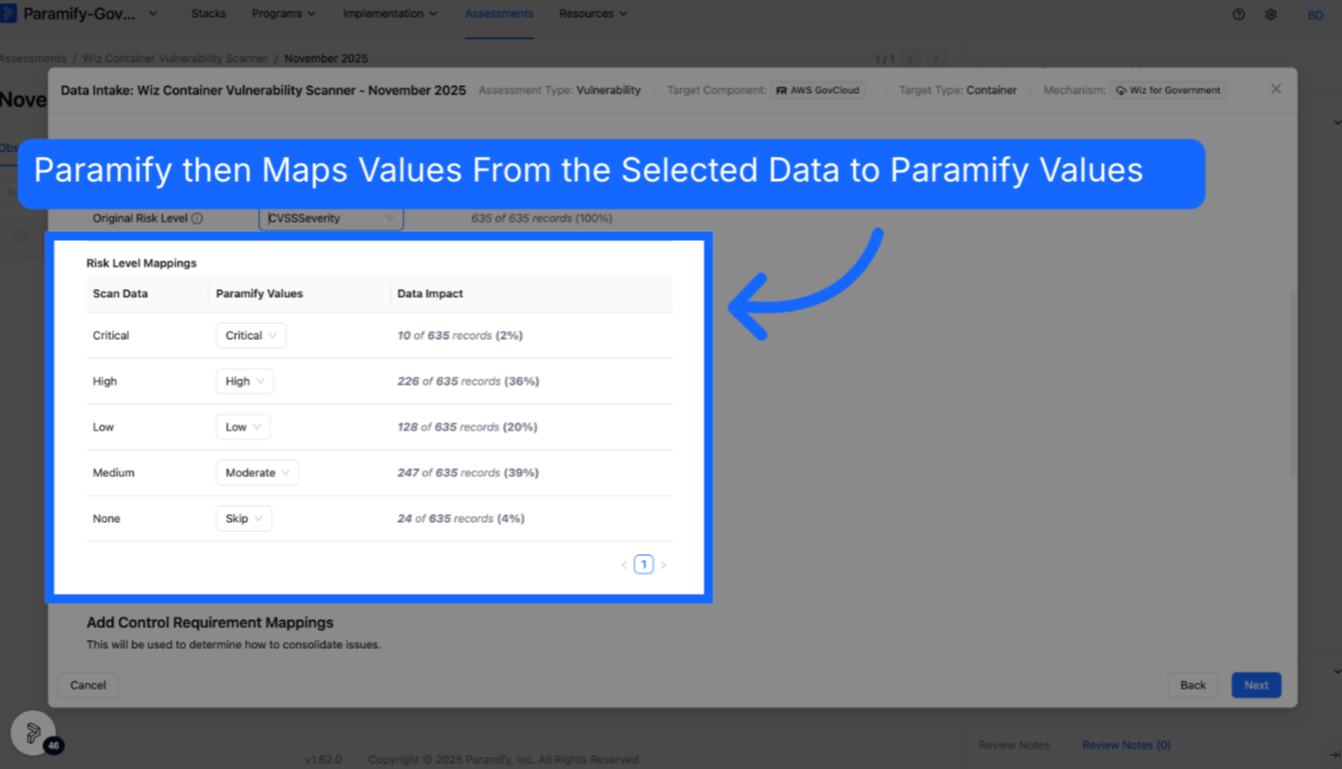
17. Review risk level mappings
Paramify maps values from the uploaded data to Paramify risk level values.
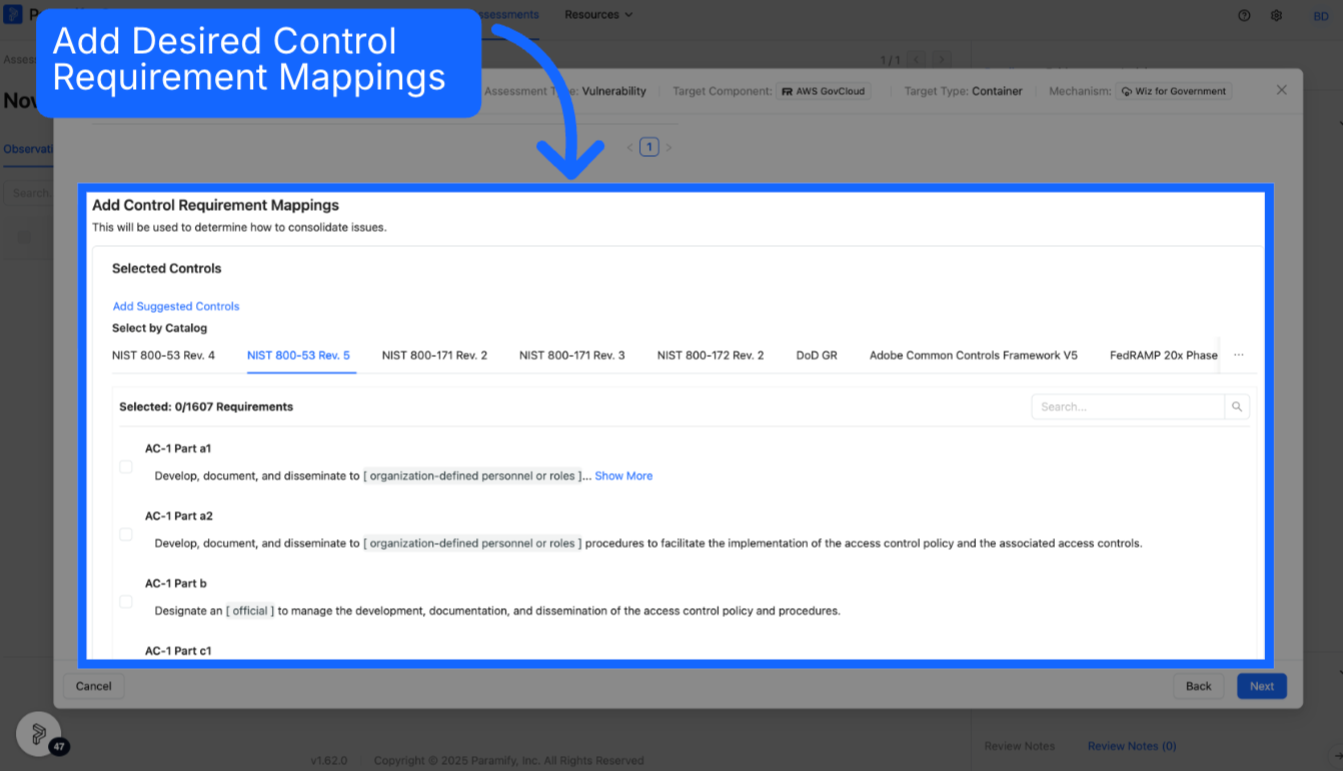
18. Add control requirement mappings
Optionally select additional Control Requirement Mappings.
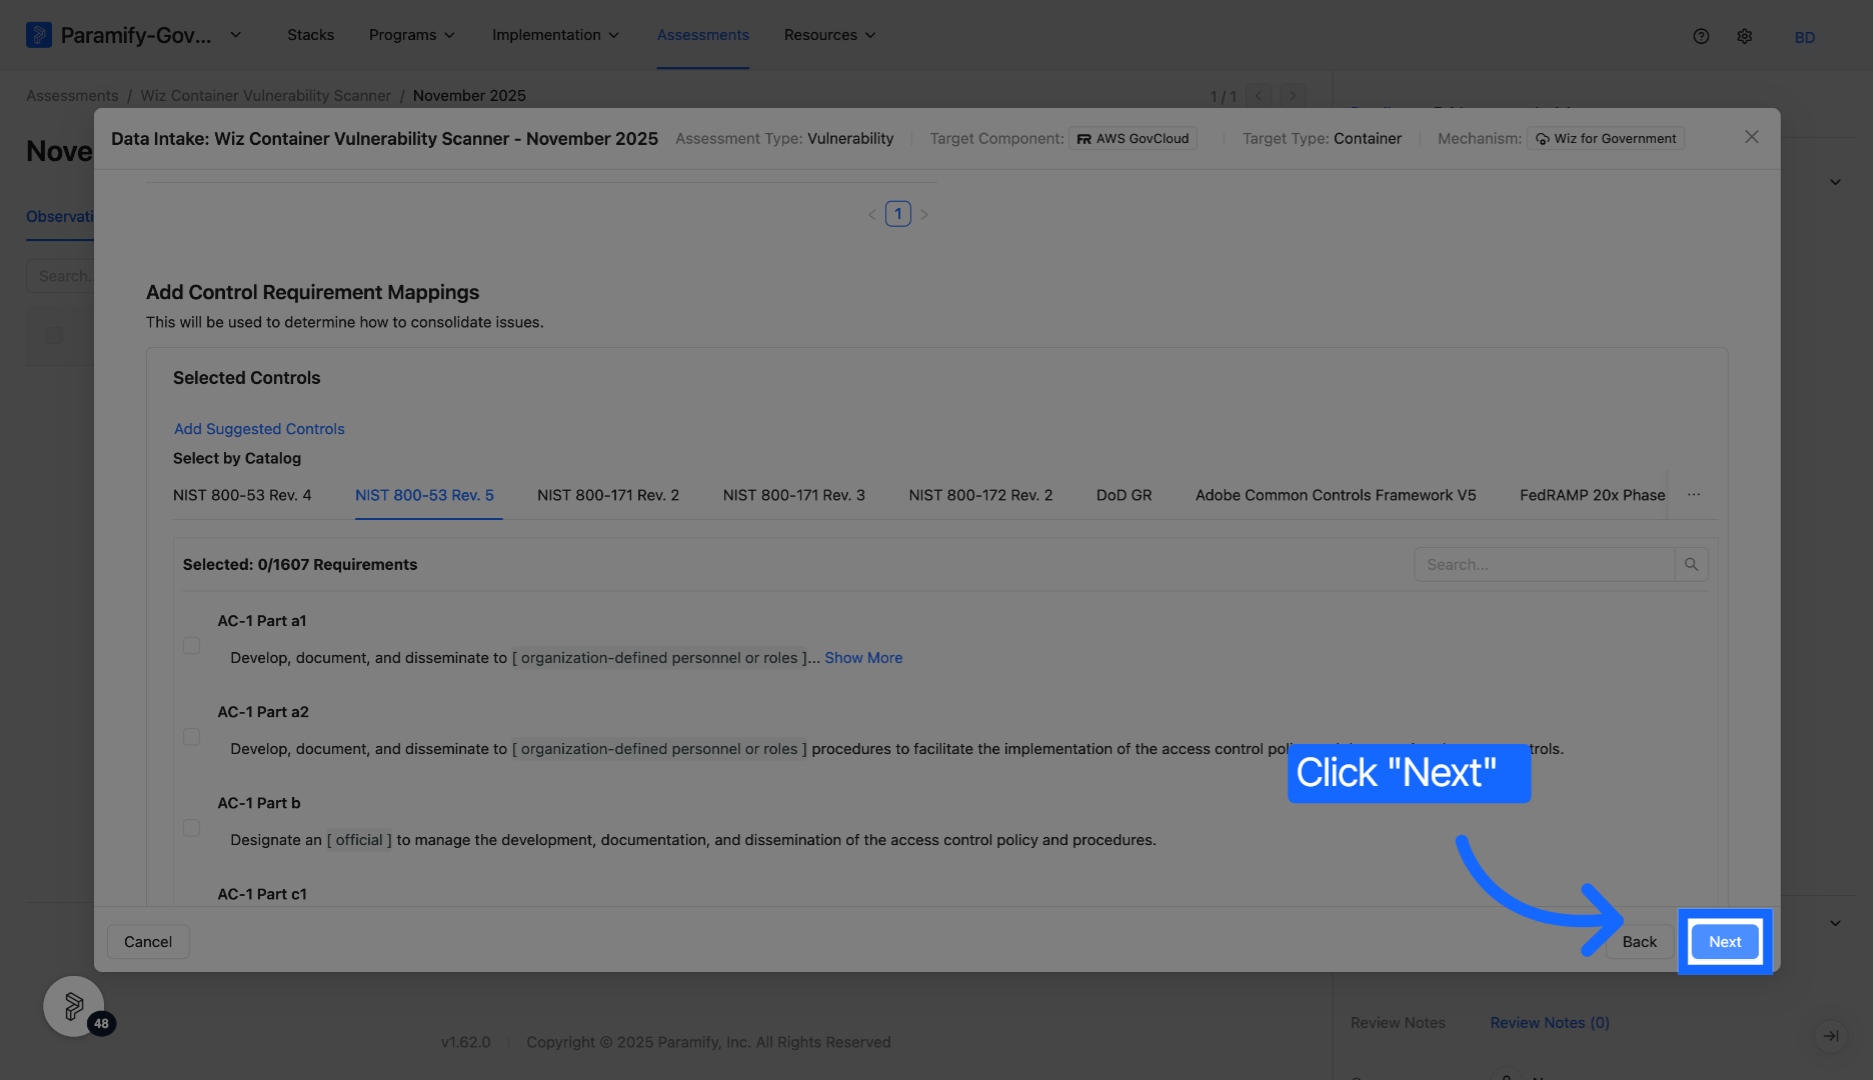
19. Proceed to next step
Click Next to continue.
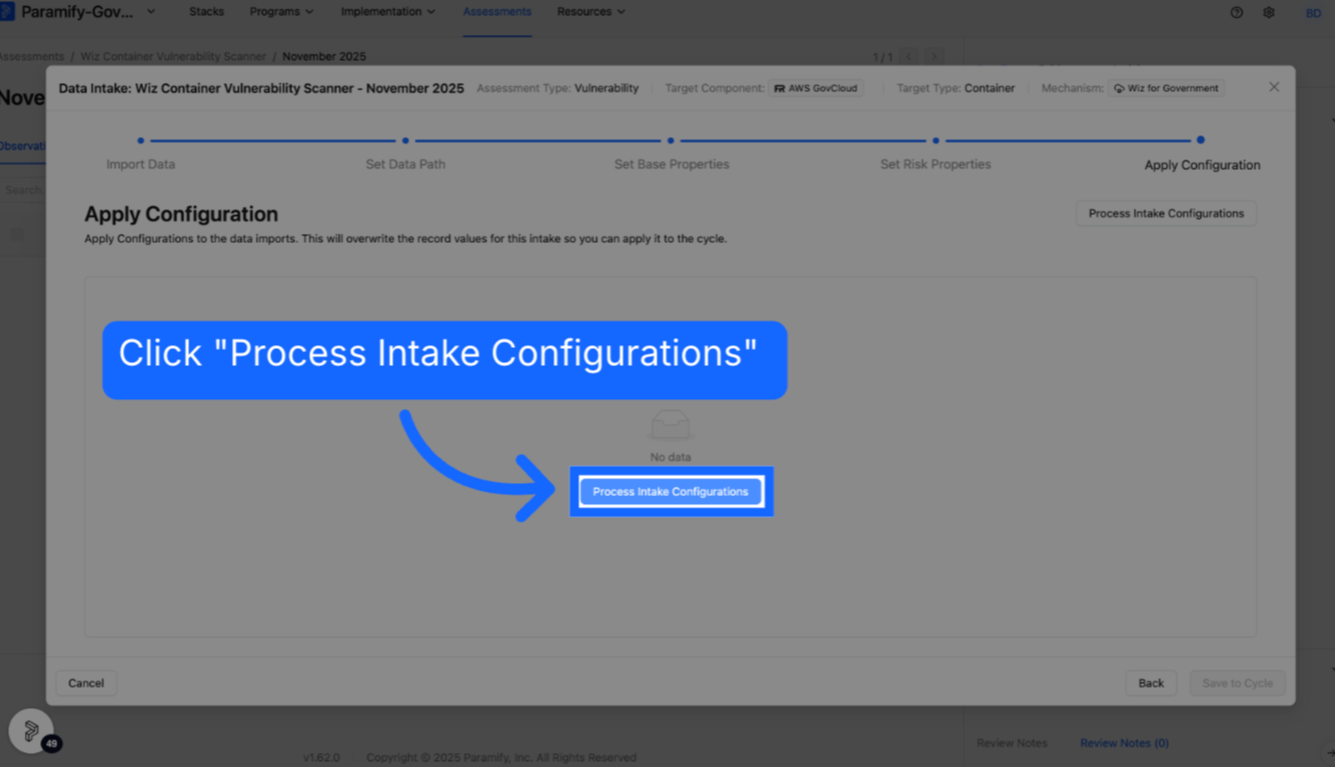
20. Process intake configurations
Click "Process Intake Configurations" to intake the uploaded data and configurations.
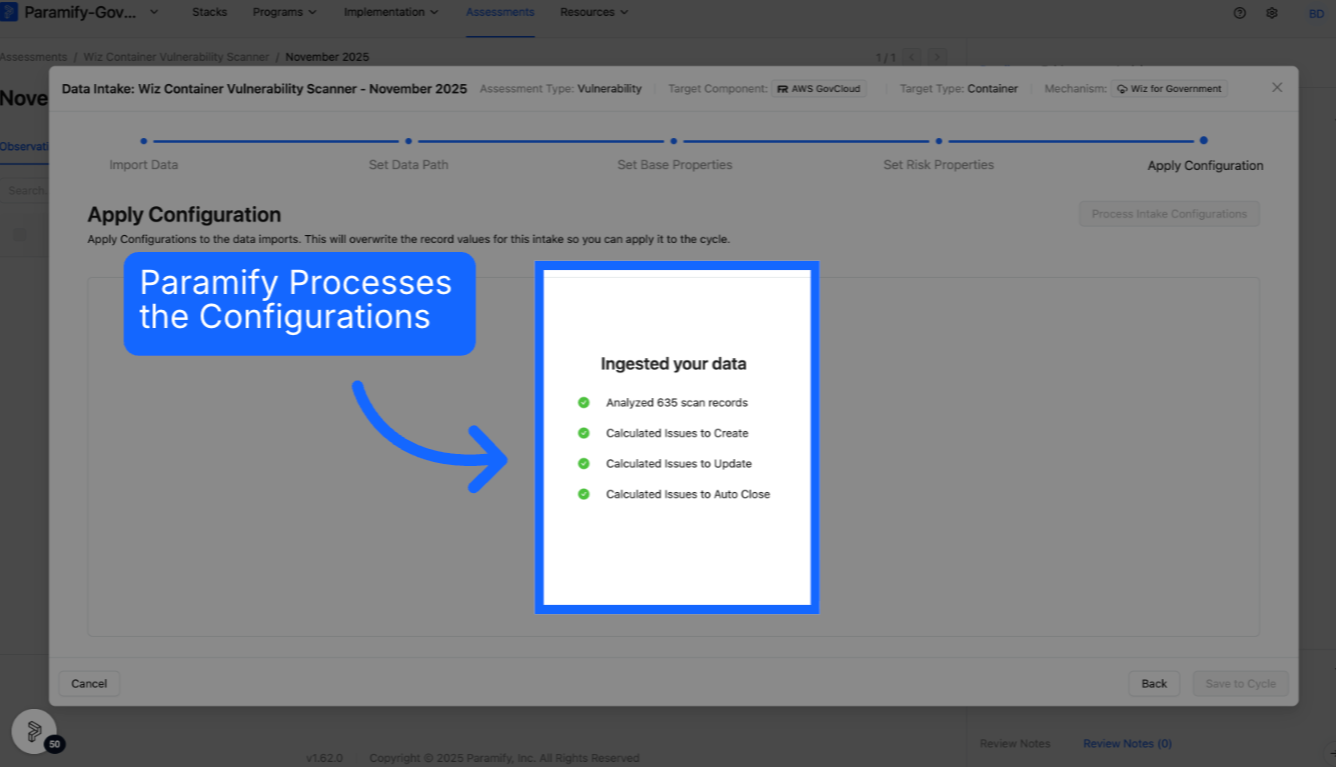
21. Process the data
Paramify processes the uploaded data and configurations.
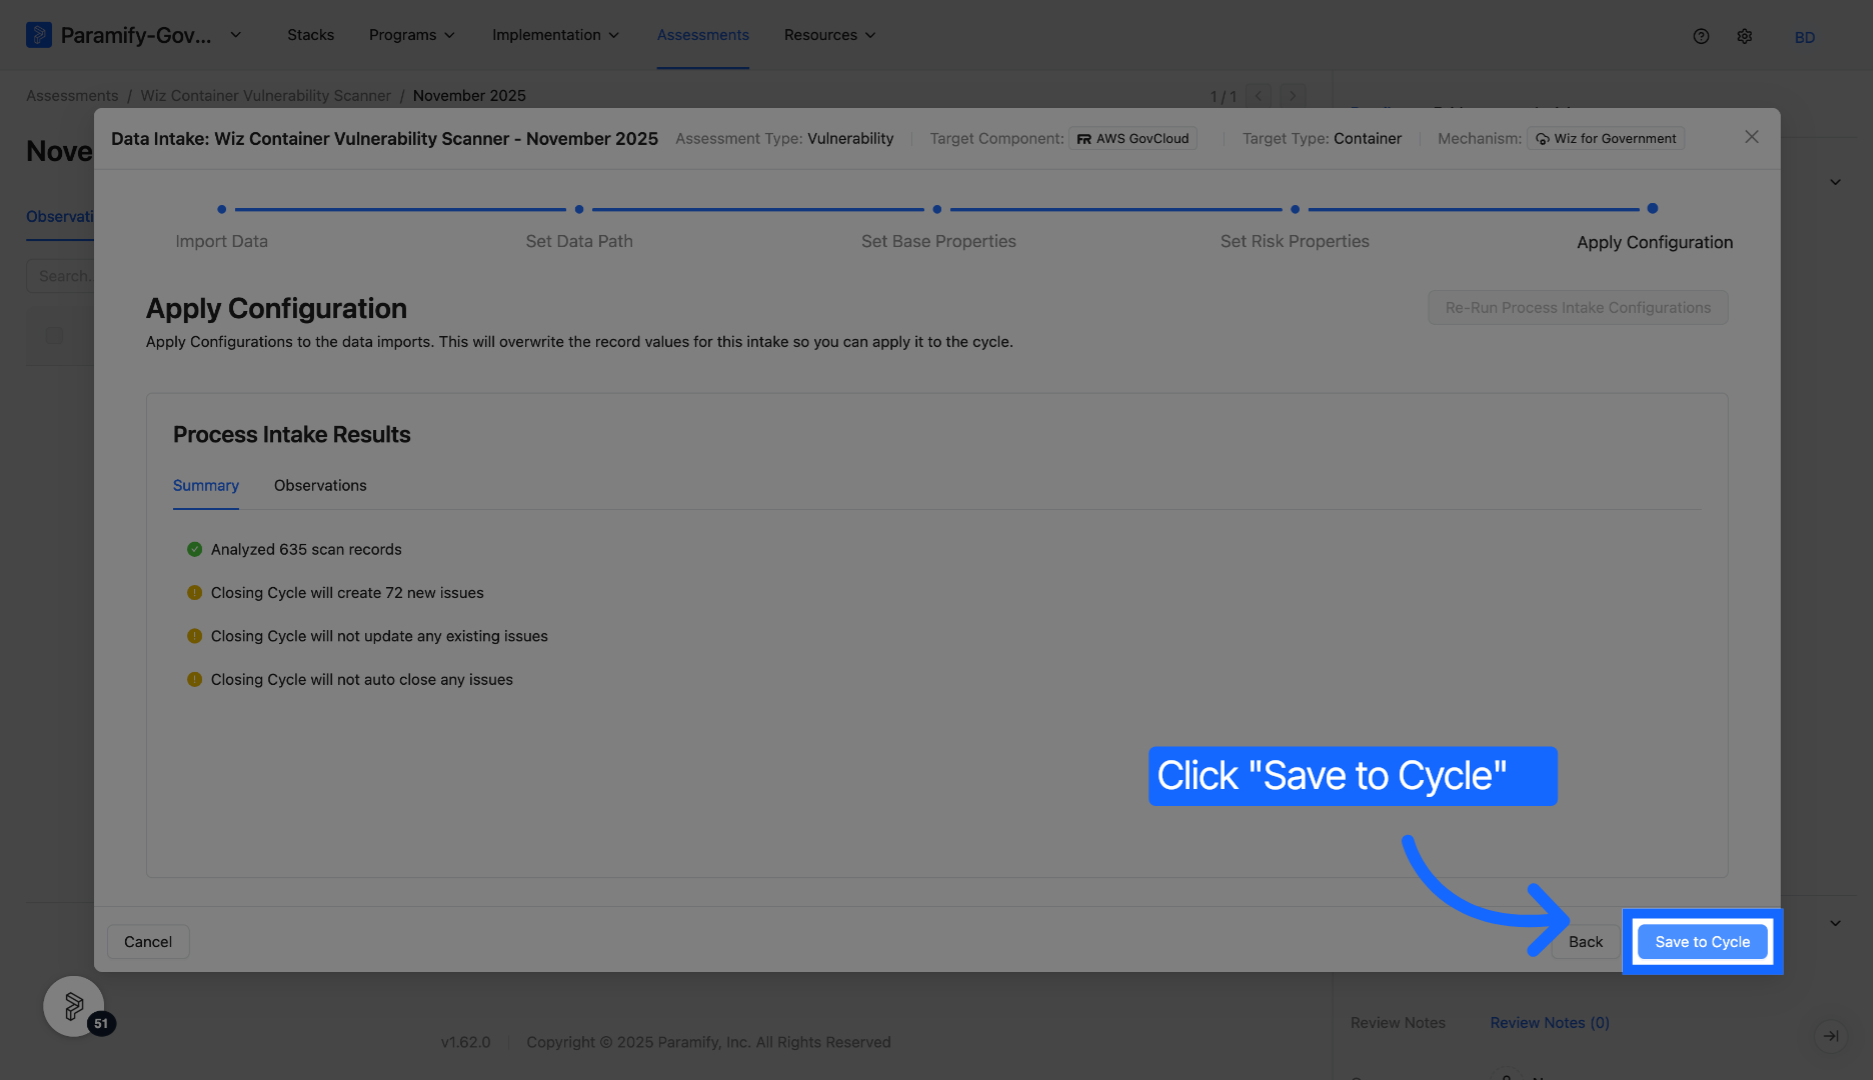
22. Save cycle configuration
Click Save to Cycle to store your data and configurations.
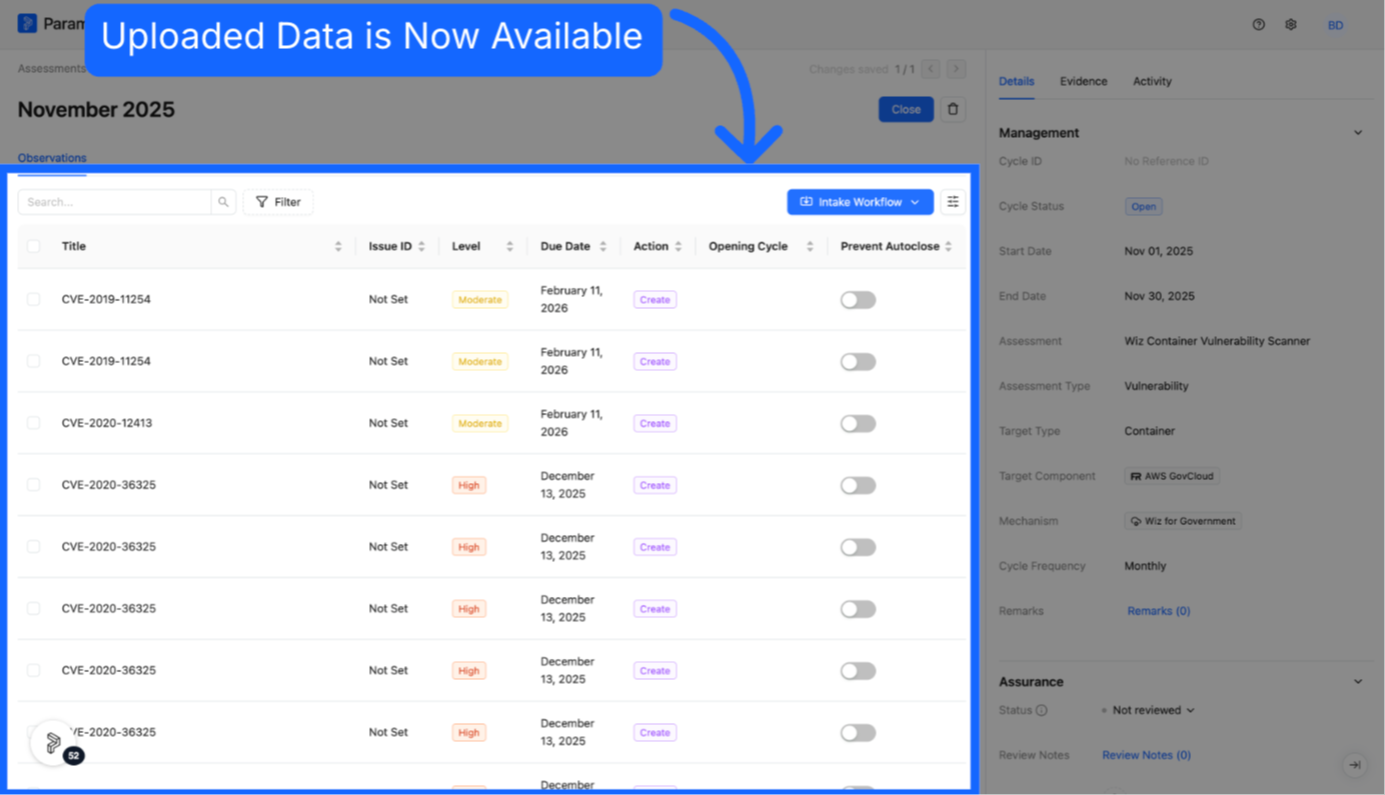
23. View issues
View the Issues (POAMs) generated from the cycle. You can also access these anytime from Monitoring > Issues in the left navigation menu.
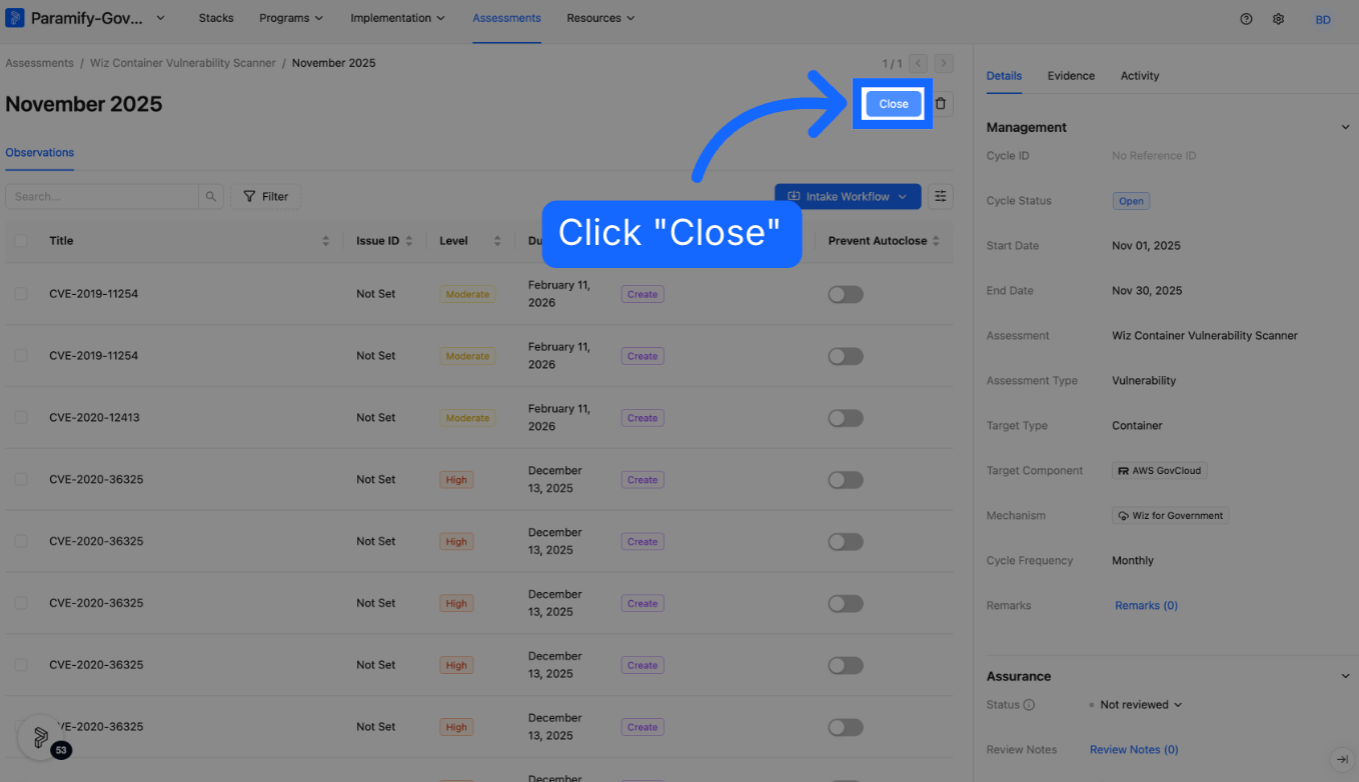
24. Close cycle
When ready, close the cycle by clicking the "Close" button.
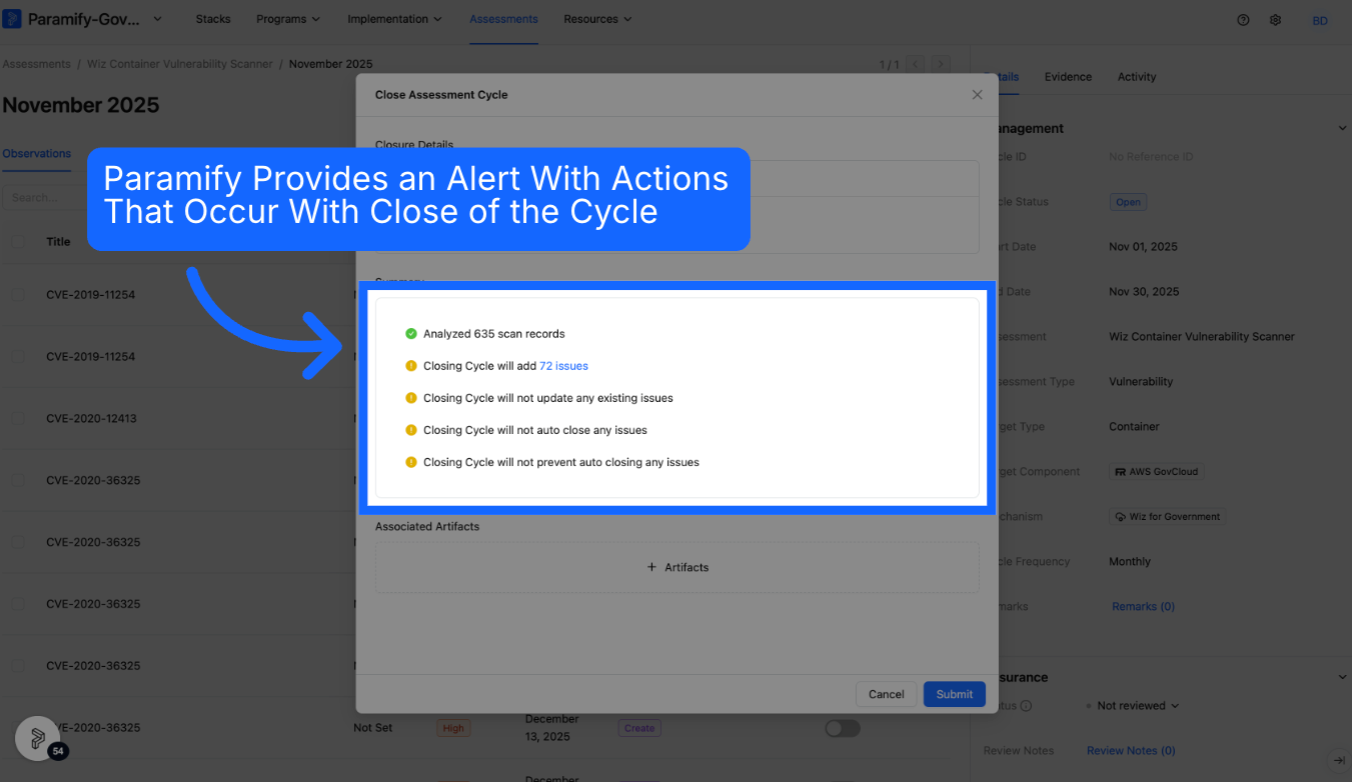
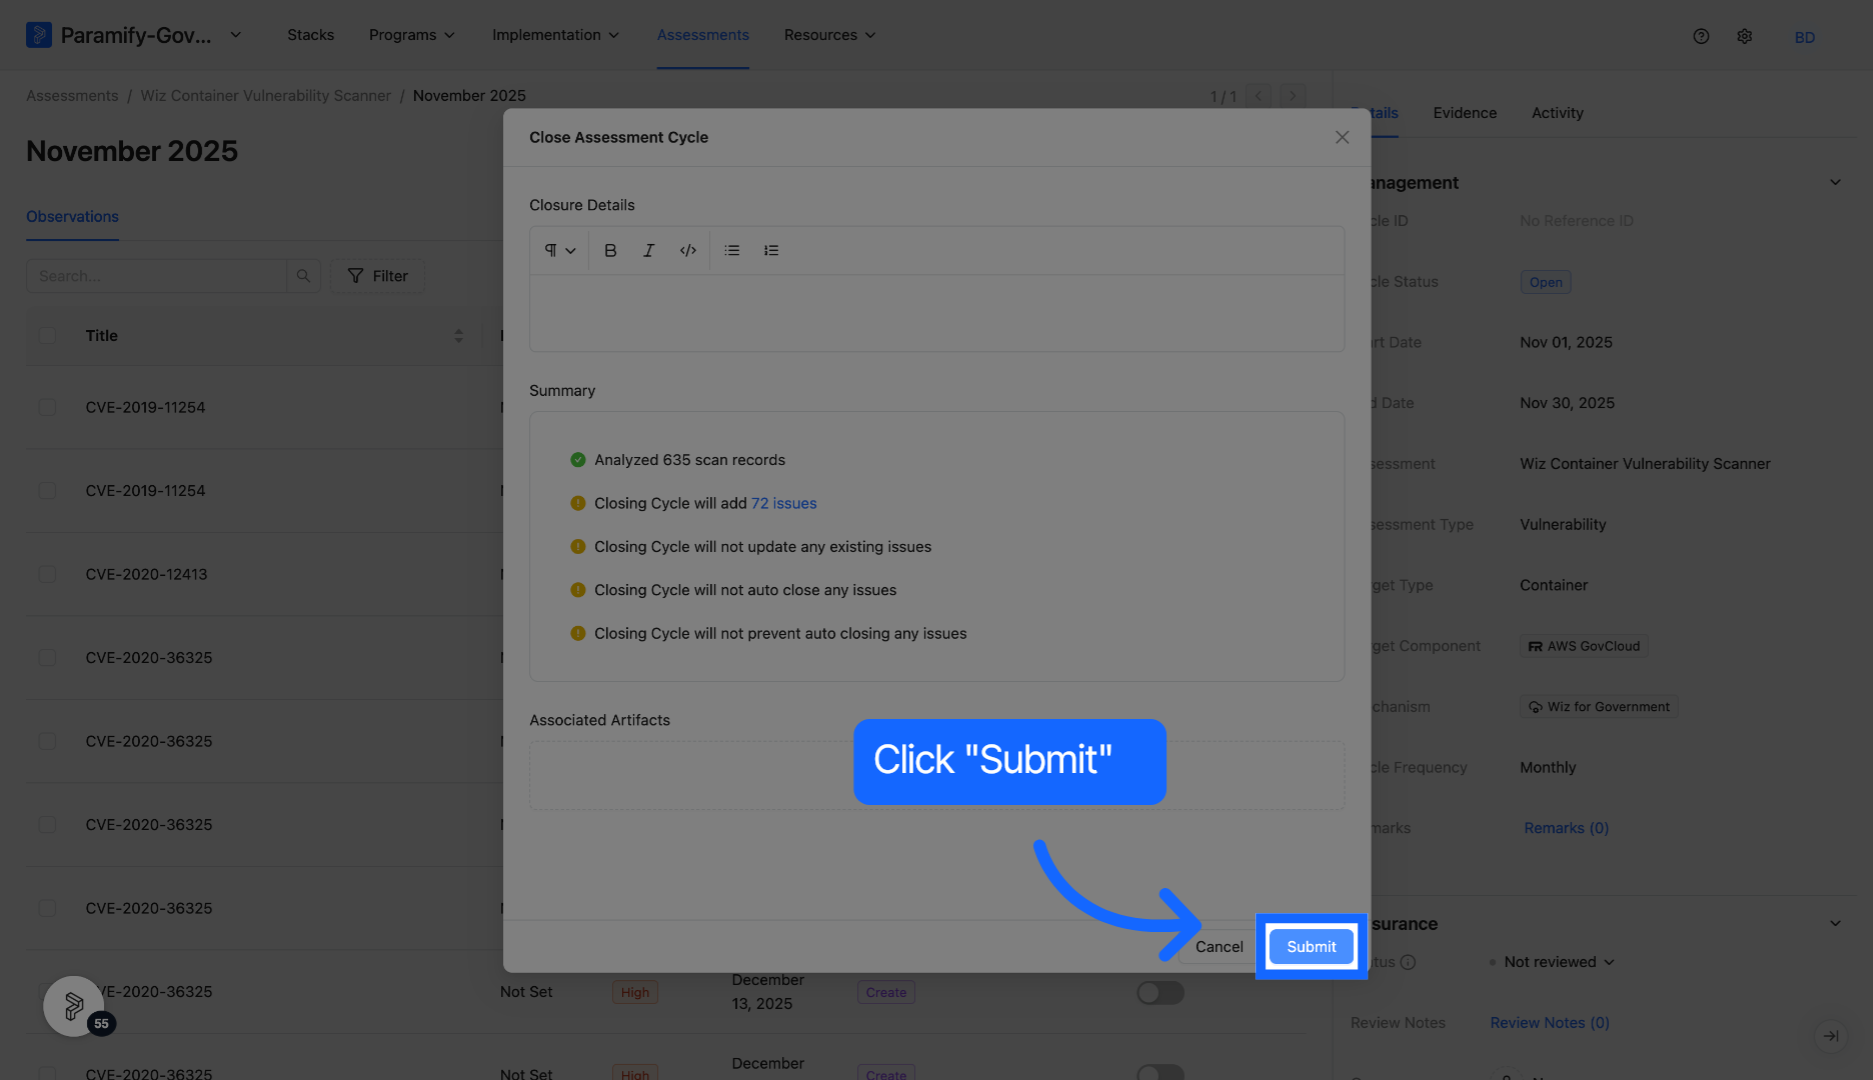
25. Review closing cycle summary
Paramify displays a summary of all actions that will occur when the cycle is closed.
26. Confirm cycle close
Click Submit to finalize the closure of the cycle.
You have successfully uploaded data and created a cycle within an assessment in Paramify.
Comments
0 comments
Please sign in to leave a comment.