
Program content is a key part of Paramify. This tutorial will walk through what information is available within the program content menu. Navigate to the Program Content page within your program by going to Overlays > Content.
Information can be accessed directly through the Program Content page using the buttons on the right as seen in the screenshot below, as well as clicked through using the arrows designated in this guide.
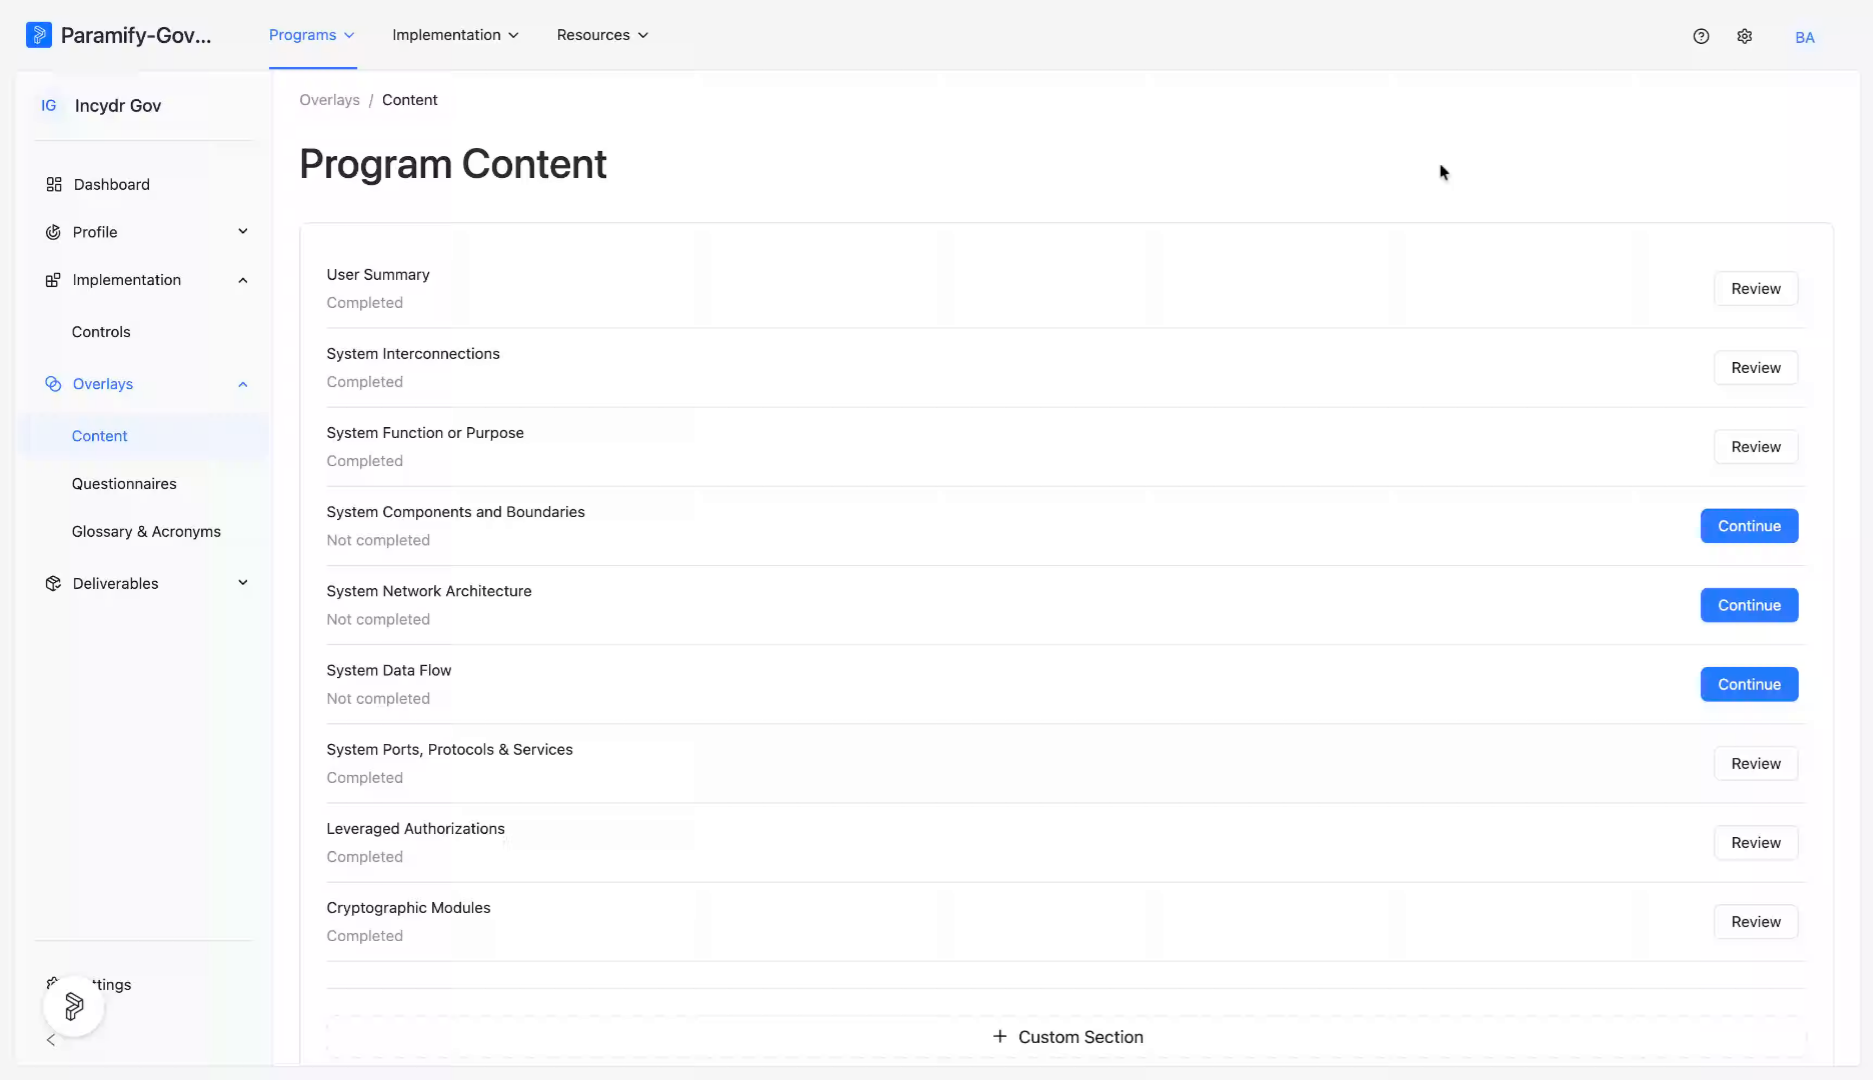
Click the Review tab to begin accessing content summaries.
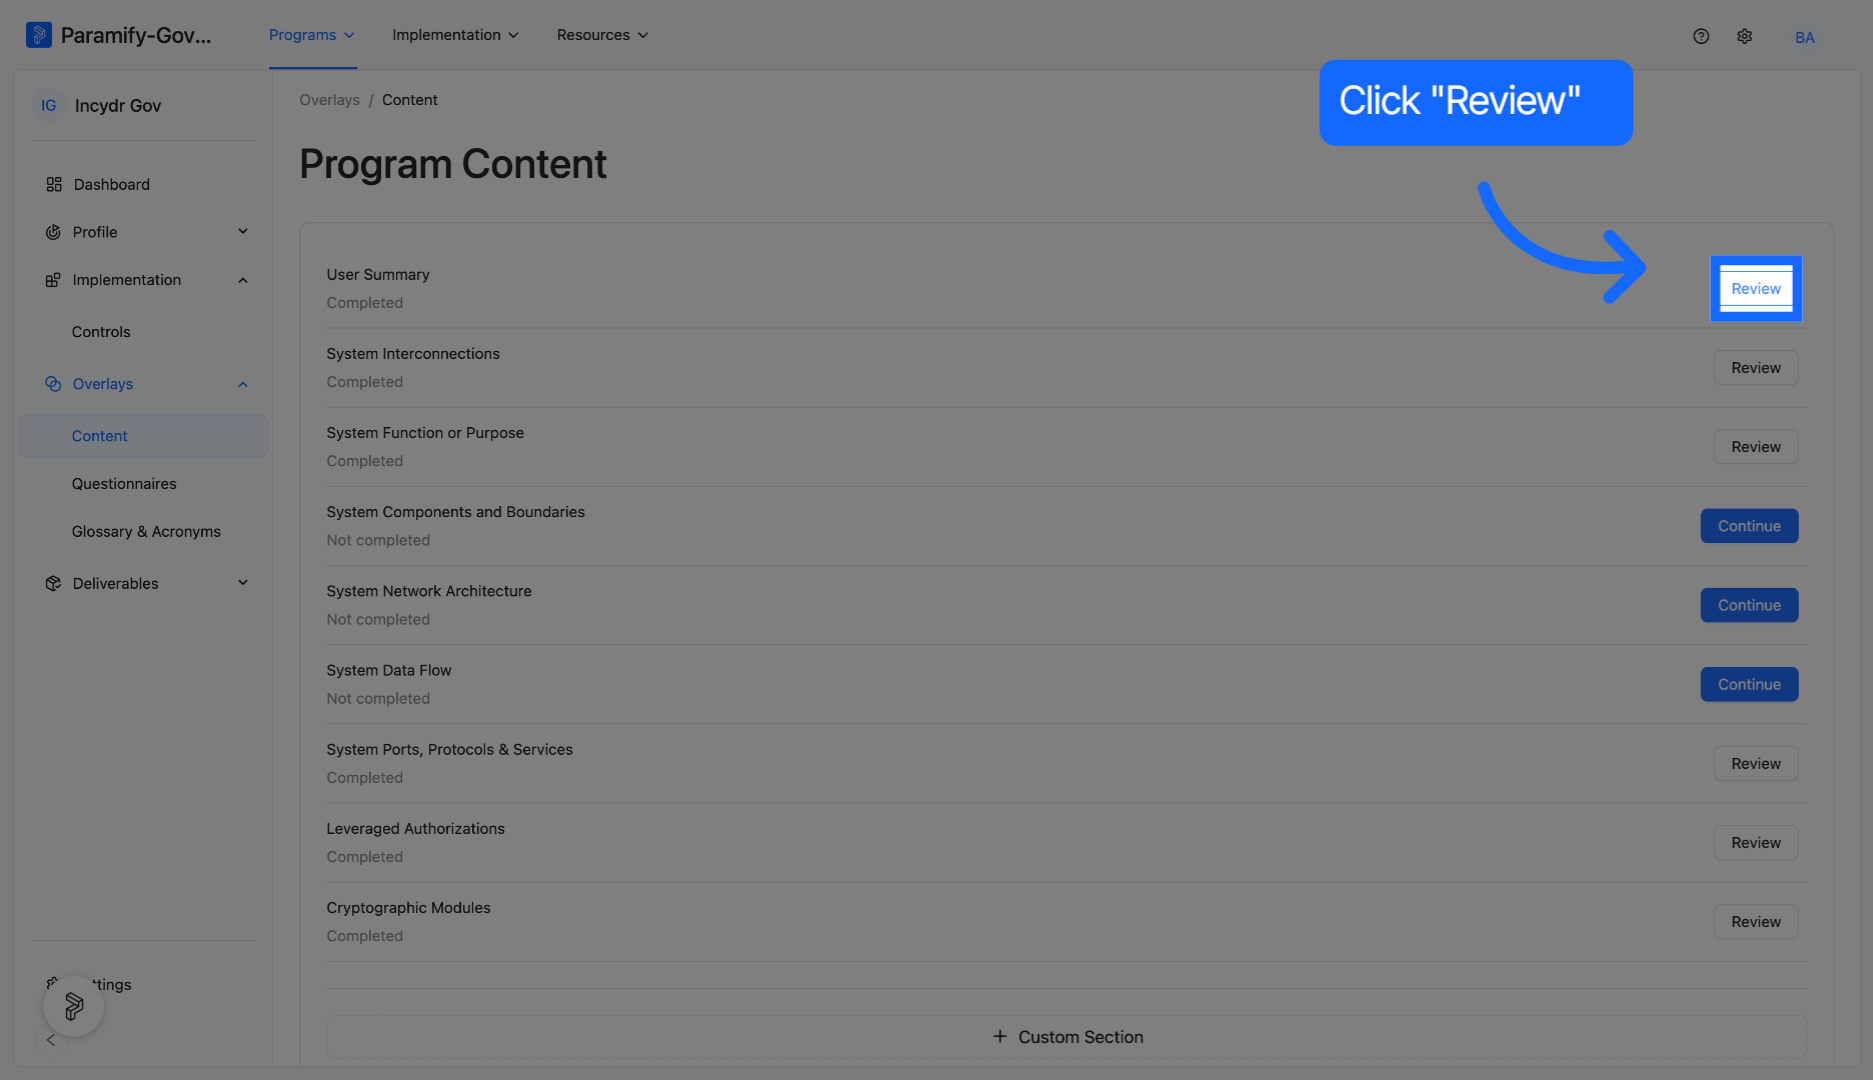
The User Summary Table is autogenerated and pulls information from roles attached to the program (in Automatic mode). Alternatively you can manually add Roles that appear on the User Summary Table.
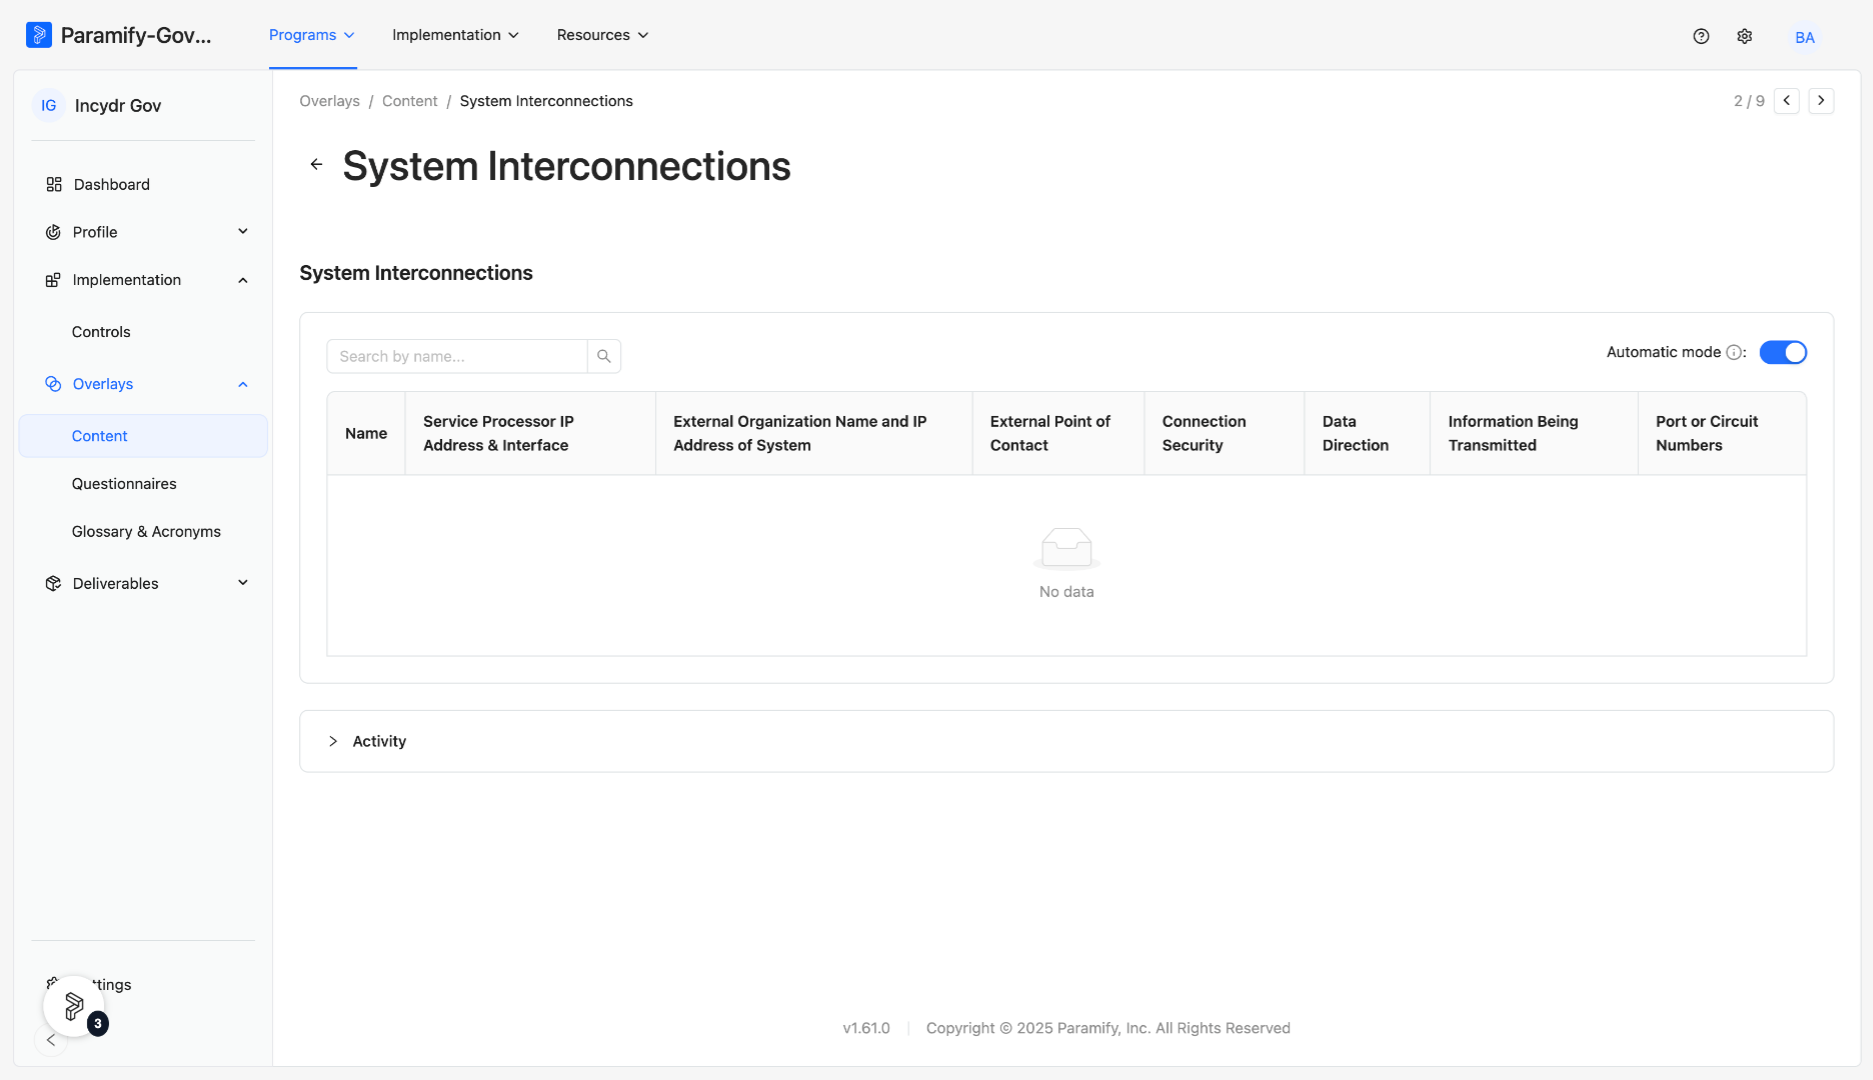
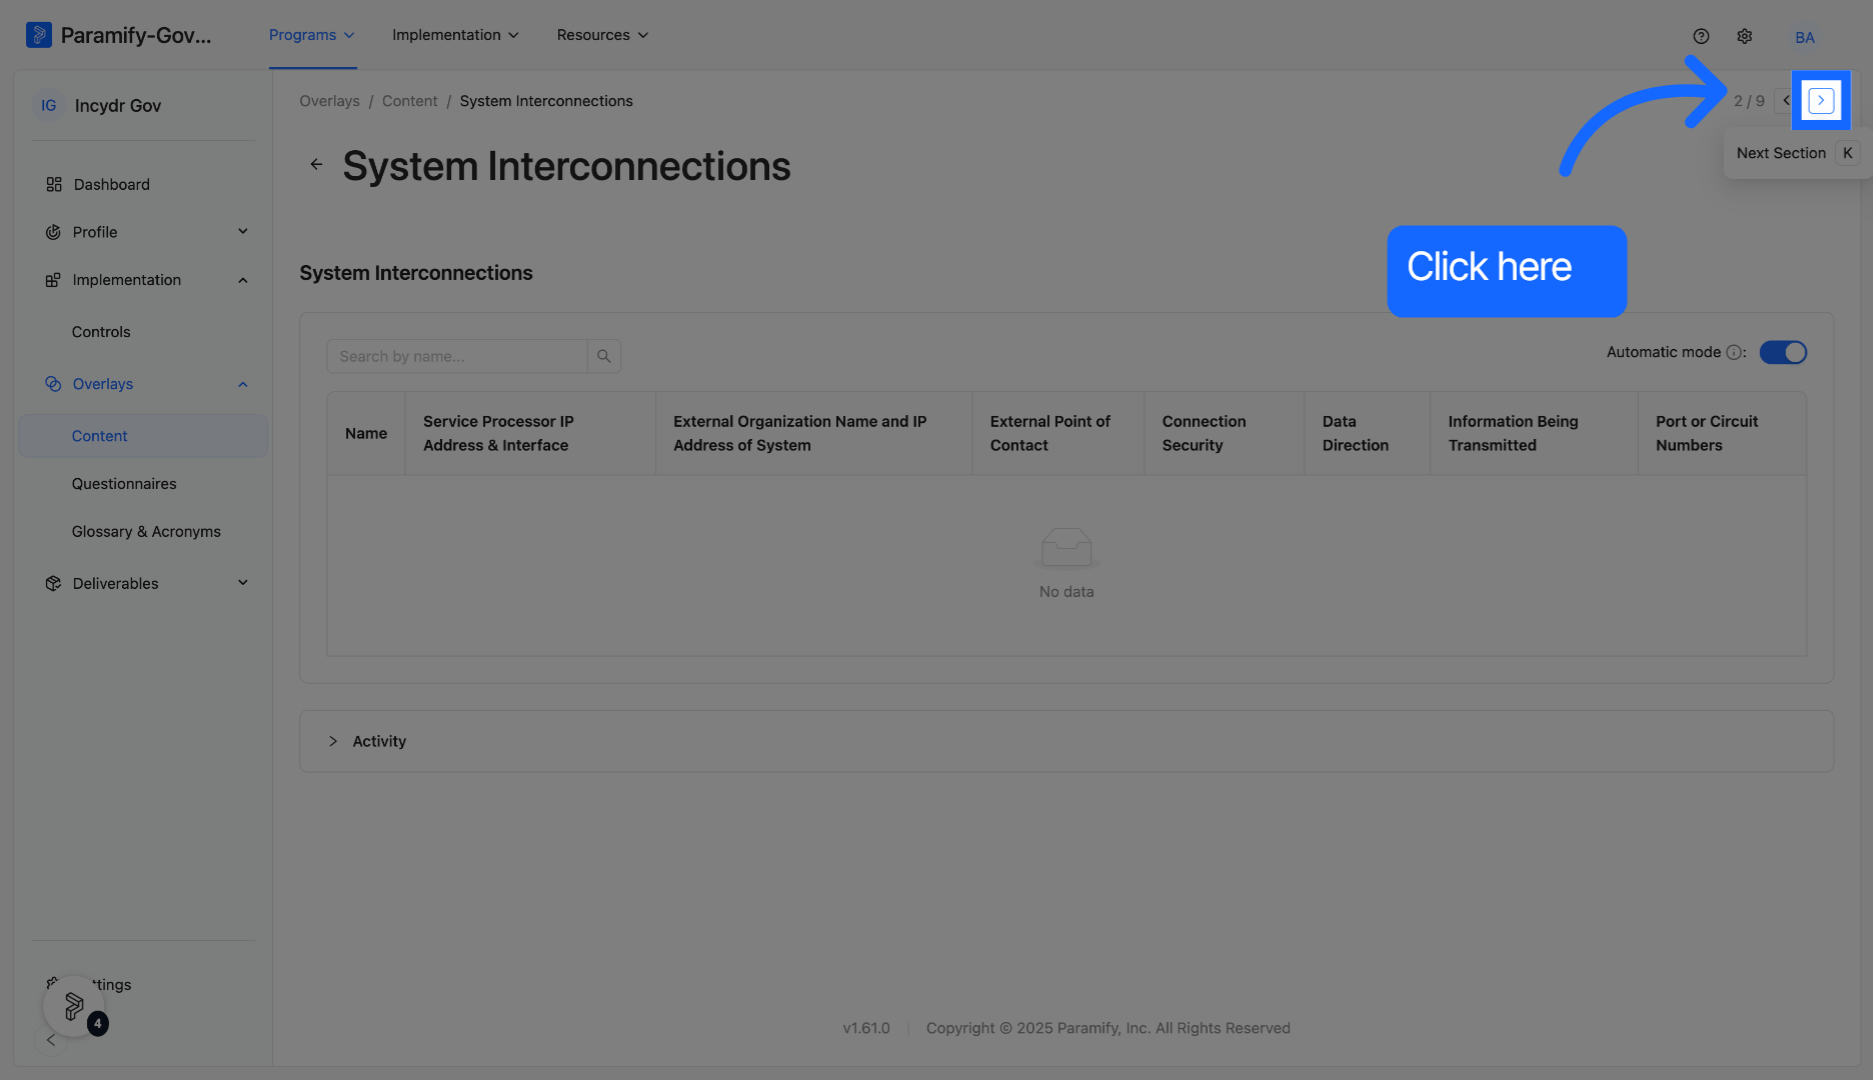
Click here to open the "System Interconnections" section.
System Interconnections can be selected from Element library and are particularly helpful for large organizations with complex structures.
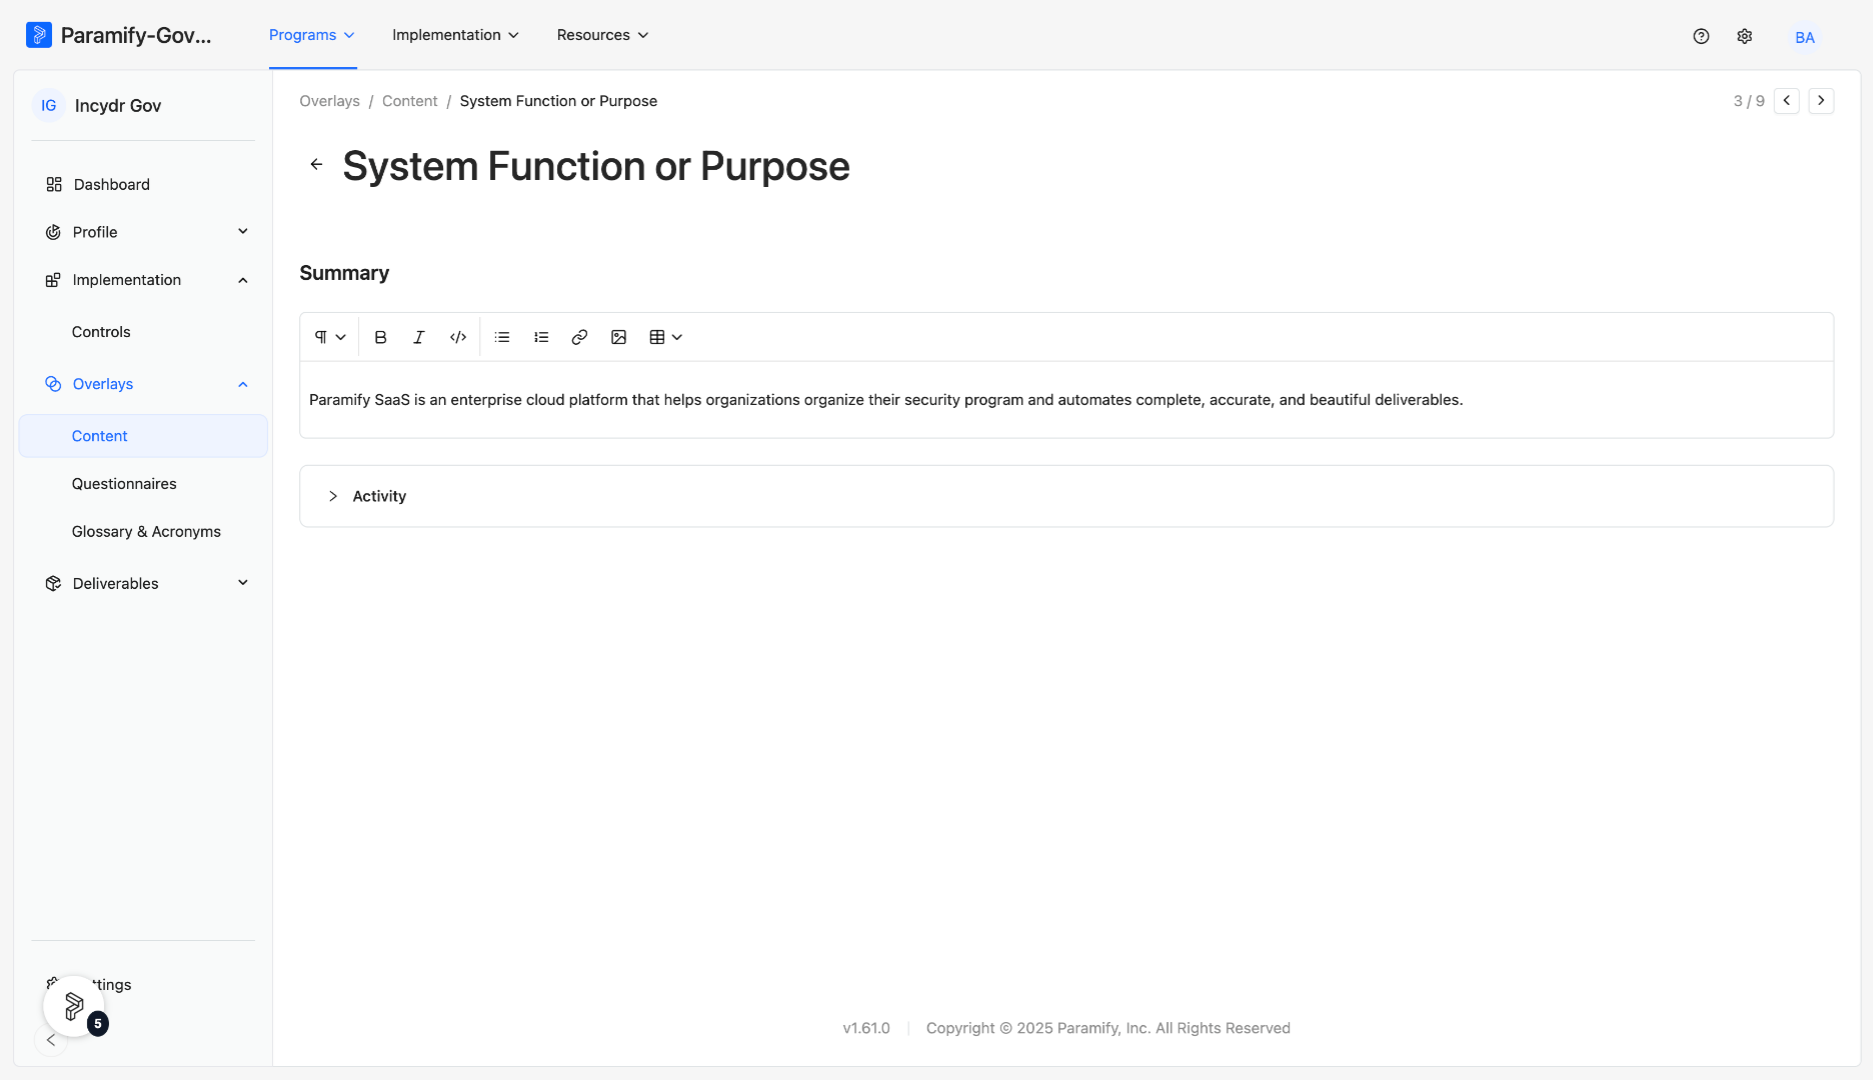
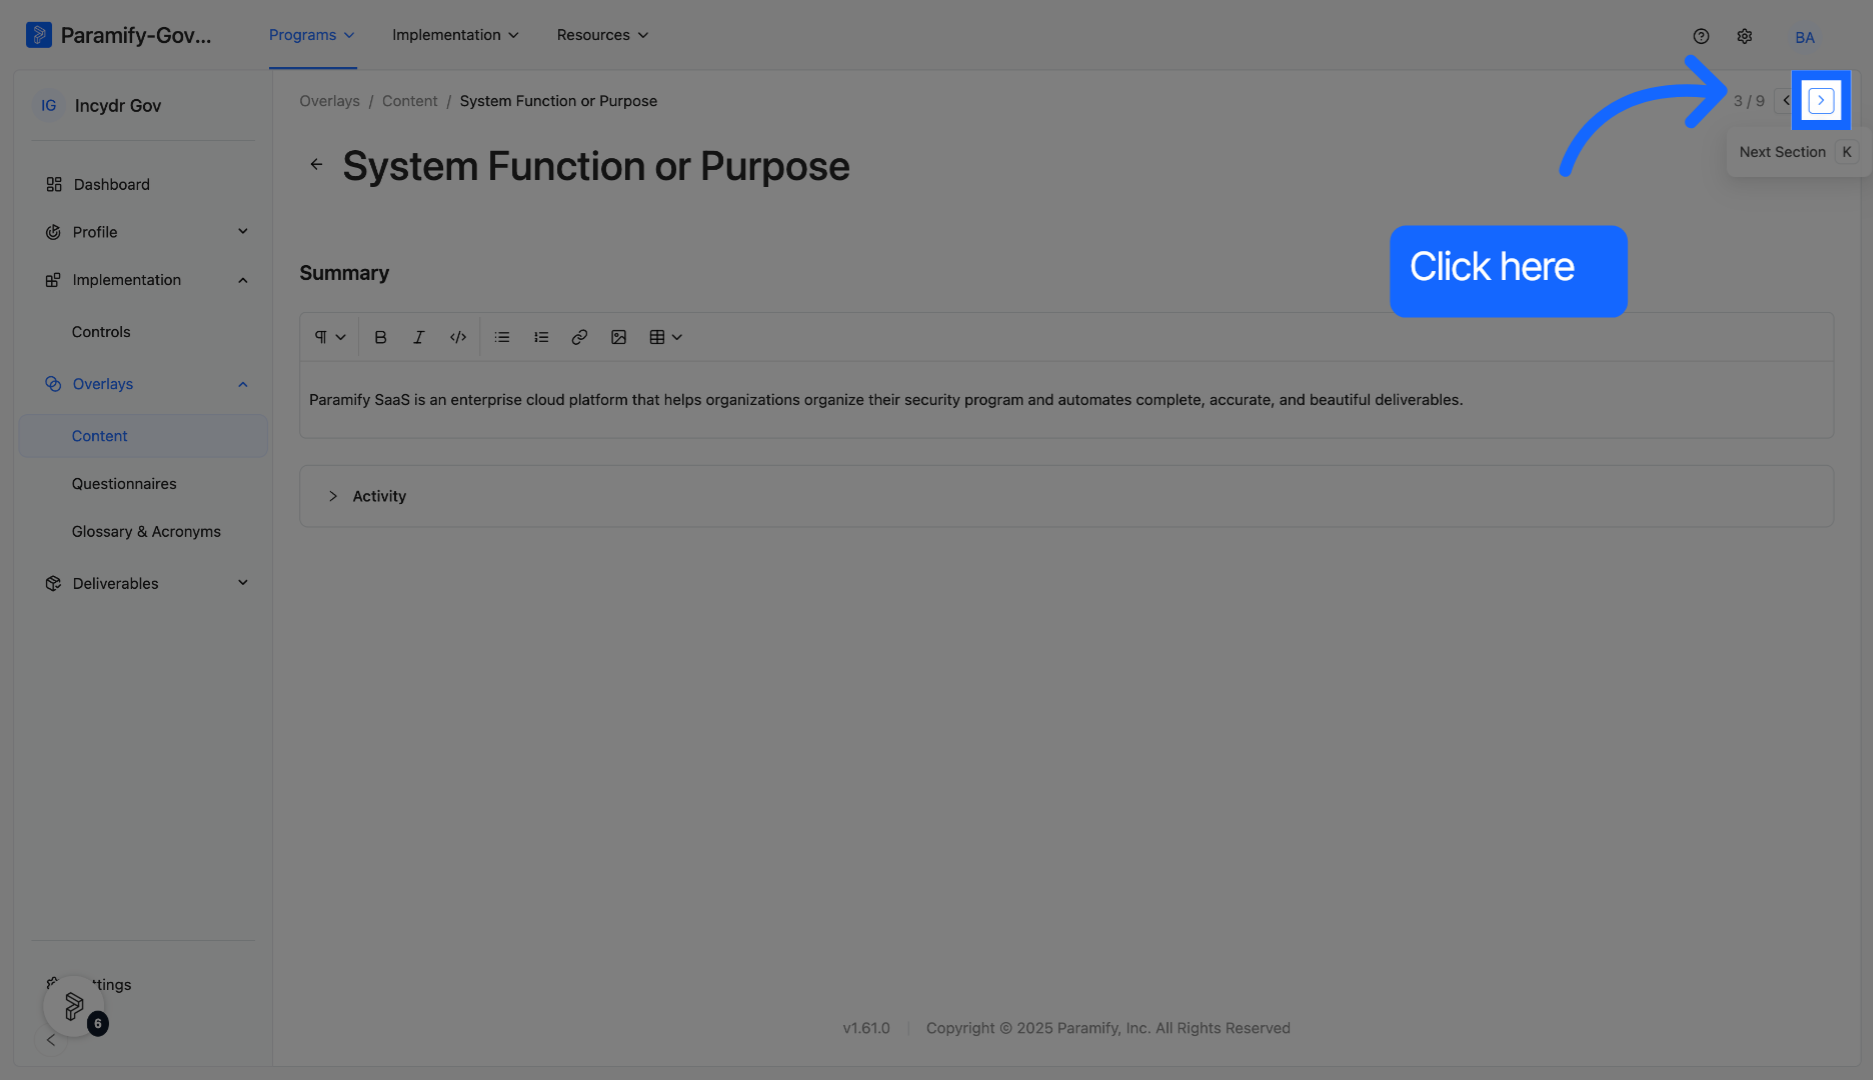
Click here to open the "System Function or Purpose" section.
Programs will include a System Function or Purpose section that allows for a user-inputted summary of that information.
Click here to open the "System Components and Boundaries" section.
Programs will also include a System Components and Boundaries section where a summary and associated diagrams can be added.
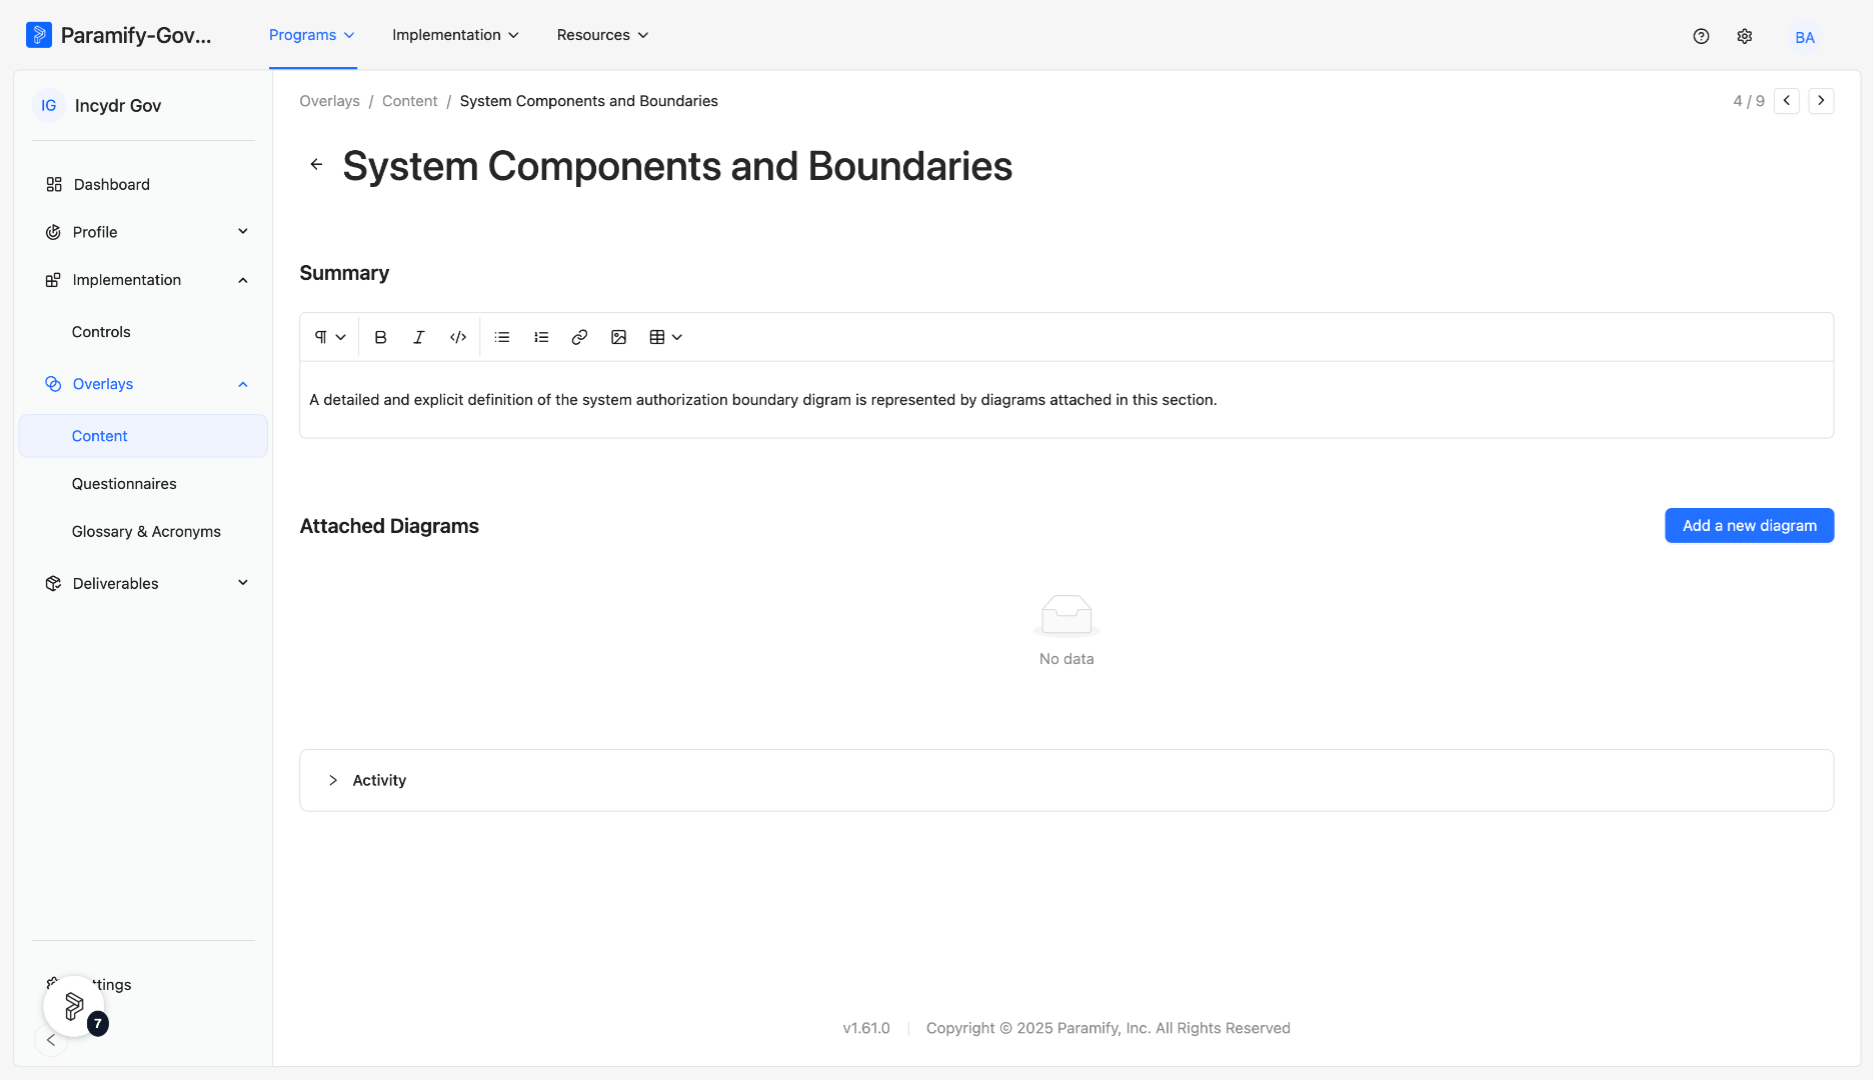
Click here to open the "System Network Architecture" section.
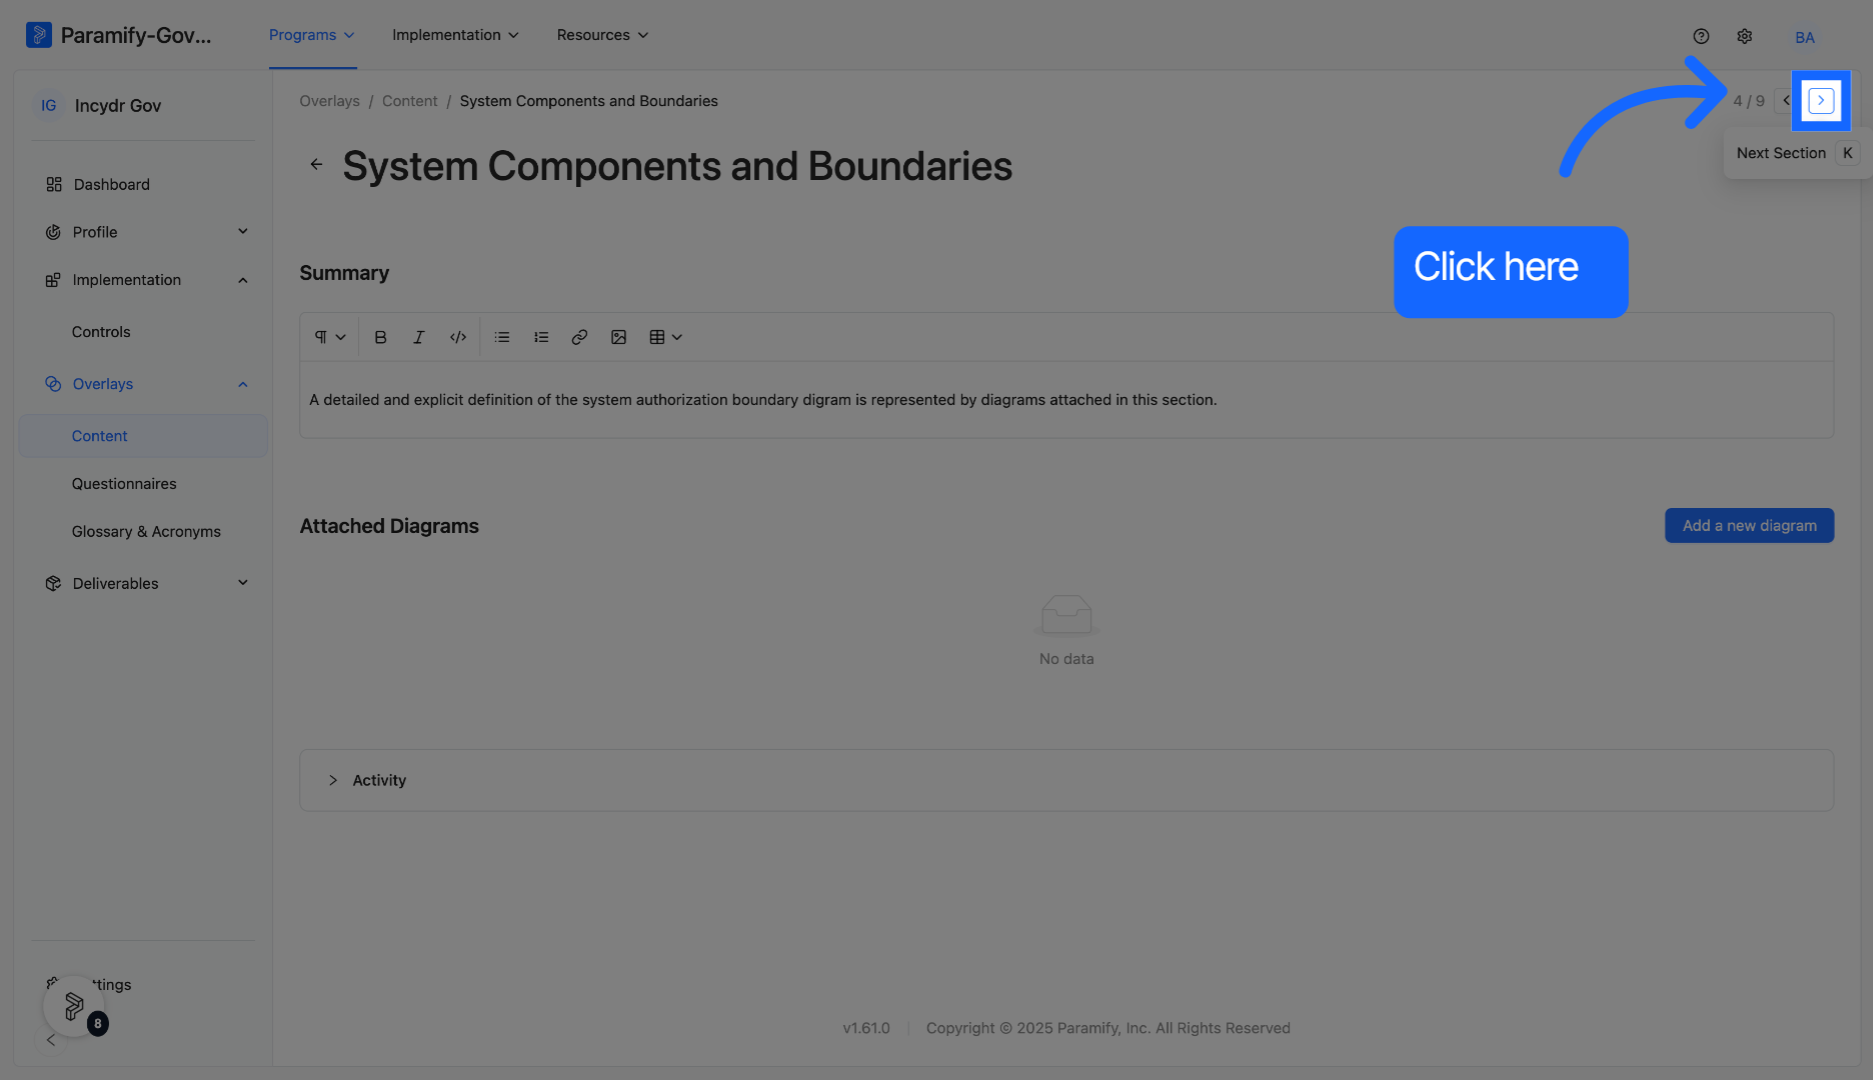
Programs will also include a System Network Architecture section where a summary and associated diagrams can be added.
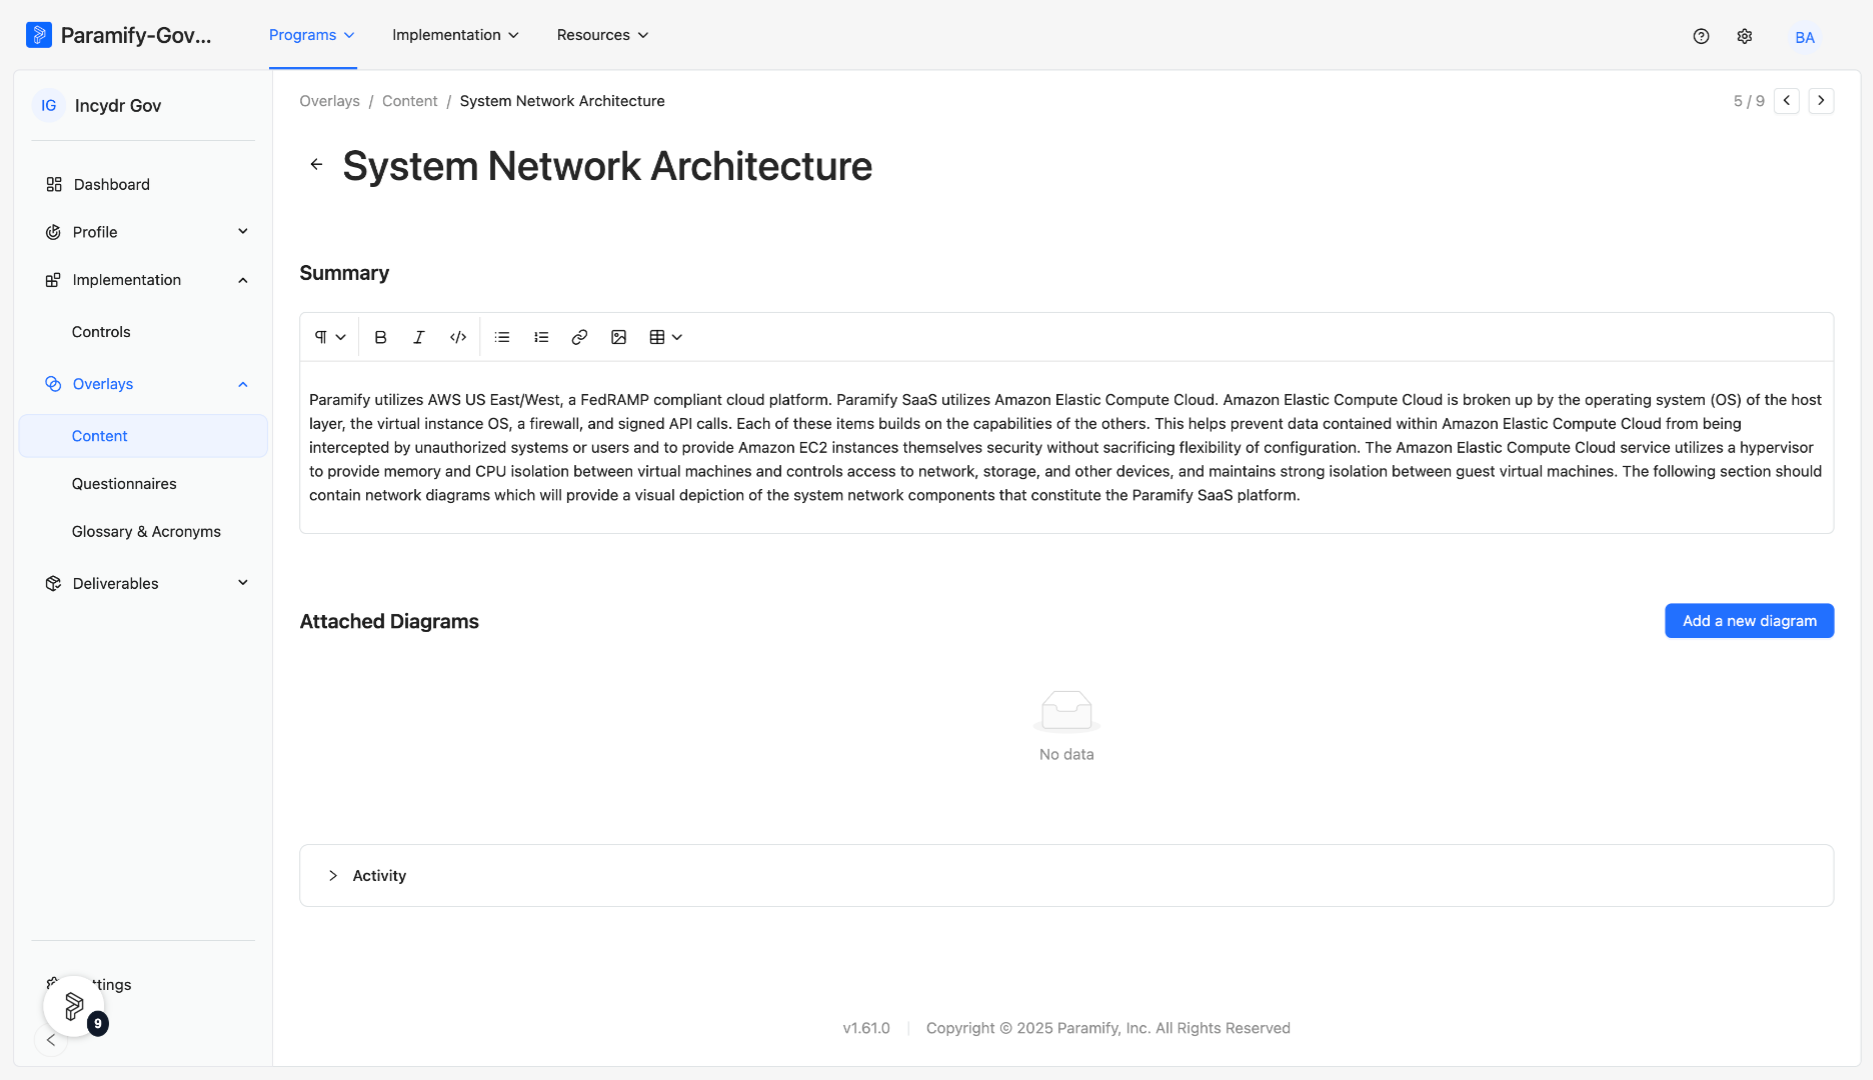
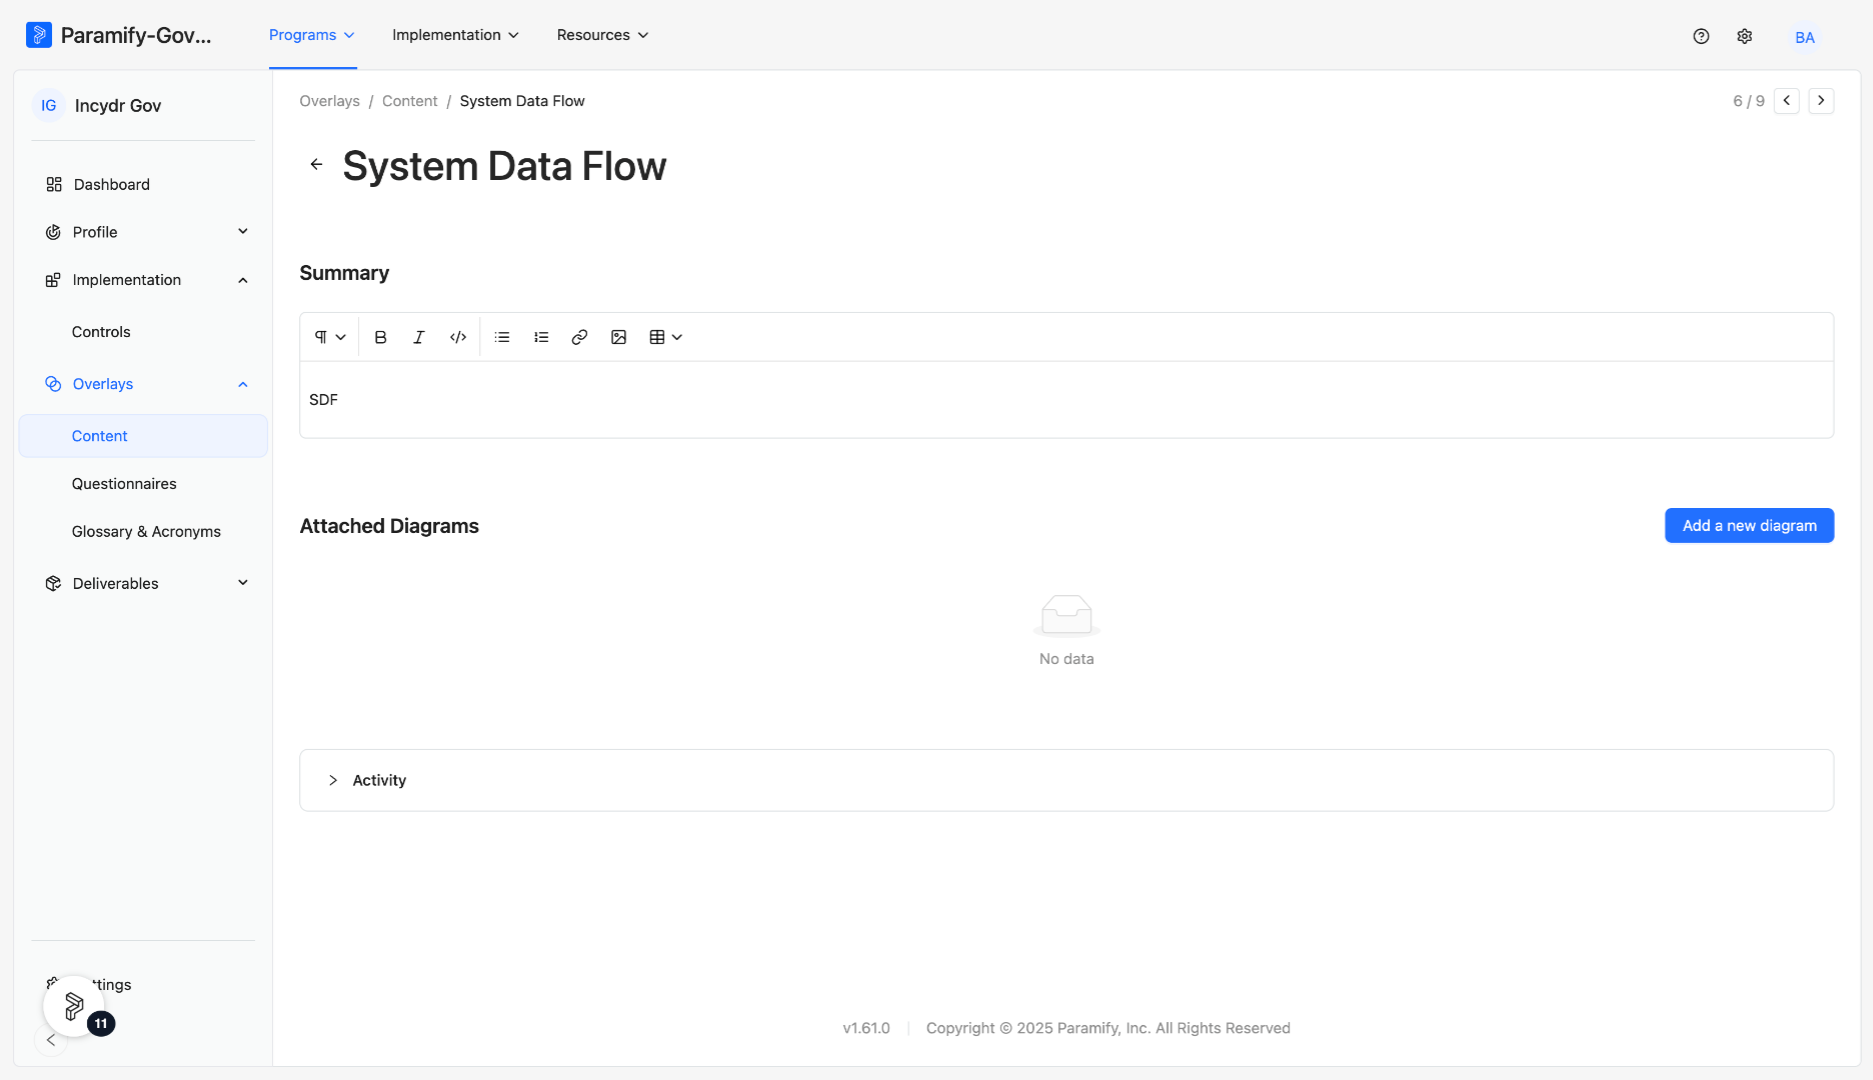
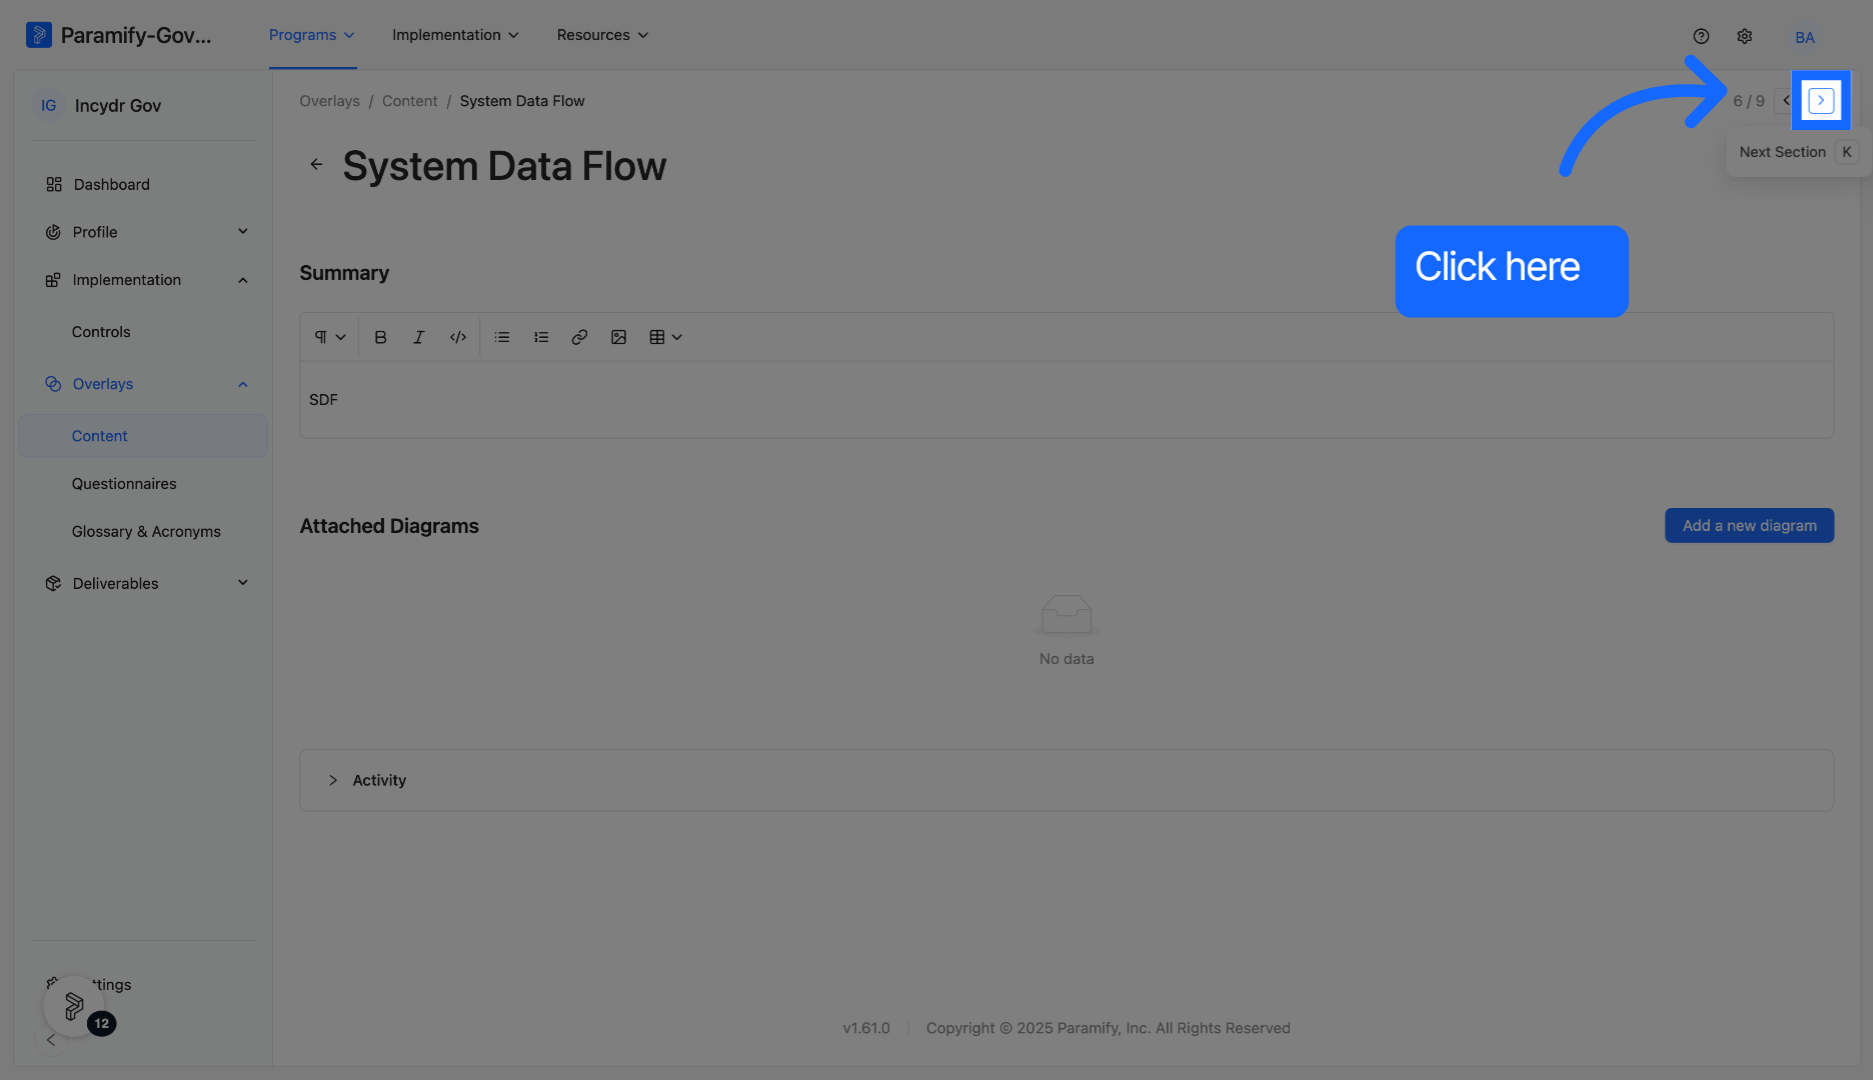
Click here to open the "System Data Flow" section.
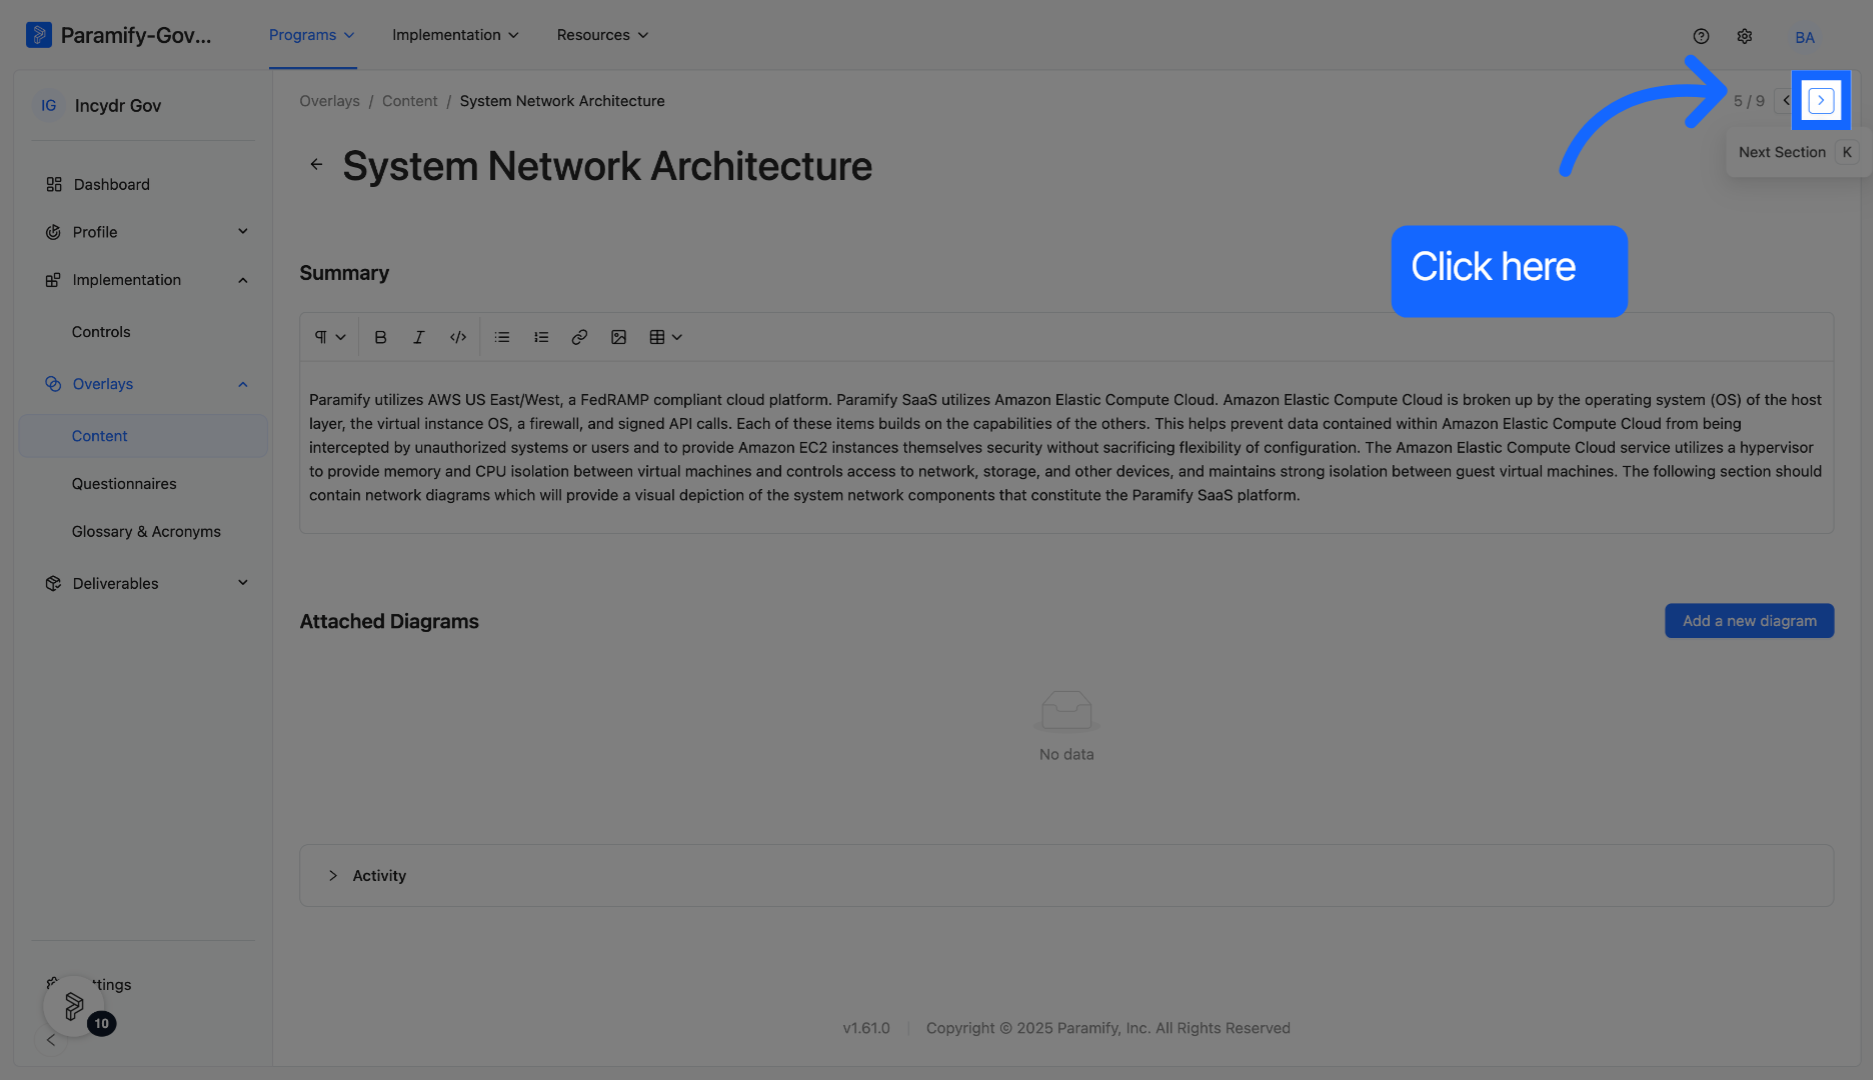
Programs will include a System Data Flow section where a summary and associated diagrams can be added, similar to the previous sections.
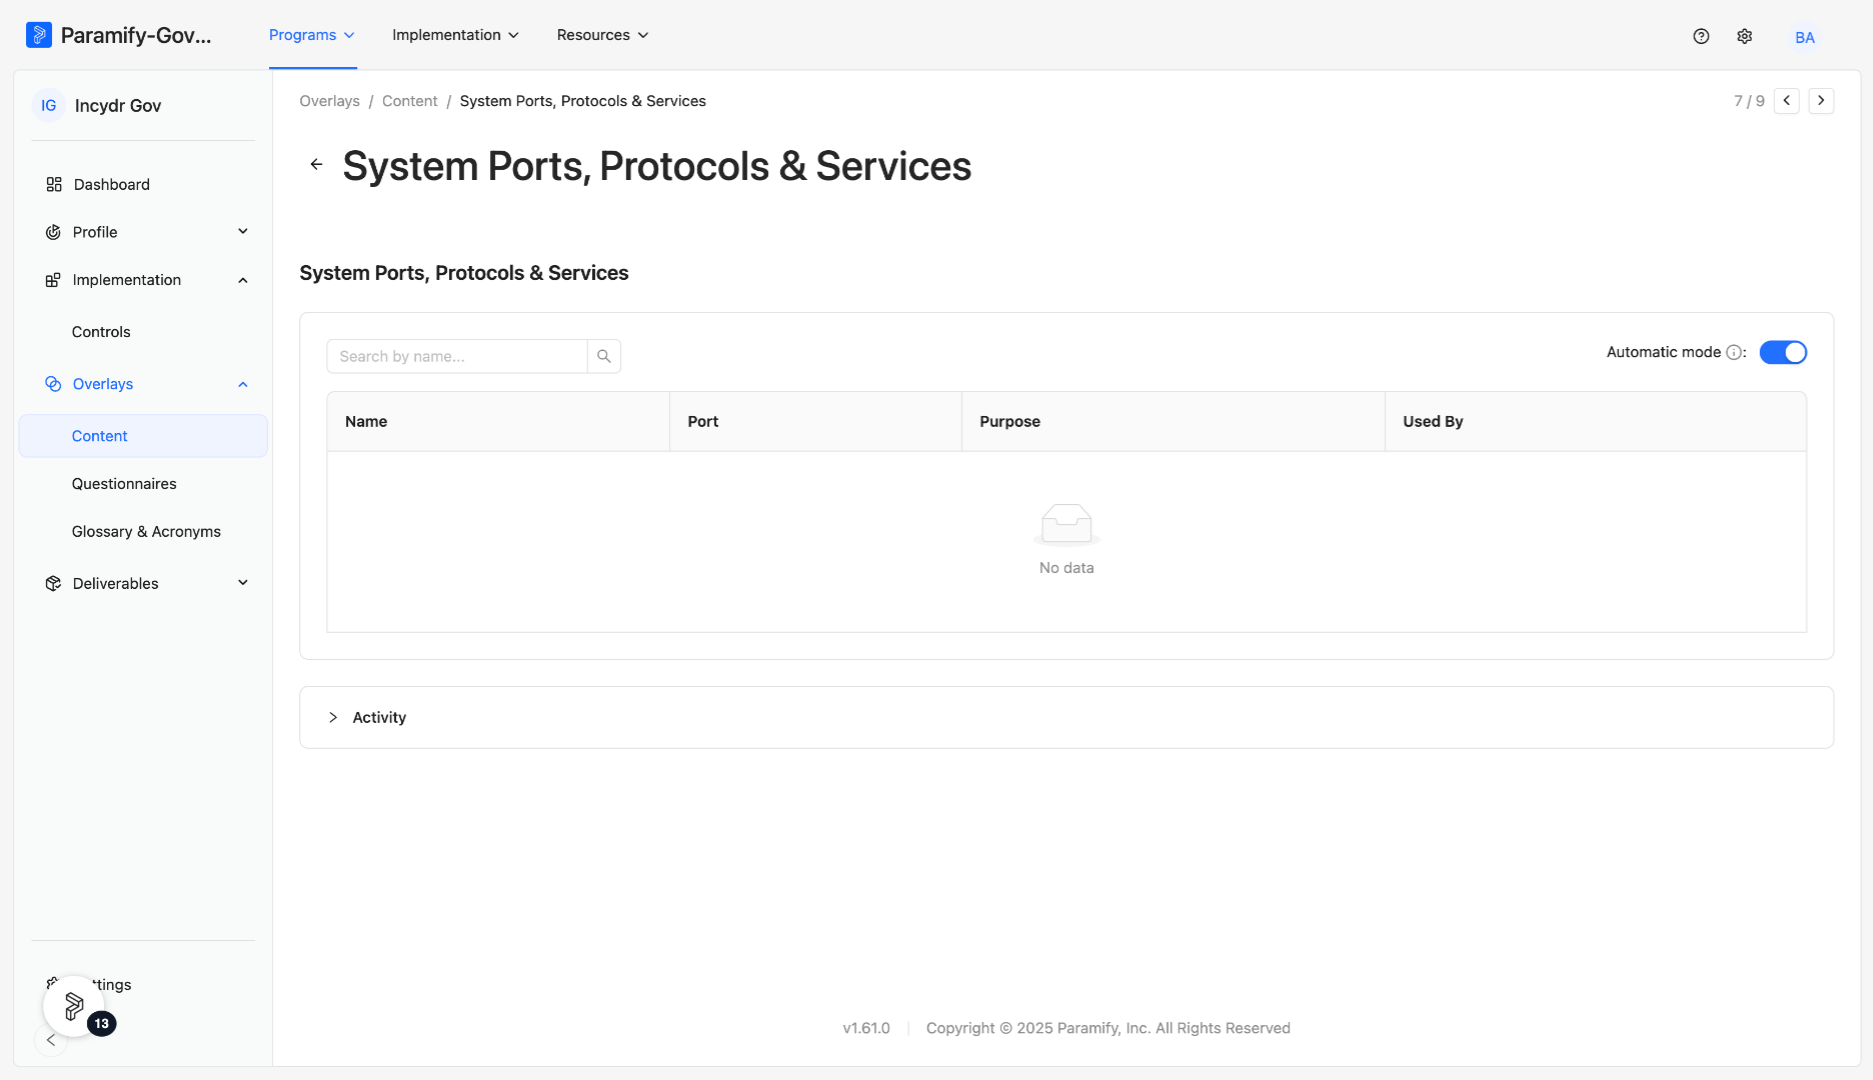
Click here to open the "System Ports, Protocols, & Services" section.
System ports, protocols, and services are automatically generated based on component elements with subtype 'Service' mentioned in solution capabilities applied to the program.
You have successfully navigated through various content within a program. This process ensures a comprehensive review of content for effective management.
Front Matter
To add front matter to your program, follow these steps:
- Navigate to the program you're working on.
- In the program side navigation, select "Program Overview."
- Click on either the "Start" or "Review" button.
- A section can fall into one of three categories:
- Narrative: A section designed for writing narratives.
- Element Table: A section for selecting a set of elements.
- Diagram: A section for attaching diagrams.
We will provide detailed information on each of these section types below.
Narratives
Narrative sections are meant for text. The text editor supports a subset of HTML elements and styles, and the output will adhere to the document template produced by our document automation tool. The following HTML elements are supported on some pages:
- Headings
<h1>through<h3> - Bold text
<strong> - Italics
<em> - Inline code
<code> - Lists
<ul>and<ol>(unordered and ordered) - Links
<a> - Tables
<table>
Headings will be reflected in the SSP table of contents in the following format:
| Heading | Example Value |
| H1 | 1 |
| H2 | 1.1 |
| H3 | 1.1.1 |
Custom sections can be created as needed. Those custom sections can be organized in the sequence desired. The table of contents will be updated automatically to sequentially number the customer sections based on the order defined.
NOTE
Heading 1 will be used automatically for custom section titles. For subsections within a custom section, use Heading 2 and/or Heading 3 to create the expected sequencing, i.e. Custom Section title will be section 9, subsection will be 9.1 (for heading 2) and so on.
Element Tables
Certain sections provide options for selecting sets of elements, such as "Users," "Interconnections," or "Ports, Protocols, and Services." Depending on the section, these tables may function in one of two modes: Automatic or Manual.
Automatic Mode: Elements are automatically selected based on their presence within the program, including any Solution Capabilities used in the program
Manual Mode: If you require more control over the items in the table, you can switch to manual mode. This allows you to manually select the elements to include in the table, drawing from the available options in your Element Library.
Diagrams
Some program overview sections may require diagrams, such as Architecture, Data Flow, or Network Diagrams. If a section allows diagrams, you will find a designated area for "Attached Diagrams." To add a diagram, follow these steps:
- Click on the "Add a new diagram" button.
- Upload an image and optionally provide a caption and summary.
- You can add as many diagrams as necessary.
Comments
0 comments
Please sign in to leave a comment.